


I. Introduction to the Boho Braid Trend
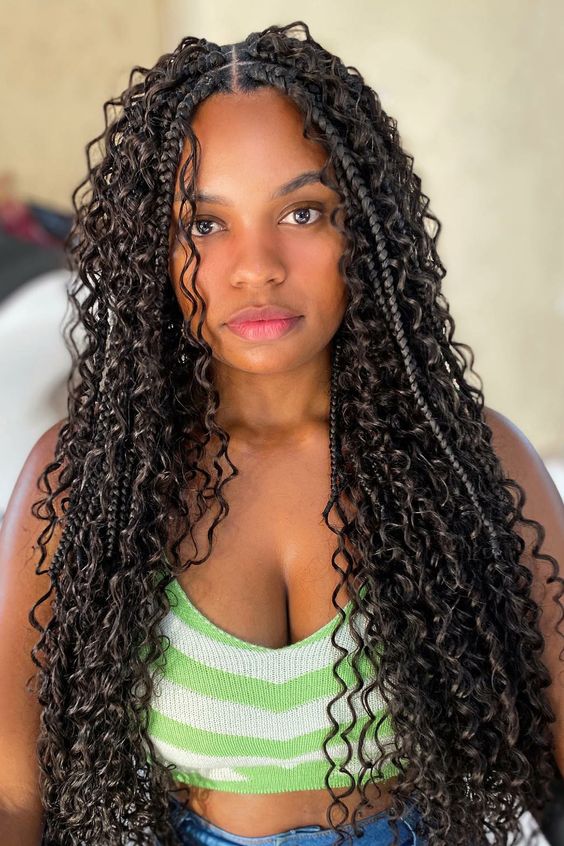
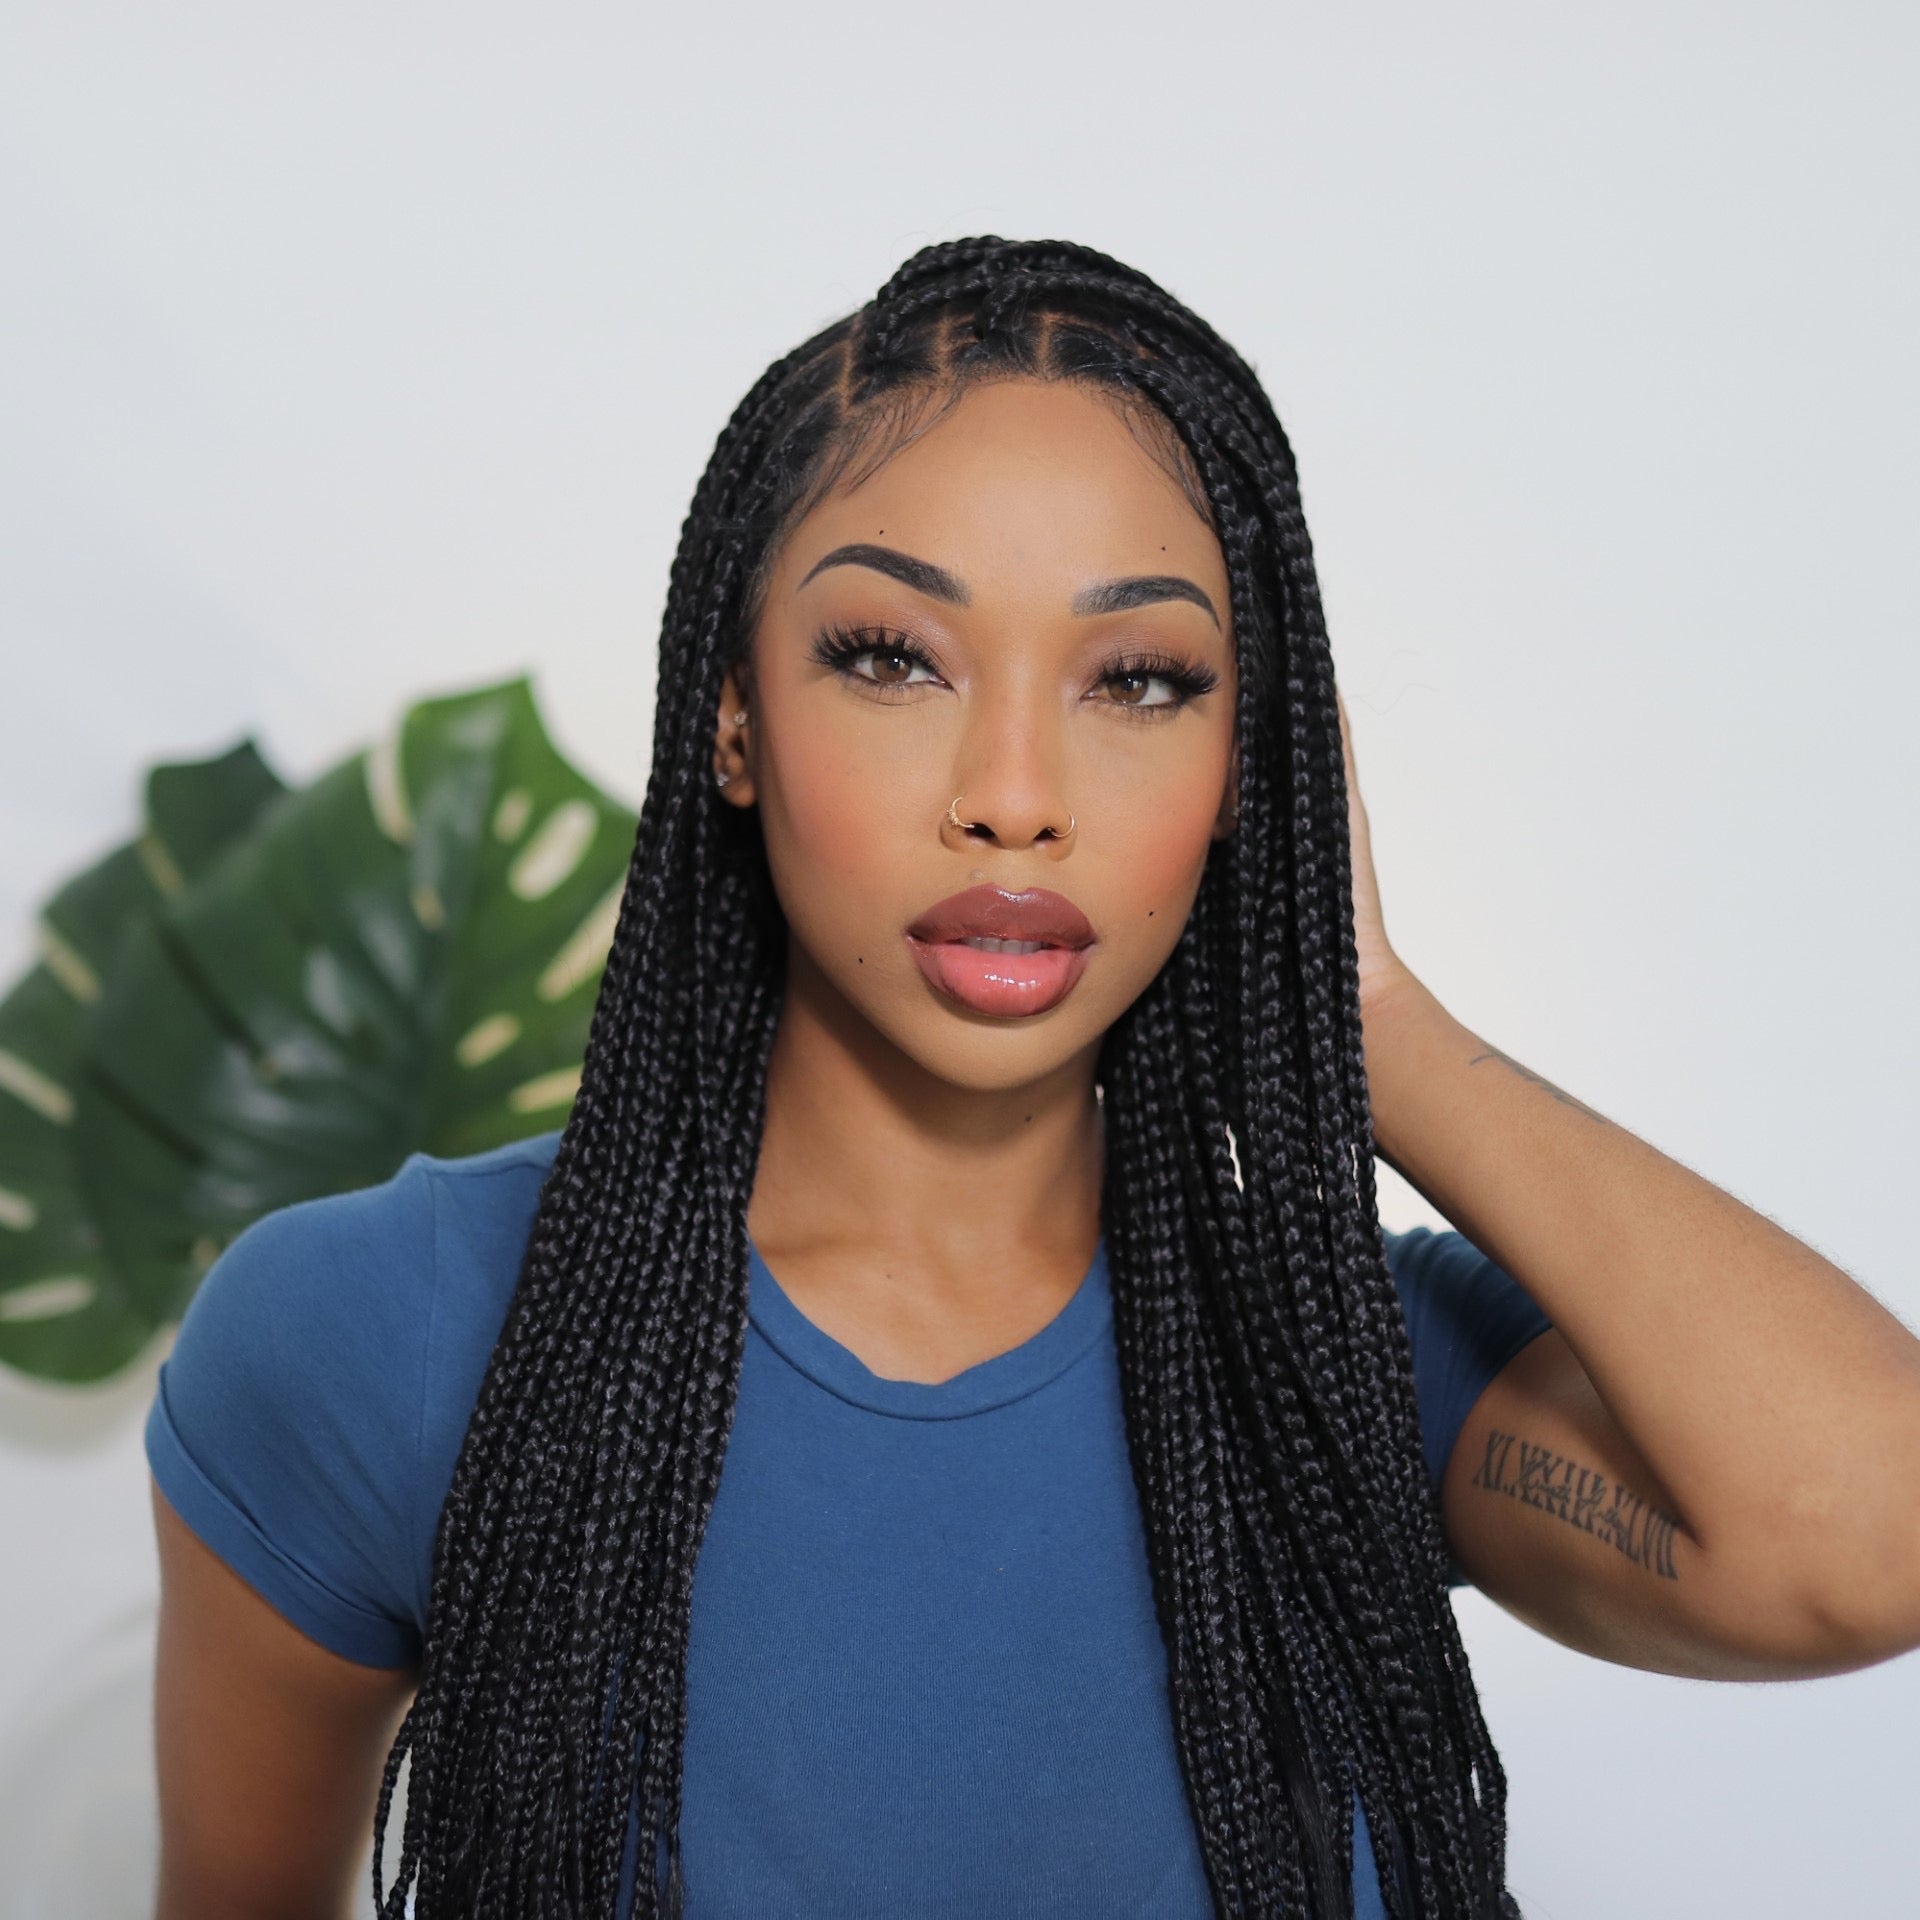
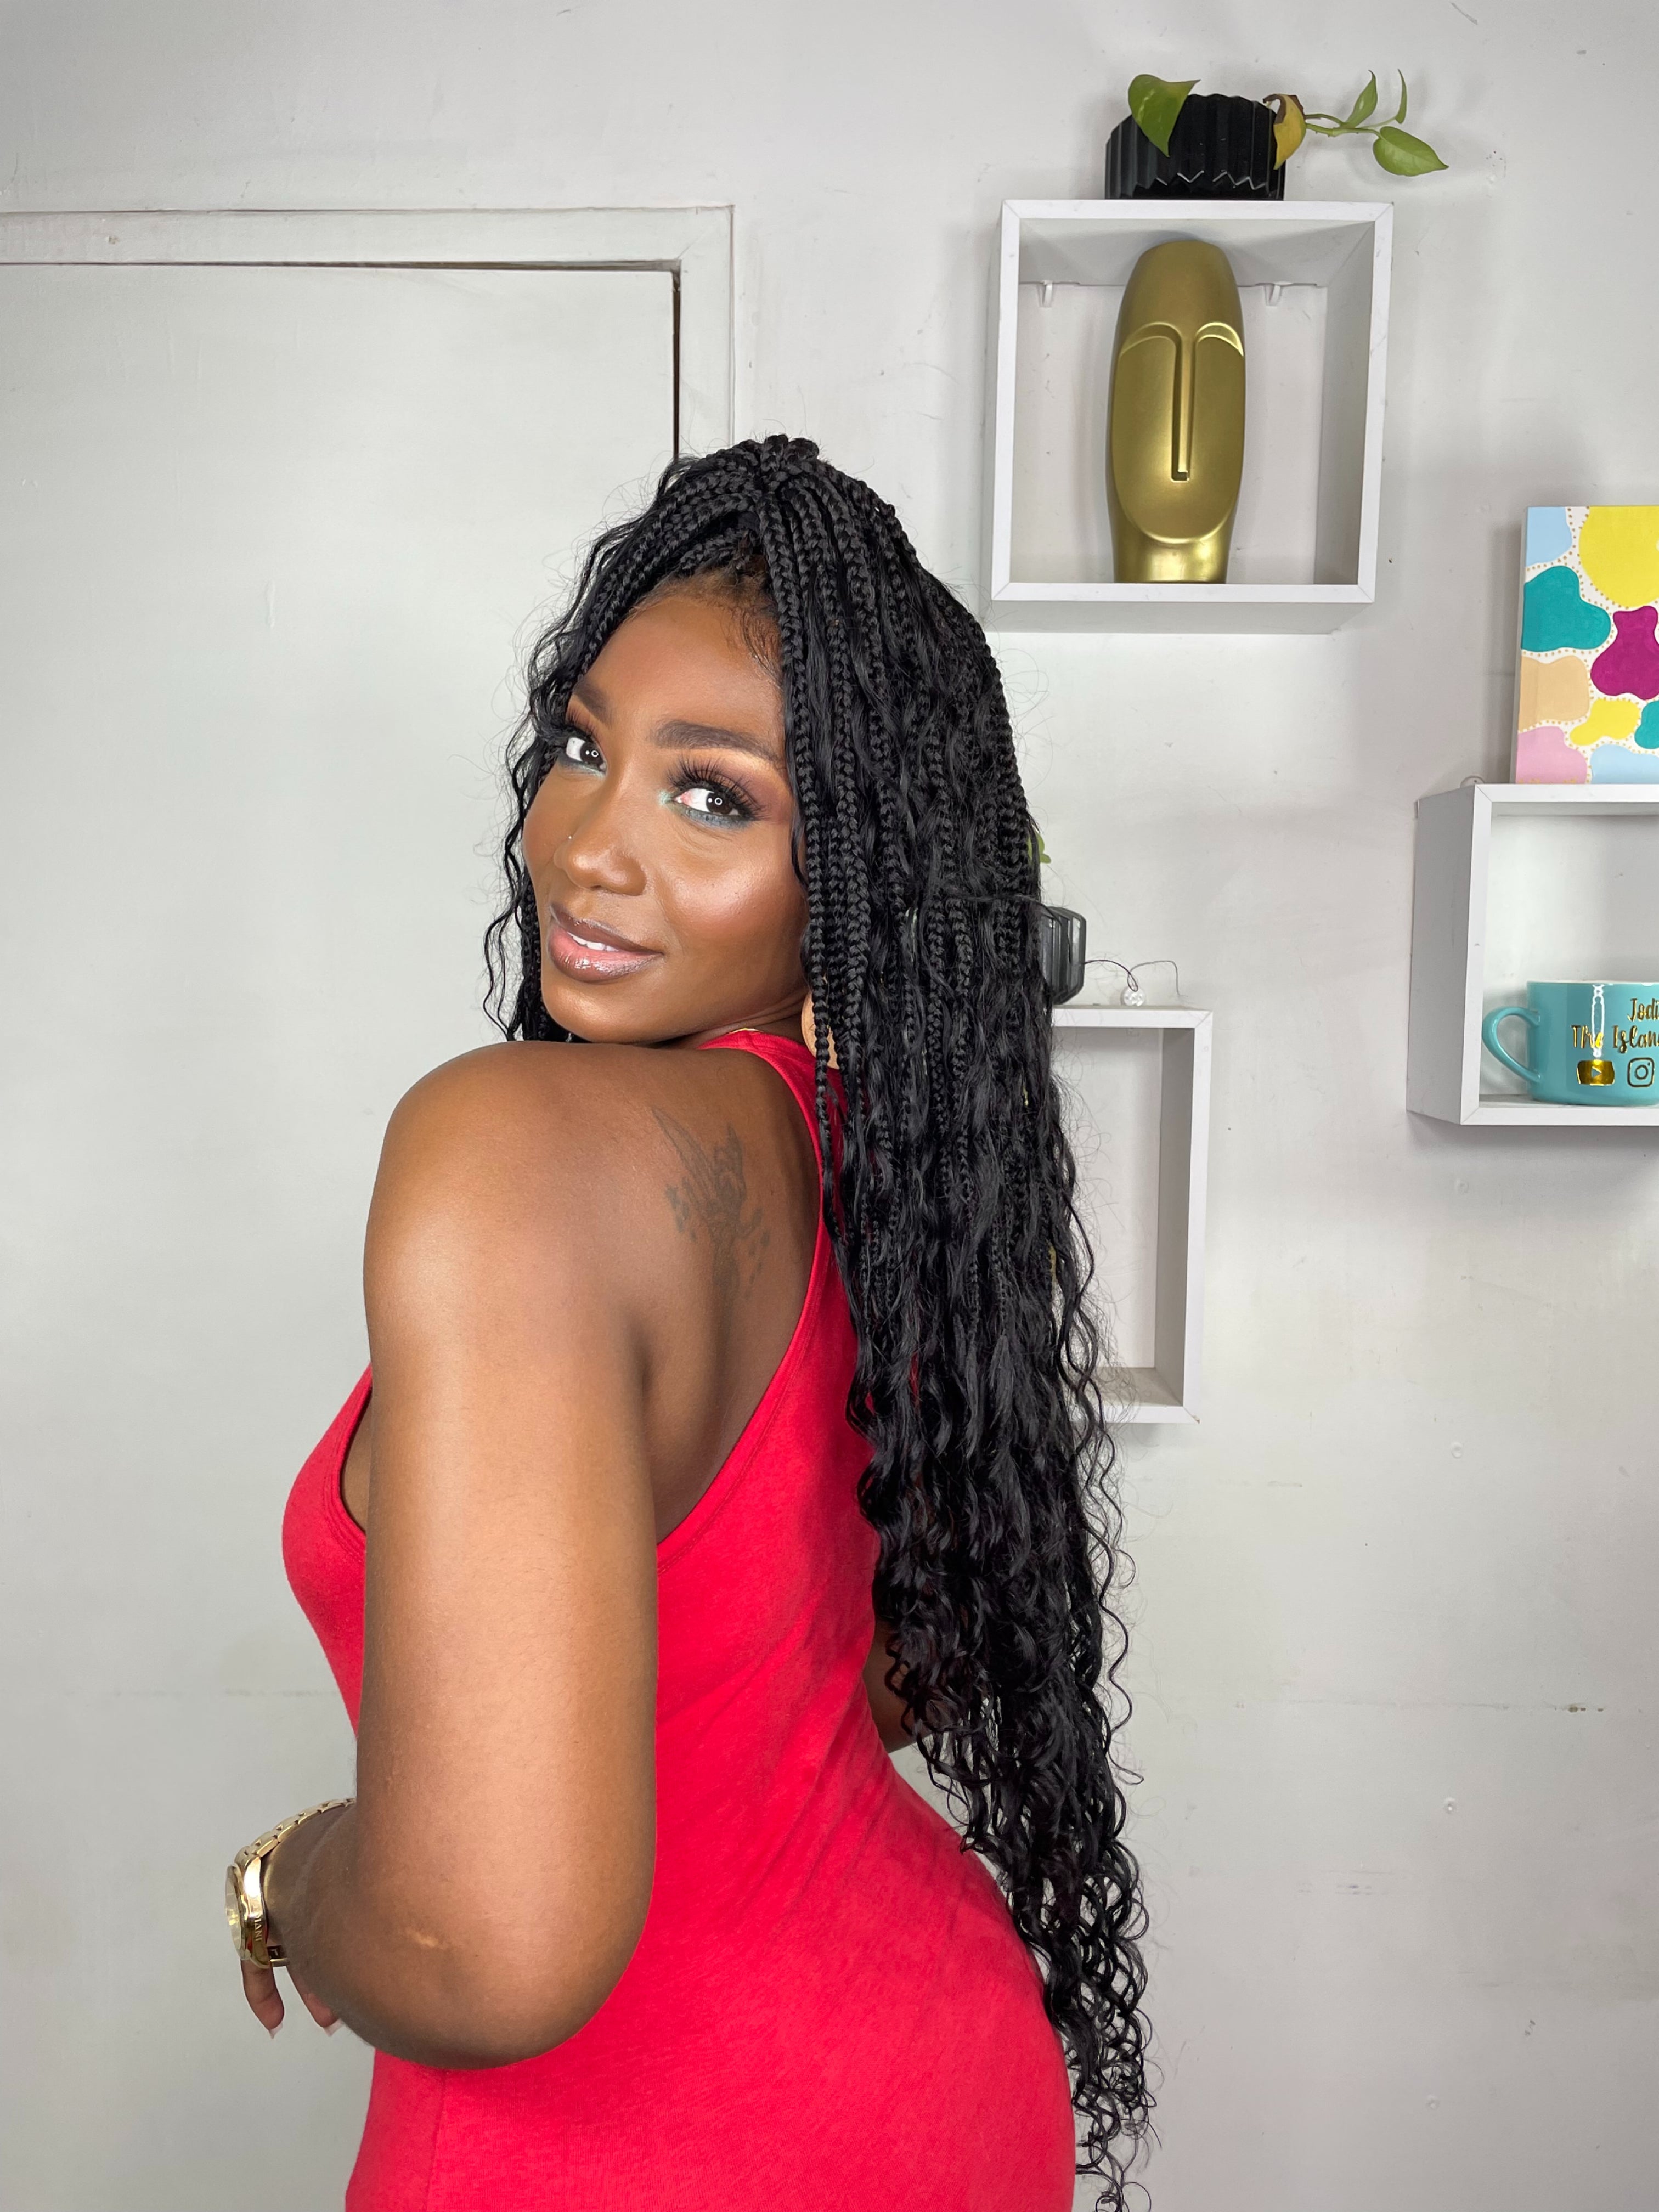
Boho or bohemian braids have been a significant hairstyle trend for years now. Embracing an intentionally imperfect, tousled aesthetic, these laid-back braids embody the boho-chic vibe with their messy, undone appearance, perfect for music festivals, beach vacations, or injecting whimsy into your everyday style. How to do boho braids like a pro?
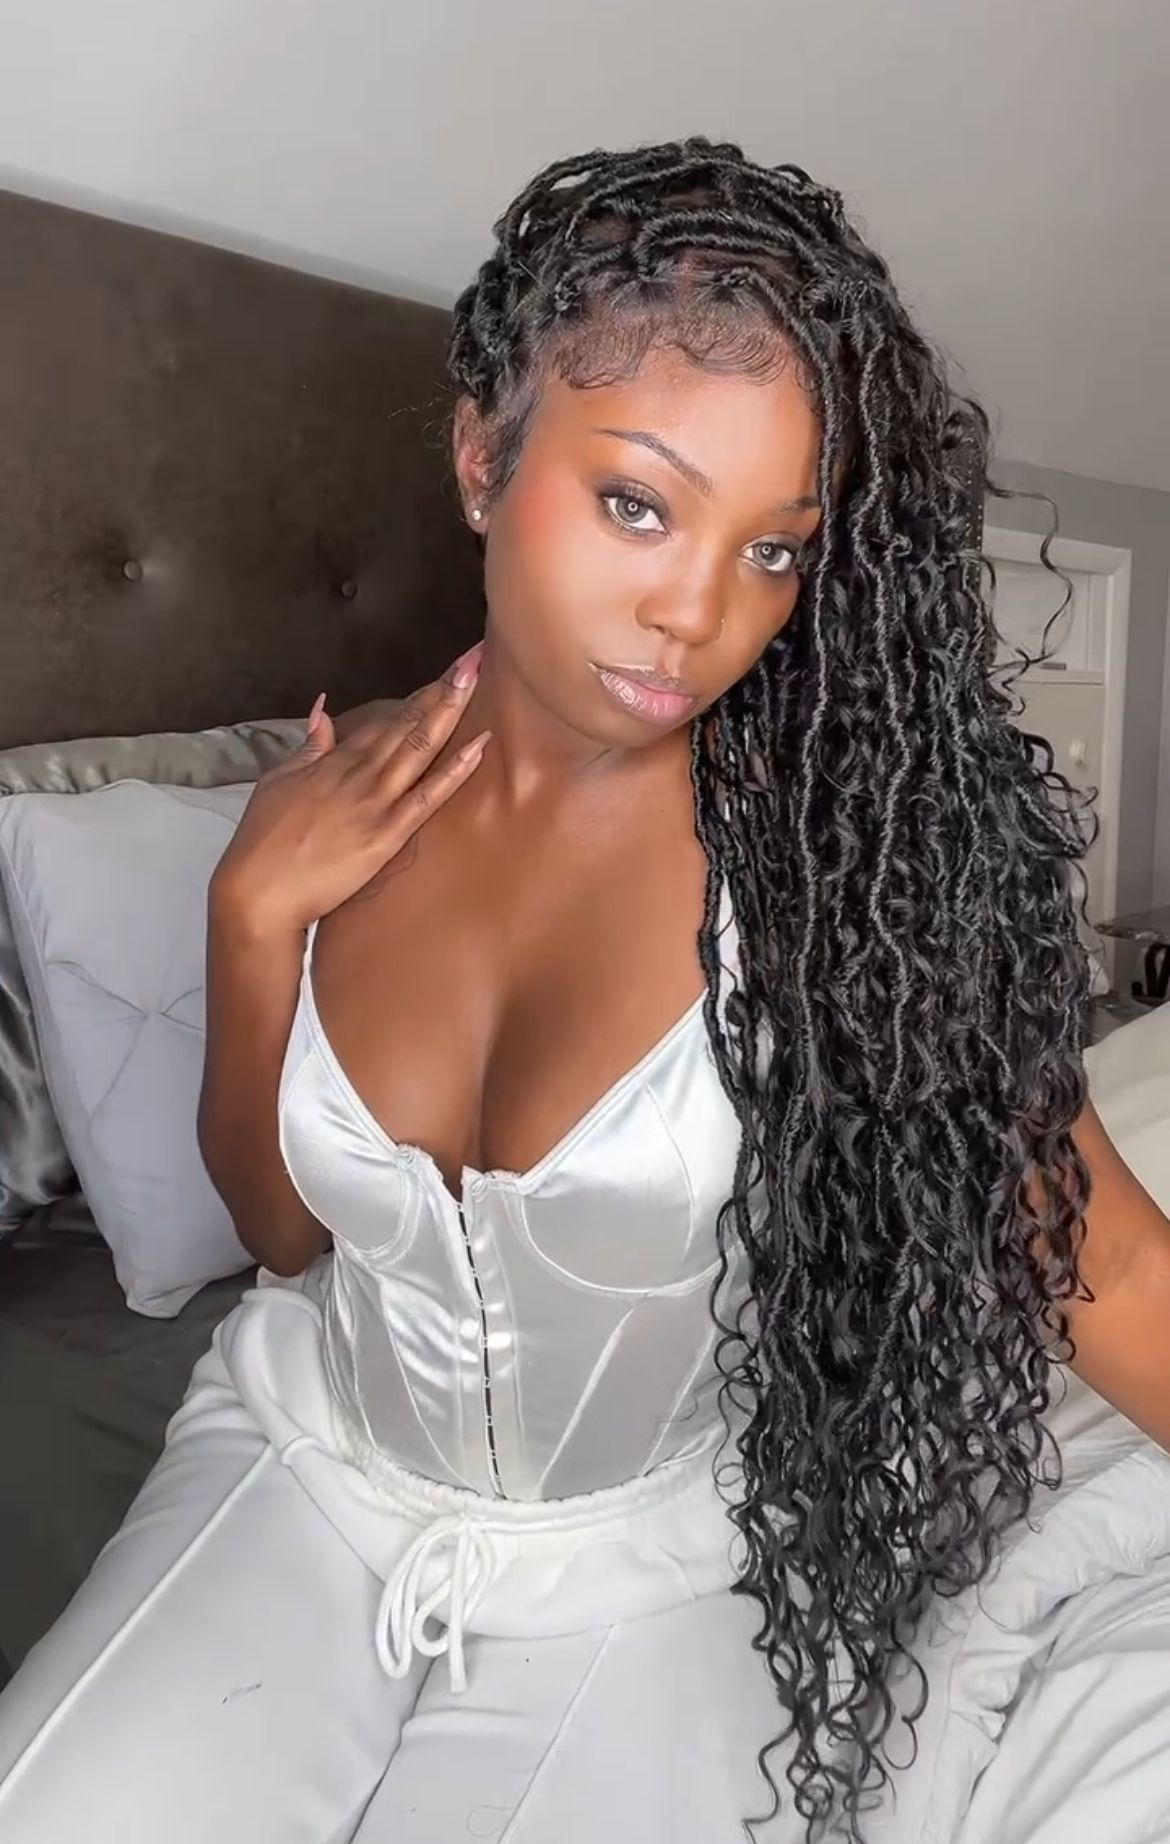
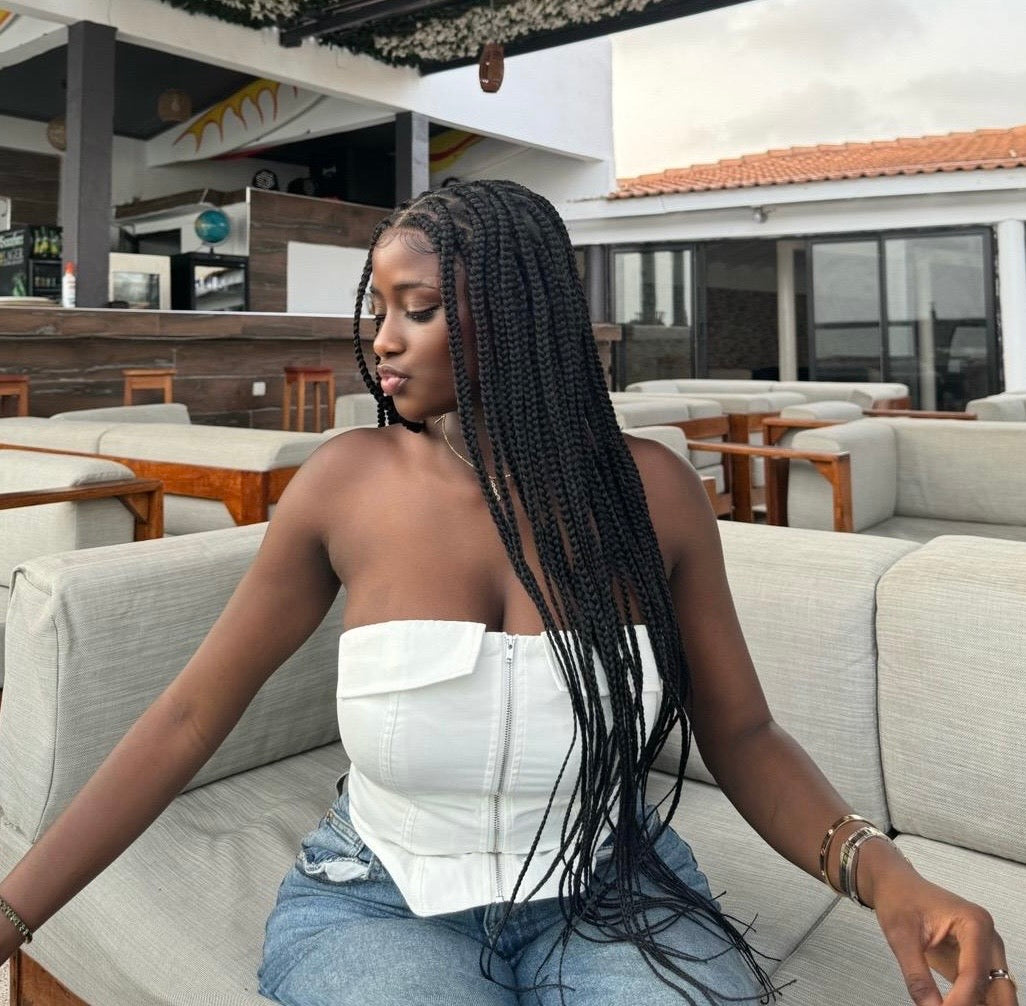
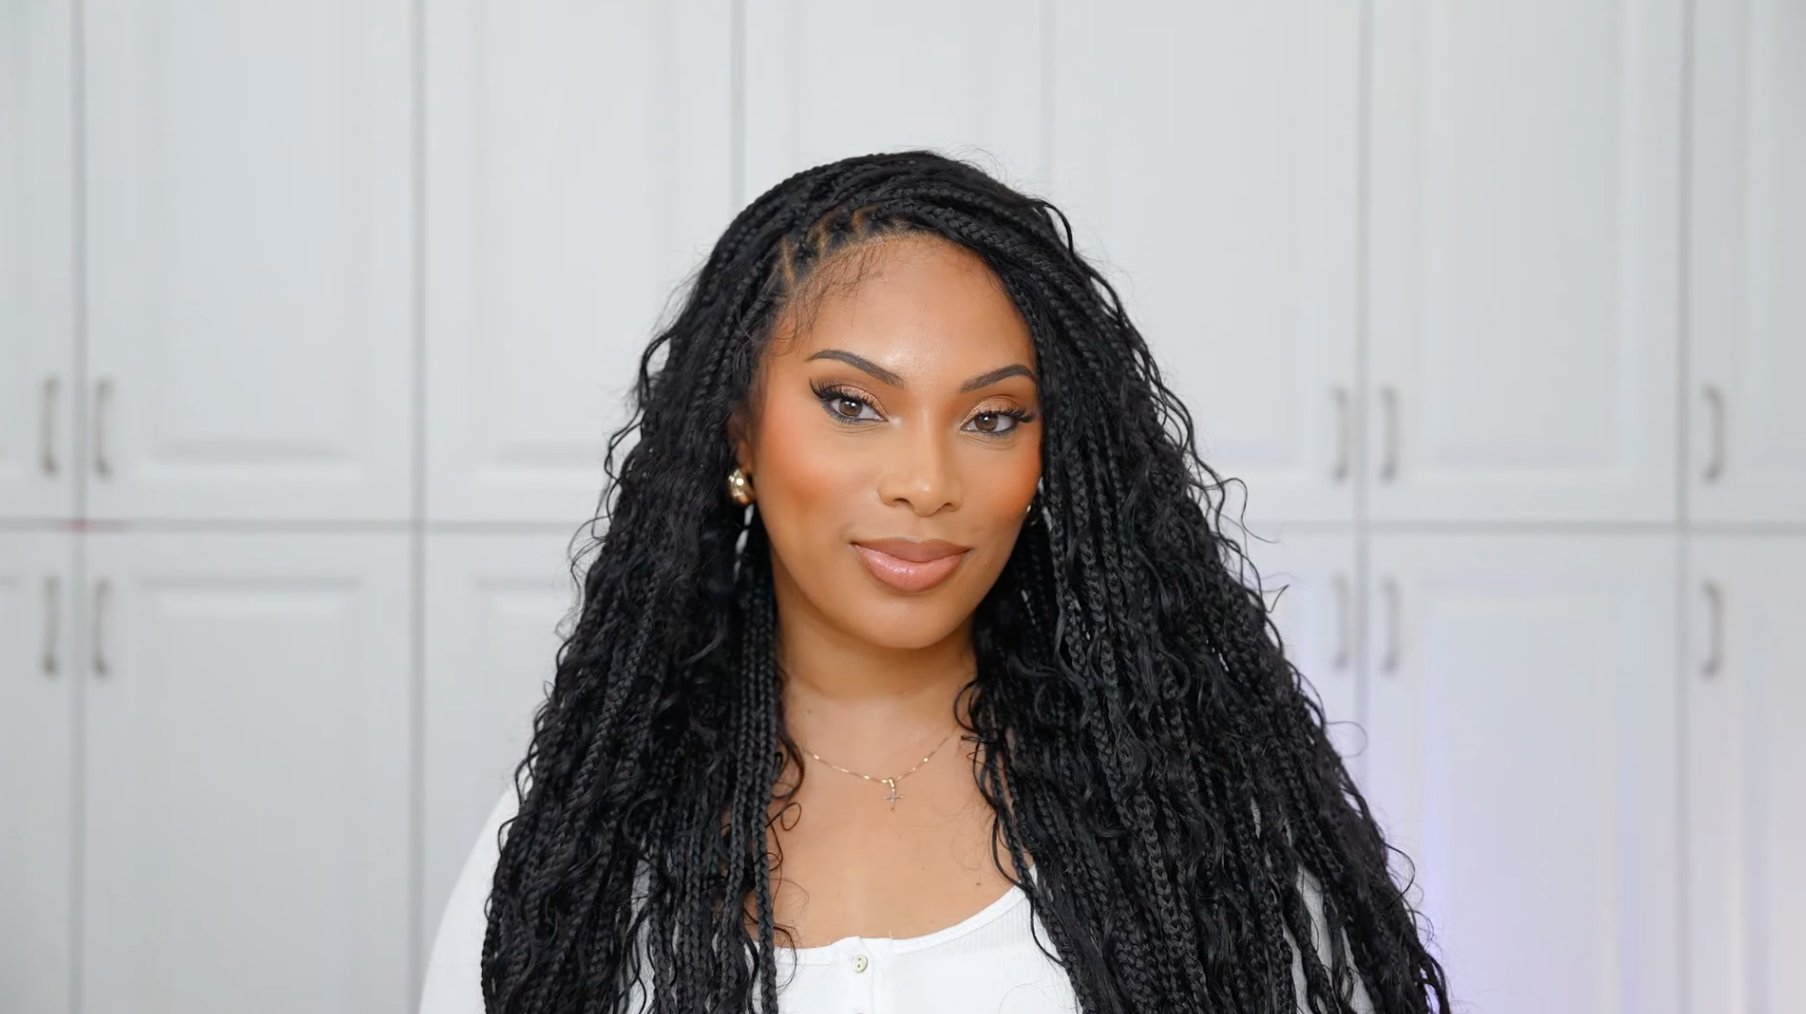
Instead of sleek and polished, bohemian braids are meant to appear relaxed and slightly unkempt. They feature wispy flyaways and a soft, pancaked shape. This fashionably tousled quality is part of what makes them appealing. They give an effortless, boho-luxe feel without appearing overly "done."

II. Preparing Your Hair for Boho Braids
The first step to creating naturally charming boho braids is to have the right kind of hair. It can be hair with some natural texture, bend, or wave to it. If your hair is quite straight, you can dampen it and use a curling iron to create waves before braiding, adding texture to it. Embracing and enhancing your natural curl pattern also works beautifully for boho braids.
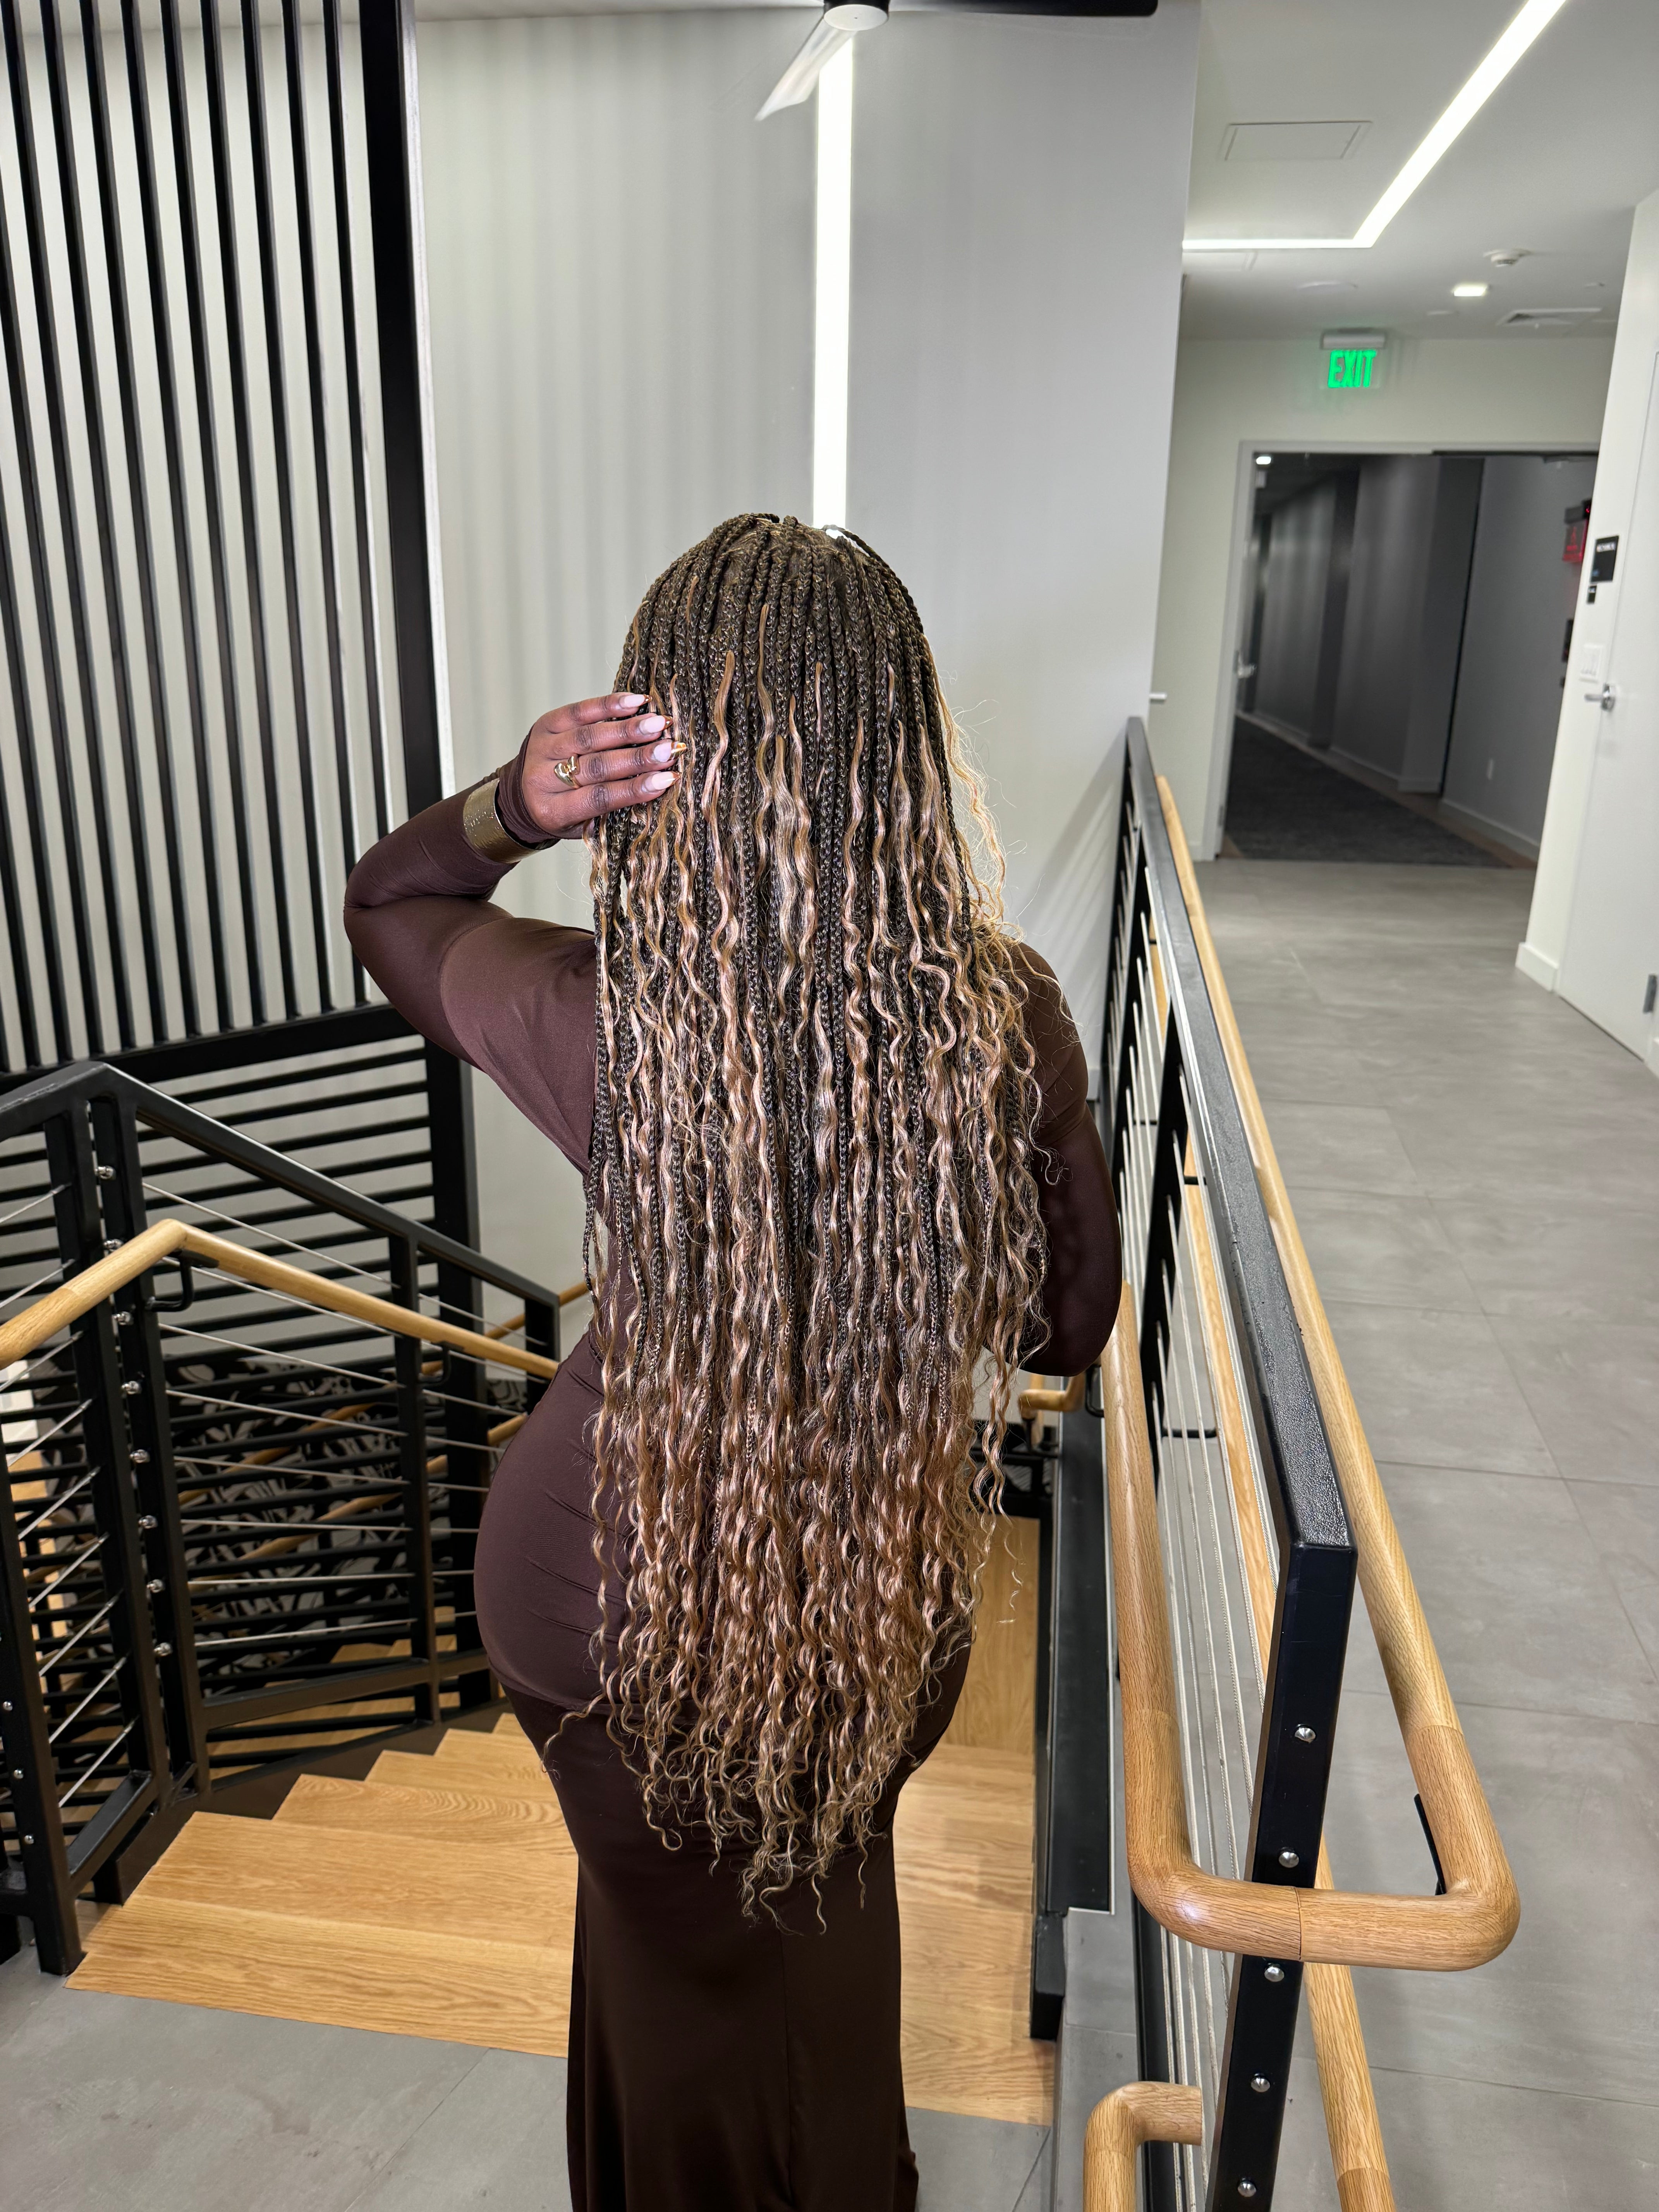
For extra volume and thickness, you can blend in high-quality synthetic or human hair extensions for boho braids. Look for textures that closely match your own hair's wave pattern. Wavy or loosely curled extensions work perfectly for that perfectly imperfect bohemian look. Just be sure to gently brush and detangle extensions when styling to minimize shedding.
III. Mastering Boho Braid Step-by-Step Tutorials
Now for the fun part - learning step-by-step tutorials to create different boho braid styles! The most classic look is a boho crown braid across the top of your head:
The Classic Boho Crown Braid:

- Start by dividing your hair into two equal sections from the top of your head to your ears. Secure each section on one side using clips or hair ties.
- Choose one side to start braiding. Take a small section of hair near your forehead and divide it into three equal parts to start a basic braid.
- As you braid, add small sections of hair from along the edge of your head into the braid. This creates the crown effect.
- Keep braiding, adding hair from the edge as you move towards the back of your head. Maintain even tension for a neat look.
- Once one side is complete, braid the other side similarly. Ensure both braids are similar in size and thickness.
- Cross the braids over each other at the back of your head to form a crown shape. Use hair clips or bobby pins to secure them.
- Prevent the braids from unraveling by securing the ends with hair ties or pins.
-
Gently adjust the braids to sit evenly on your head. For a relaxed look, gently loosen the braids.
Double French/Dutch Boho Braids:

- Part your hair down the middle or off to one side.
- Following the same French braiding process as above, create two braids starting at your hairline on either side.
- Pancake and loosen the braids well, trying to keep them symmetrical in size and shape.
- Let cute face-framing pieces hang loosely around your face.
The Halo Boho Braid:

- Separate out a mohawk section along the front hairline and nape of your neck. Clip away the rest.
- Begin French braiding along your hairline in the back, picking up thin sections from the neck as you braid horizontally.
- When you reach behind the ear on one side, start curving the braid up and around the crown, continuing to braid and pick up hair.
- Work all the way around your head, securing the final ends under the braid.
- Gently tug on the braid to pancake and loosen its shape into a halo around your crown.
- Pull out some wispy face-framers at the front.
Boho Braided Buns & Crowns:

- Separate two sections from the hairline, one on each side above your temples.
- Following the French braiding technique, braid these along your hairline, picking up hair as you go.
- When you reach behind the ear on each side, continue braiding under to create a continuous braid that wraps around your head.
- Coil and pin each braid into a messy bun on either side of your head.
- Loosen up the braids and buns with your fingers and add height for a boho crown effect.
You May Also Like: 30 Stunning Boho Knotless Braids Hairstyles
IV. Finalizing Your Boho Braid Styles
No boho braid is complete without that perfectly undone, piecey finish! Use your fingers to gently pull and tug on the braids, loosening and pancaking them. This creates a gorgeous bohemian texture. Be sure to leave out some wispy face-framing pieces around your hairline too.
To enhance the tousled look, use a texturizing spray, dry shampoo, or flexible hairspray once your braids are styled. Focus the product on the ends and any frizzy pieces for weightless separation and hold. You can also use a lightweight hair oil or nourishing cream to smooth down any lingering frizz while still maintaining movement.

V. Extending the Life of Boho Braids
One of the benefits of boho braids is that they can easily last 2-6 weeks with proper care! At night, be sure to secure your braids gently using a soft scrunchie or snag-free buff. Avoid any tight elastics around your hairline and nape to prevent dents or breakage.
If your boho braids incorporate extensions, take a few extra steps to minimize shedding:
- Always brush extensions gently from the ends up using a loop brush
- Use a lightweight leave-in detangler
- Sleep with braids in a high, loose topknot to avoid friction on your pillow
- Limit direct heat styling when possible
In the morning, revive your boho braids by spritzing all over with a dry shampoo or texture spray. Let it absorb oil and add fresh grit. Then very gently use your fingers to loosen up and reshape the braids again. Pull out some new face-framing tendrils for added boho flair. Finish with a light flexible hairspray concentrated on the ends.

You May Also Like: 25 Breathtaking Boho Braids Hairstyles
VI. Transitioning to Boho Waves
After a few days of boho braiding, you may be ready for a new tousled look. Simply unravel your braids and you're left with gorgeous bohemian beach waves! Use your fingers or a texturizing wand to further scrunch and rough up the bend and texture. Finish with a light styling cream to enhance definition and hold.
You can also seamlessly transition straight from boho braids to loose, flowing waves. Just unravel the braids and shake out your hair, scrunching the lengths between your palms. Touch up with a sea-salt spray and piece out random sections with your fingers for that coveted boho texture.
VII. Conclusion
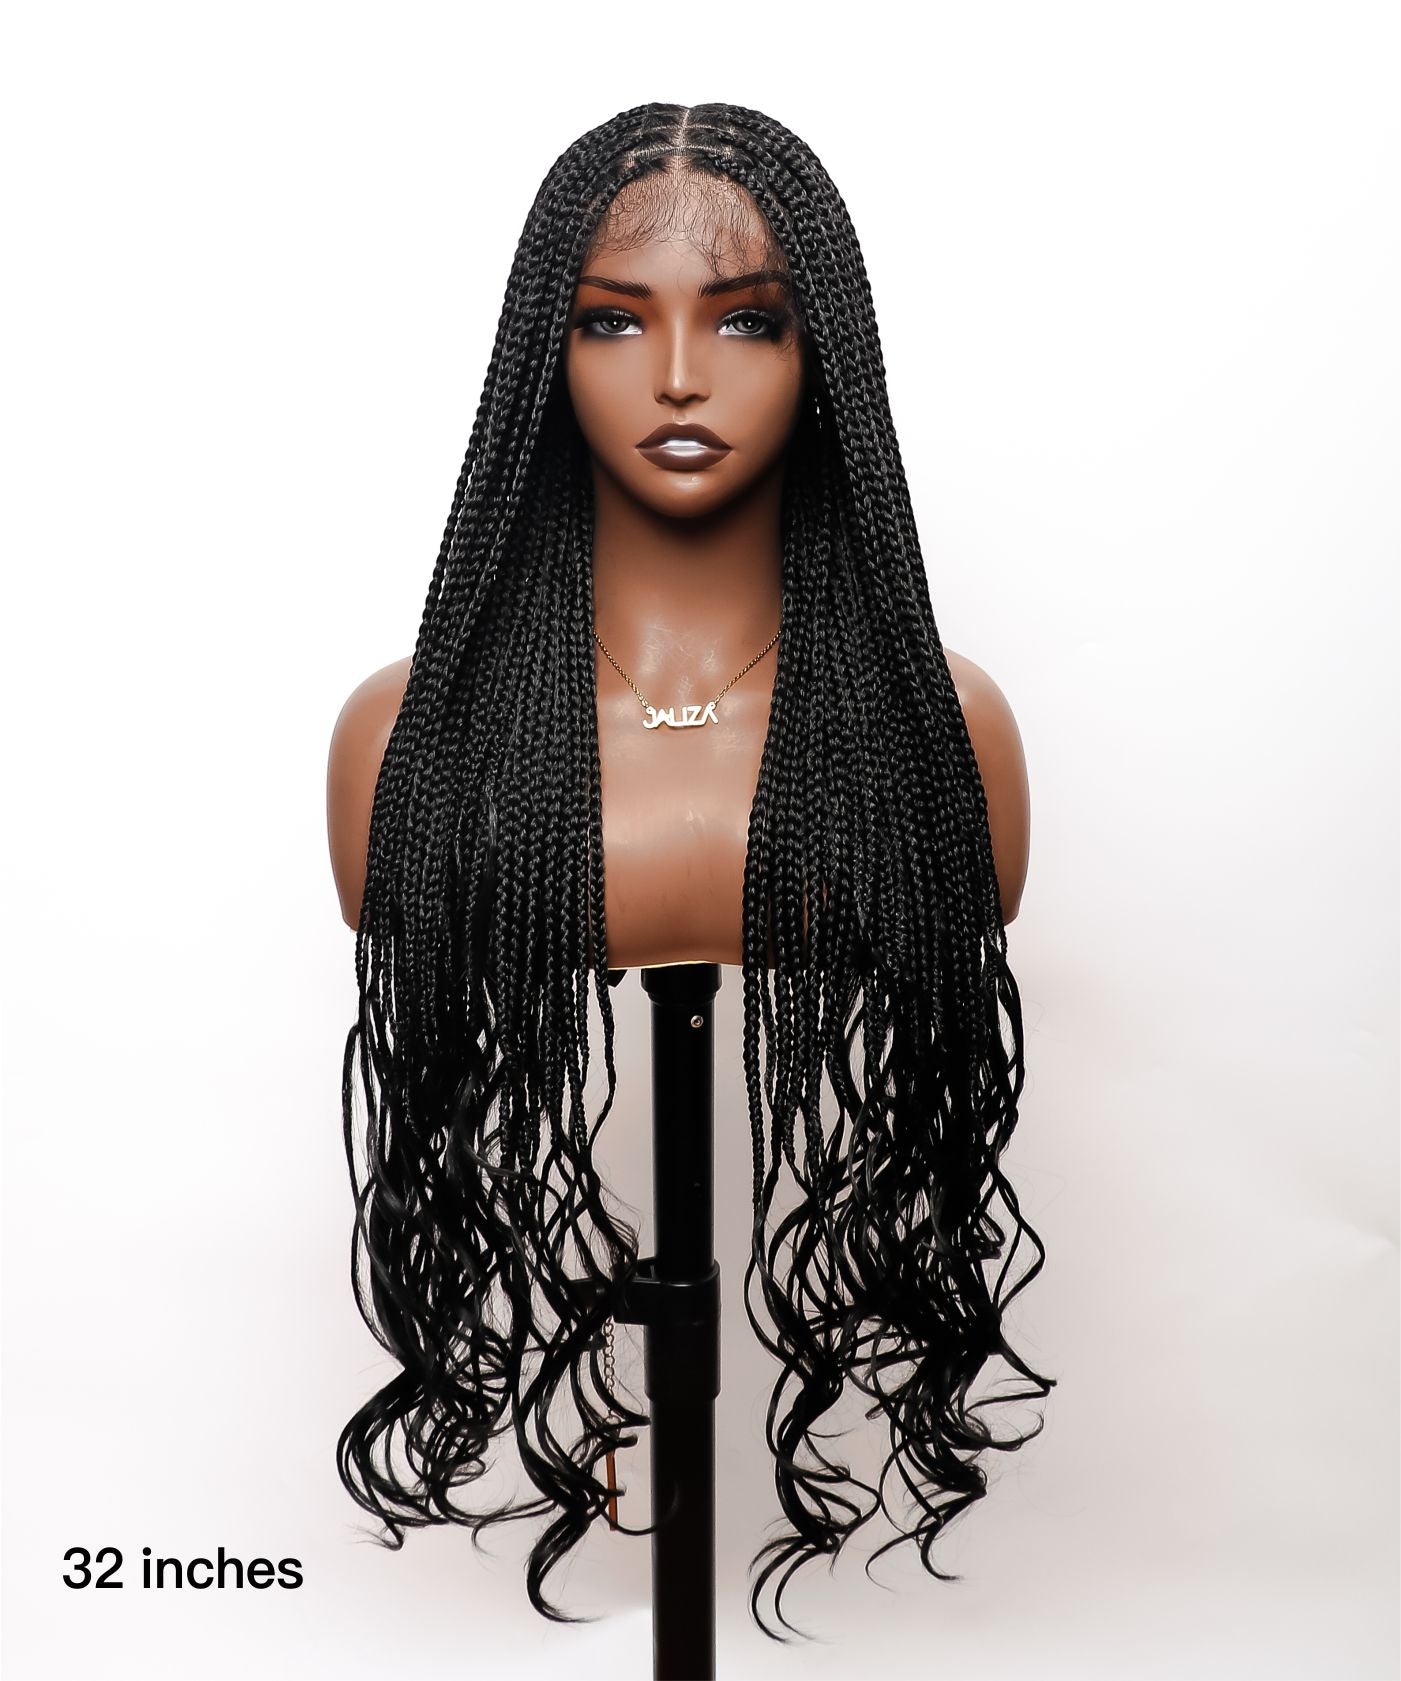
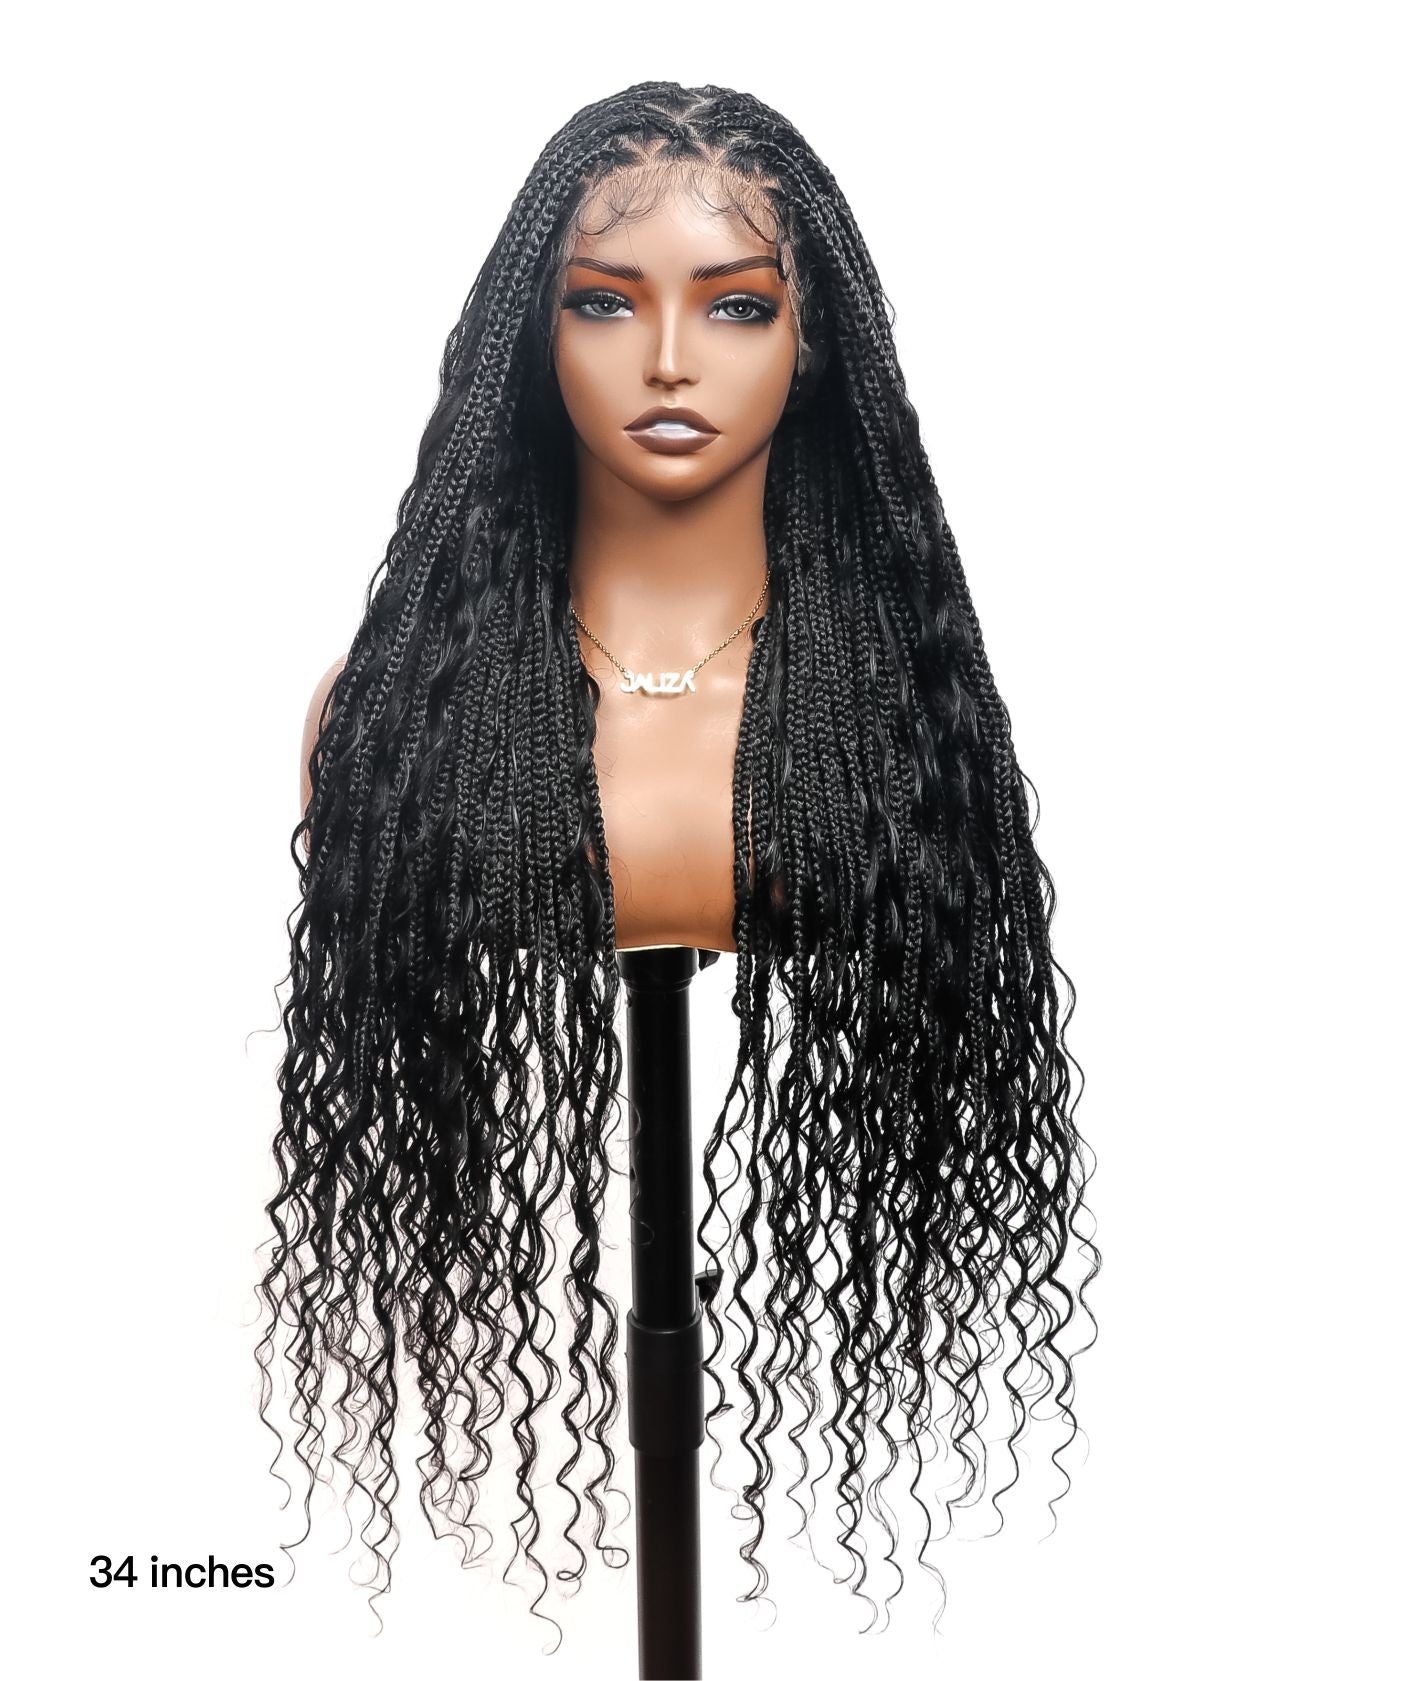
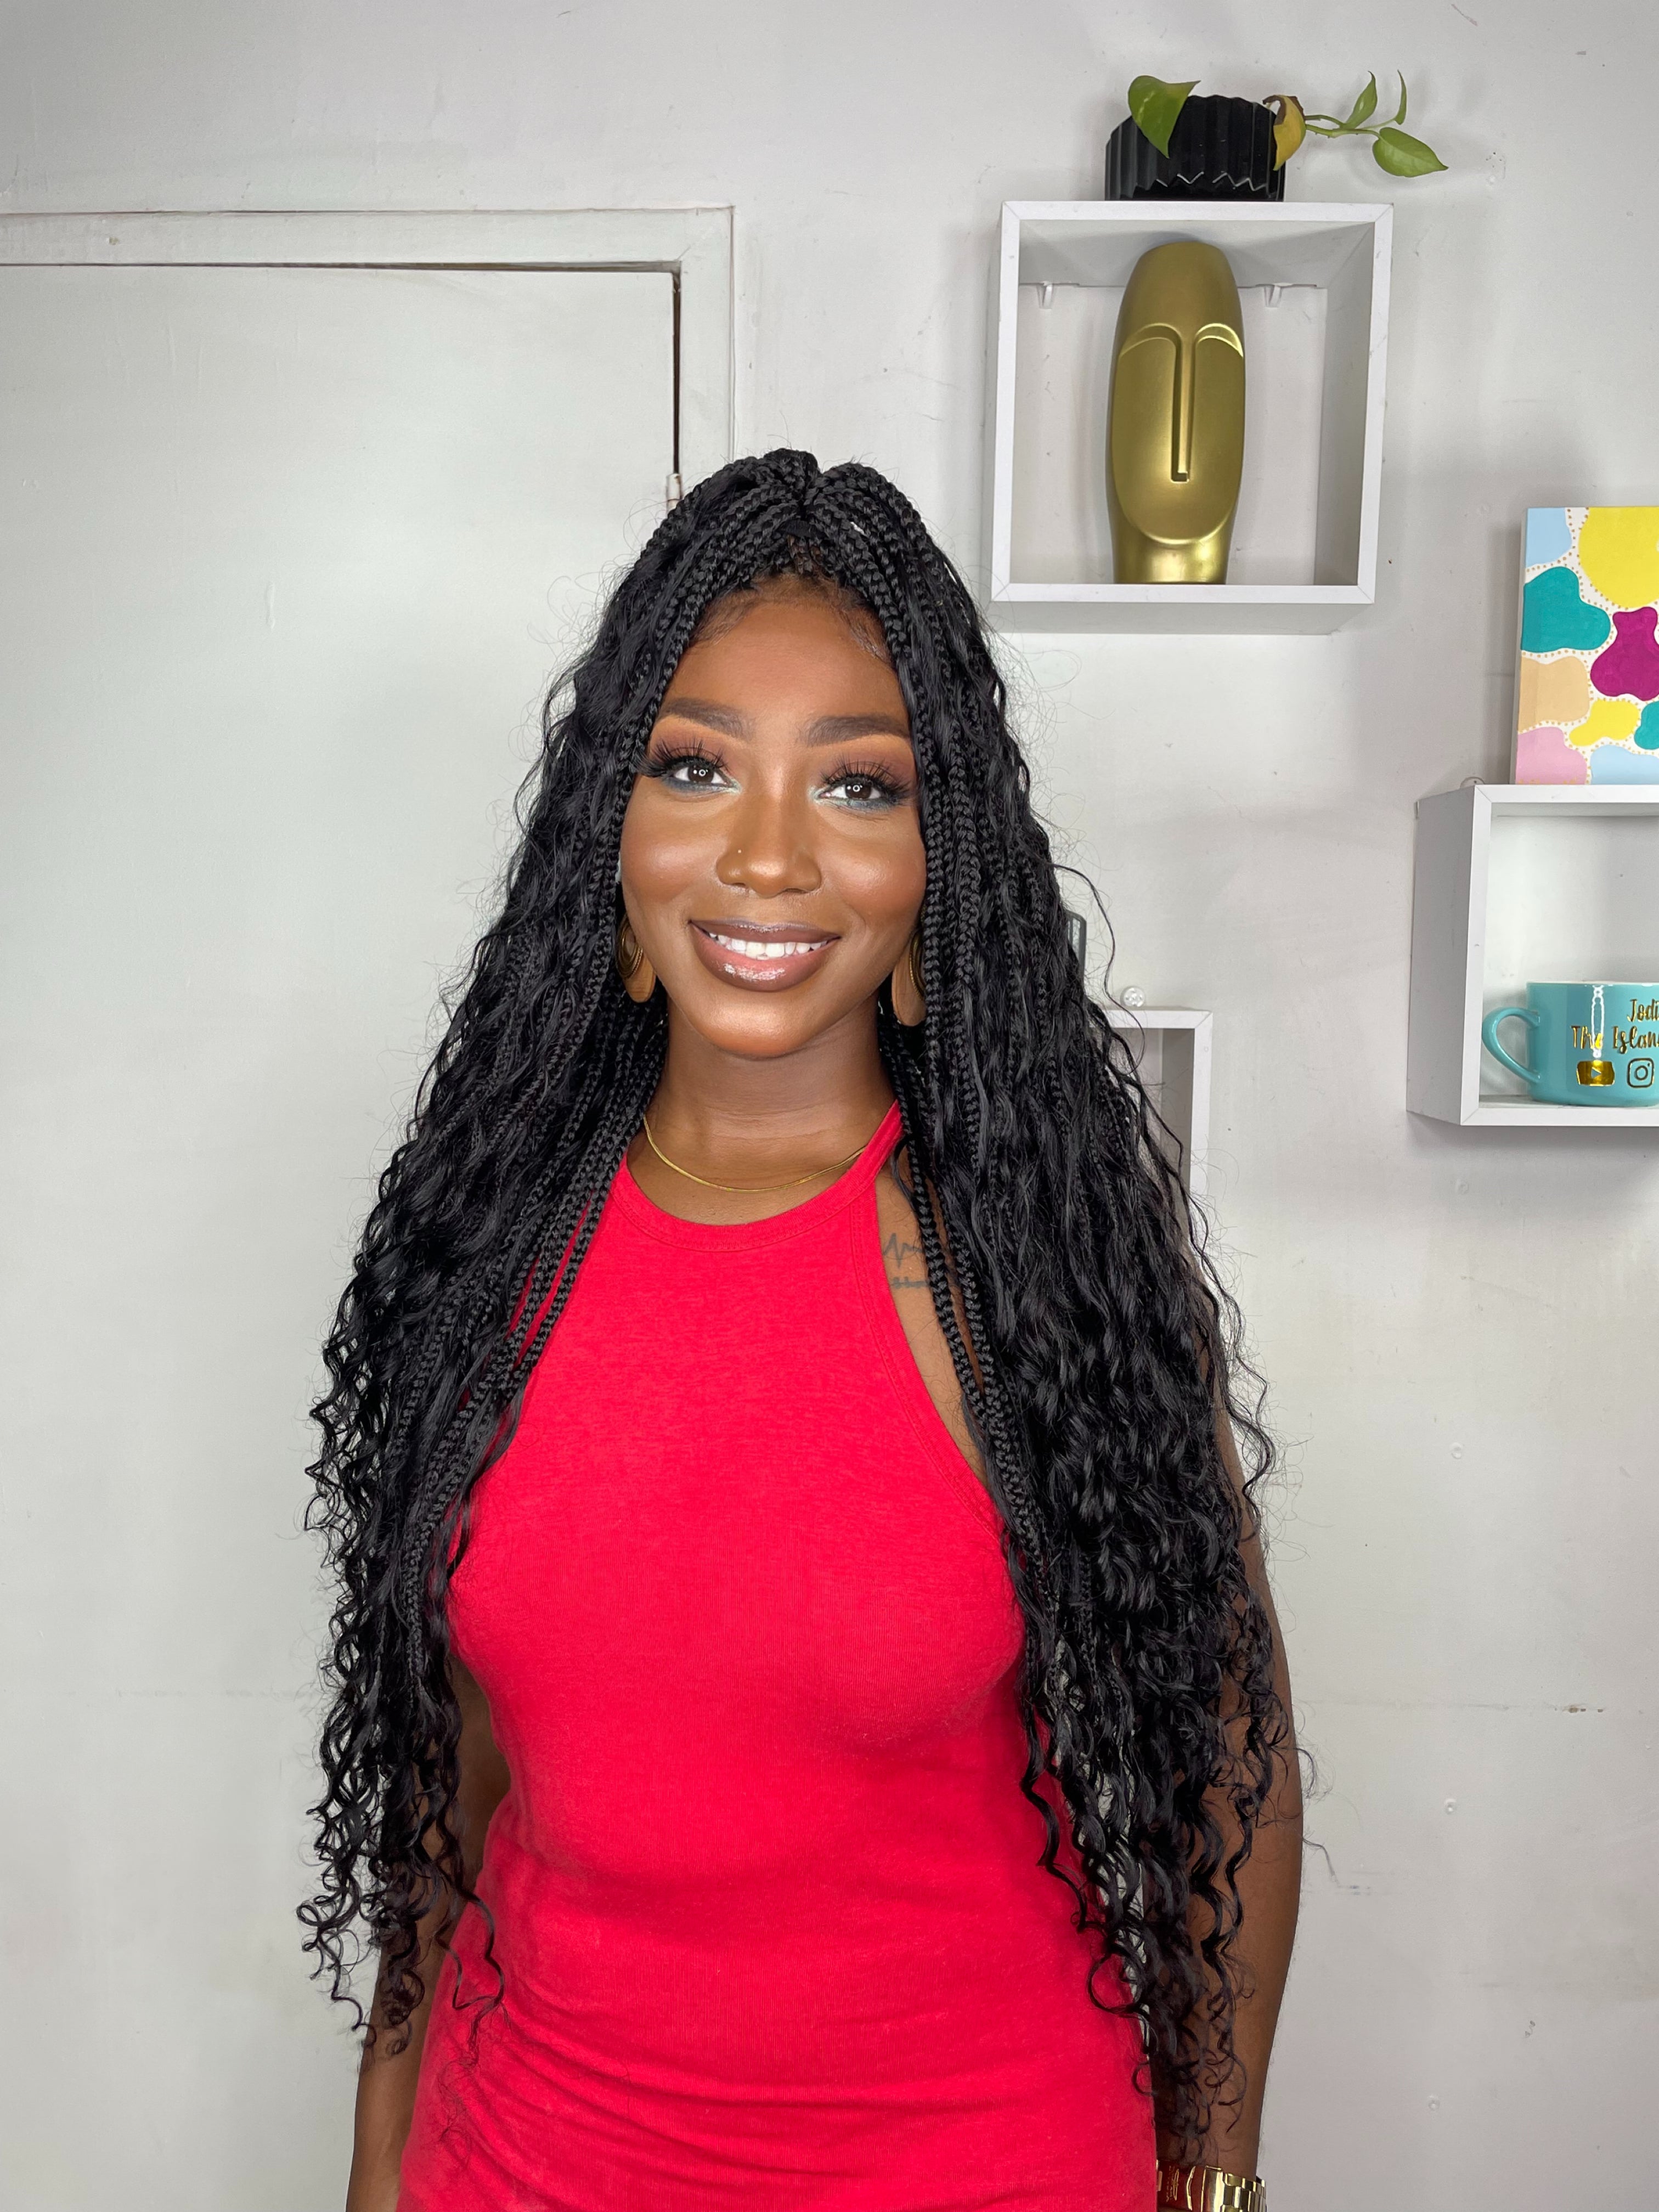
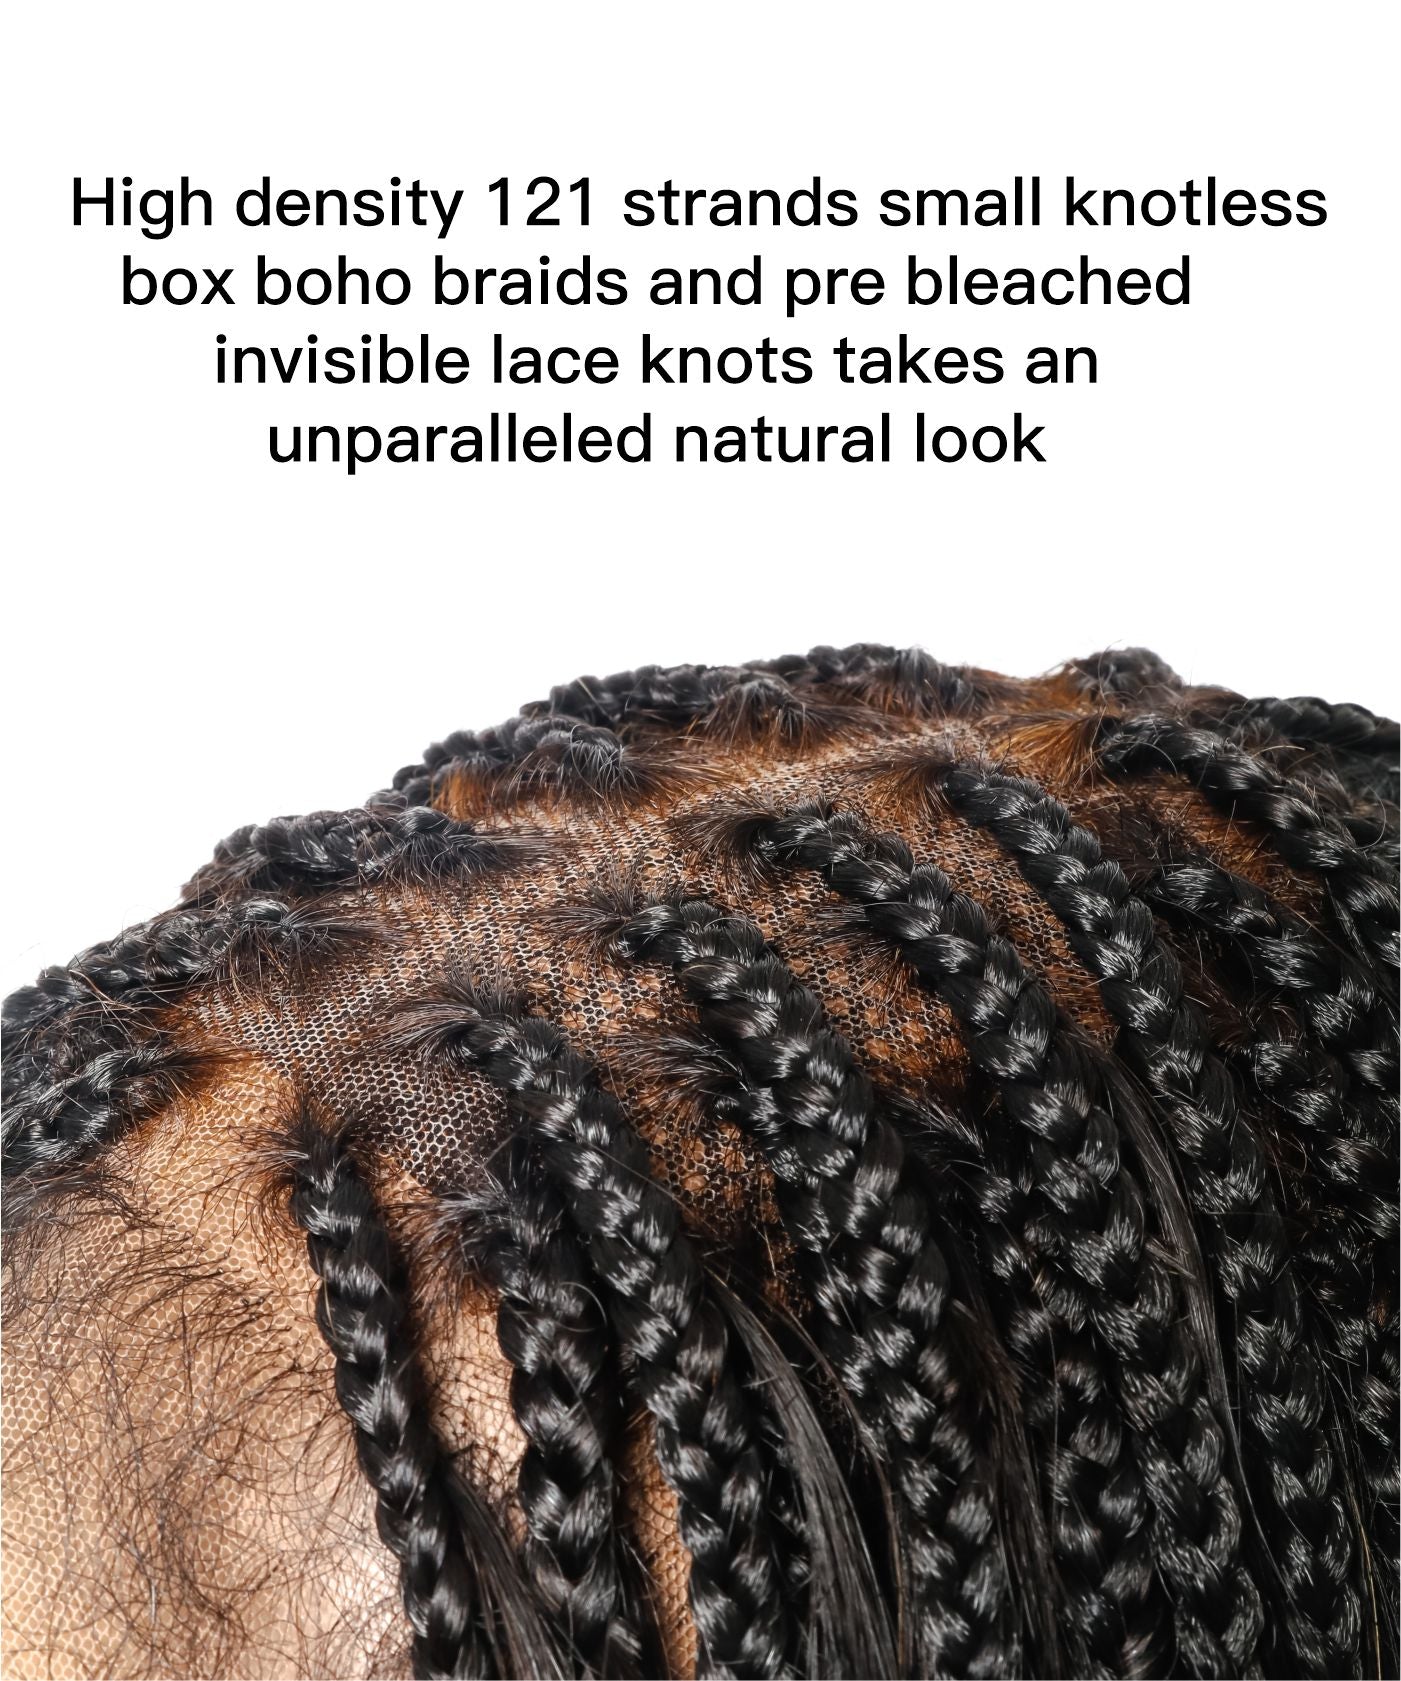
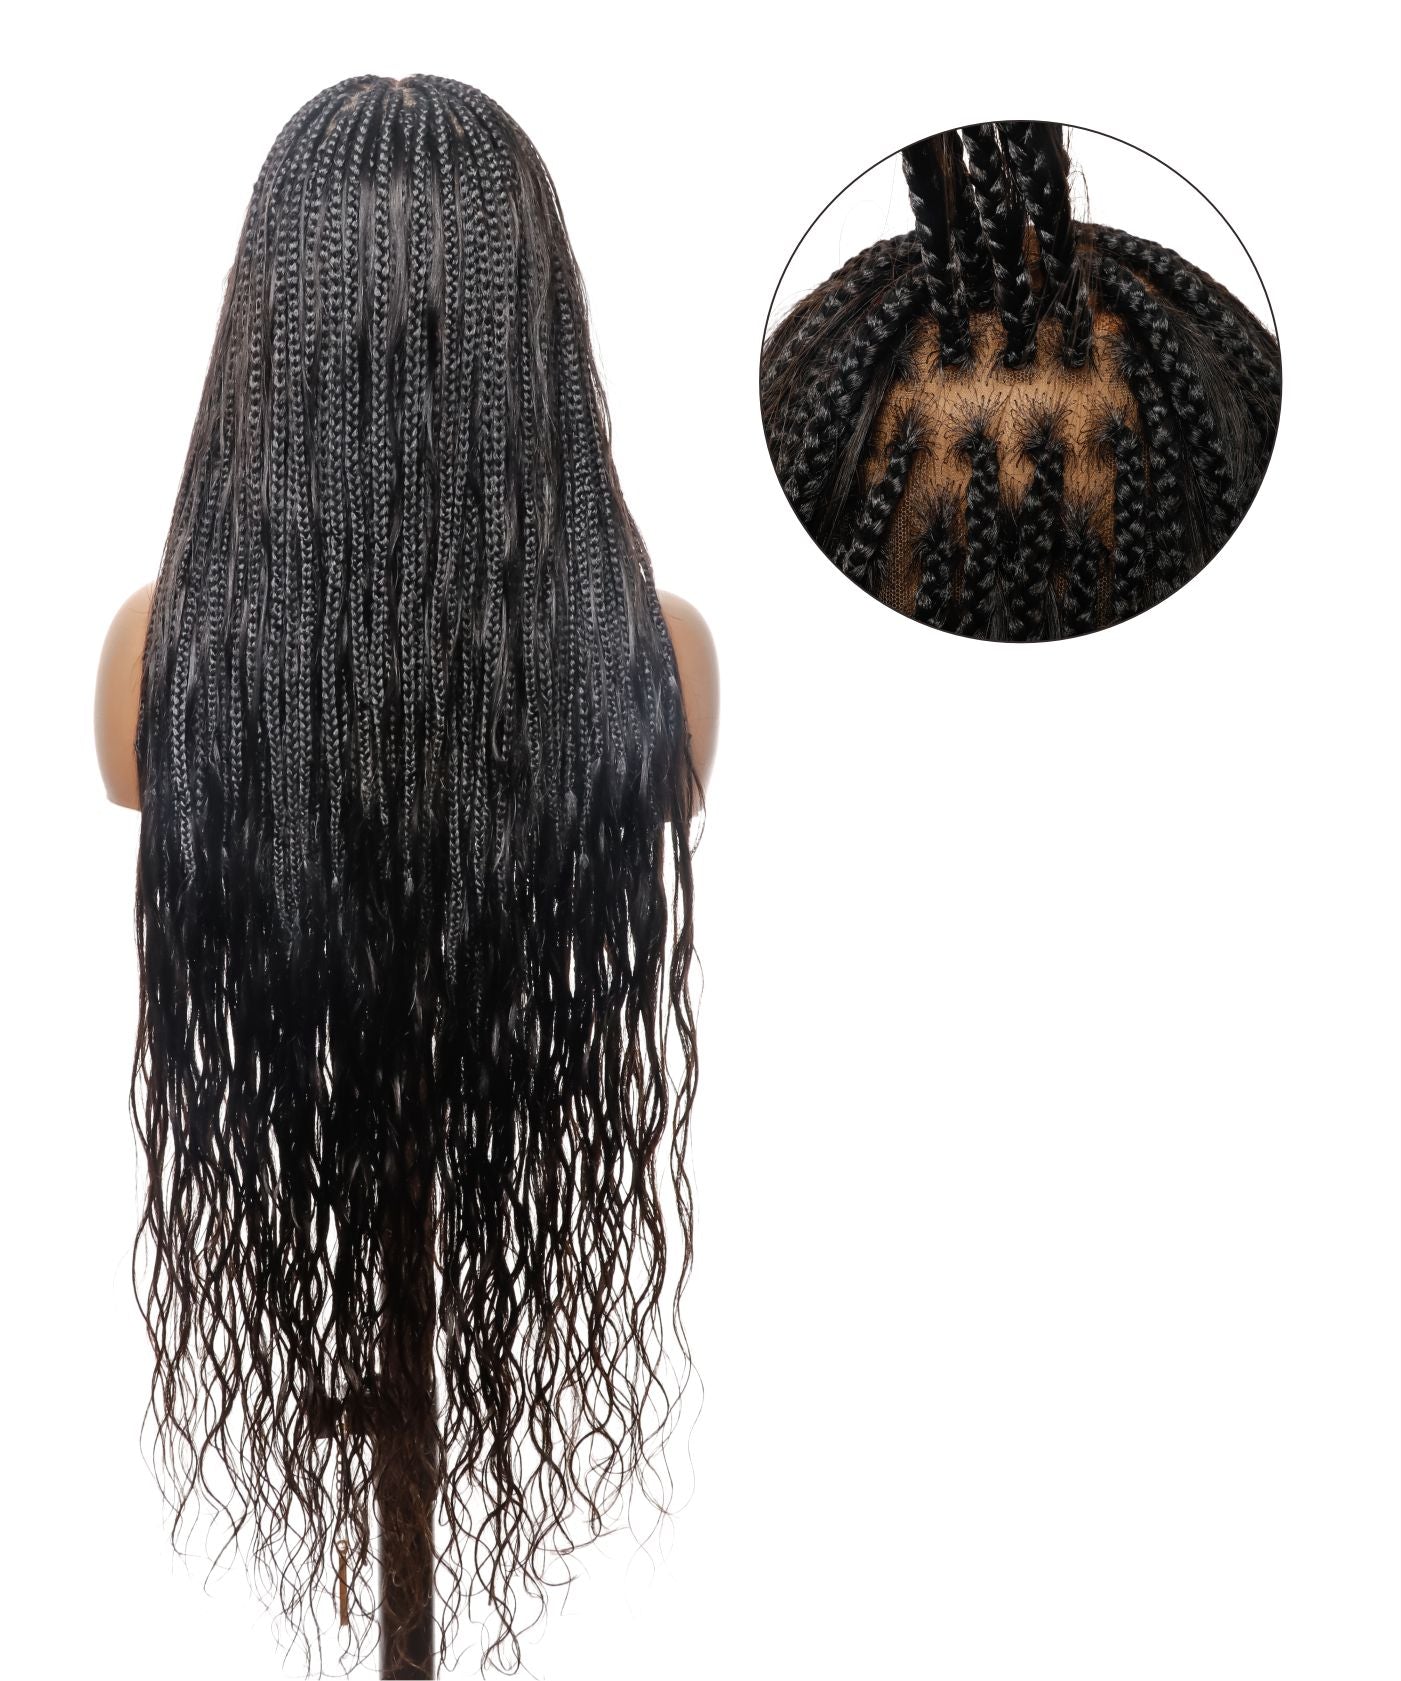
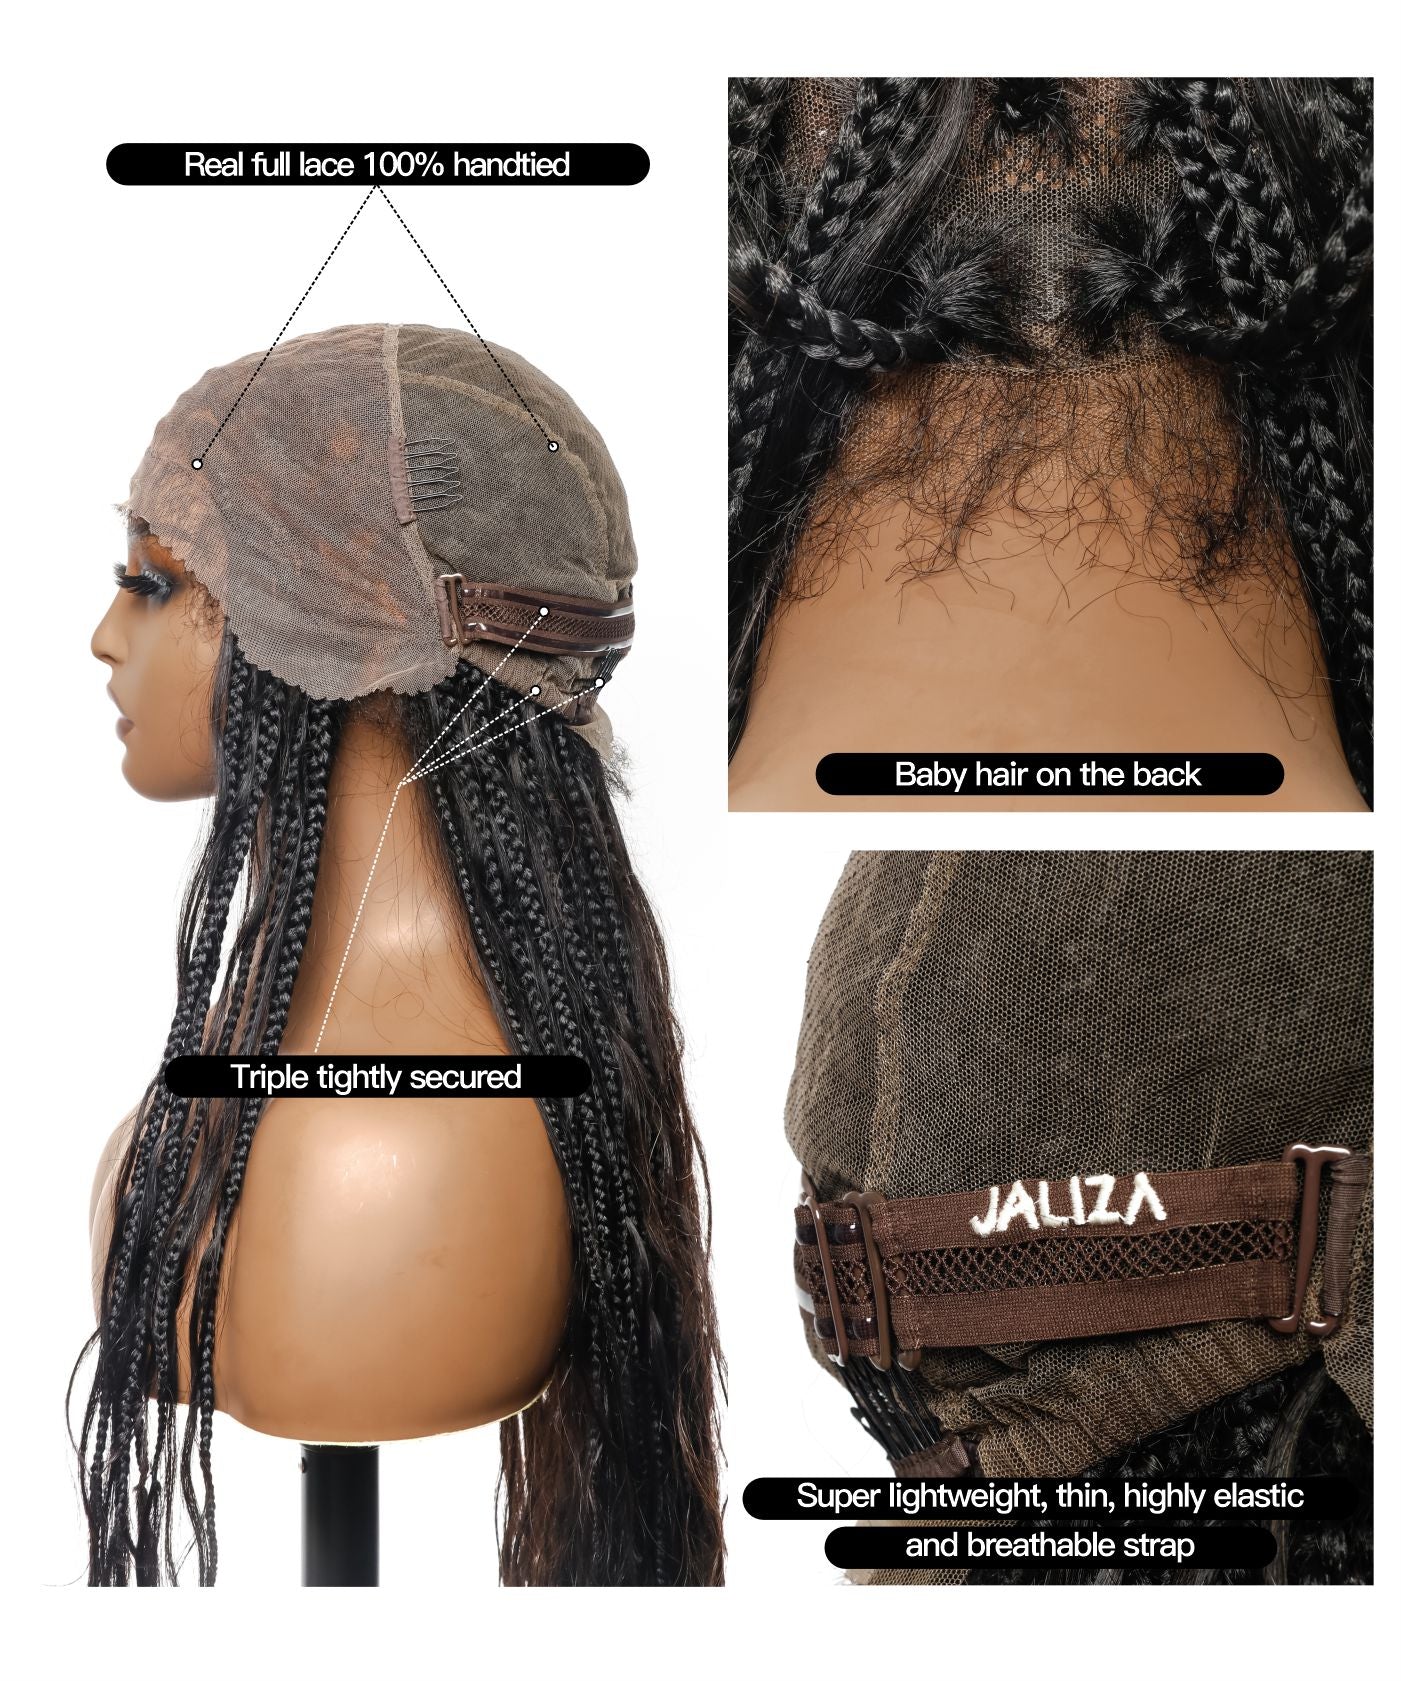
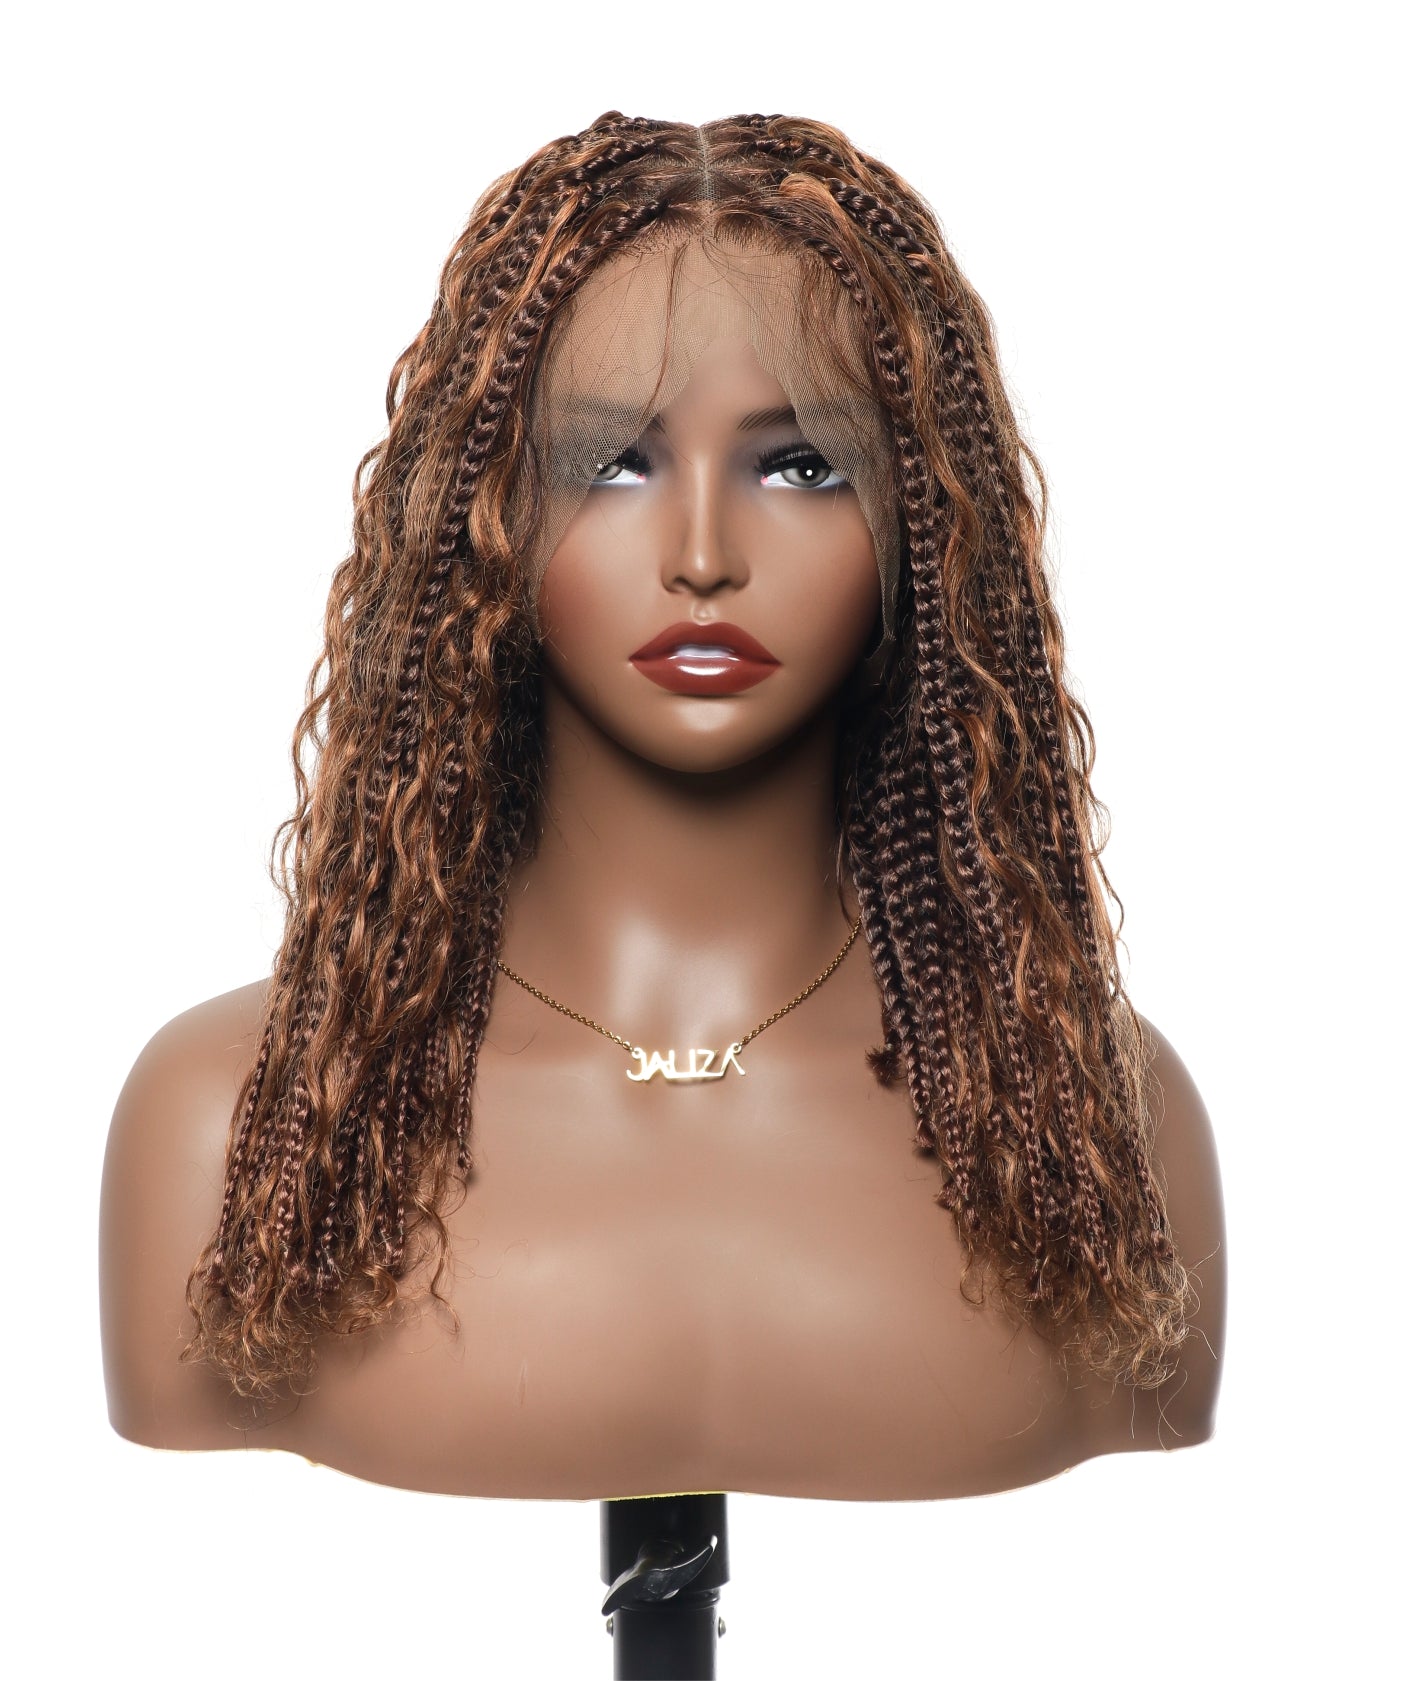
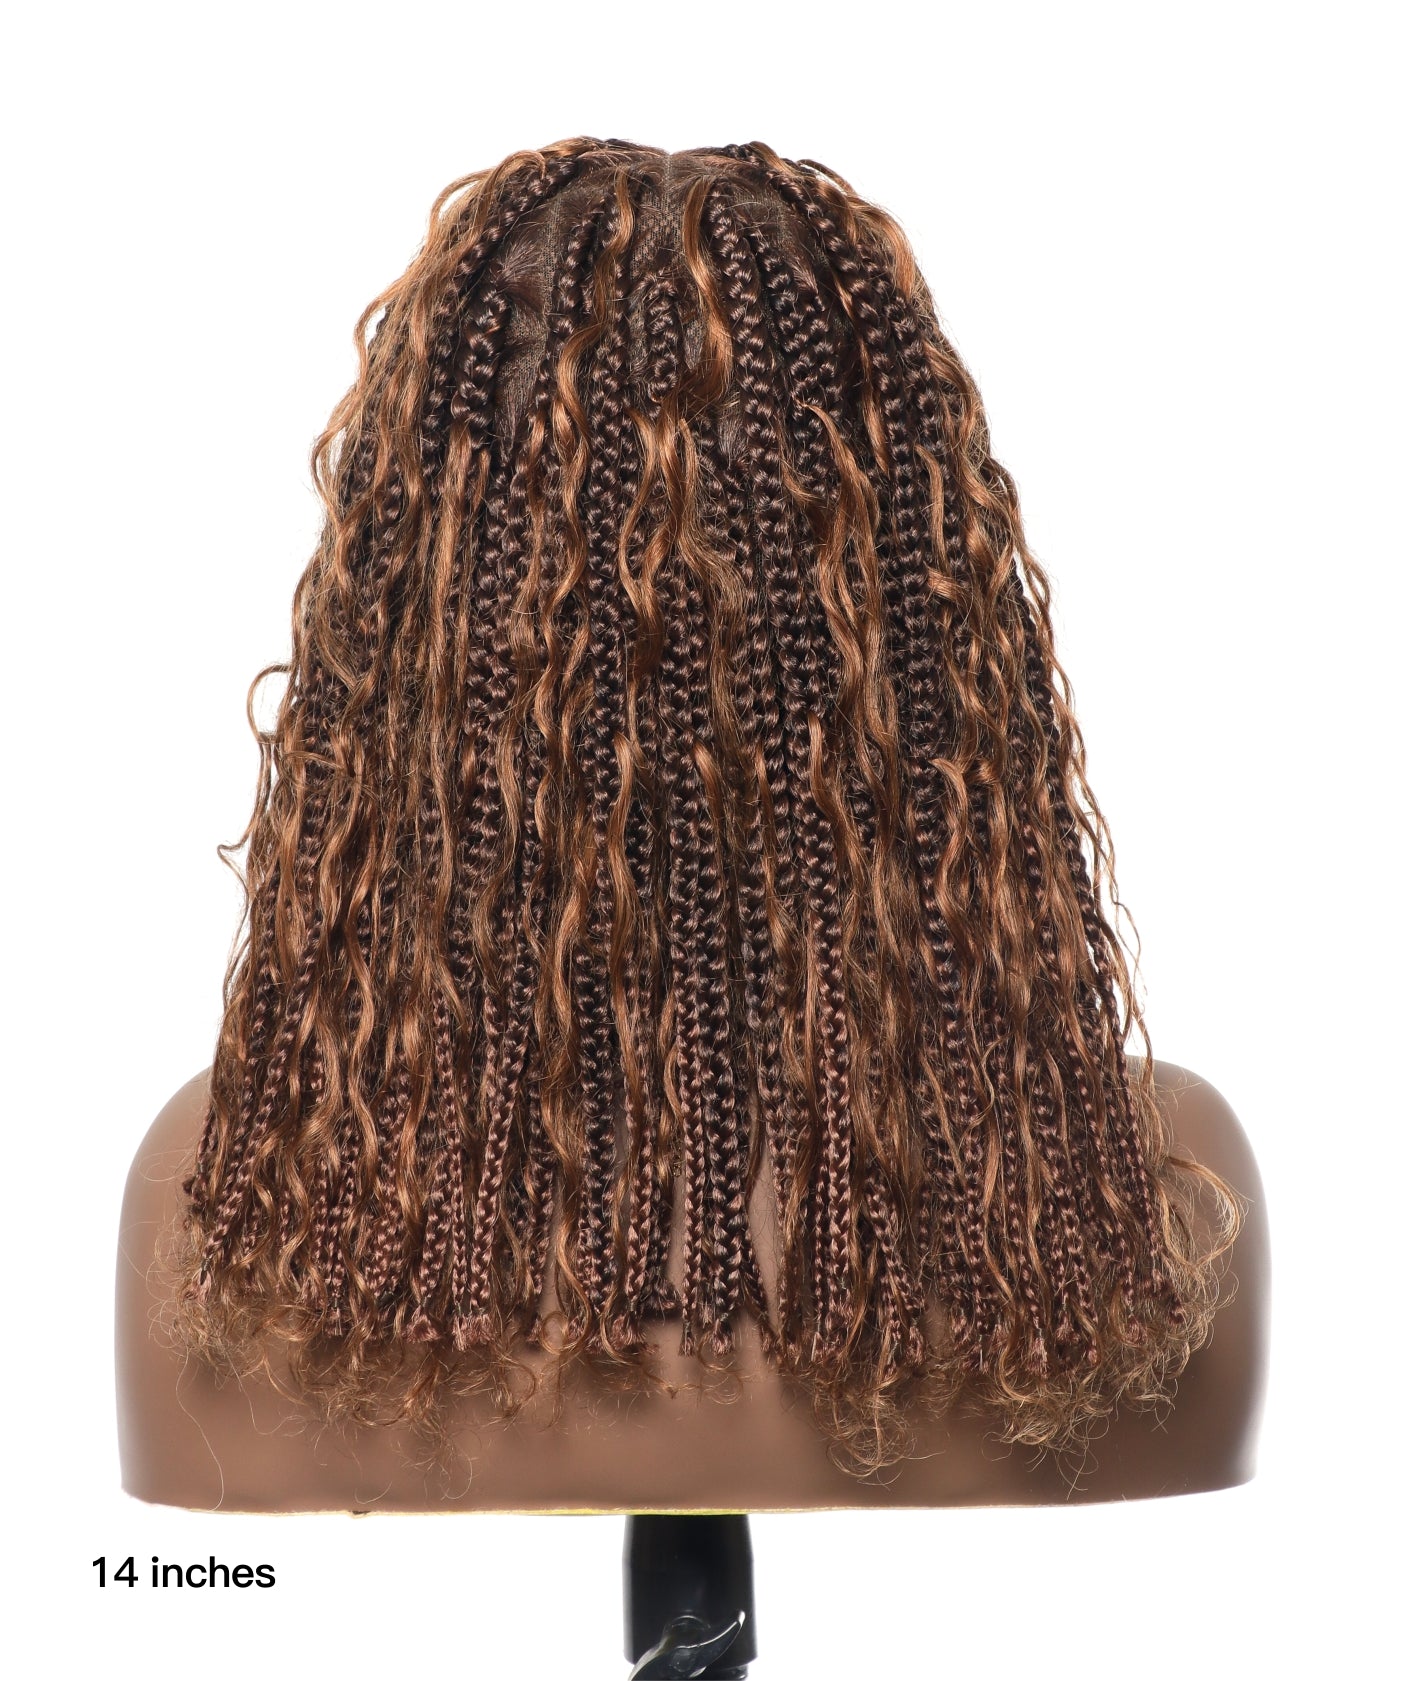
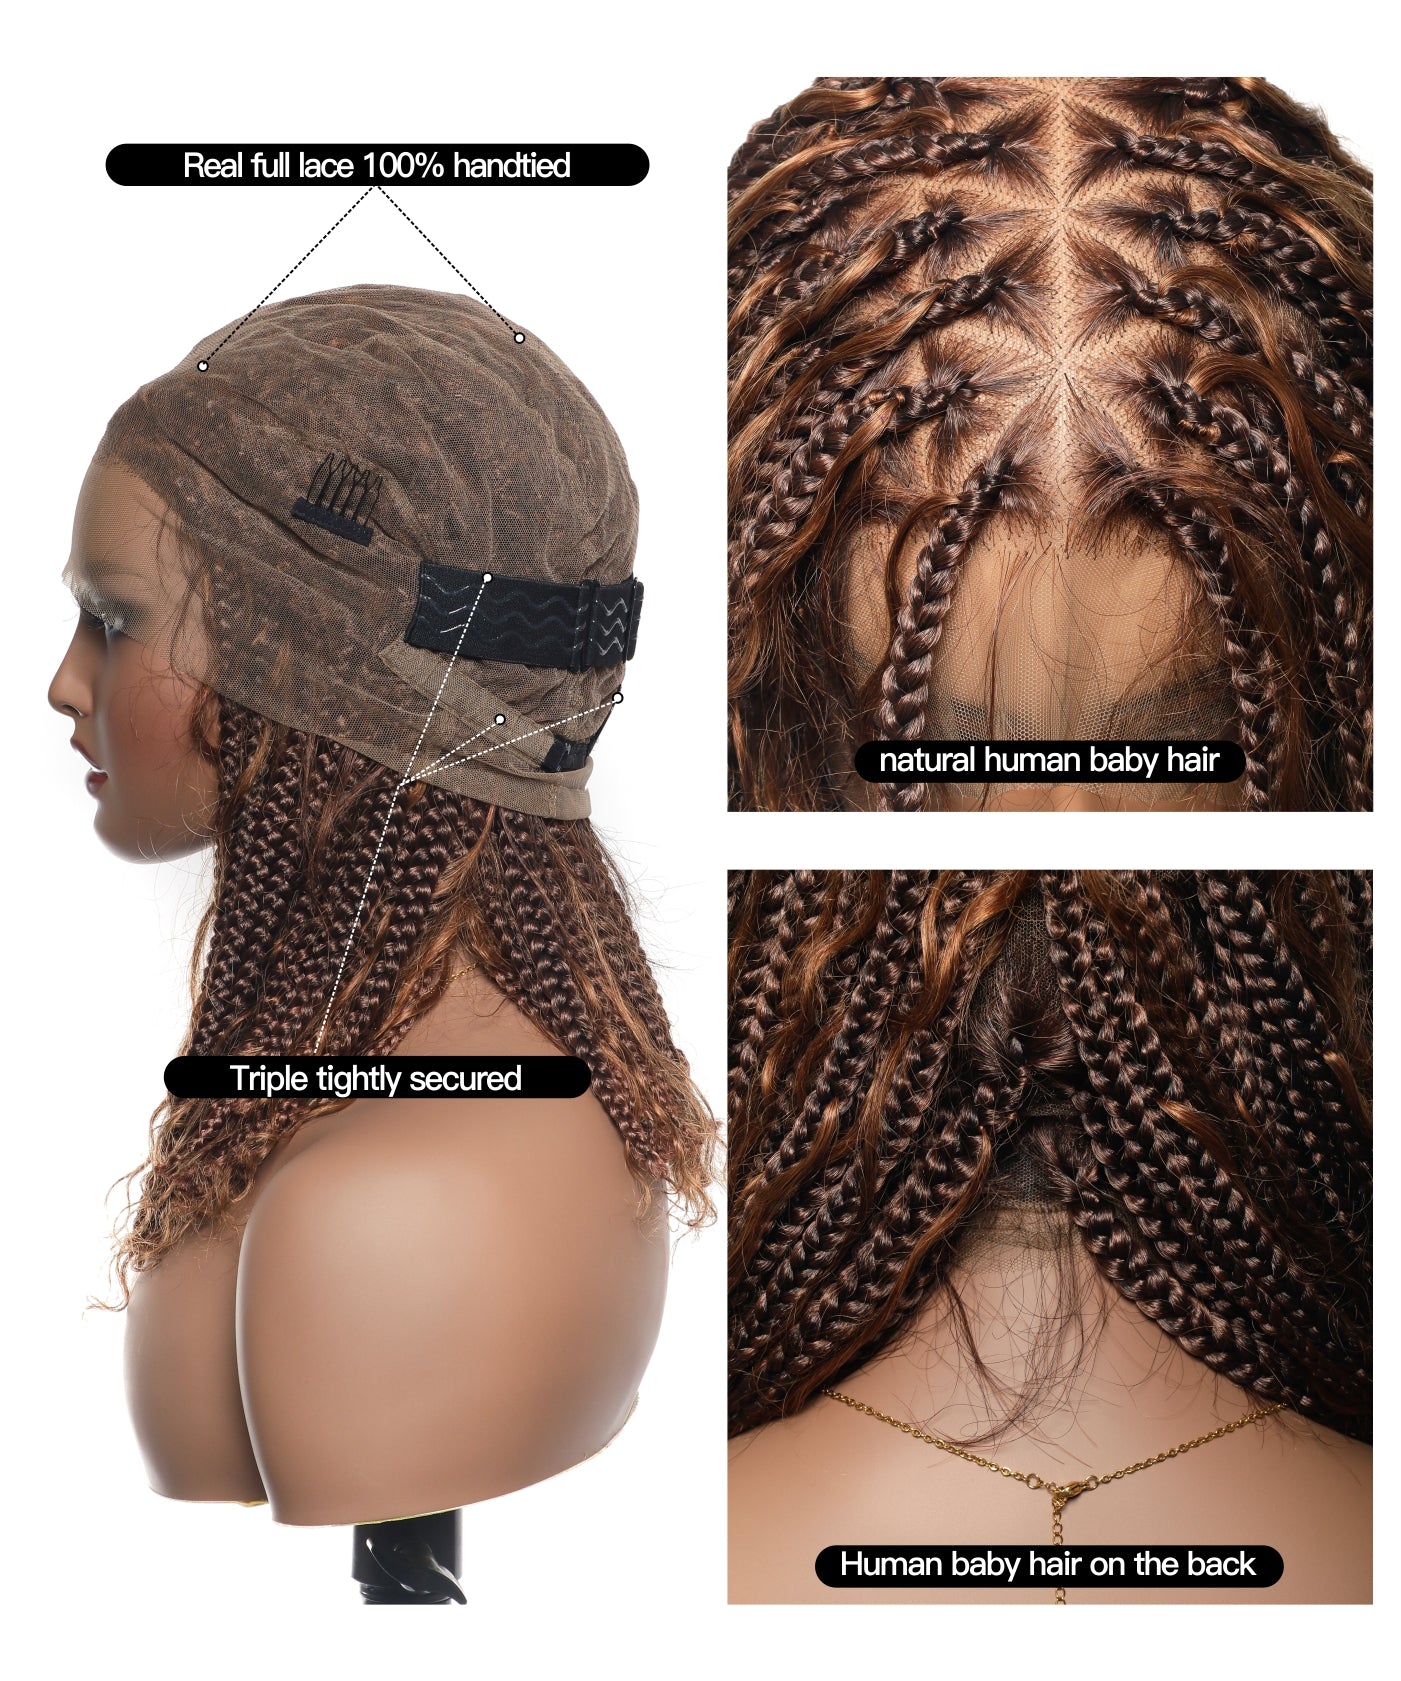
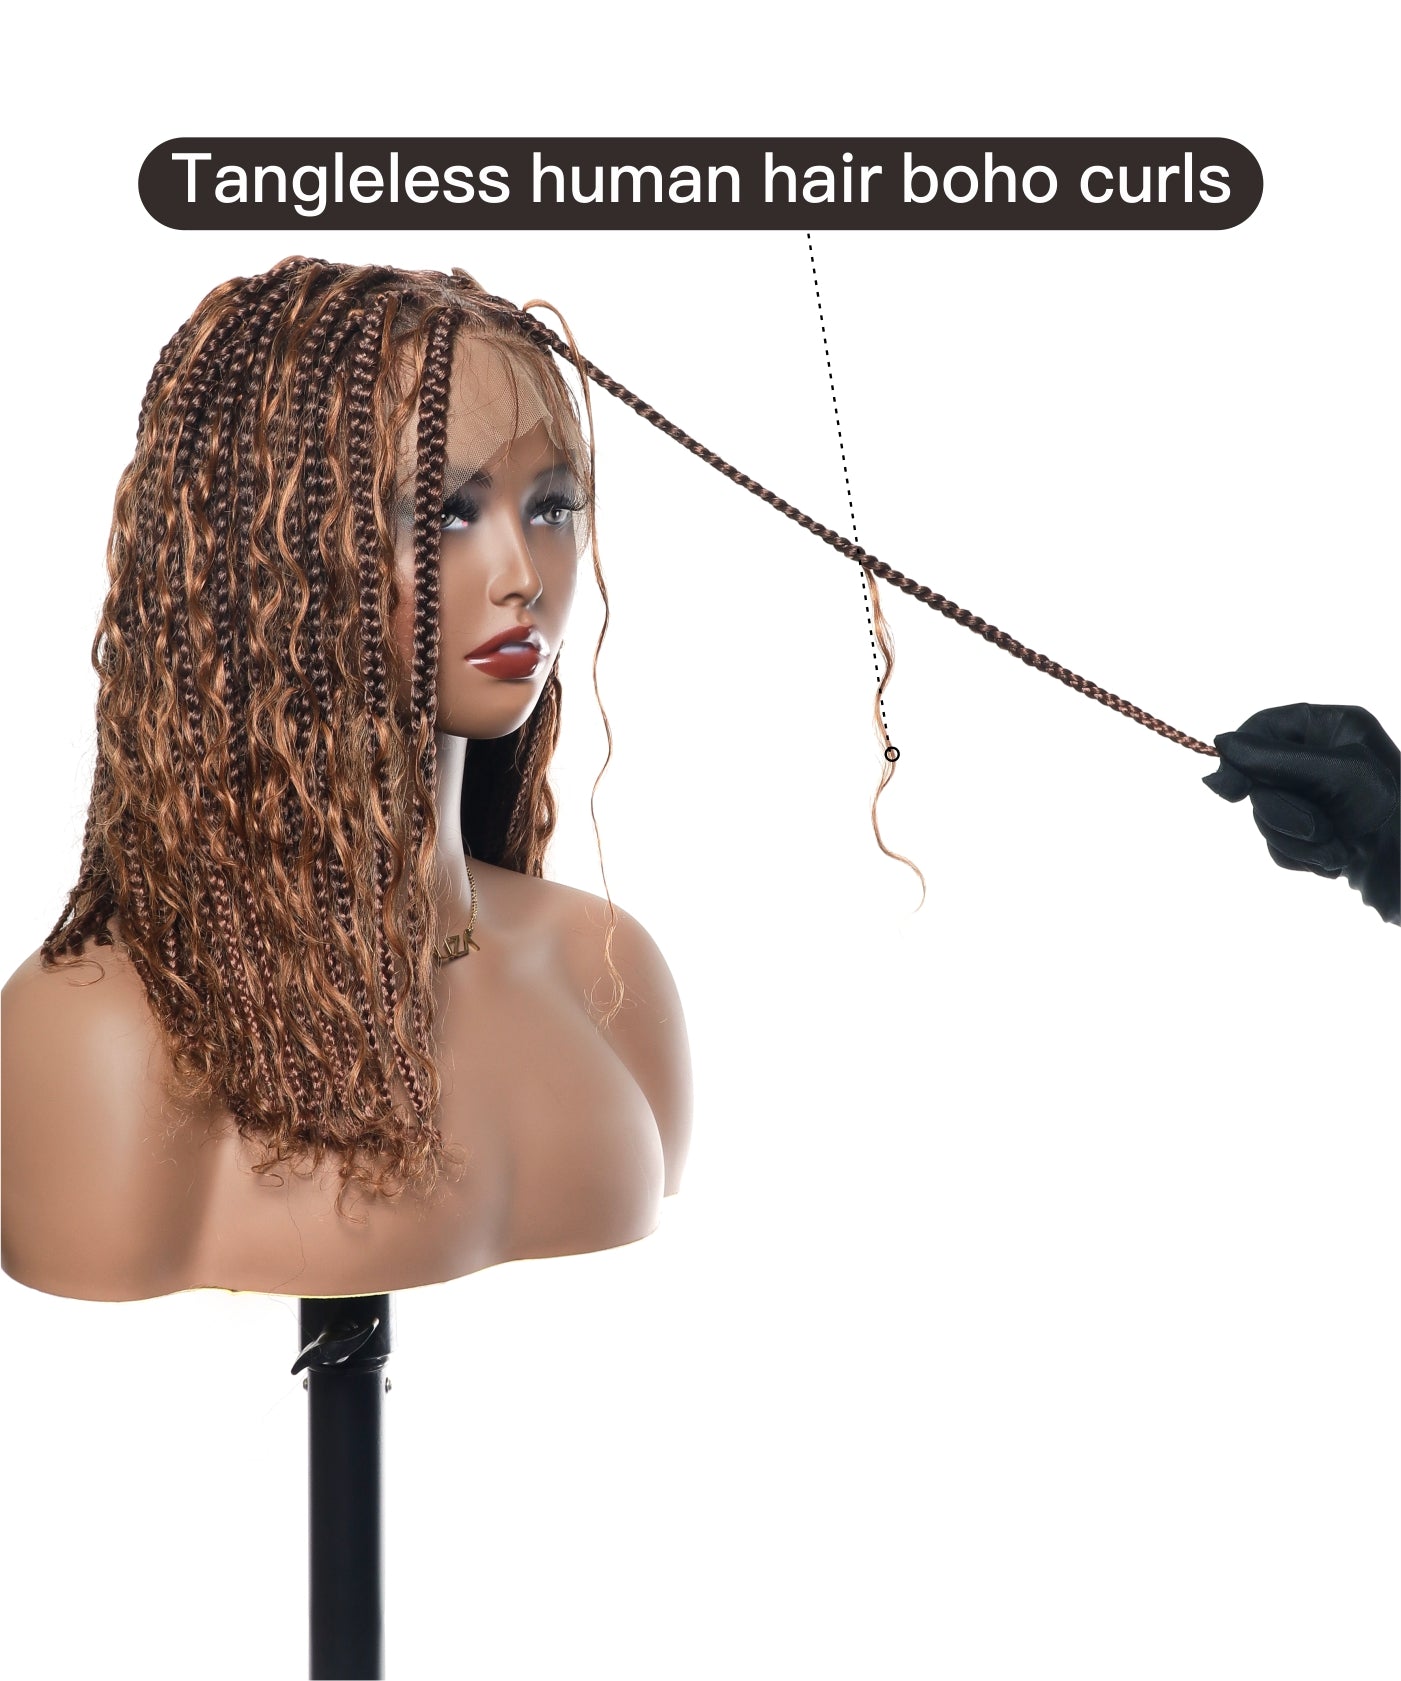
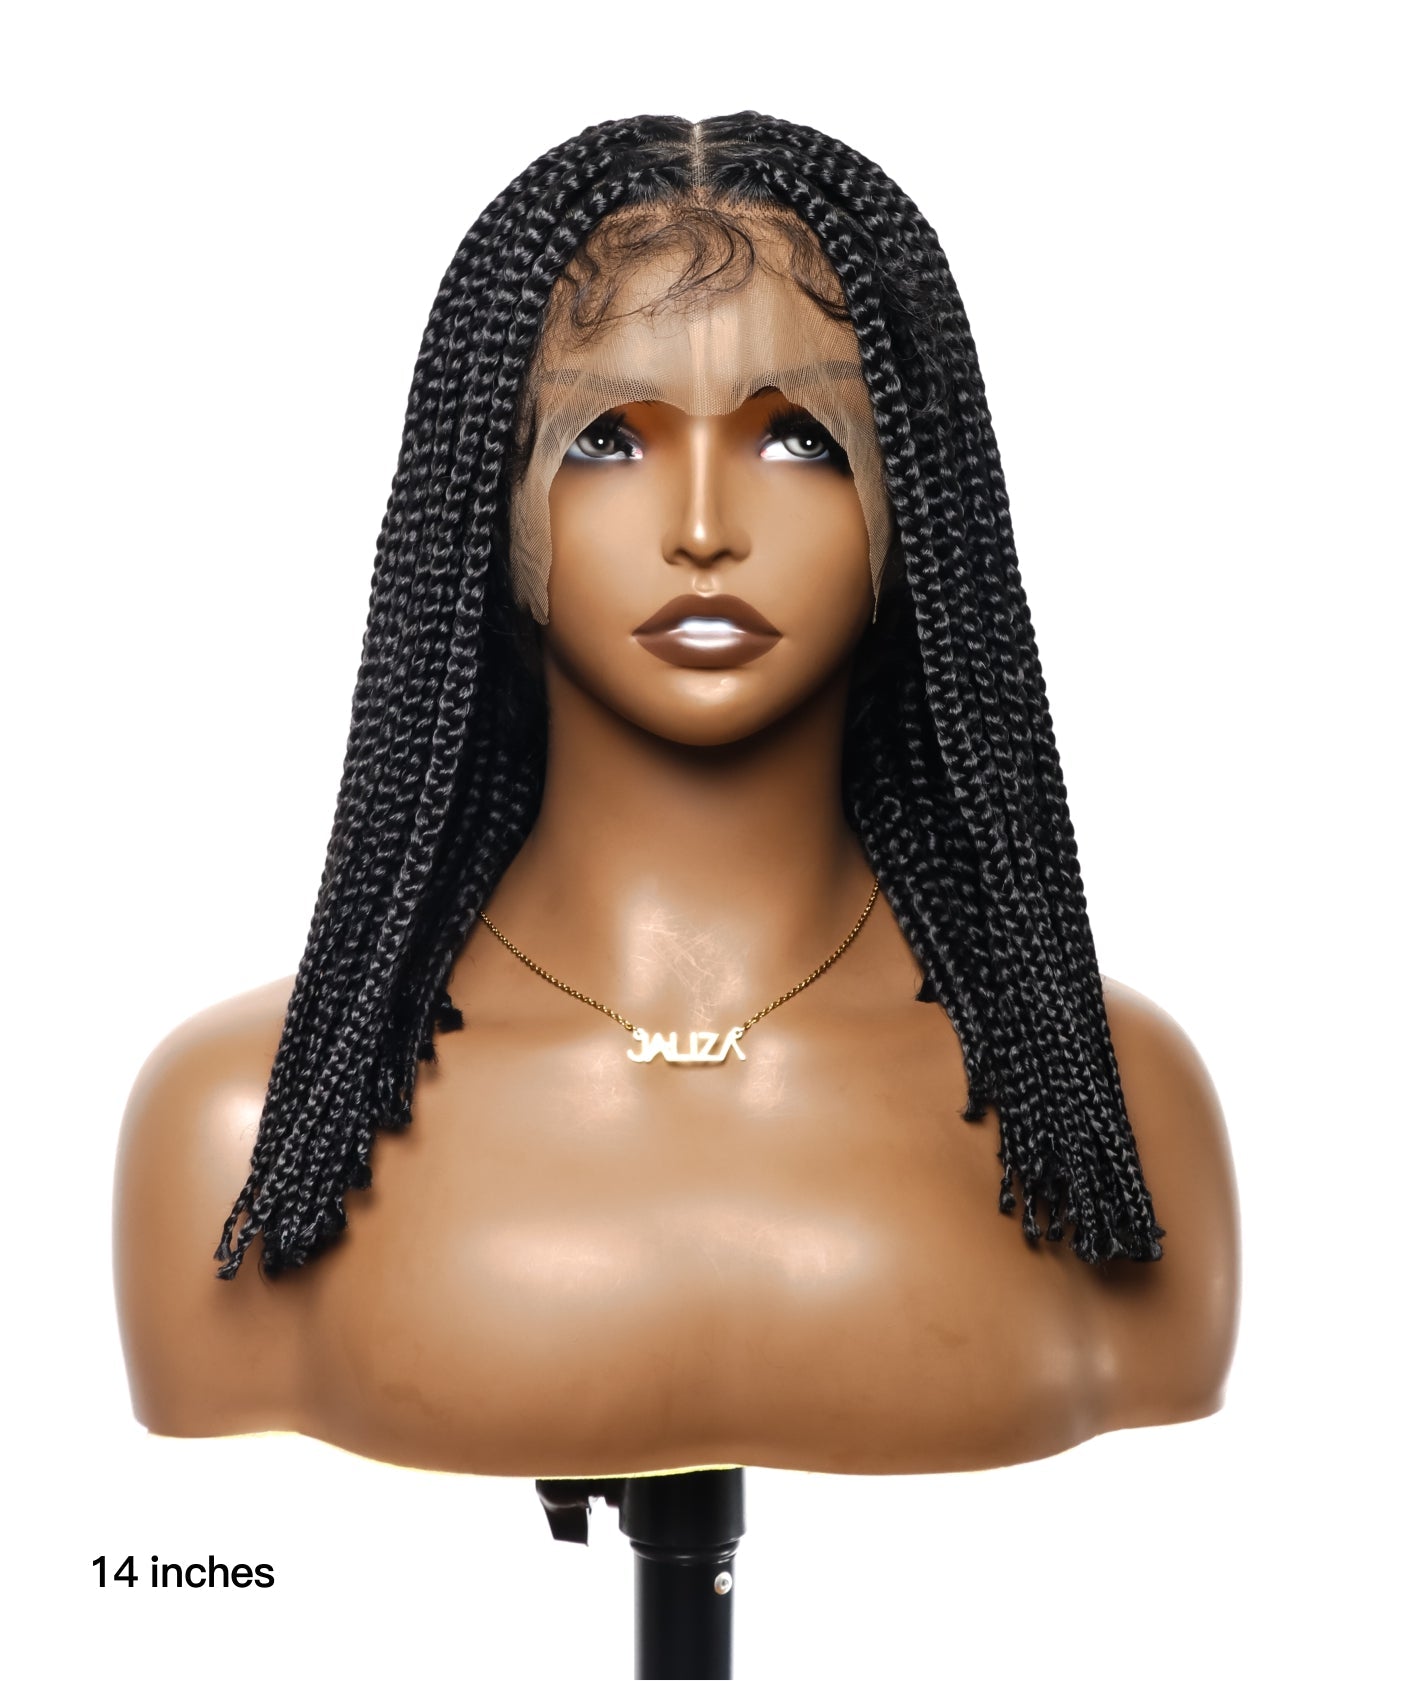
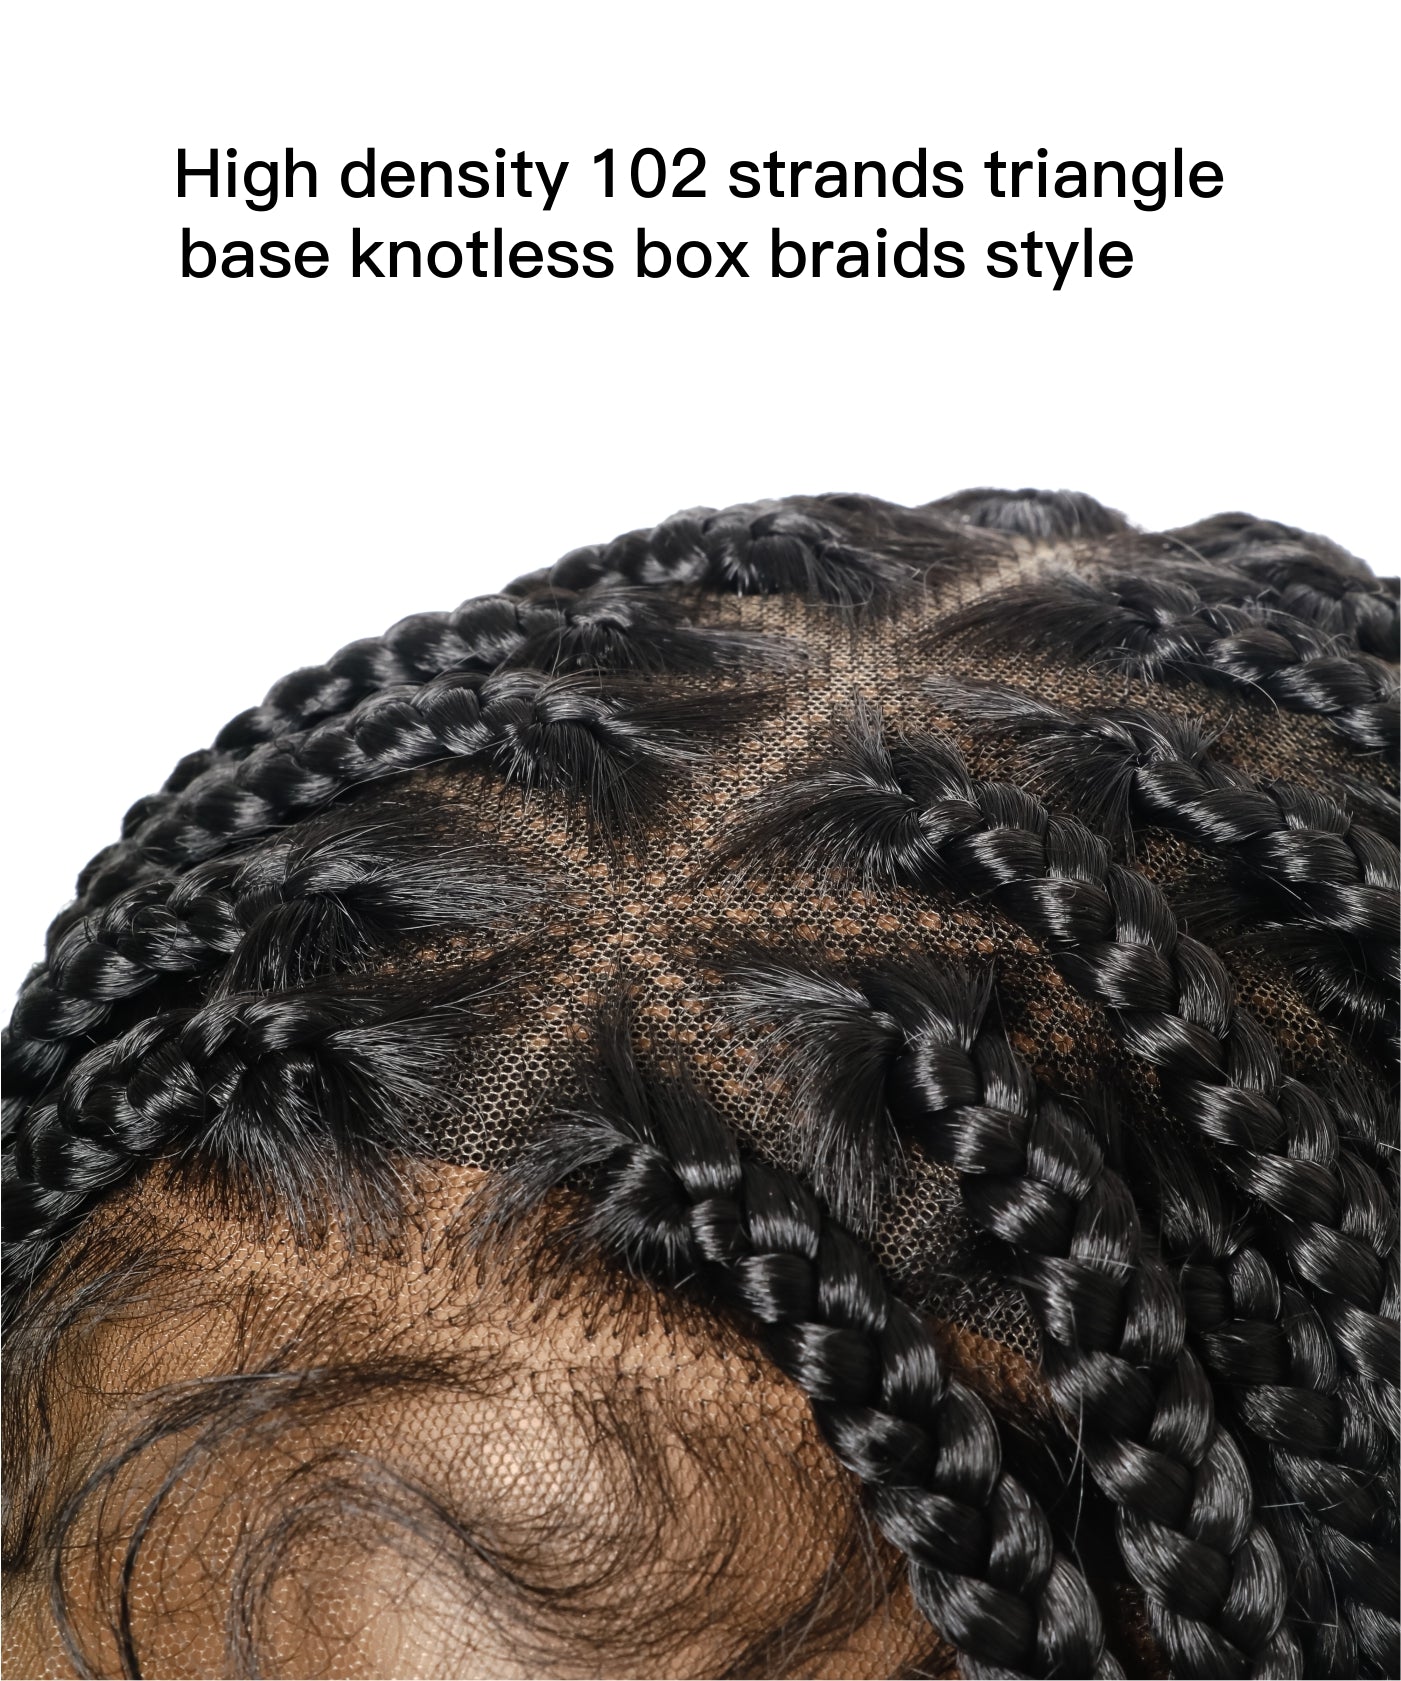
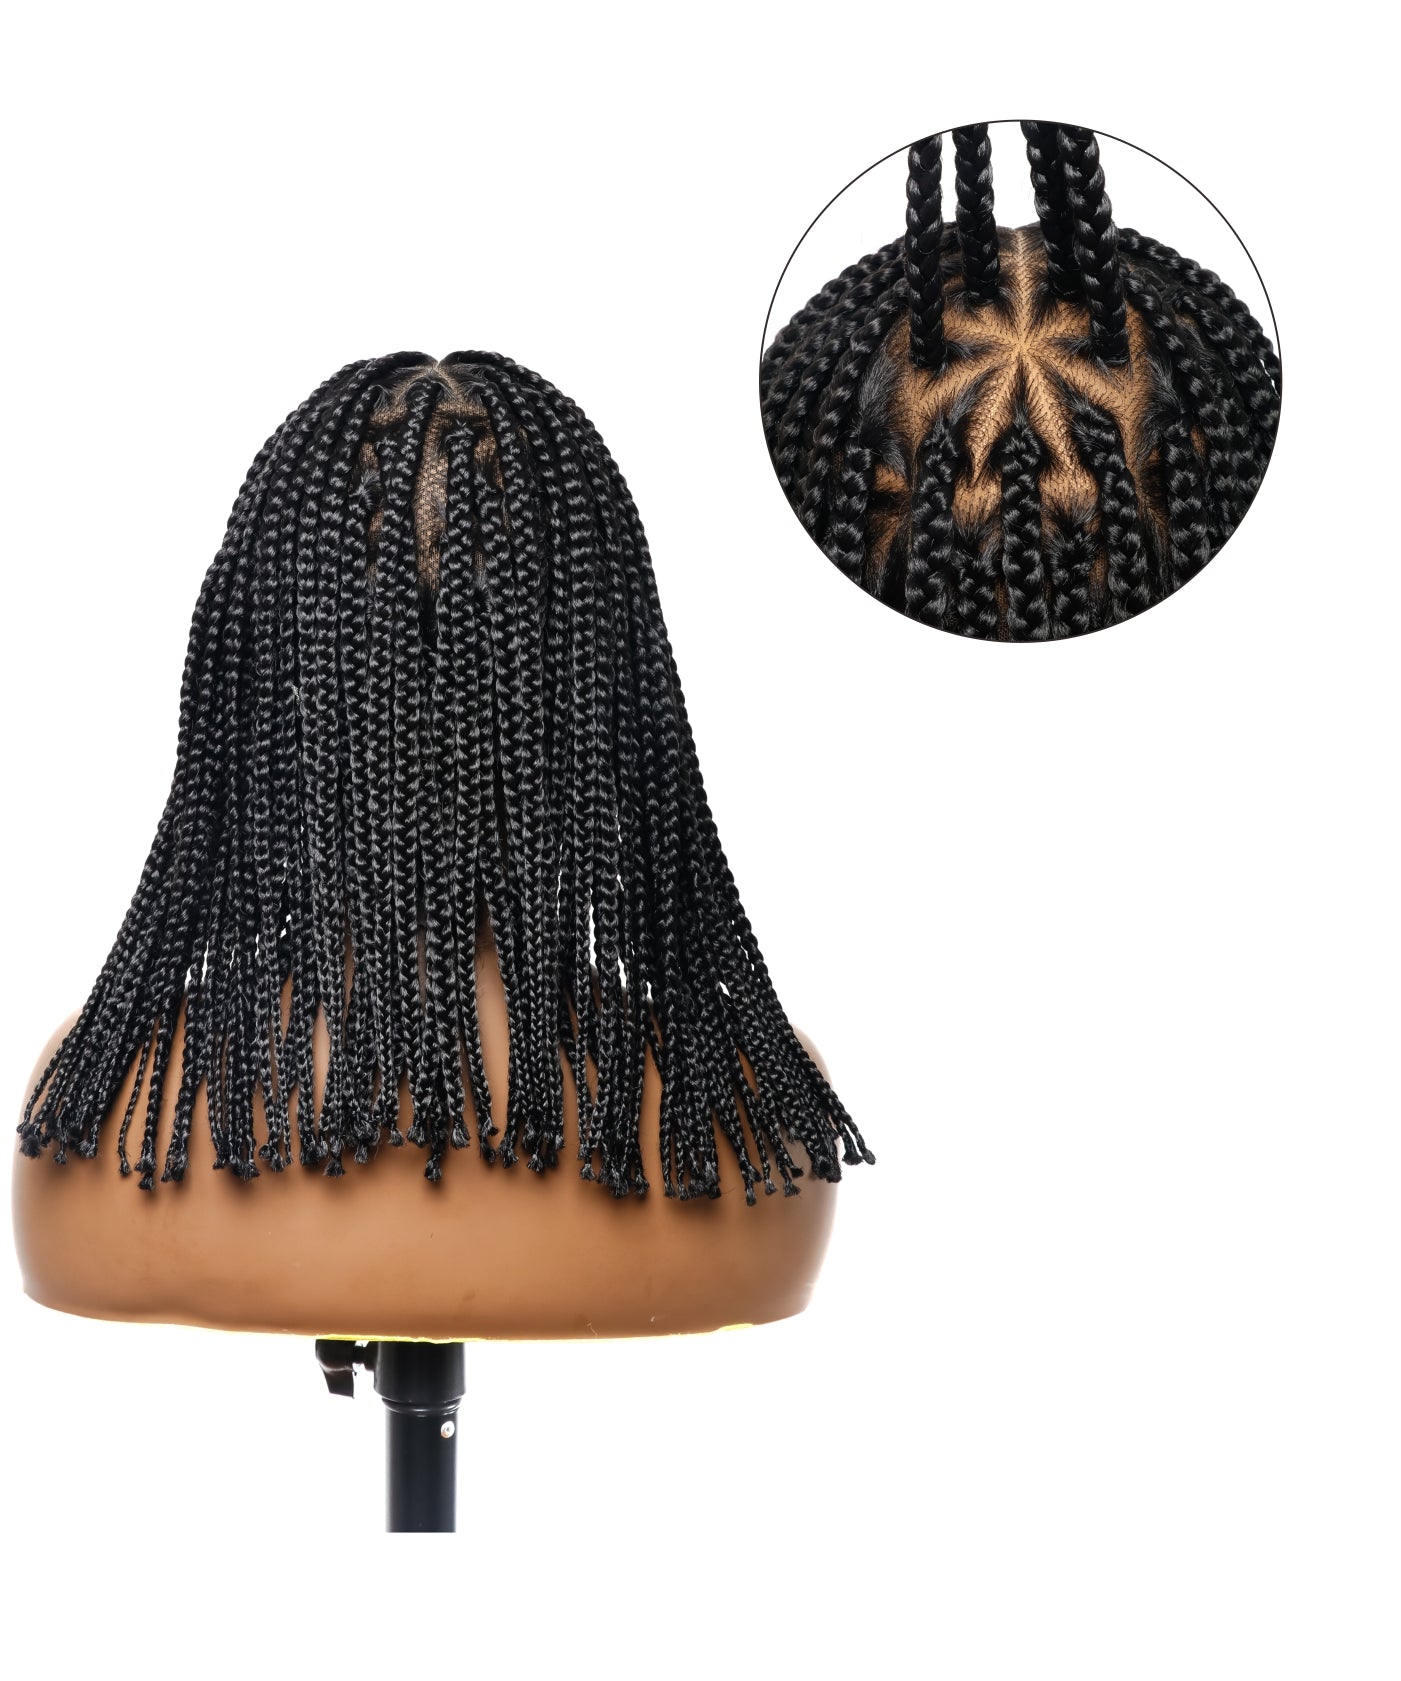
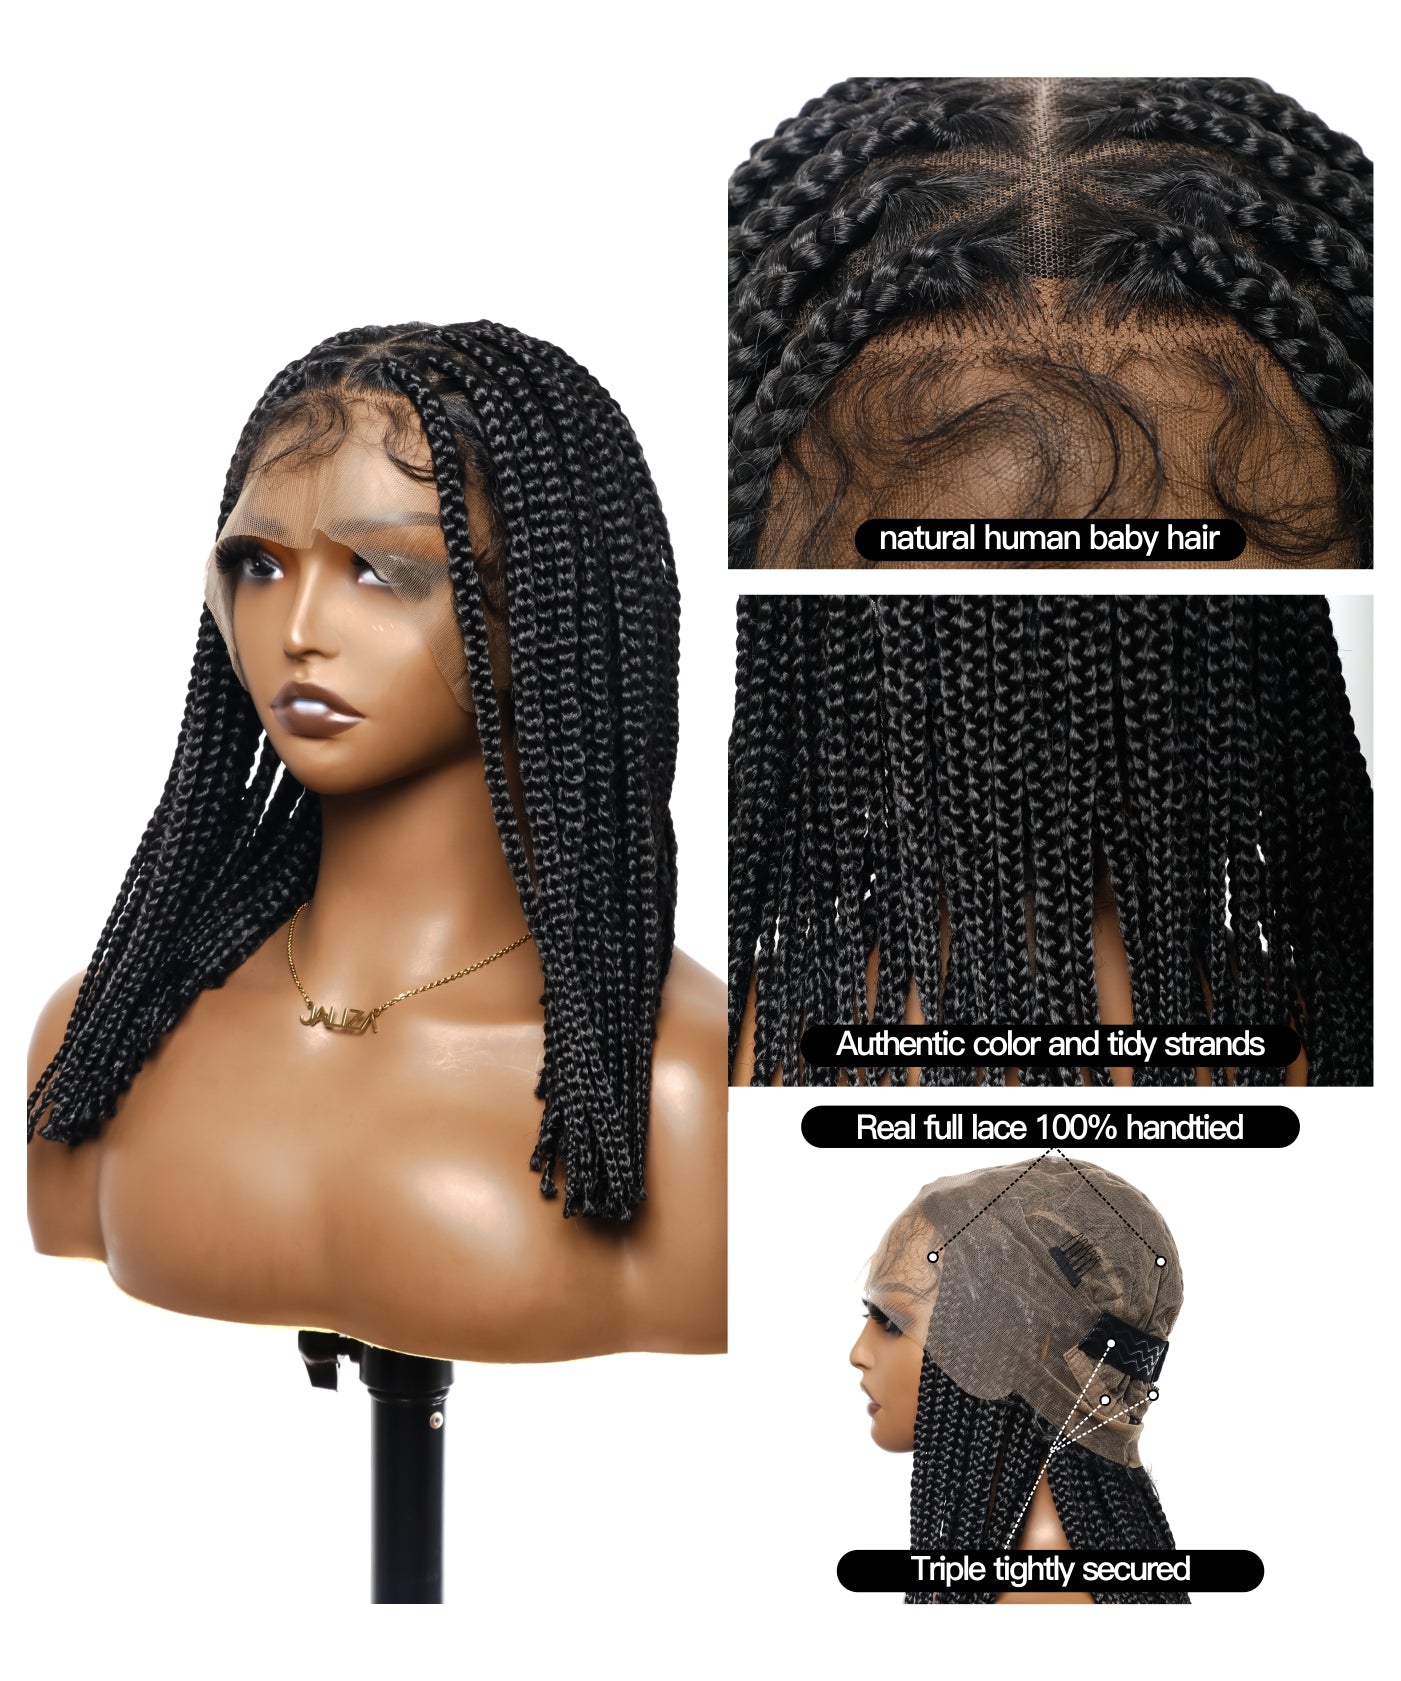
Whether you want carefree festival hair, stylish beach waves, or an effortless everyday look, boho braids deliver the perfect dose of undone, bohemian chic. By mastering the tutorials and tips in this guide, you'll be able to create flawlessly imperfect braided hairstyles for any occasion. For those seeking high-quality, tangle-free boho braided wigs and extensions, check out the innovative offerings from JALIZA Braids, a brand known for their Tangleless Boho Braided Wigs and other premium braided hair products. You can even custom order a JALIZA wig to your exact specifications. Have fun playing with different braid placements, sizes, and amounts of pancaking to find your ultimate boho braided vibe!


Share:
30 Enchanting Boho Braids Hairstyles for a Blissful Summer 2024
Peekaboo Braids: The Fun and Stylish Way to Add a Pop of Color