Glueless wigs are the greatest in simplicity and style. Still, to keep them looking their best, a customized maintenance program is required. The proper care ensures that these wigs retain the softness, structure, and brilliance of each strand. This guide simplifies the cleaning process, allowing you to keep your glueless wig in pristine shape. This article will show you how easy it is to maintain the beauty of your glueless wig and keep it looking beautiful for years to come.
Pre-Wash Preparation
1.Detangling
It's critical to untangle your glueless wig before you start washing it. Begin by carefully working through any knots or tangles with a wide-toothed comb or a wig comb. To avoid breakage, start at the tips of the hair and work your way up to the roots. Detangling not only smoothes out the washing process but also helps to minimize excessive stress on the hair strands.

2.Soaking
After detangling your glueless wig, prepare for washing by filling a sink with cold or lukewarm water. If hot water is used, it will damage hair fibers and change the wig's shape, so stick to milder temps. This procedure prepares your glueless wig for a mild and effective wash to clean it without harming it.

Shampooing Process
1.Mixing Shampoo
Now it's time to prepare your shampoo mixture. Here's how much Shampoo to us based on wig length:
Short wigs: Half a tablespoon
Medium-length wigs: One tablespoon
Long wigs: One and a half tablespoons
Select a shampoo made exclusively for wigs. These shampoos are designed to be gentle on both the hair fibers and the lace foundation, ensuring that your glueless wig is thoroughly cleansed. Pour in the necessary amount of Shampoo and mix until thoroughly dissolved.

2.Using Wig-Specific Shampoo
When using wig-specific Shampoo, it's important to follow the product's instructions closely. Here are some general tips for using these specialized products:
Concentration: Ensure the Shampoo is well-diluted in the water to prevent any concentrated spots that could potentially damage the wig.
Application: Avoid applying the Shampoo directly to the wig. Instead, use the soaking method to distribute the product evenly.
Contact Time: Do not leave the wig in the shampoo water for longer than recommended. Excessive exposure can lead to hair becoming too soft and weakening the knots on the lace cap.
Rinsing:
Rinse thoroughly to ensure all Shampoo is removed, as residue can lead to dullness and attract dirt faster. By following these additional steps with your wig -specific Shampoo, you'll ensure that your glueless wig remains clean and vibrant without compromising its integrity. At uBraids, our premium glueless wigs are made with durability in mind, so they keep their style and luster even after several washes.

Rinsing and Cleaning
1.Rinsing
After the glueless wig has soaked, lift it from the soapy water and rinse it under cold, running water. Ensure the water flows from the base to the tips to avoid tangling. Continue rinsing until all traces of Shampoo have been removed. If the glueless wig still appears dirty, you may need to soak it for a few more minutes or repeat the gentle swirling action. Here are the top 5 tips for rinsing your glueless wig effectively:1.1 Directional Rinsing:
Always rinse your wig from the base (where the hair is secured) to the tips to prevent tangling. This mimics the natural direction of hair growth and helps keep the strands aligned.
1.2 Consistent Water Temperature:
Use cold or lukewarm water for rinsing. If hot water is used, it will damage hair fibers affect the wig's texture. Consistency in water temperature is crucial to avoid any shock to the wig fibers that could lead to matting or frizz.
1.3 Gentle Water Pressure:
Avoid high-pressure water streams, as they can tangle the wig hair and potentially loosen the wefts. Use a gentle flow of water to ensure the strands are not disturbed too aggressively.
1.4 Thorough Rinsing:
Make sure all Shampoo is thoroughly washed out of the wig. Any residue left in the wig can make it look dull and can lead to buildup that affects the scalp if you have sensitive skin
1.5 Patience is Key:
Take your time with the rinsing process. Rushing can cause you to miss some areas, especially if the wig is dense. Gentle and thorough rinsing ensures every strand is clean and maintains the integrity of the wig.

2. Cap Cleaning
If there is any accumulation on the glueless wig cap, carefully clean it with a little brush or toothbrush. Avoid stretching or damaging the cap material. This thorough cleaning guarantees that the entire glueless wig is clean and free of residue.

Conditioning and Moisturizing
1.Conditioning
It's time to condition your glueless wig after carefully cleaning it. Fill your sink or bowl with clean, lukewarm water and add a small amount of wig conditioner - around a teaspoon is generally plenty. Stir the conditioner and water together.
Submerge your glueless wig in this mixture and use your fingers to gently rub the conditioner through the strands. This step is critical for maintaining soft, manageable, and tangle-free hair.

2. Oil Treatment
After conditioning the glueless wig, give it one more rinse in lukewarm water. Consider using a small amount of hair oil, such as jojoba or argan oil, after the rinse to seal in moisture and battle frizz. If your glueless wig is comprised of real hair, this step is especially important because it can help restore some of the natural gloss and body lost during washing.

Drying and Final Touches
1.Drying
Avoid wringing or twisting your glueless wig to dry it since these movements might damage the hair and distort the cap. Instead, gently pat the wig dry on a dry towel or t-shirt to eliminate extra water. After removing the majority of the moisture, put the glueless wig on a wig stand dry. This helps the glueless wig keep its shape.

2.Styling
Only style your glueless wig when it has dried completely. If you come across any knots, apply a detangling spray to get you out. Never brush your glueless wig when it is damp, as this is when the hair is most sensitive to damage.
Conclusion
Properly washing your glueless wig is essential for preserving its beauty and lifespan. With these comprehensive steps and by utilizing the appropriate supplies, you can maintain your glueless wig so it looks as beautiful, healthy, and natural as the day you first wore it. Remember, meticulous care and frequent maintenance are the keys to a long-lasting, vibrant wig.
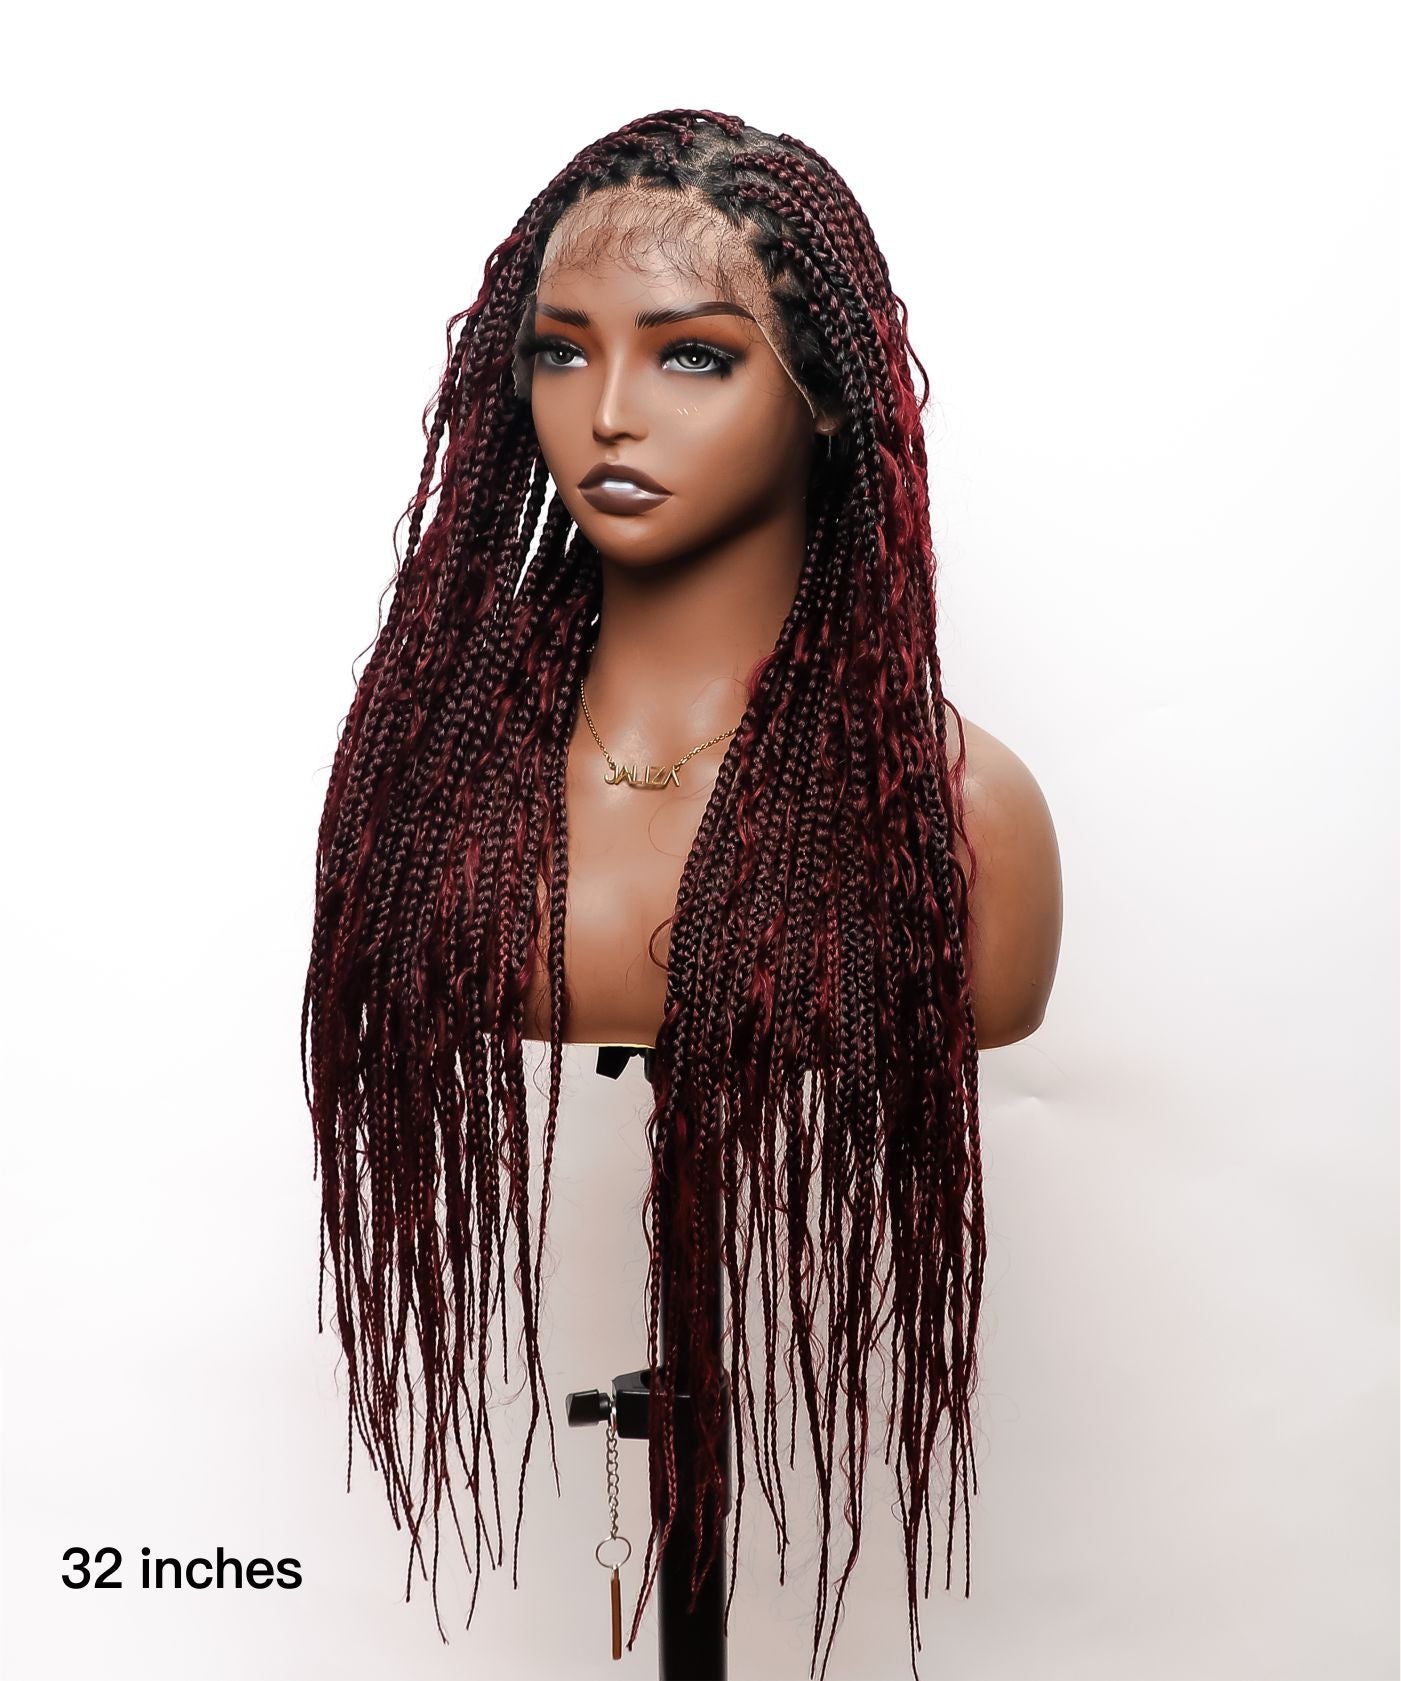
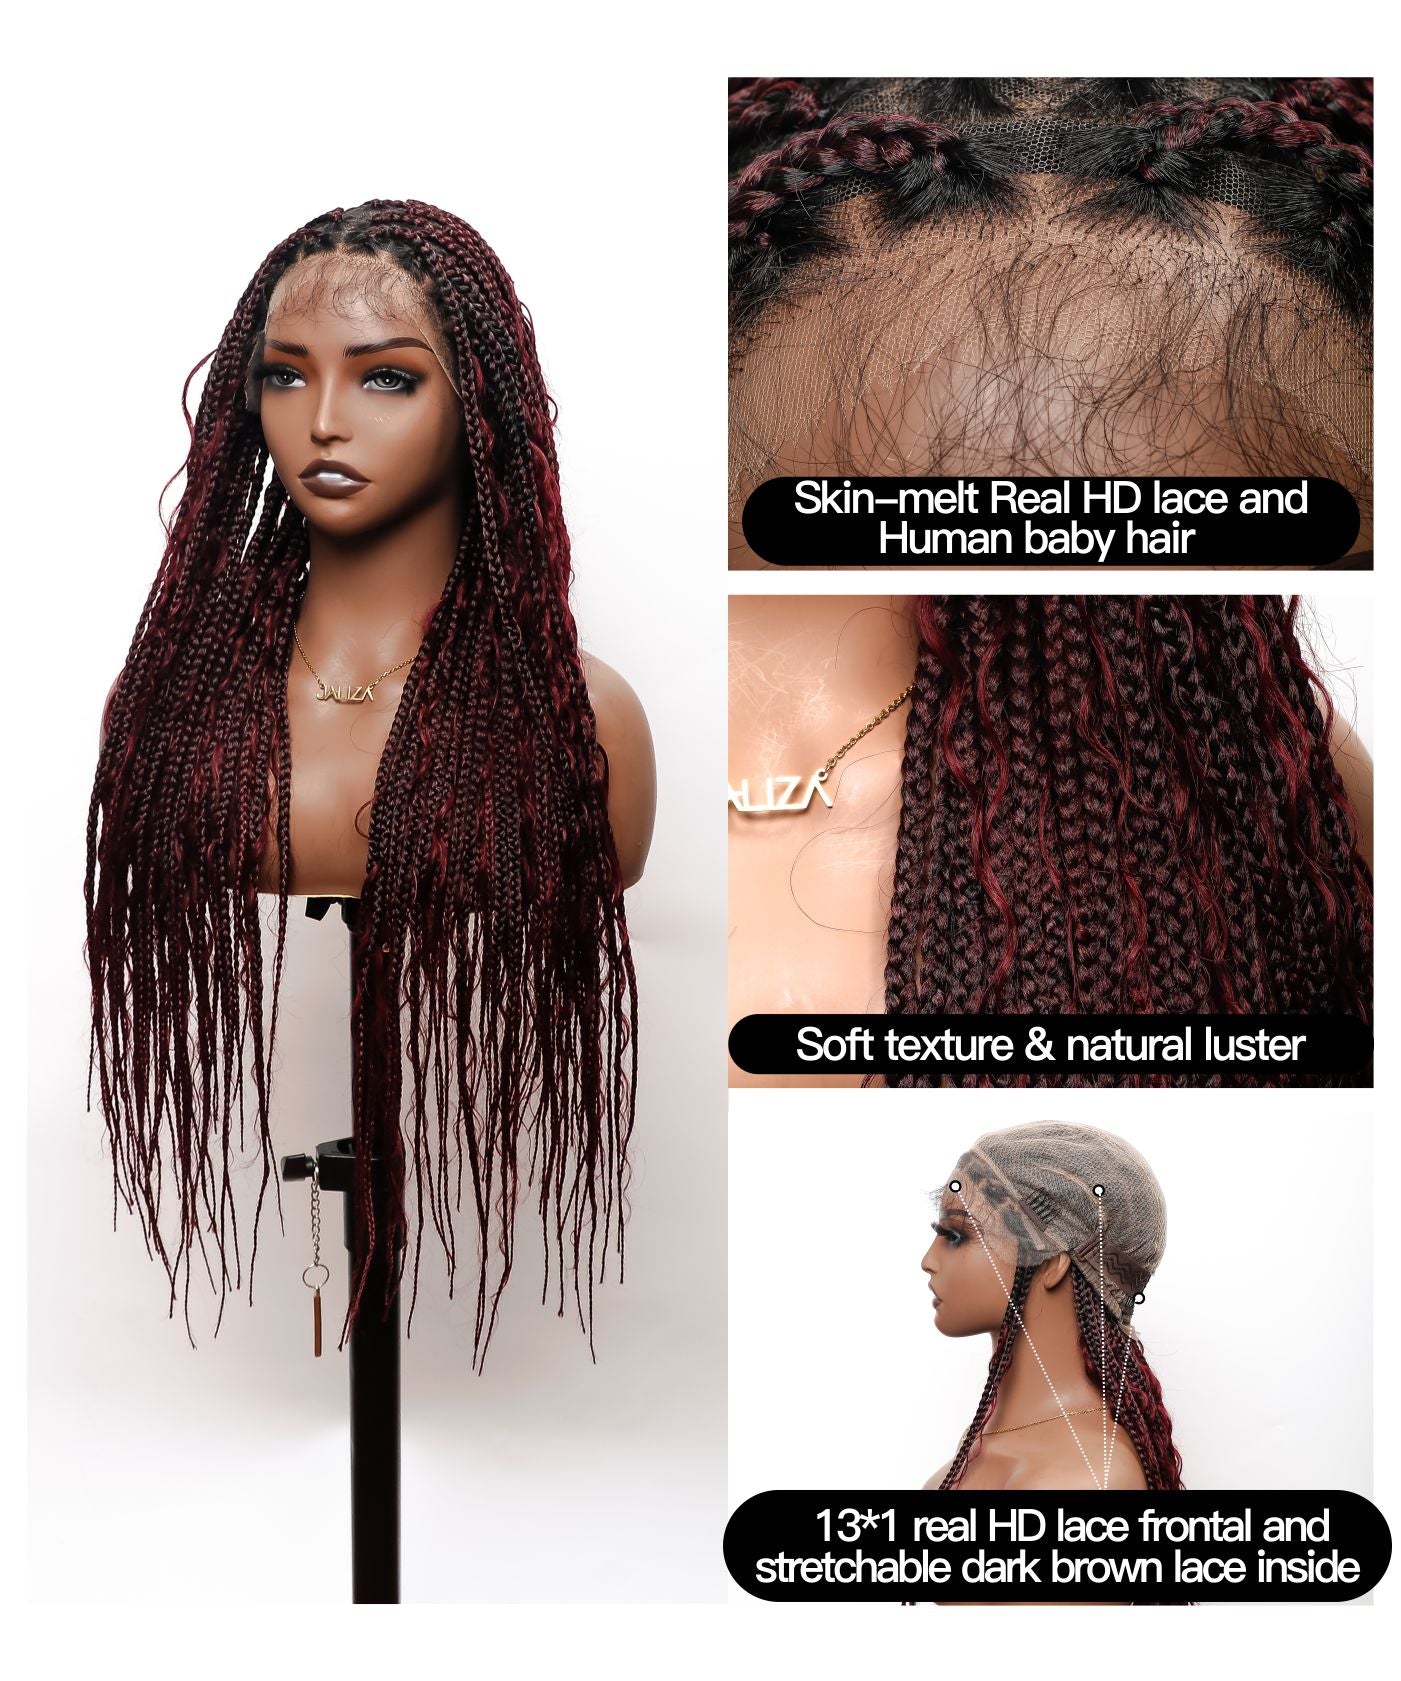
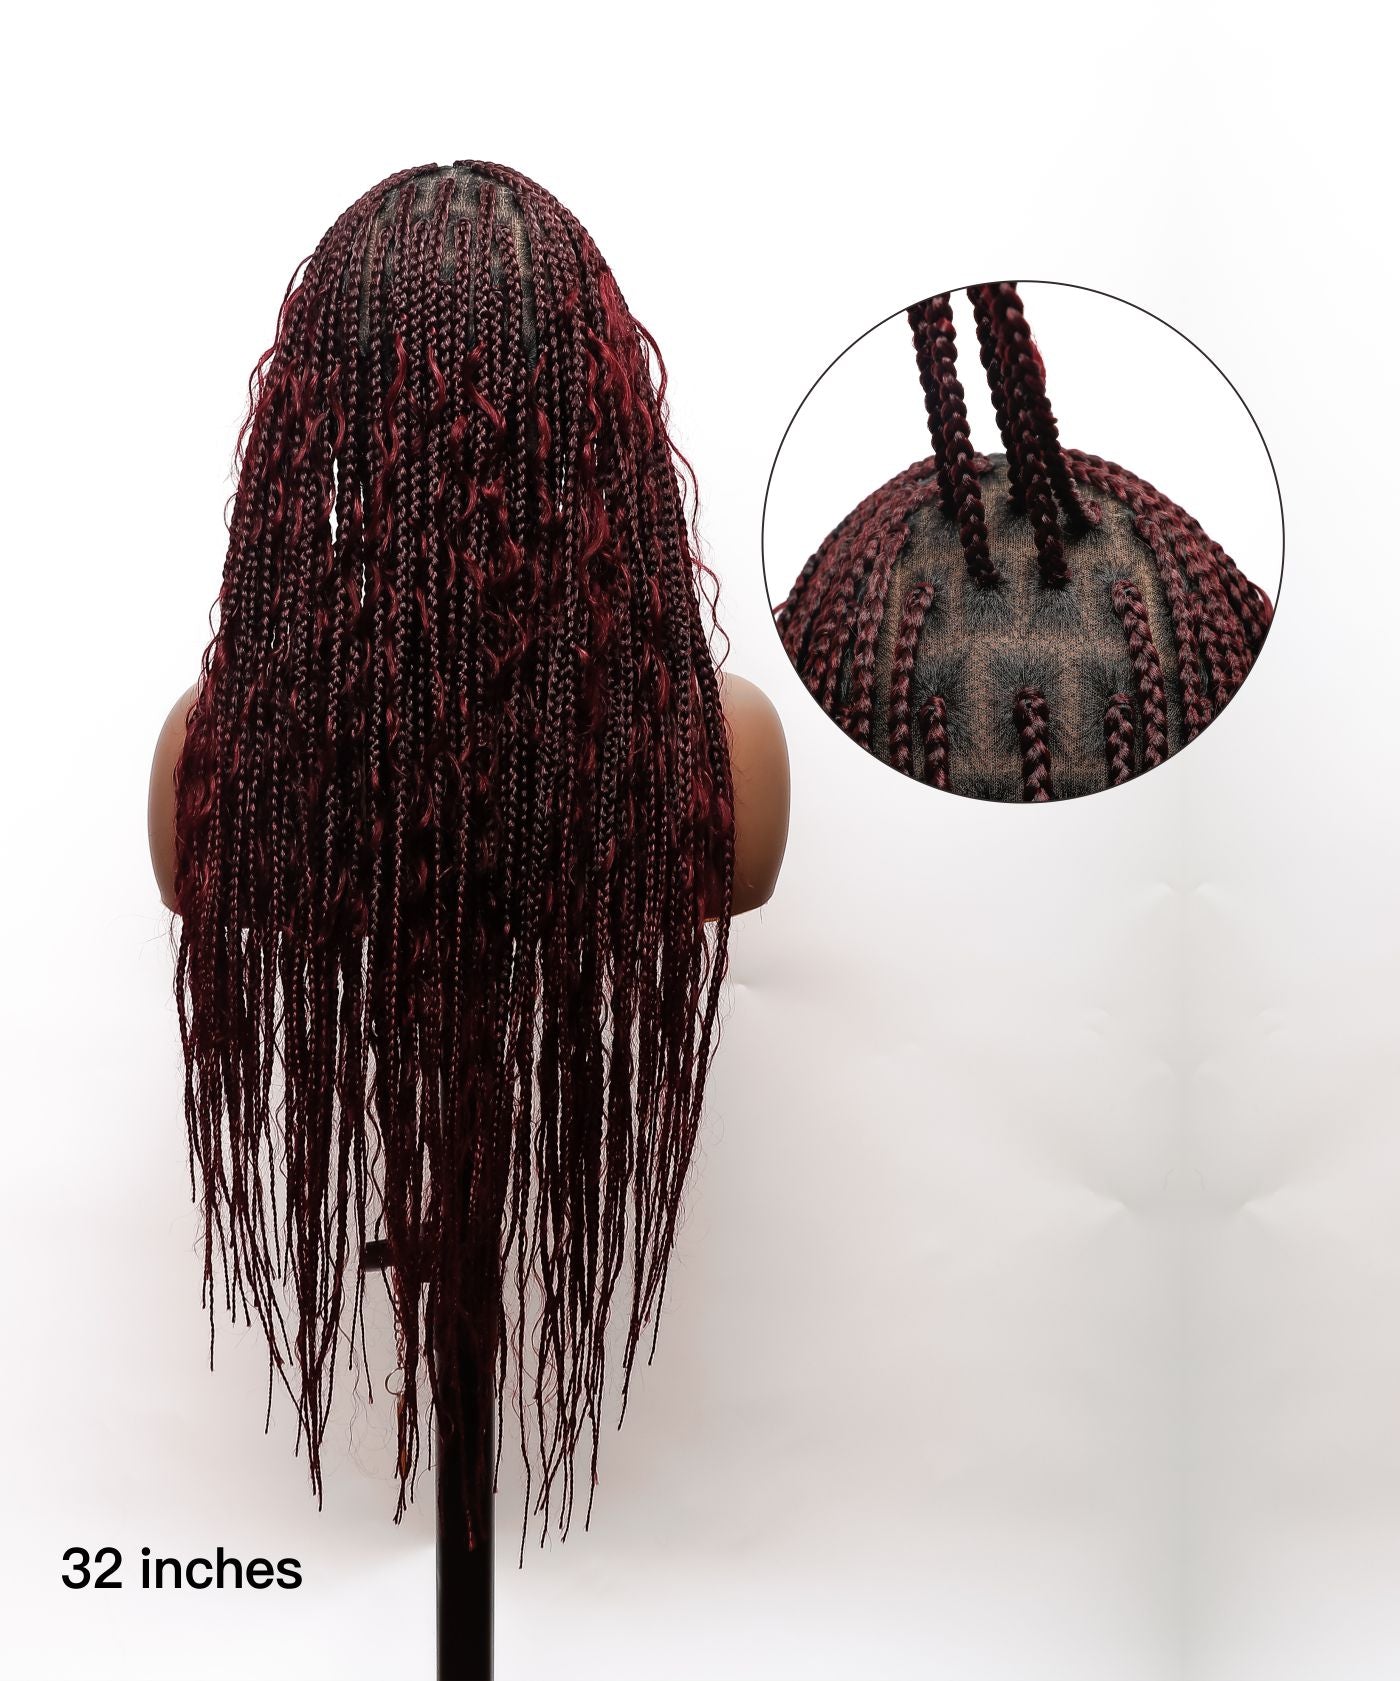
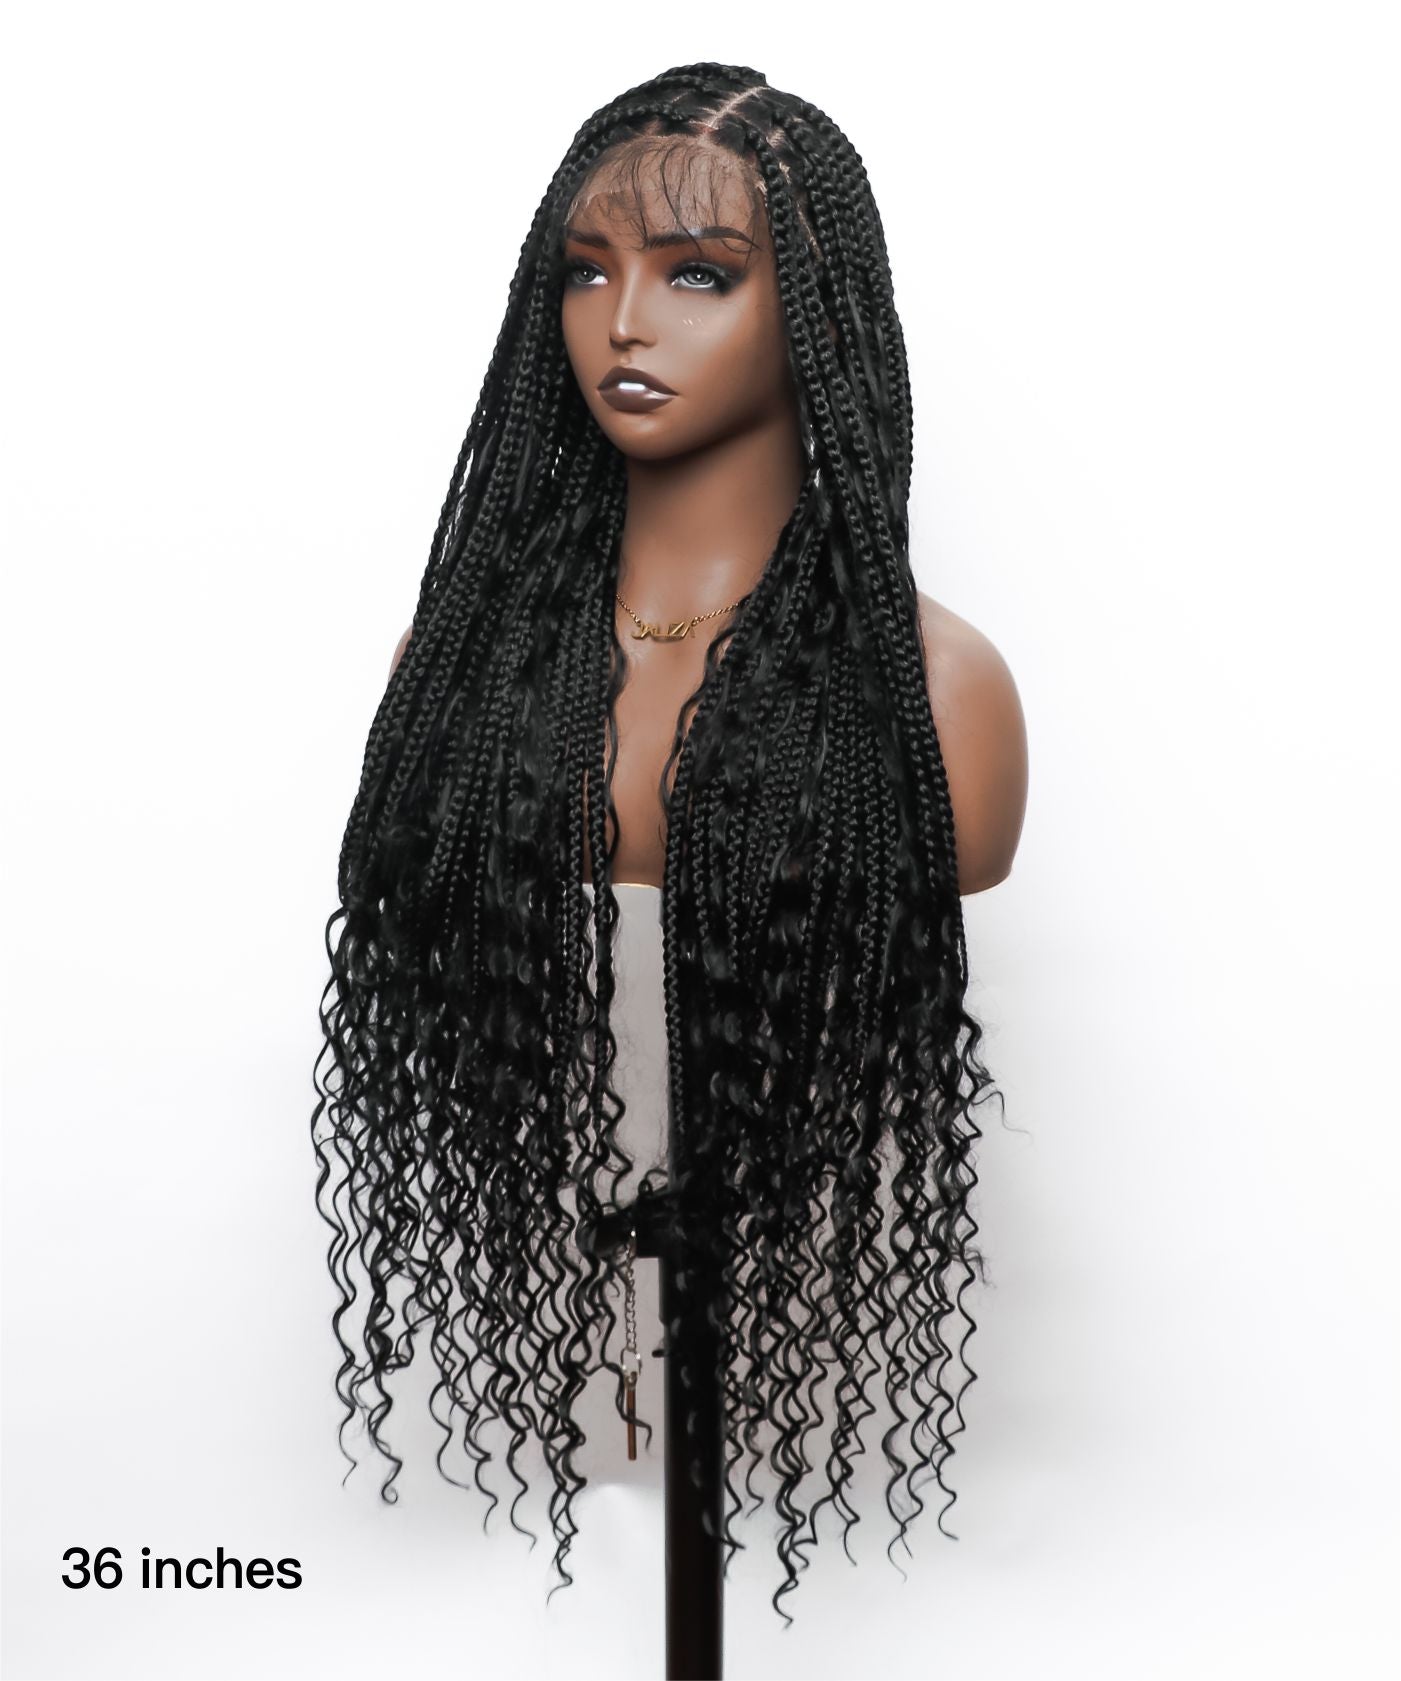
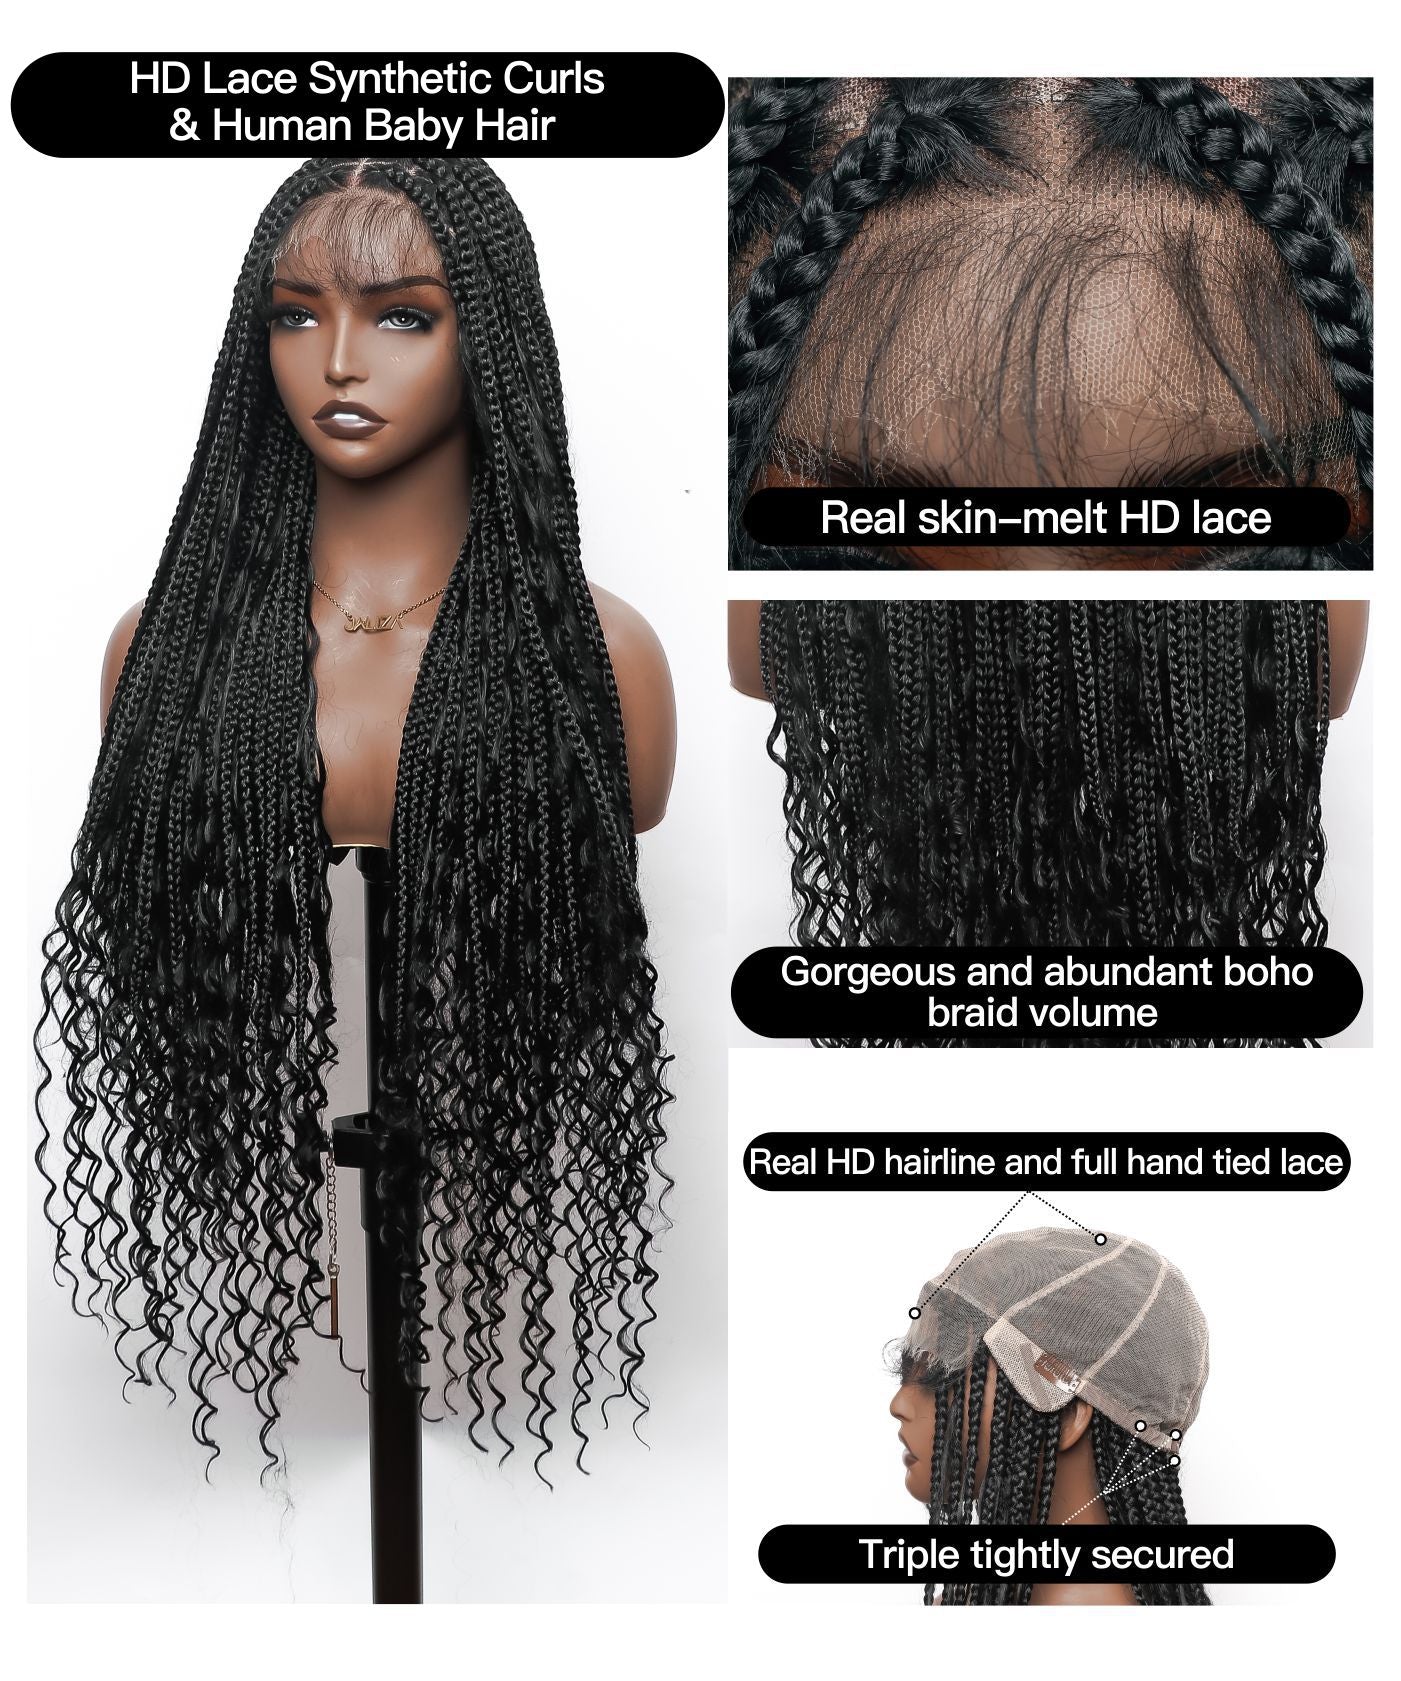
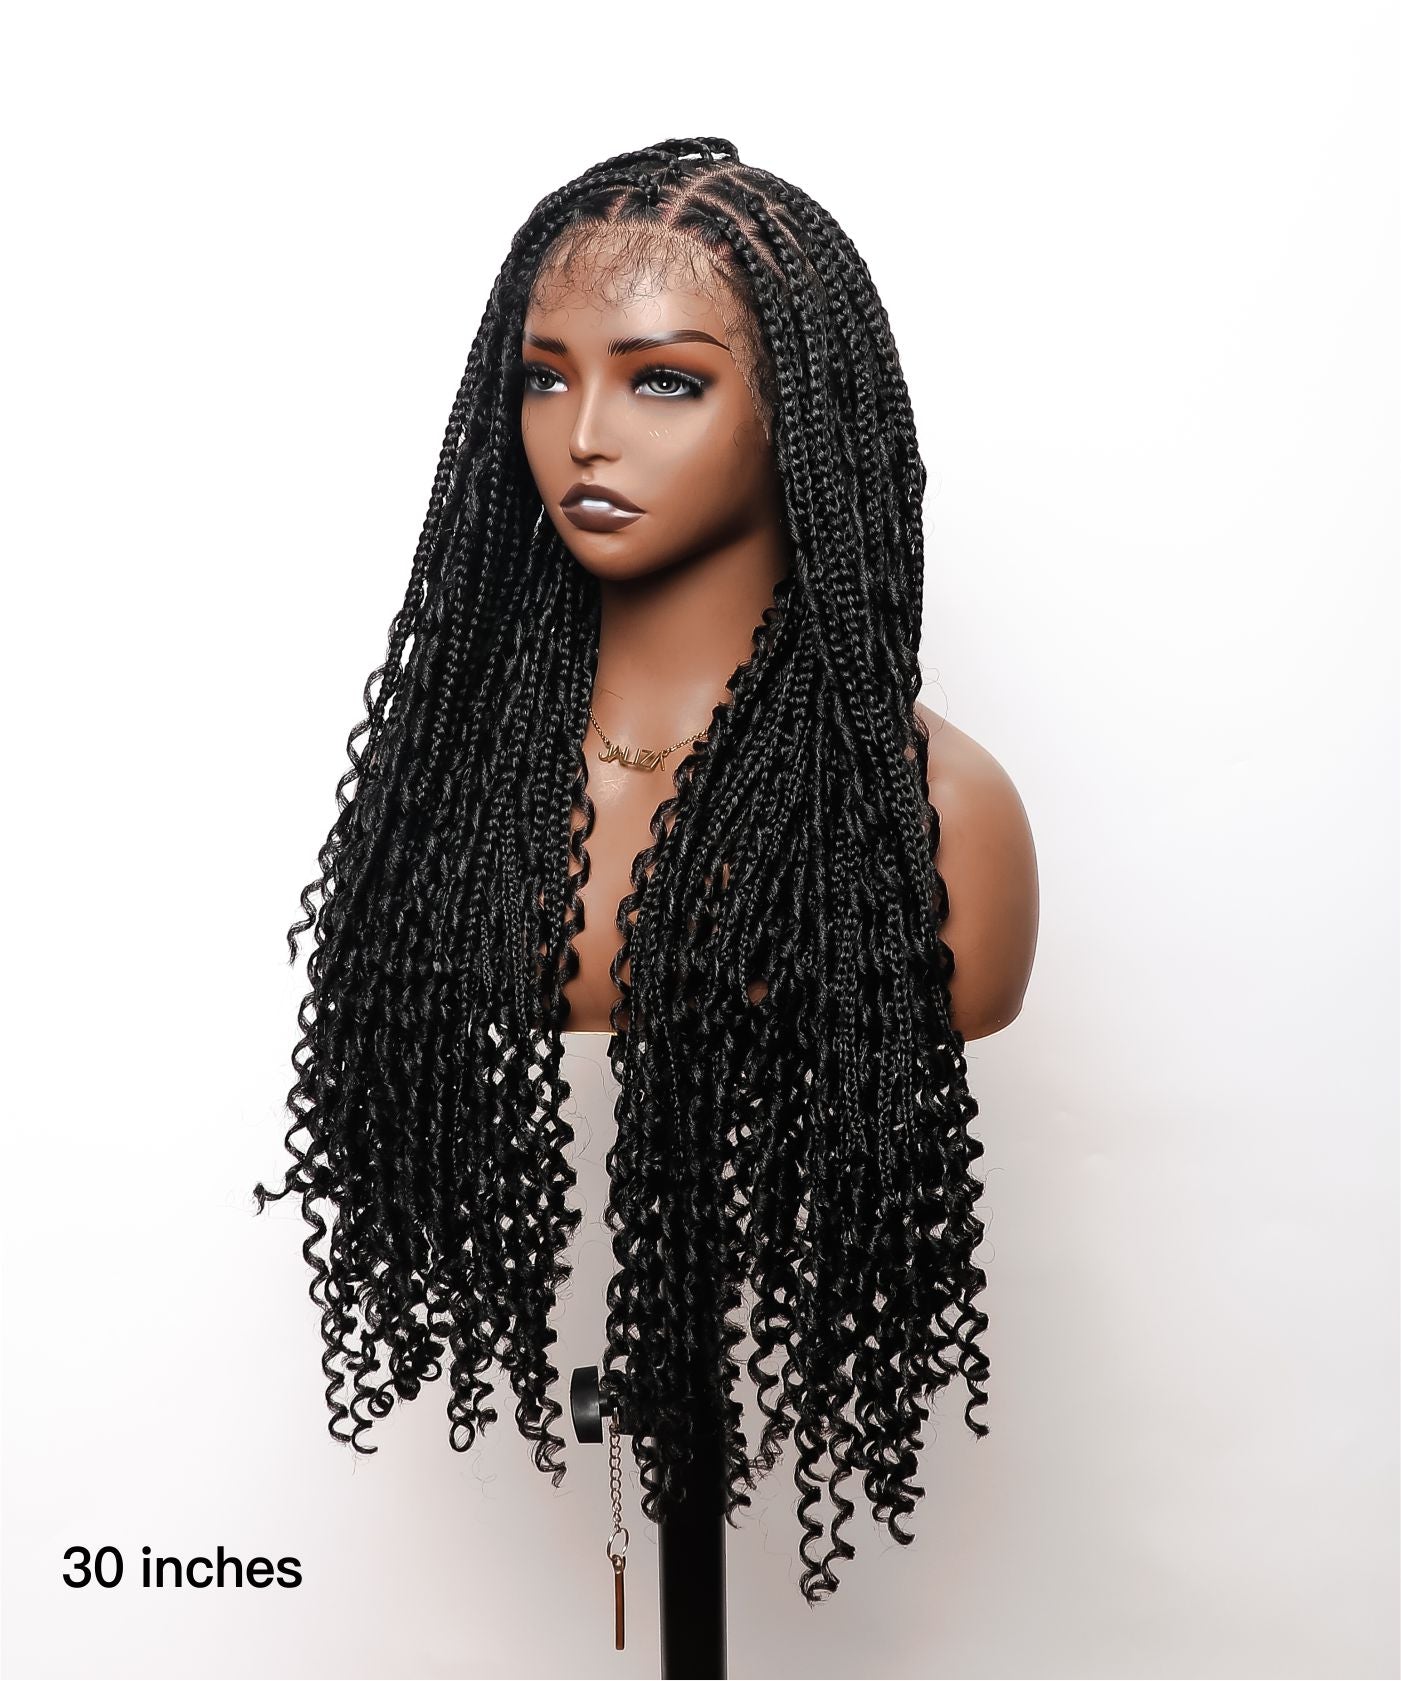
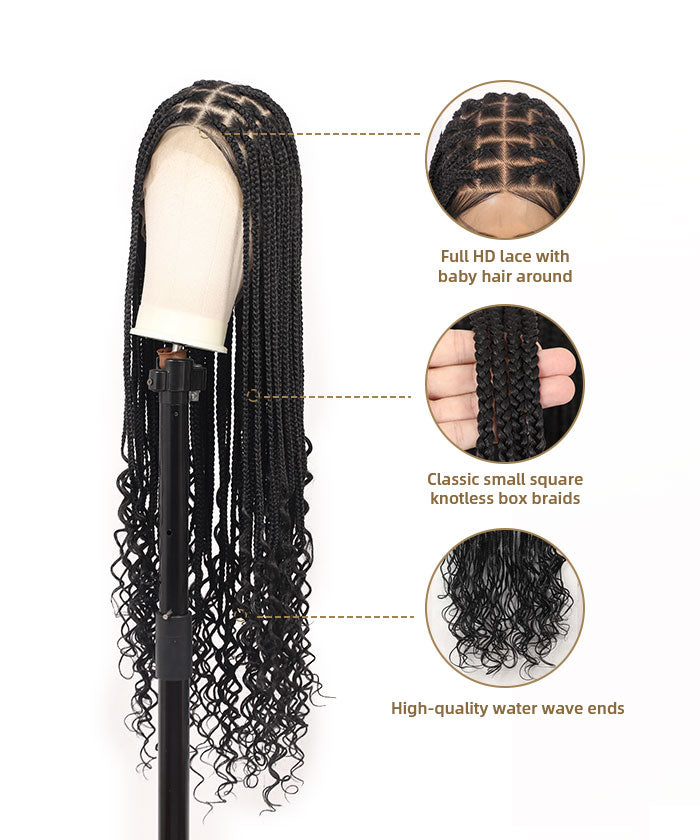
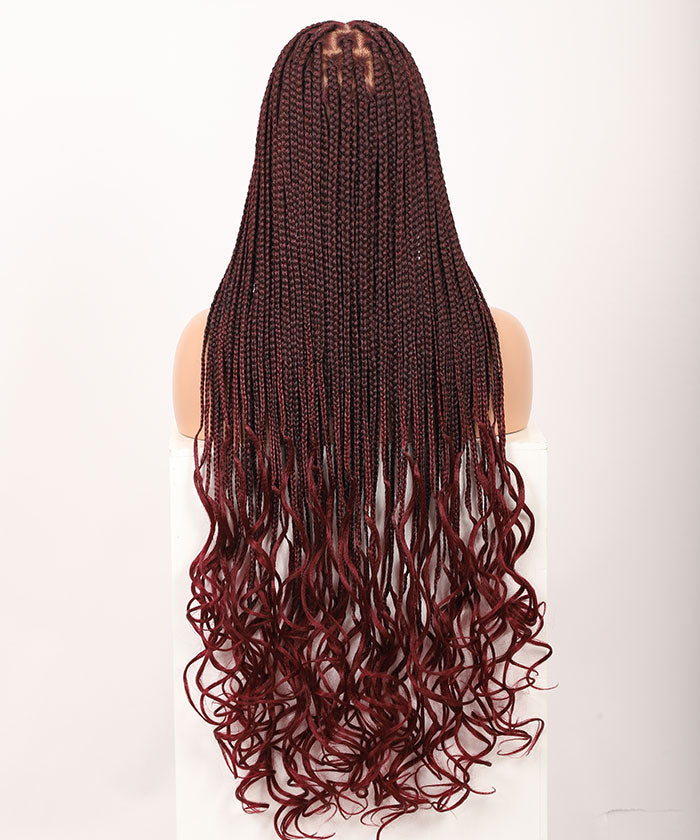
Amidst the vast array of glueless wig maintenance options, one brand stands out for its commitment to quality and cultural expression. uBraids offers a unique collection of handcrafted braided wigs crafted to honor the rich heritage of black hair artistry. Our glueless wigs provide a harmonious blend of tradition and innovation, designed for black women who appreciate elegance and practicality in their hair solutions.

At uBraids, we understand that a glueless wig is more than just a fashion statement— it's an extension of your personal style and a reflection of cultural identity. That's why we dedicate ourselves to crafting products that not only look stunning but also withstand the test of time with proper care. By choosing uBraids, you're not just purchasing a glueless wig; you're embracing a piece of art that elevates your everyday look with convenience and sophistication.
We invite you to explore our collection and discover the impeccable quality and artistry that uBraids is known for. Allow us to be a part of your beauty routine, and together, let's keep the essence of black braided hairstyles thriving for years to come.











































Share:
A Comprehensive Guide: Ensuring Your Glueless Wig Stay Securely in Place
Master the Art of Layering: Unveiling the Secrets to Styling a Bob Wig