

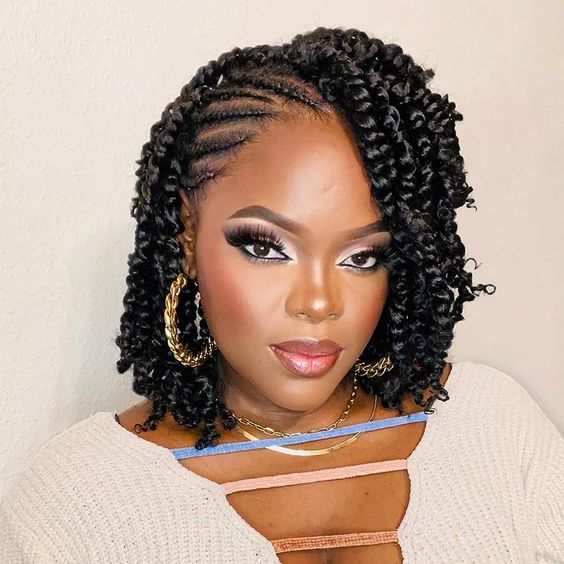
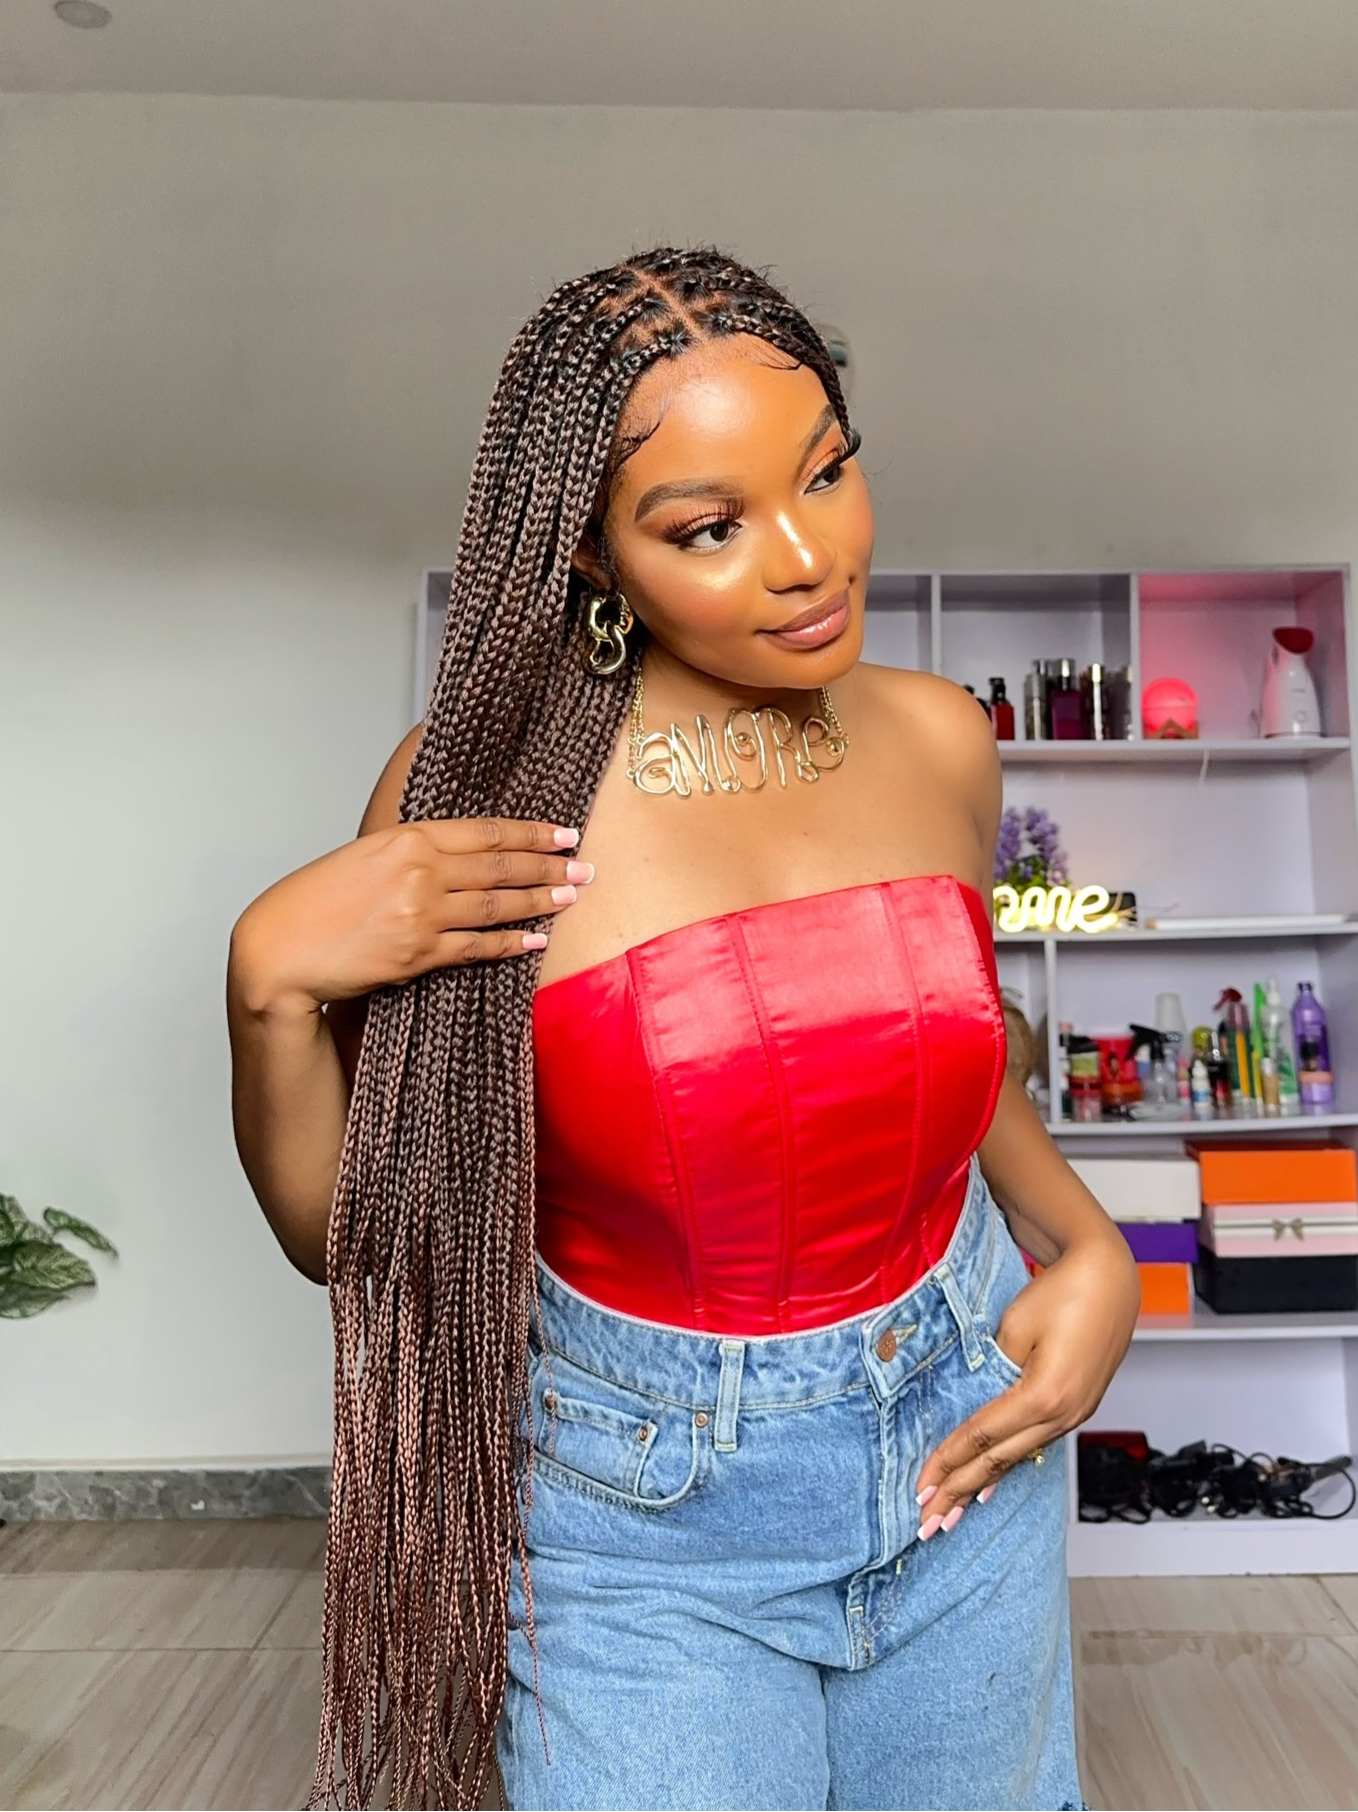
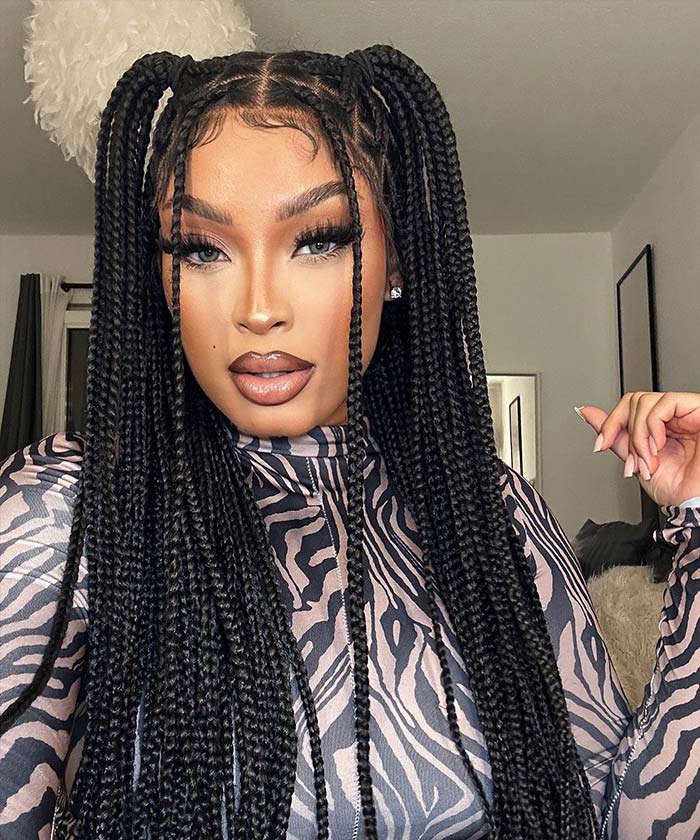
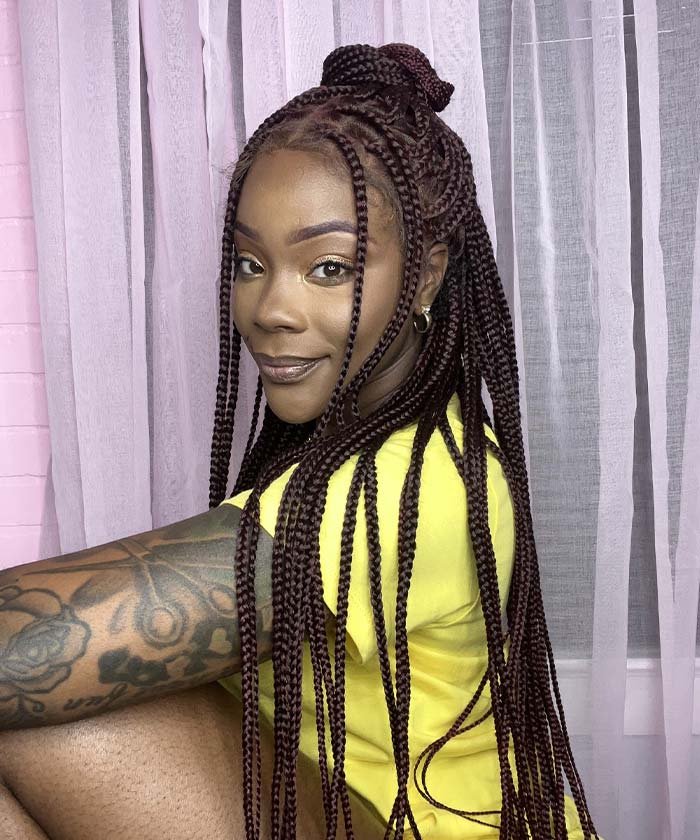
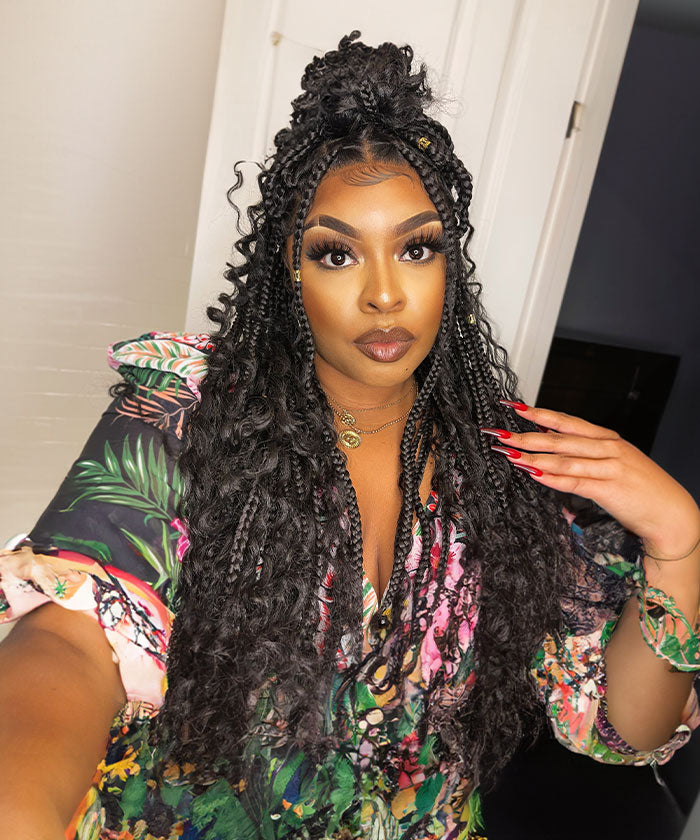
Rocking crochet braids is a clever way to achieve a stunning appearance with thick and full braids without the need for regular maintenance. This increasingly popular protective style allows you to install braids and leave them for a few weeks with minimal care. Crochet braids are a versatile and relatively easy choice to keep hair tucked away. However, when removing the braids, you need to be careful not to cause unnecessary damage to the natural hair hidden under the braids. How to remove crochet braids? This detailed guide provides all the steps required to correctly remove crochet braids to ensure your hair is not damaged by the protective style.
Before You Start: Some Helpful Tips
There are a few pointers that can help the removal process proceed much more smoothly before you even start:
Use high-quality crochet hair that is tangle and shed-resistant. Cheap, low-quality hair is more likely to mat and tangle, making removal a nightmare. Invest in some good synthetic braiding hair.
Keep your natural hair moisturized throughout the install period. Hair that has been oiled, buttered, or kept moisturized with a leave-in will have more slip, making it glide out of the cornrows more easily during removal.
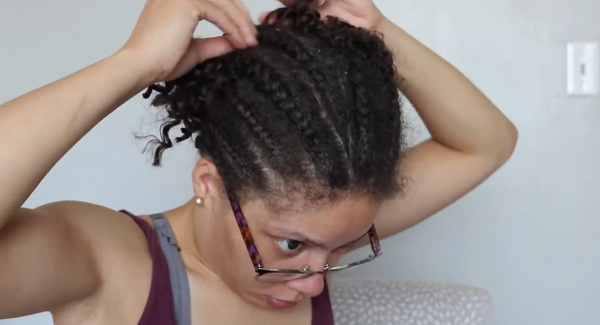
When installing, make sure to crochet the hair underneath your cornrows, not through them. Crocheting through the braids increases the likelihood of tangling and knotting with your real hair.
Minimize the use of complicated knotting methods when installing. While decorative knots can look pretty, they can also be extremely time-consuming and difficult to undo without breaking off hair.
Take your time! Rushing through the removal process is a surefire way to cause unnecessary breakage, shedding, and damage. Go slowly and gently.
You May Also Like: What Are Crochet Braids?
The Removal Steps
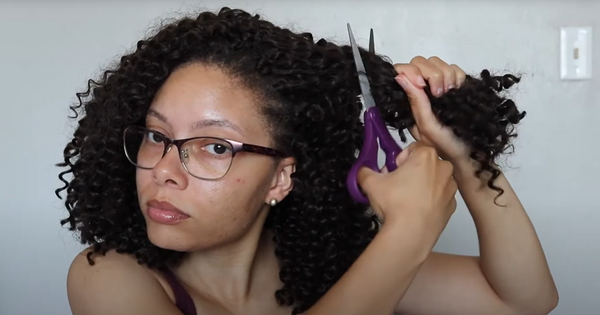
Step 1: Cut the Crochet Hair
Using a pair of sharp hair shears, locate the knots/roots where the crochet hair is secured into your cornrows. Carefully cut the crochet hair about 1 inch above the knots, ensuring not to cut your own hair underneath. Work in small sections around your head.
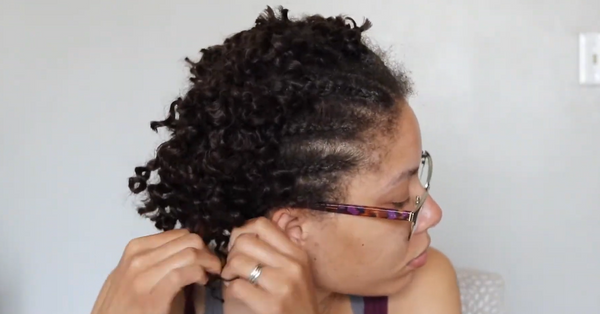
Step 2: Remove Remaining Crochet Hair
Now that the length of the crochet hair is gone, try to gently pull/slide out as much of the remaining short pieces as possible without disturbing your neatly arranged cornrows braids too much. Use your fingers or a rat-tail comb to dislodge the short hair slowly.
If you hit any stubborn knotted sections that won't slide out, don't force it. Instead, carefully unravel just that section of the cornrow and remove the knotted crochet hair from your loose hair. The moisture left in your hair from the cornrows will provide some slip to ease out the pieces.
Step 3: Detangle Gently
With the crochet hair removed, use your fingers to gently detangle and remove any shed hair from your natural hair. Start from the ends and work upwards in small sections. Be very gentle and patient to avoid excess shedding, breaking, and knotting of your hair during this step.
You May Also Like: How to Do Passion Twist?
Step 4: Cleanse and Condition
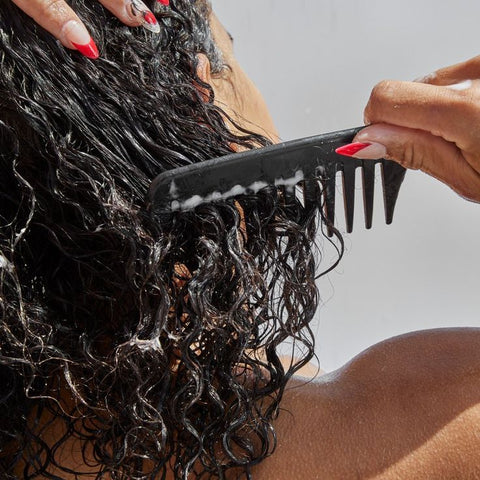
With the crochet braids gone, it's finally time to give your hair the pampering and rejuvenation it deserves! First, use a clarifying or chelating shampoo to remove any product buildup, oils, lint, or debris that accumulated on your hair and scalp during the install period.
Follow this by applying a rich, moisturizing deep conditioner from roots to ends and letting it soak in under a plastic cap for 15-20 minutes. This will help replenish the moisture and elasticity your hair was craving.
Step 5: Strengthen and Trim
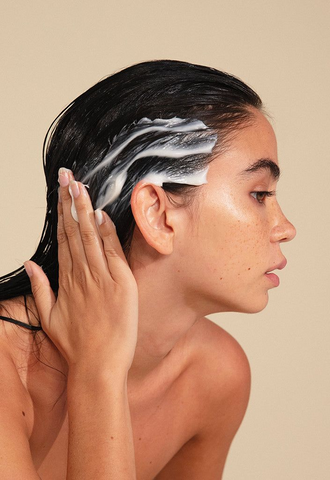
After having your hair tucked away in a protective style for weeks, it's normal to experience some dryness, brittleness, and breakage. Do a lightweight protein treatment or hot oil treatment with ceramide-rich oils like grapeseed, rice bran, or cottonseed oil to strengthen and fortify your strands.
Also, use this opportunity to trim off any raggedy, split, or damaged ends to prevent them from traveling up the hair shaft. Even a simple "dusting" of 1/4 - 1/2 inch can make a big difference.
Step 6: Take a Break!
One of the biggest keys to maintaining healthy hair while wearing protective styles is knowing when to give your hair a break. Frequent protective styles that put tension on your edges or require a lot of manipulation can stress and weaken your hair over time.
After removing your crochet braids, resist the urge to reinstall another style right away. Allow your hair to breathe and recover from the constant pulling by wearing it out in low-manipulation styles for several weeks or months before reinstalling braids or another protective look.
Conclusion
Follow the steps mentioned above, you'll then be able to remove your crochet braids without inflicting any unnecessary damage, shedding, or breakage to your natural hair. Just remember to show your hair some extra TLC in the weeks after taking down the hairstyle! To achieve optimal hair health, proper care must be taken both during and after protective styling.
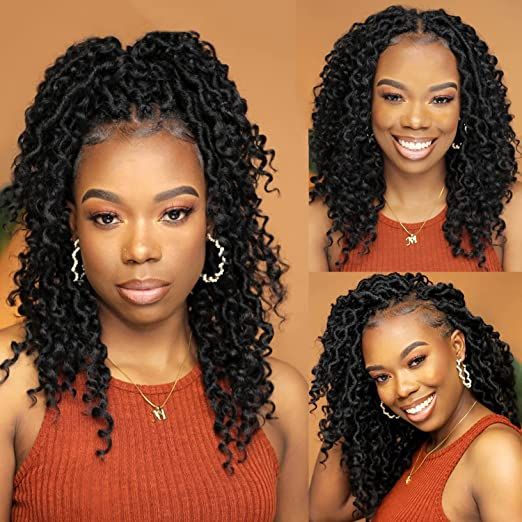
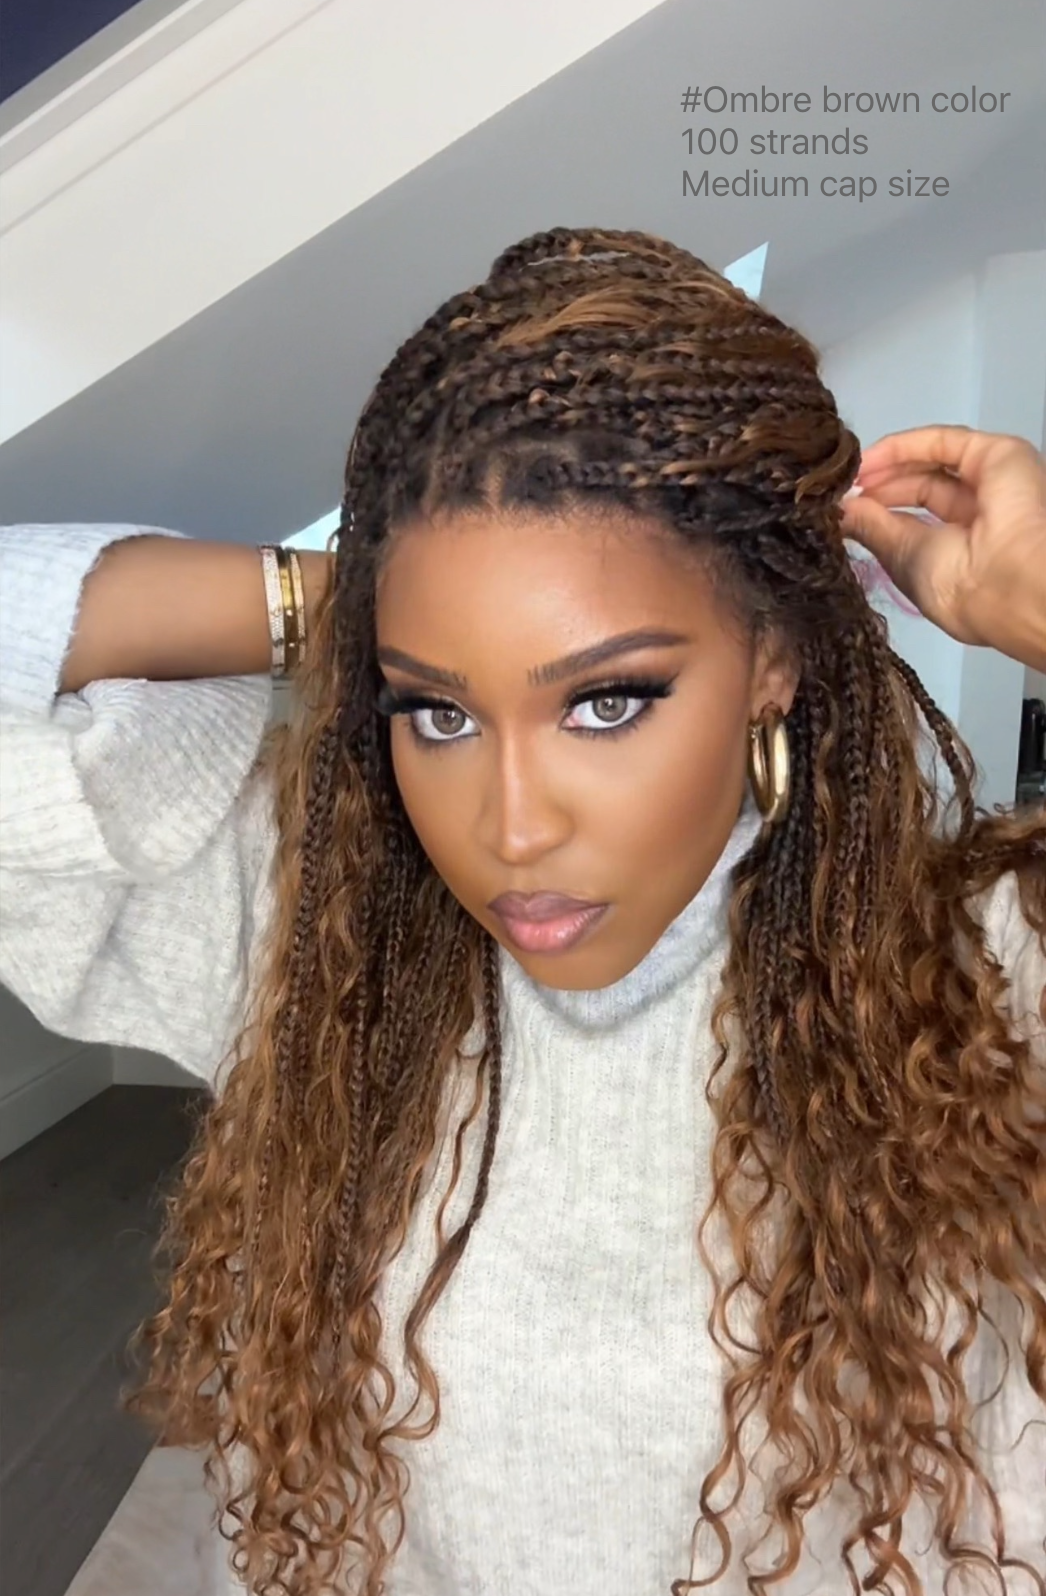
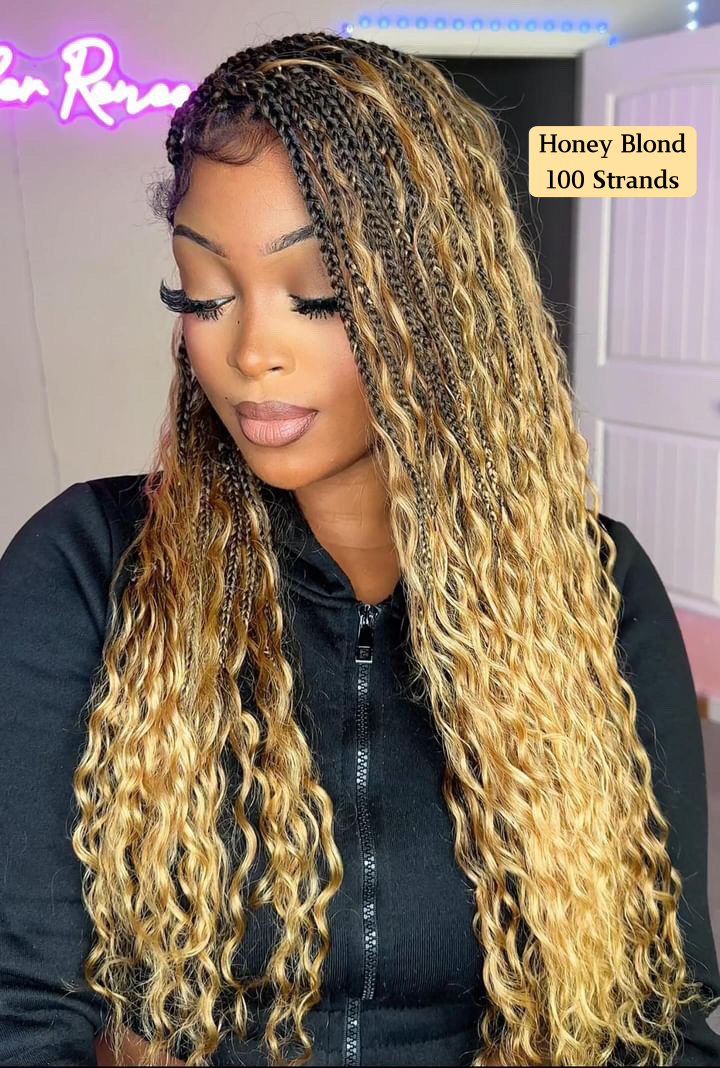
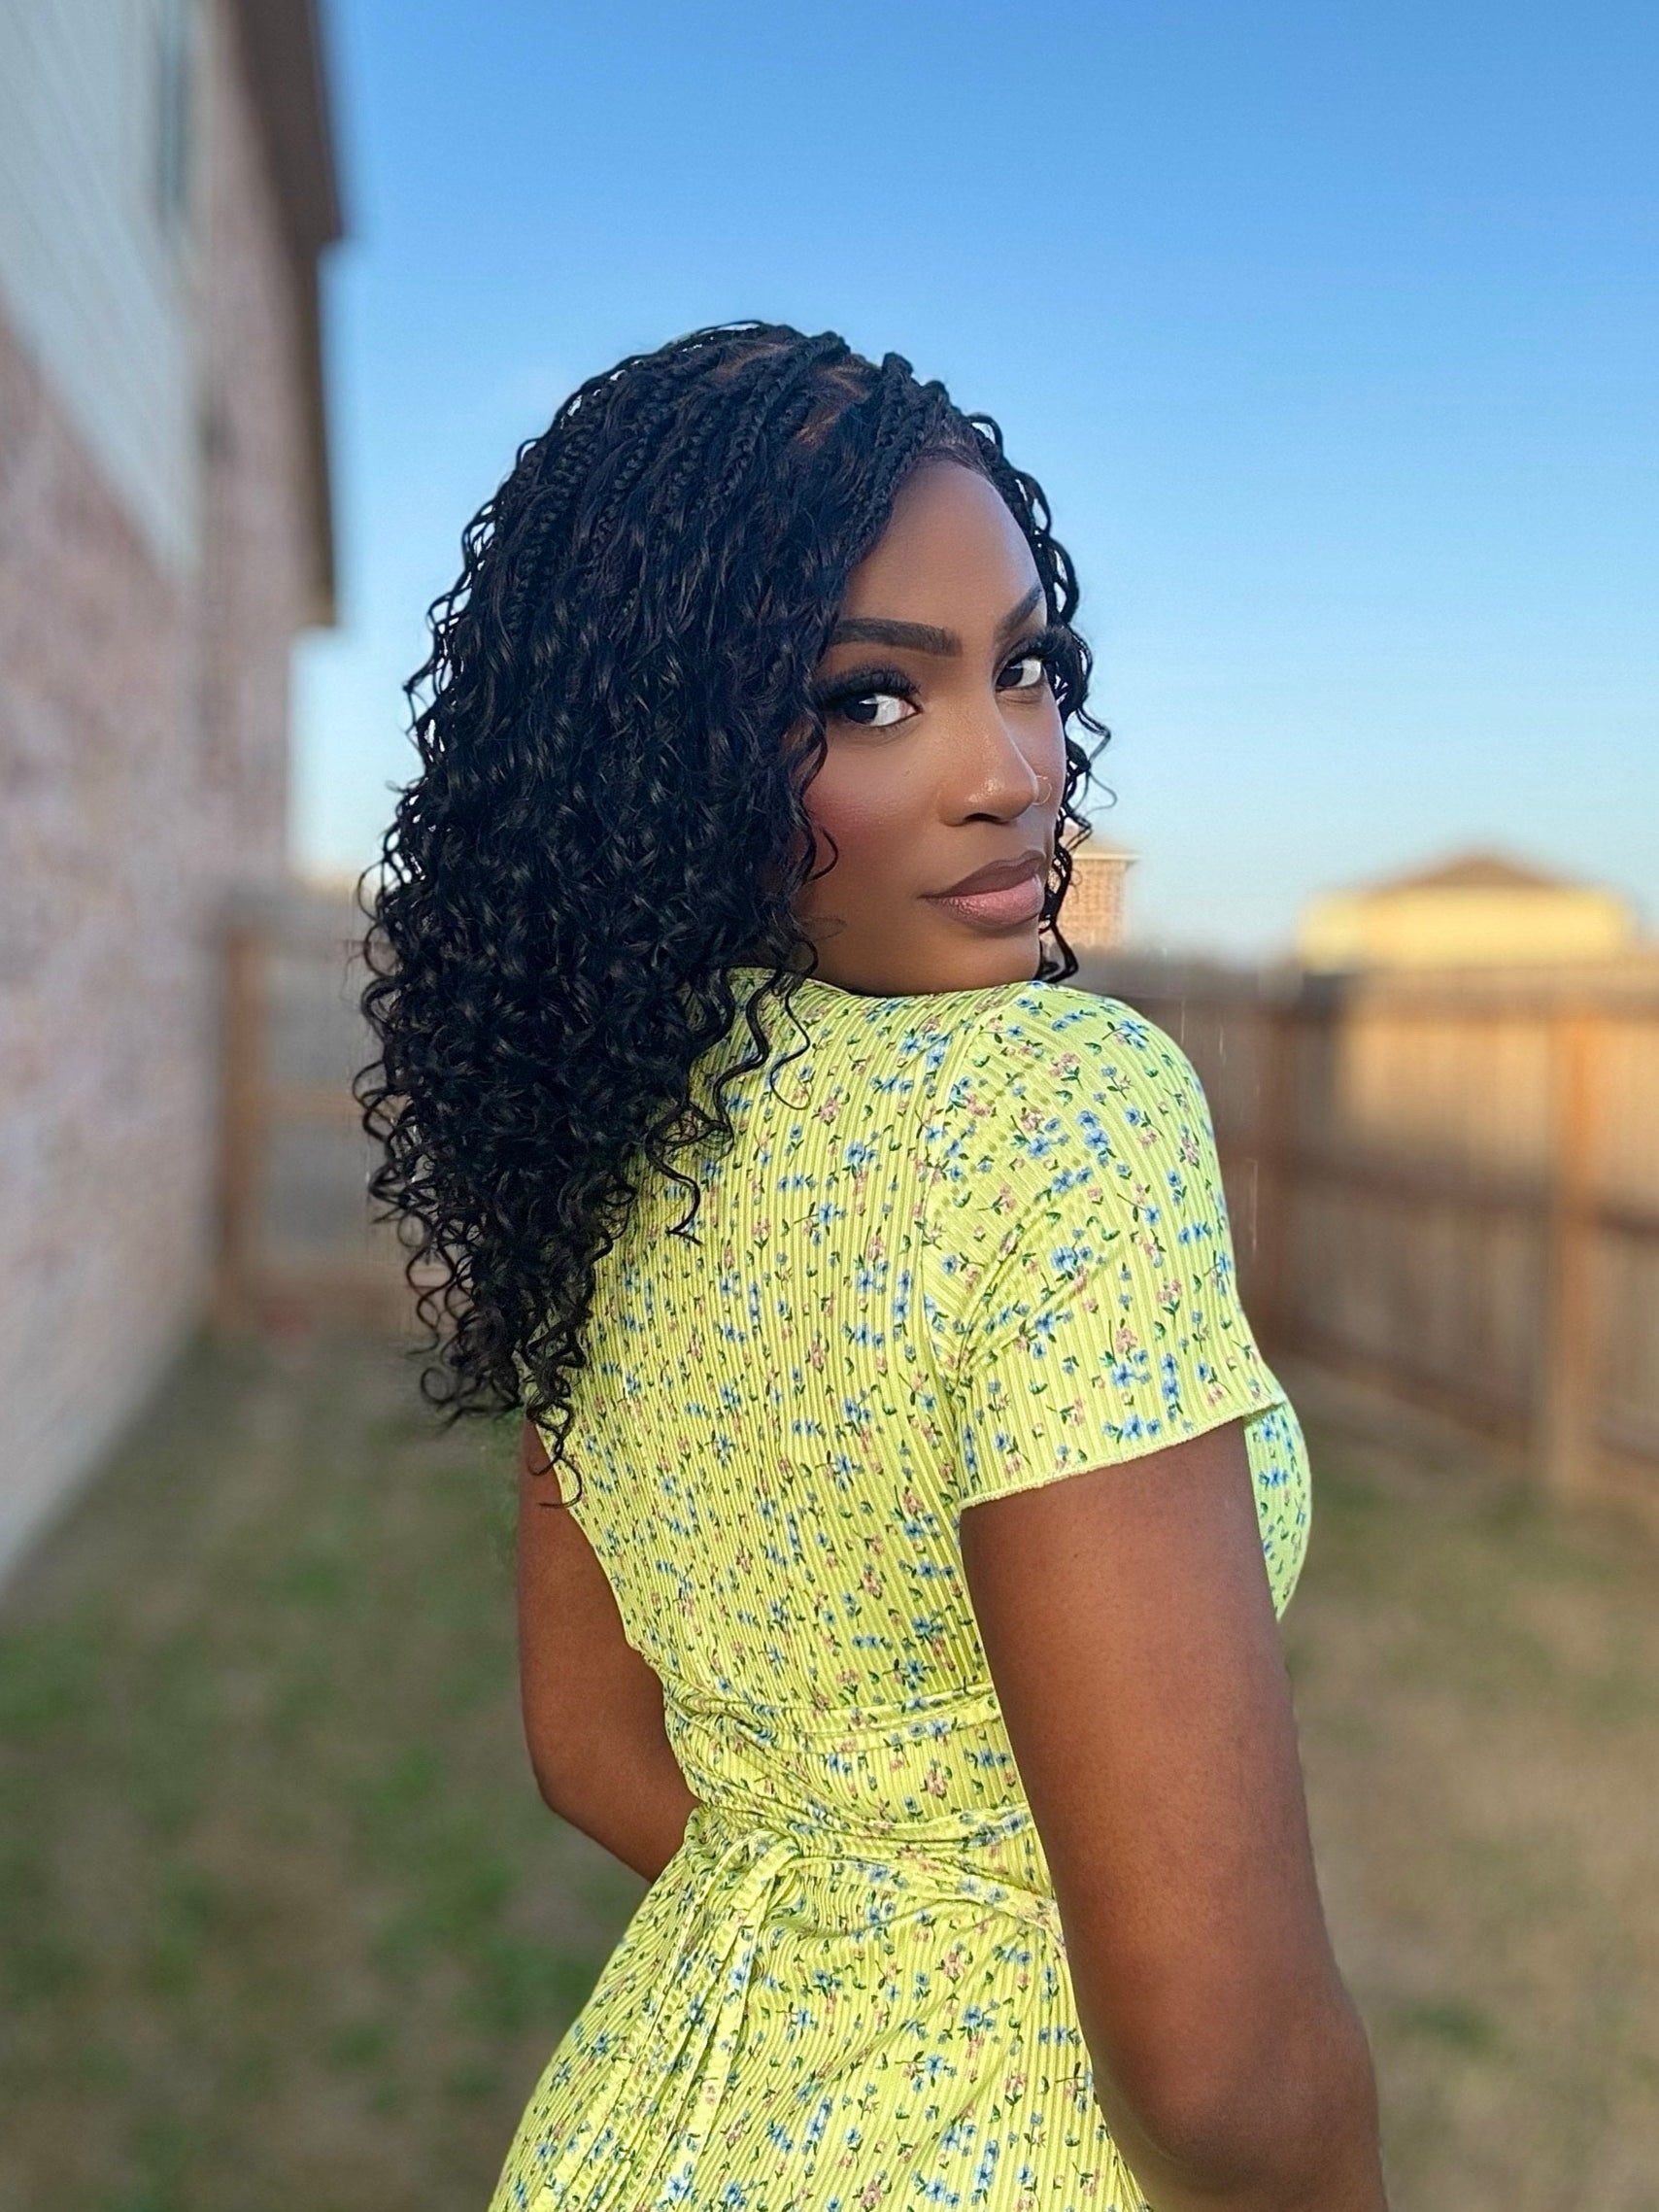
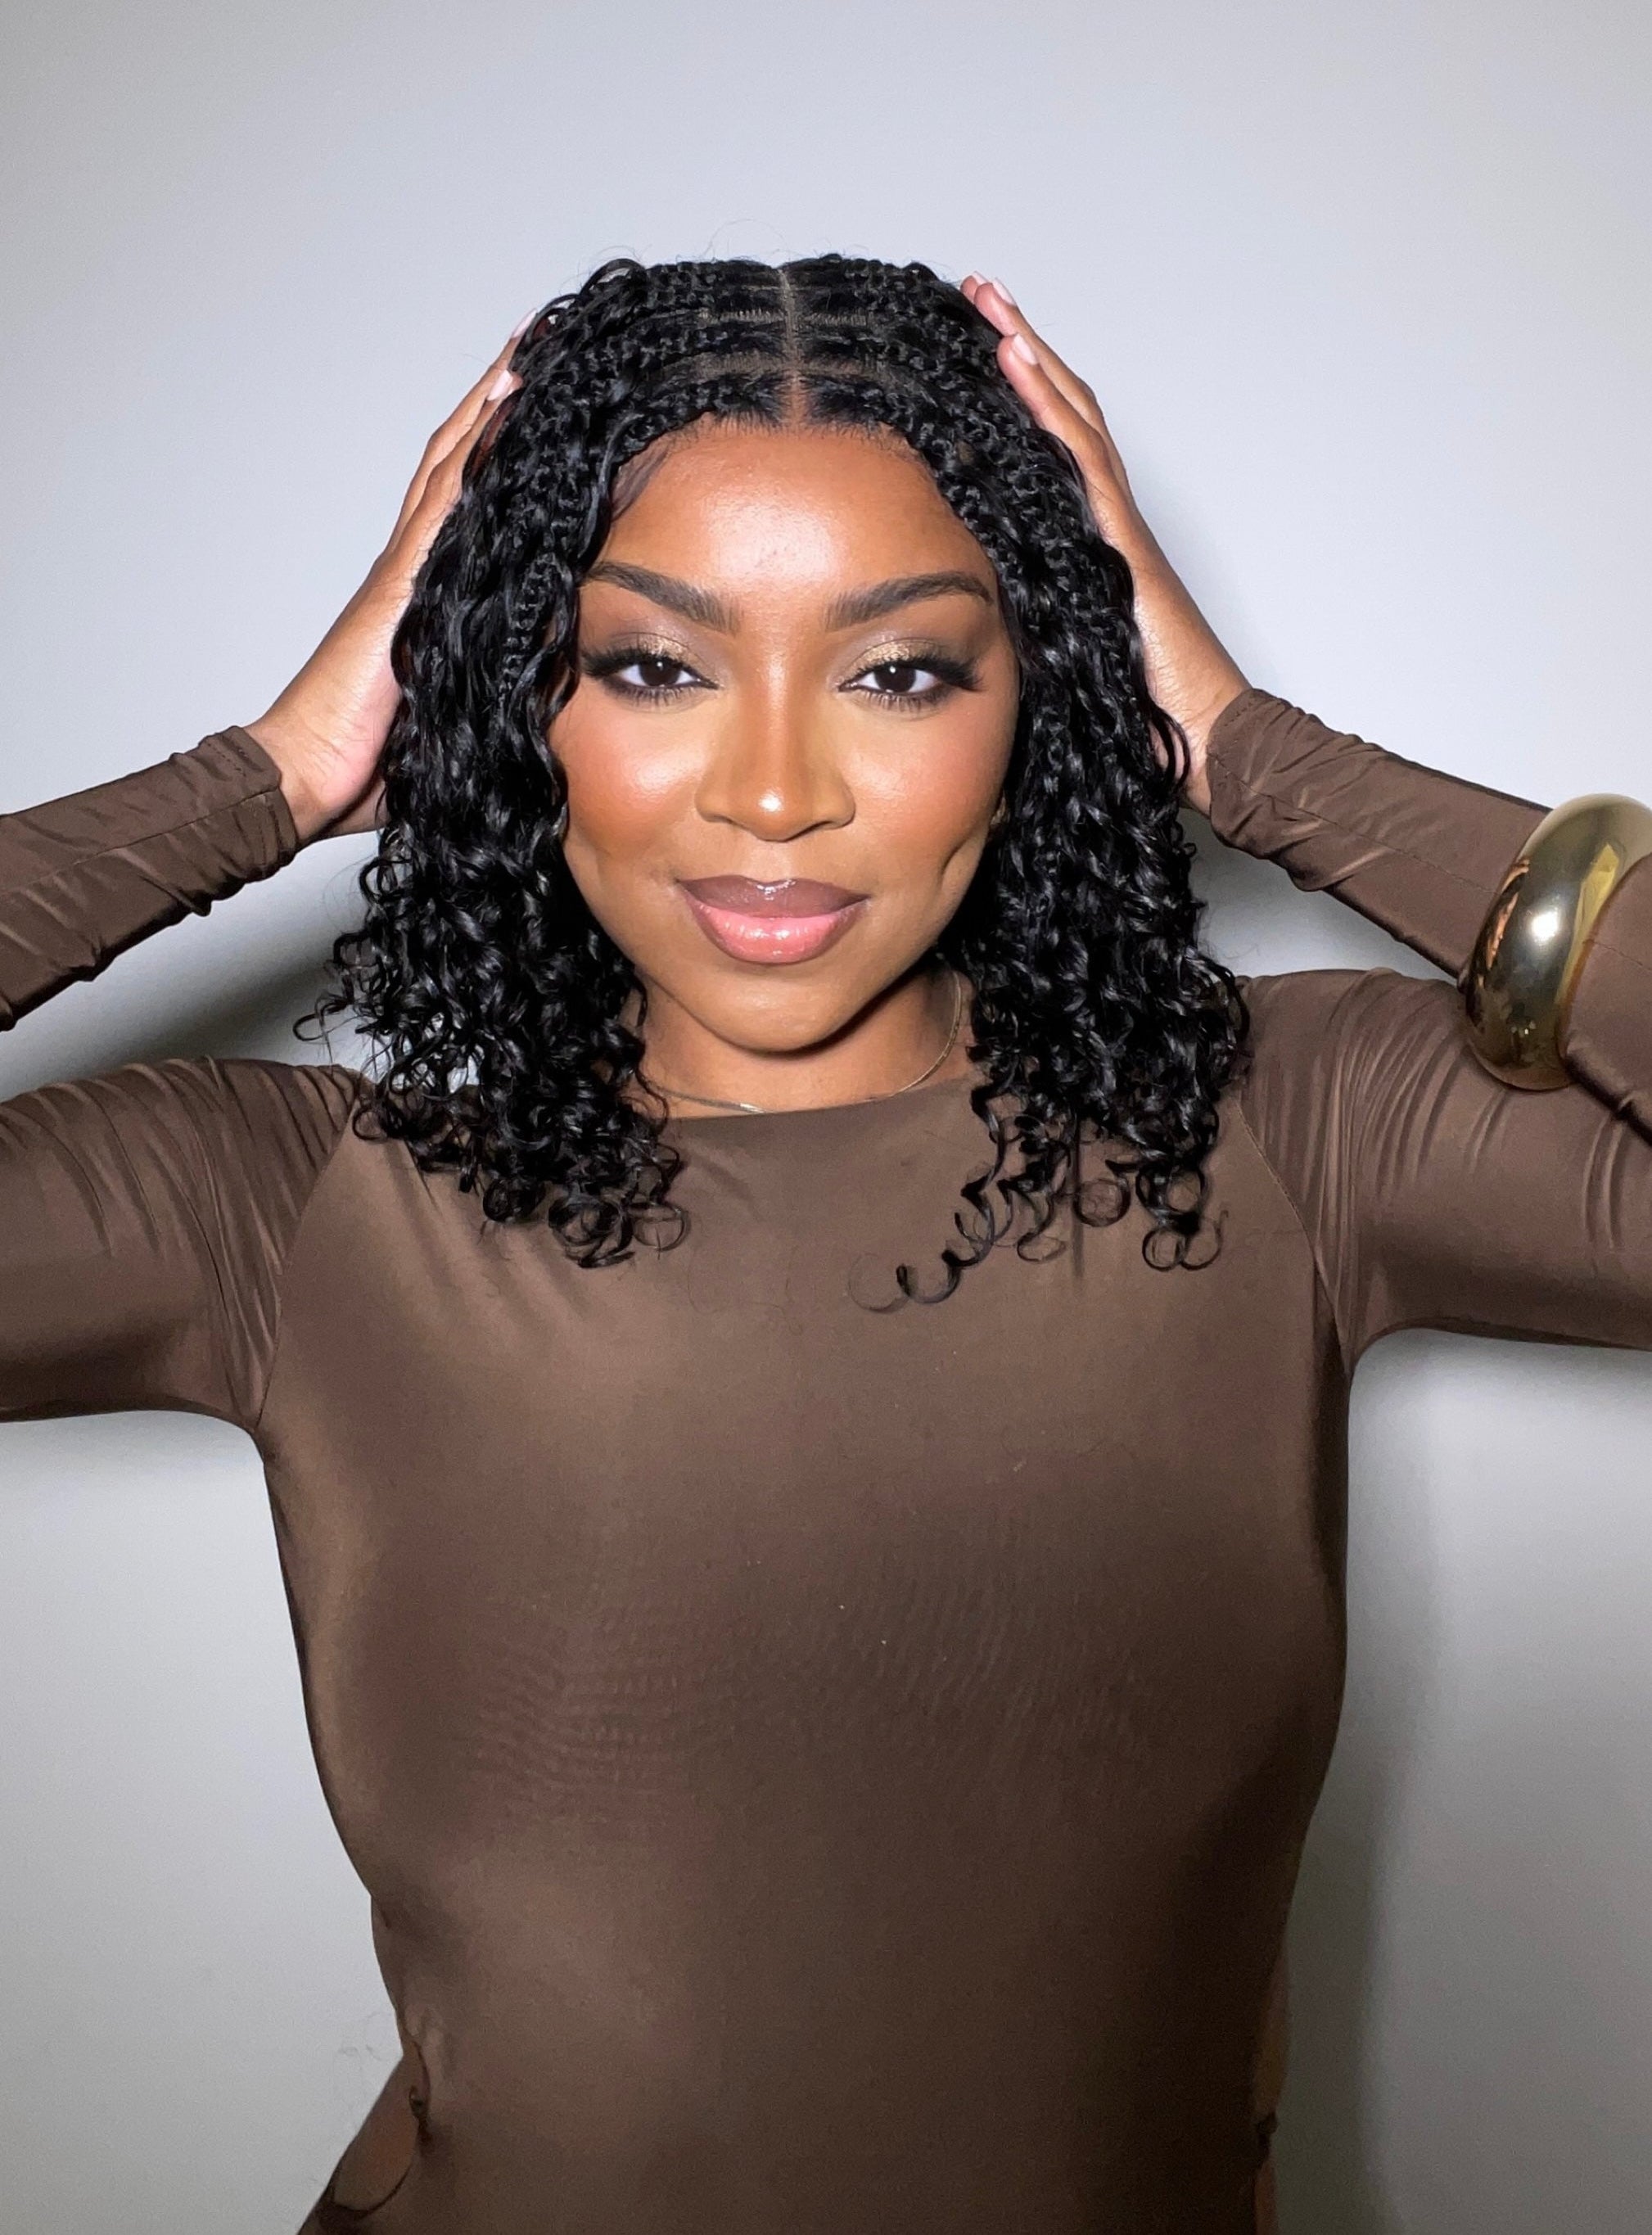
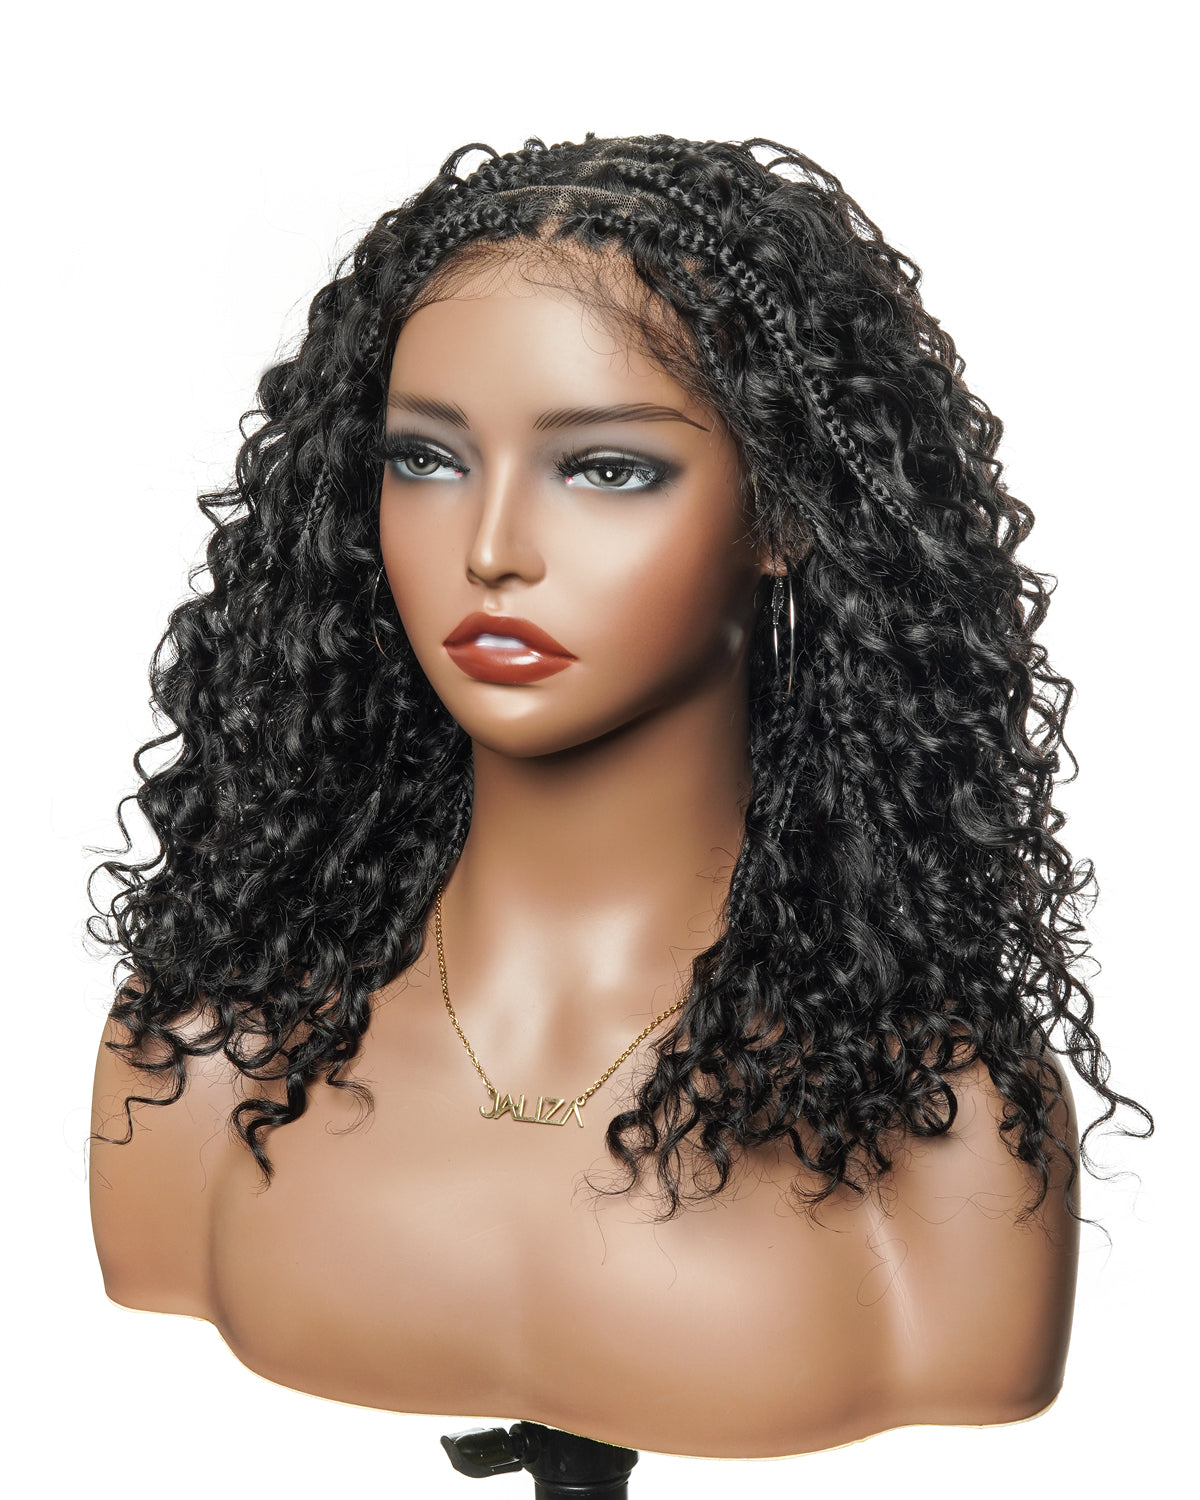
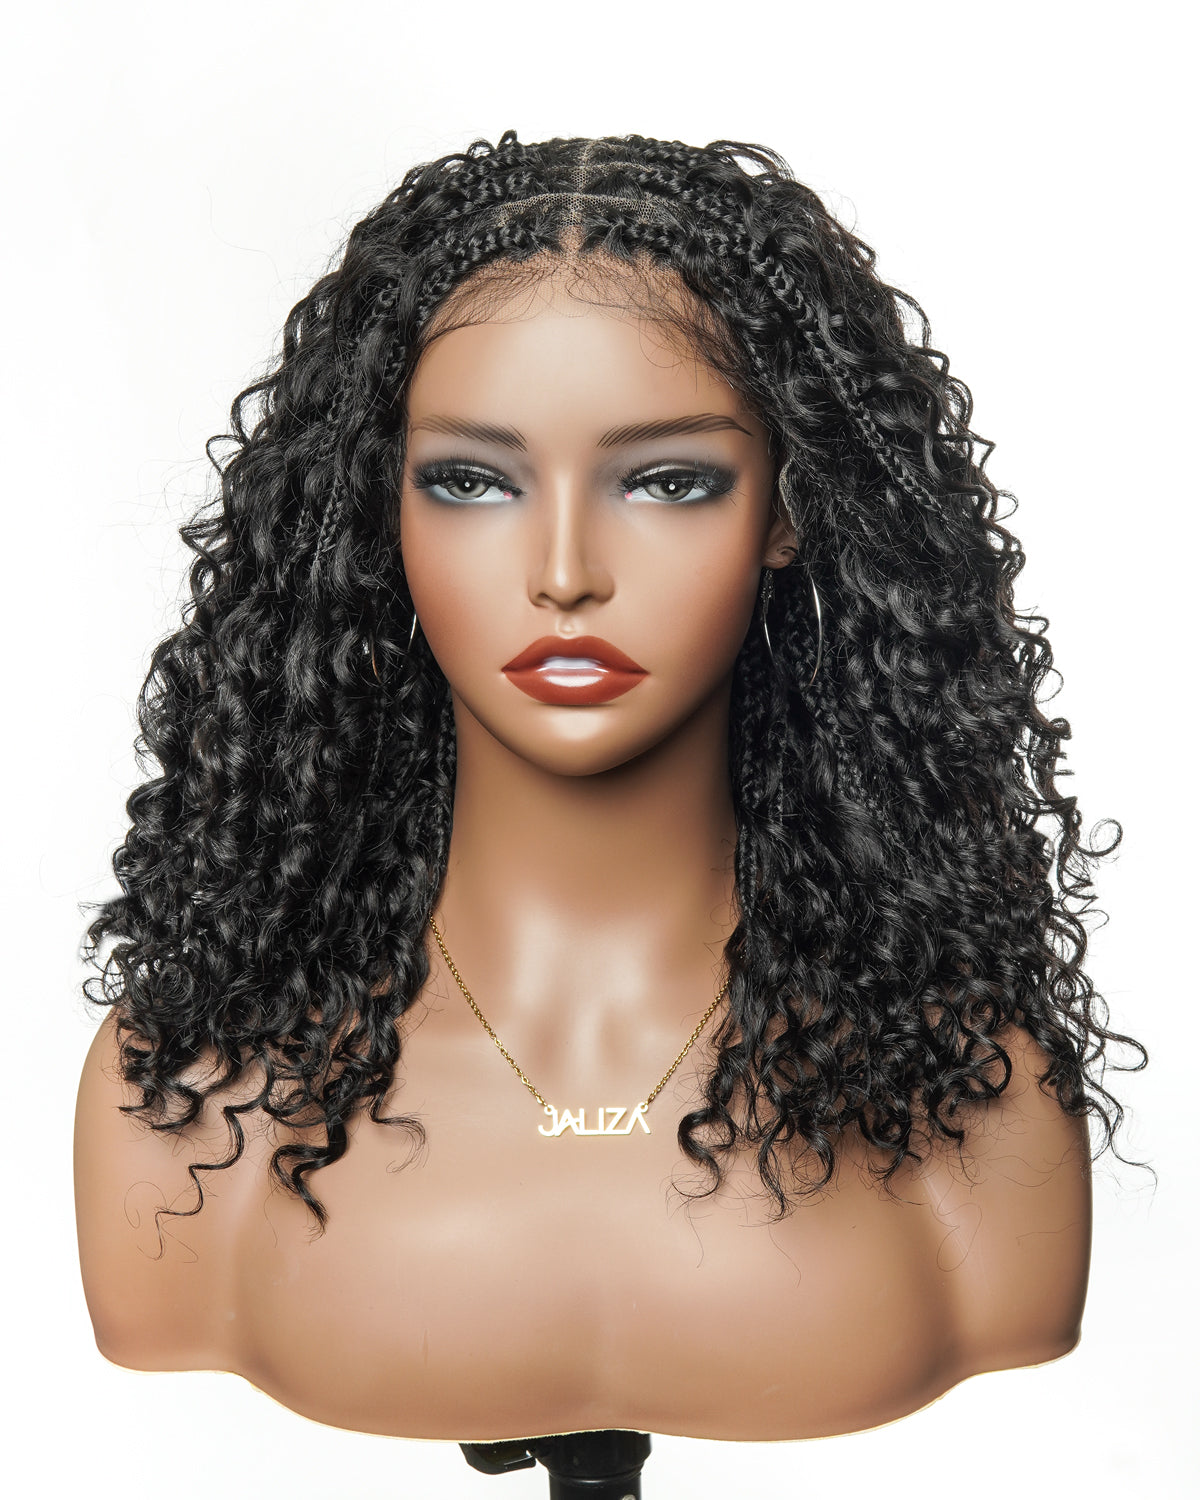
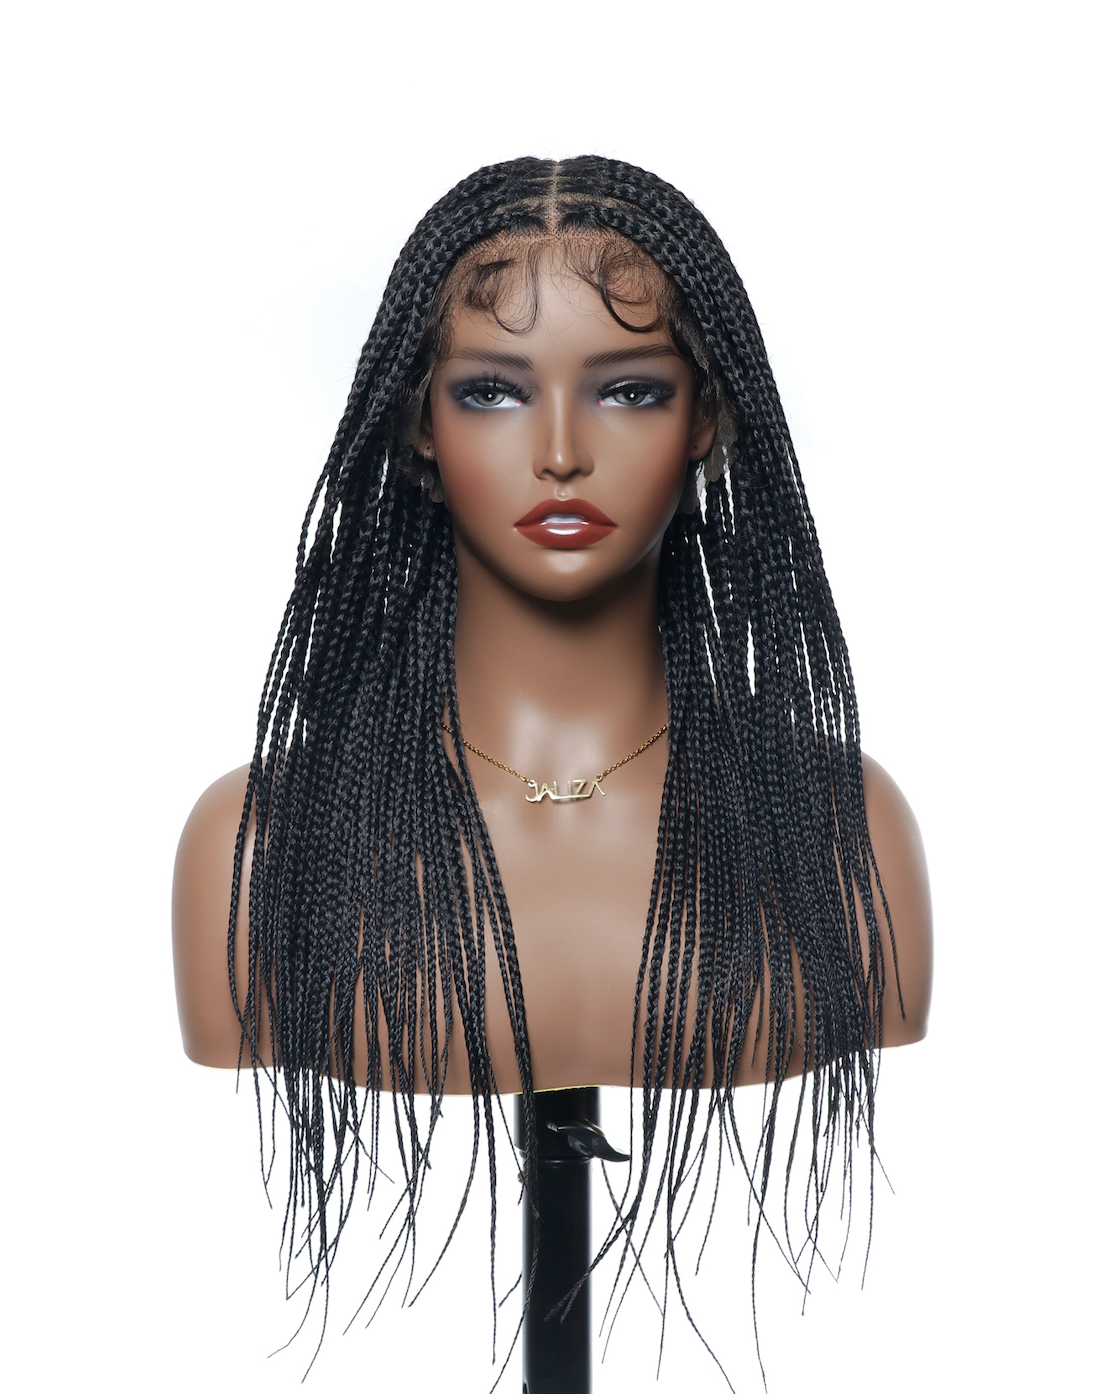
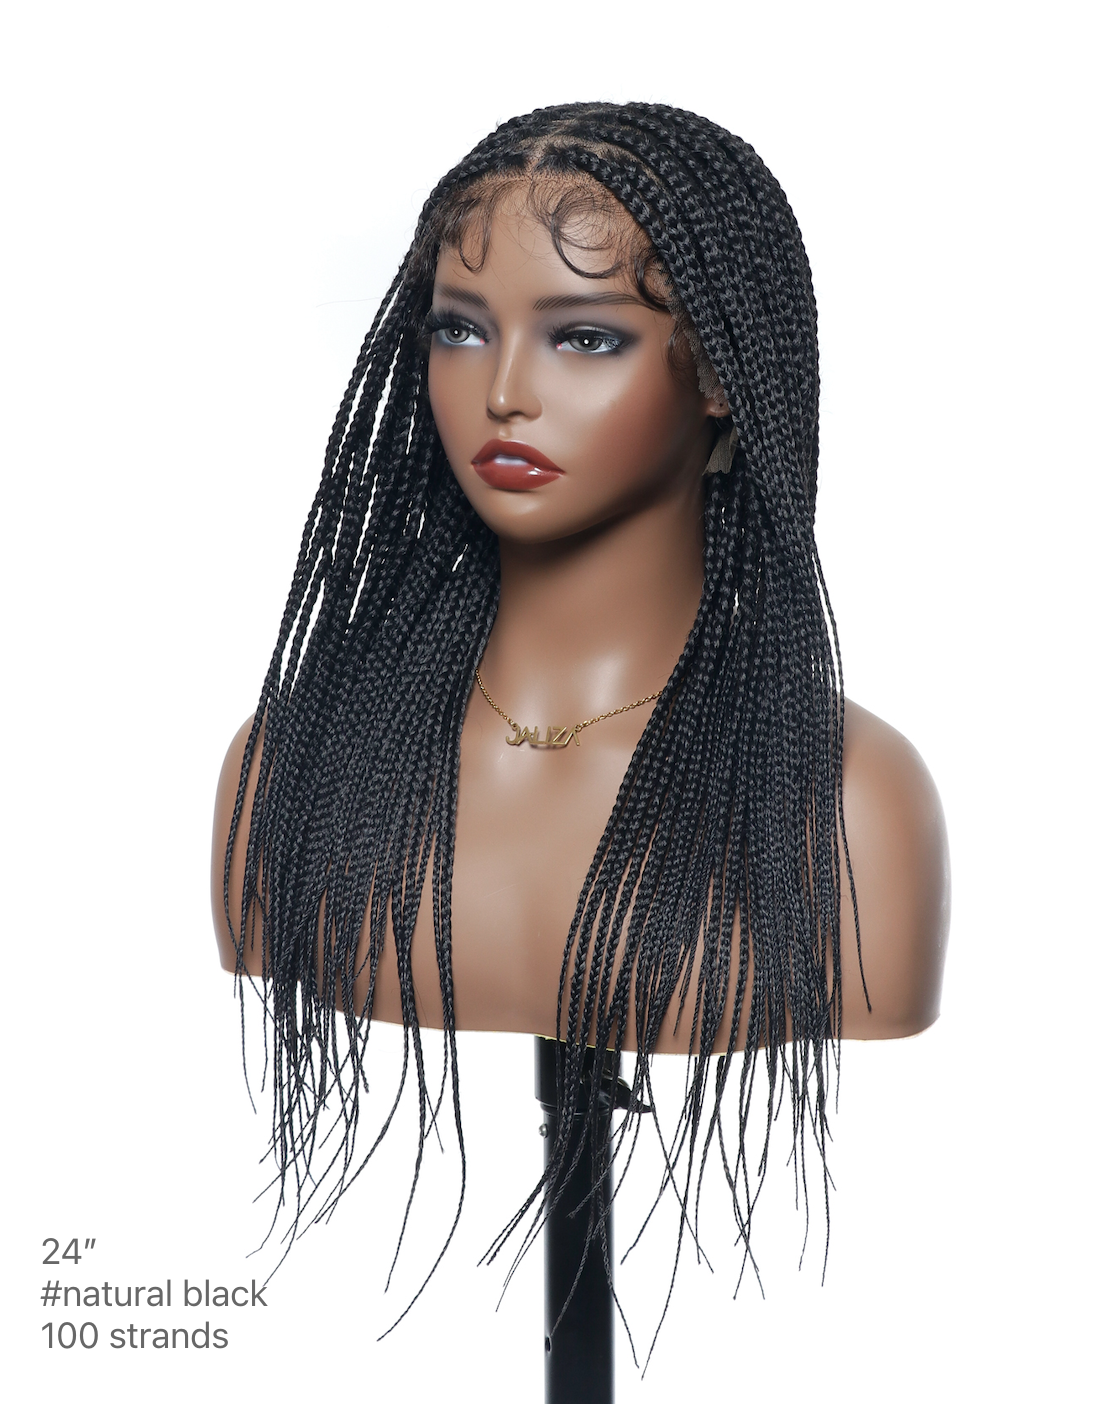
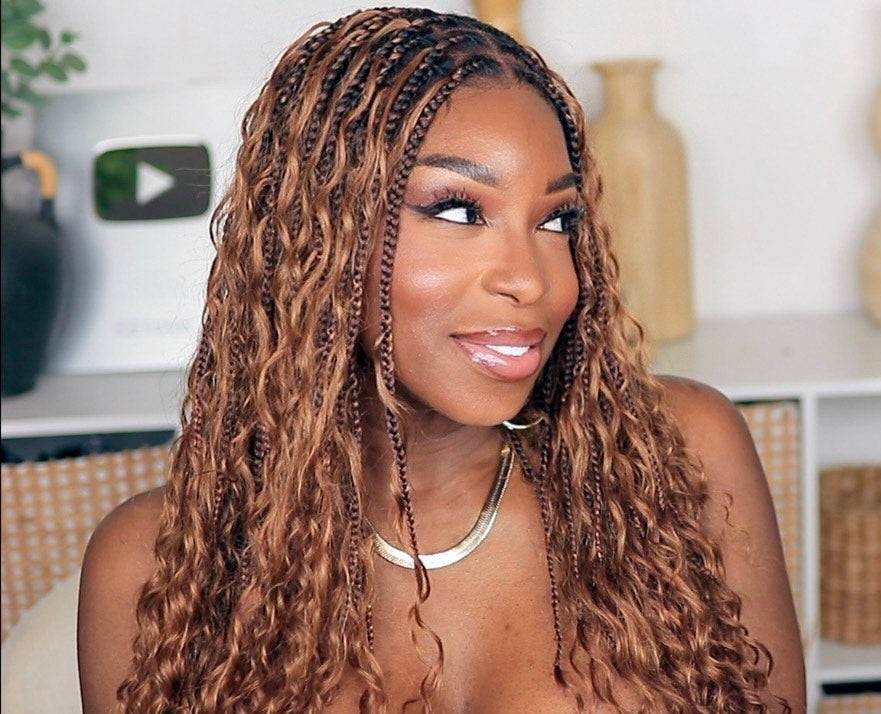
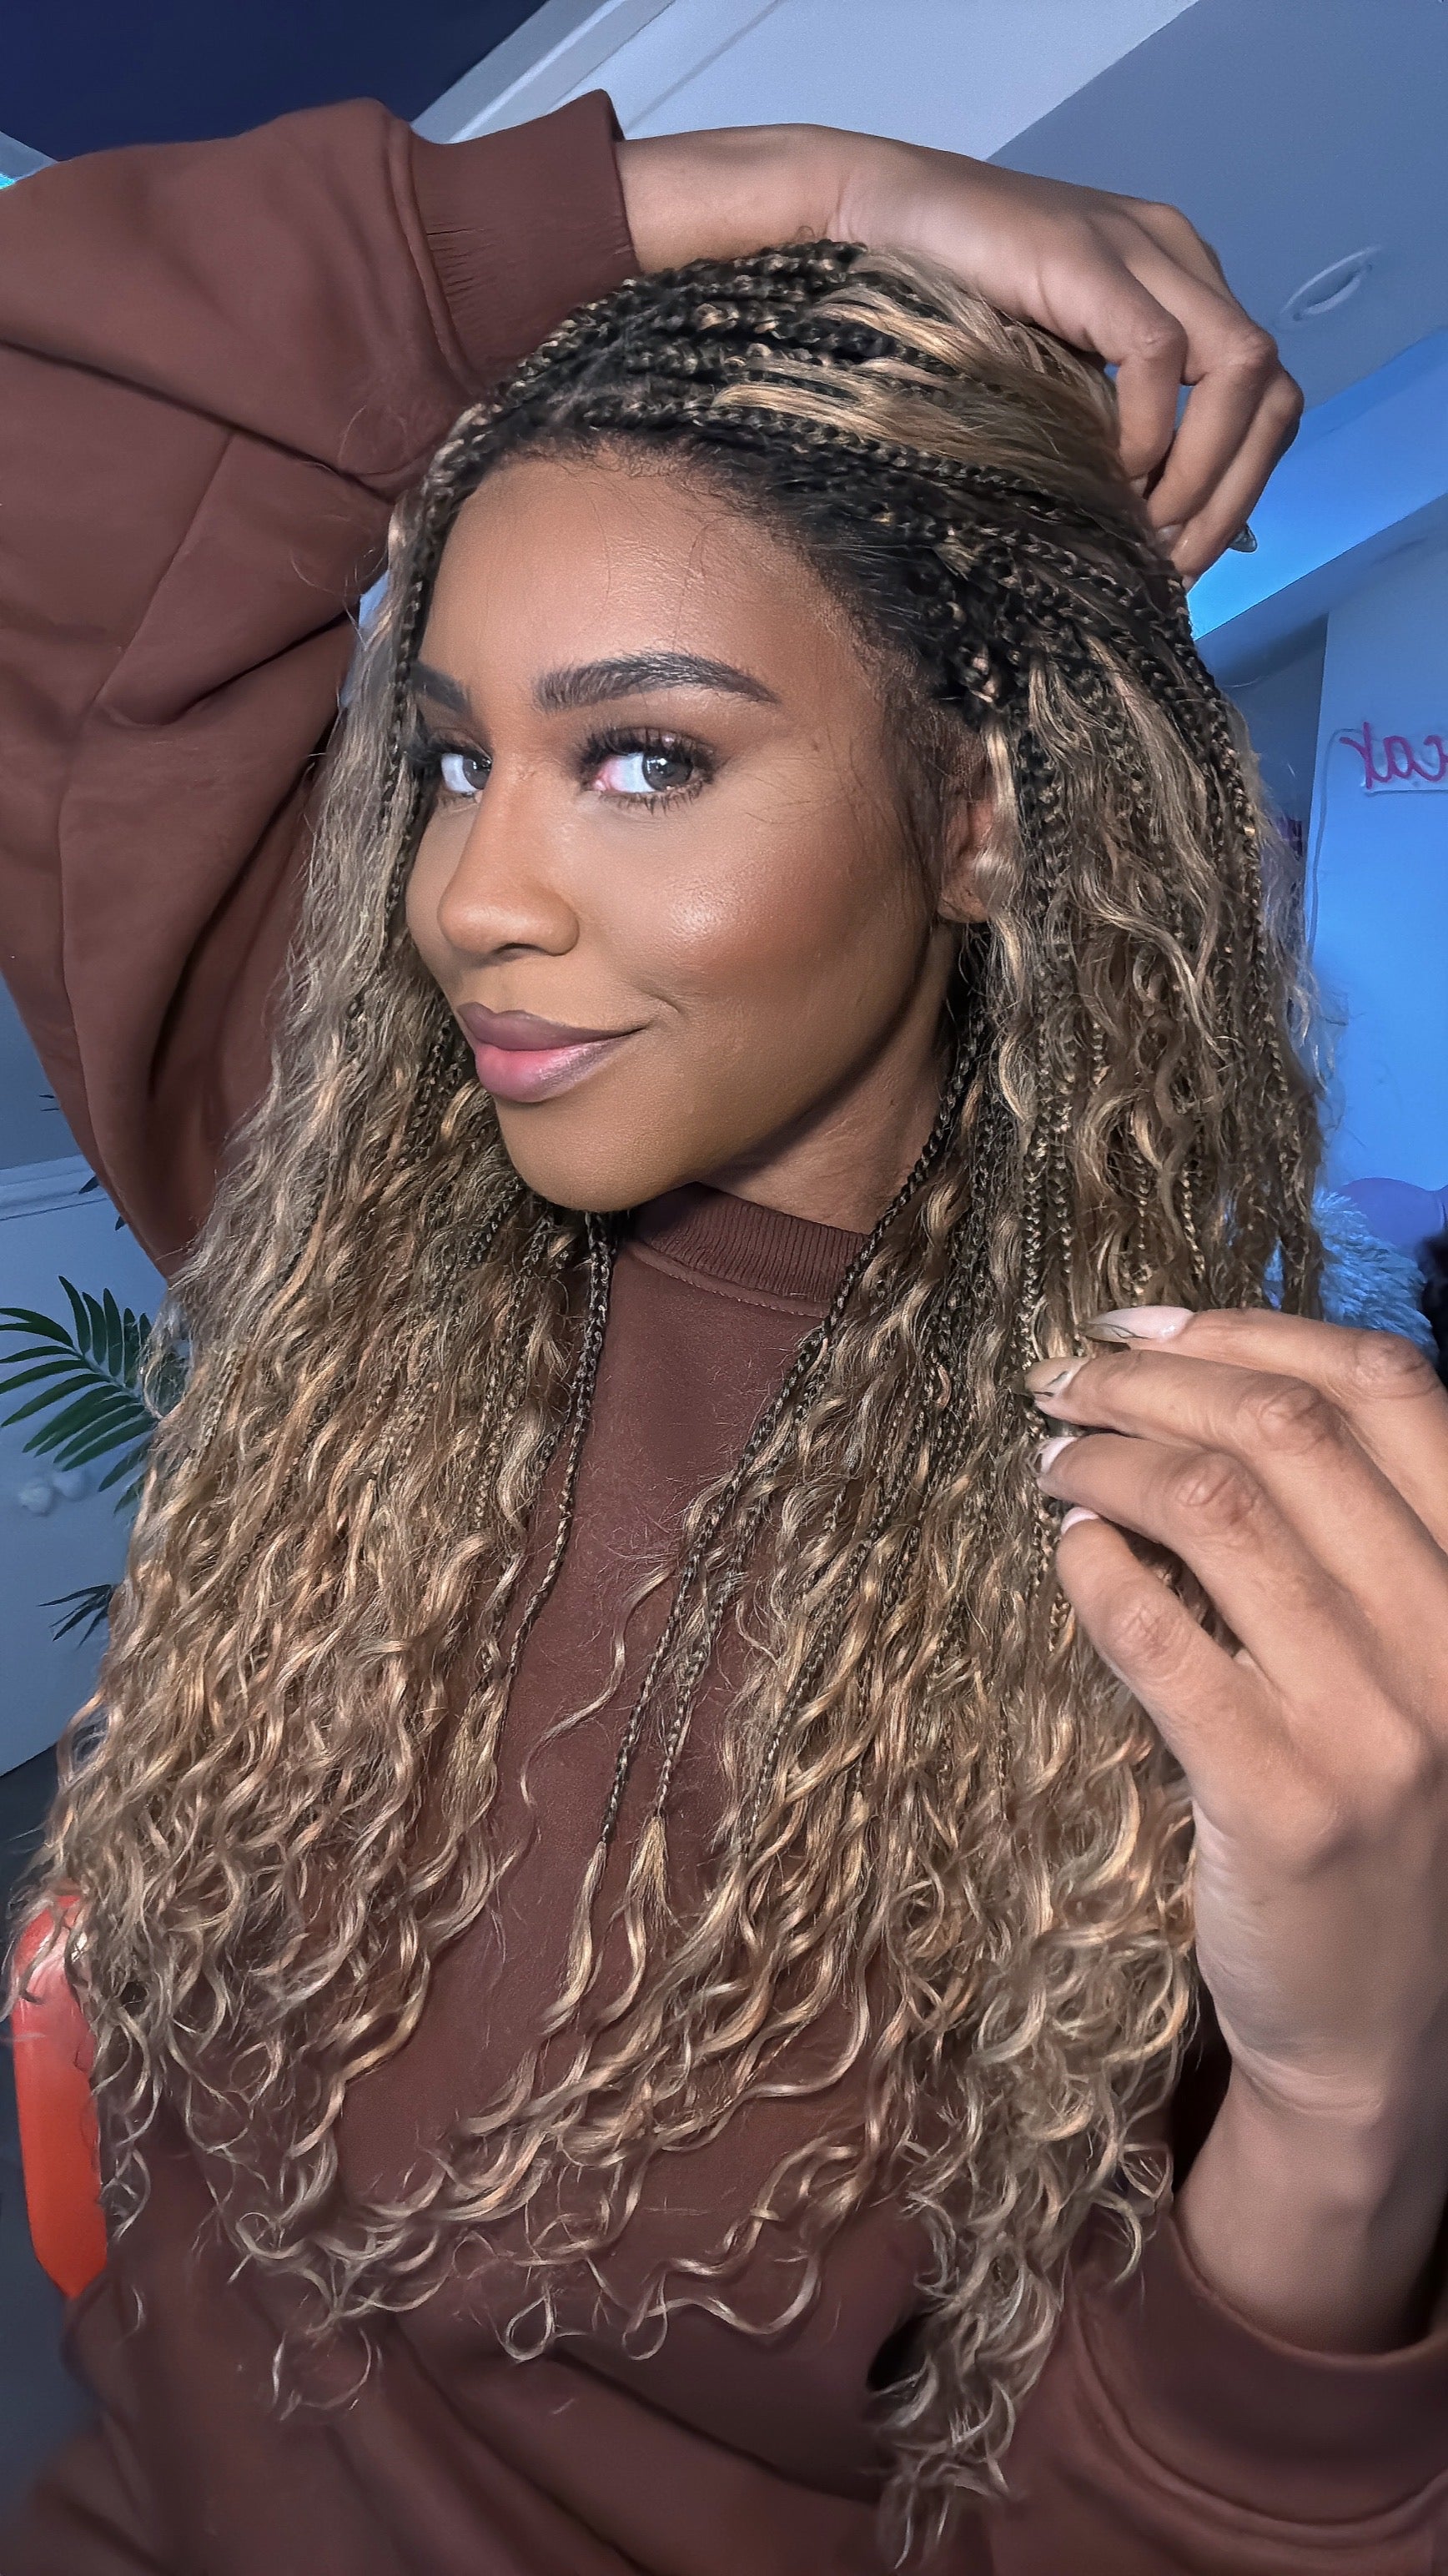
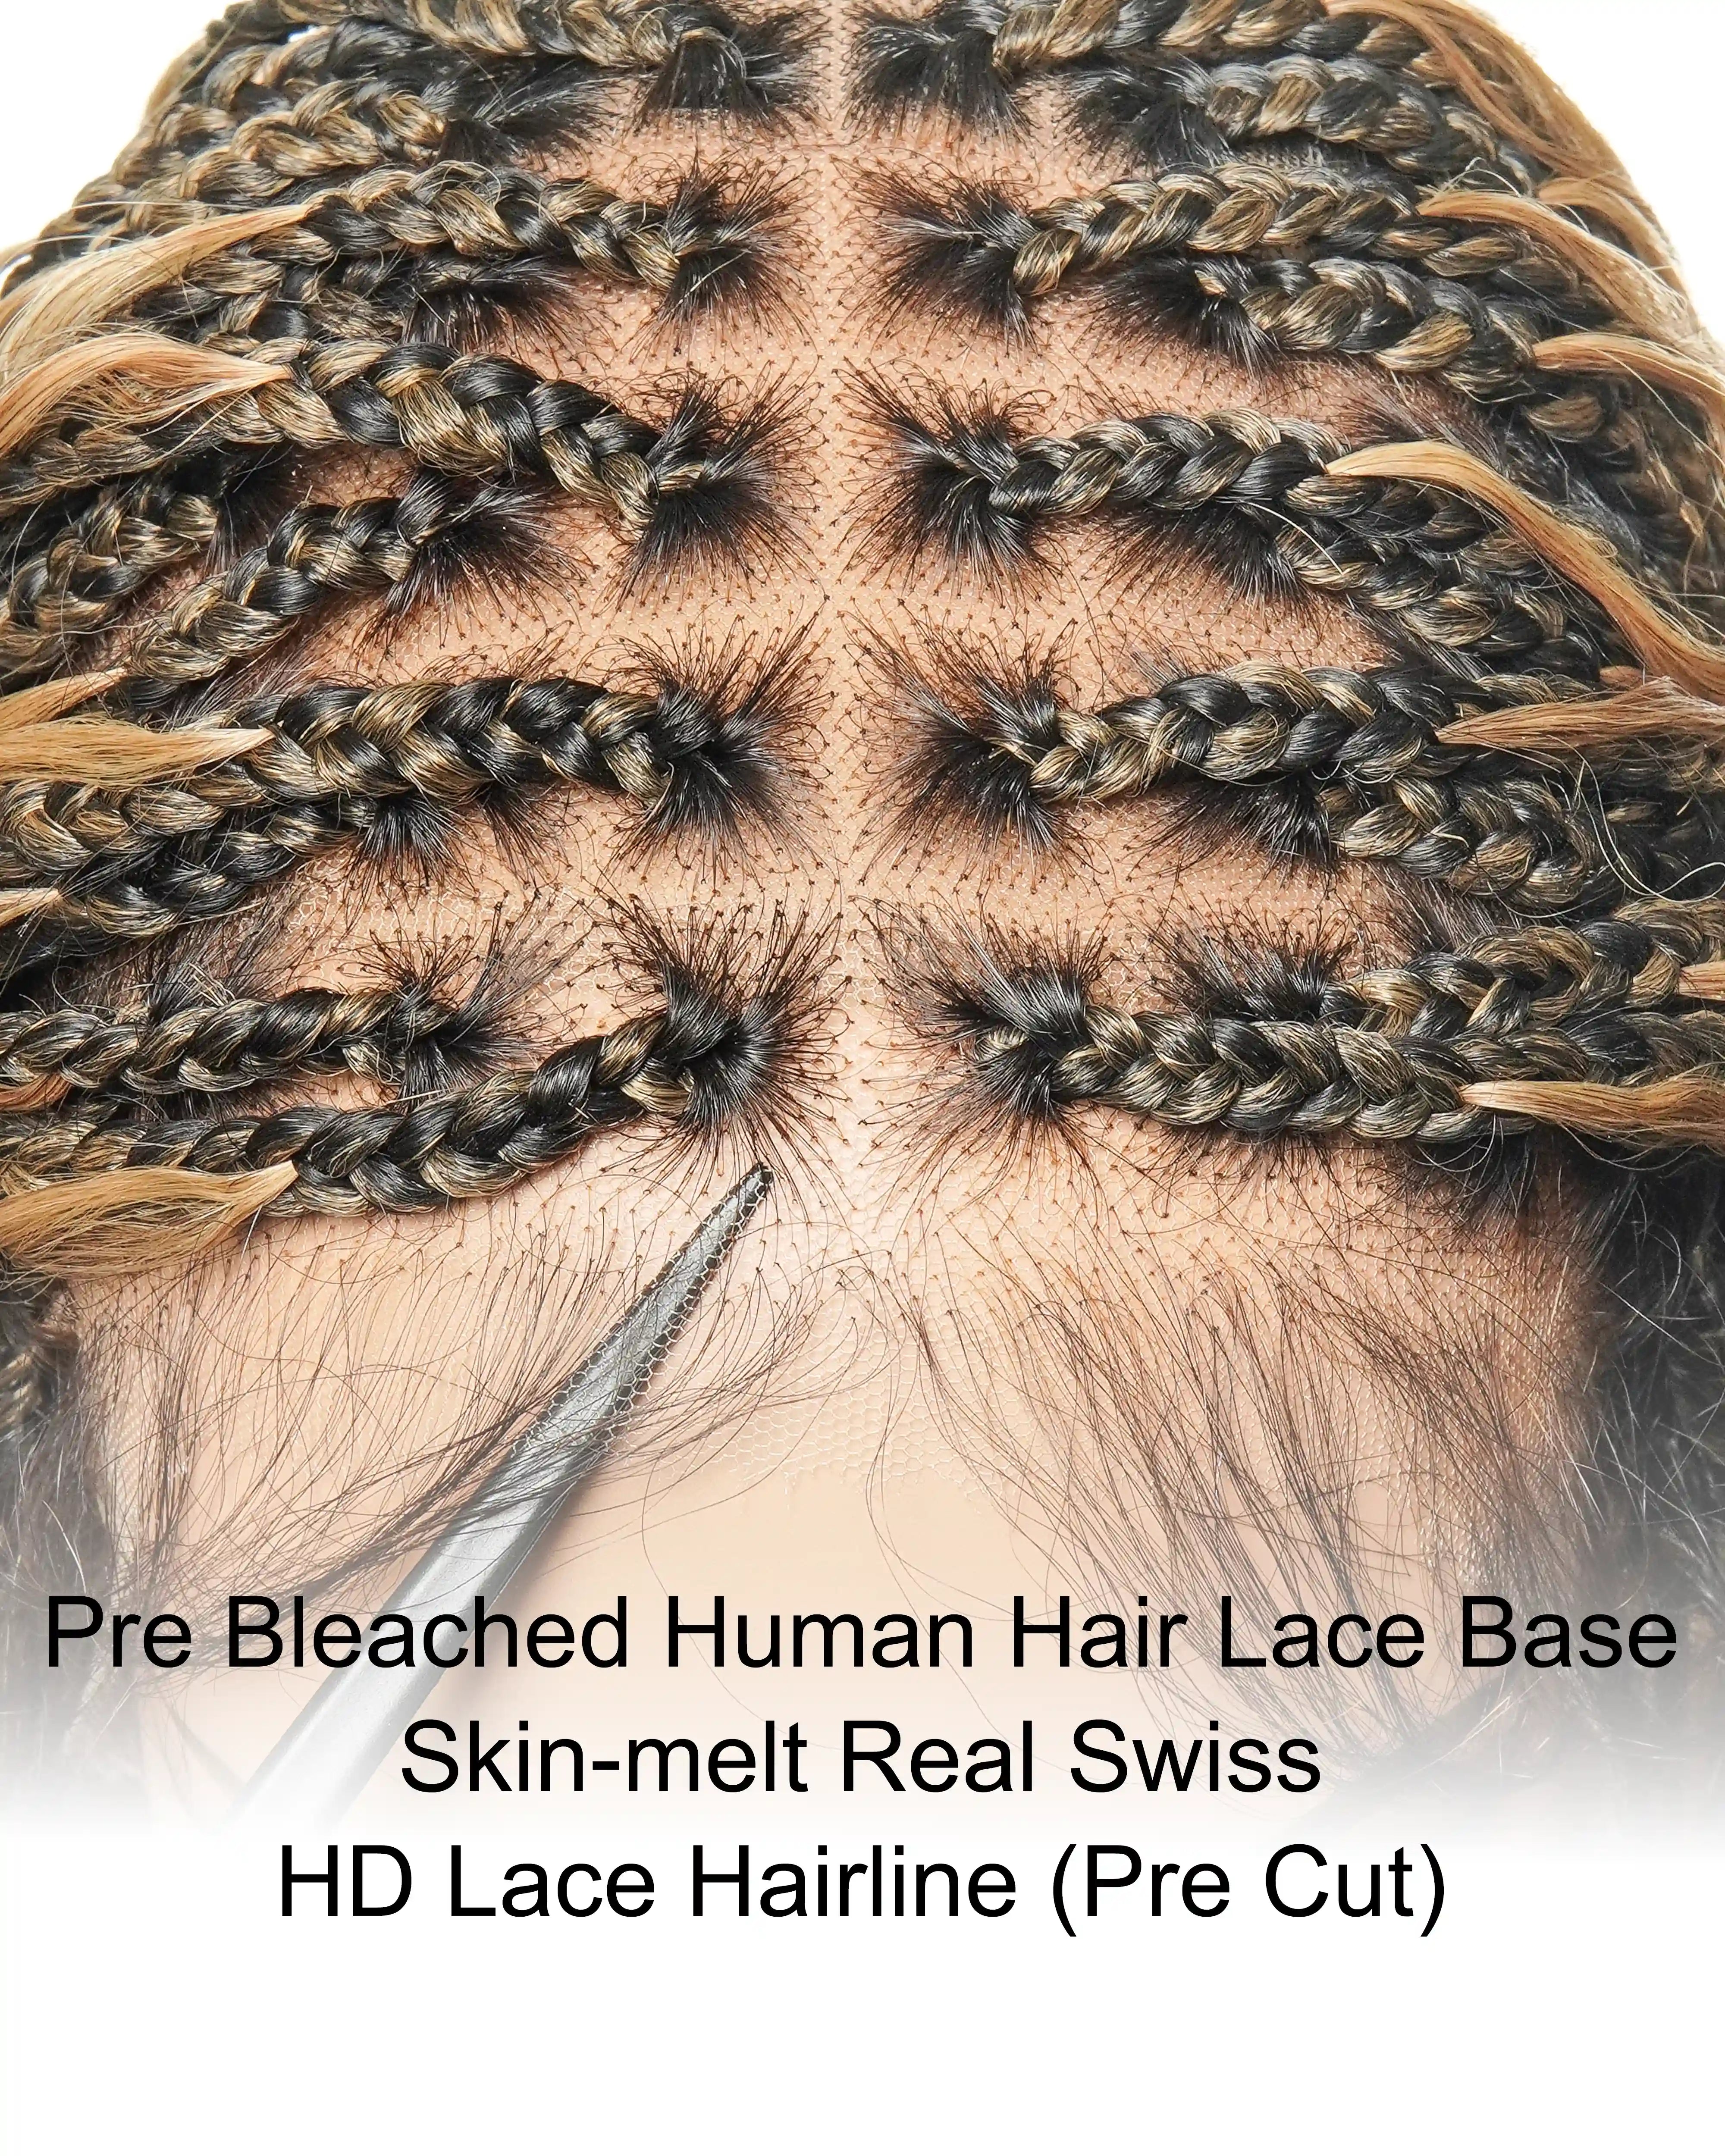
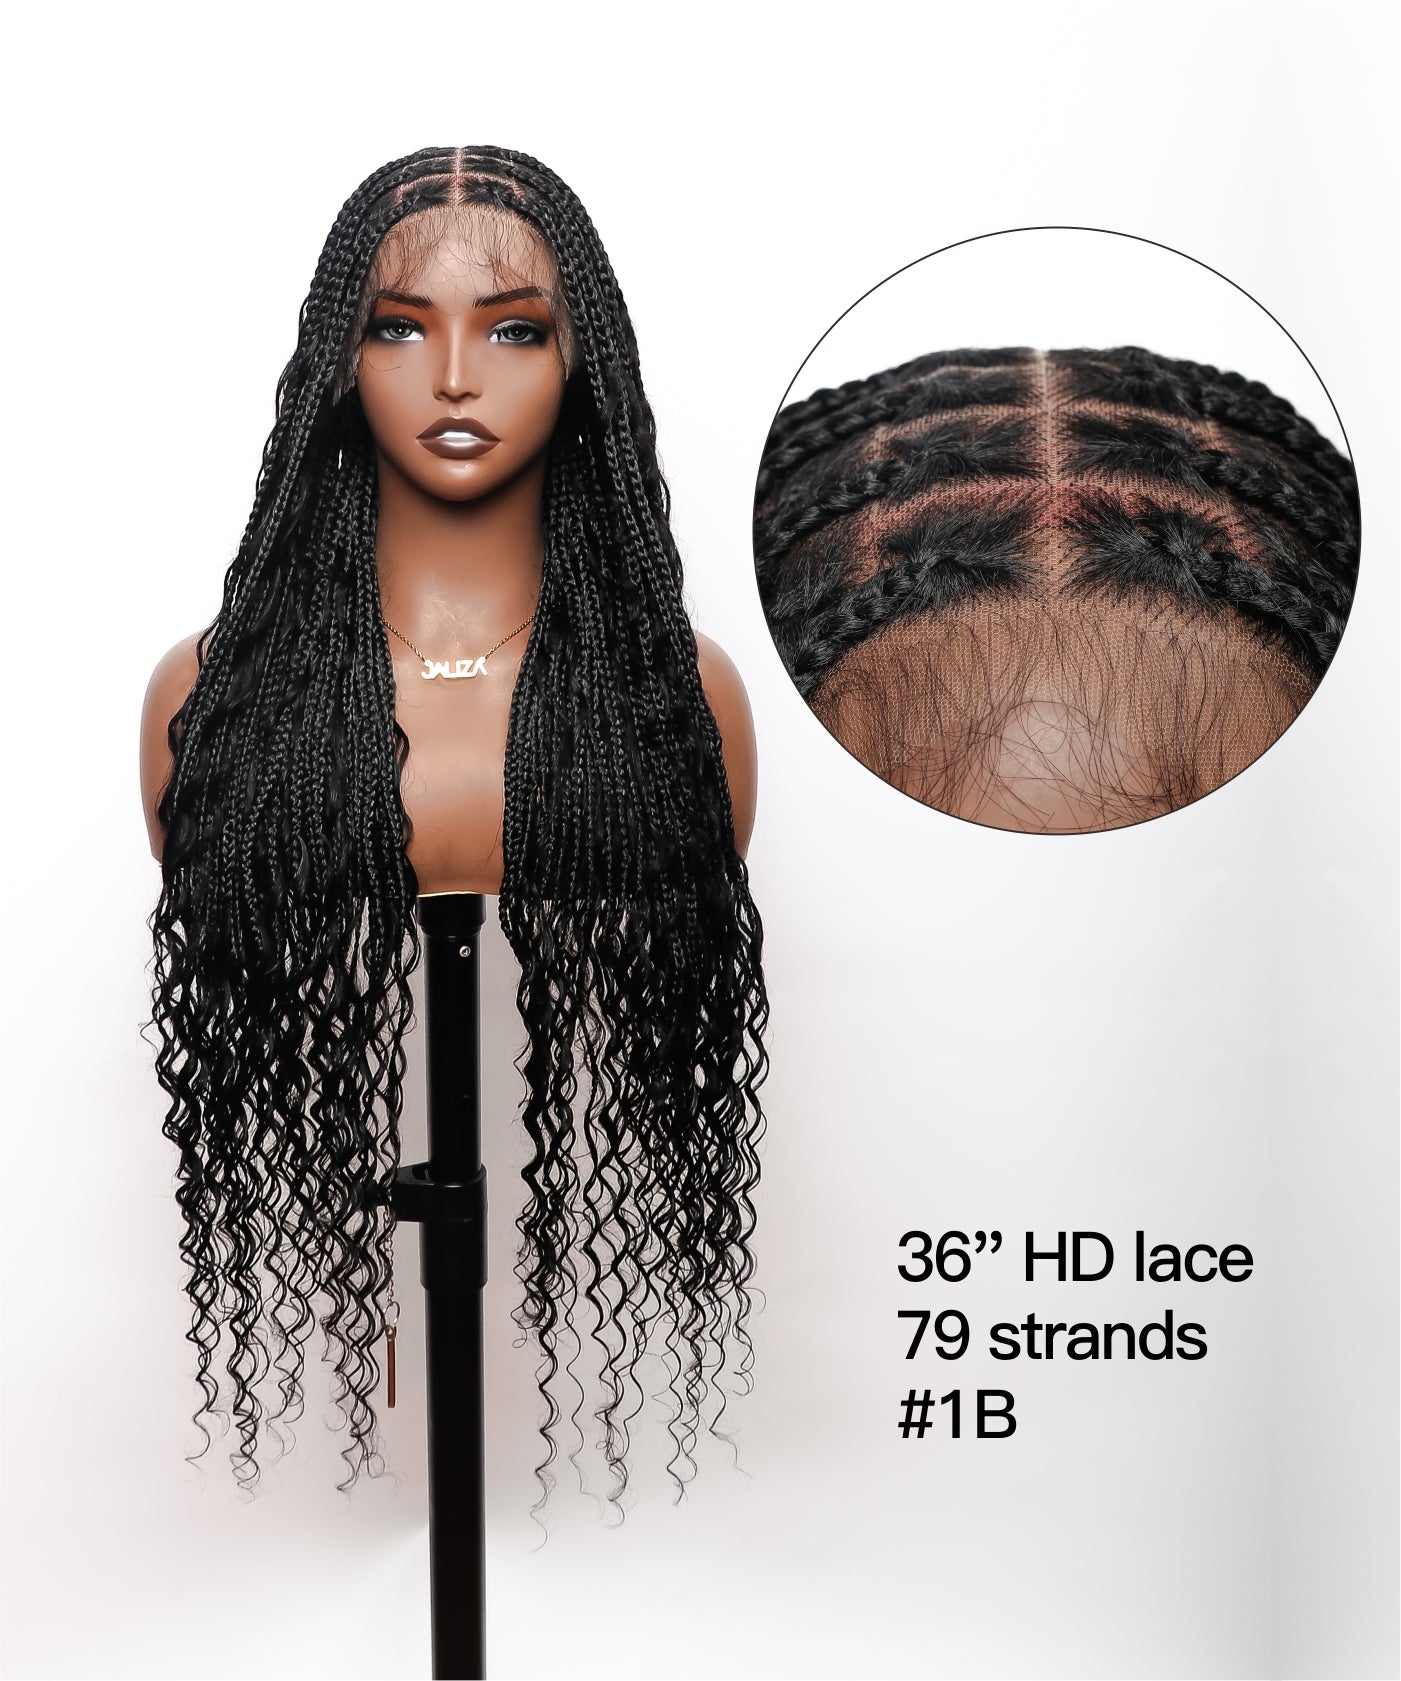
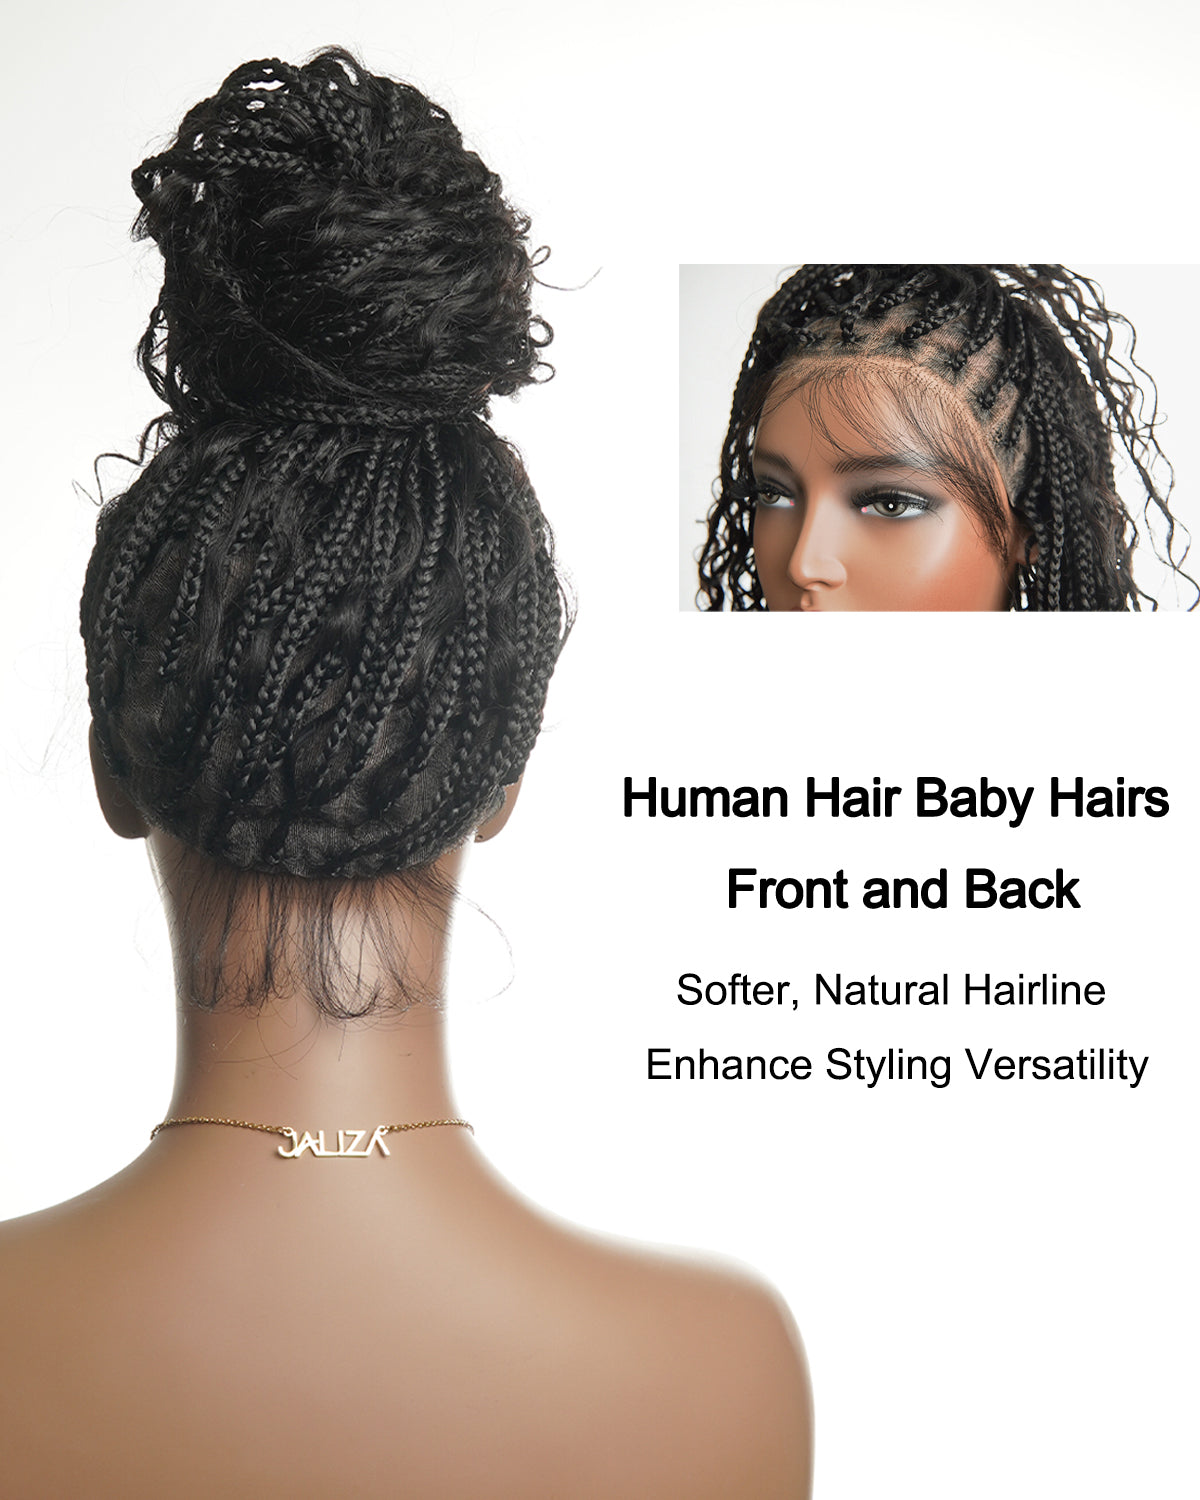
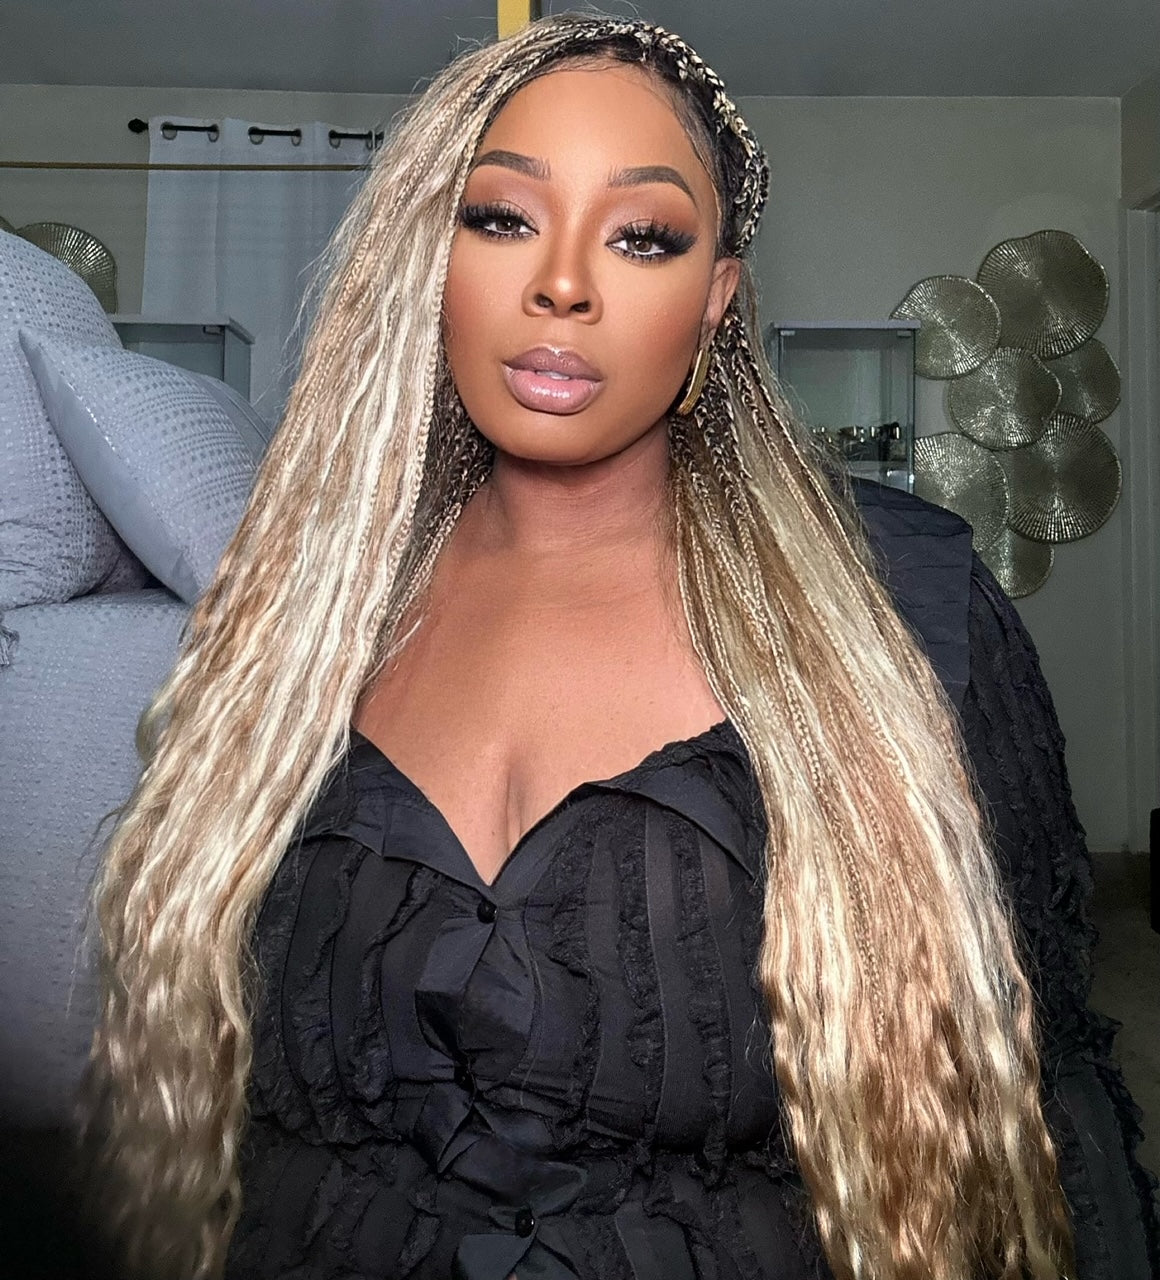
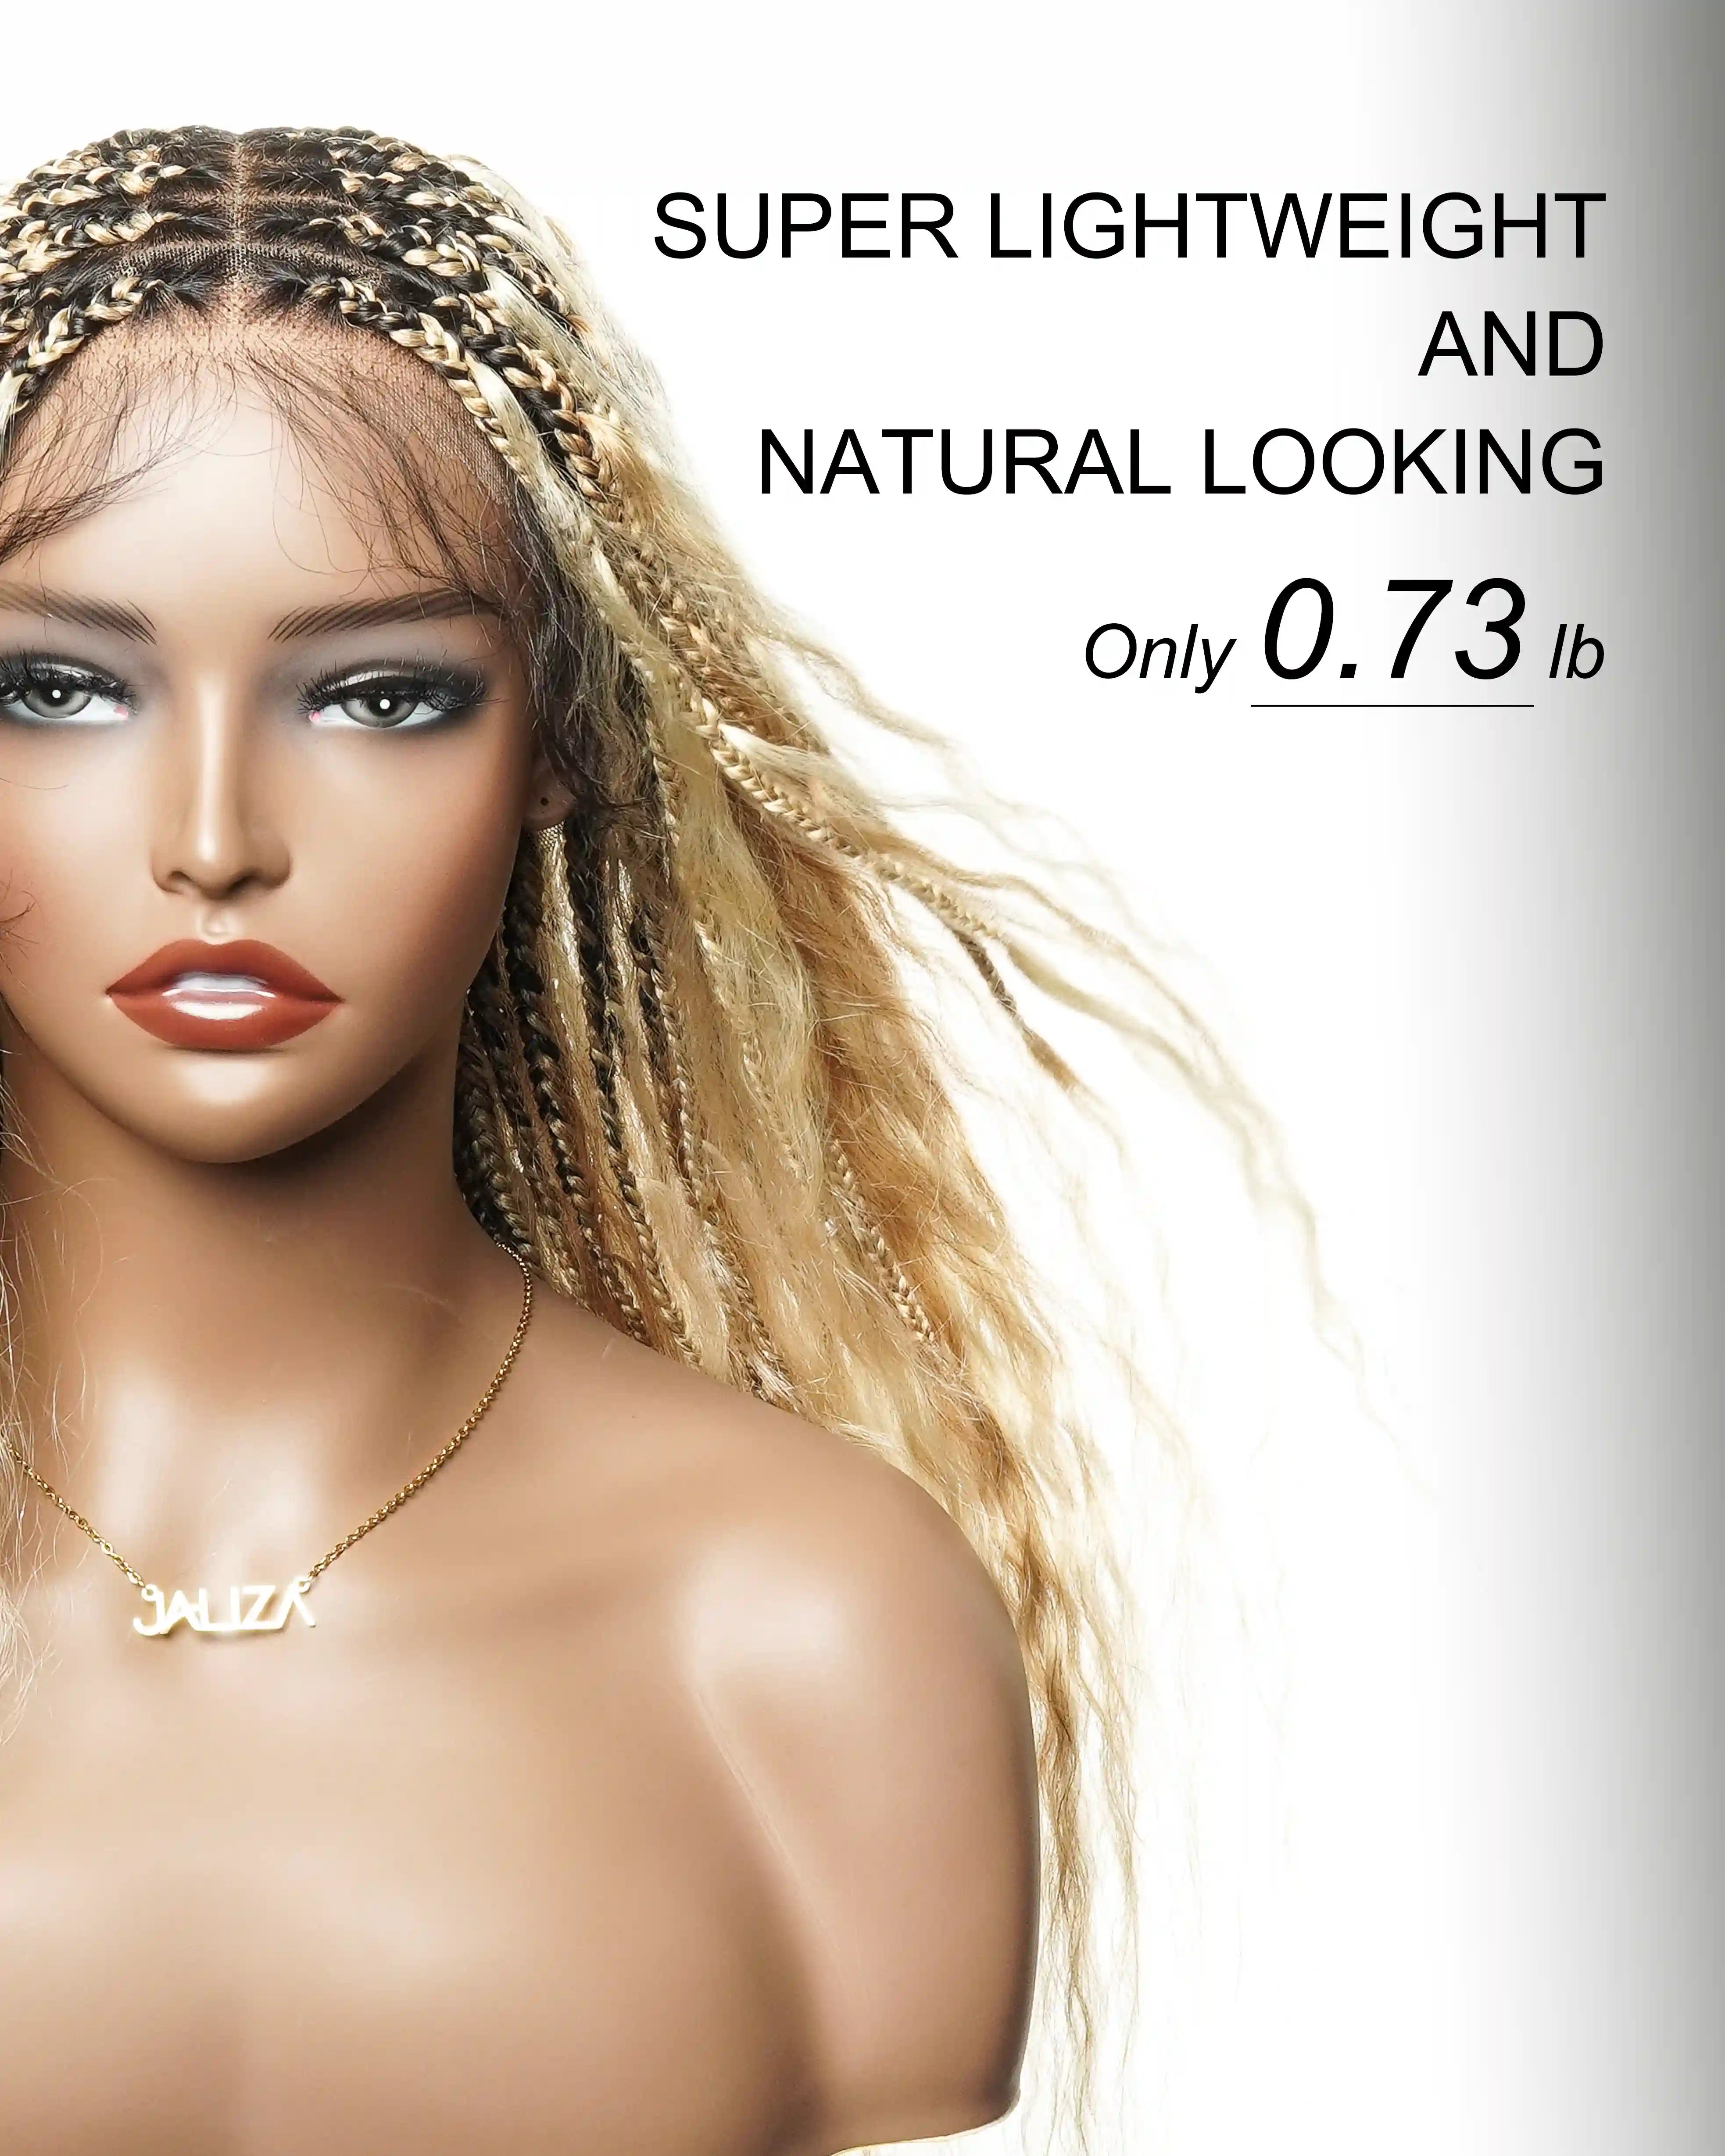
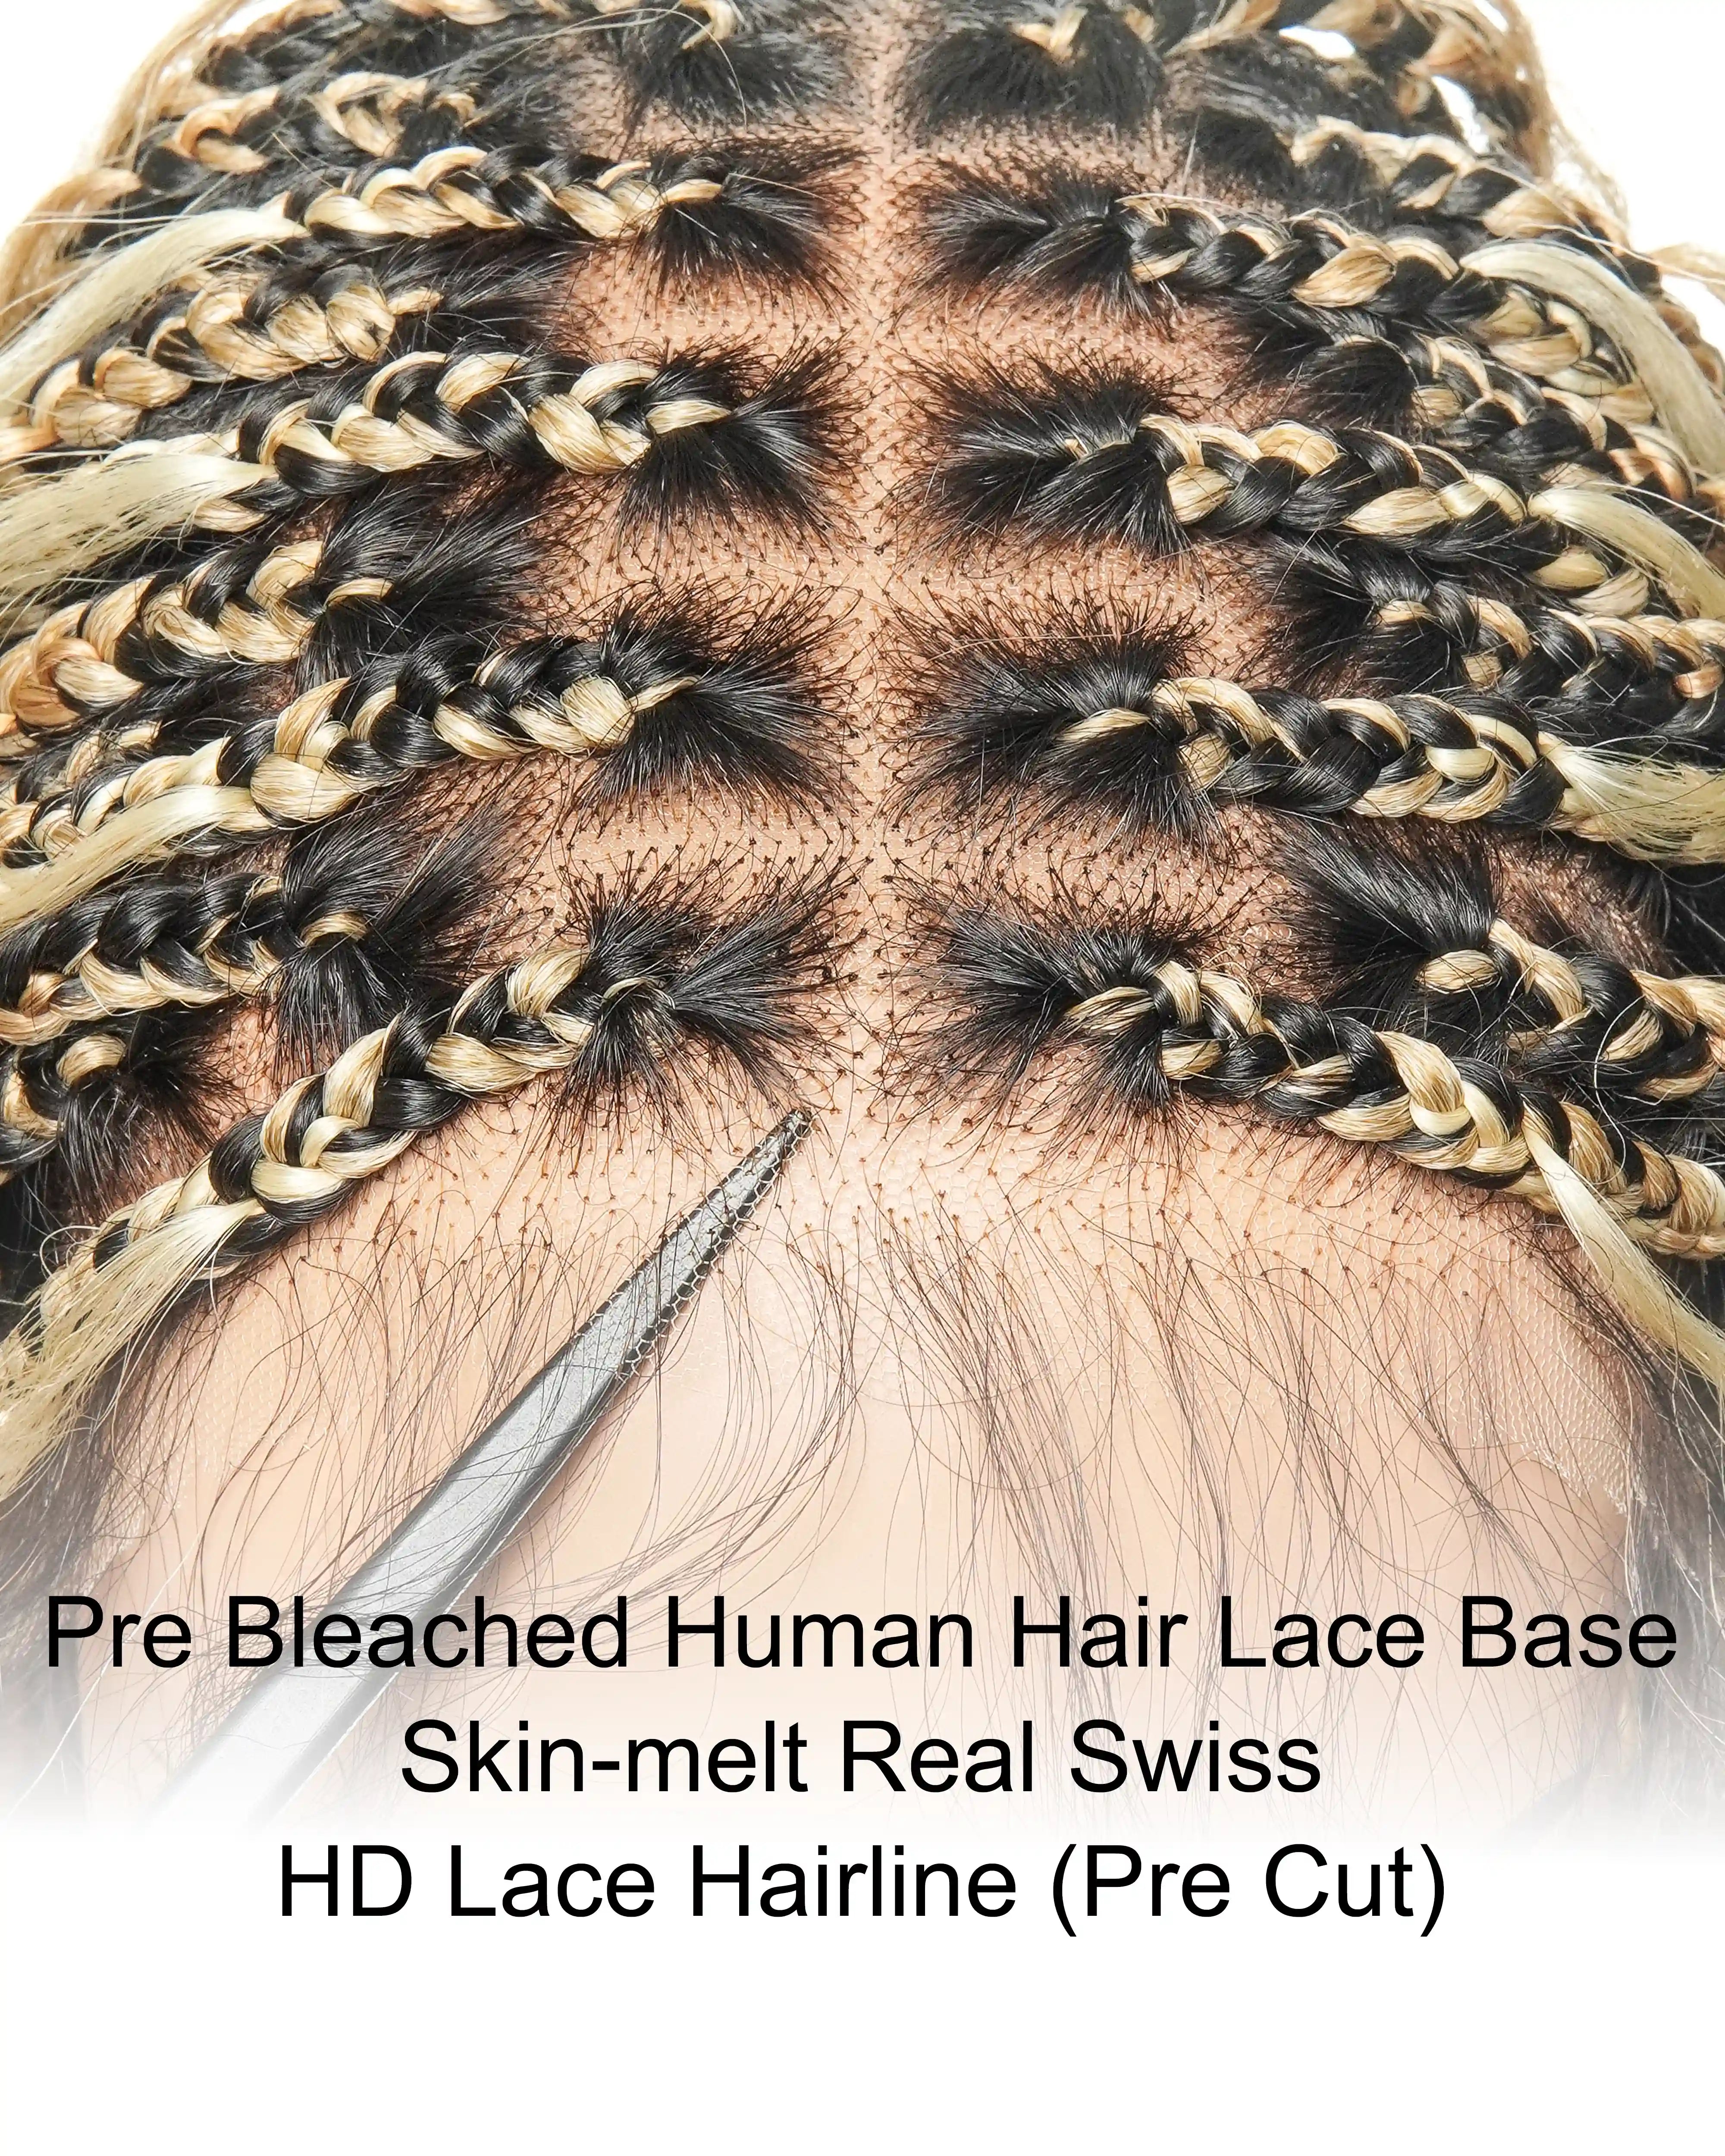
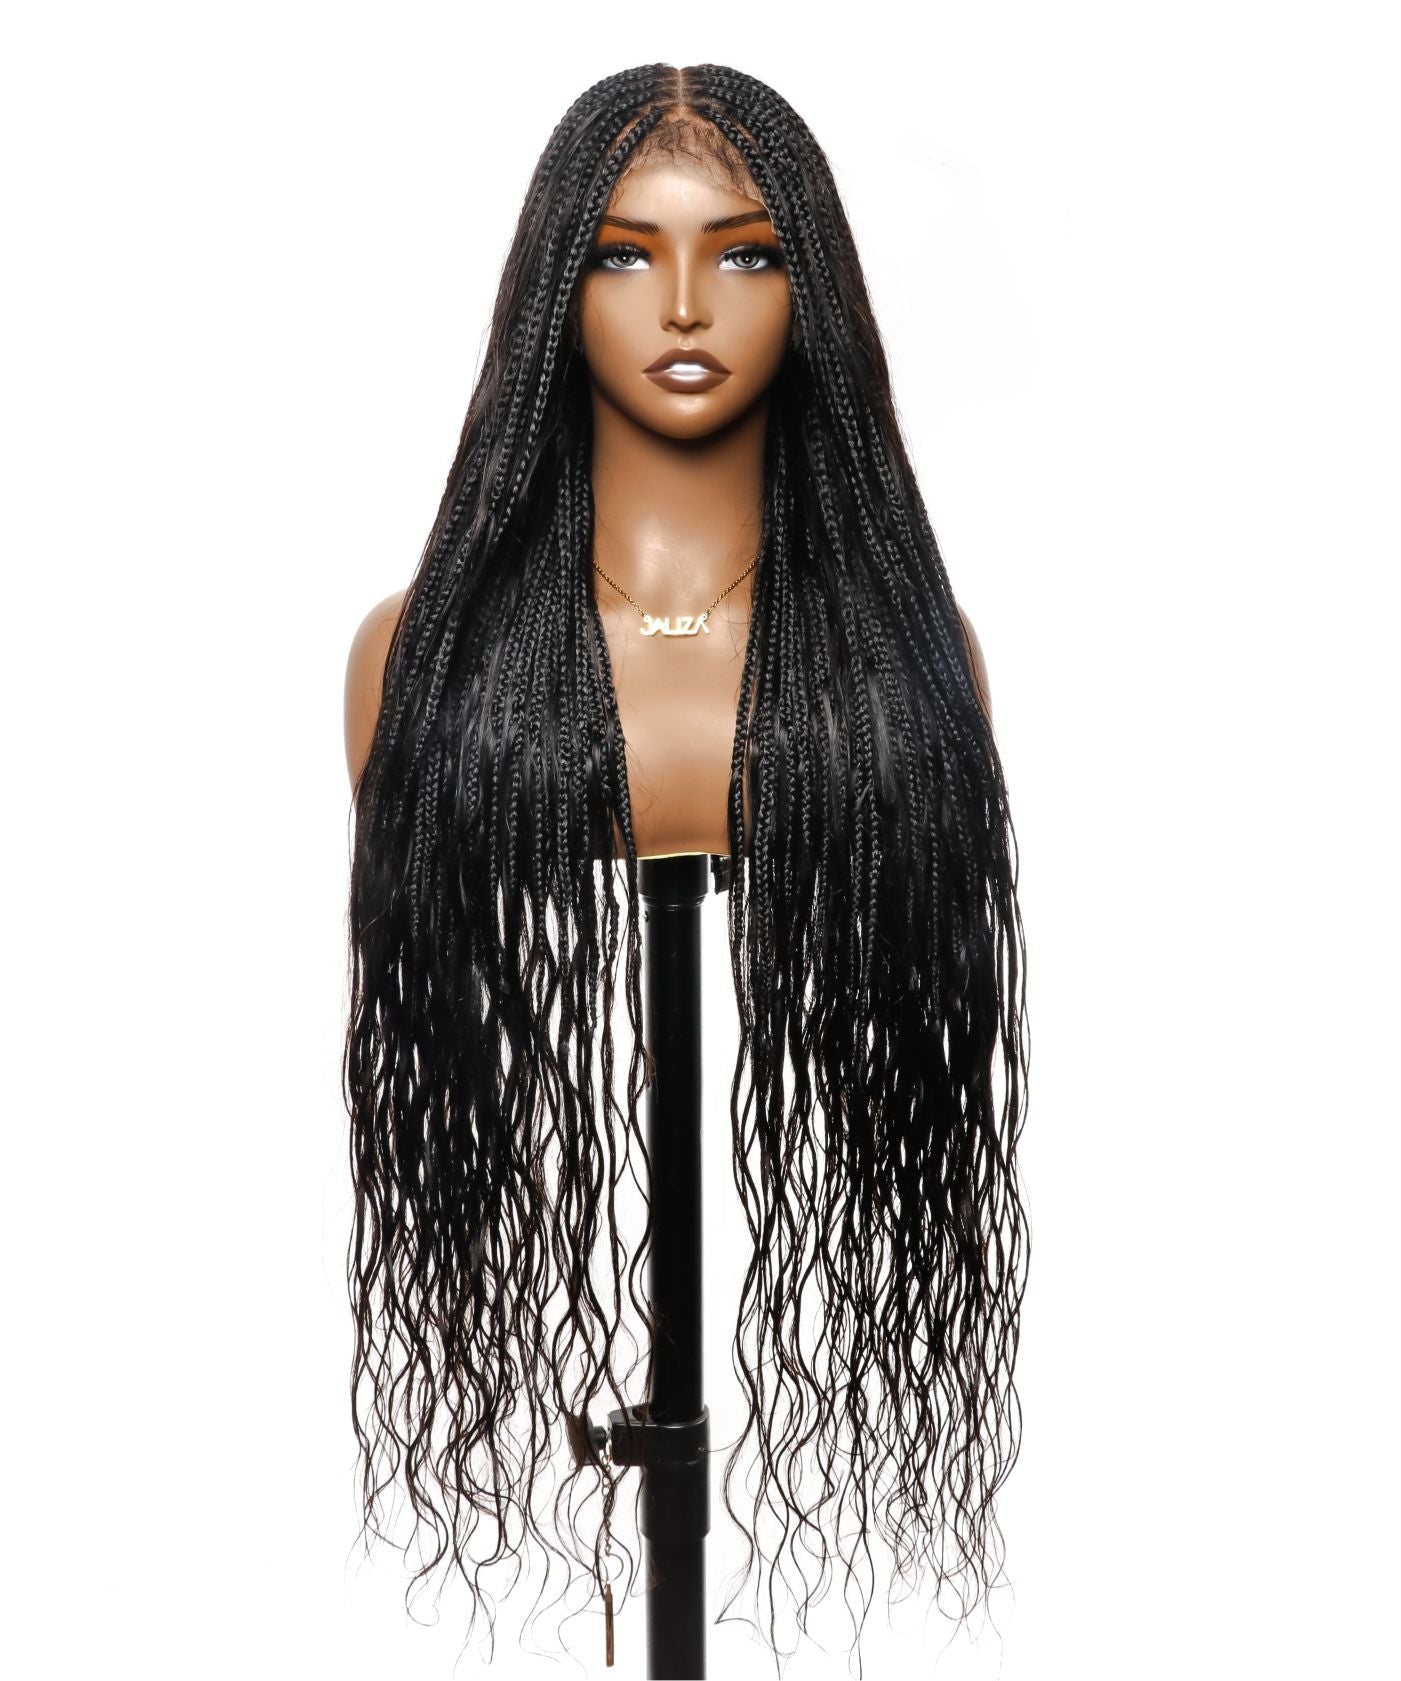
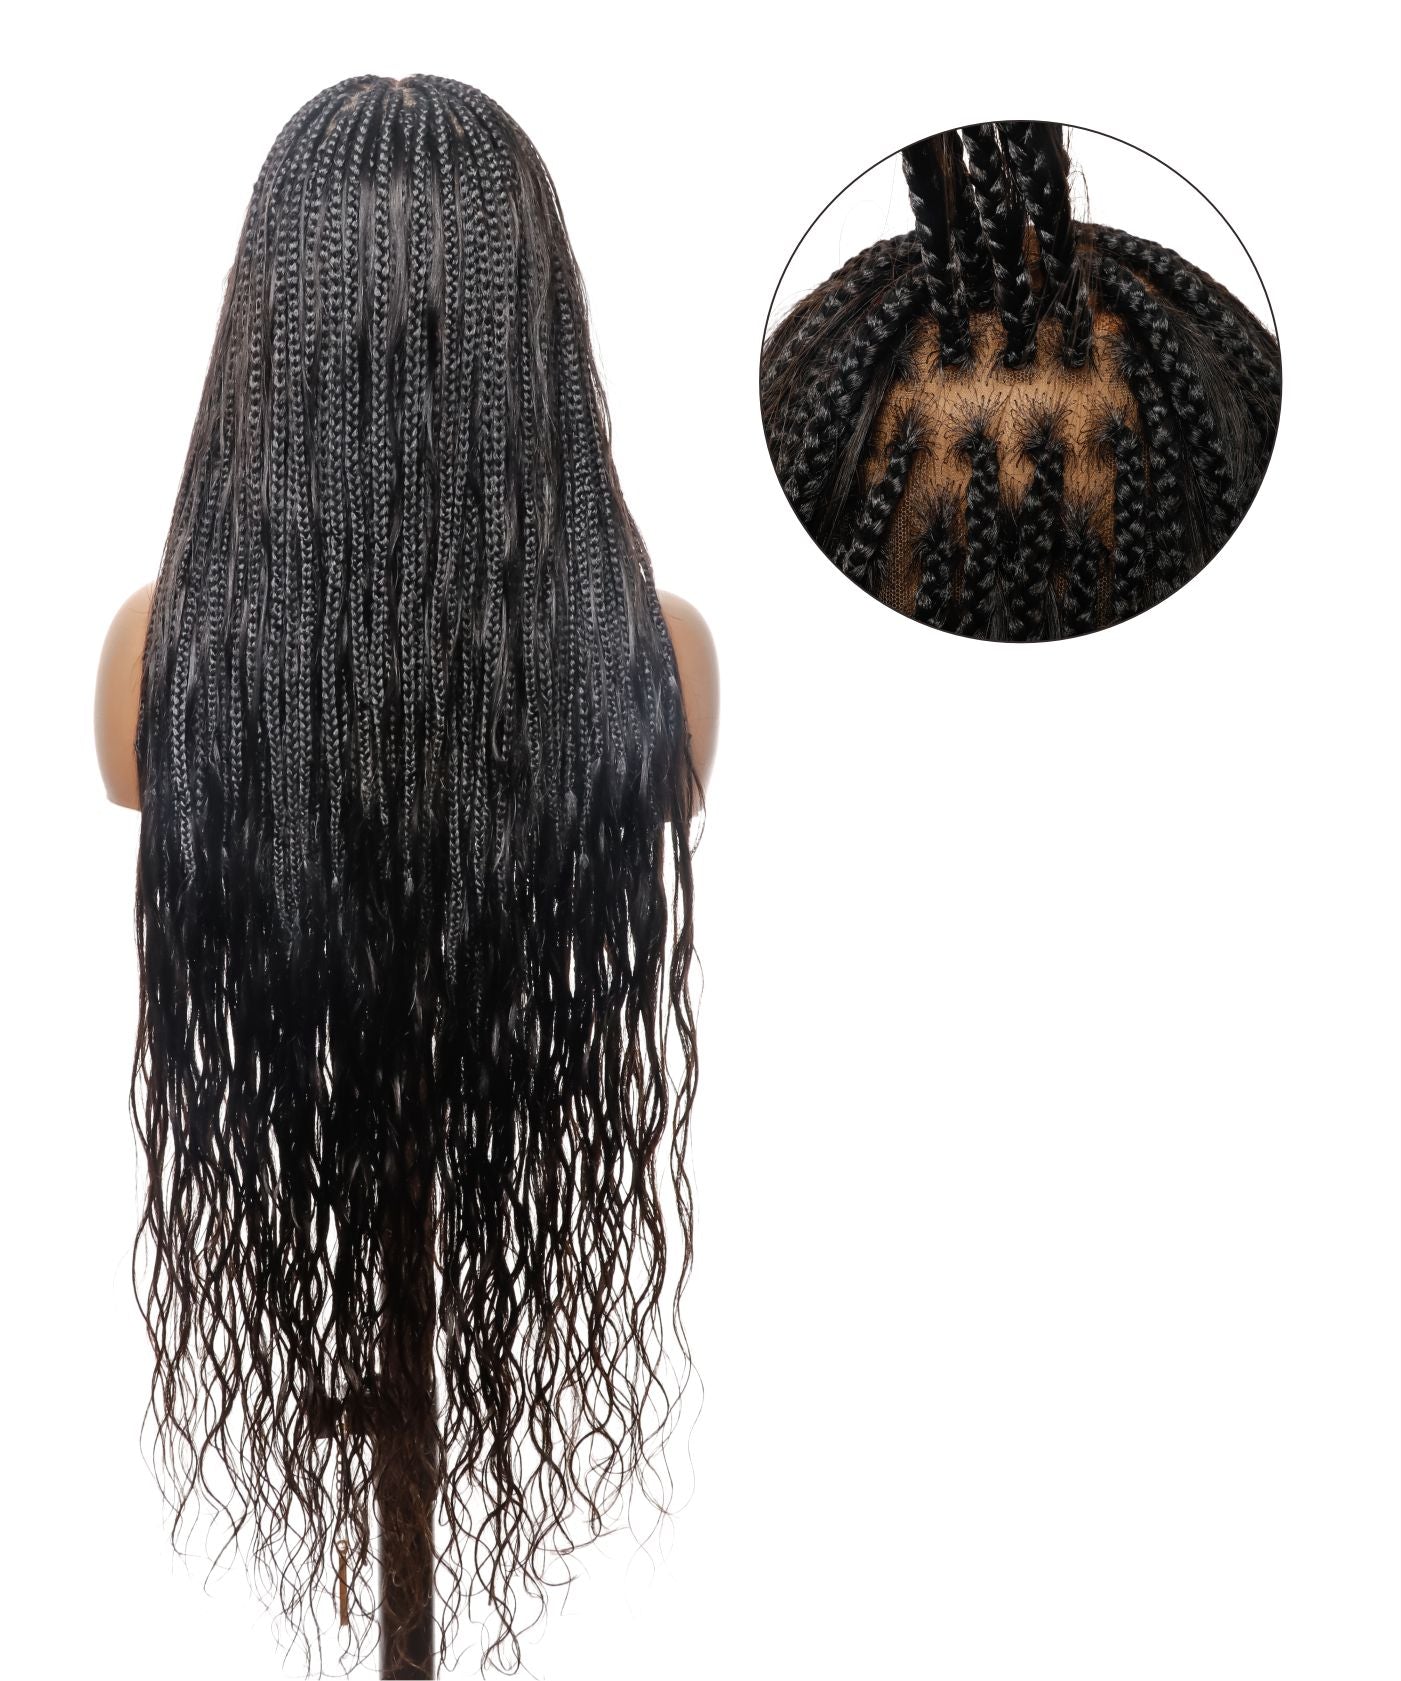
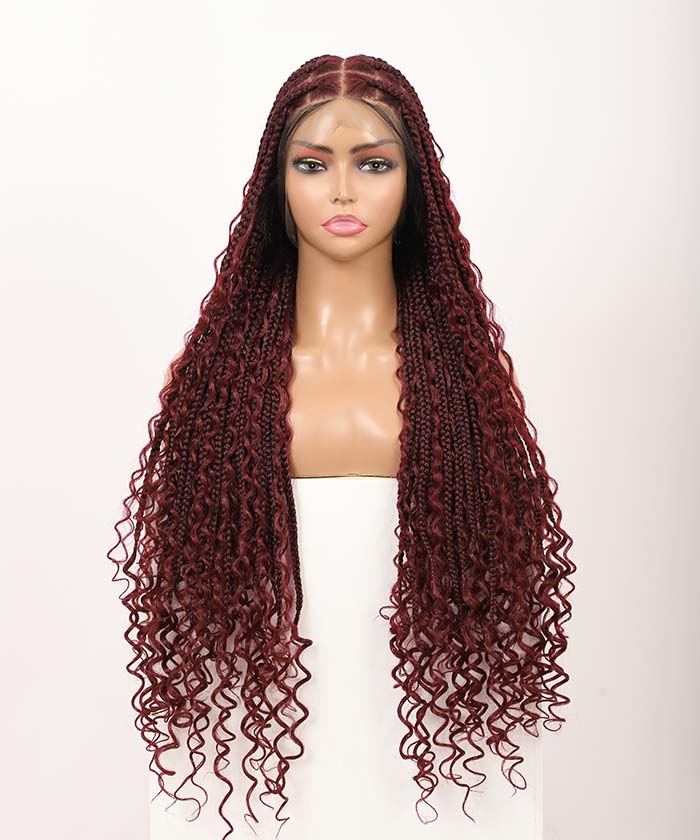
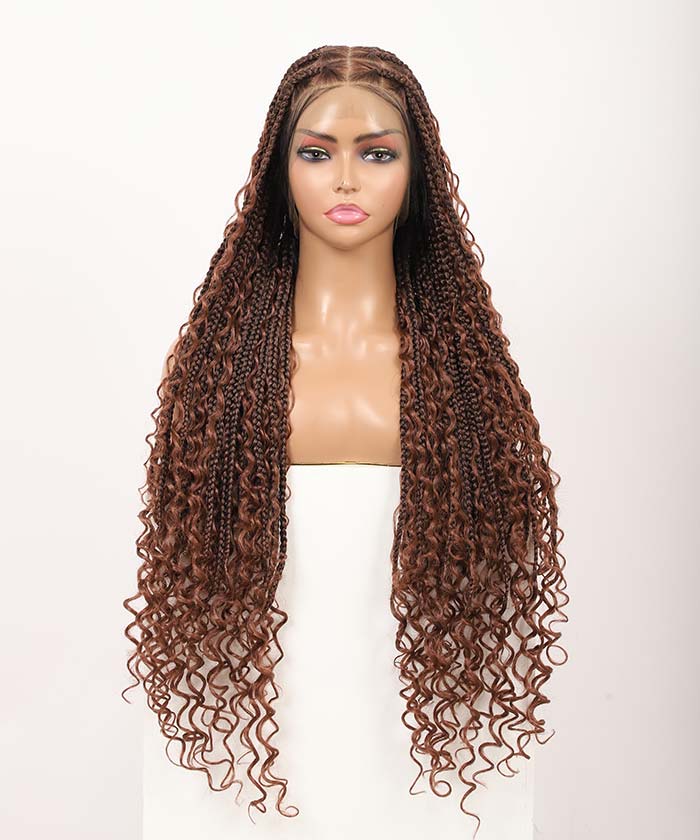
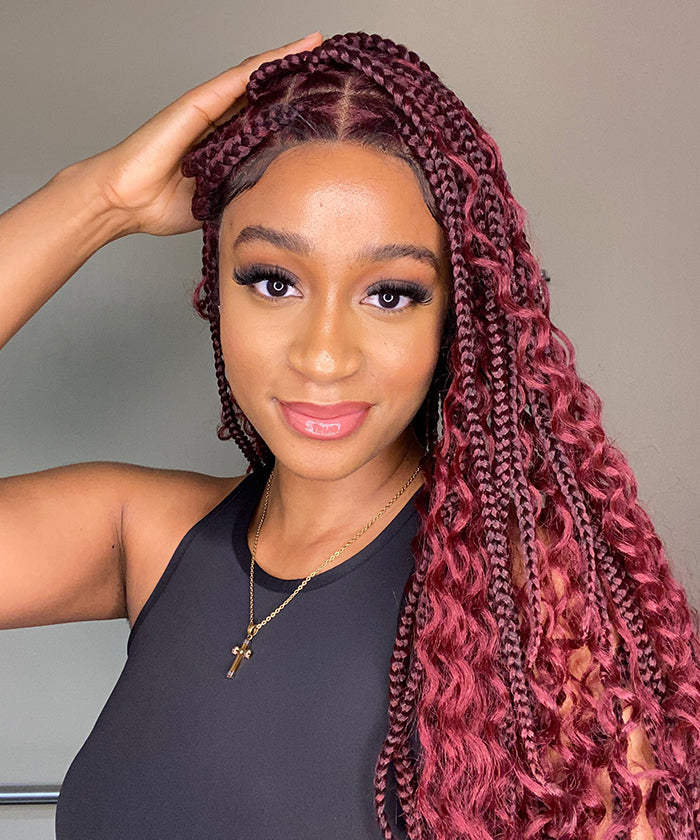
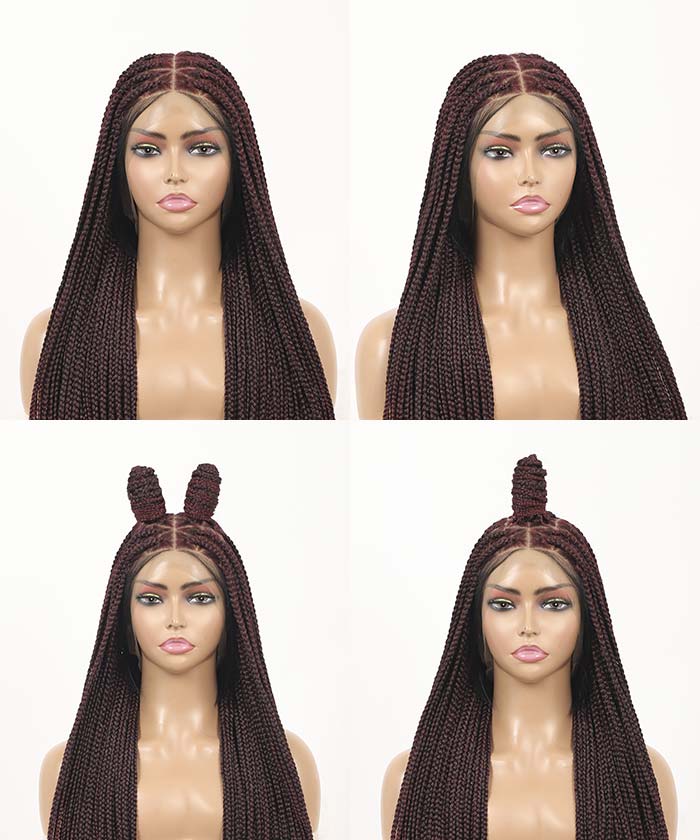
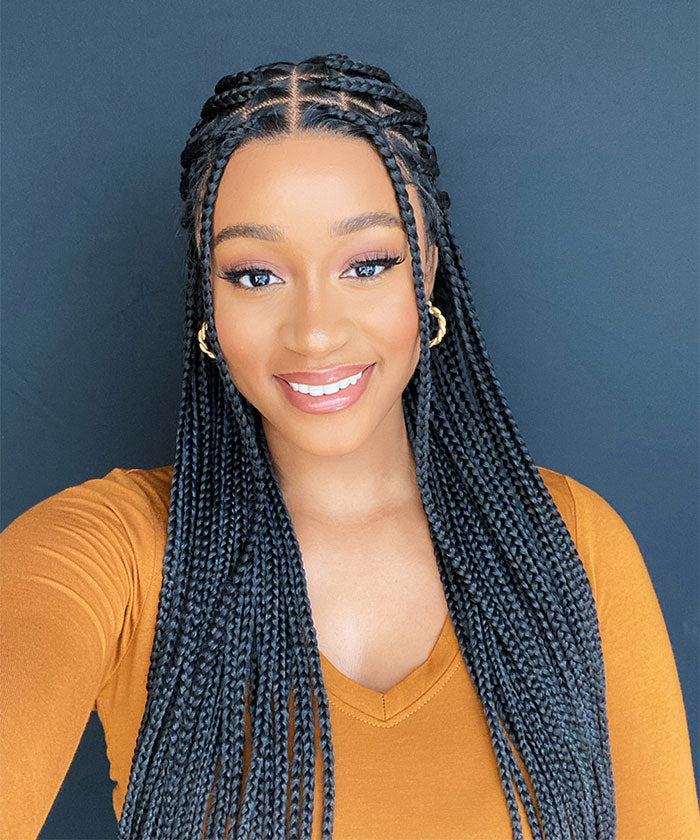
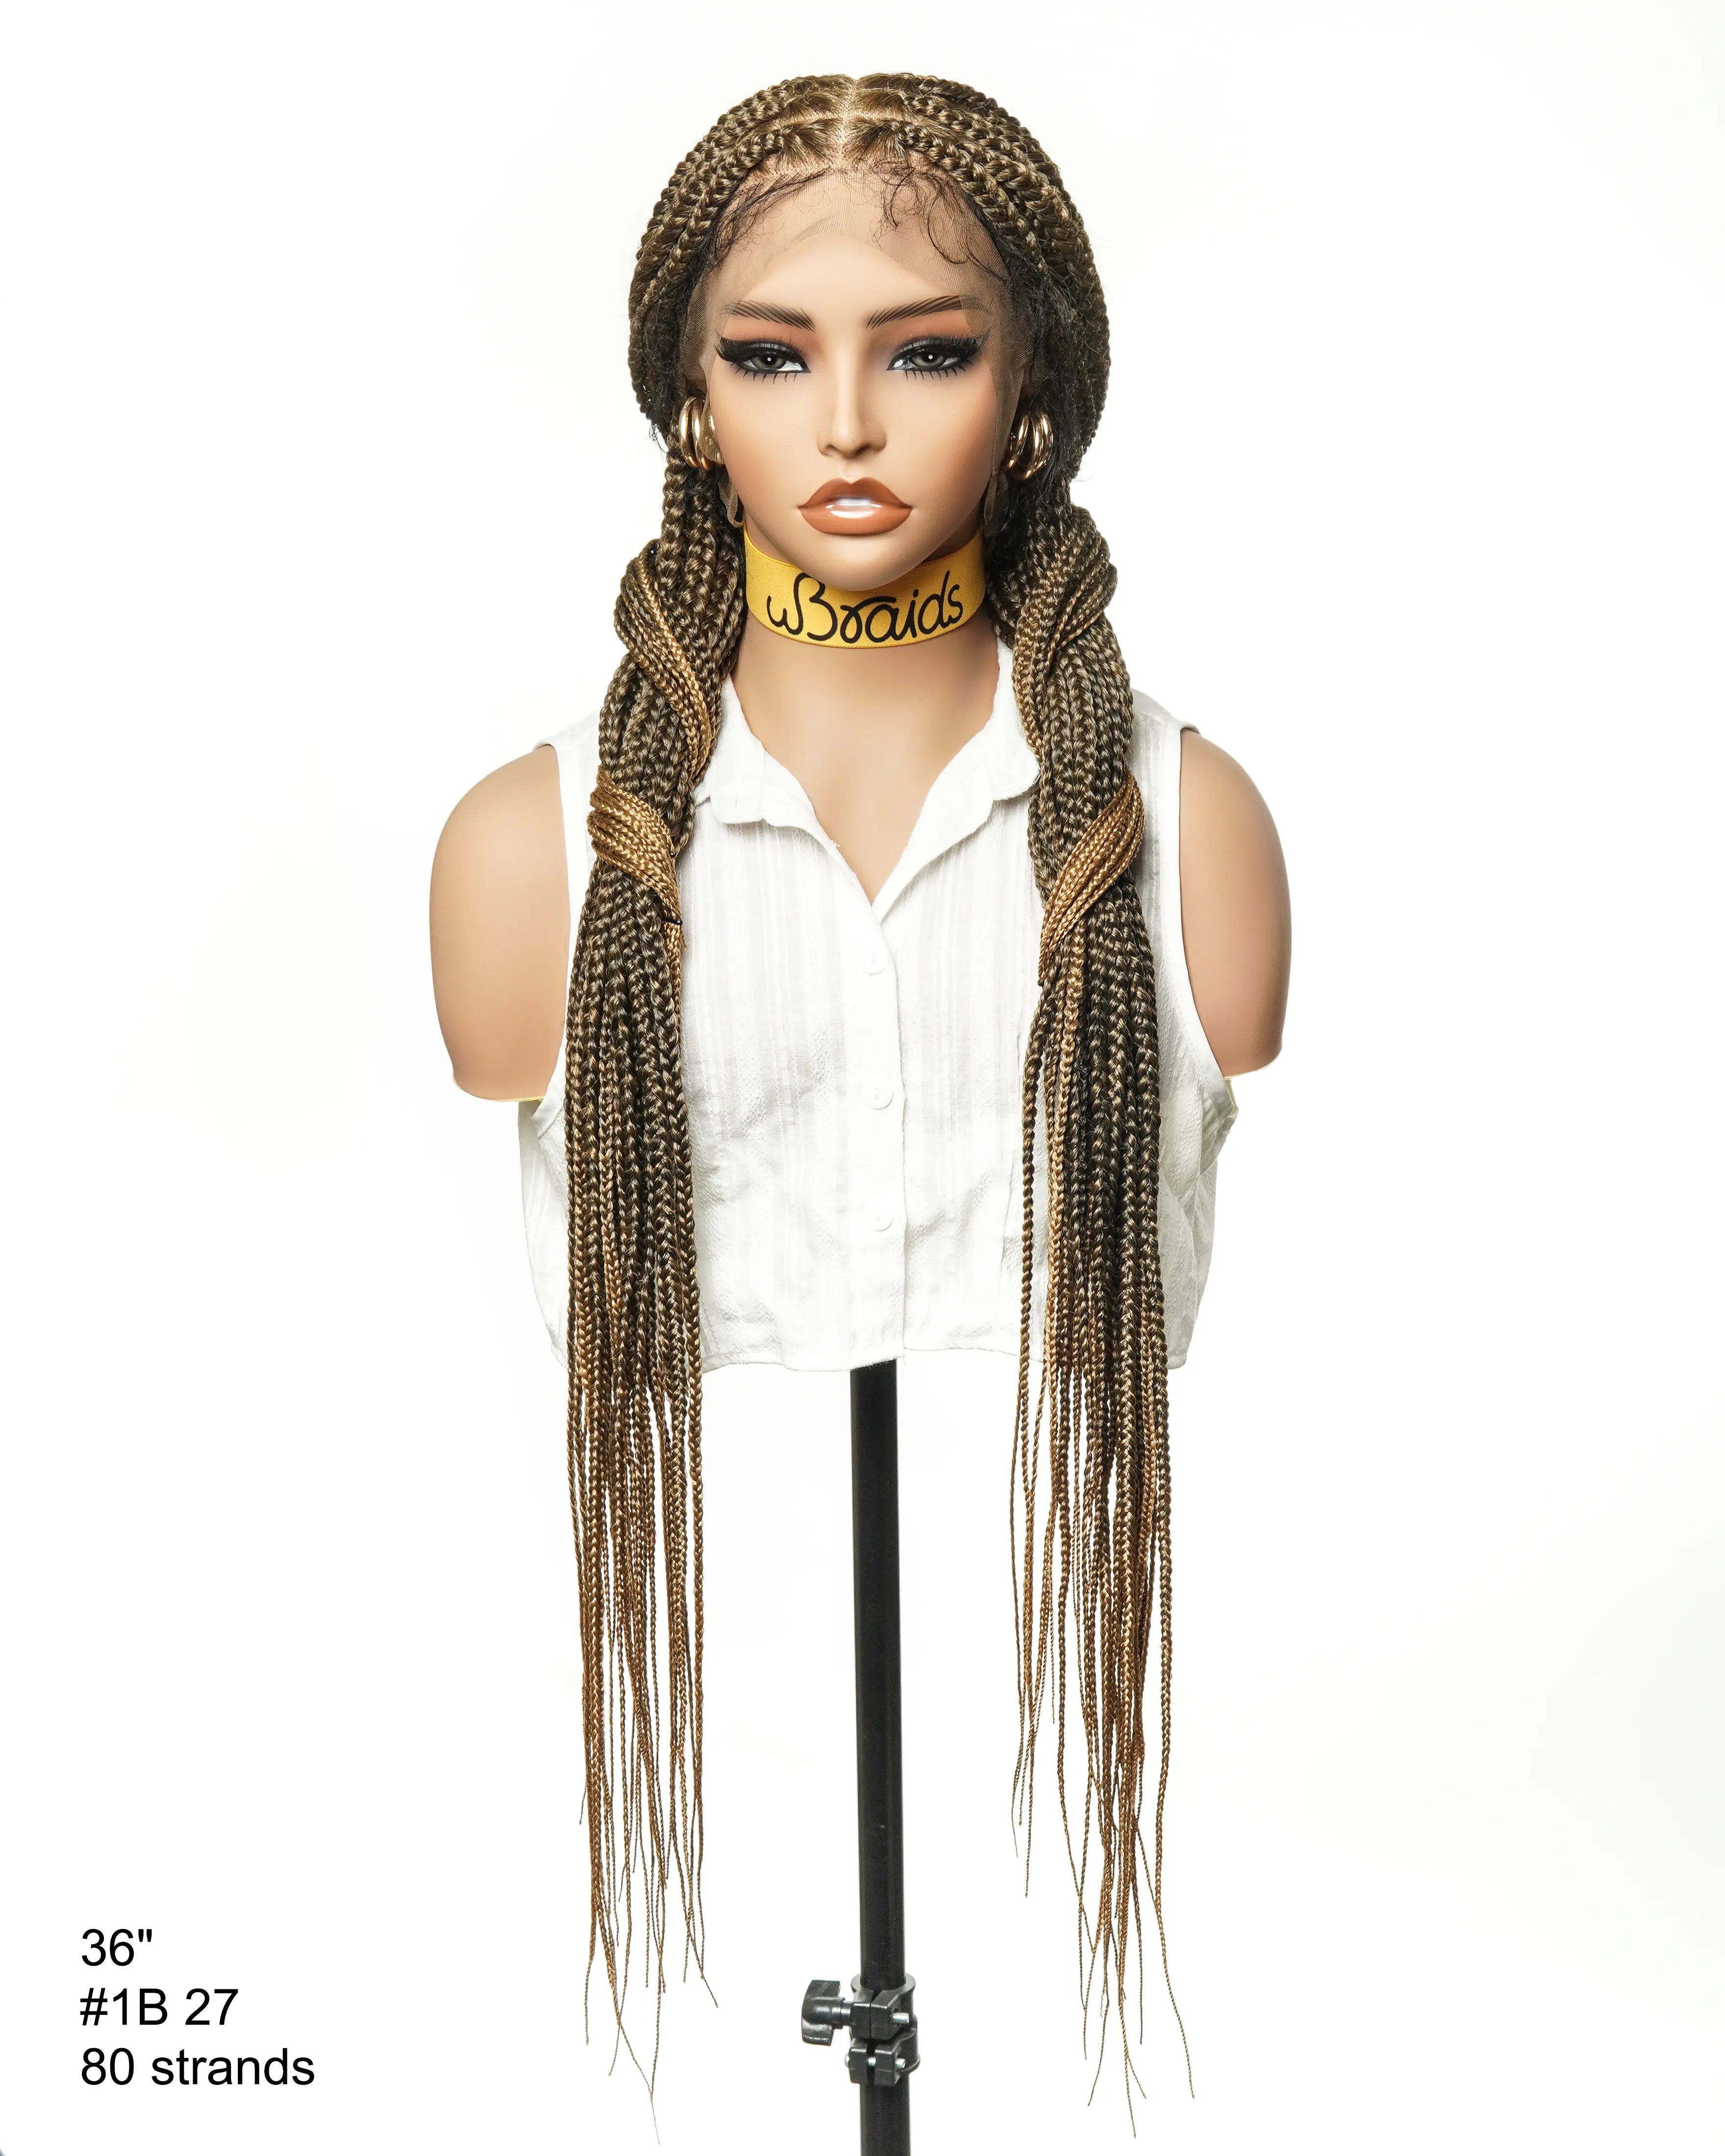
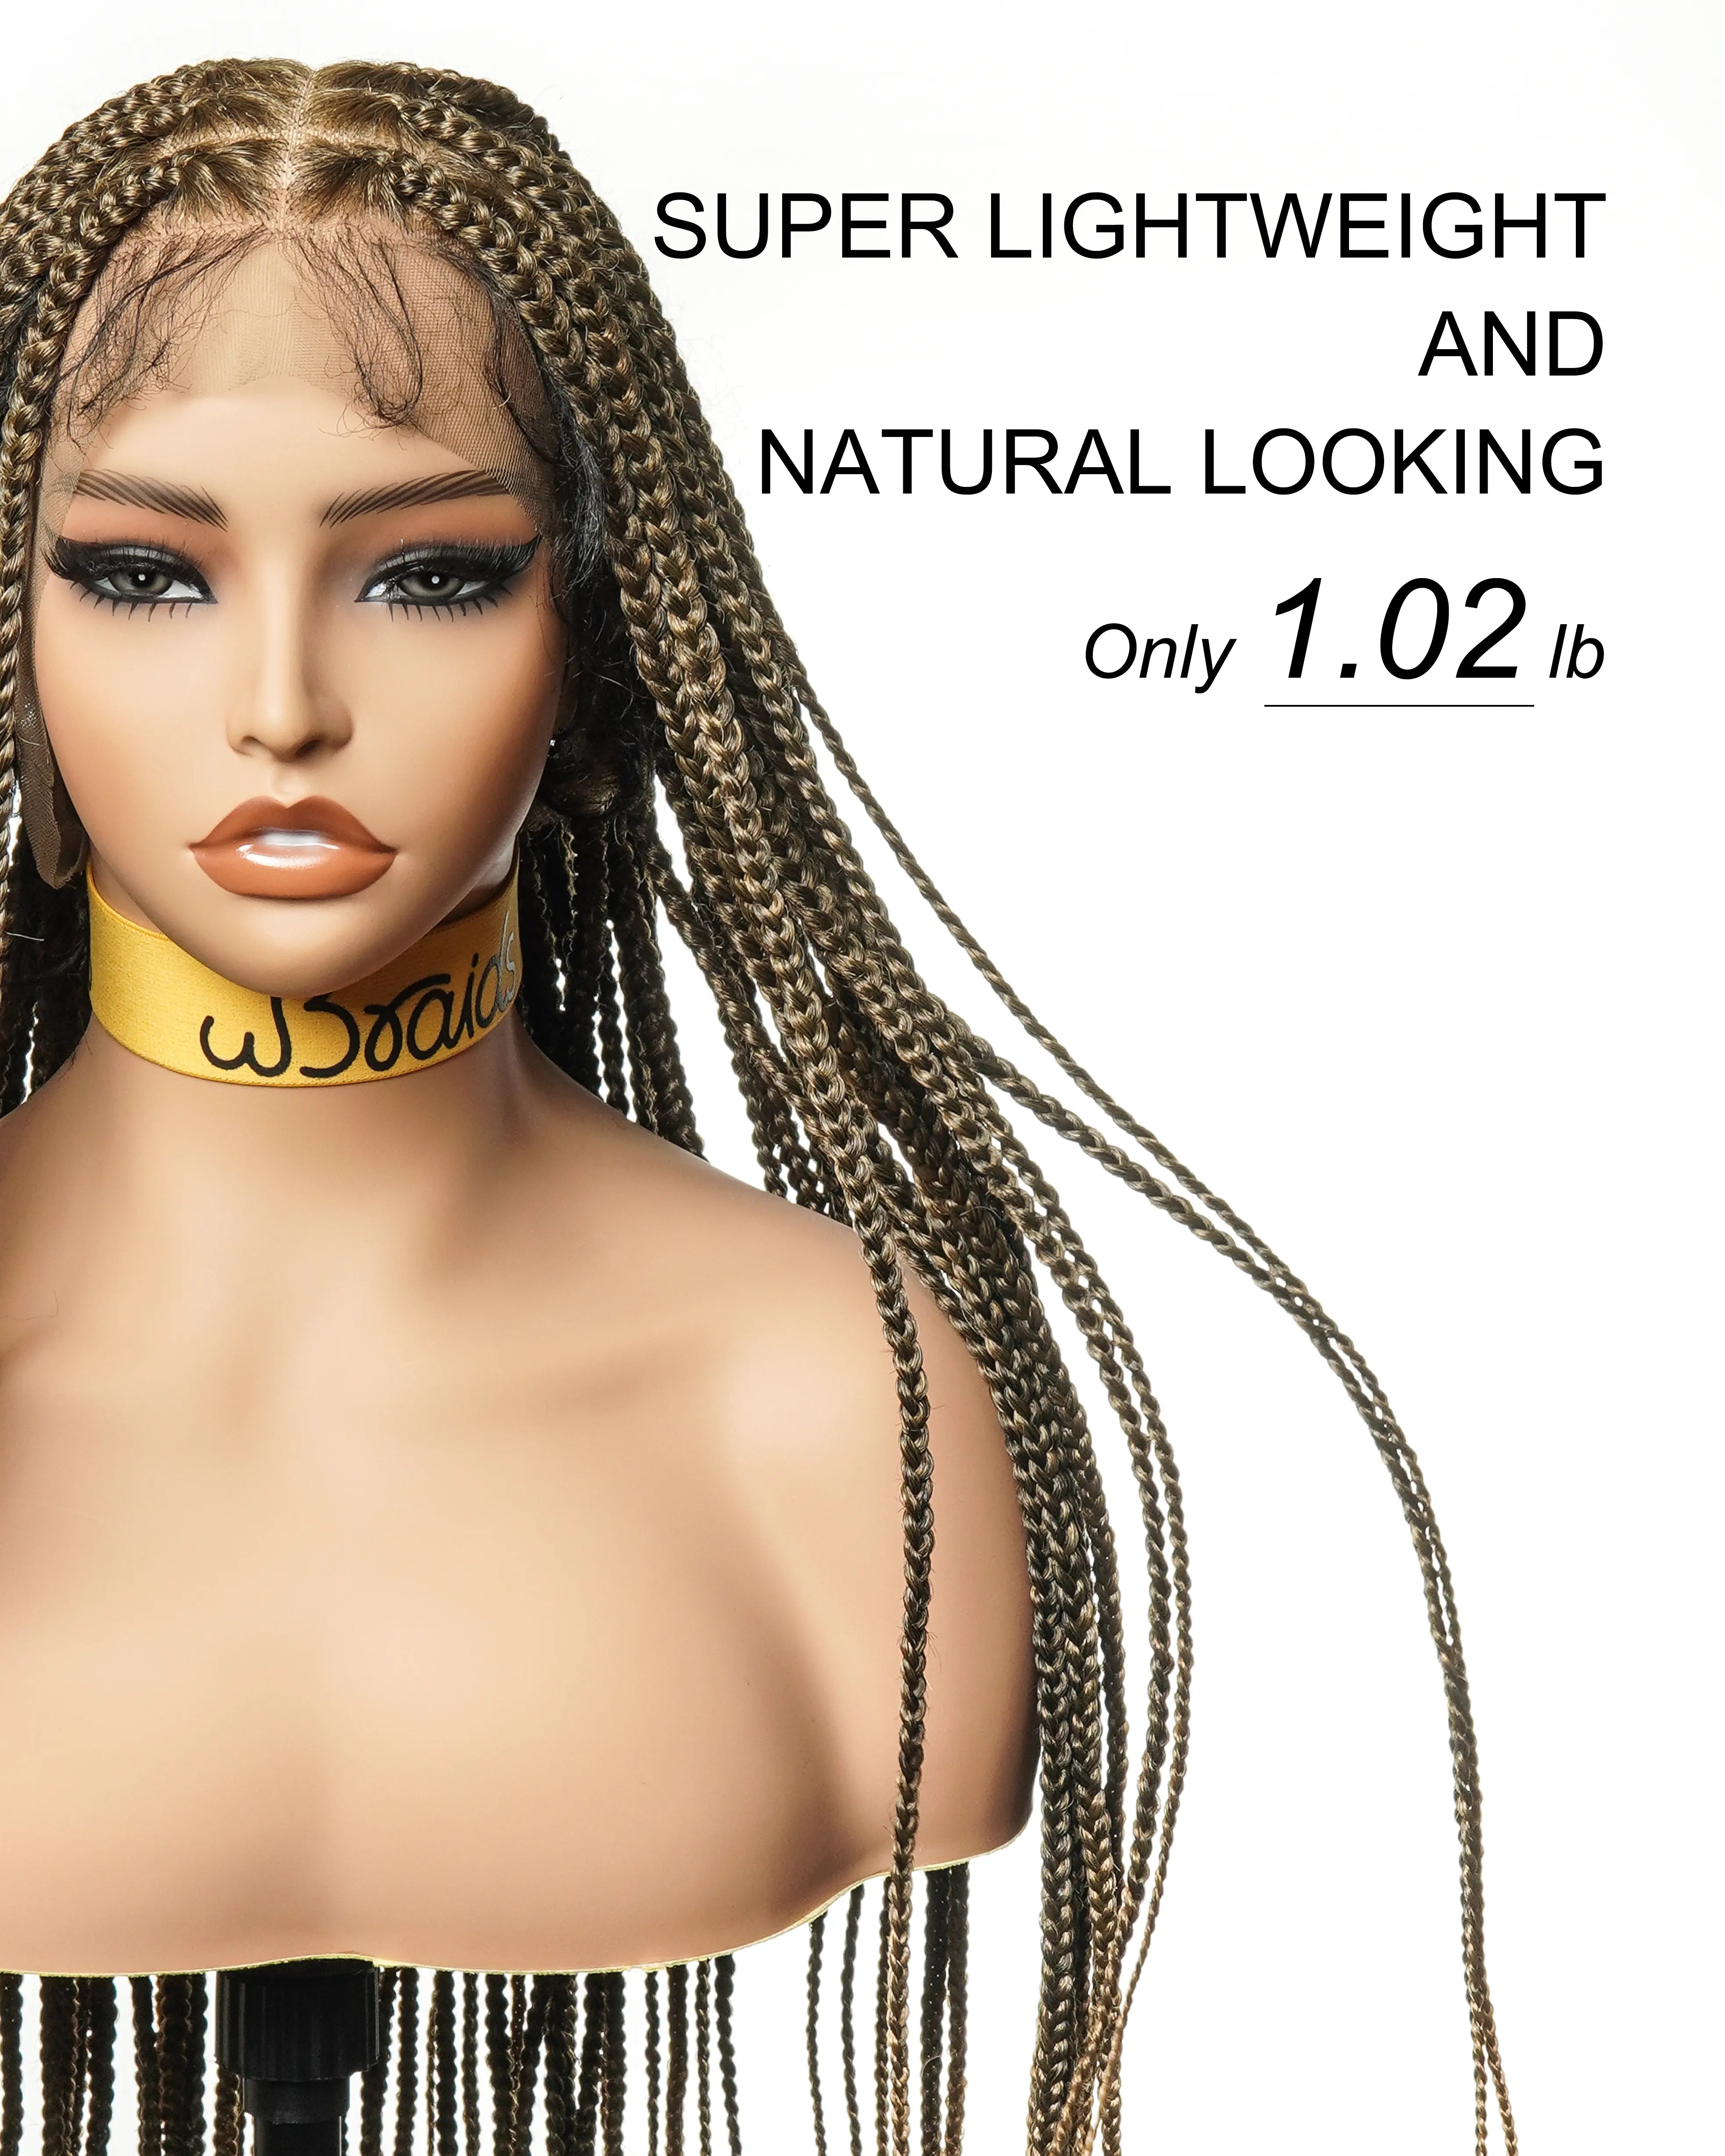
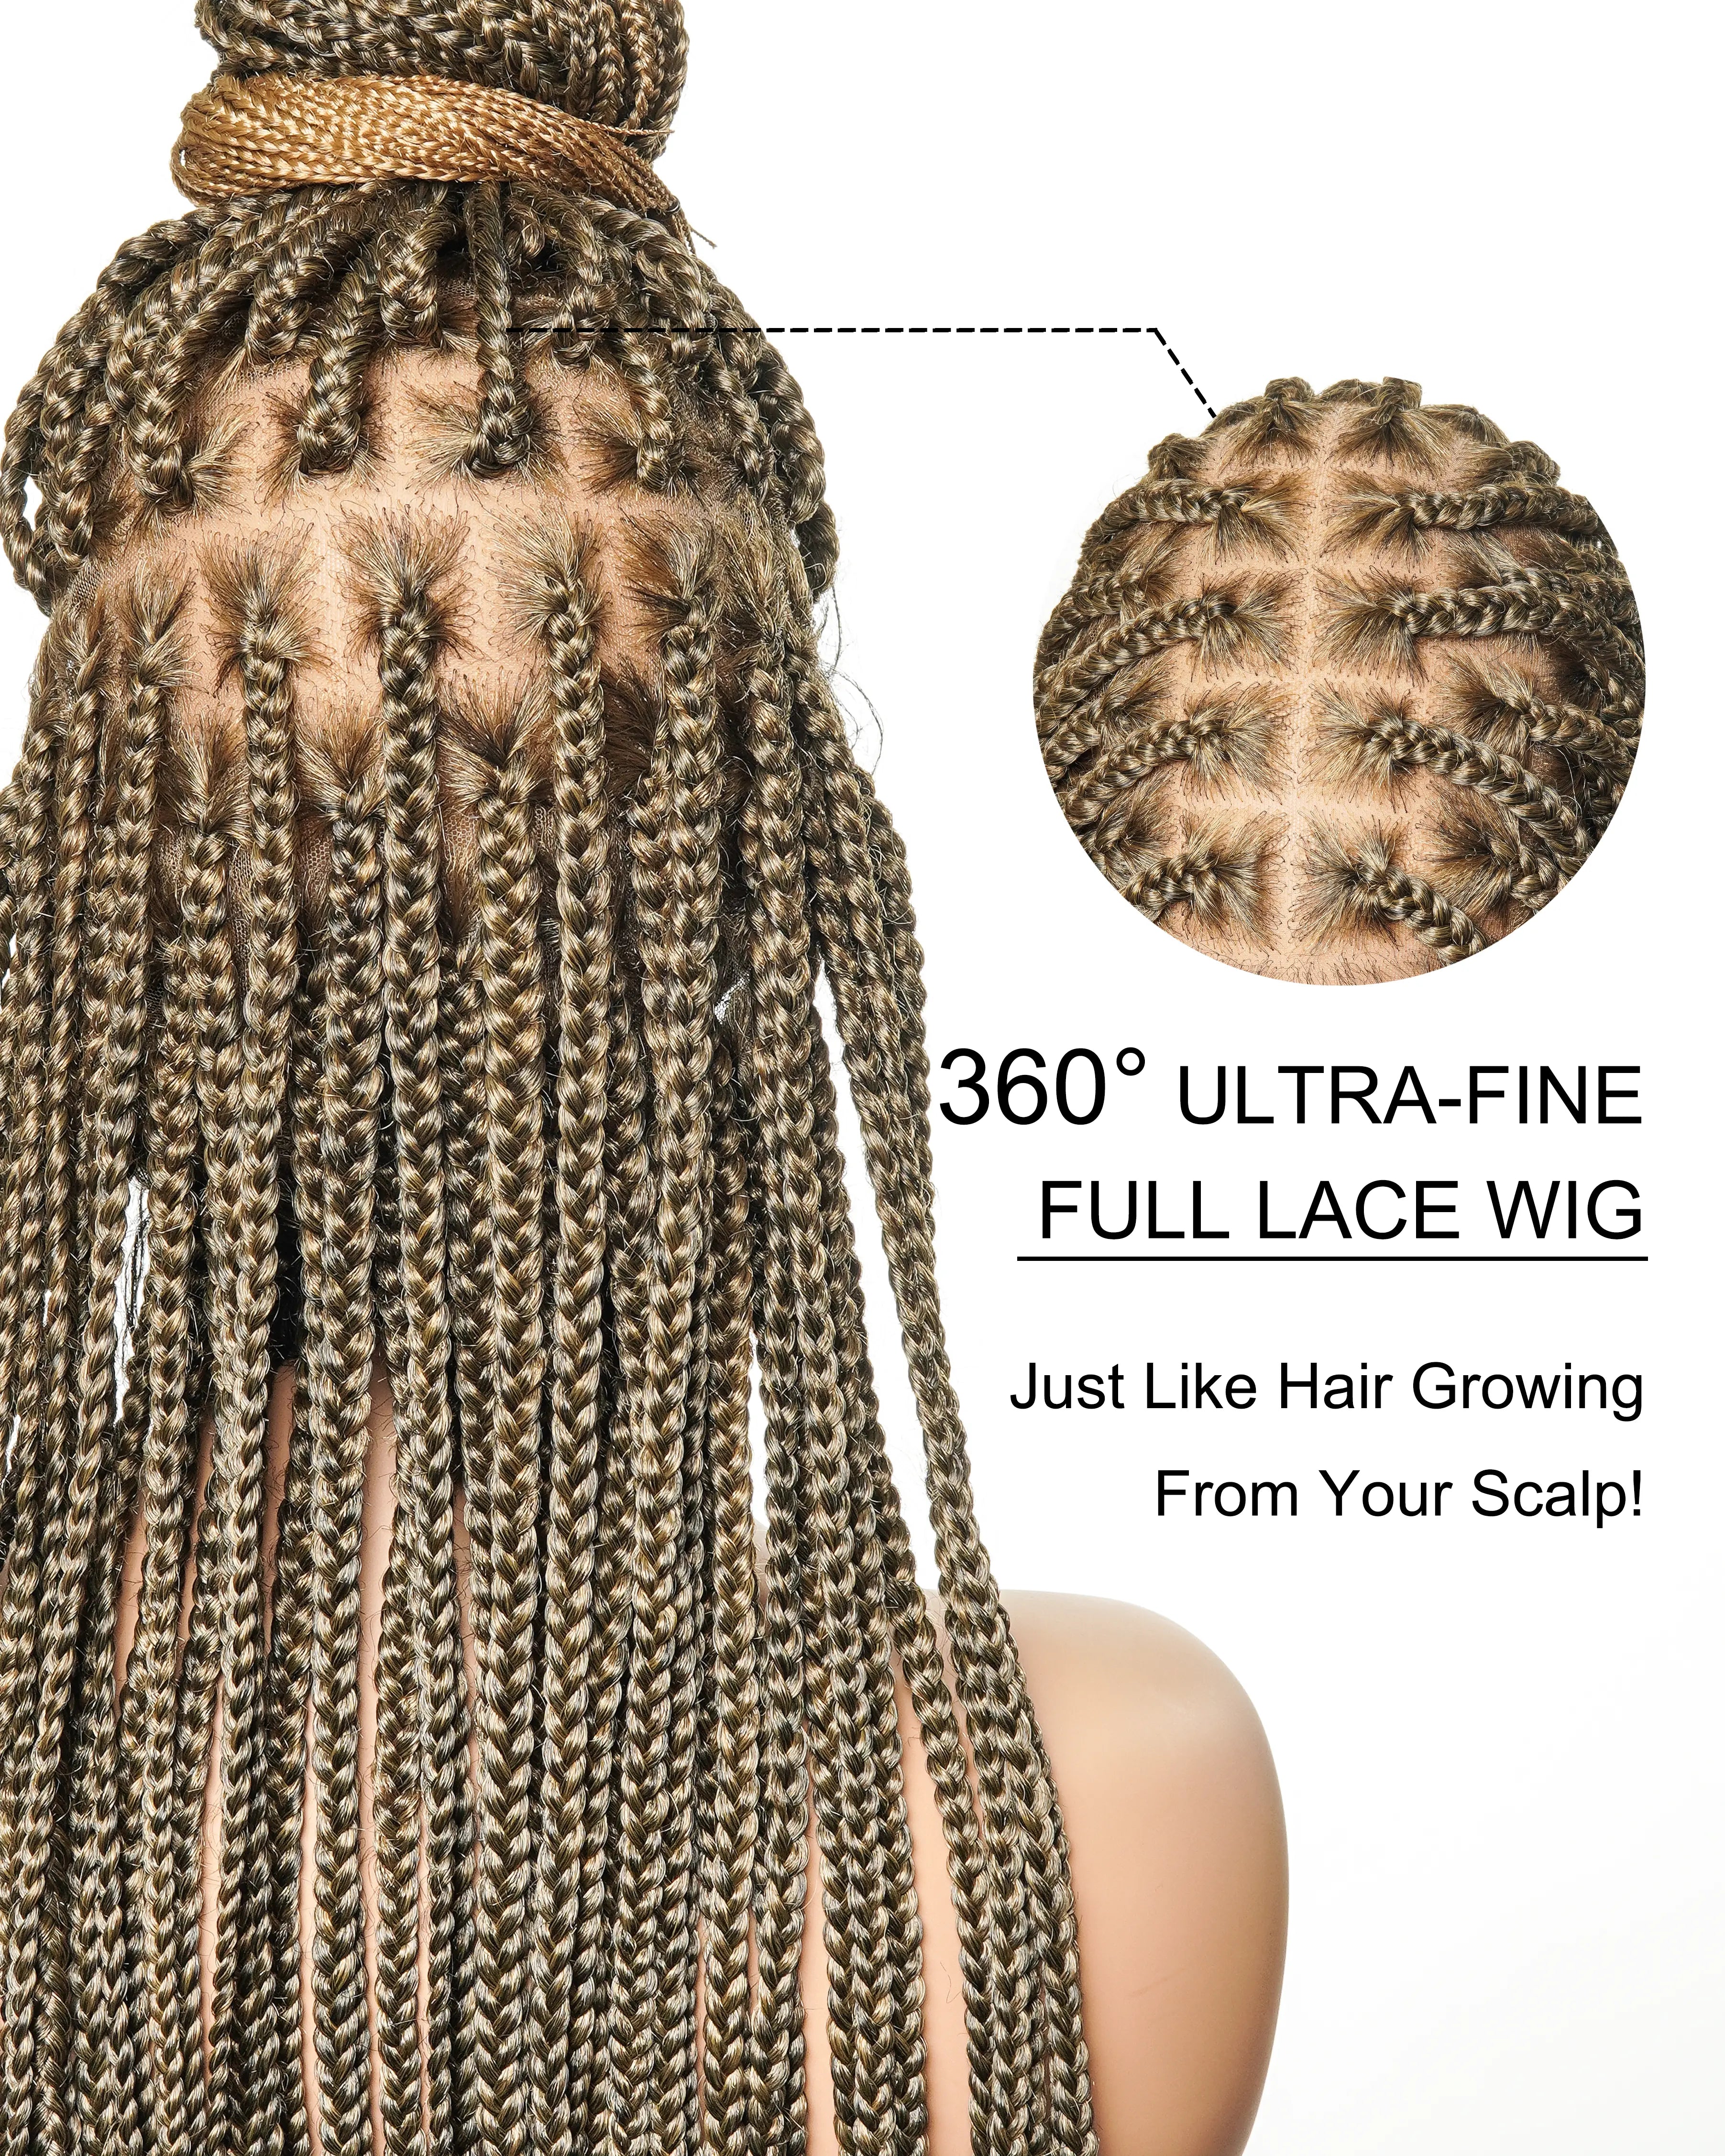
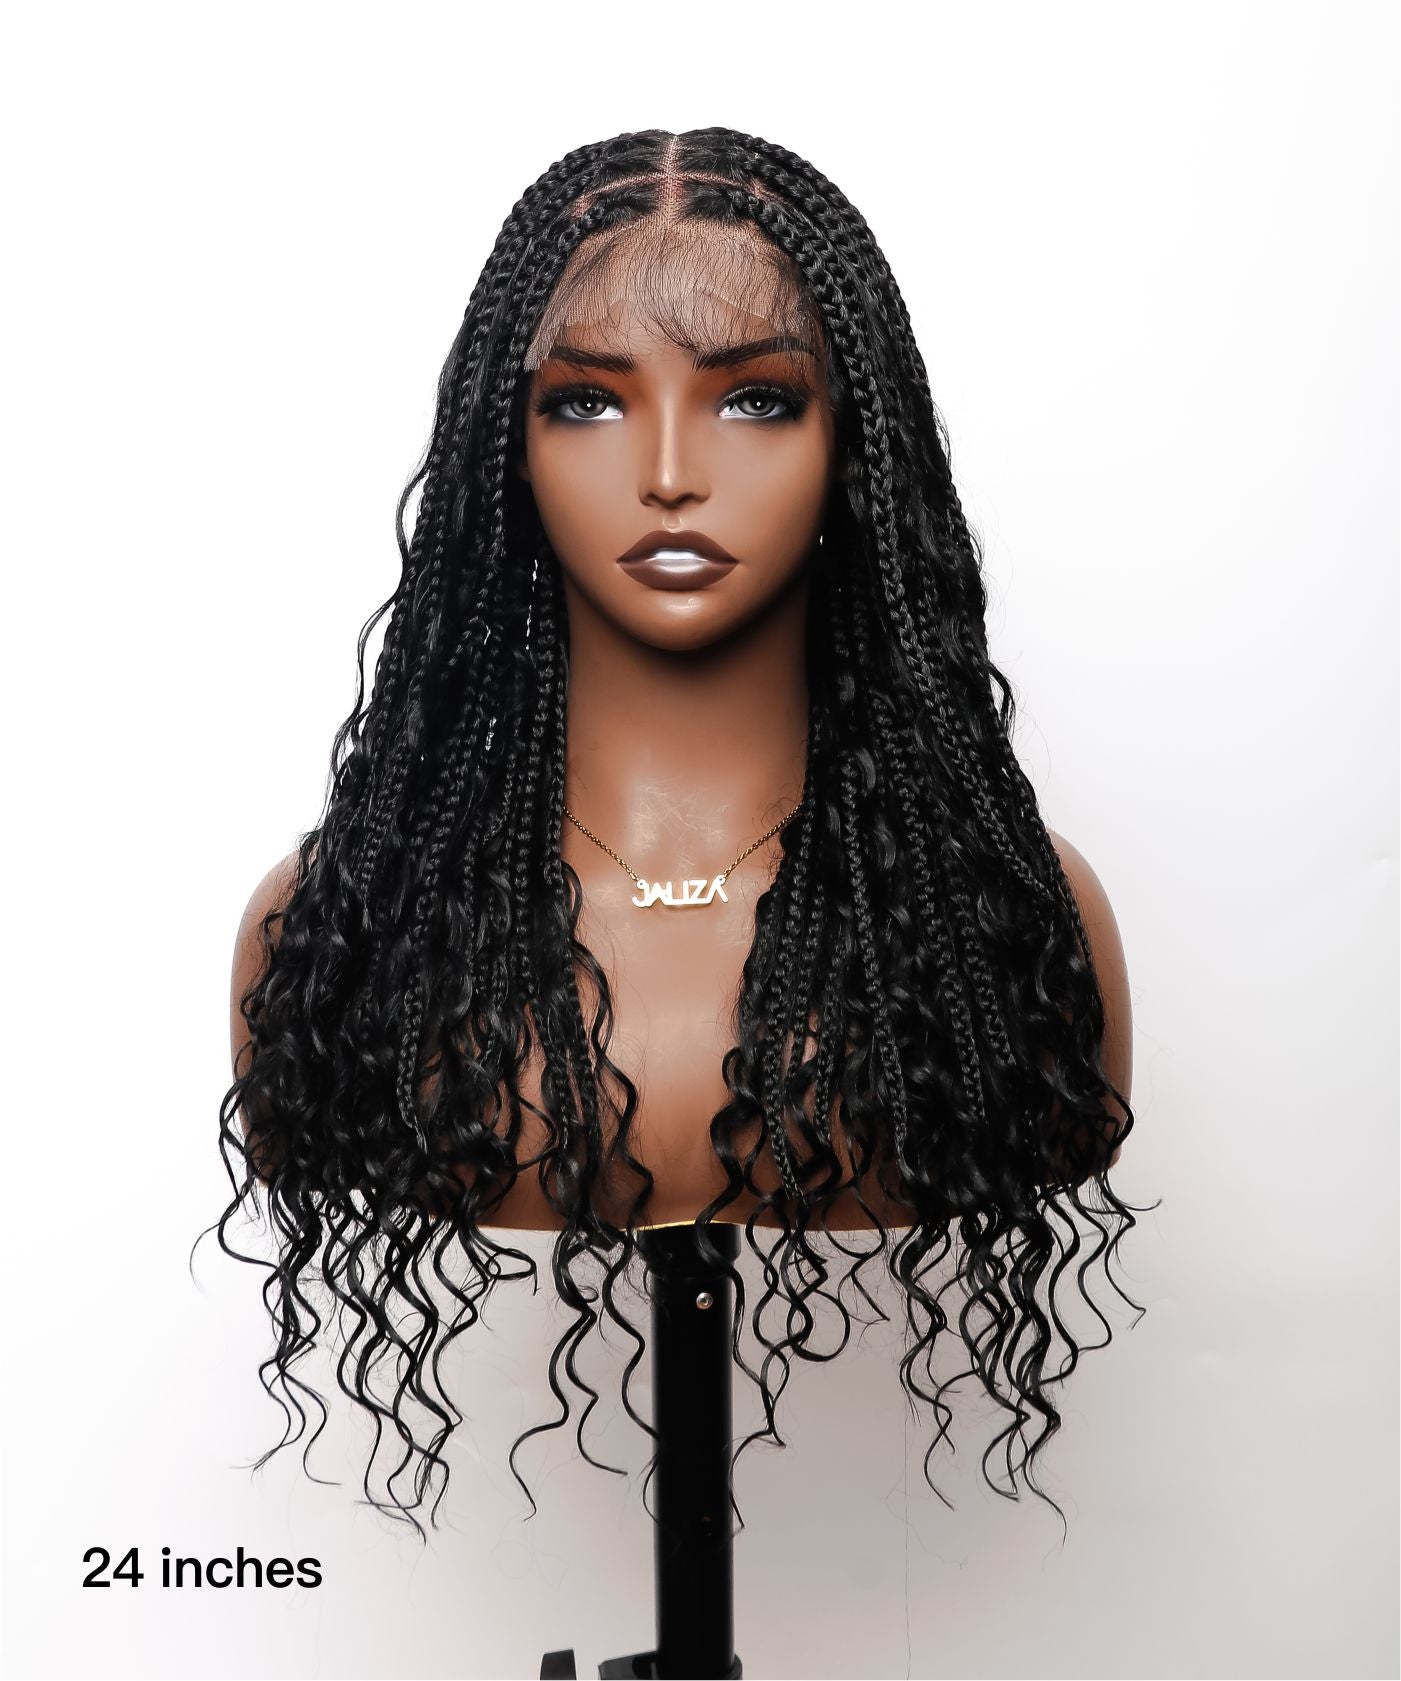
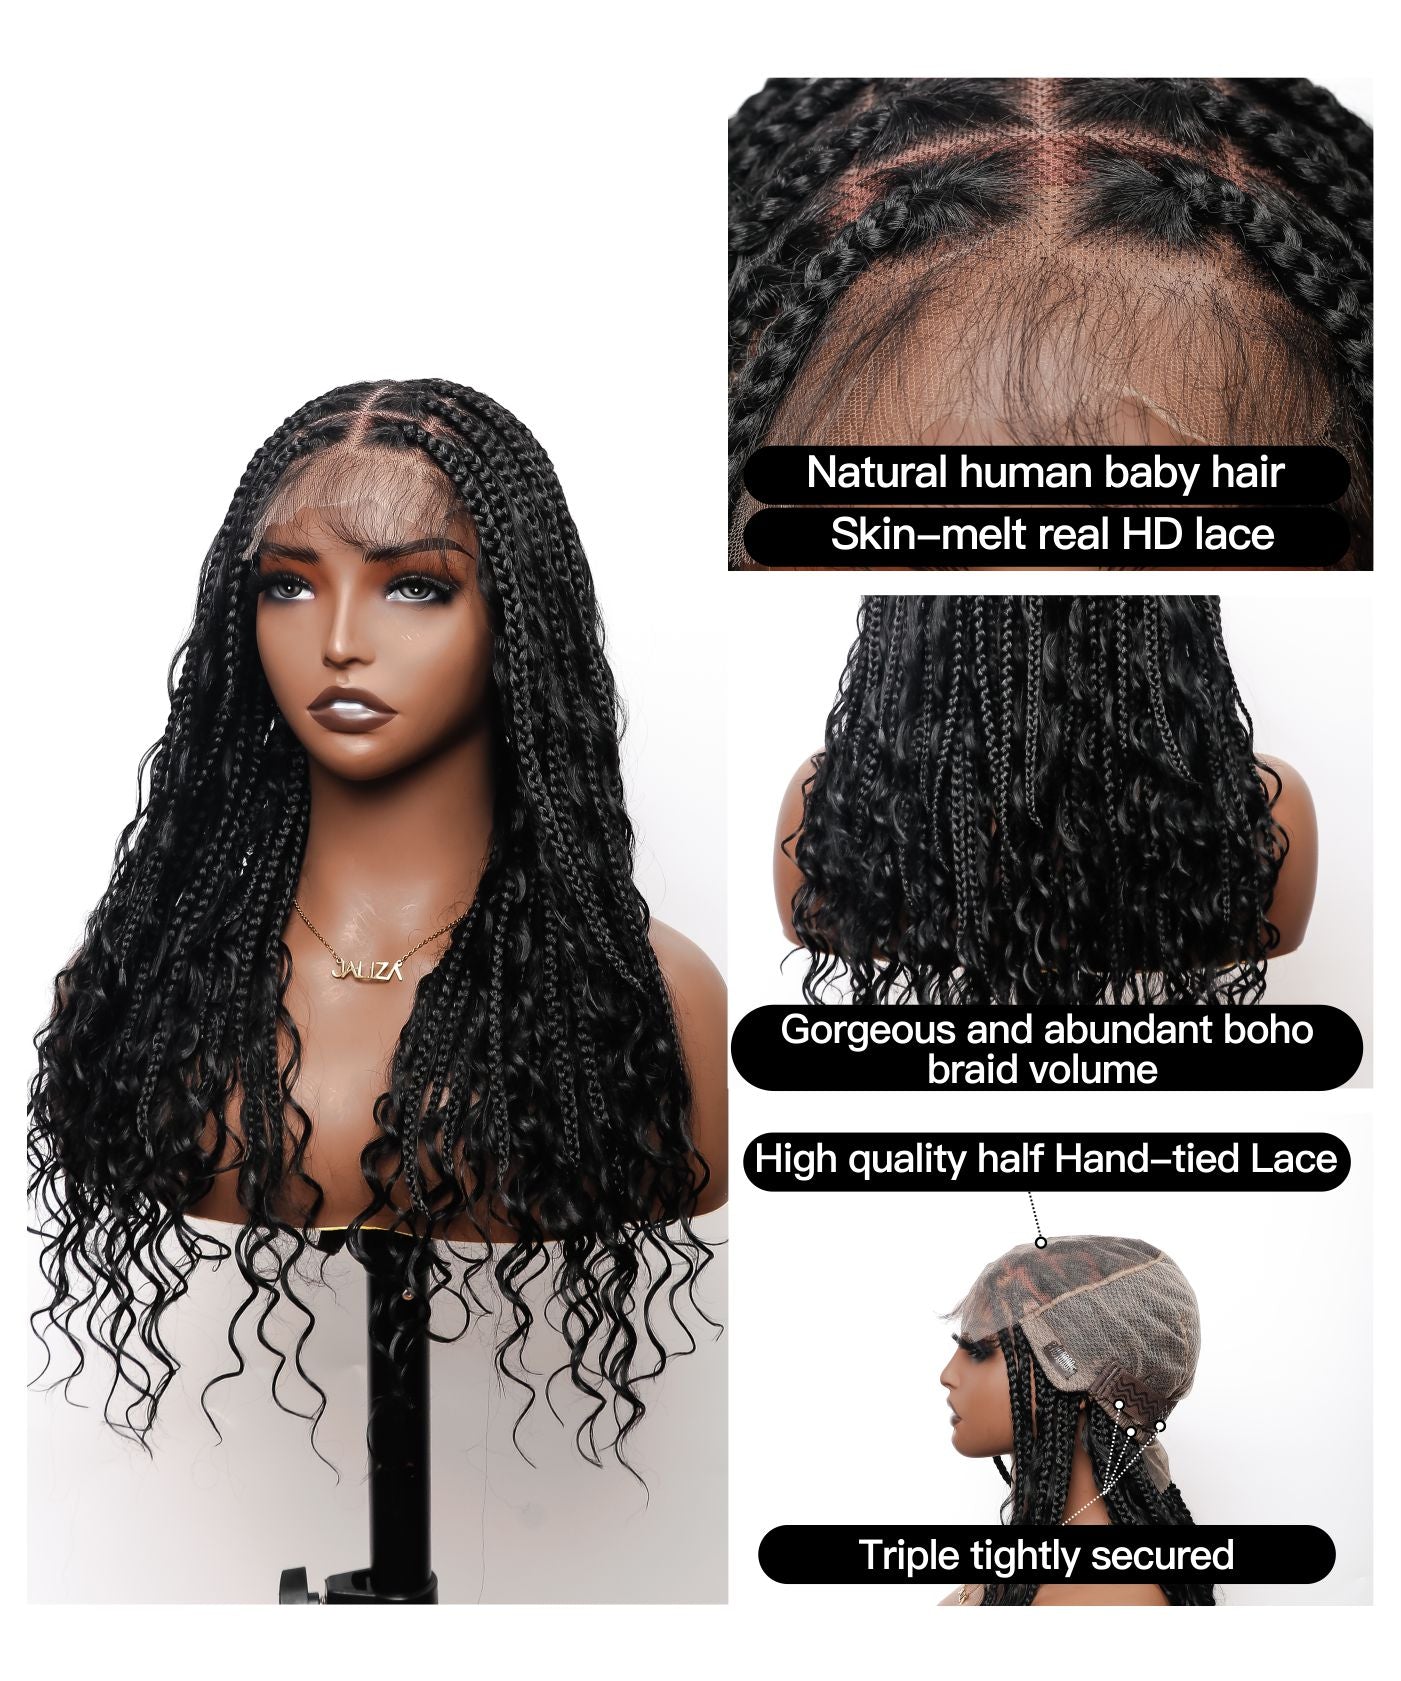
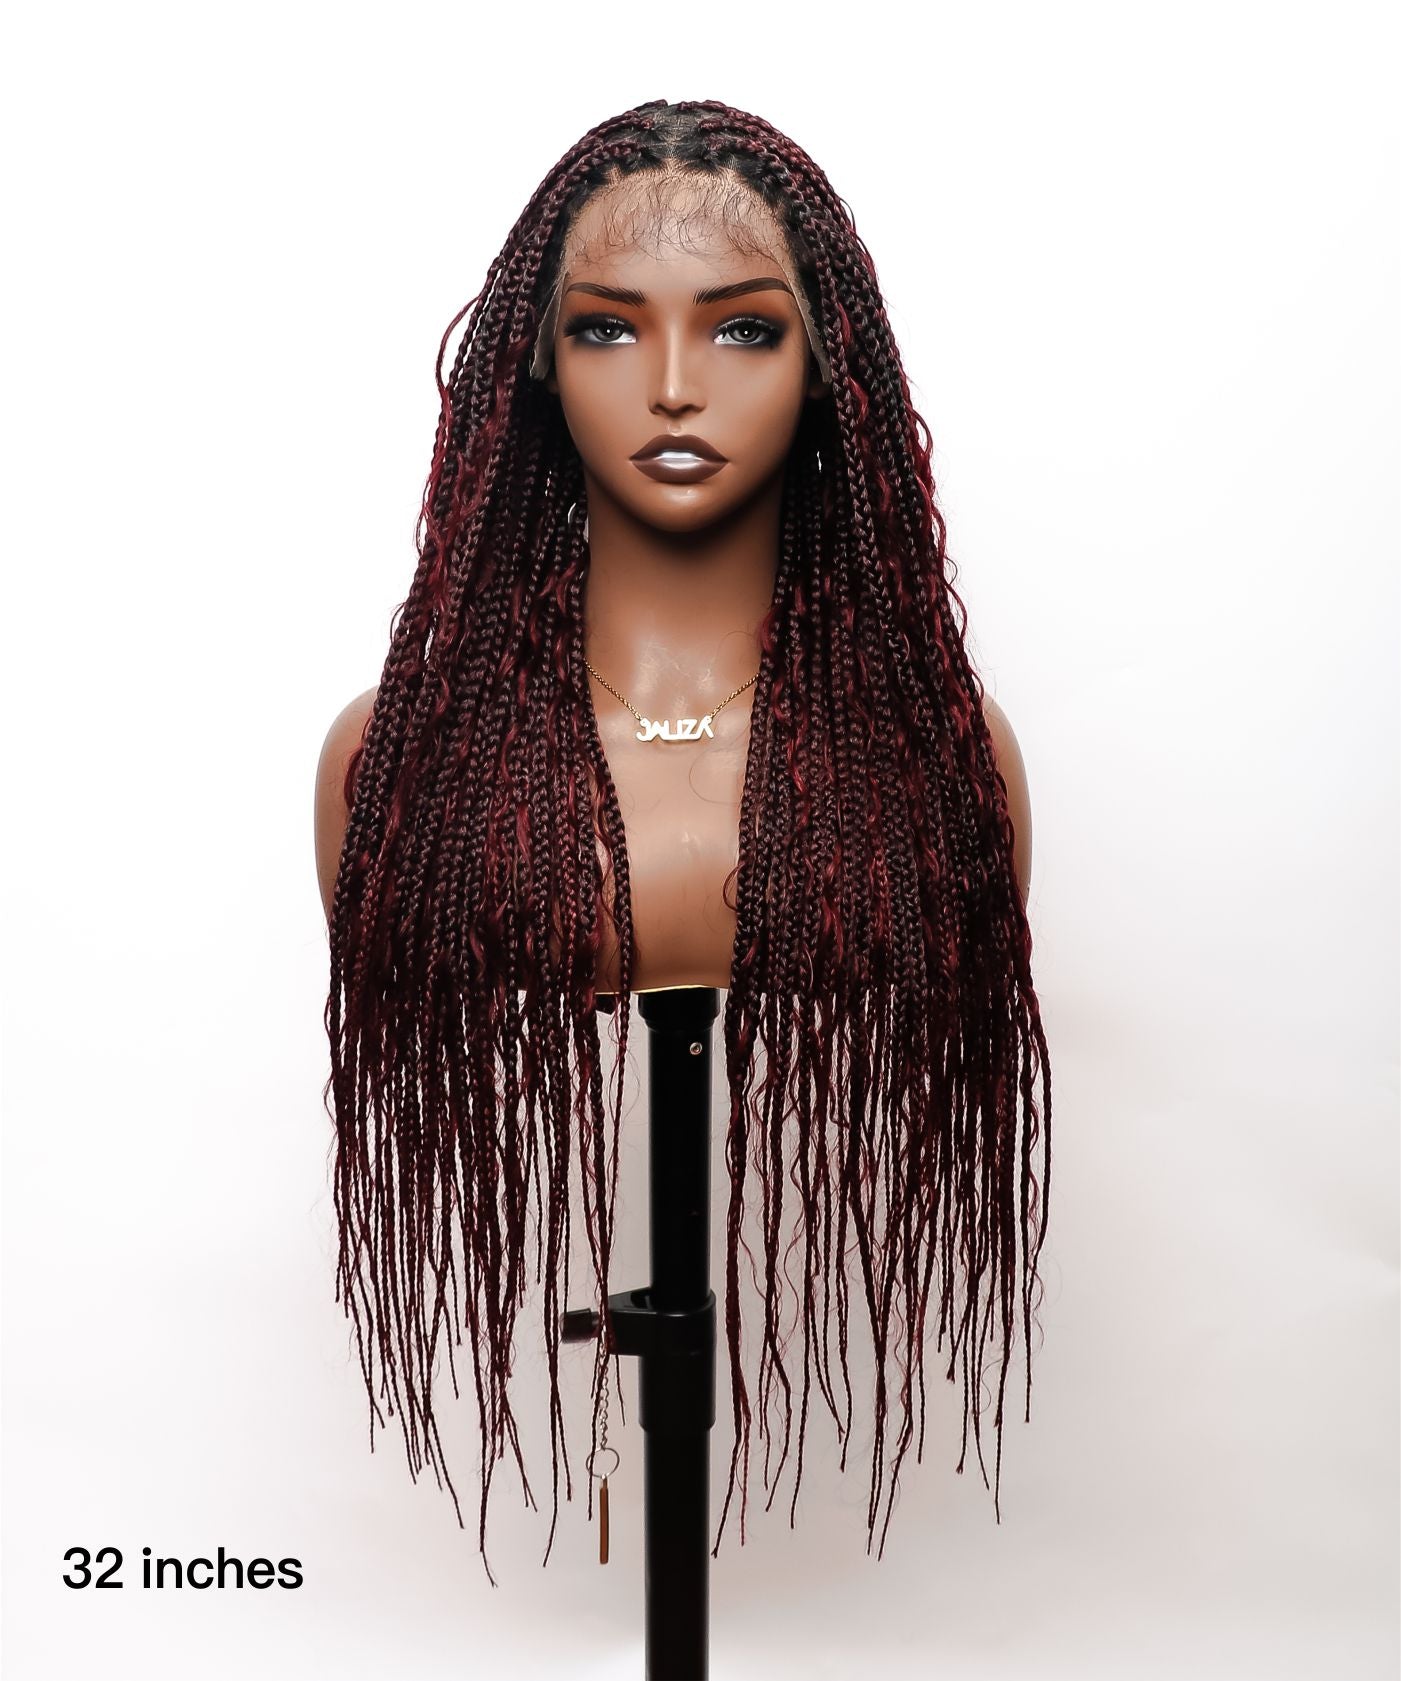
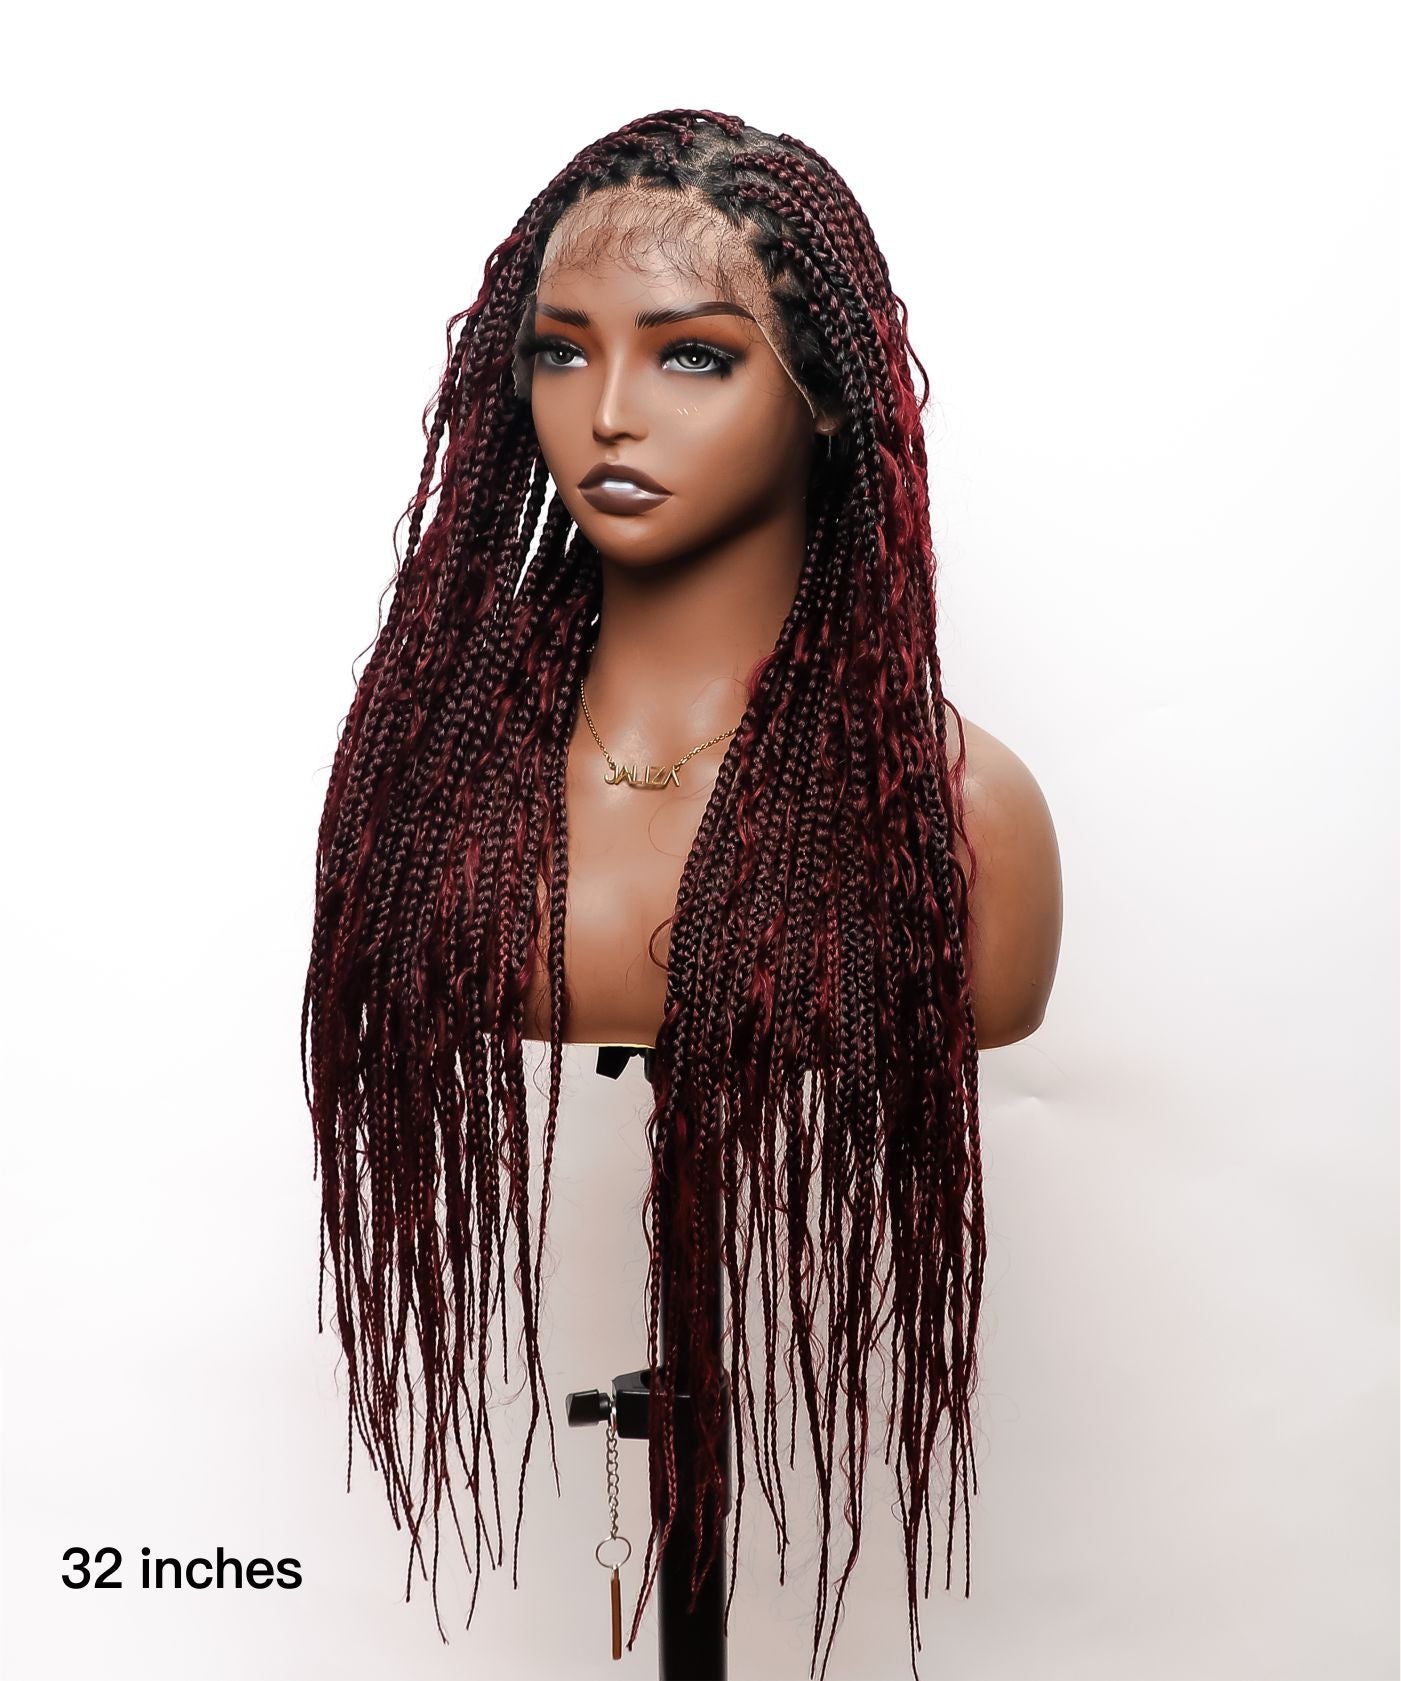
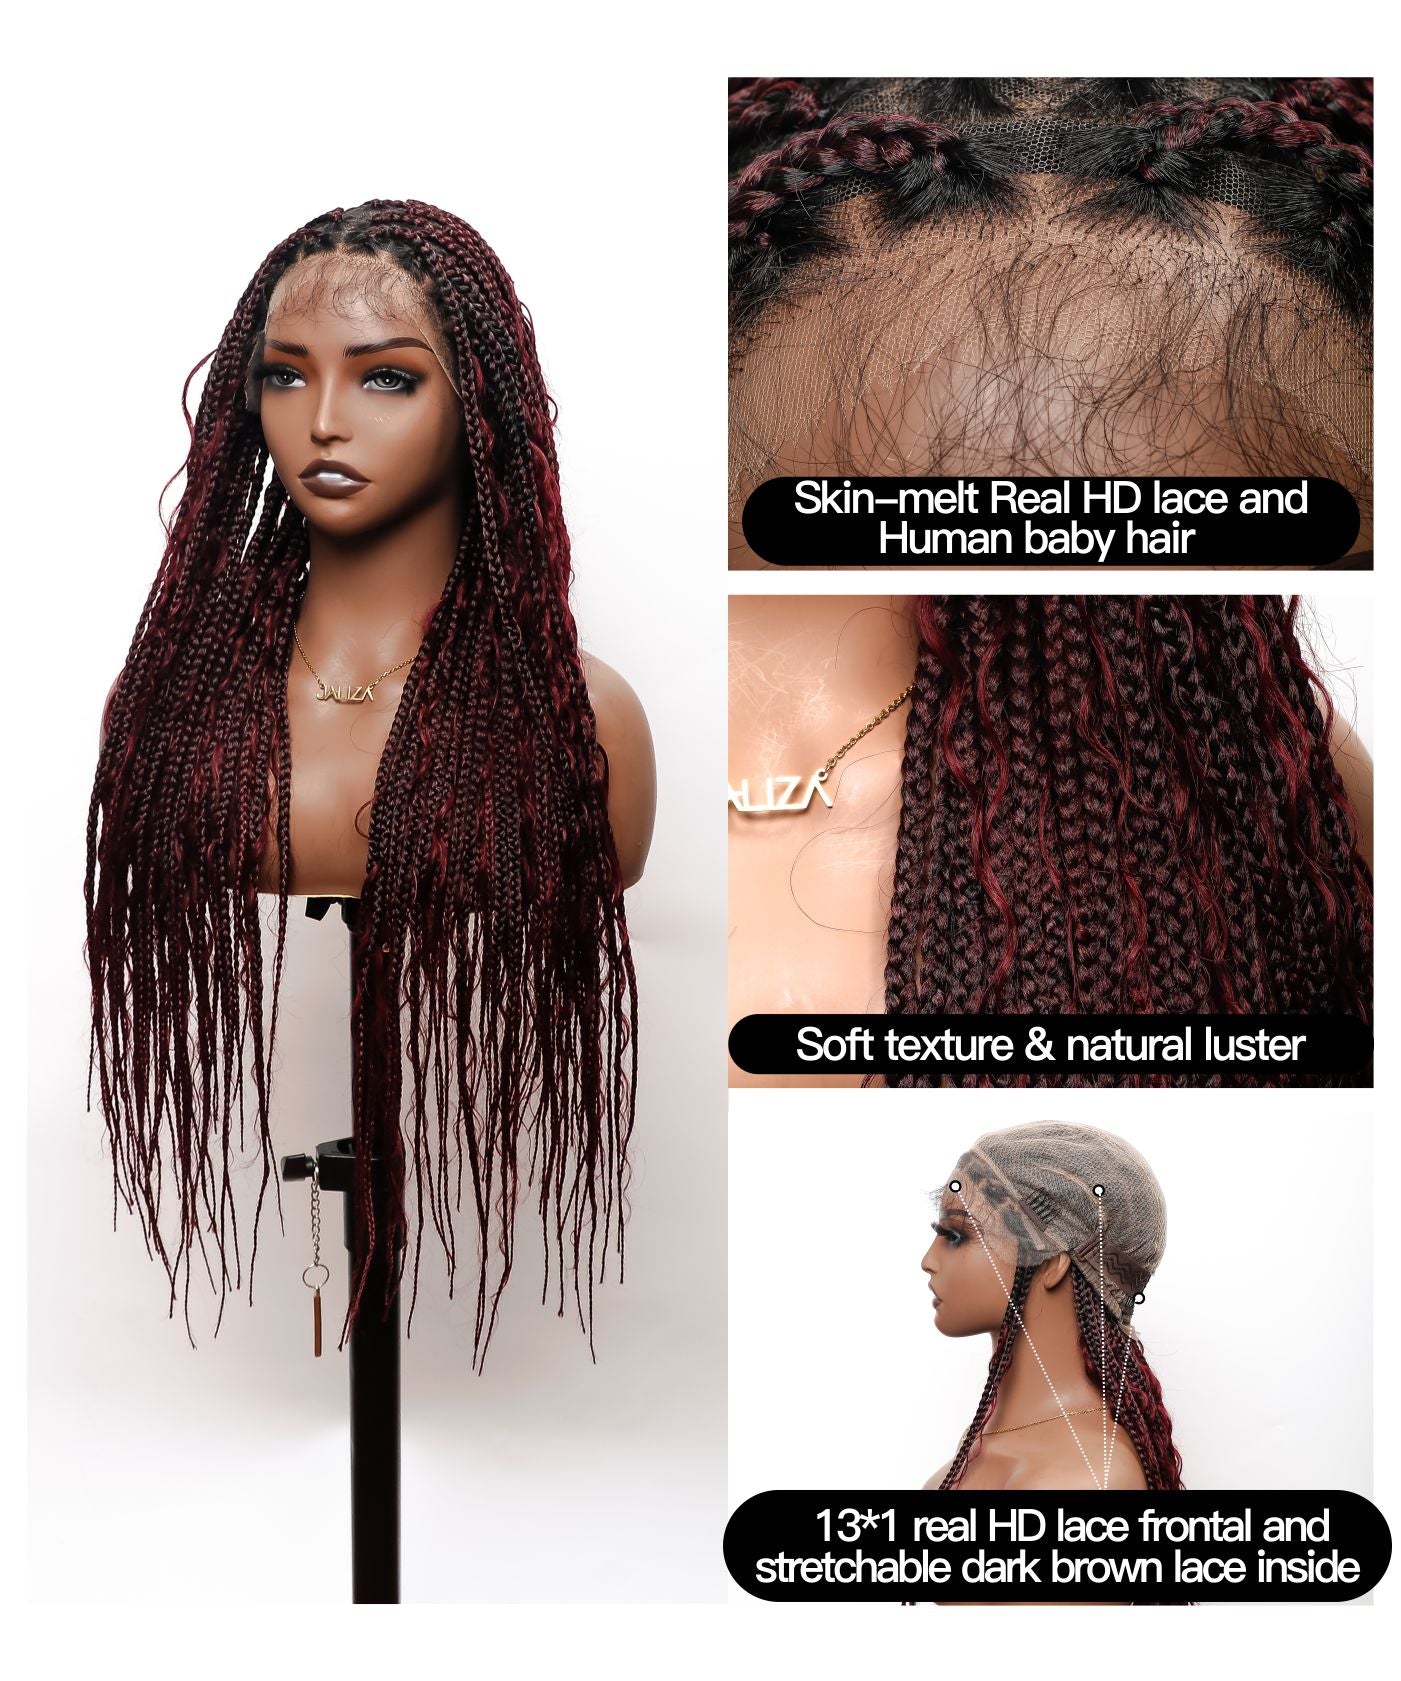
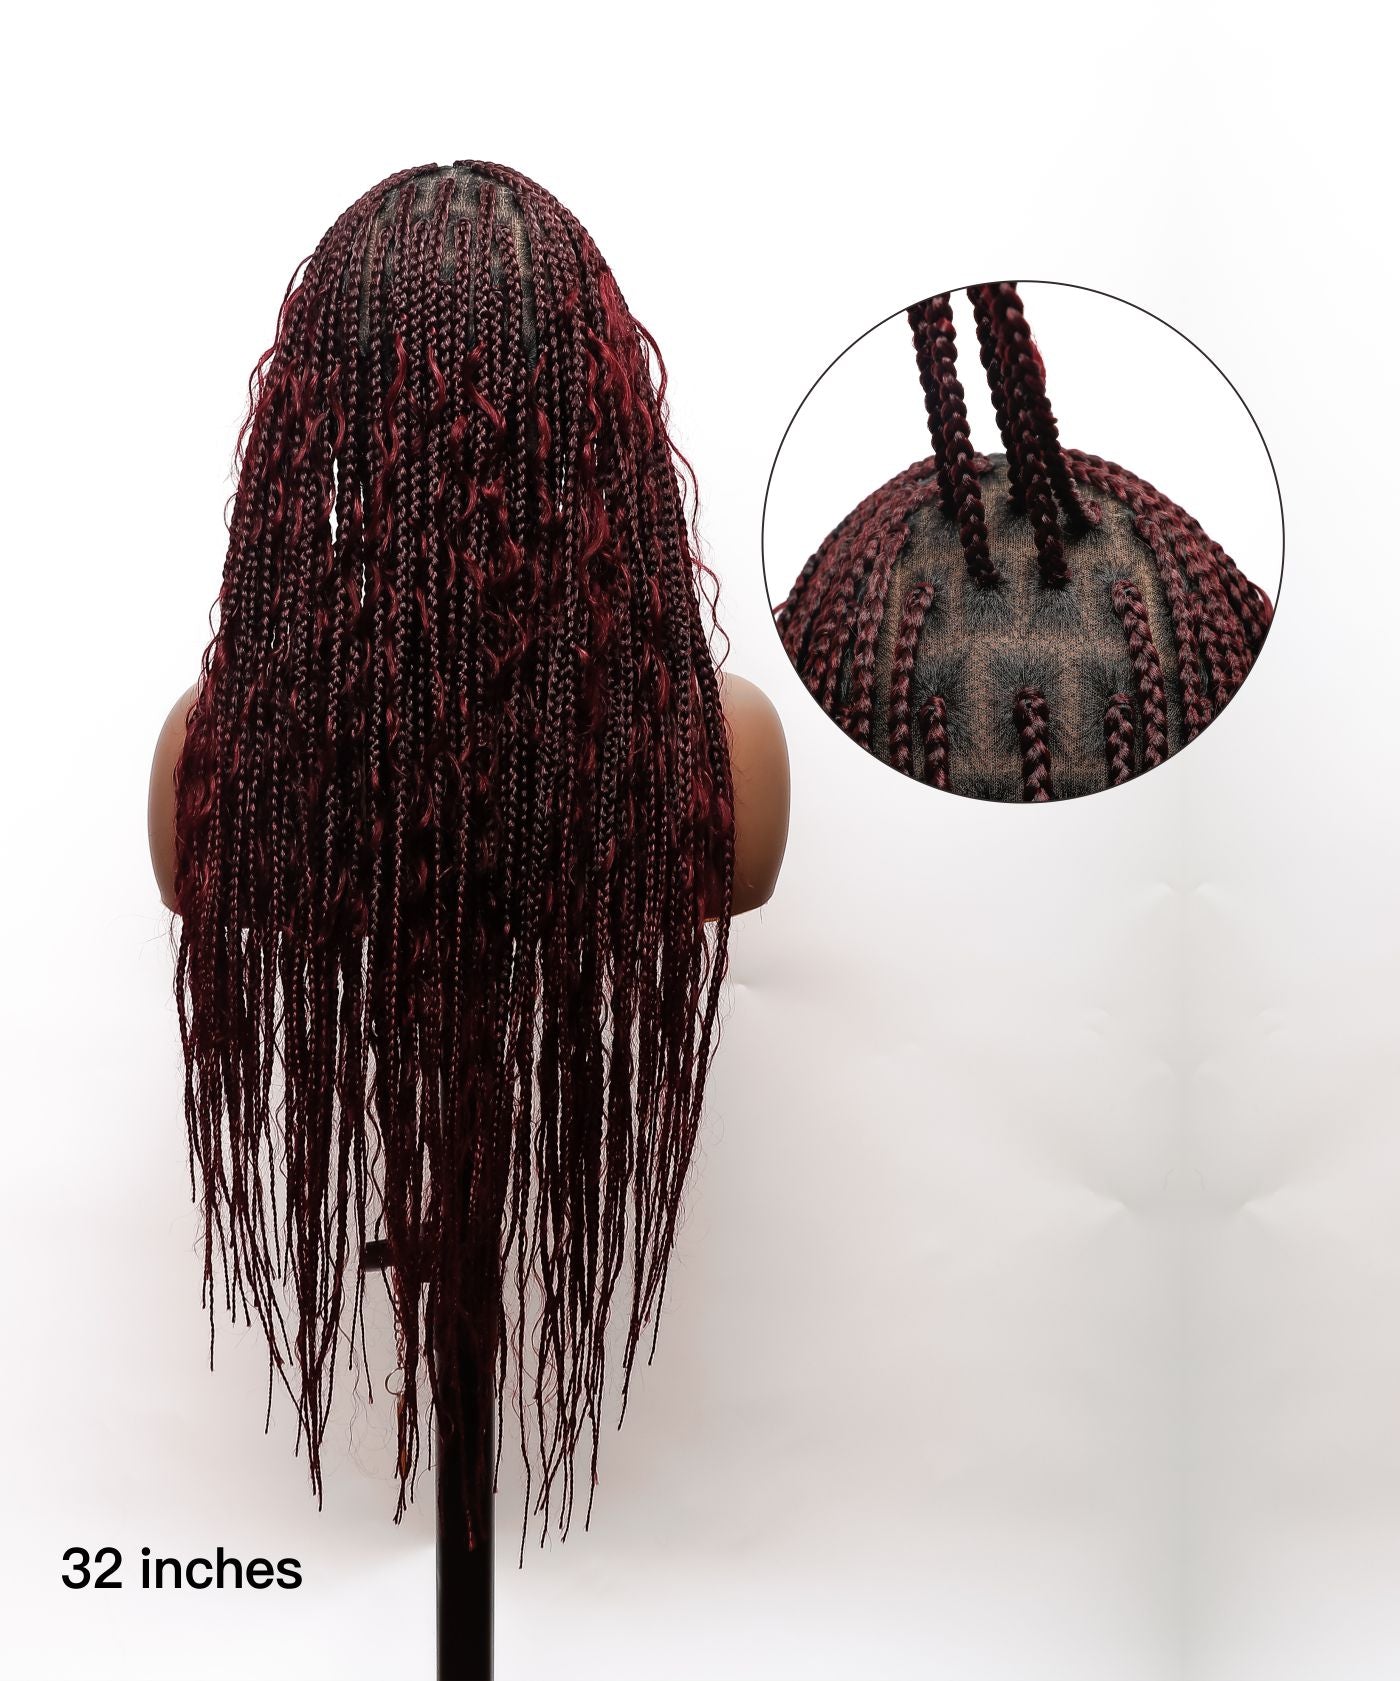
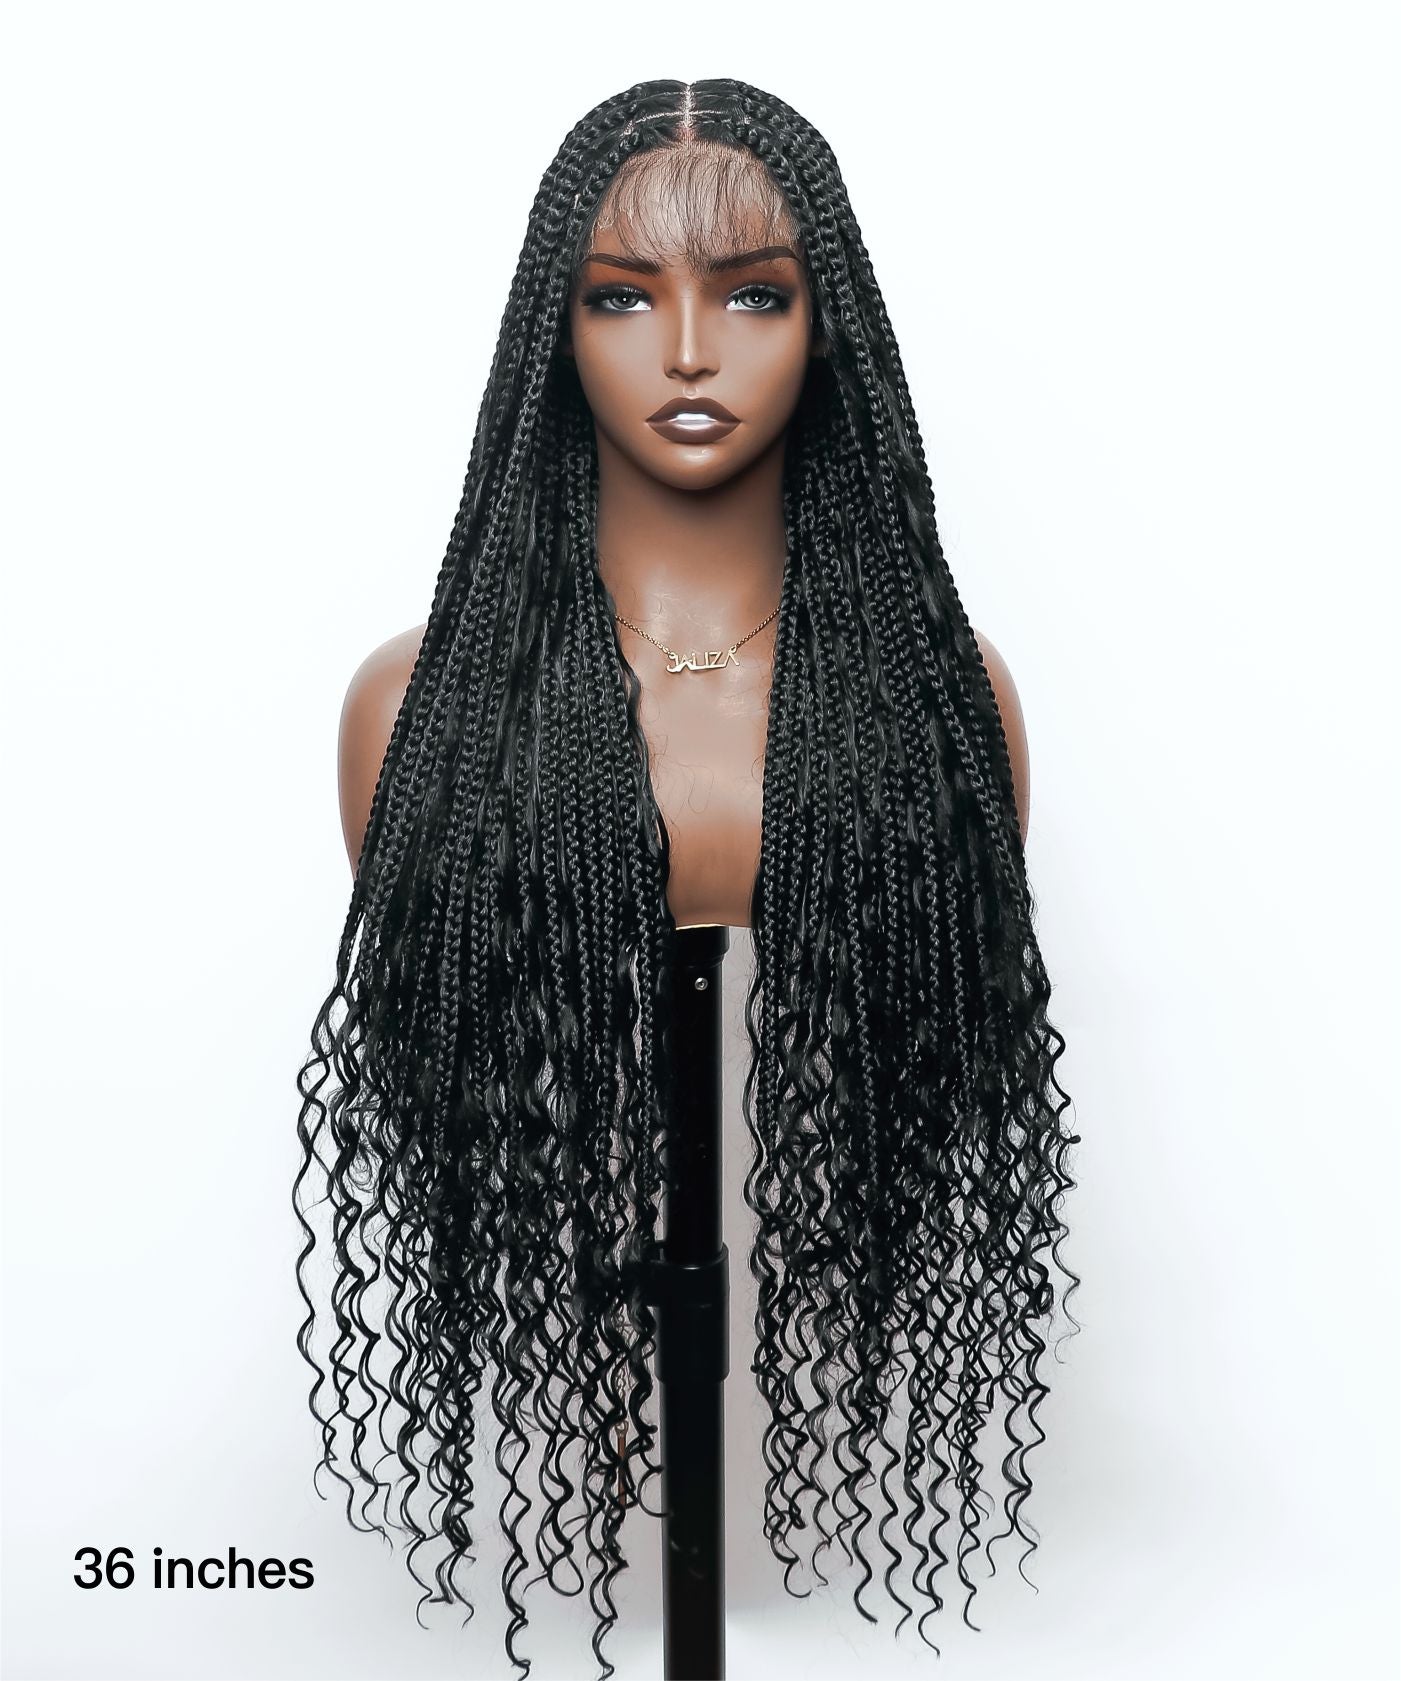
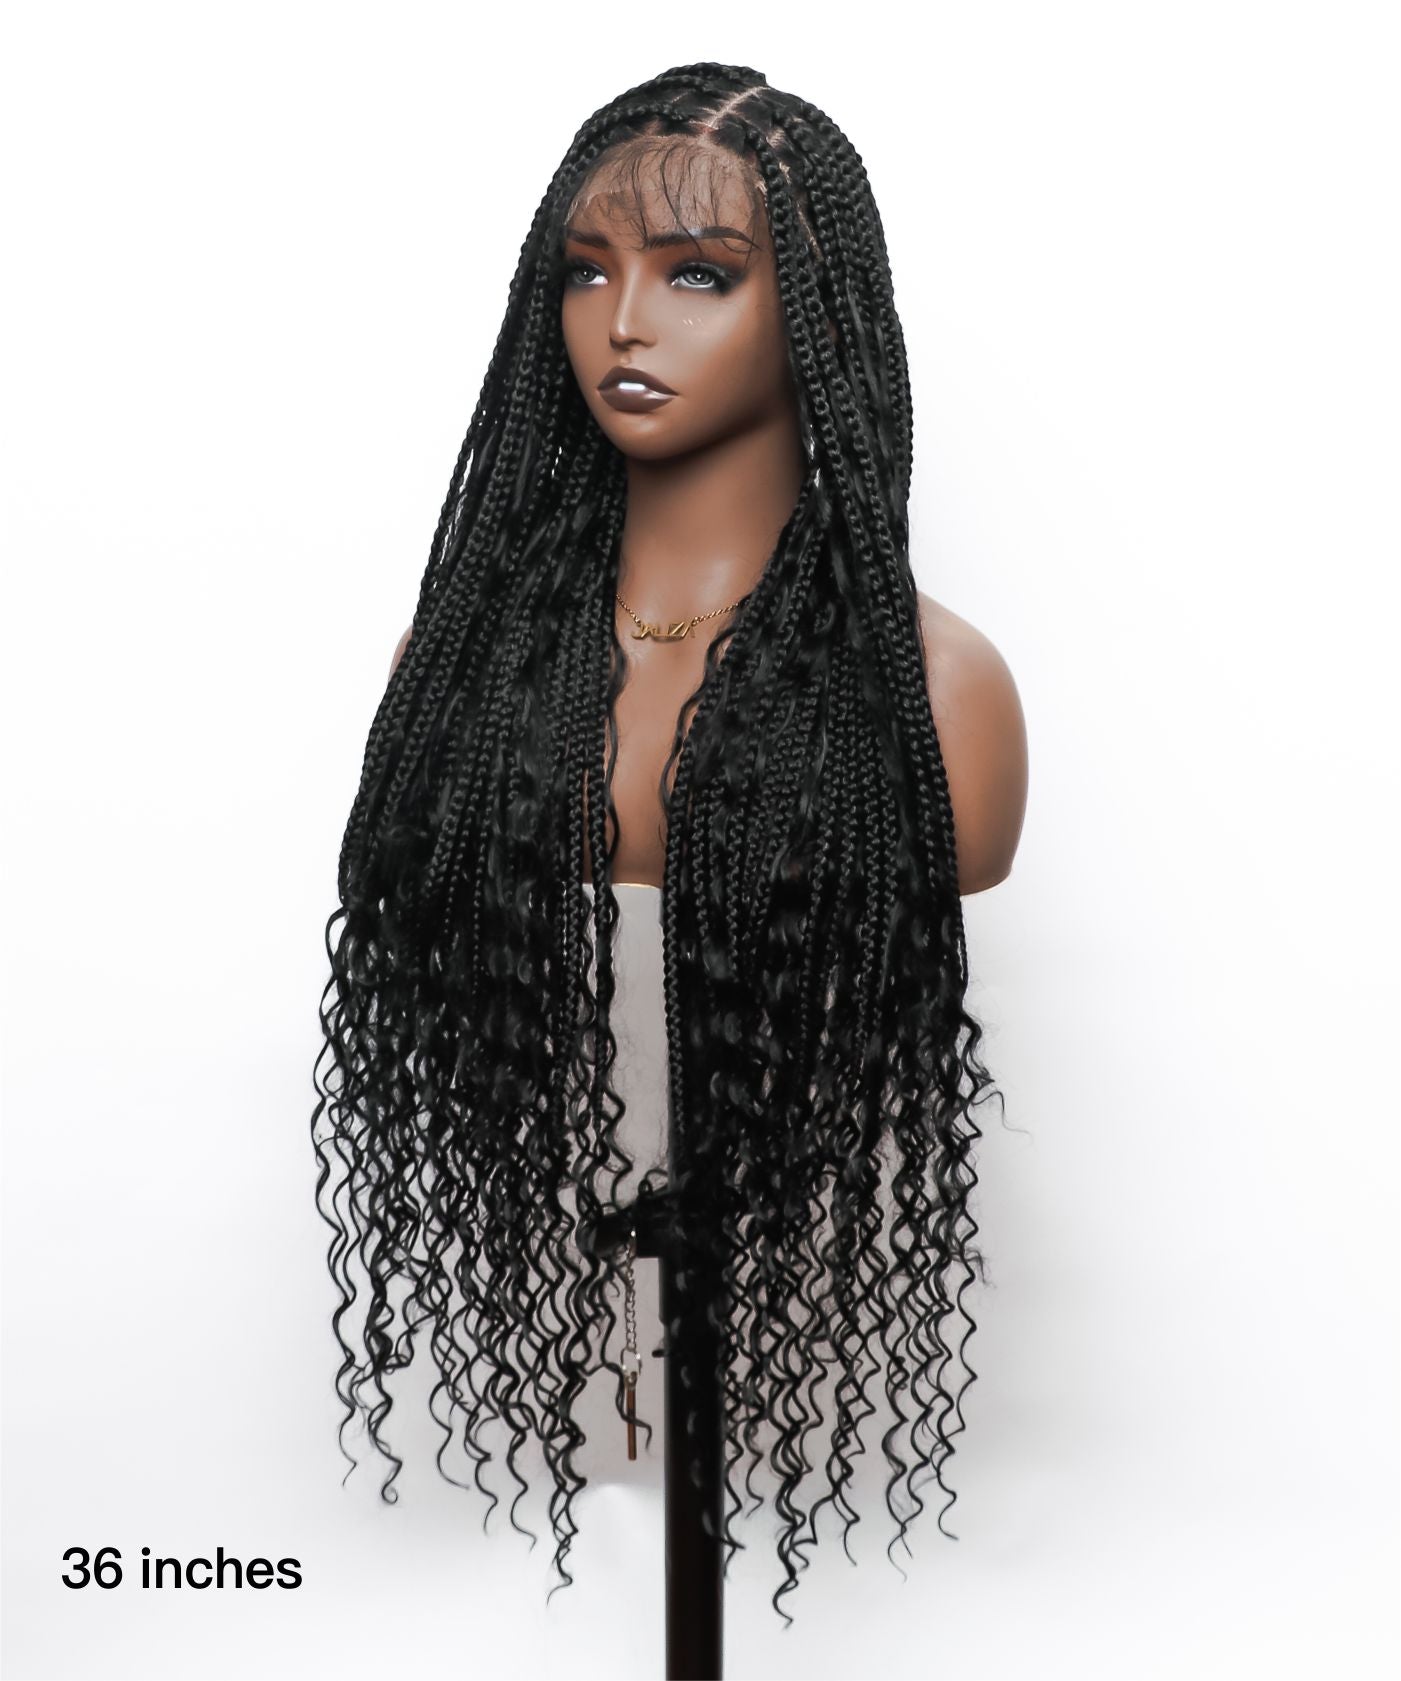
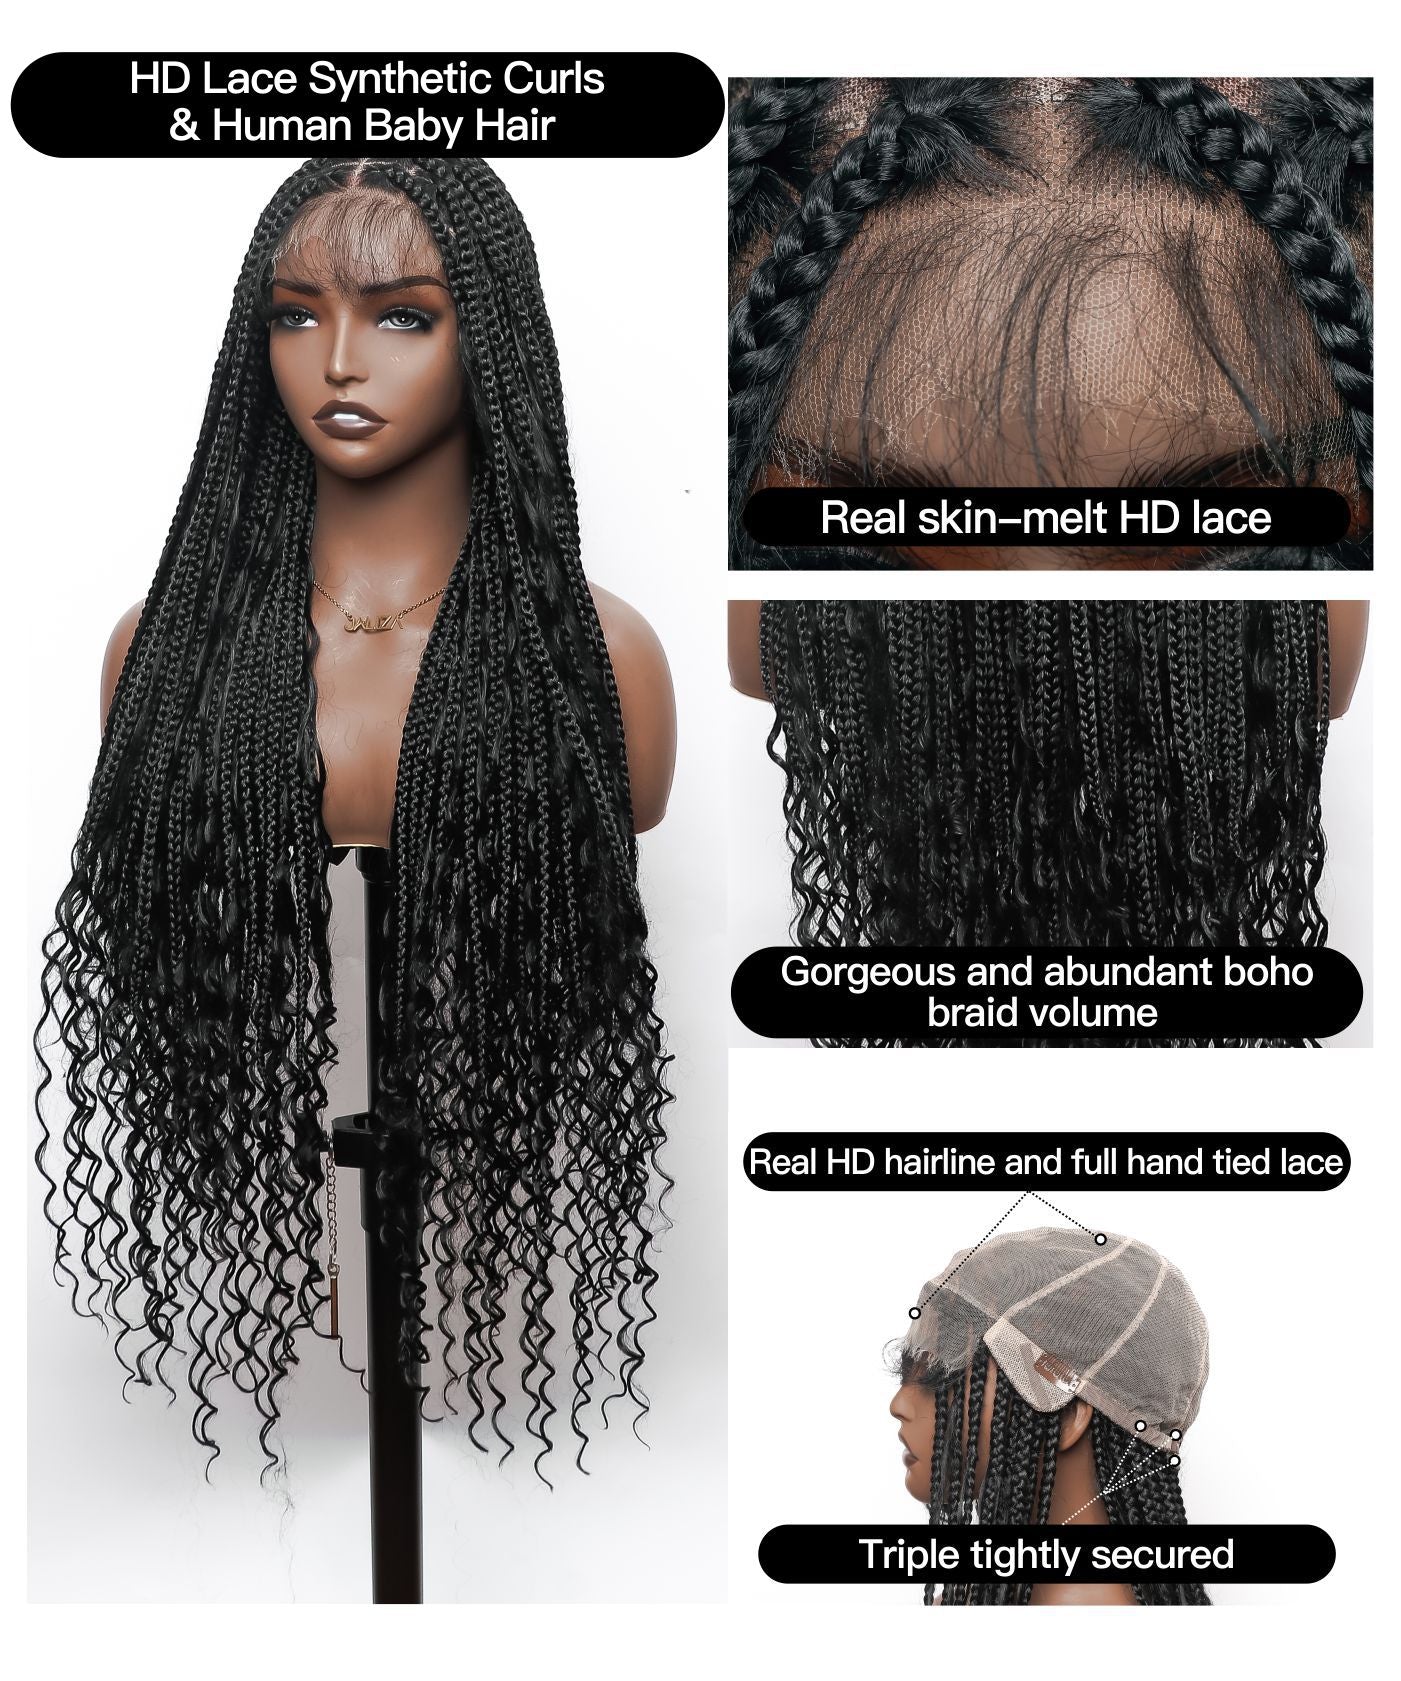
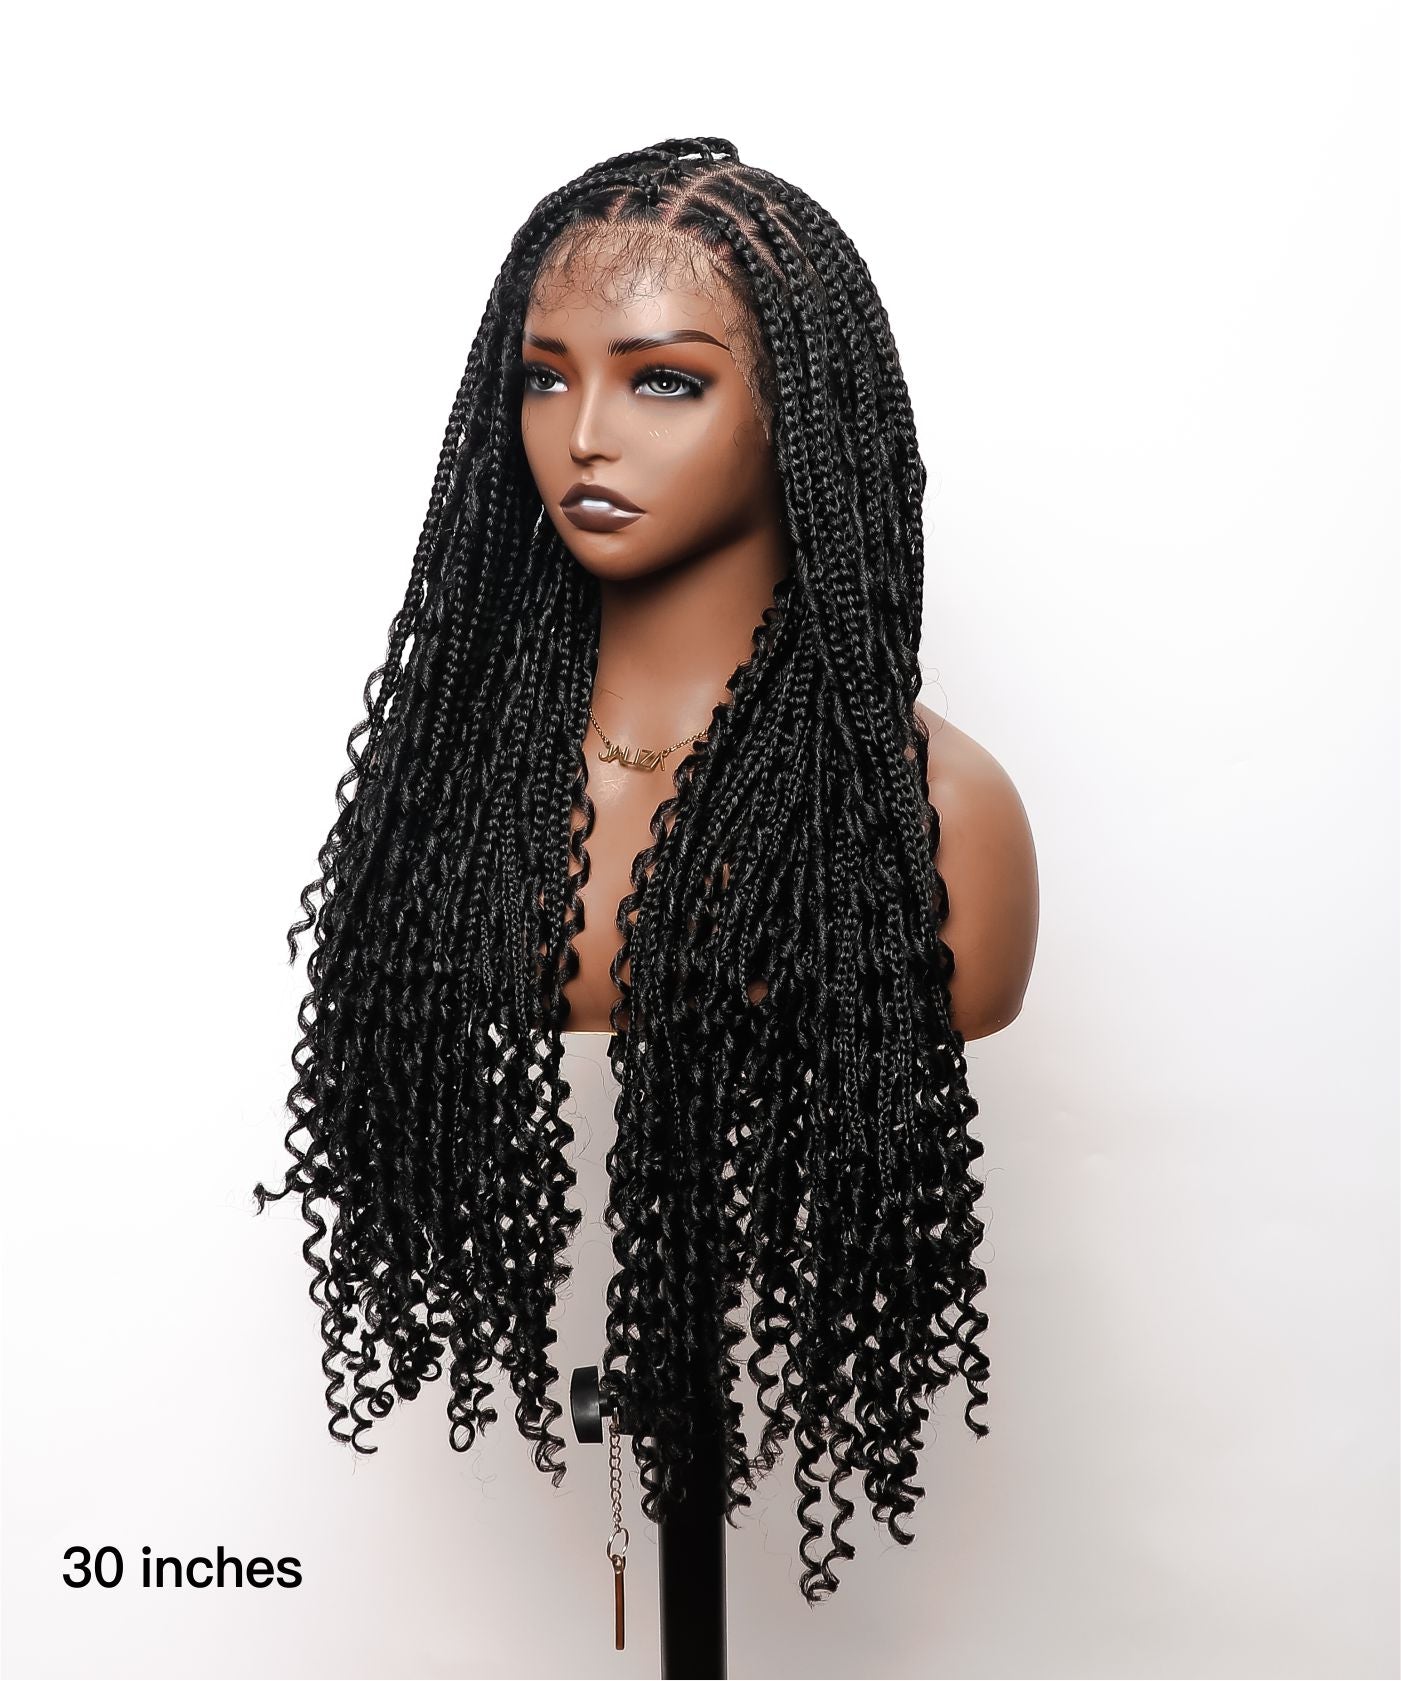
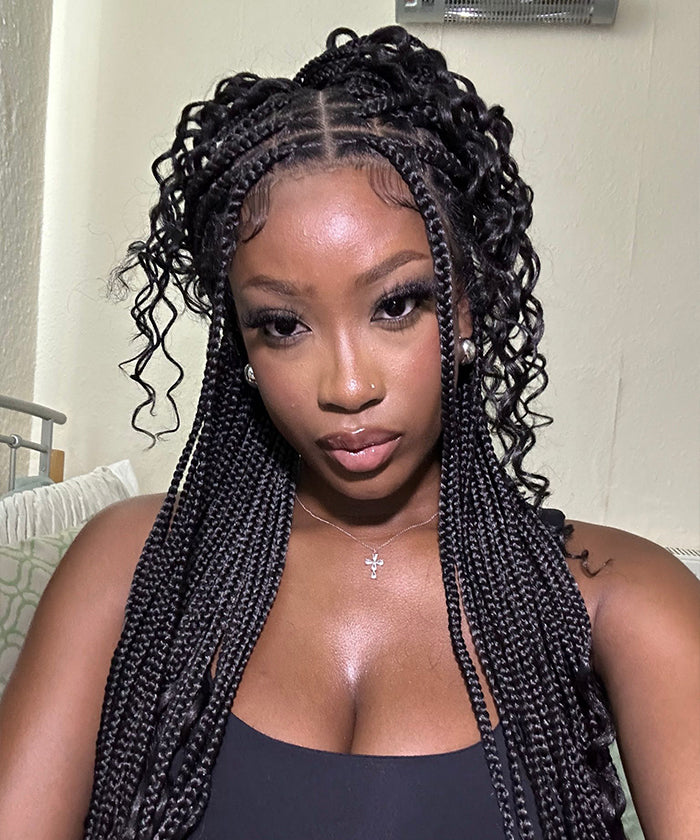
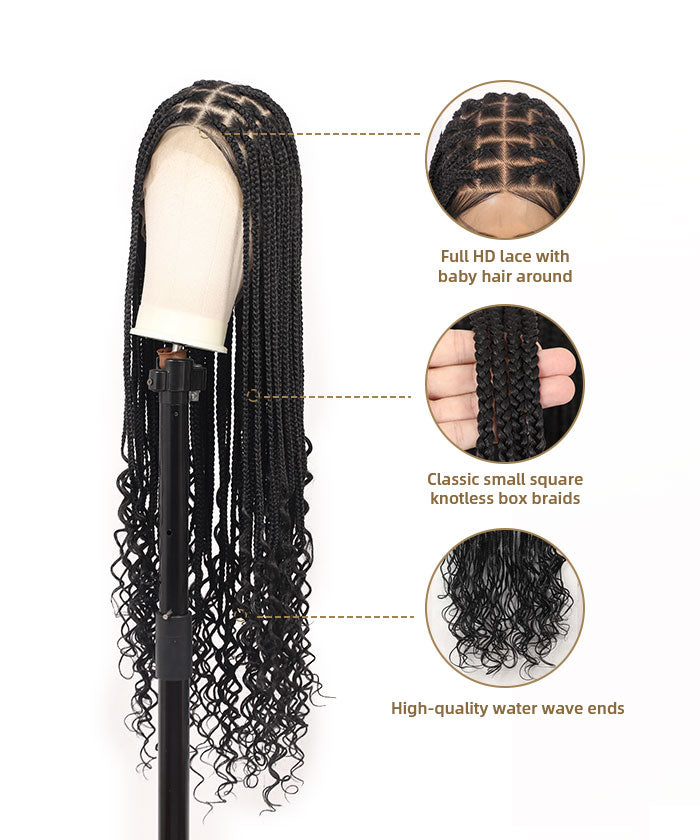
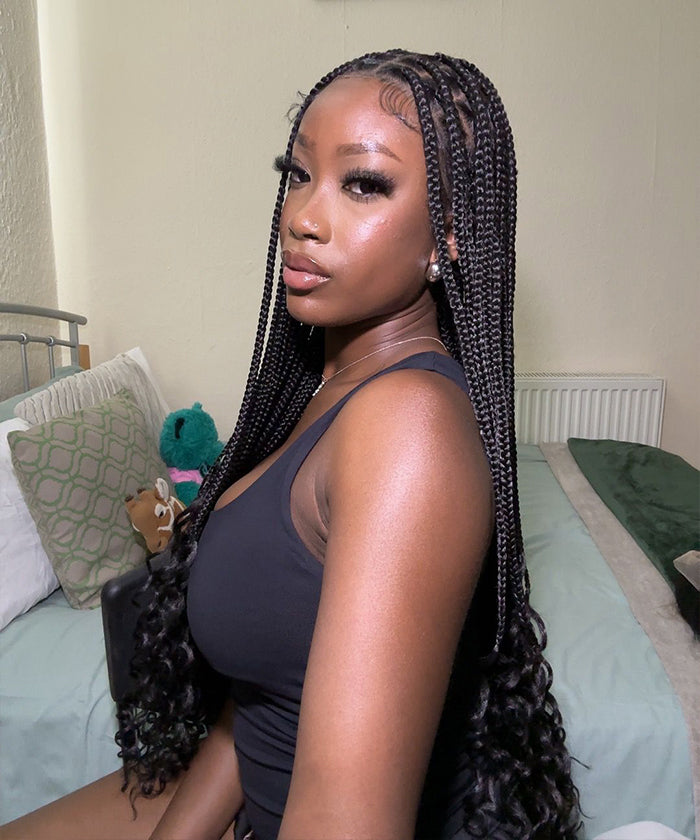
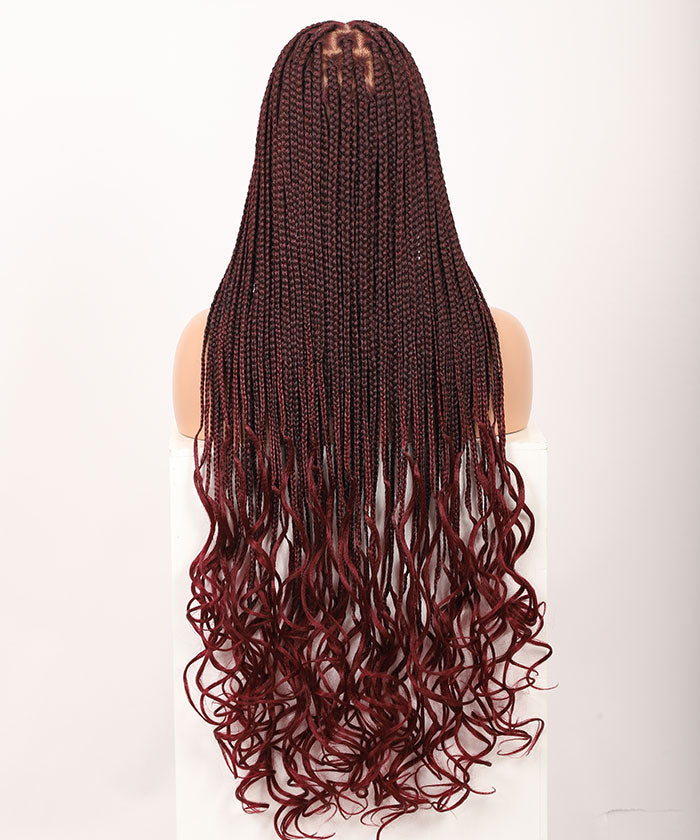
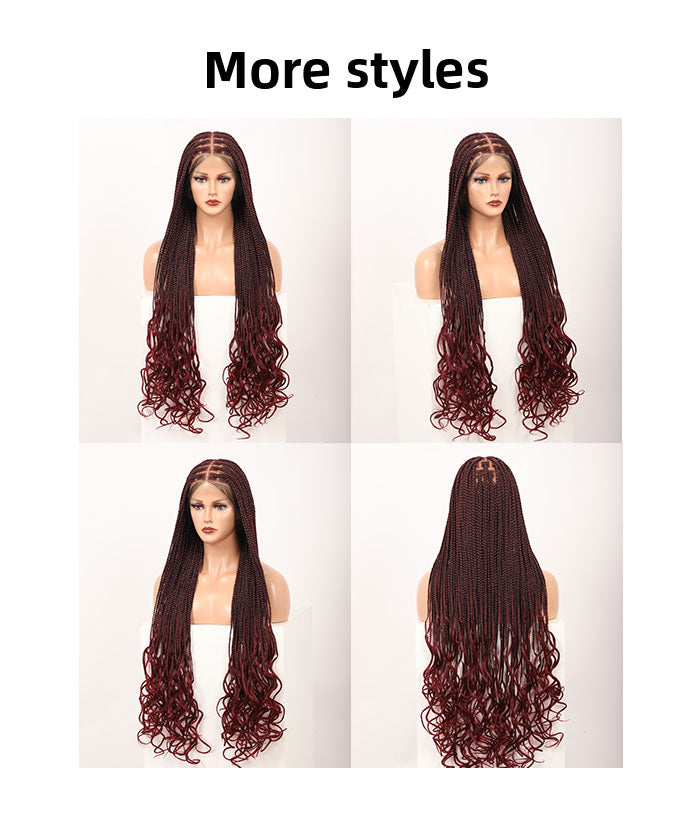
For those in search of high-quality crochet hair that's resistant to shedding, tangling, and matting, JALIZA's collection of crochet braided wigs and hairpieces is your ultimate destination. Crafted using premium synthetic fibers with human hair curls, JALIZA's crochet styles offer durability for everyday wear and styling changes, ensuring they maintain a polished appearance without becoming excessively frizzy or unruly.


Share:
40 Gorgeous Fulani Braid Styles to Embrace Your Cultural Beauty
Unveiling the Essence of Pop Smoke Braids: A Comprehensive Guide to This Iconic Hairstyle