Wigs have long surpassed their role as mere fashion statements and have become invaluable assets for those seeking versatility in styling or solutions for hair loss. Among the plethora of options available, the lace front wig stands out, offering an unrivaled natural look that can easily trick even the keenest eye. This guide will delve into the intricacies of human hair wigs and provide a detailed roadmap to installing lace front wig, ensuring that the final outcome is nothing short of perfection.
Understanding Lace Frontal Wigs
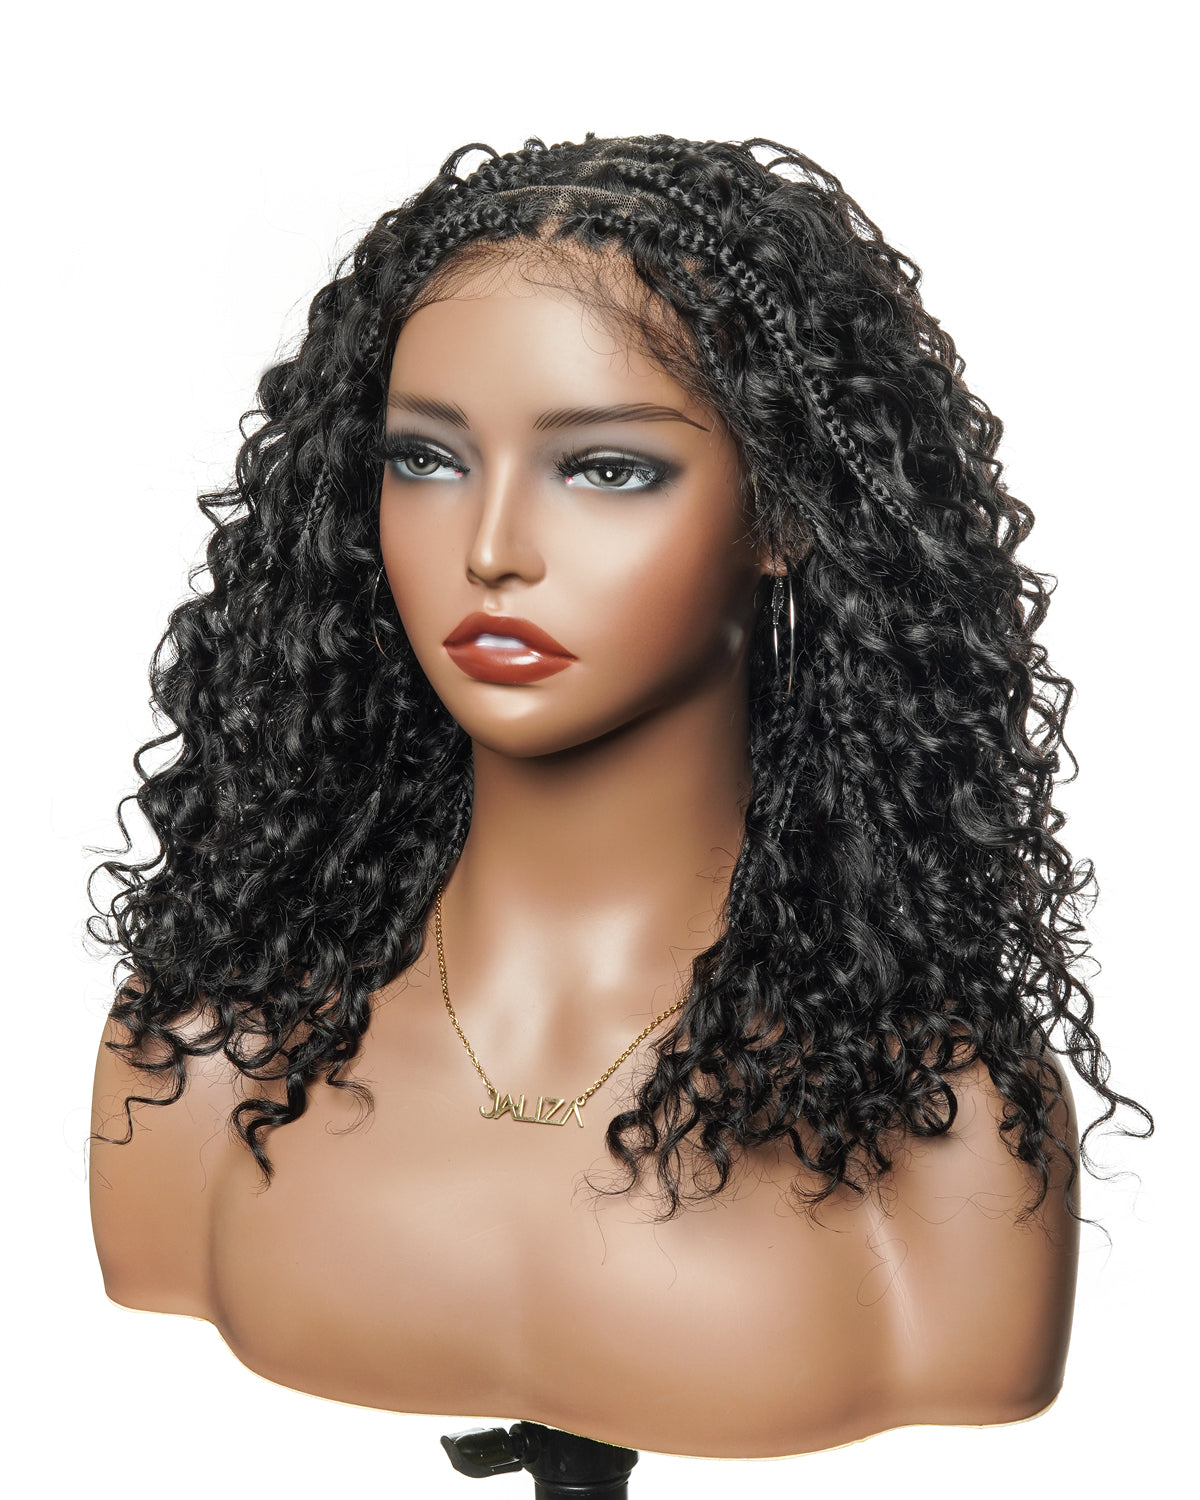
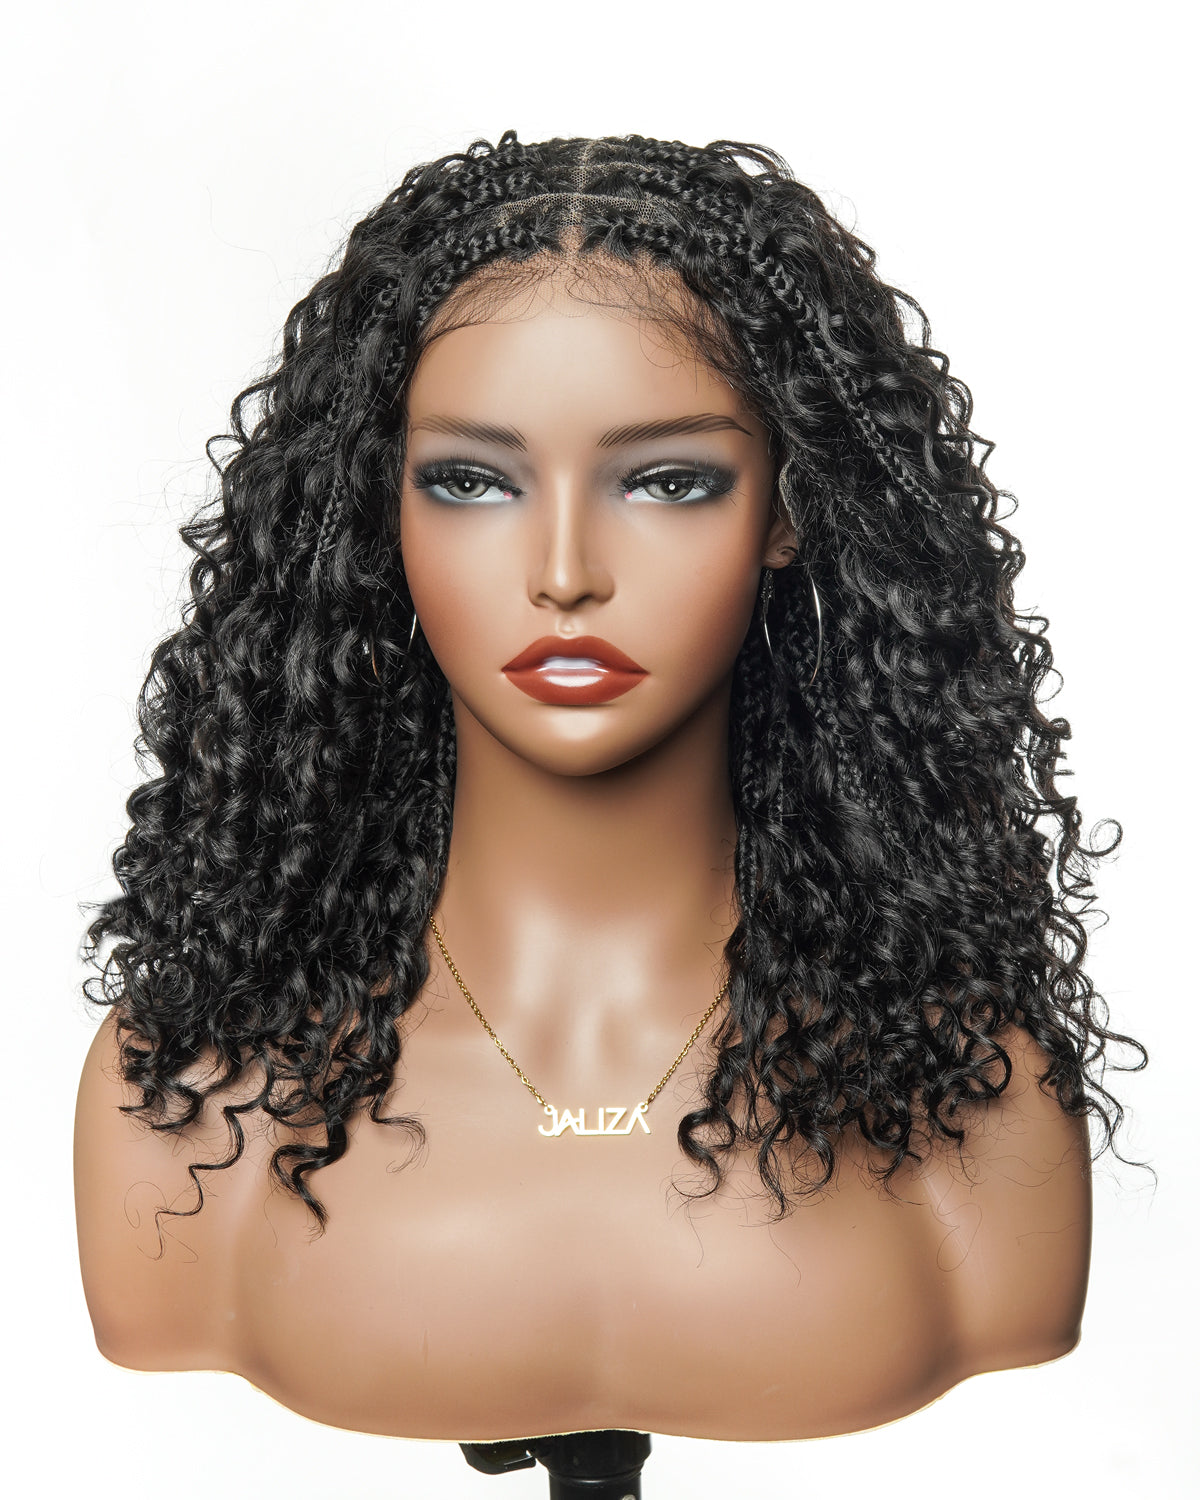
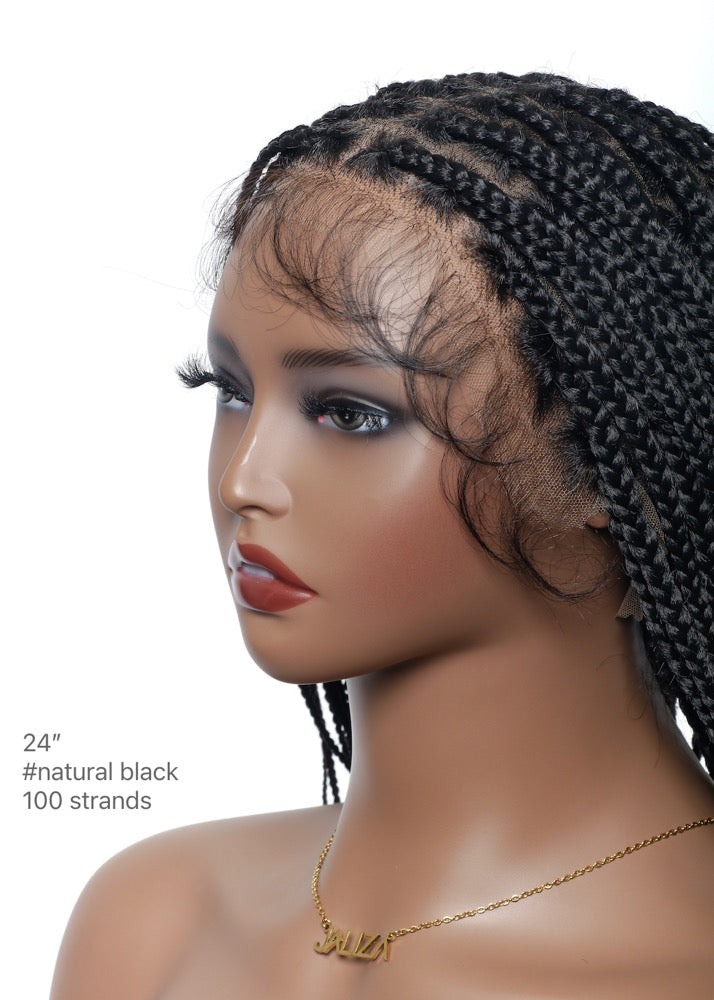
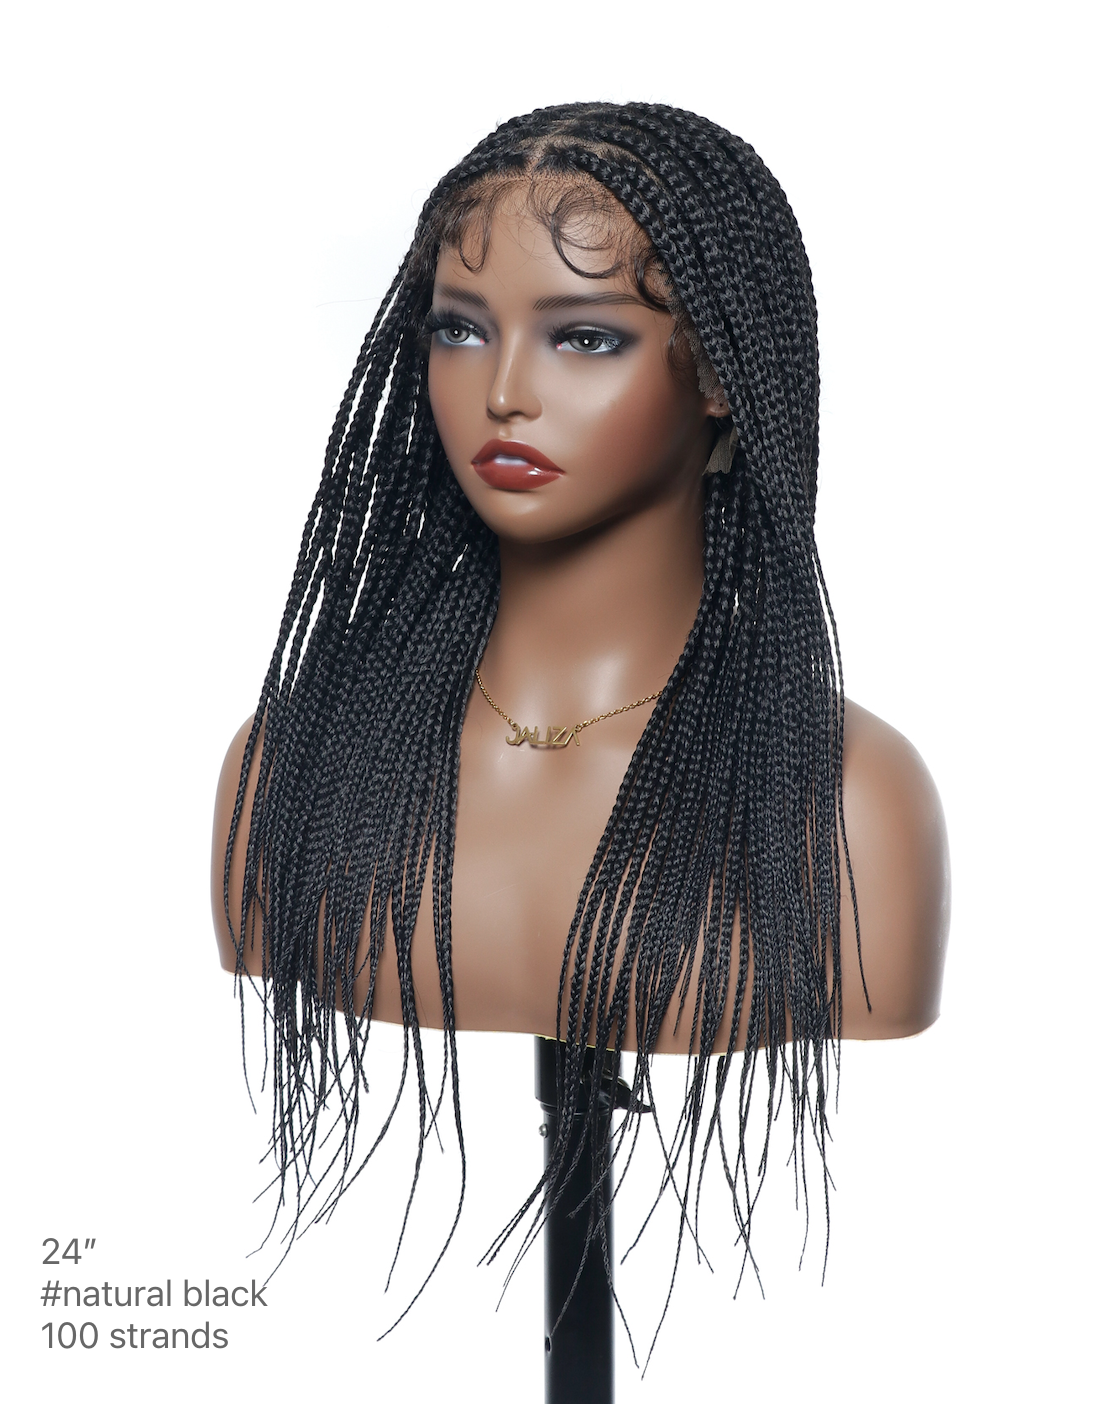
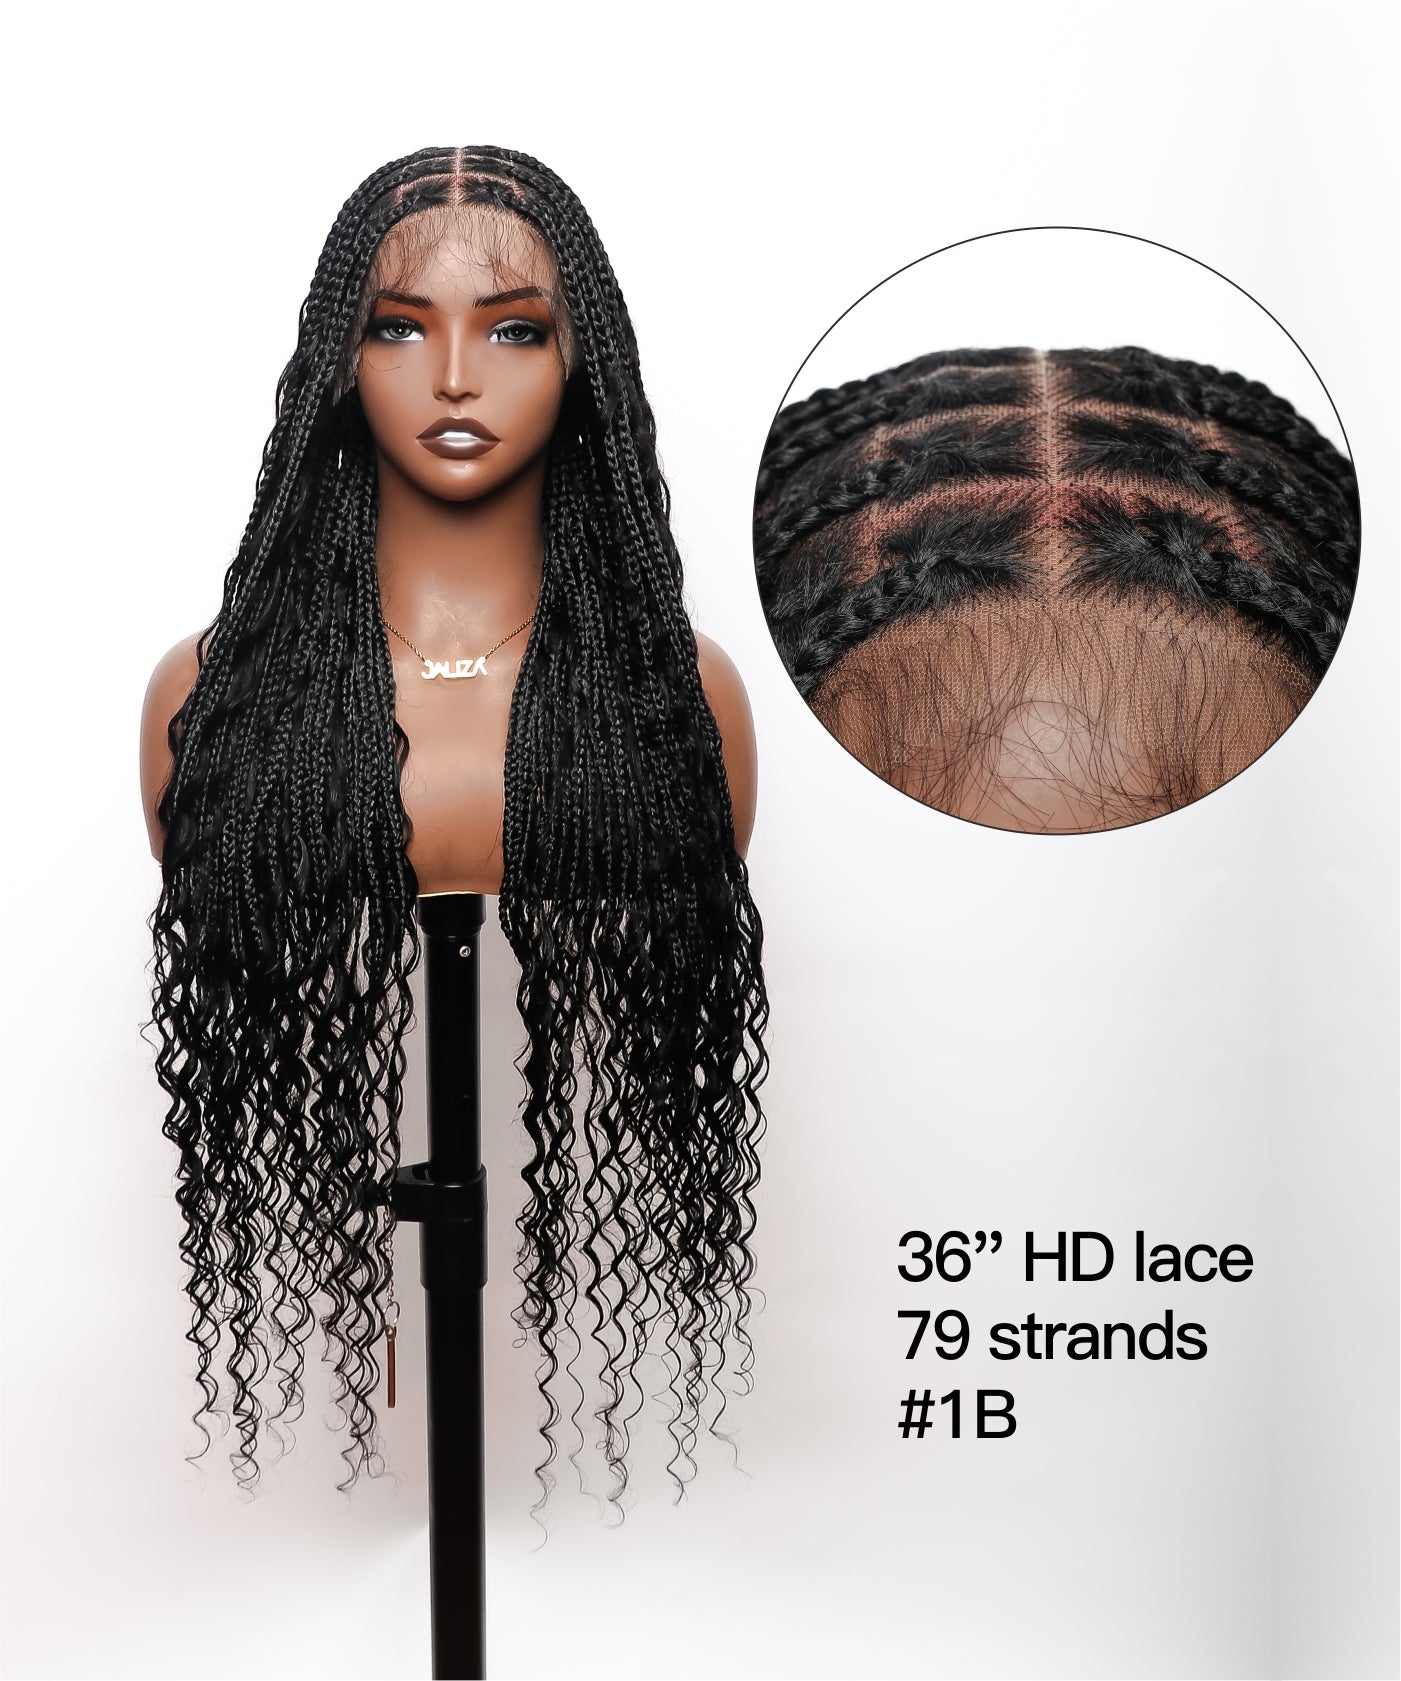
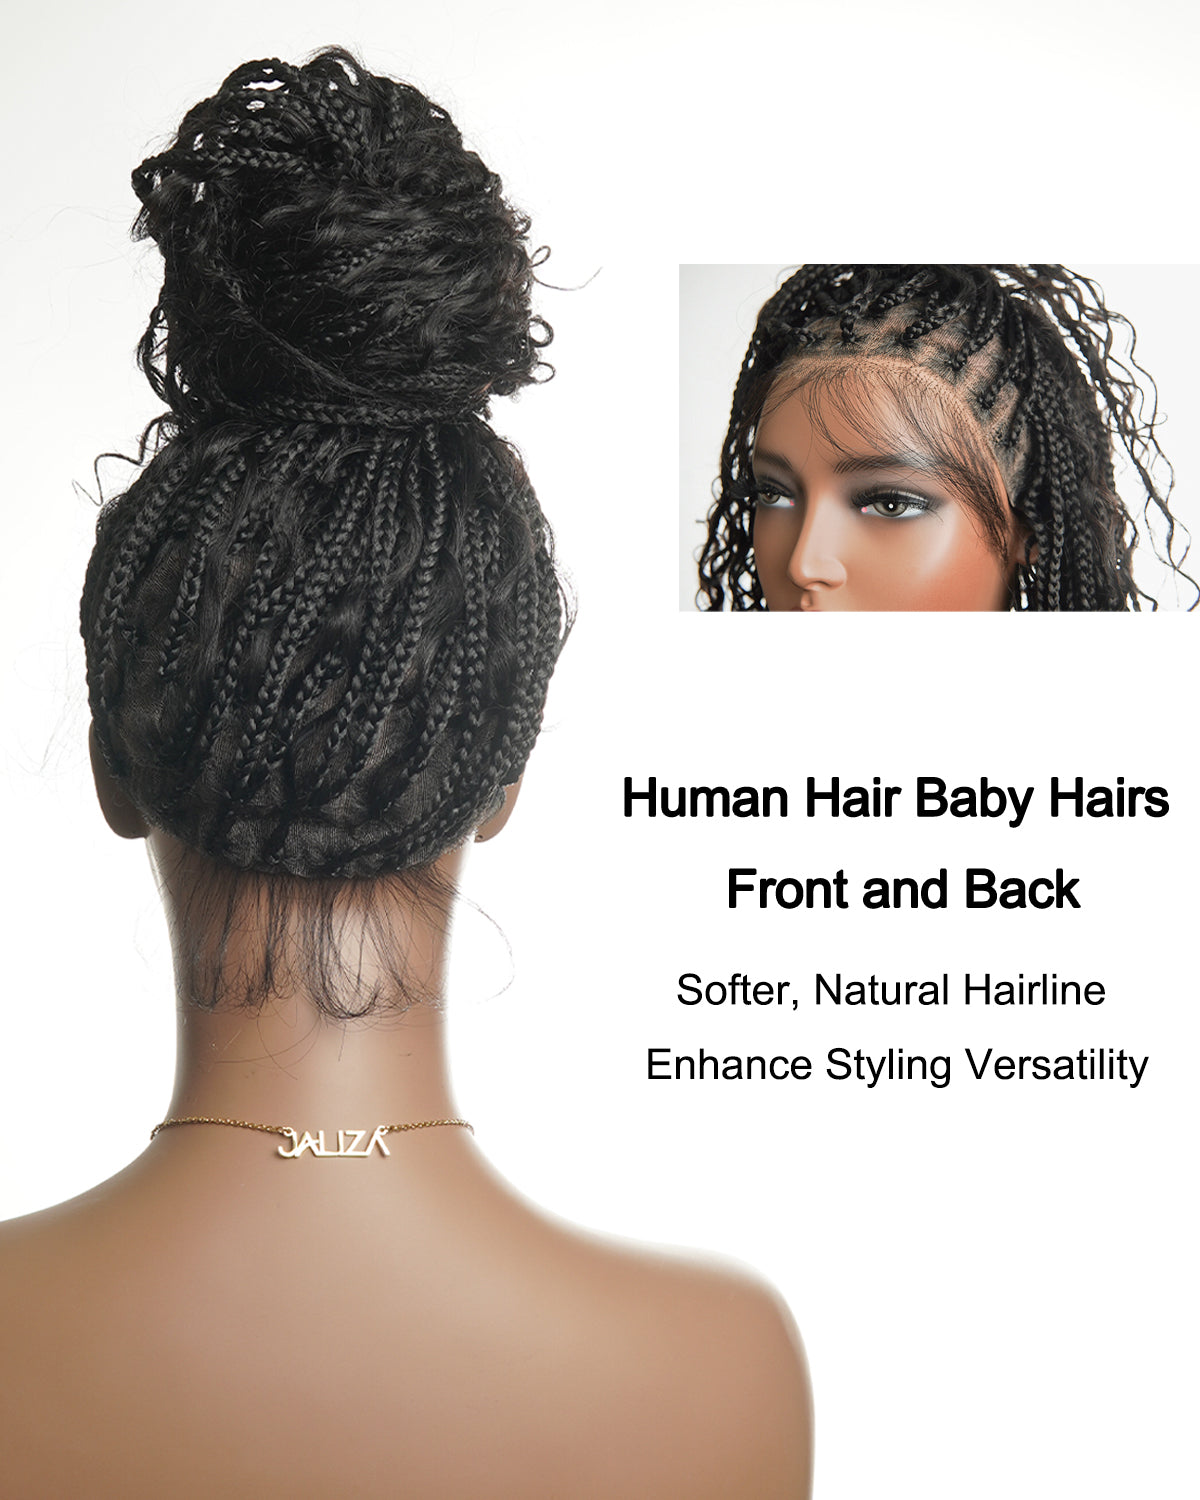
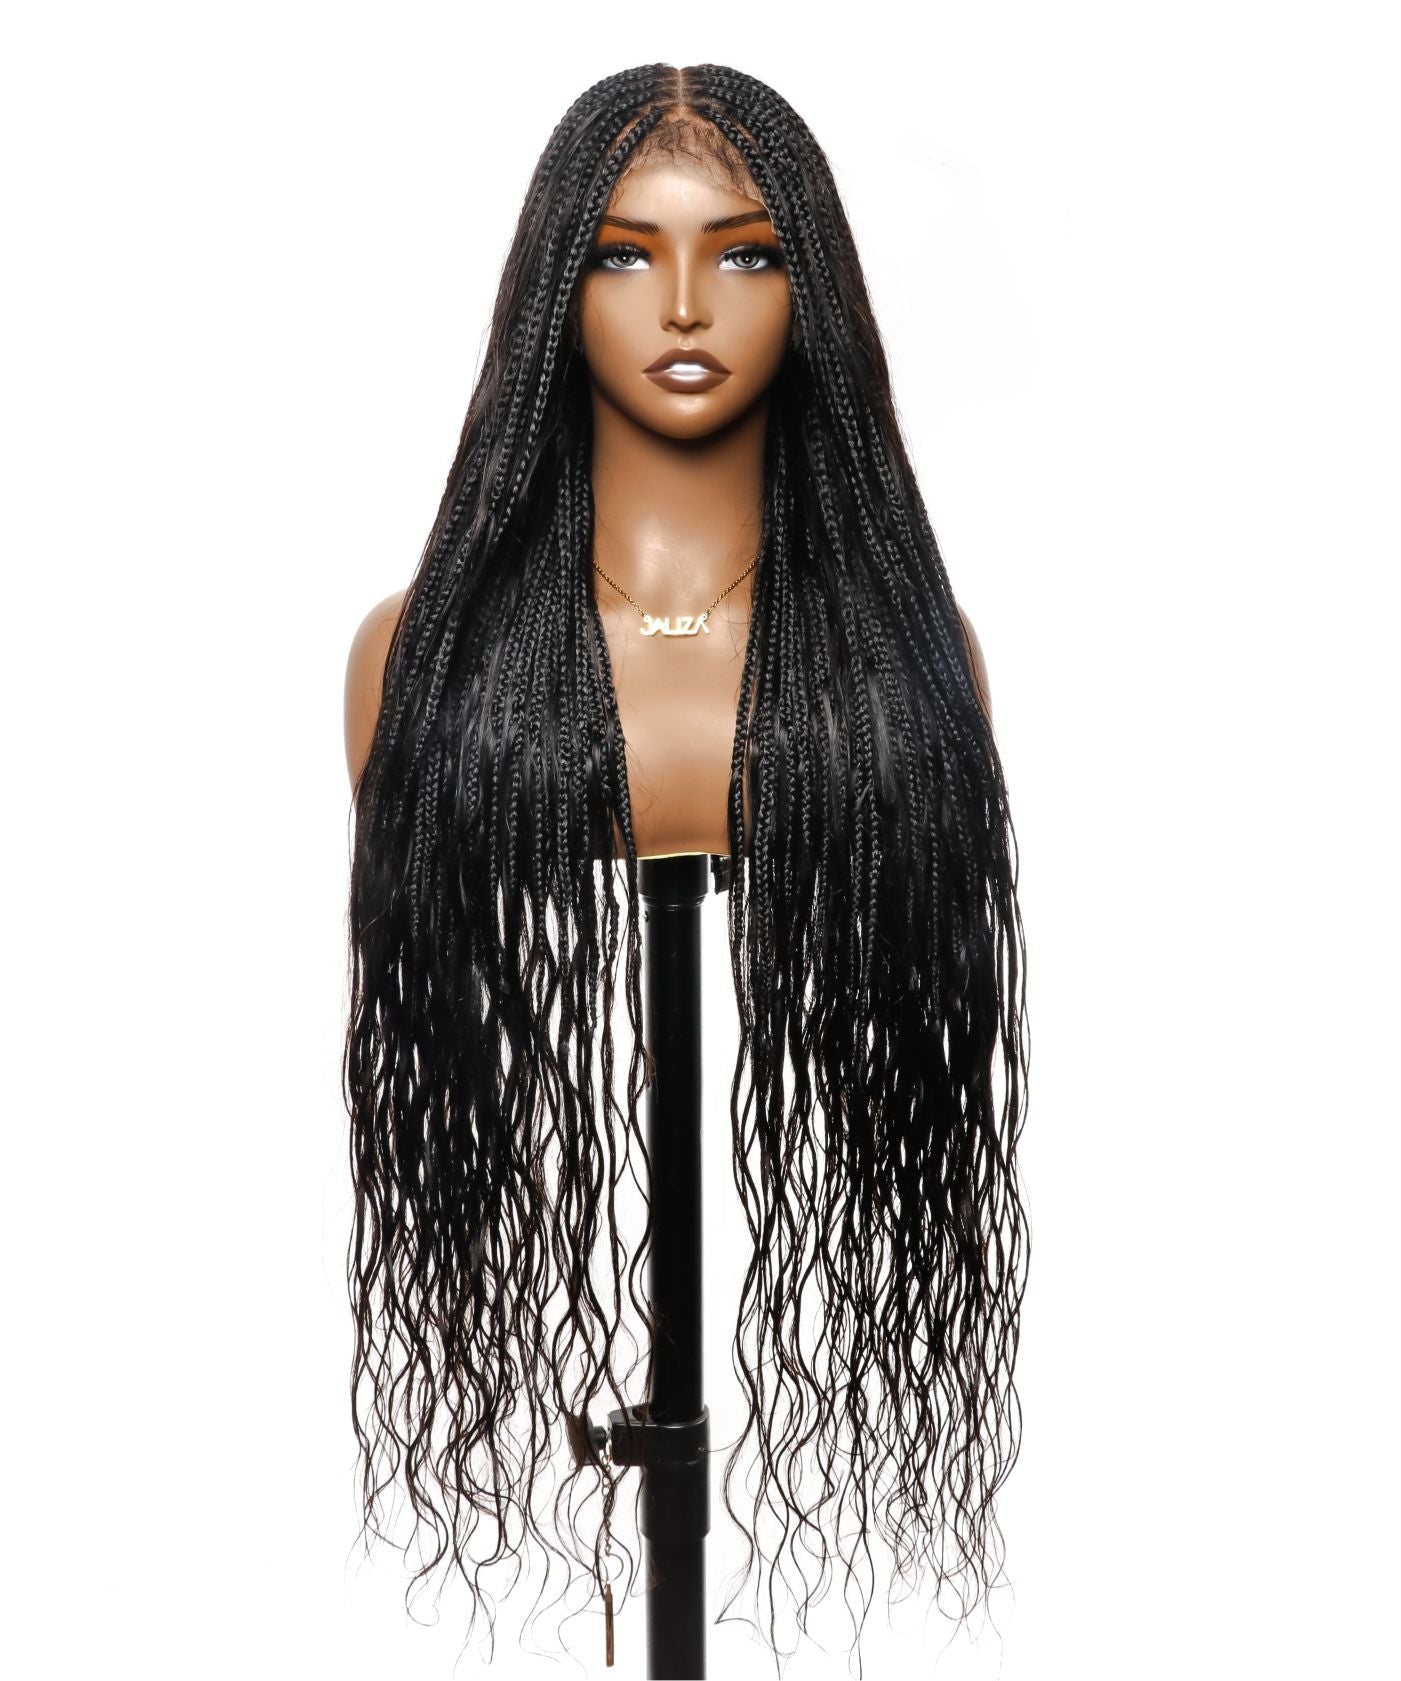
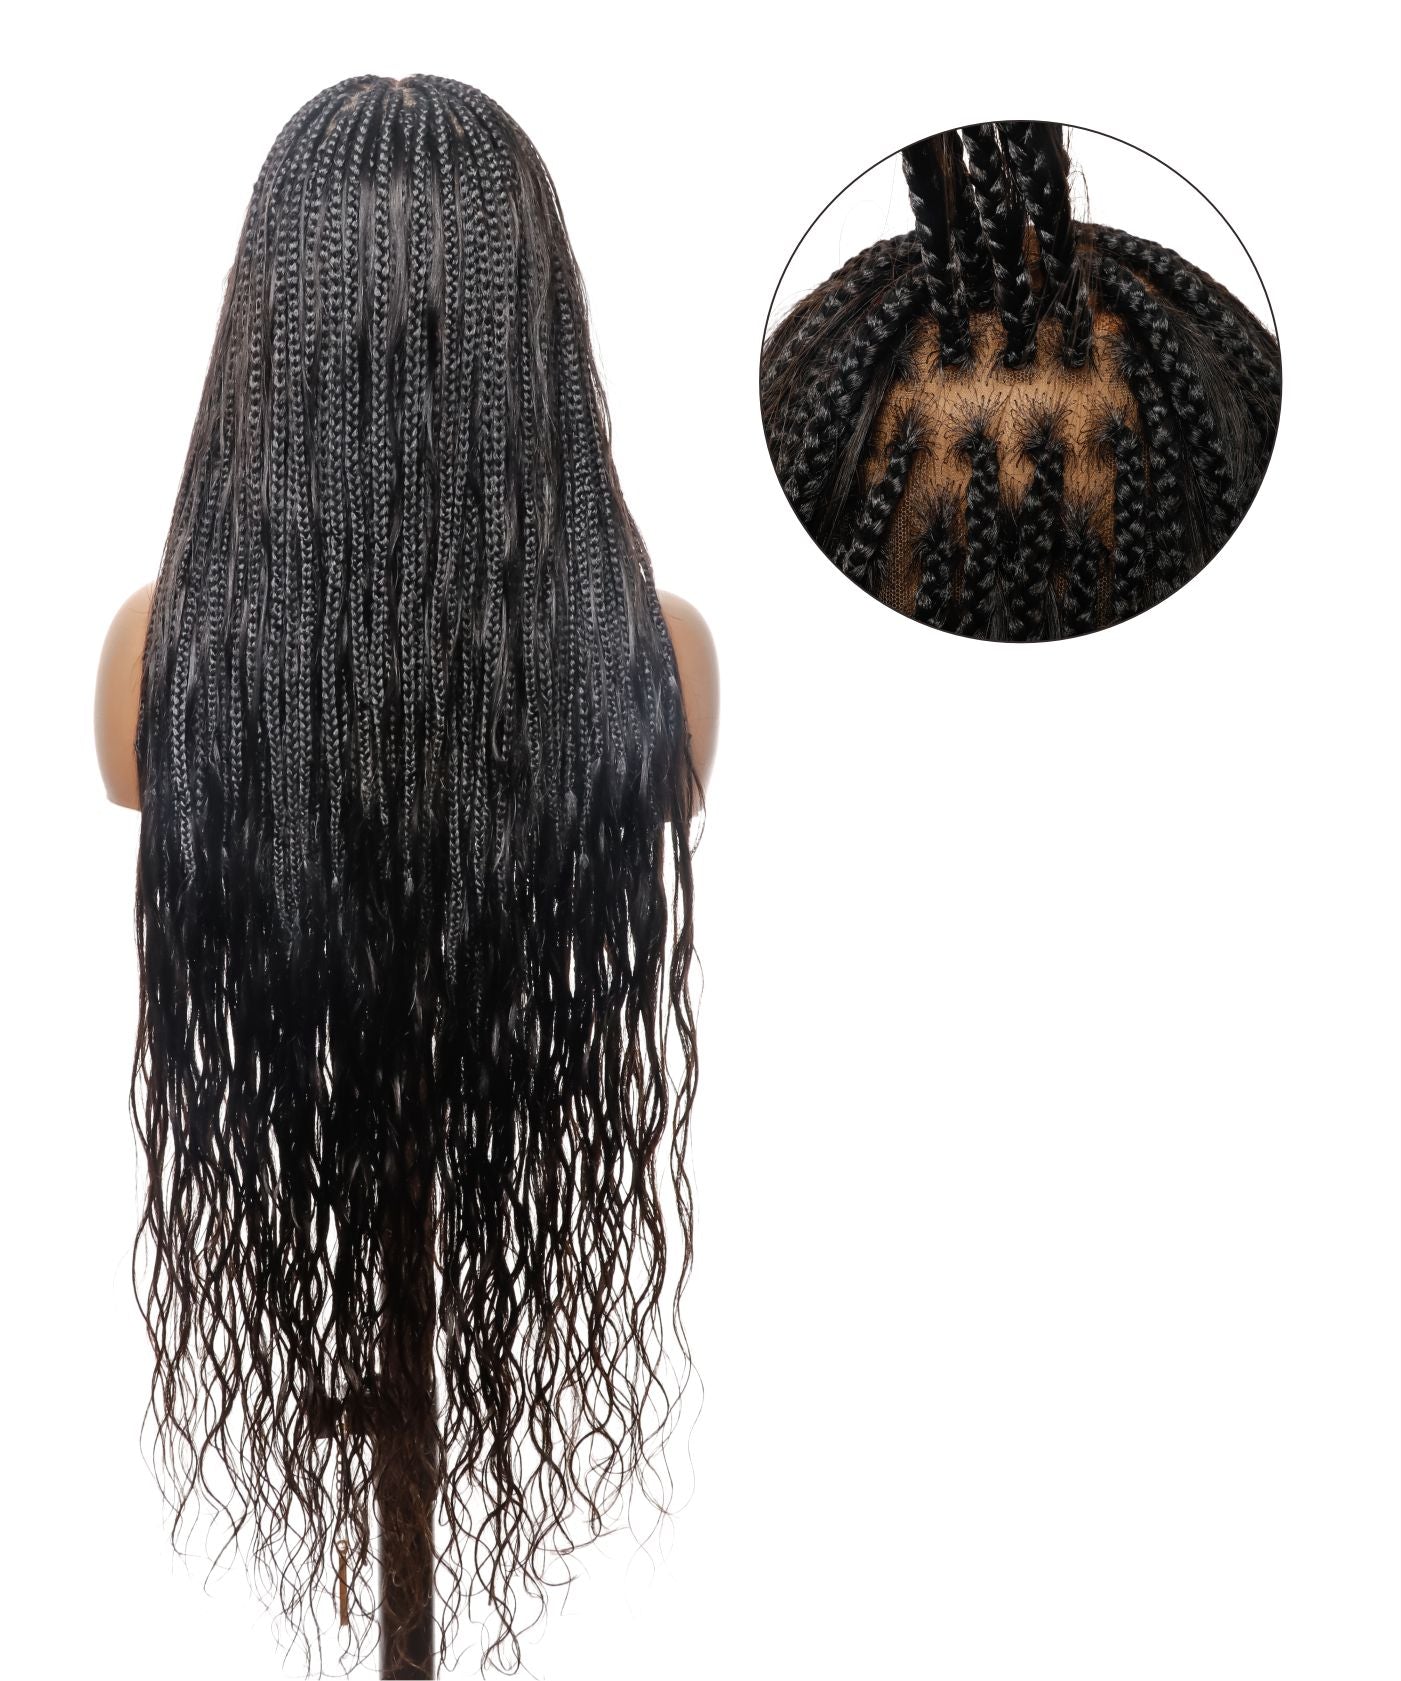
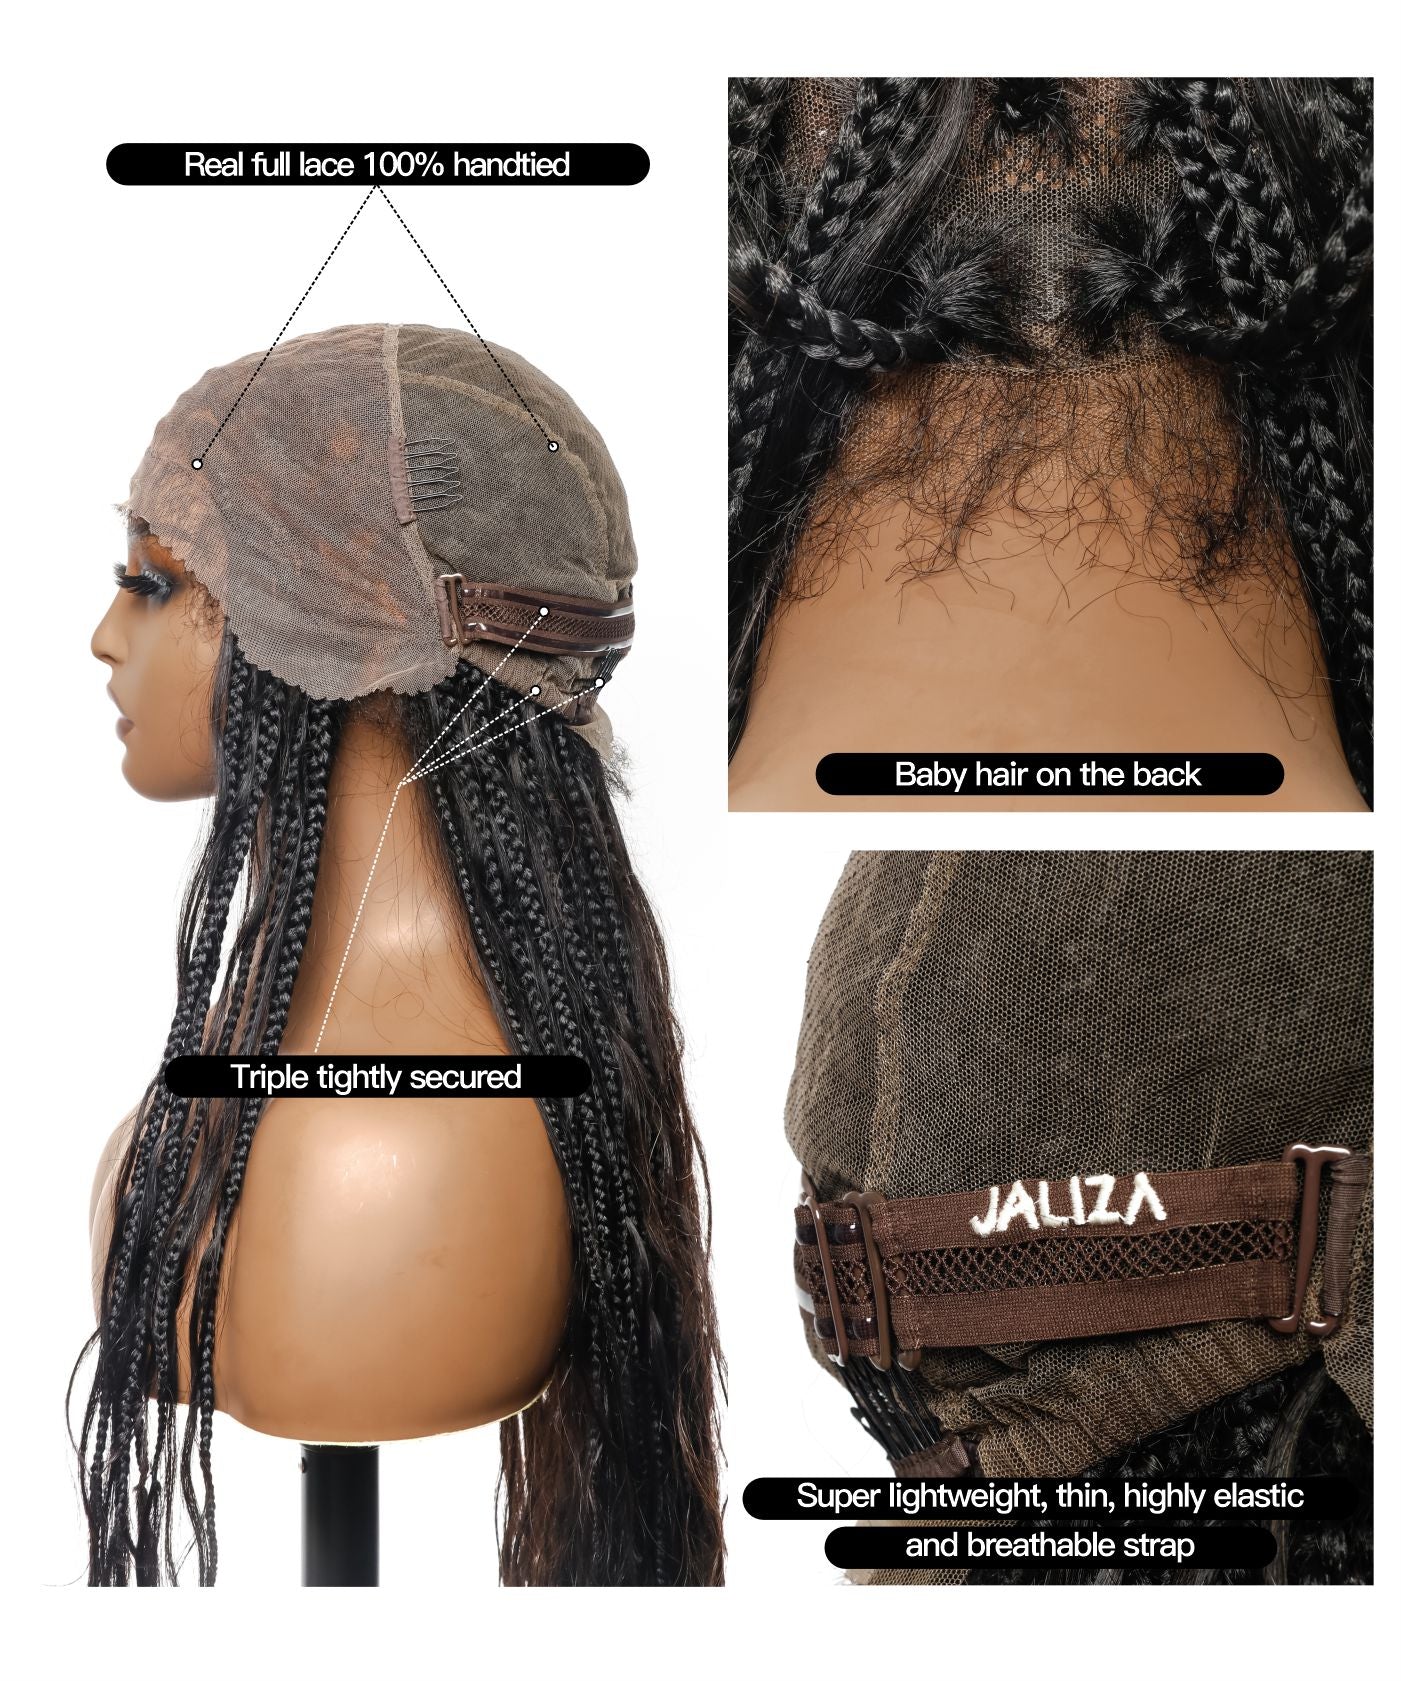
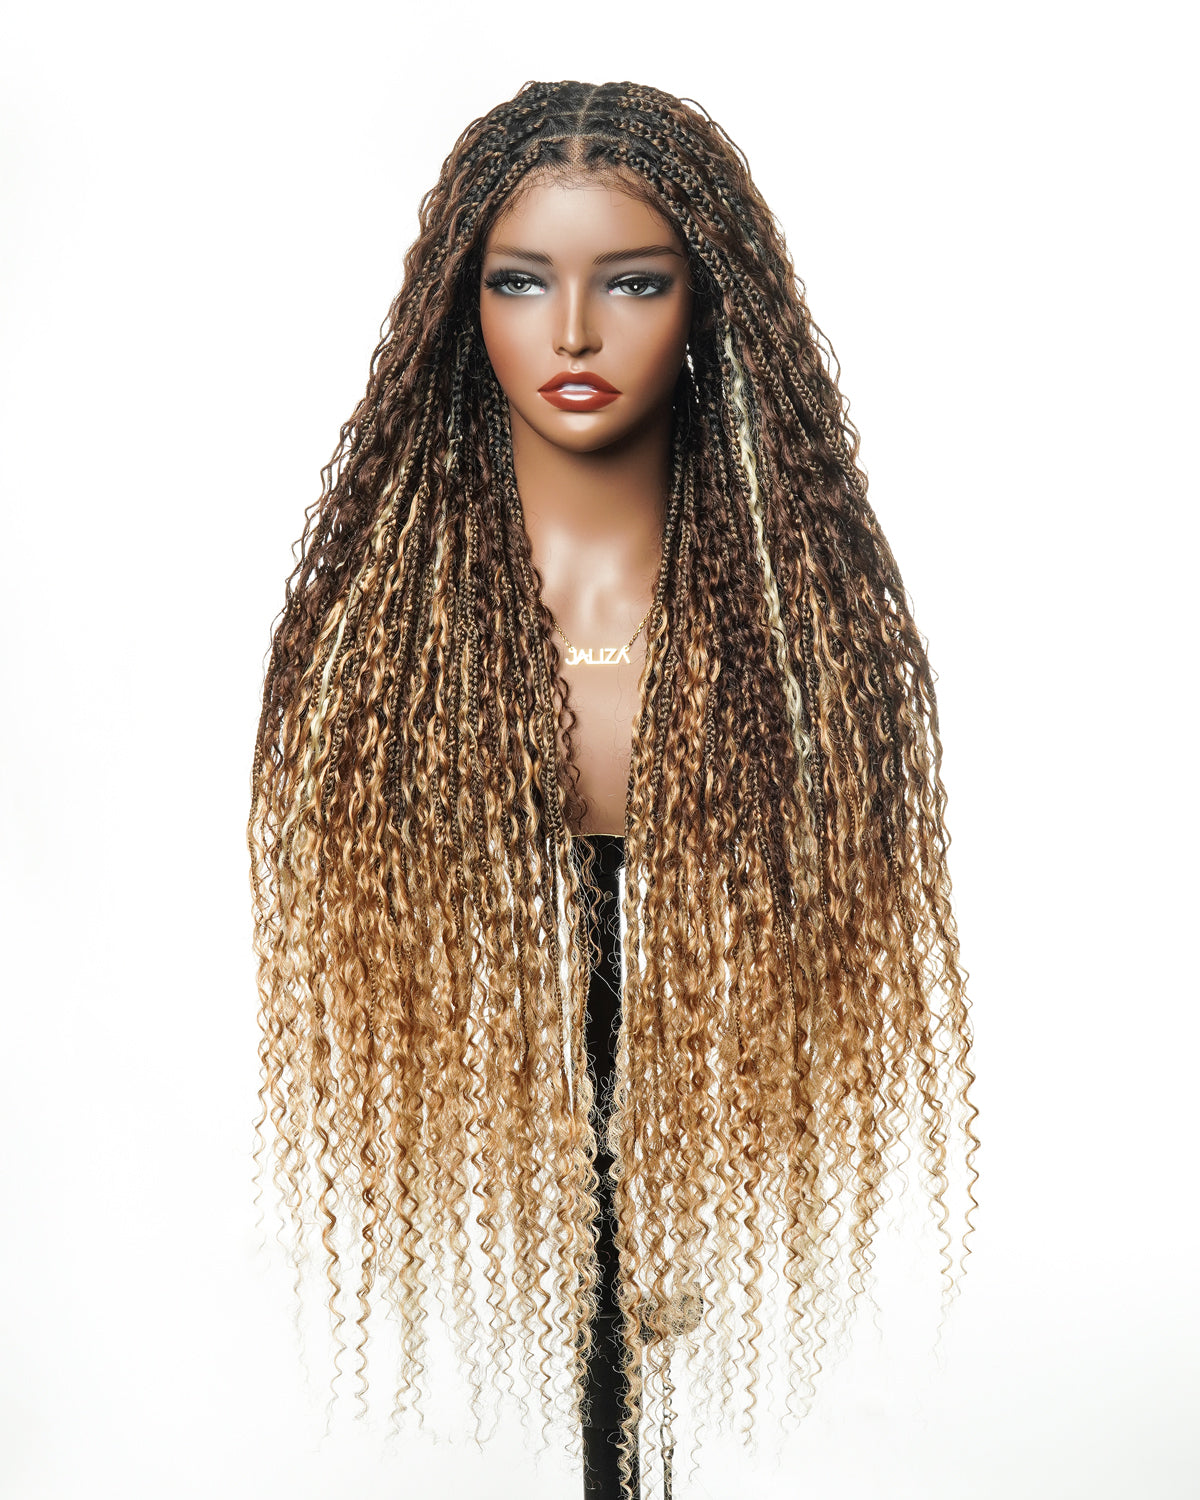
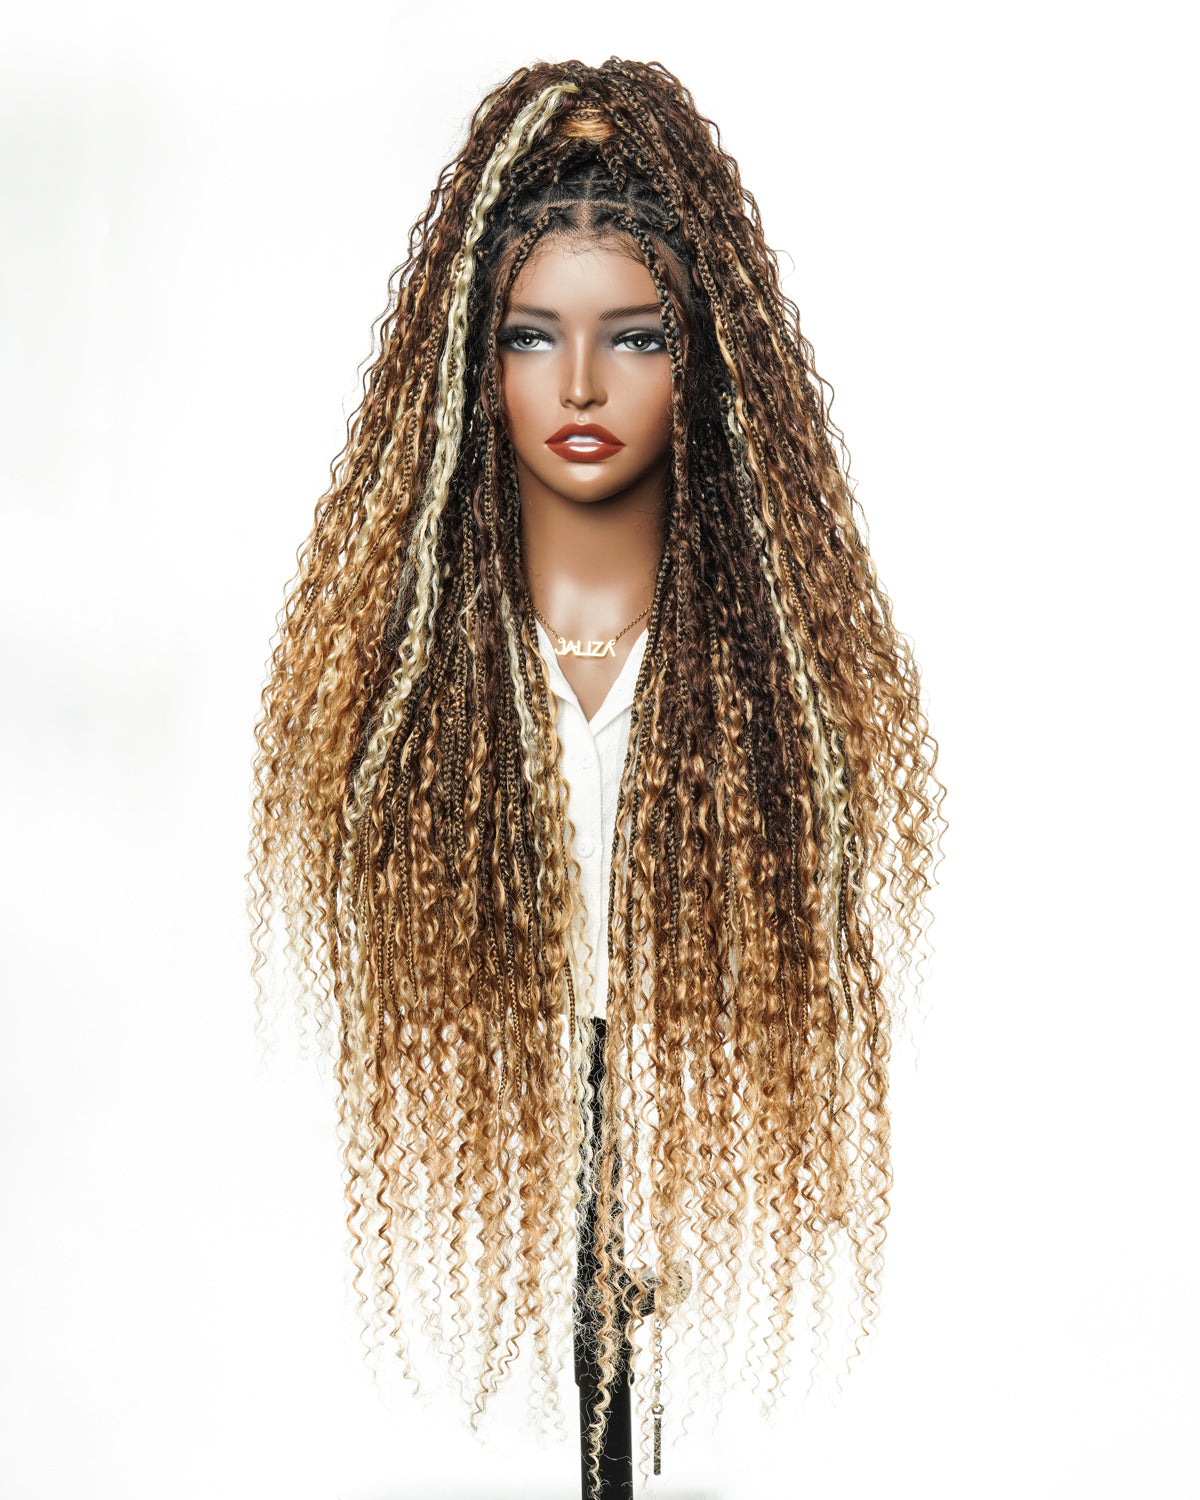
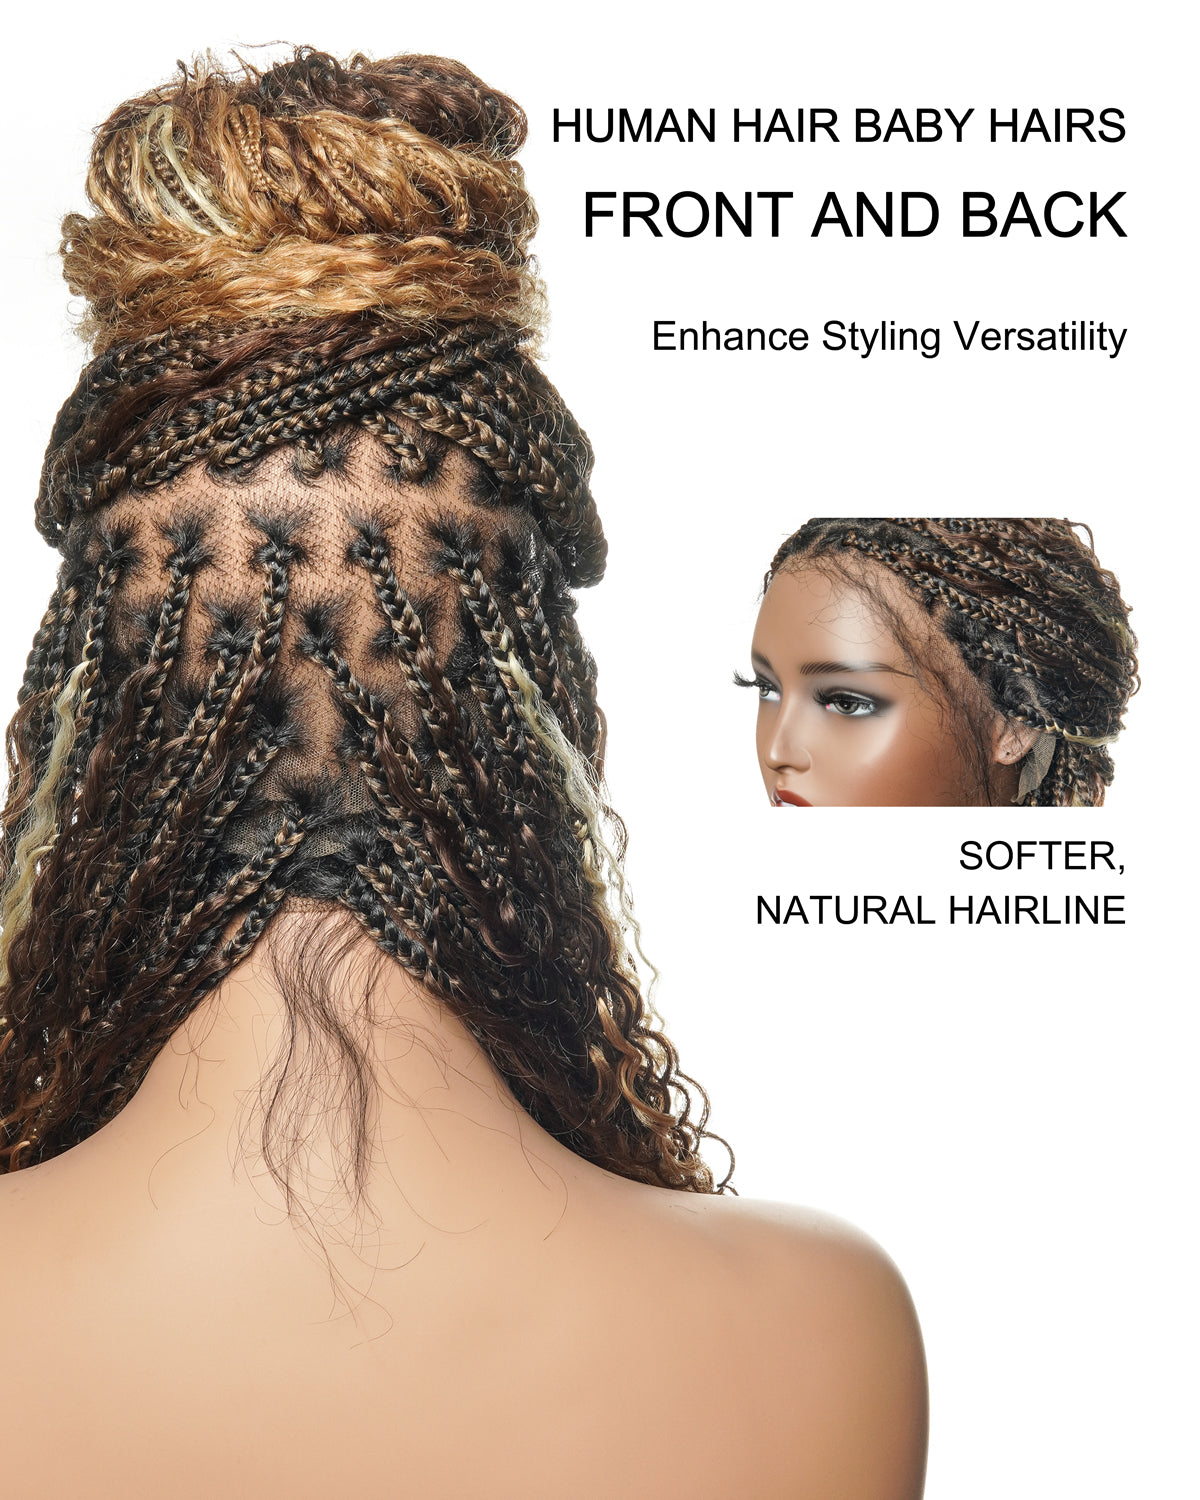
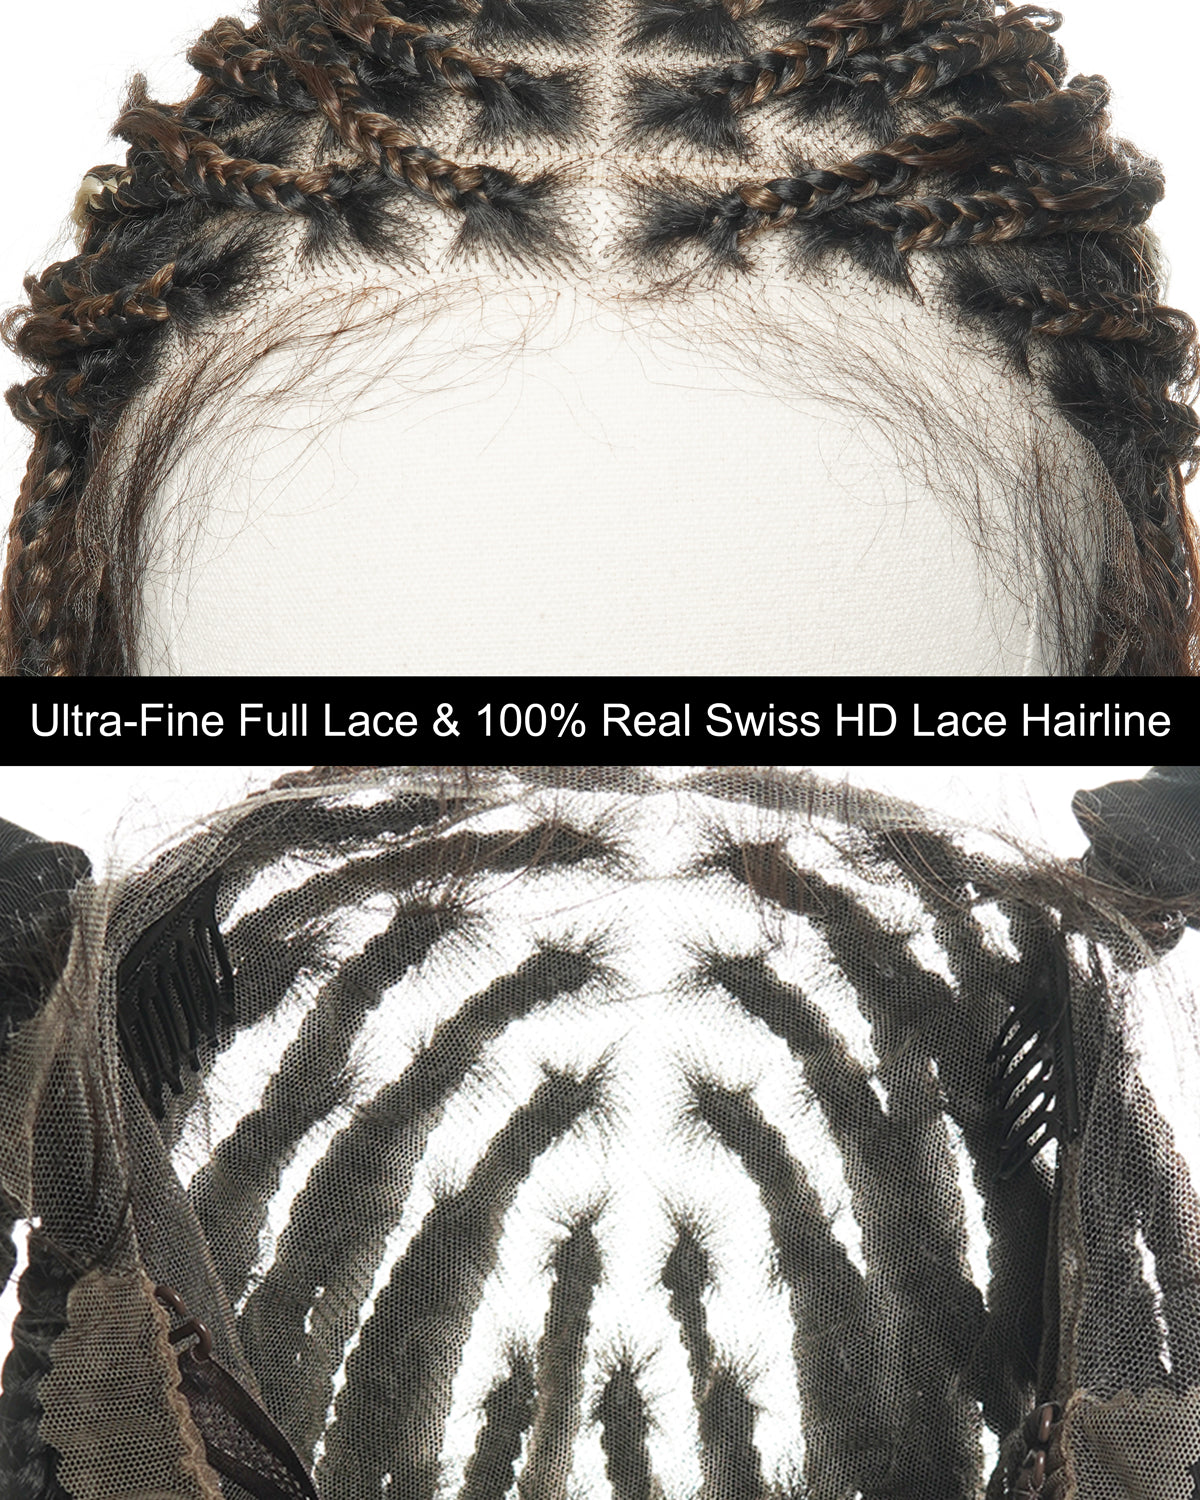
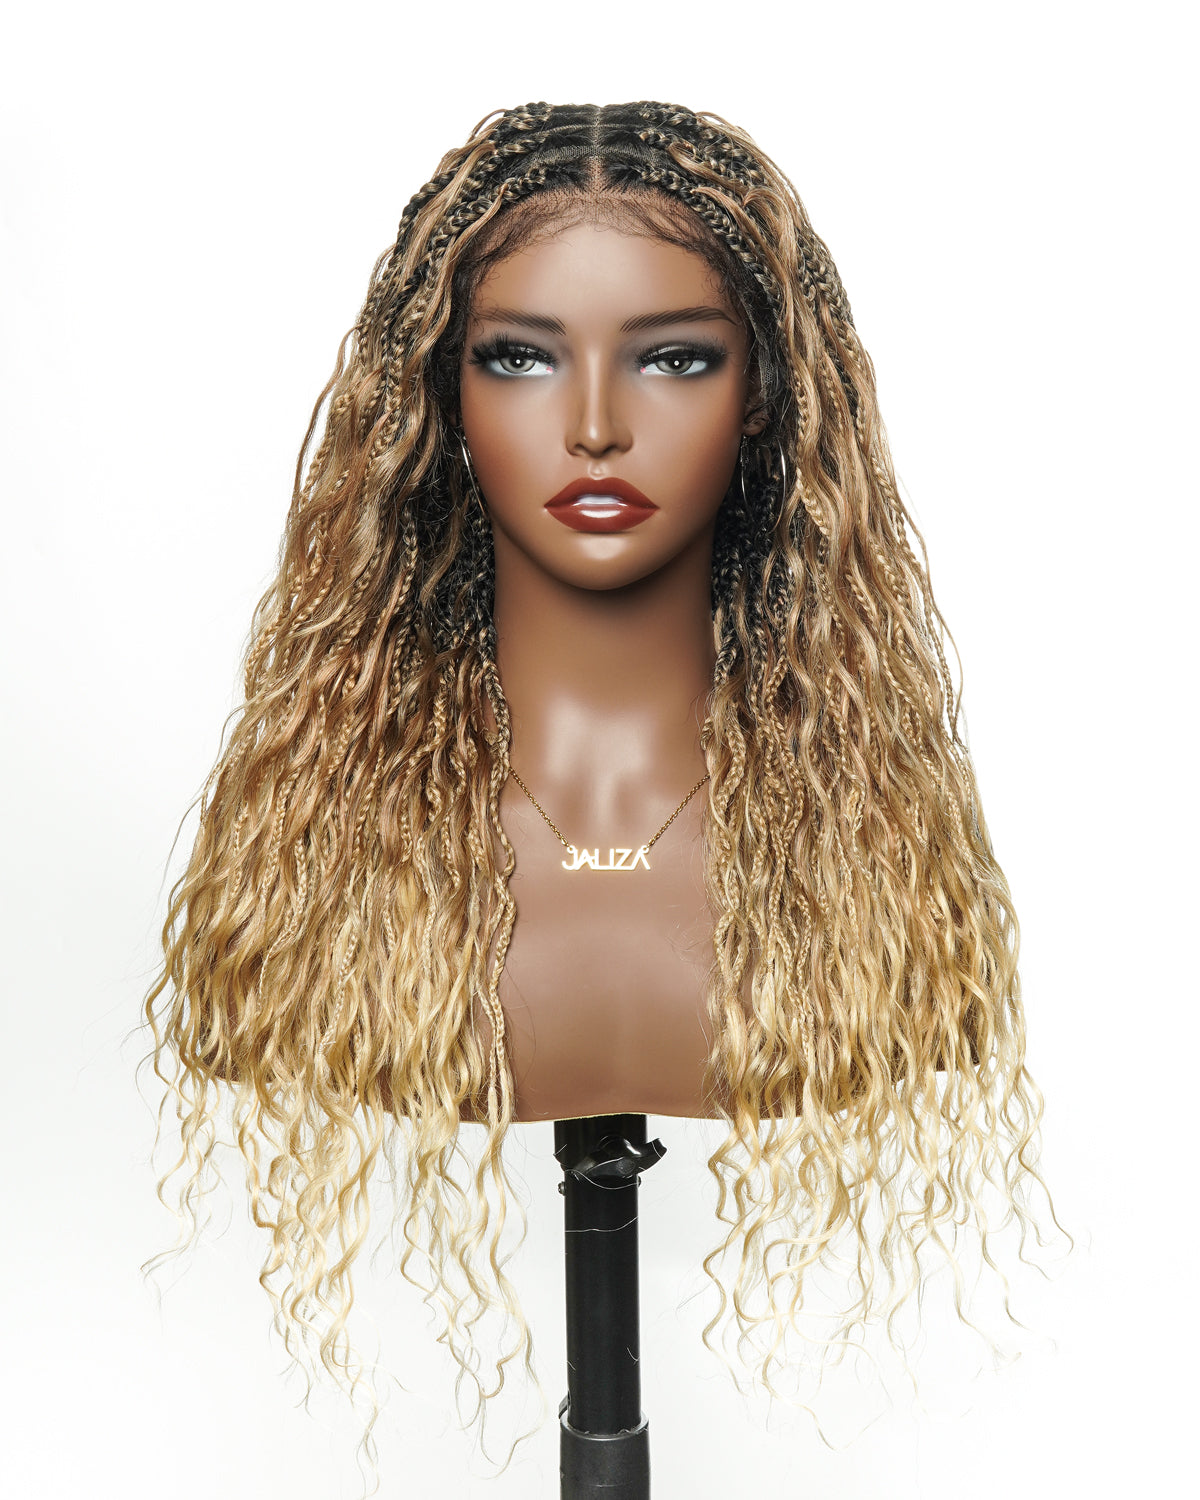
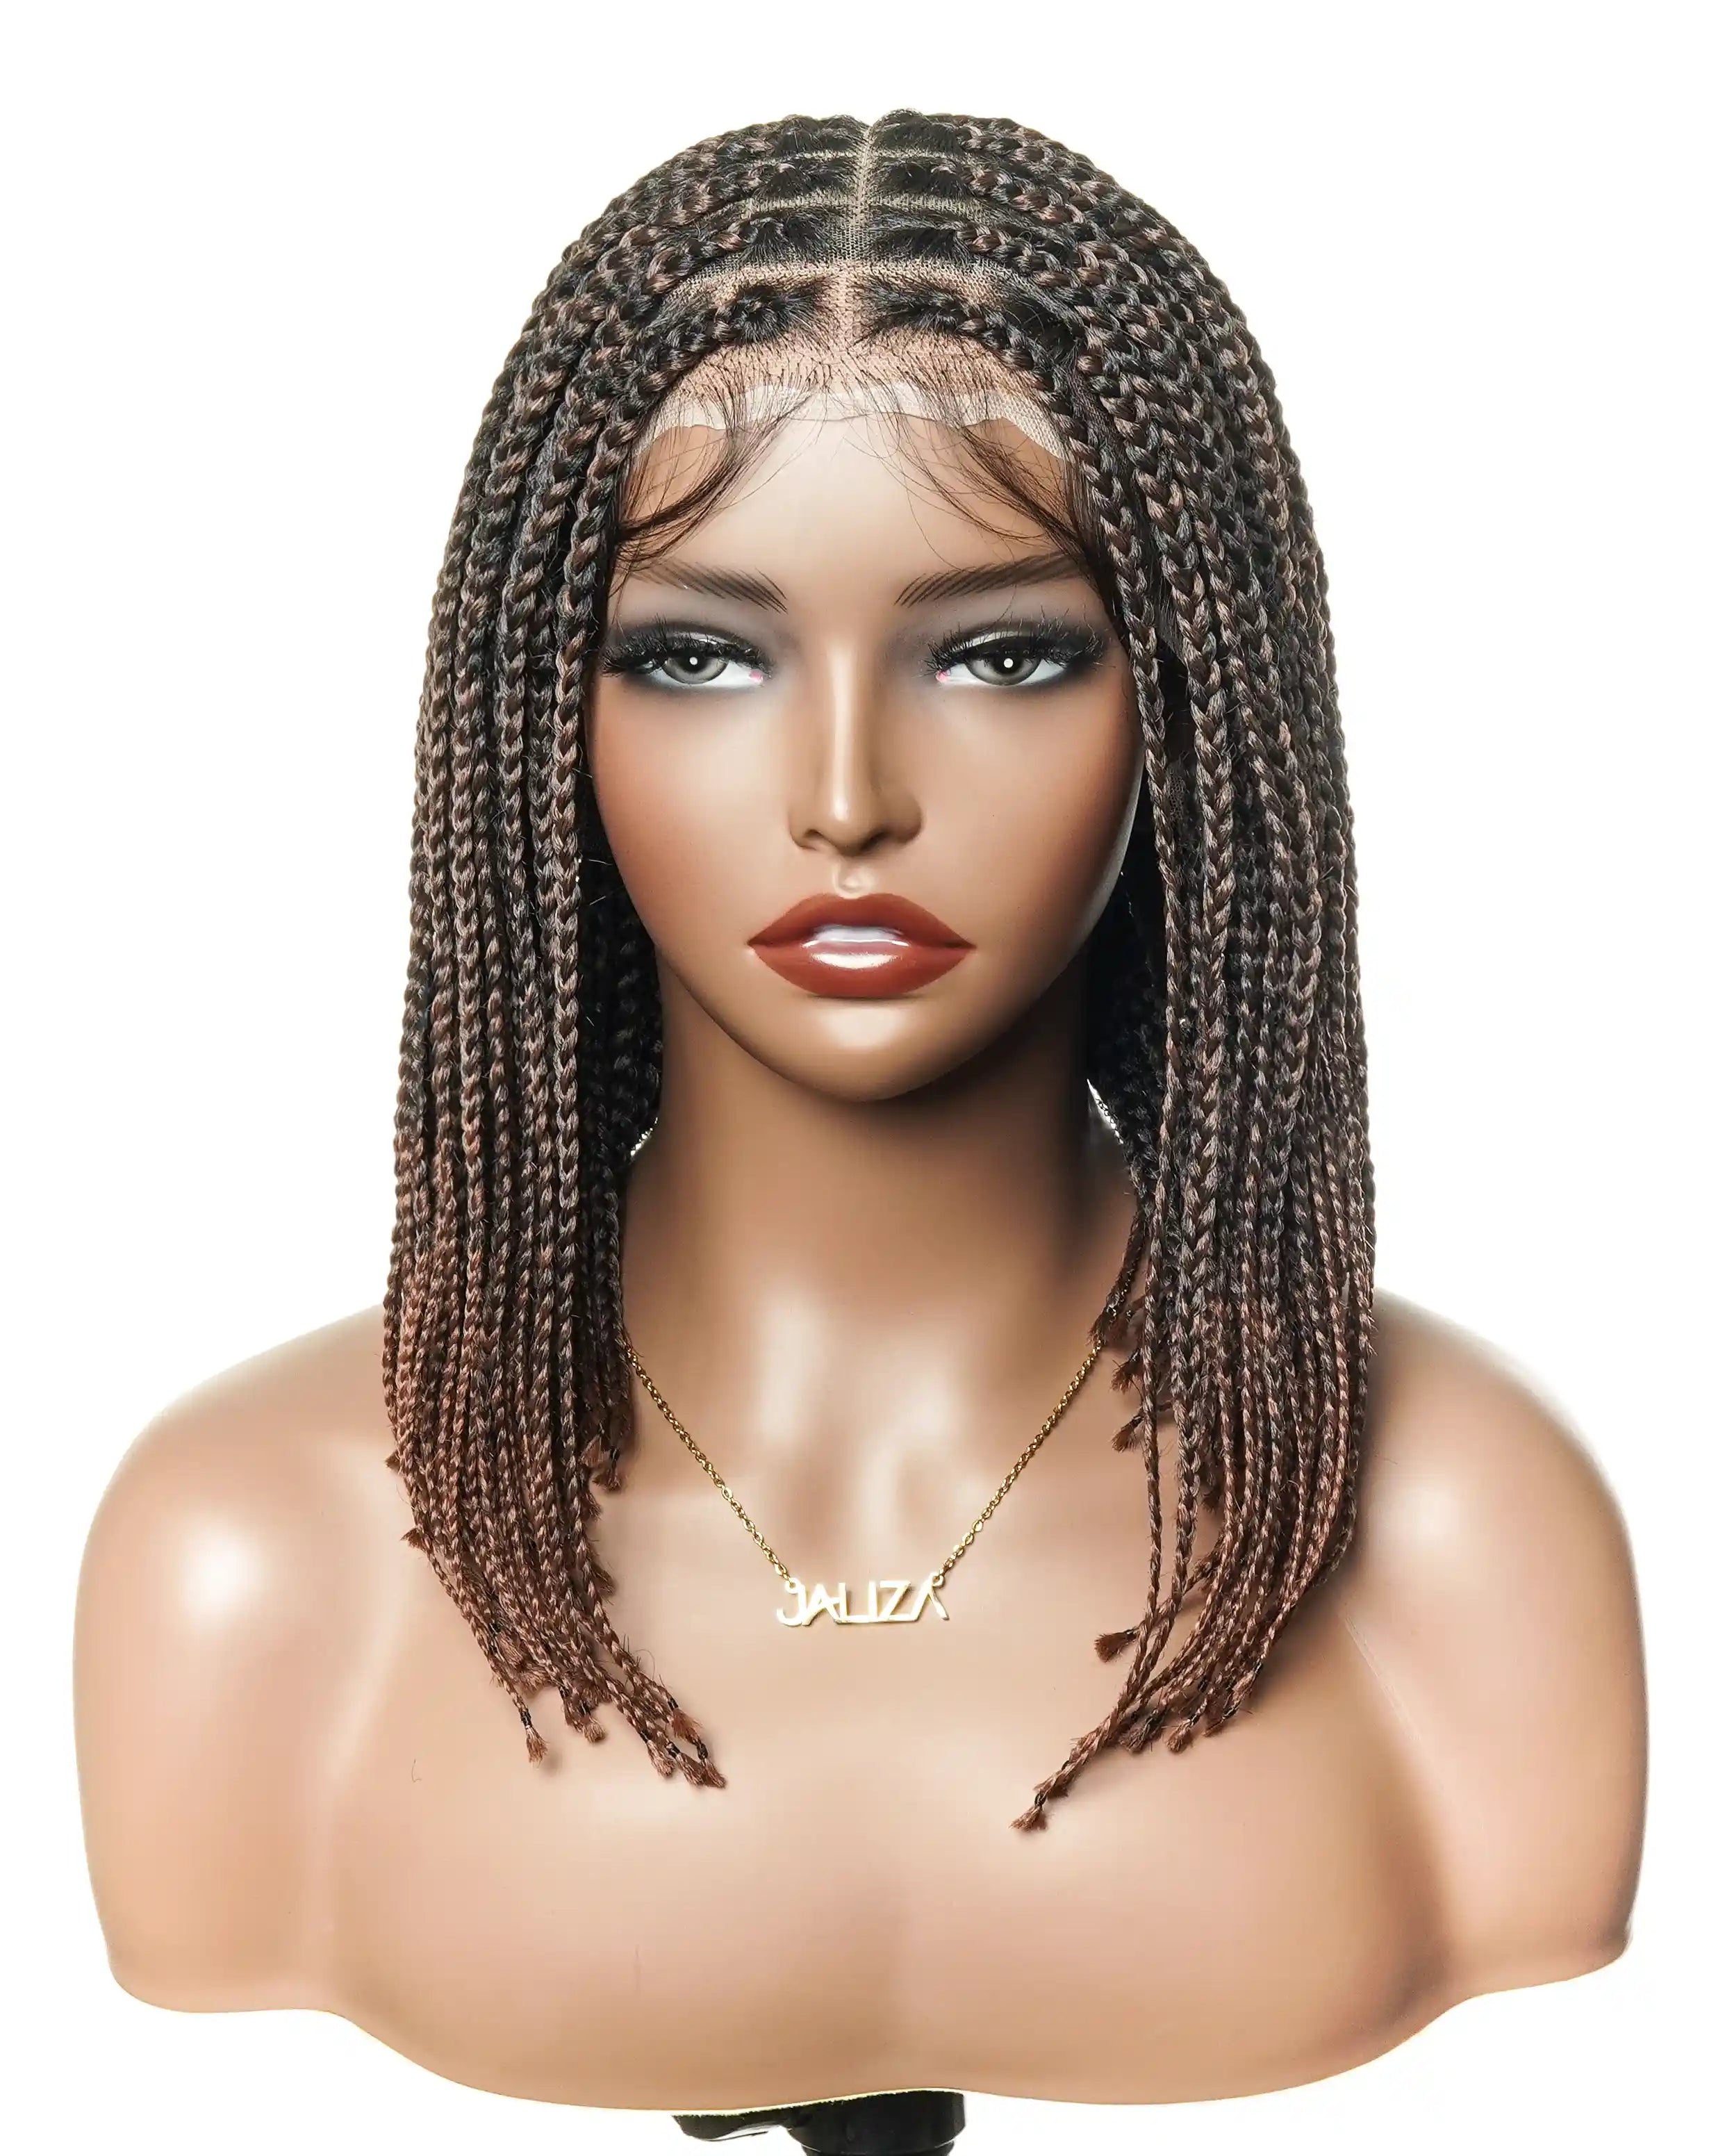
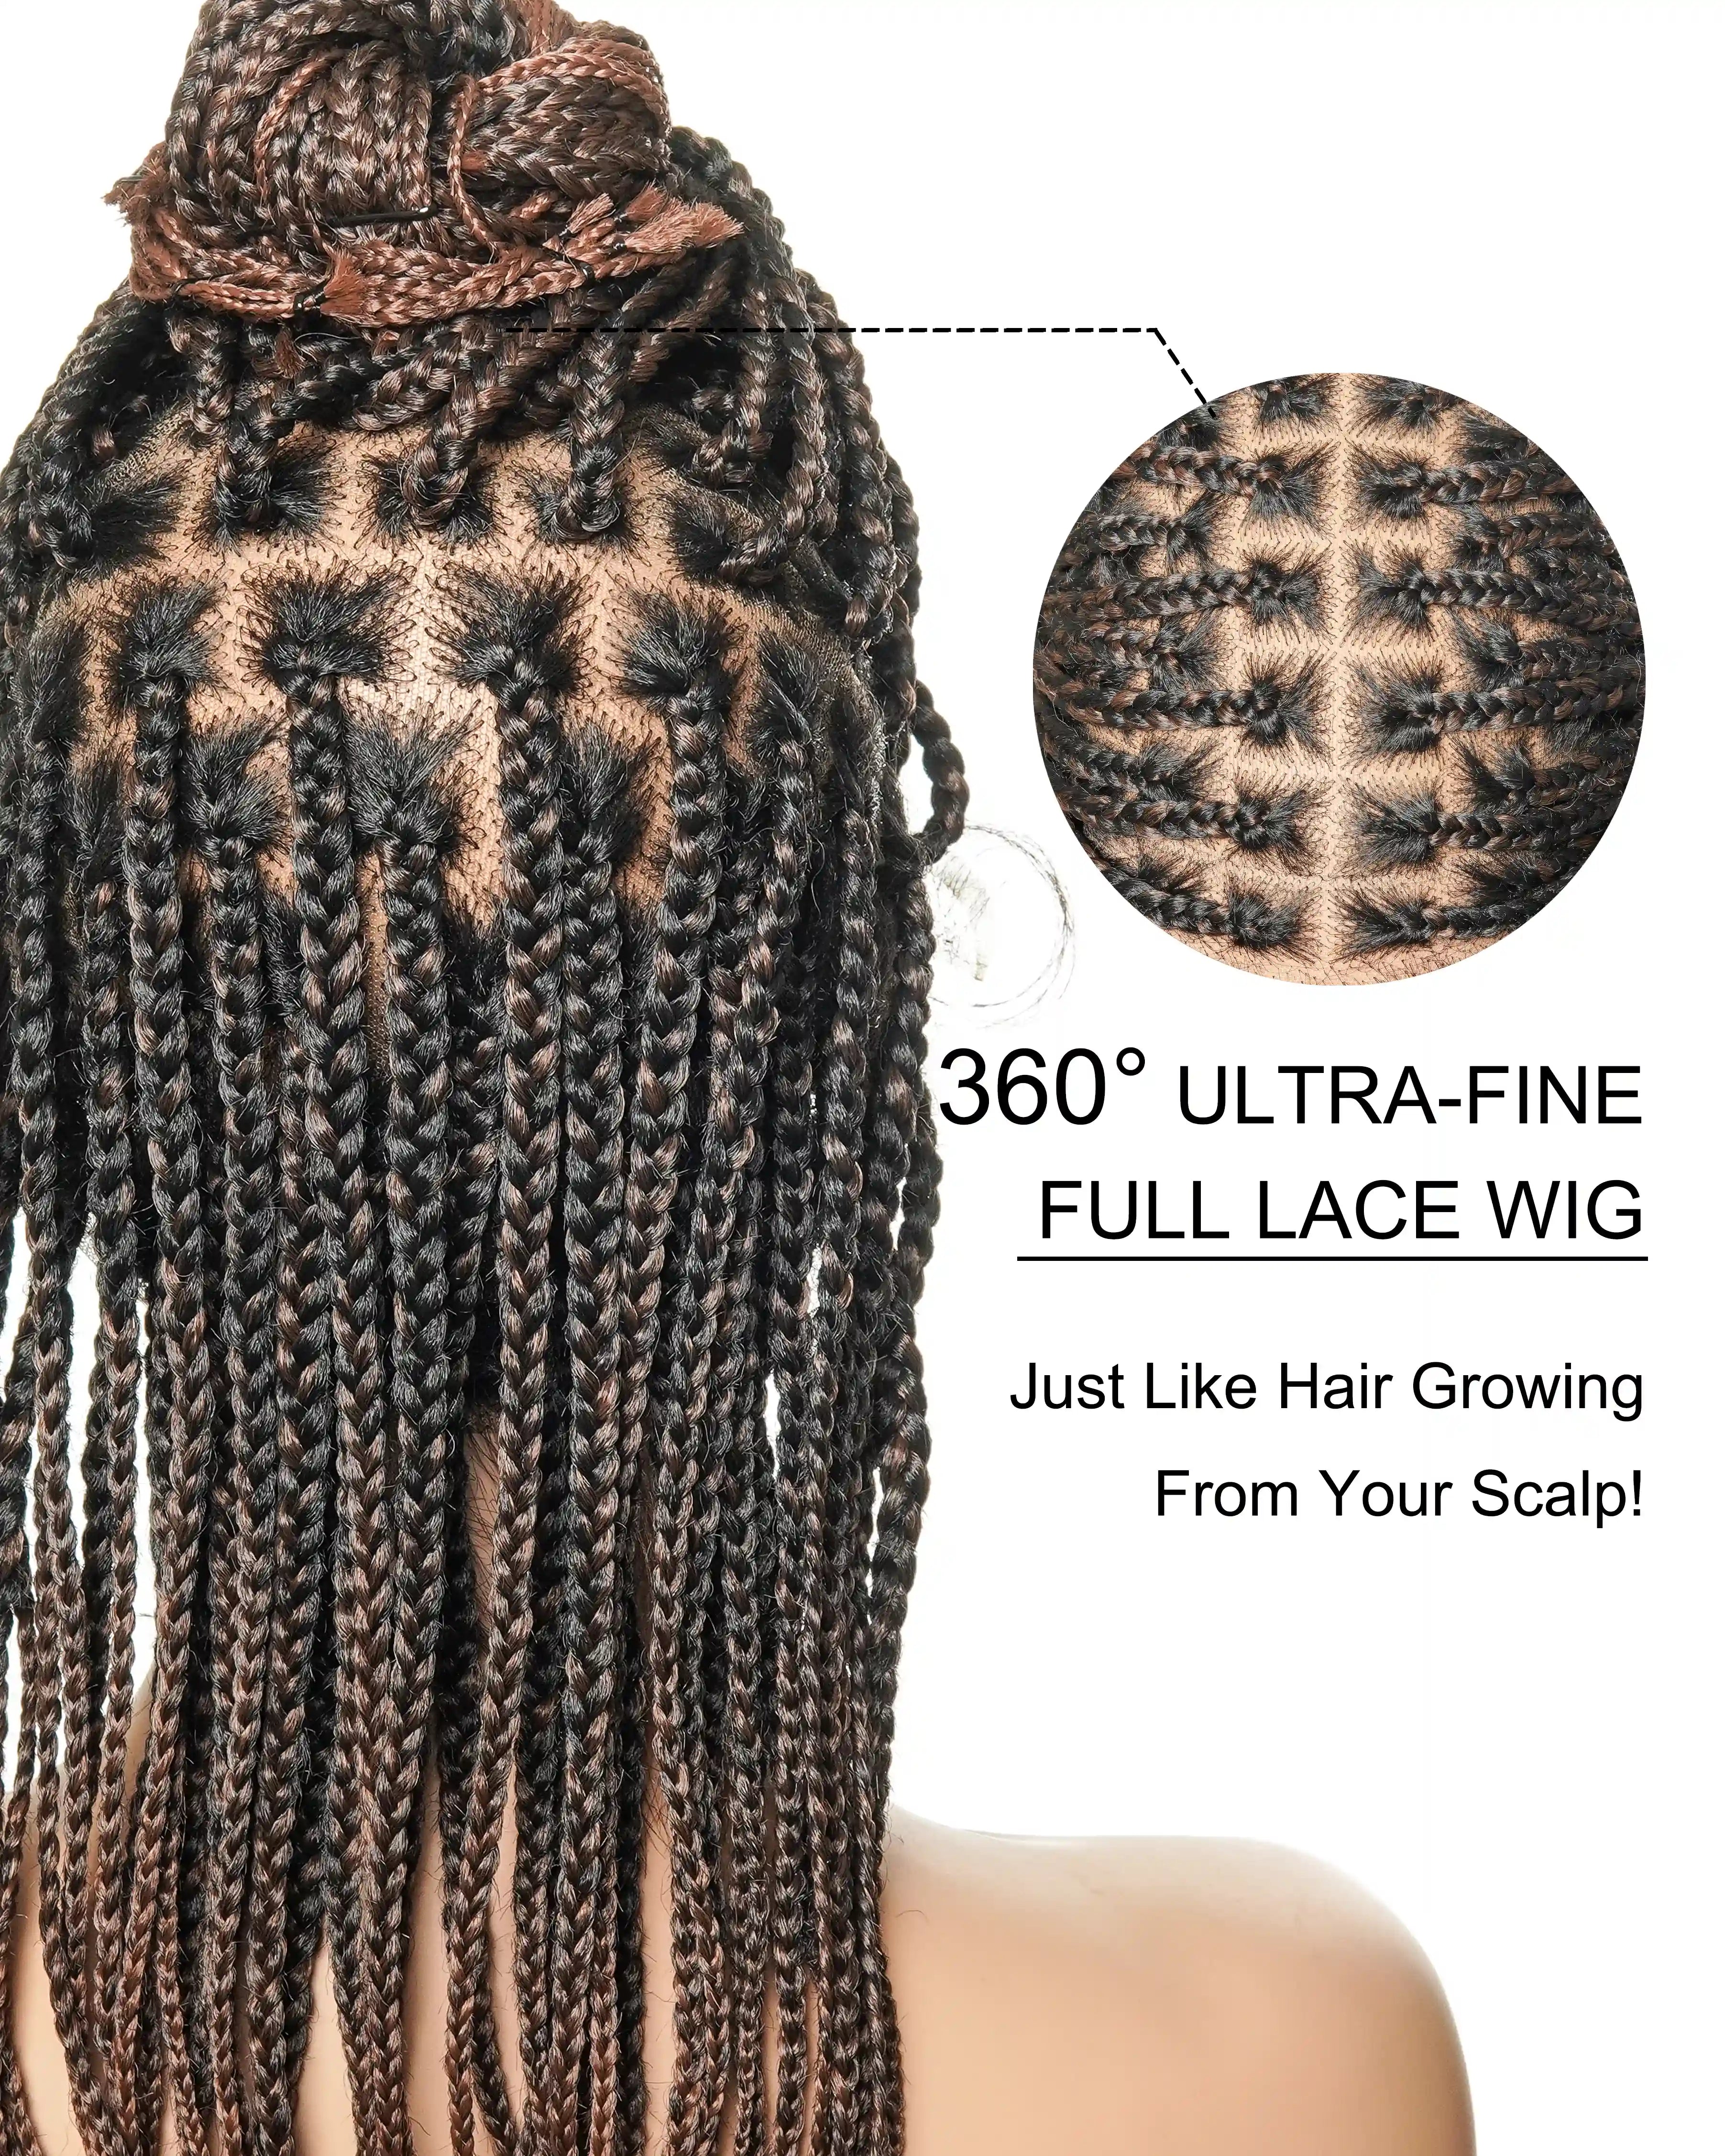
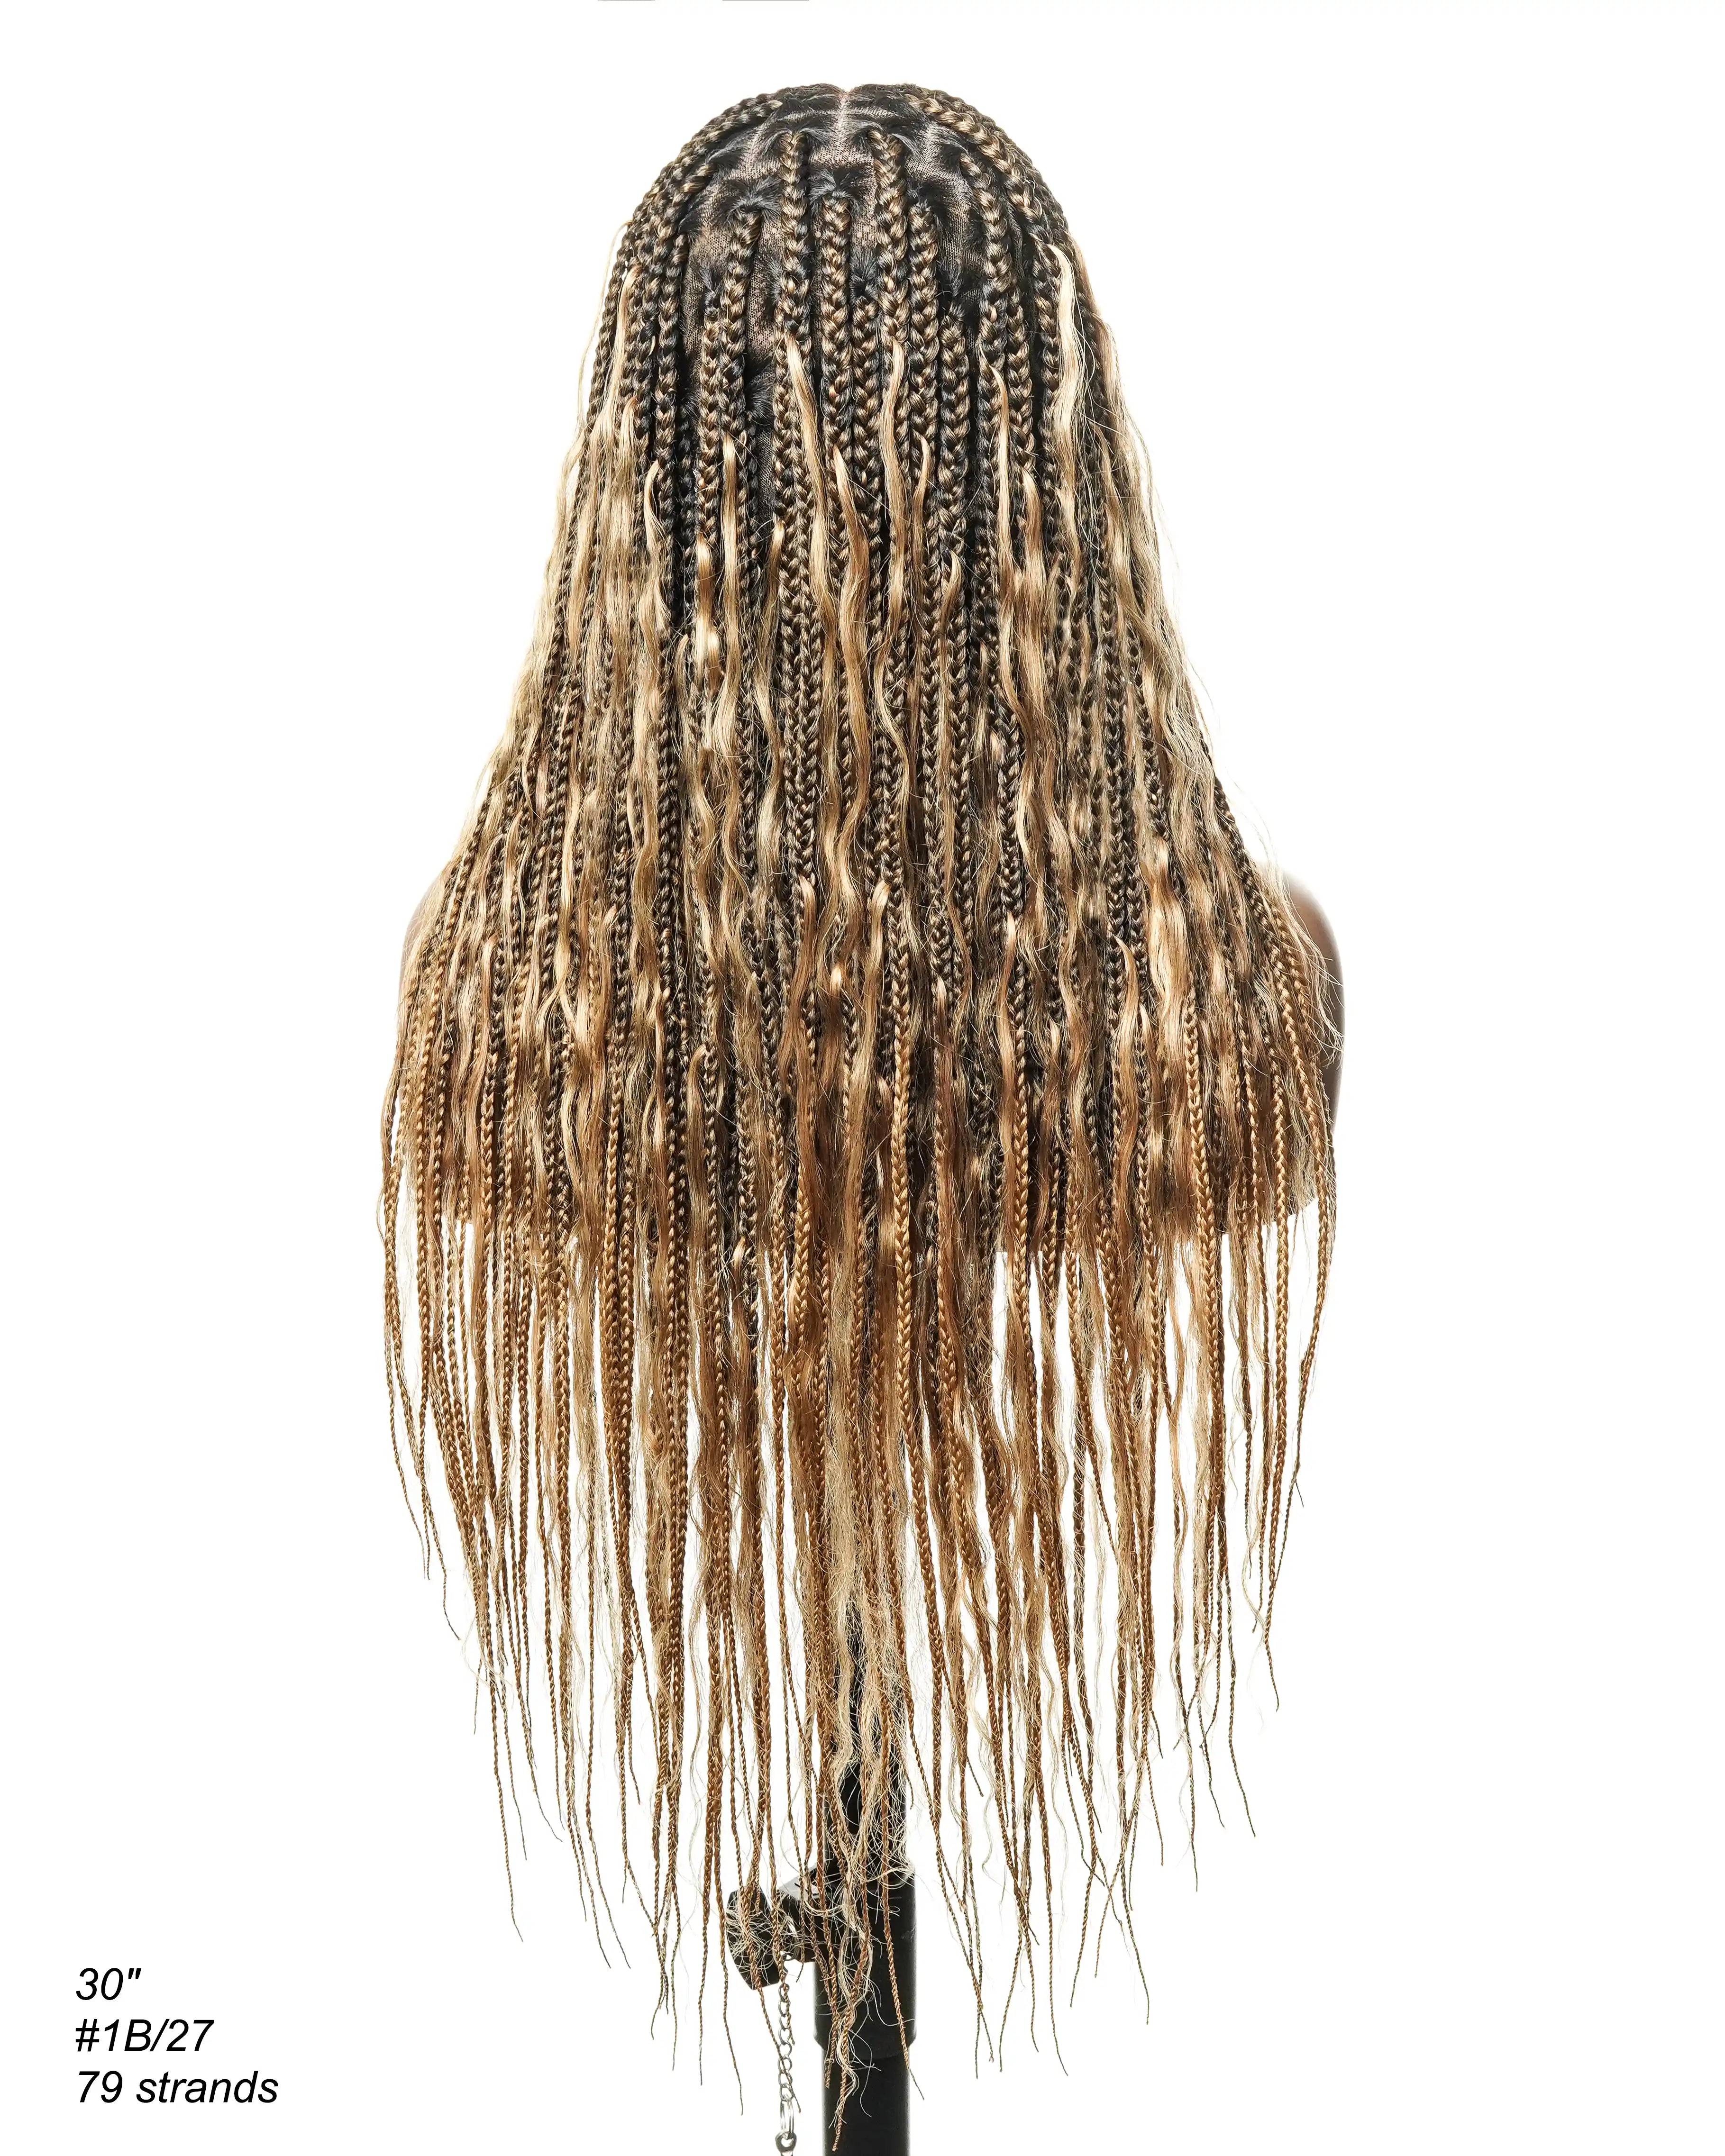
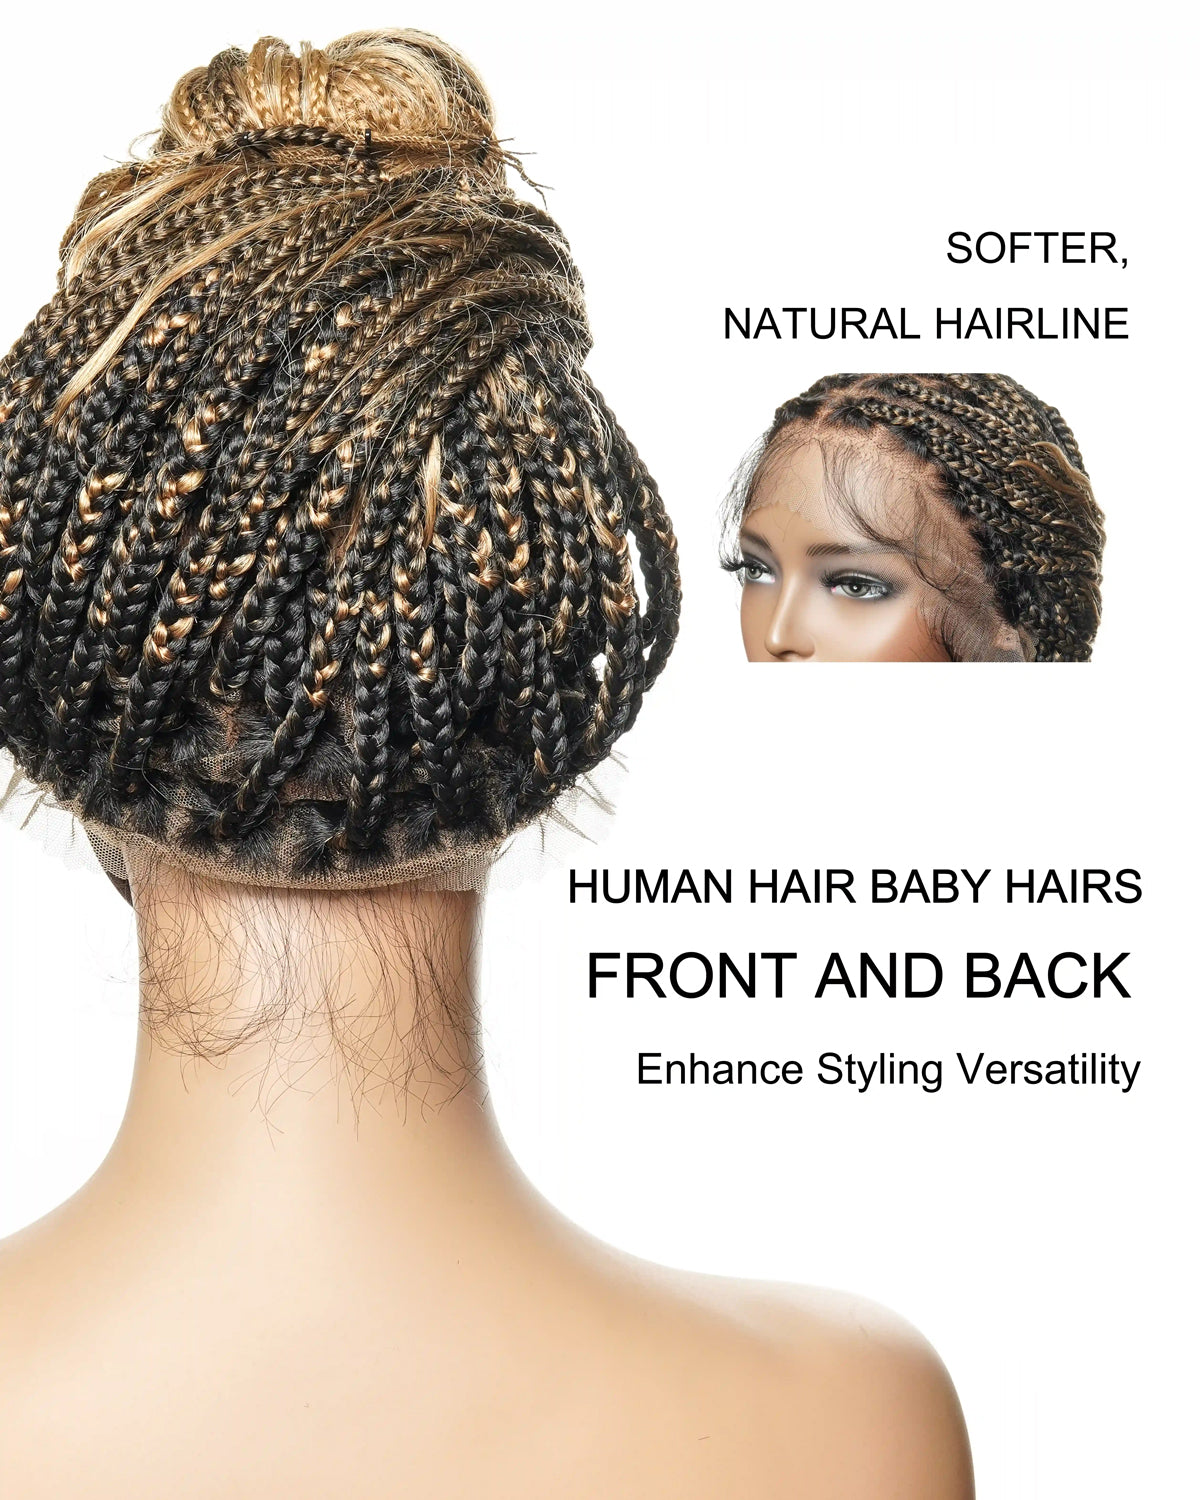
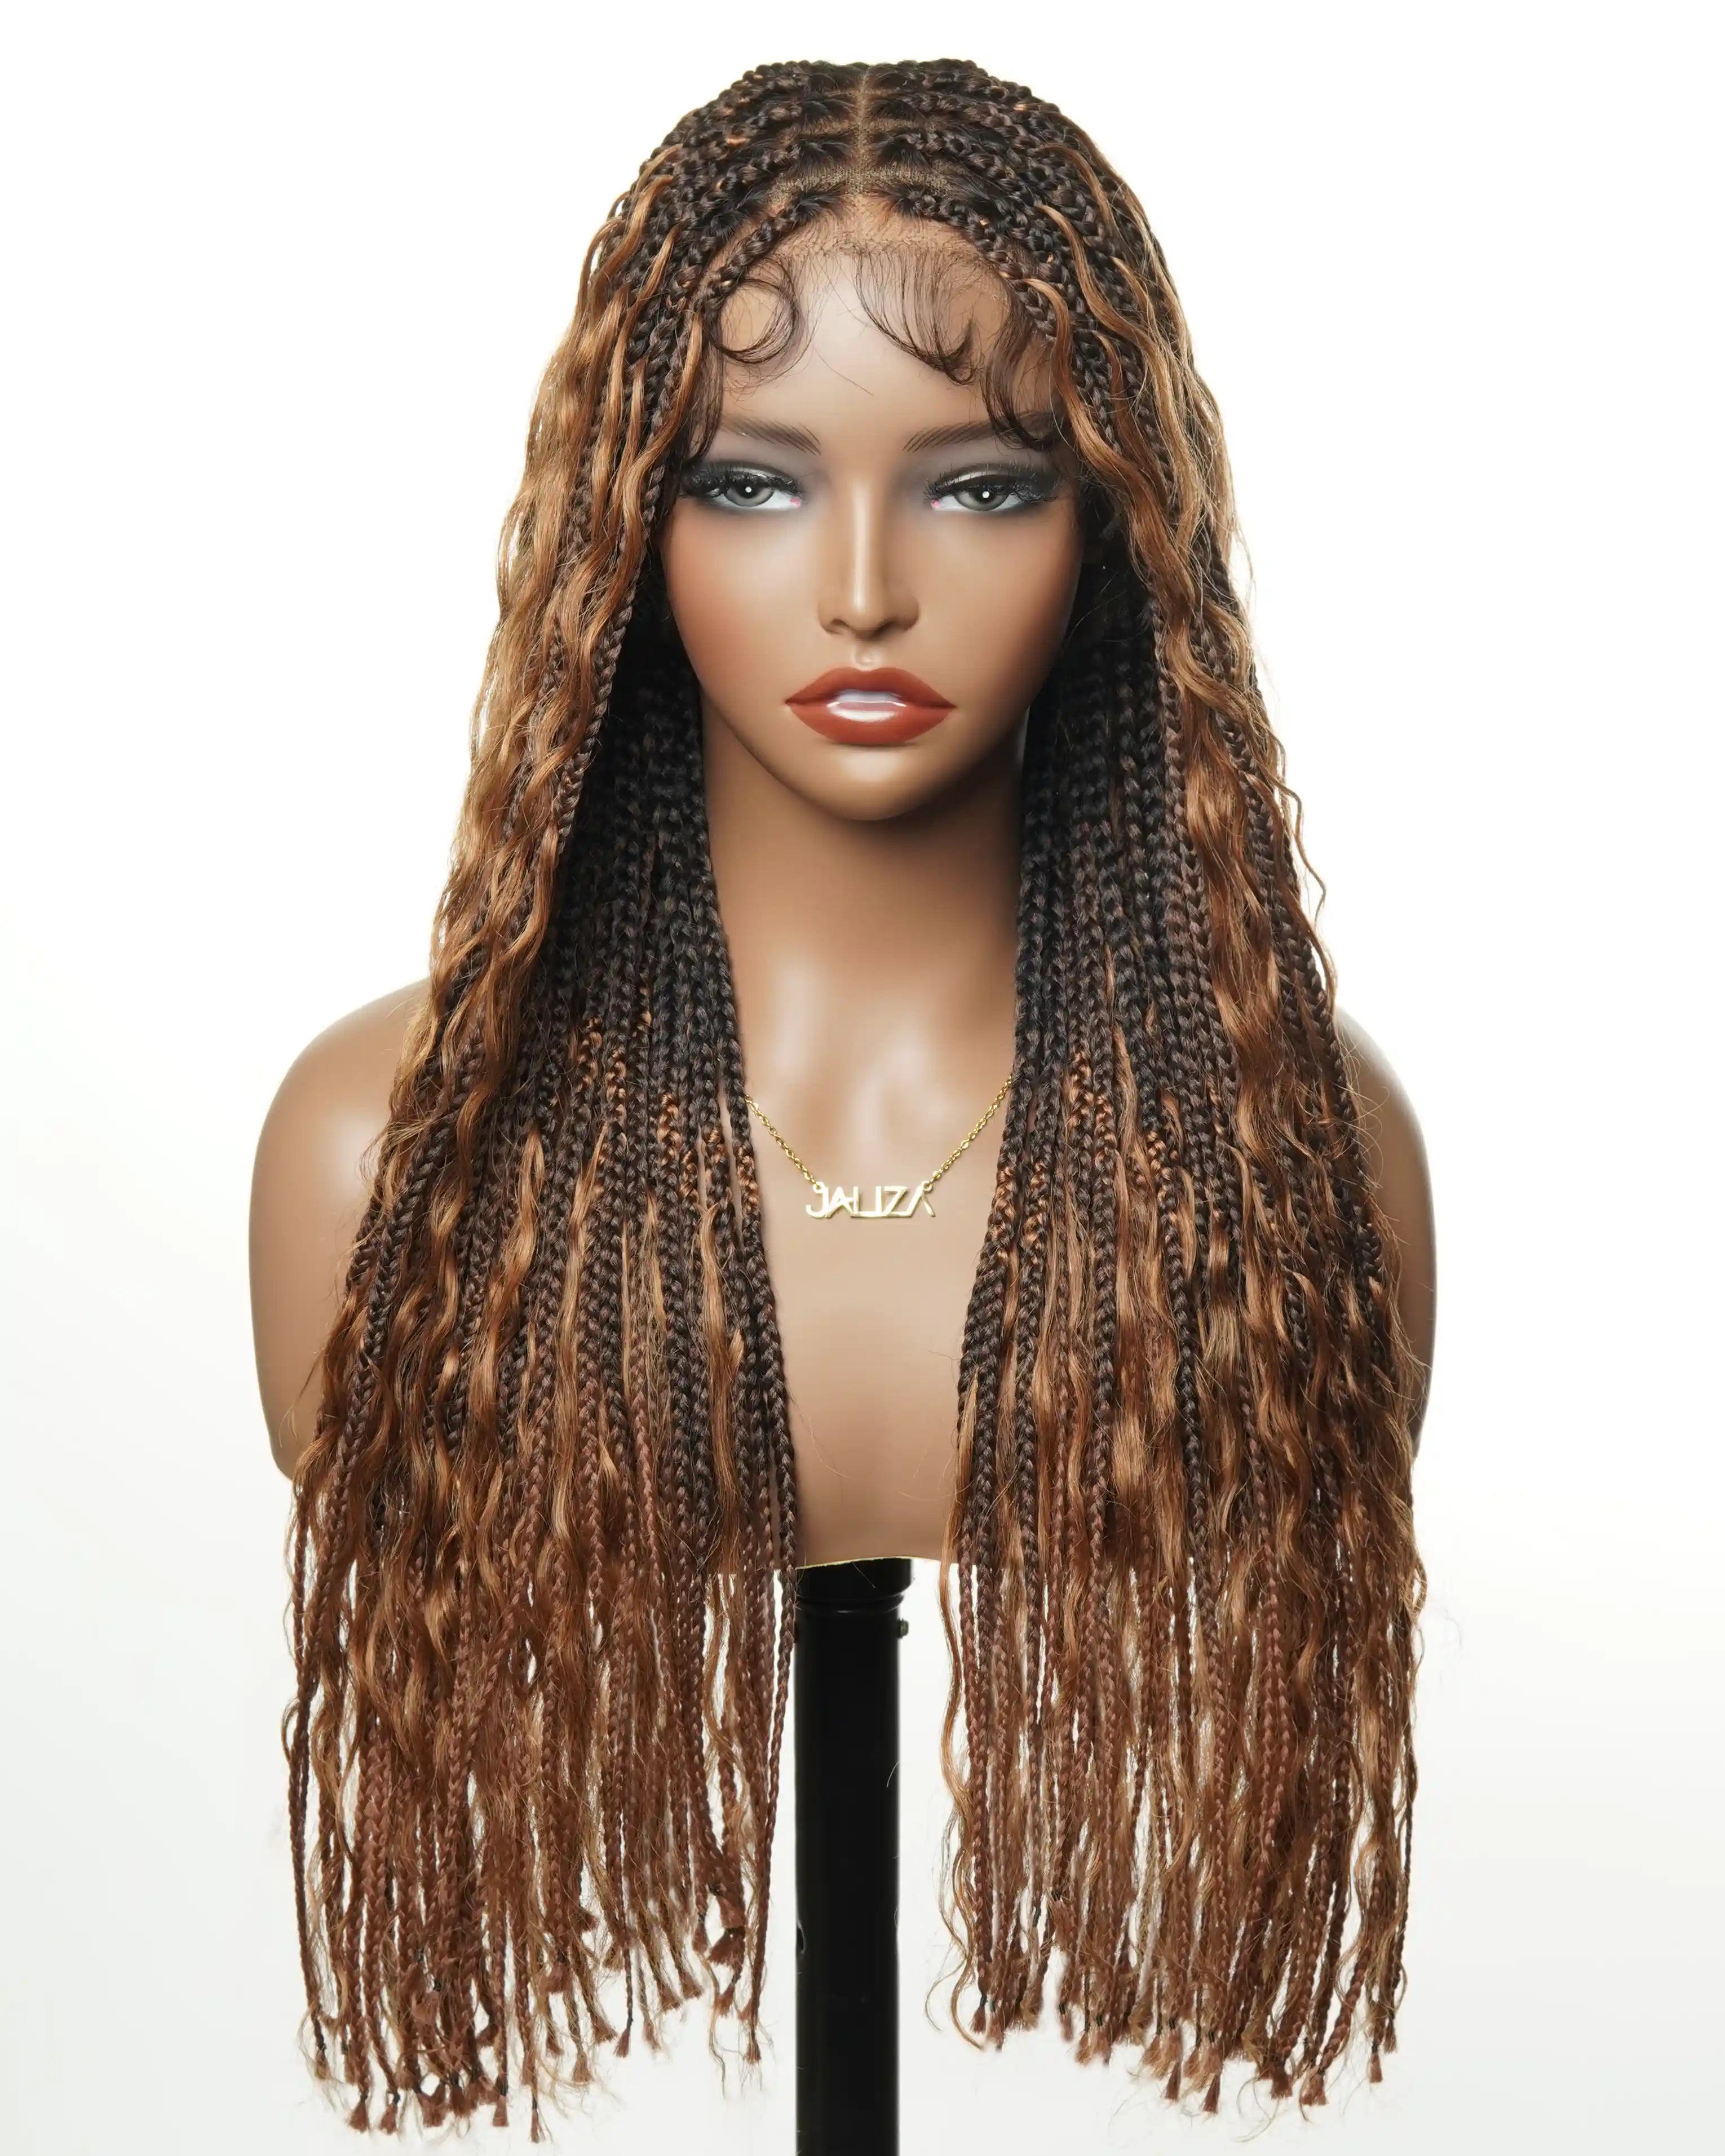
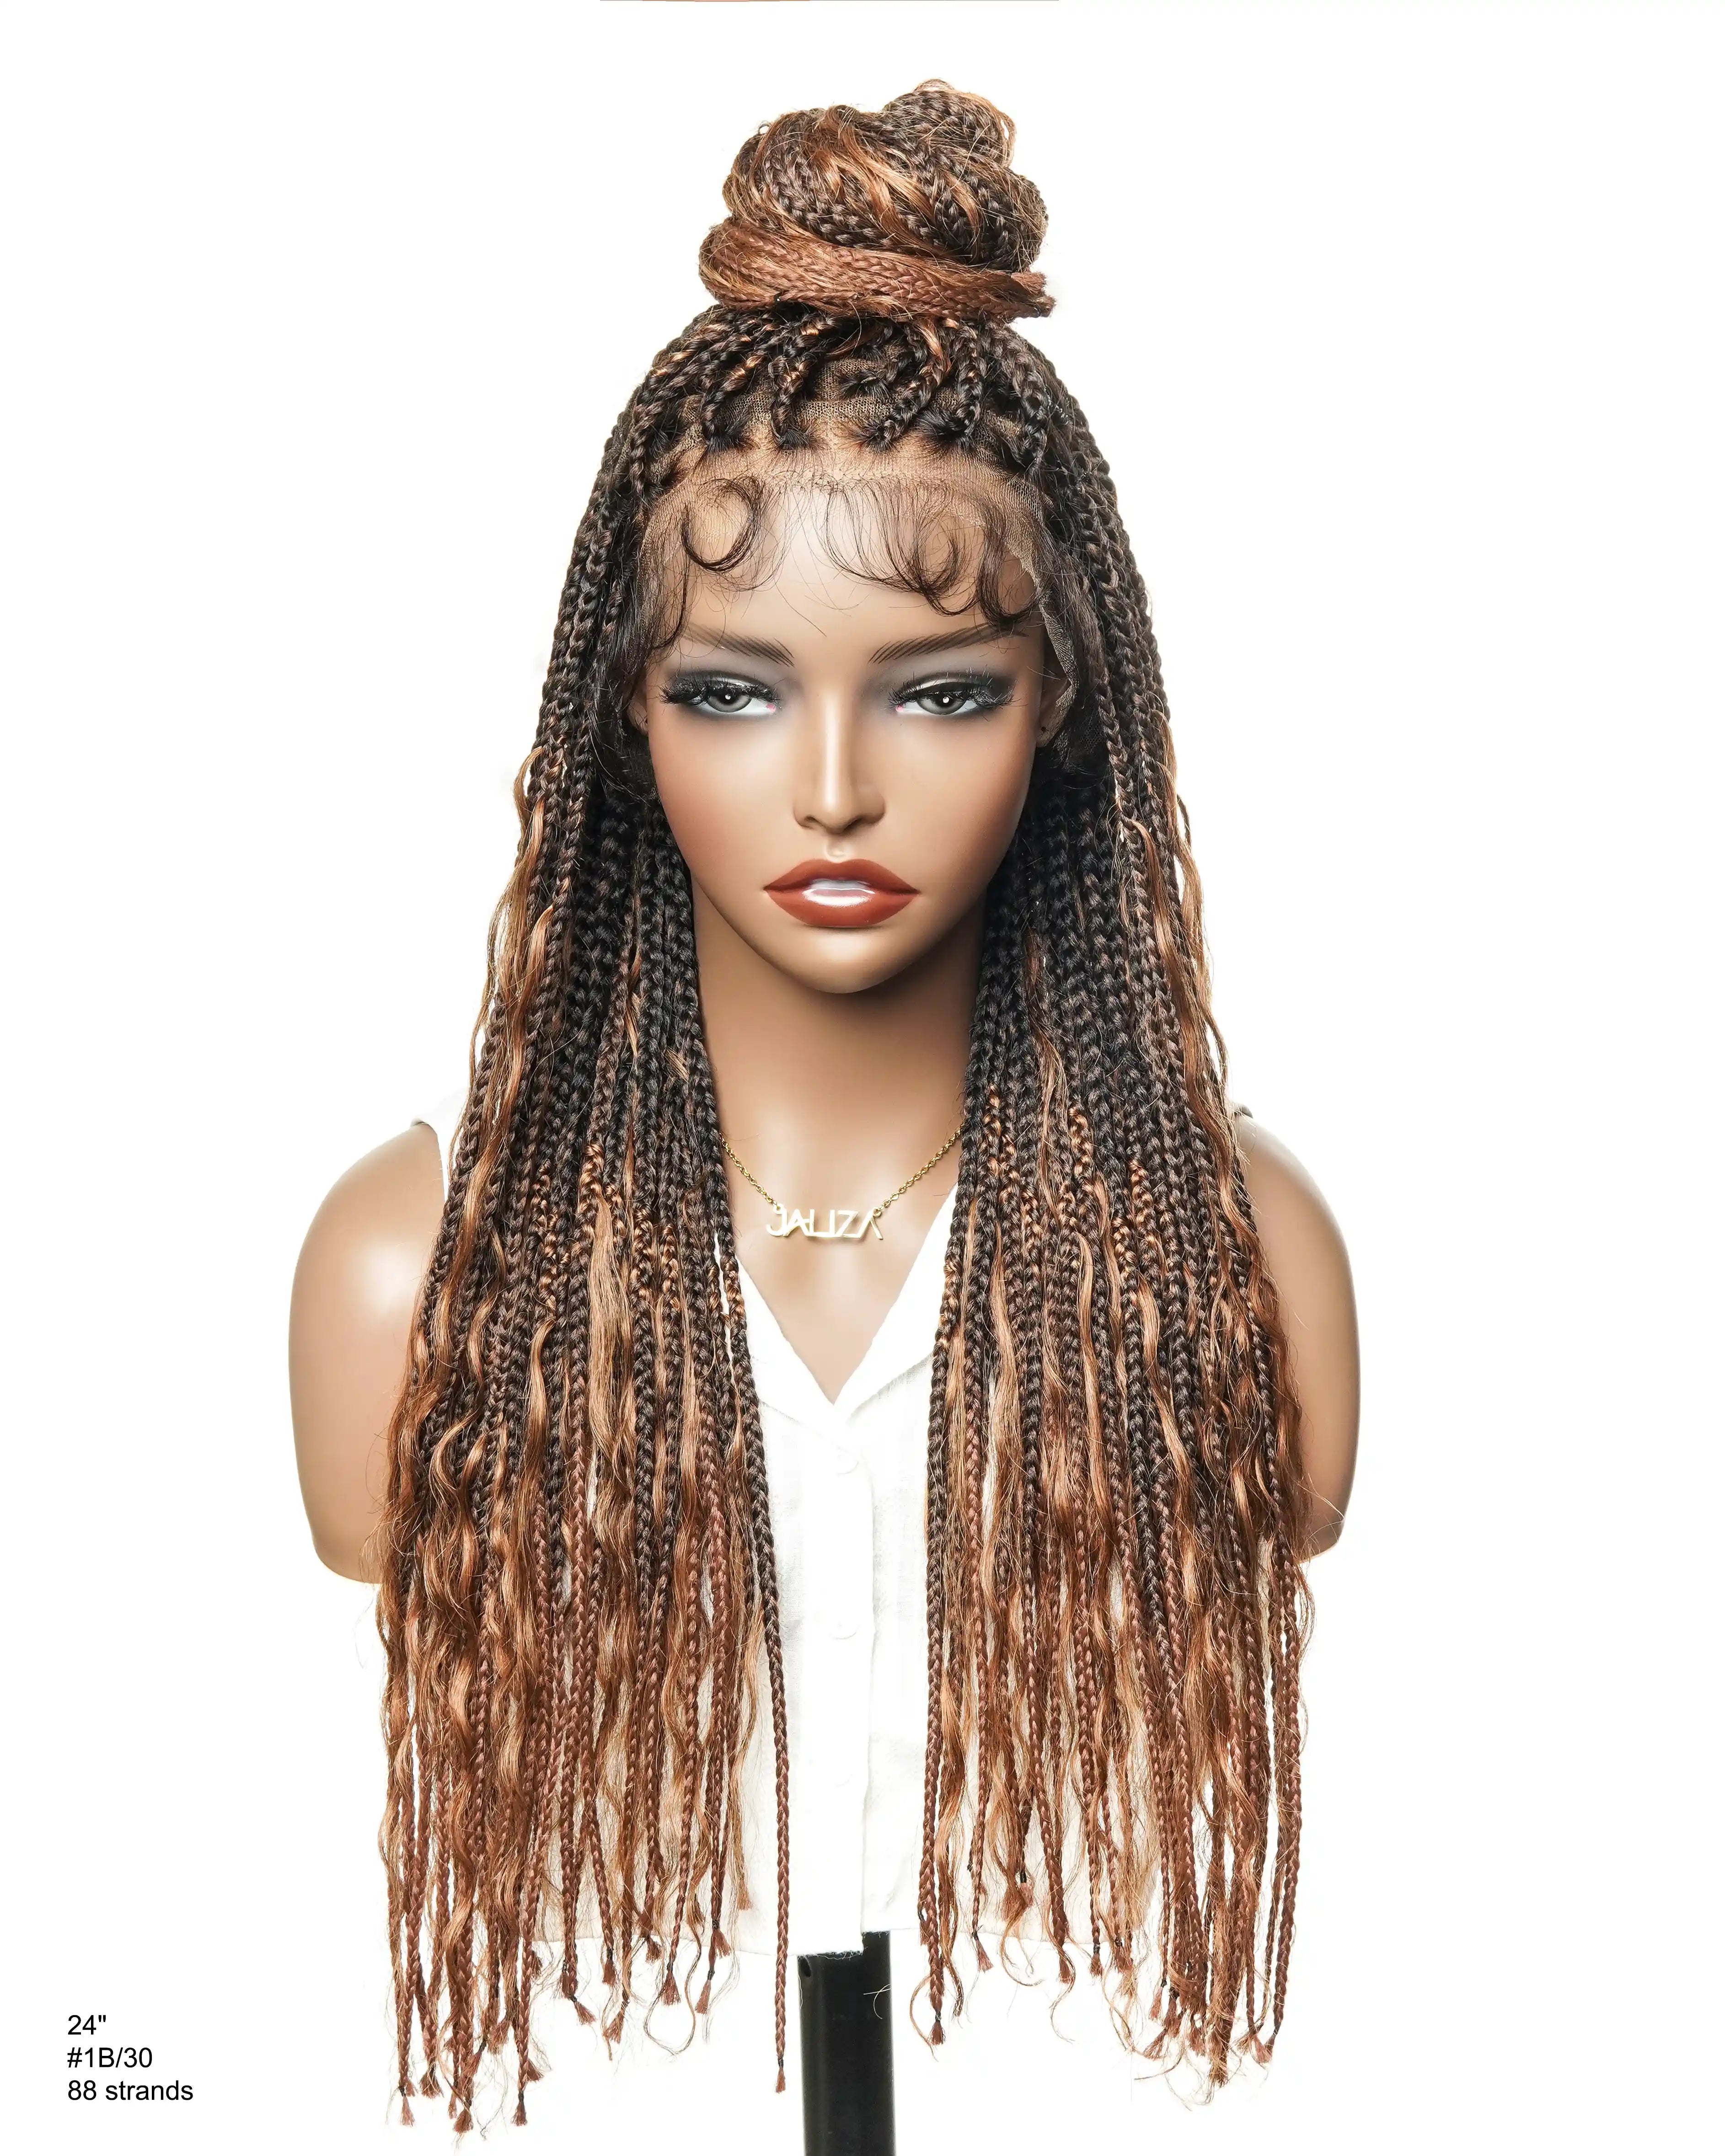
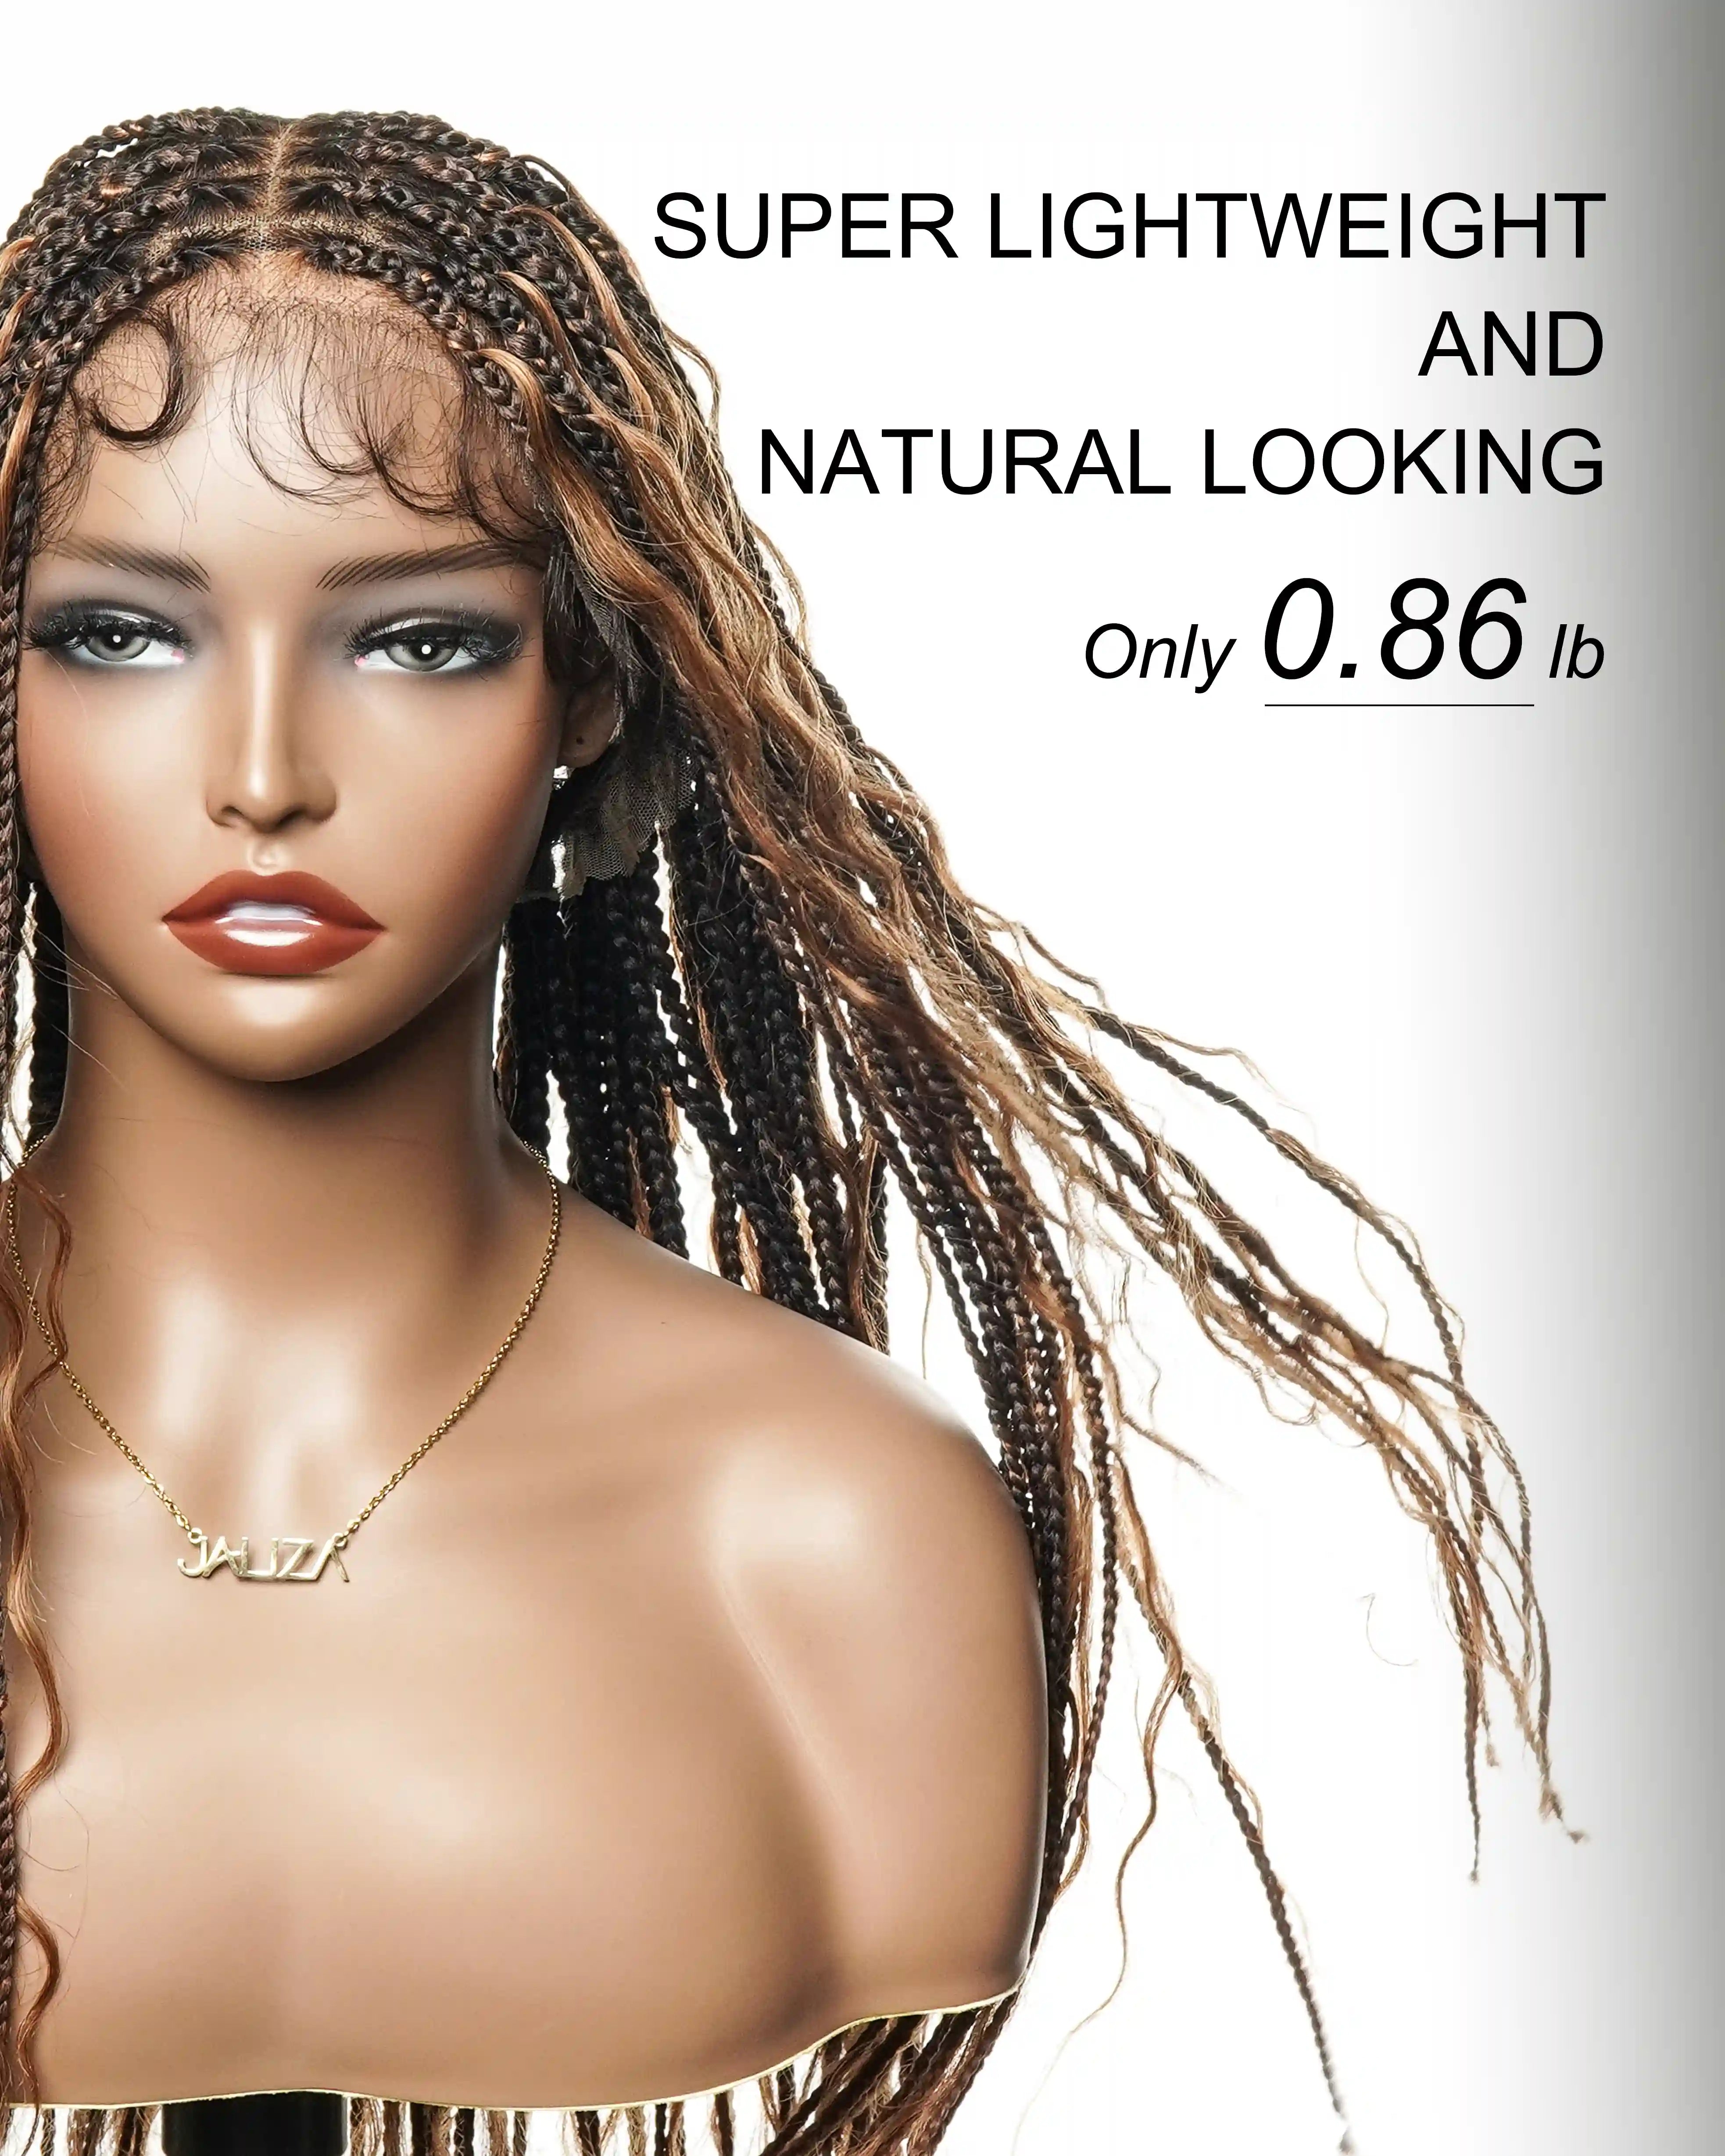
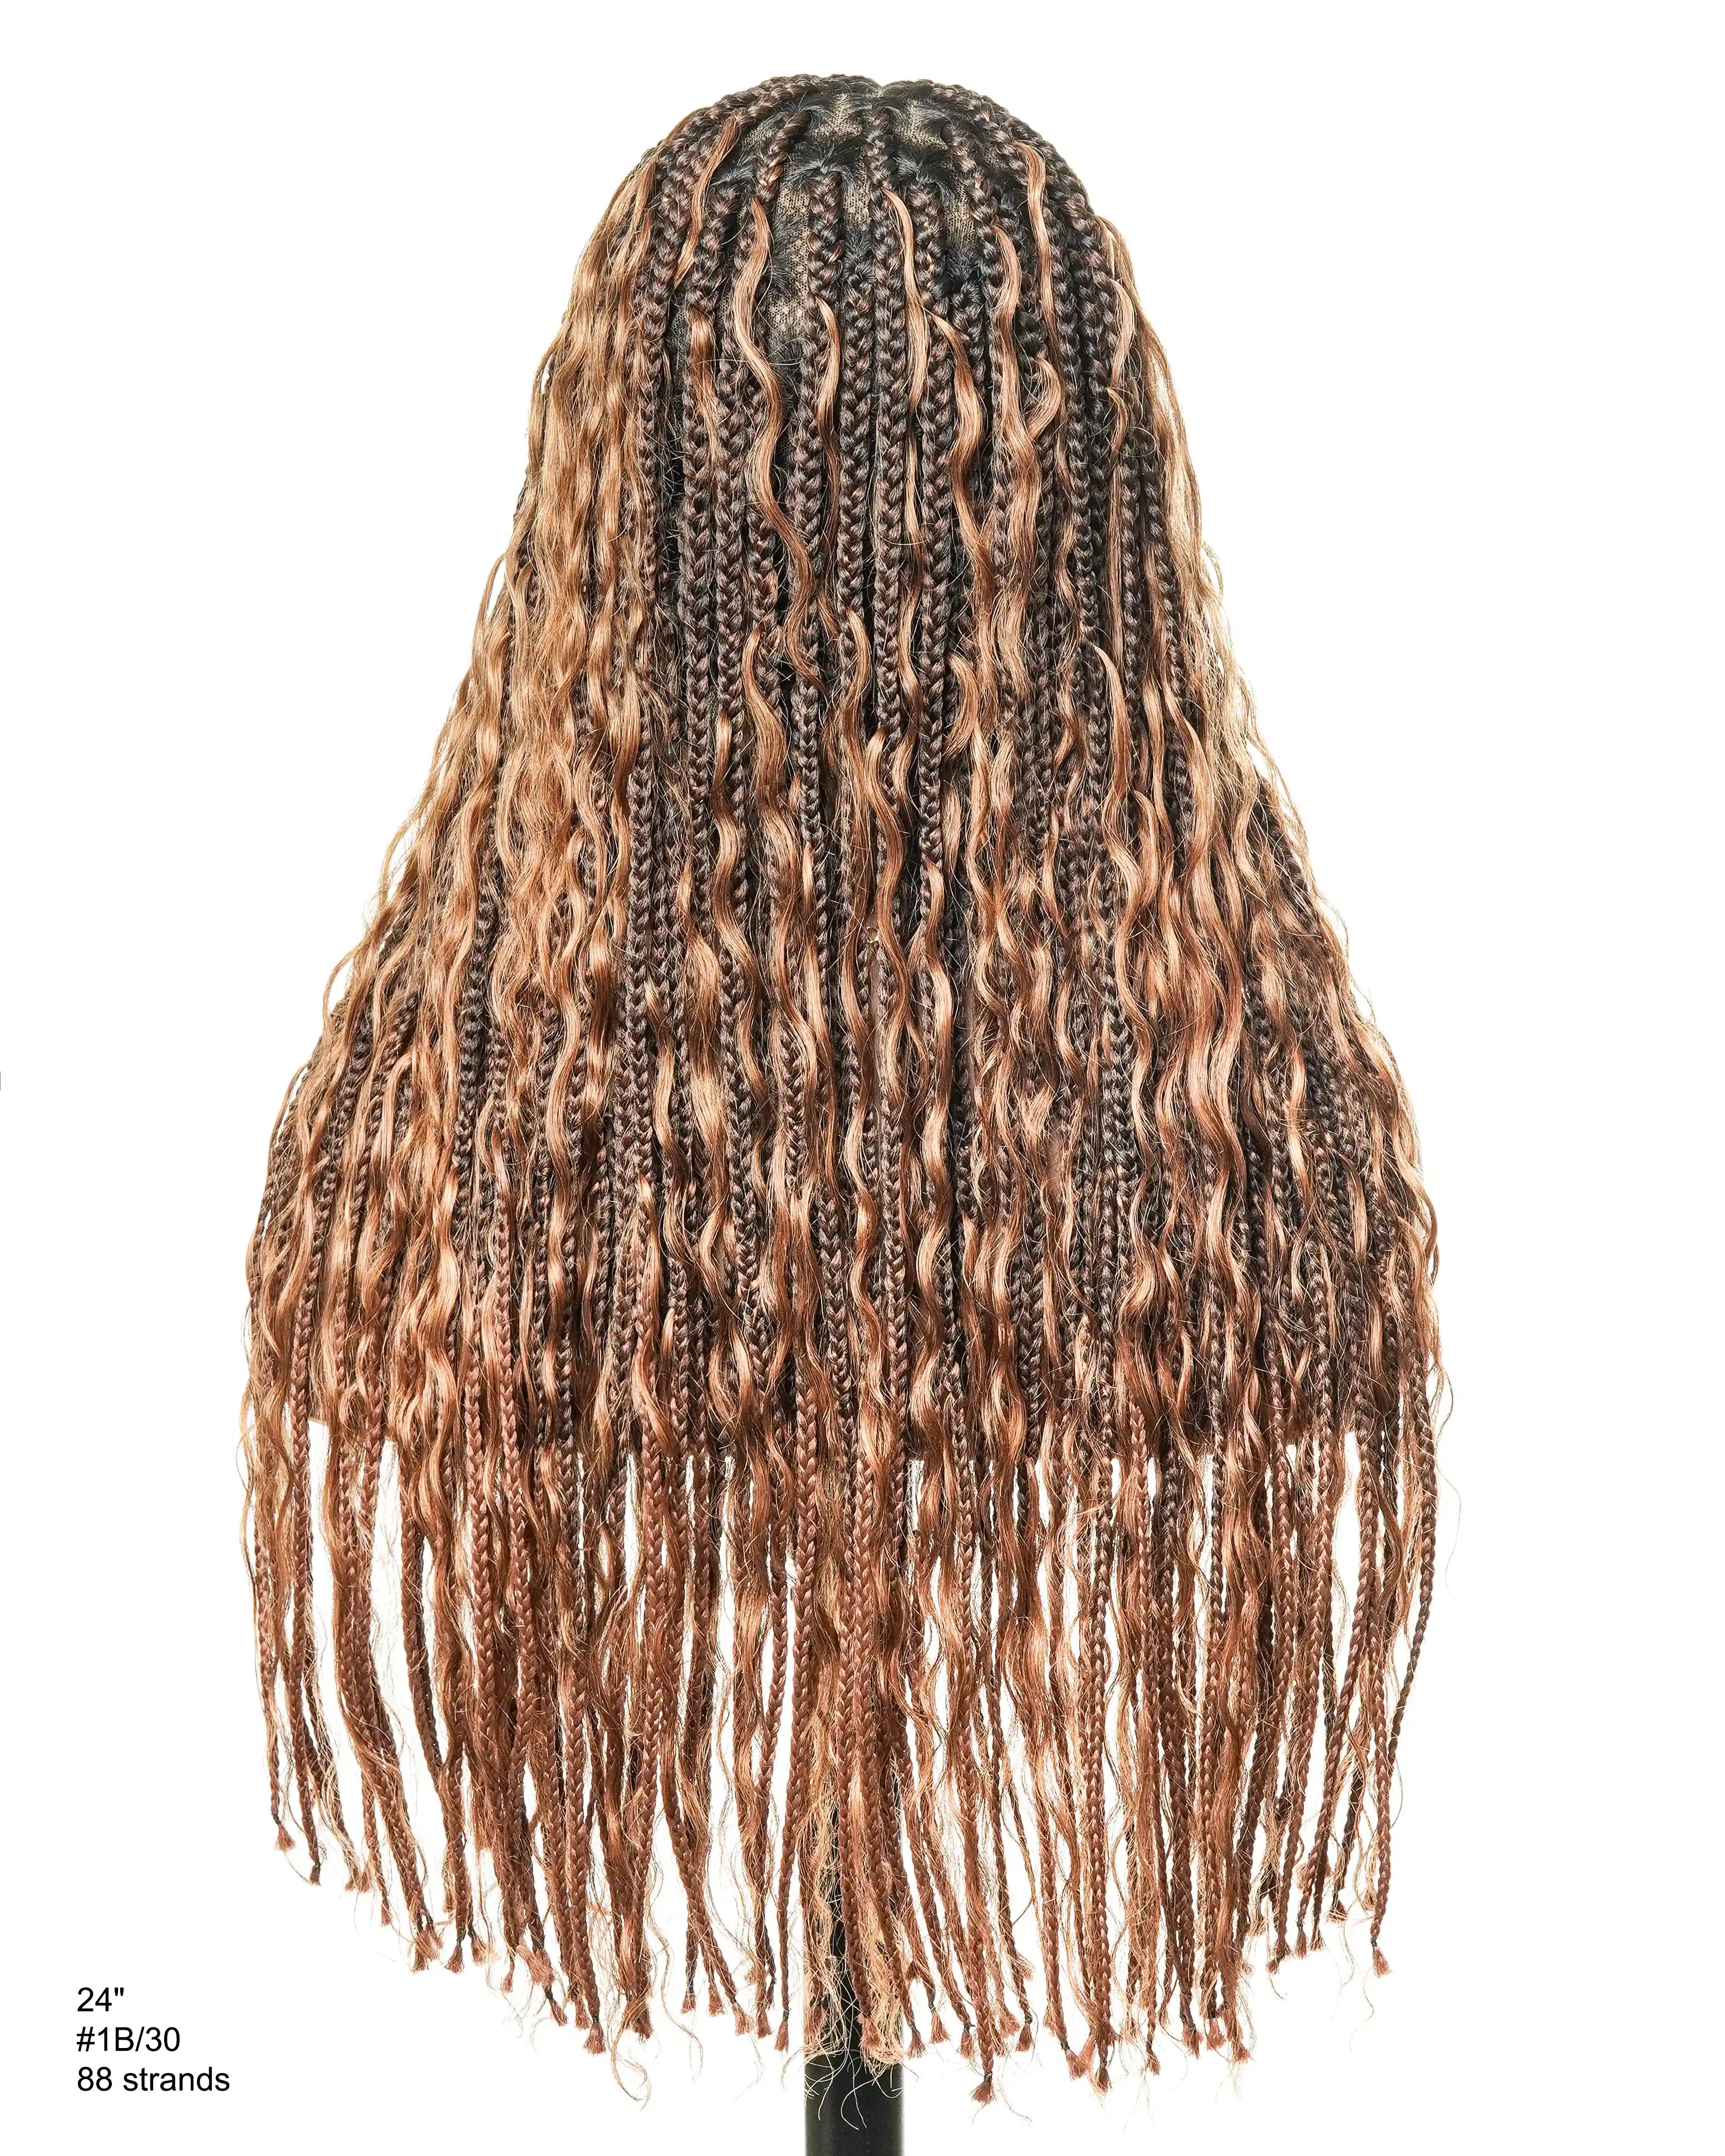
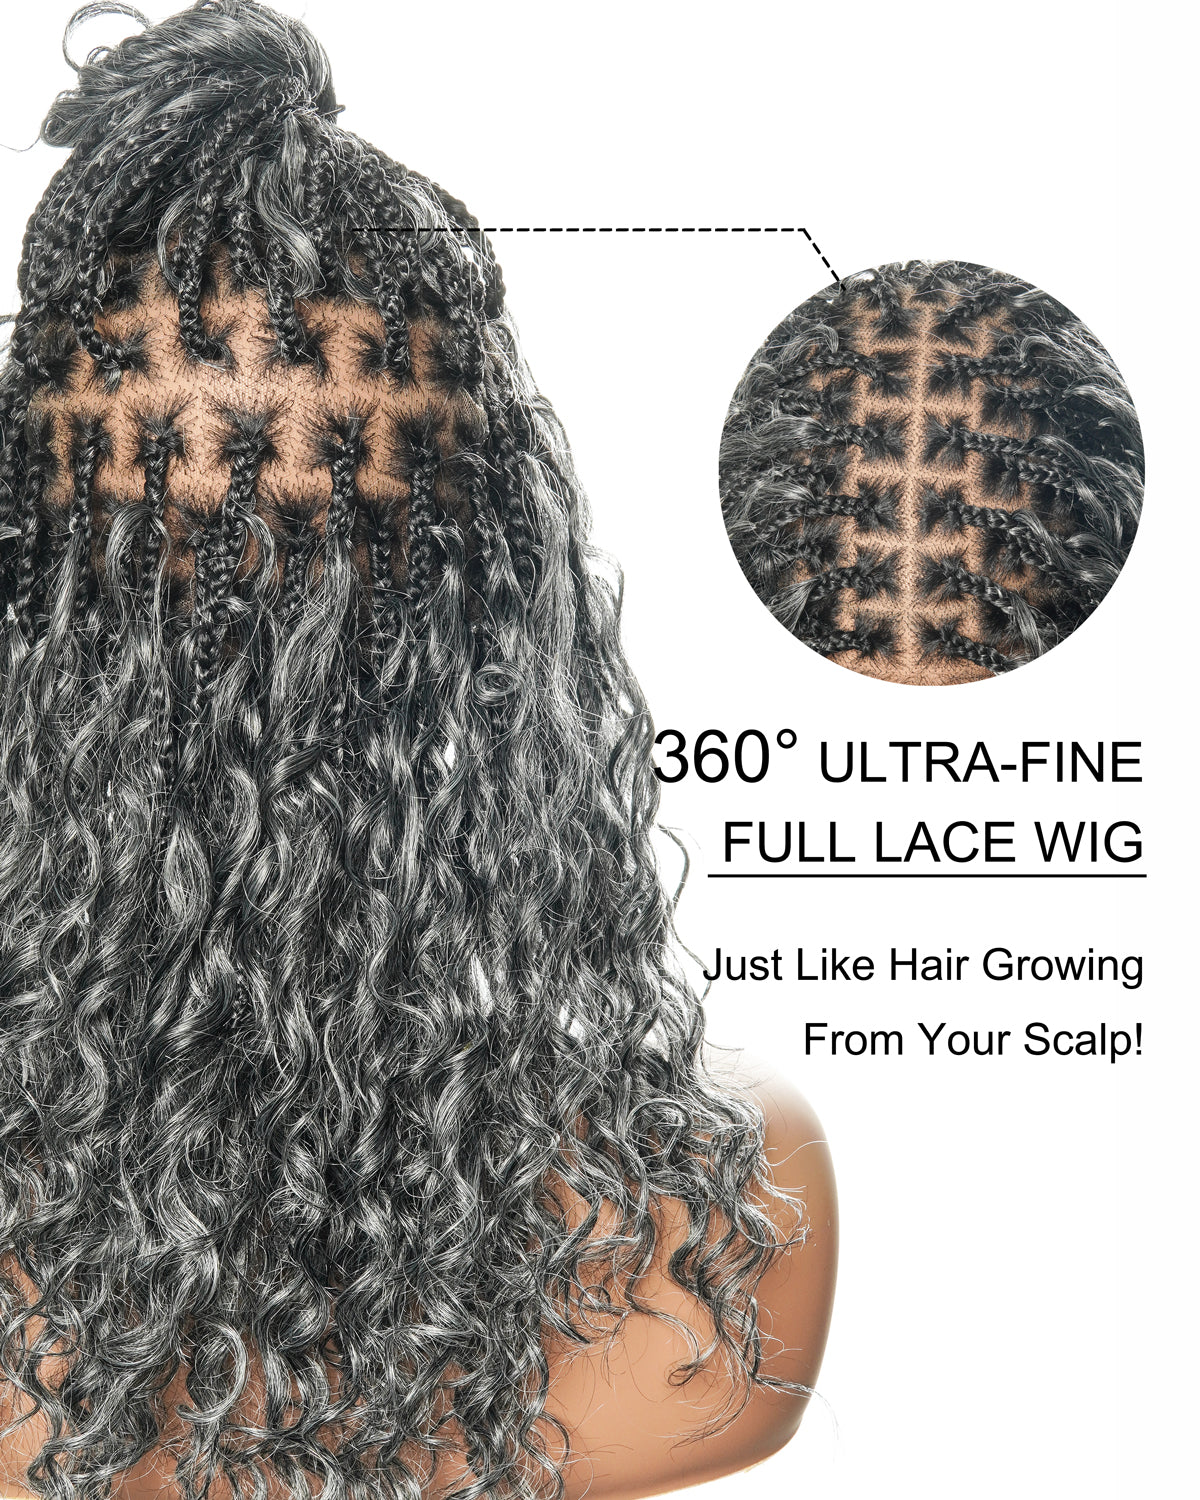
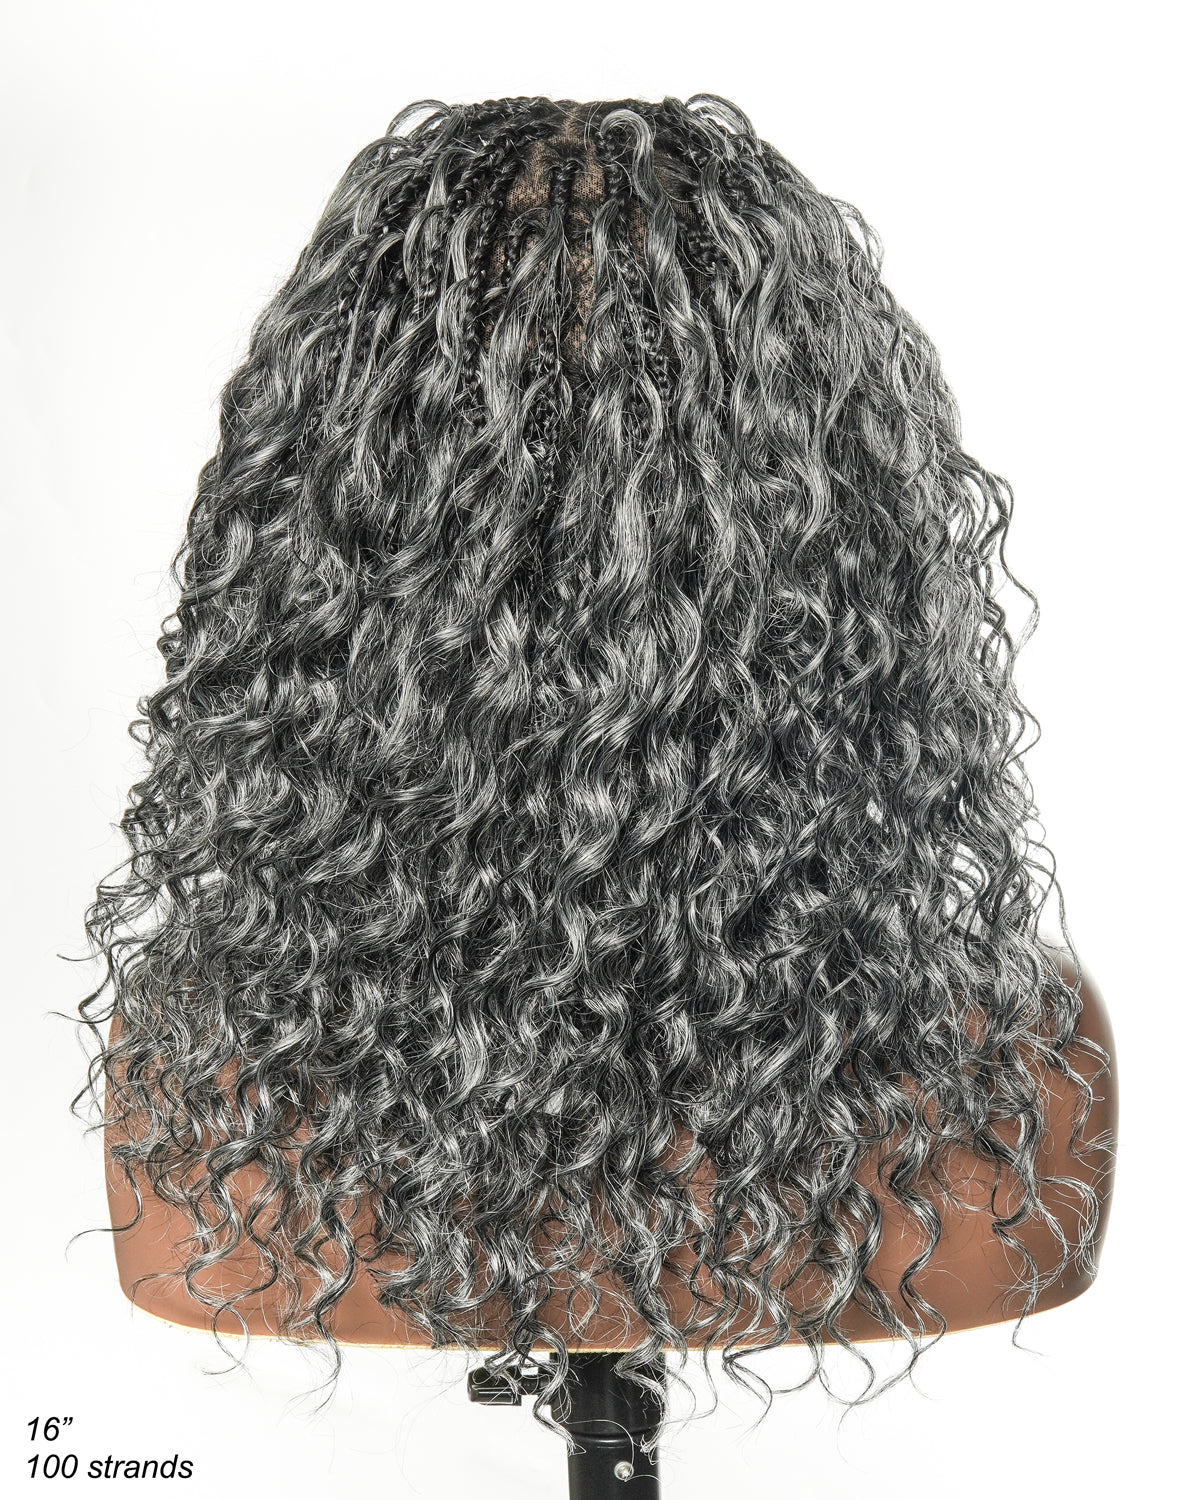
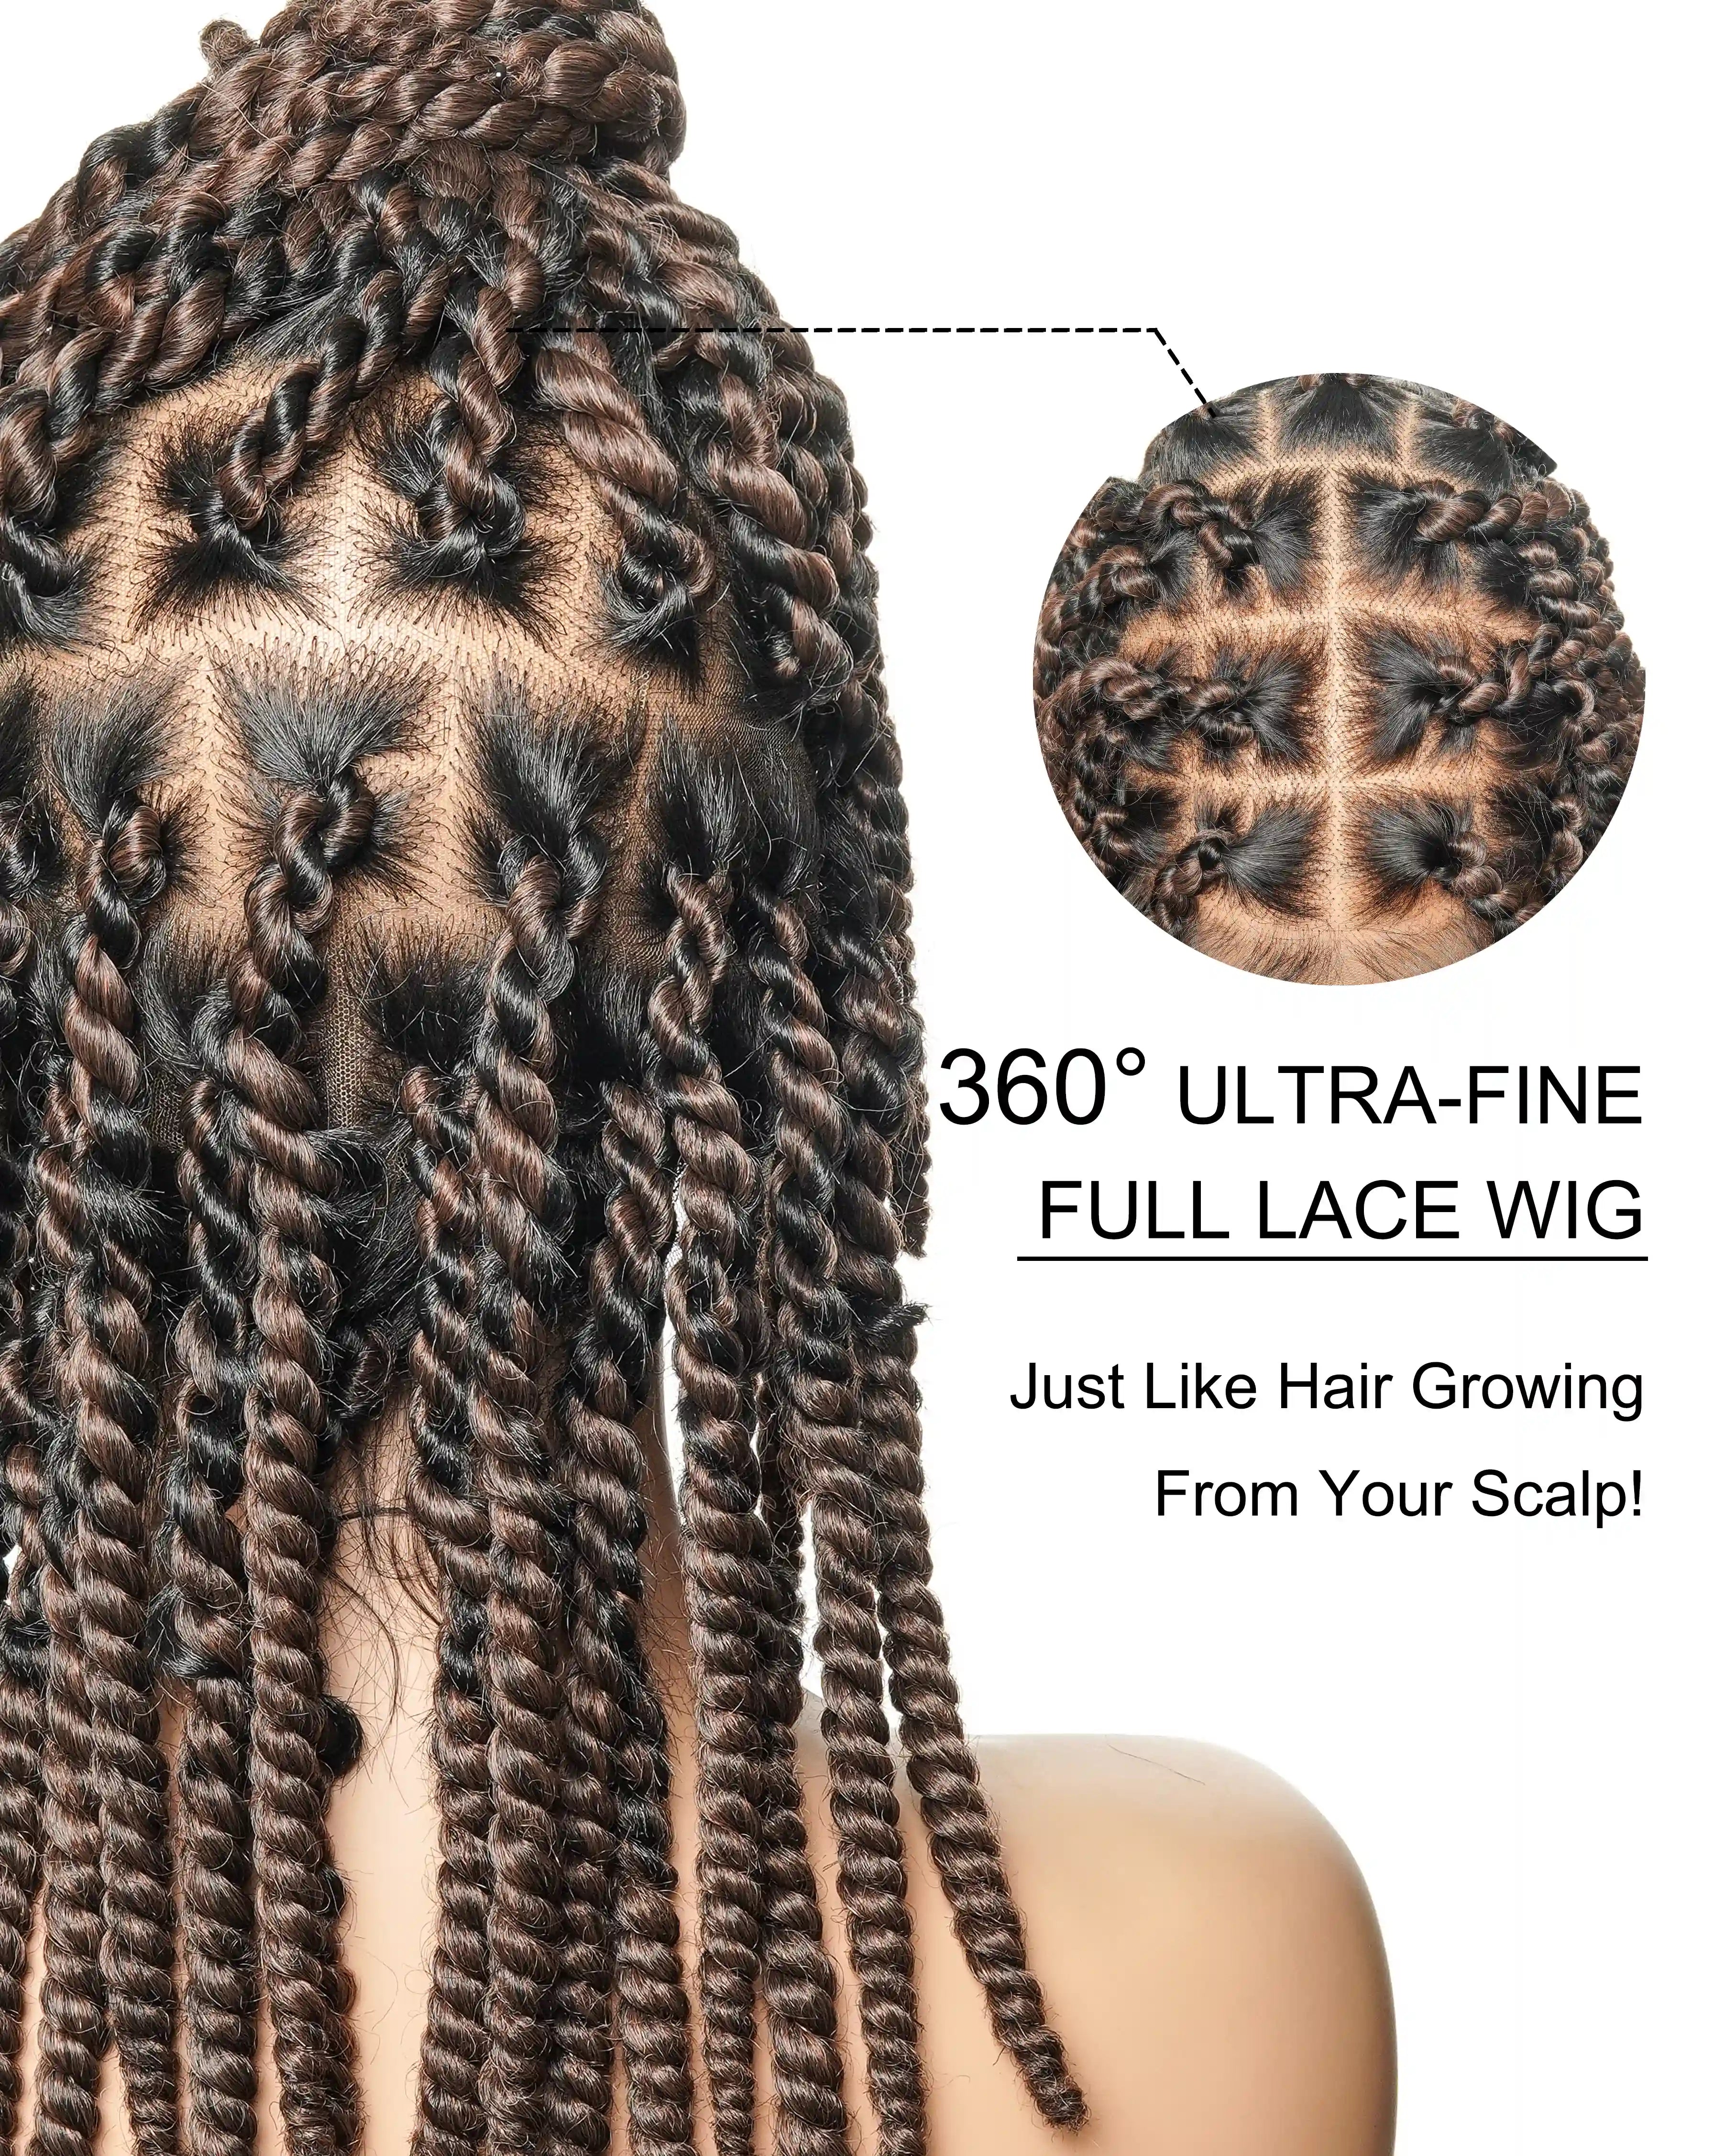
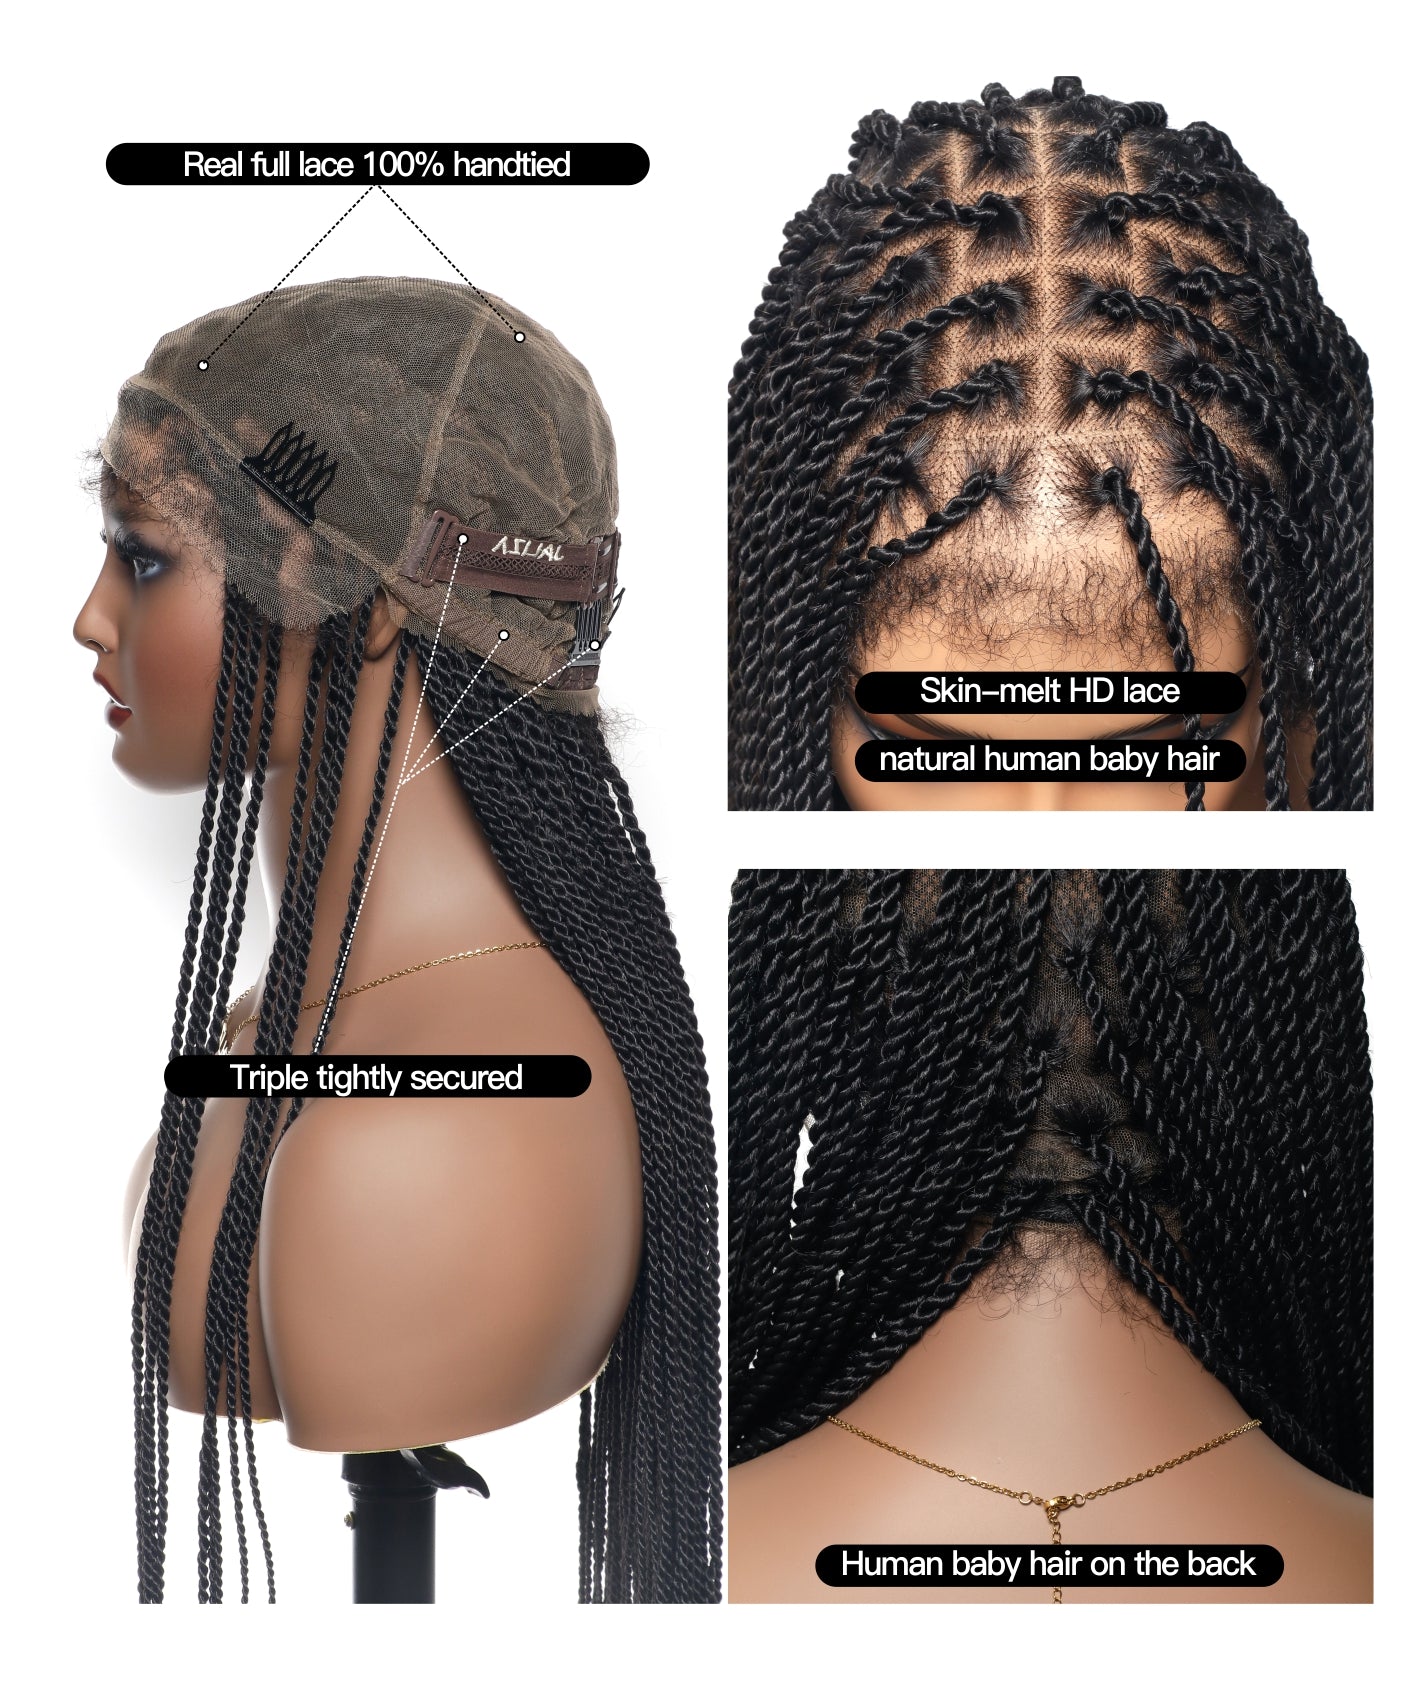
A lace frontal wig is a type of wig where the front portion, where the hairline is visible, is constructed from a sheer lace material. This lace blends with the wearer's skin tone, creating the illusion of hair growing directly from the scalp. For those unfamiliar with this technology, it's a revolution in wig design that allows for styling flexibility and breathability, including the incorporation of styles like boho braids for an effortlessly chic look.
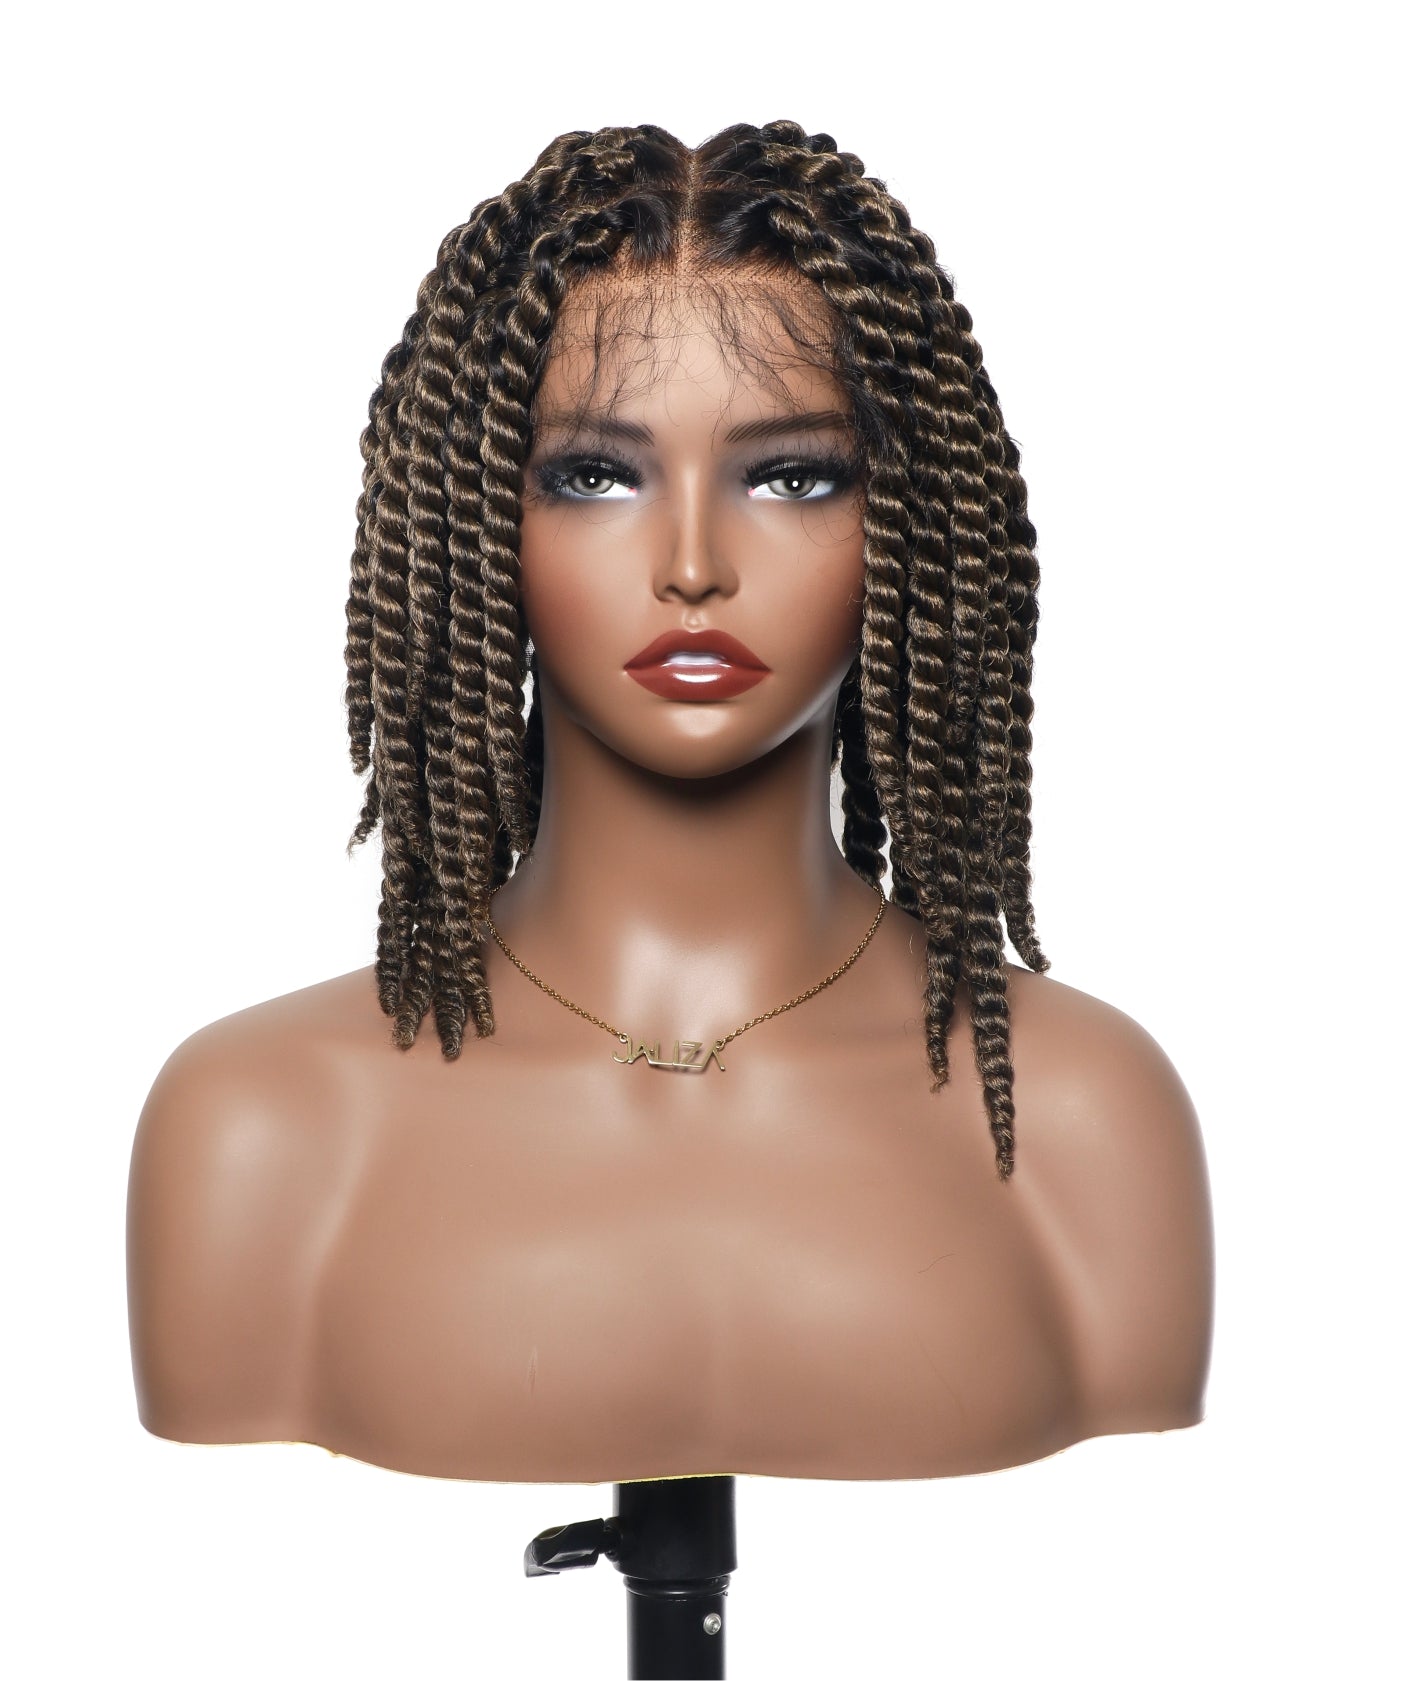
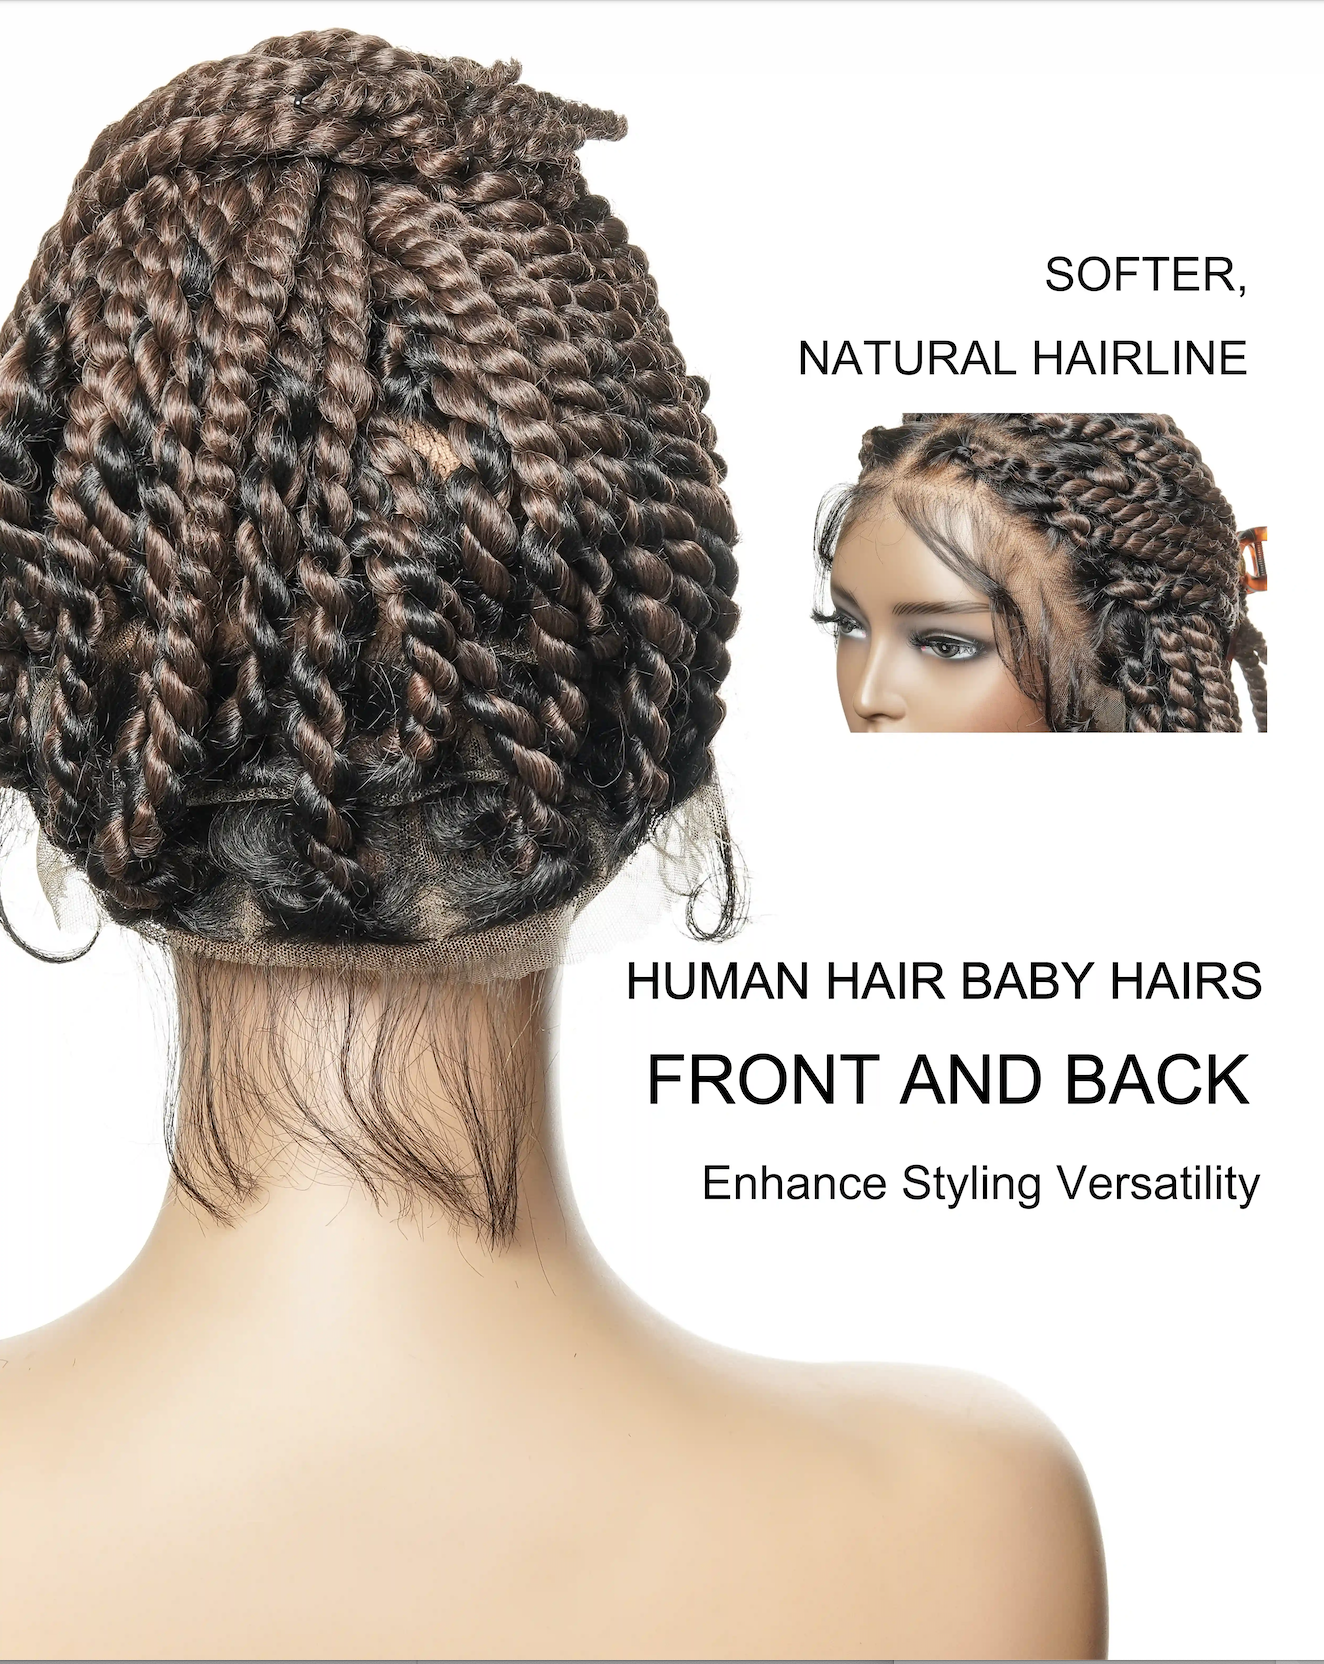
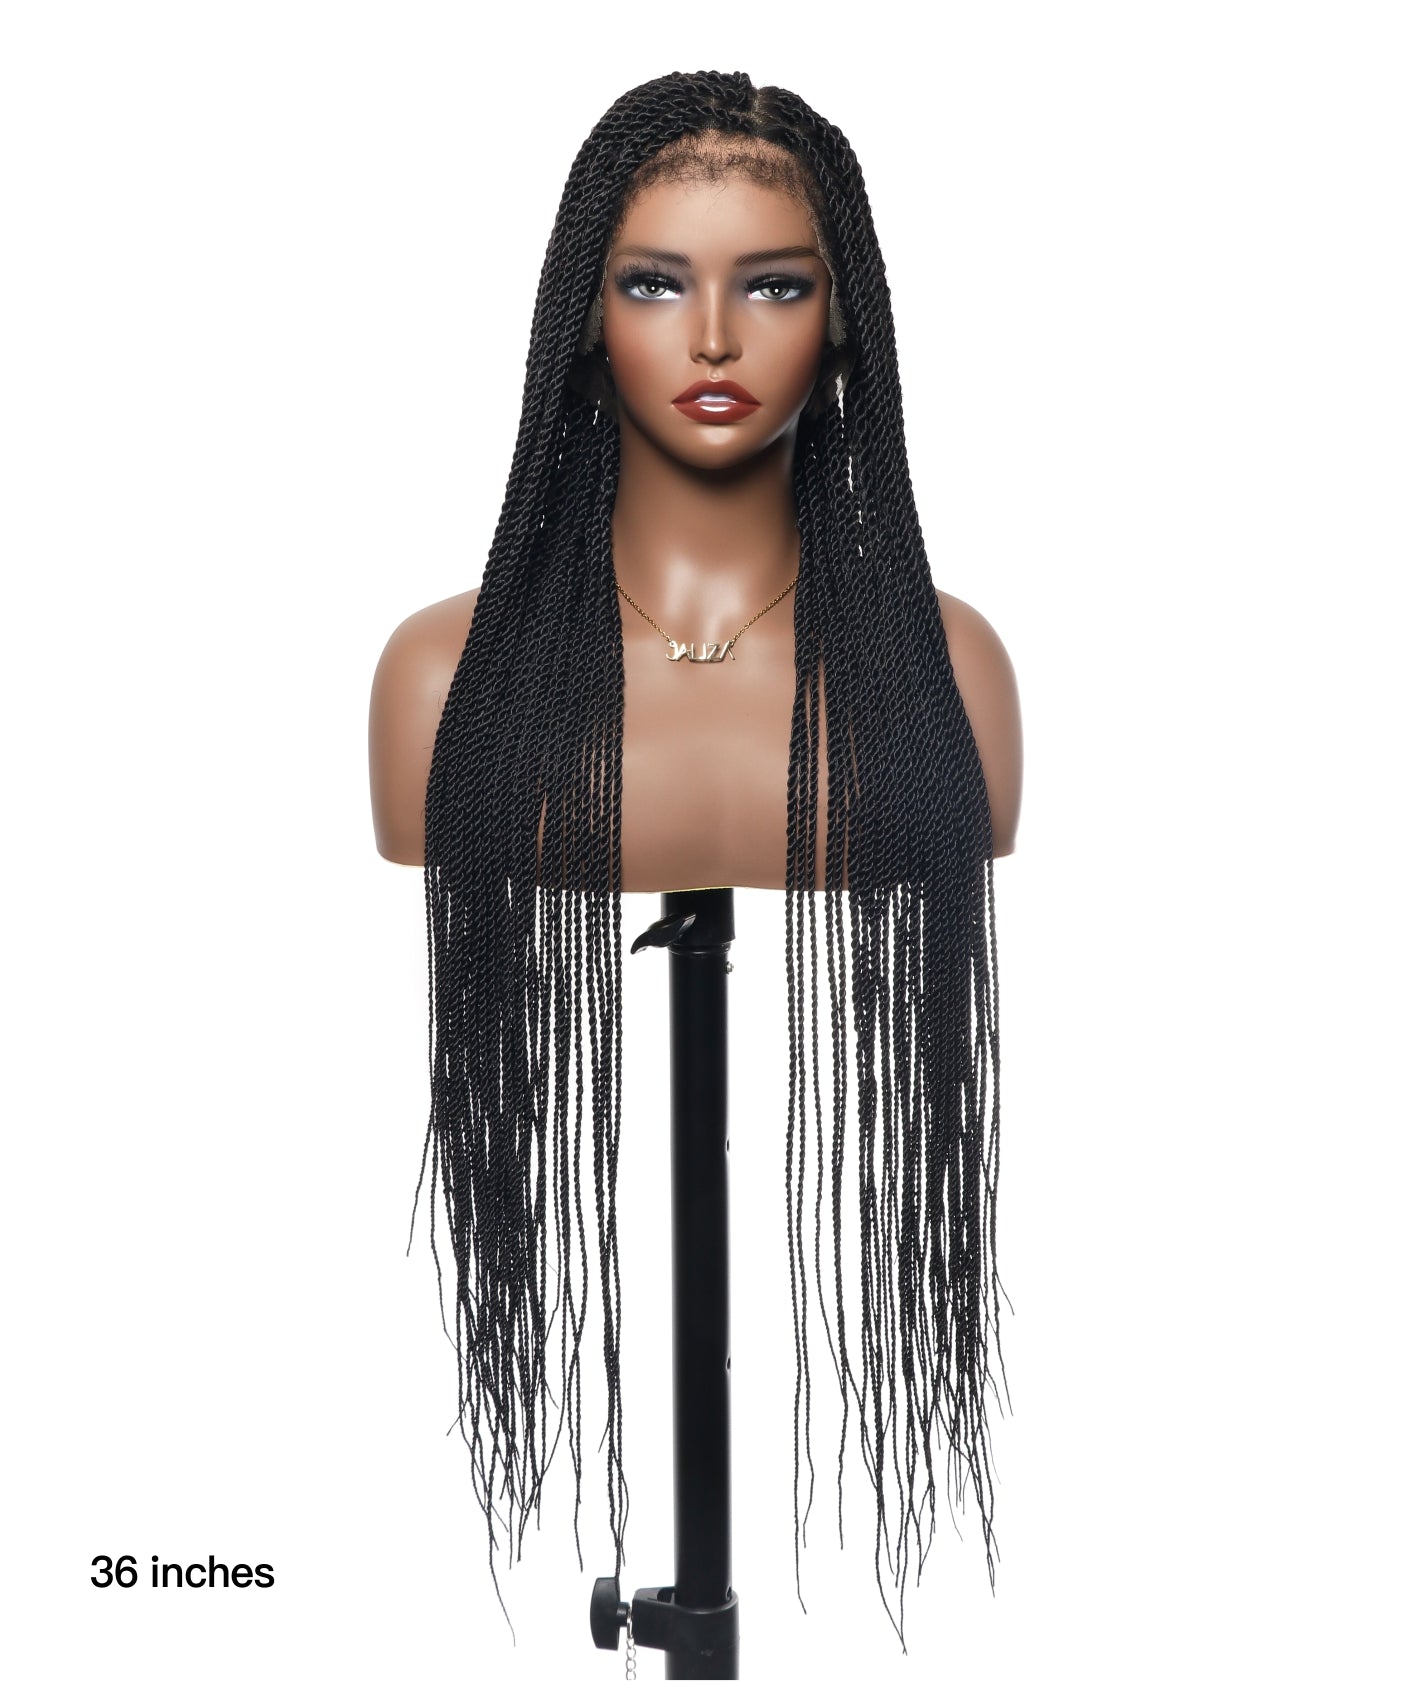
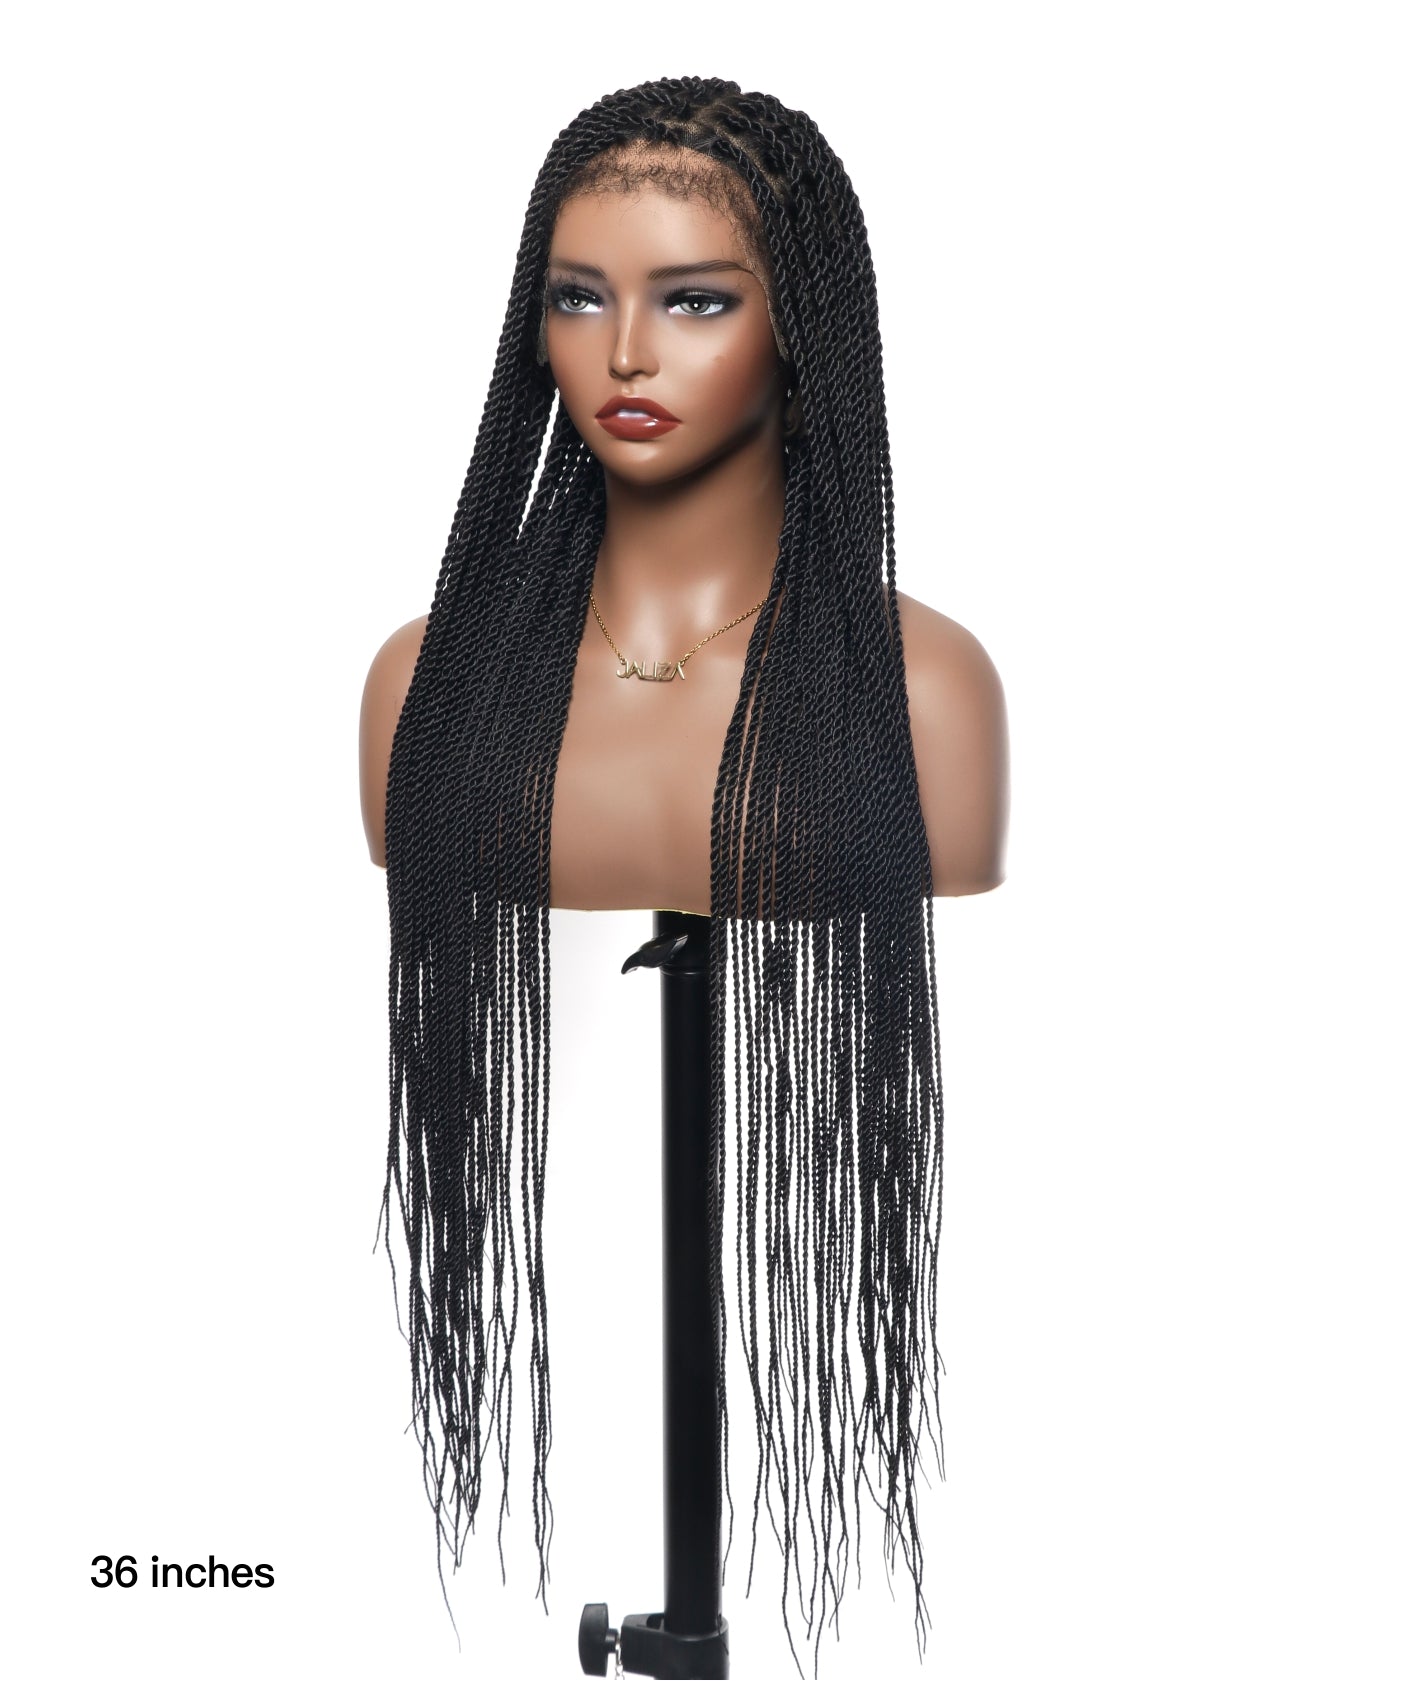
The natural hairline appearance provided by lace frontal wigs is their hallmark. By mimicking the gradual density and unique patterns of a natural hairline, these wigs can conceal the fact that the hair one flaunts is not their own. This is why they are highly sought after by both enthusiasts and those new to the world of wigs, including those who prefer Braided Wigs for their ease and convenience.

You may also like: How to put on a glueless lace front wig
Preparation for Installation
Before you embark on the installation process, ensure that your natural hair is clean, conditioned, and as flat as possible. This is crucial to achieving a seamless base for your wig. Methods to flatten hair range from tight cornrows to a simple slick-back ponytail, depending on hair length and volume.
Materials and Tools Required
To install a lace frontal wig, you will need the following items:
- Wig cap
- Scissors
- Hair freeze spray or wig adhesive
- Hair clips
- Blow dryer
- Tail comb
- Flat iron or hot comb (optional, for styling)

Step-by-Step Installation Process
A. Preparing Your Natural Hair
Begin by preparing your natural hair to create a smooth and flat surface. Cornrows are a popular choice for those with longer hair, as they distribute hair evenly across the scalp. For those with shorter hair, gel and a wig cap can flatten hair sufficiently. Ensuring all your natural hair is beneath the cap prevents bumps and lumps under the wig, which can disrupt the natural look we aim for.
B. Installing the Lace Front Wig
Skin Preparation:
Start by cleaning the forehead and hairline area with alcohol to remove any oils. This step is vital for the adhesive to bond properly.
Wig Placement:
Place the lace front wig on your head, aligning it with your natural hairline. Adjust the wig's built-in straps or use an elastic band method for a snug fit. Proper placement is essential, as it affects the overall appearance.
Trimming the Lace:
Carefully trim the excess lace, following the natural contours of your hairline. It's often recommended to cut the lace in a zig-zag pattern to avoid a straight line that can look unnatural.
Securing the Wig:
If you're using hair freeze spray, apply it along the edge of the lace. For wig adhesive, follow the product's instructions for application. Press down the lace onto the sprayed or glued areas and use a blow dryer on a cool setting to set it in place.
Styling the Wig:
After the wig is secured, it's time for styling. Use a tail comb to part the hair as desired and style baby hairs if you choose. Flat irons or hot combs can be used to straighten or curl the hair, just as you would with your natural locks, including creating trendy bob wig for a chic transformation.
You may also like: Crafting a Stunning Box Braid Lace Wig

Tips for a Seamless and Natural Install
A natural-looking install requires attention to detail. Consider the following tips to elevate your wig installation:
Right Size Matters
Ensure you select a wig that fits the circumference of your head. A wig that's too tight can cause discomfort and damage to your natural hair, while a loose wig lacks security and natural appearance.
Lace Cutting Technique
When trimming the lace, use small, sharp scissors and mimic the natural hairline by creating a zig-zag pattern. This technique helps to blend the lace with your skin more effectively.
Heat Styling
Just like natural hair, human hair wig can be styled with heat tools. Employ a flat iron or hot comb to smooth out the hair or add curls for volume and movement.
Pre-Plucked and Pre-Bleached Wigs
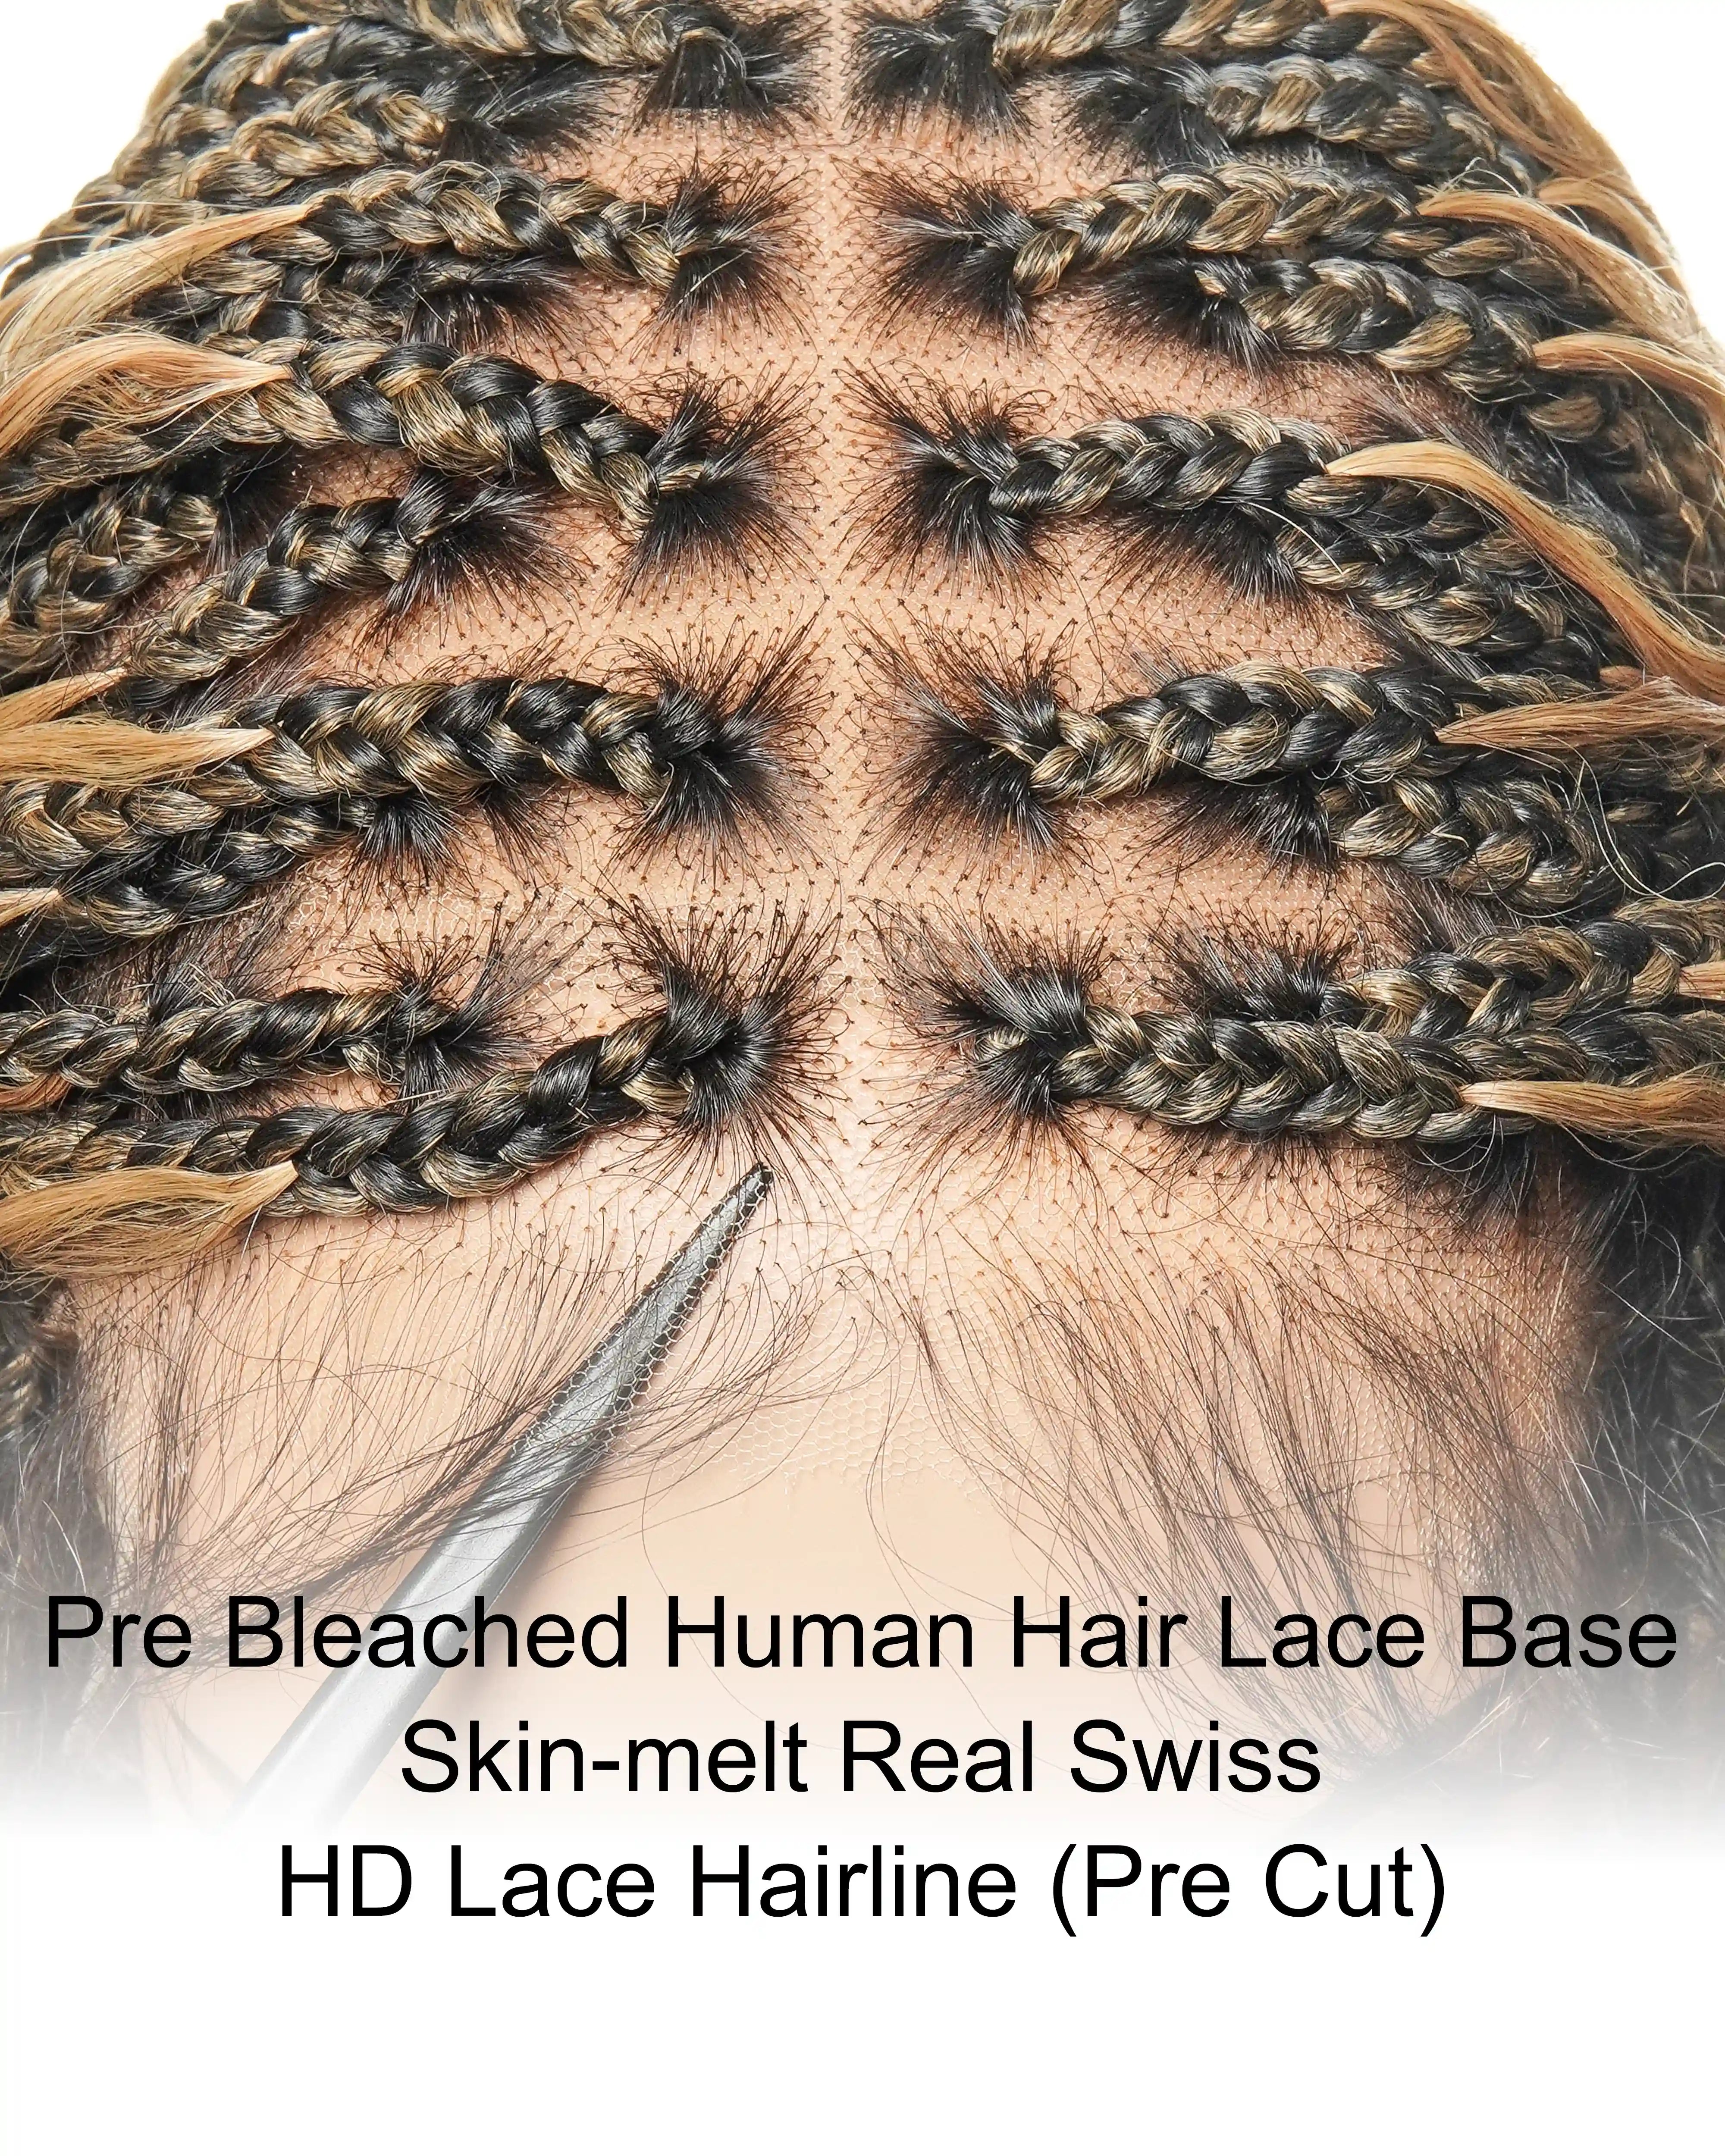
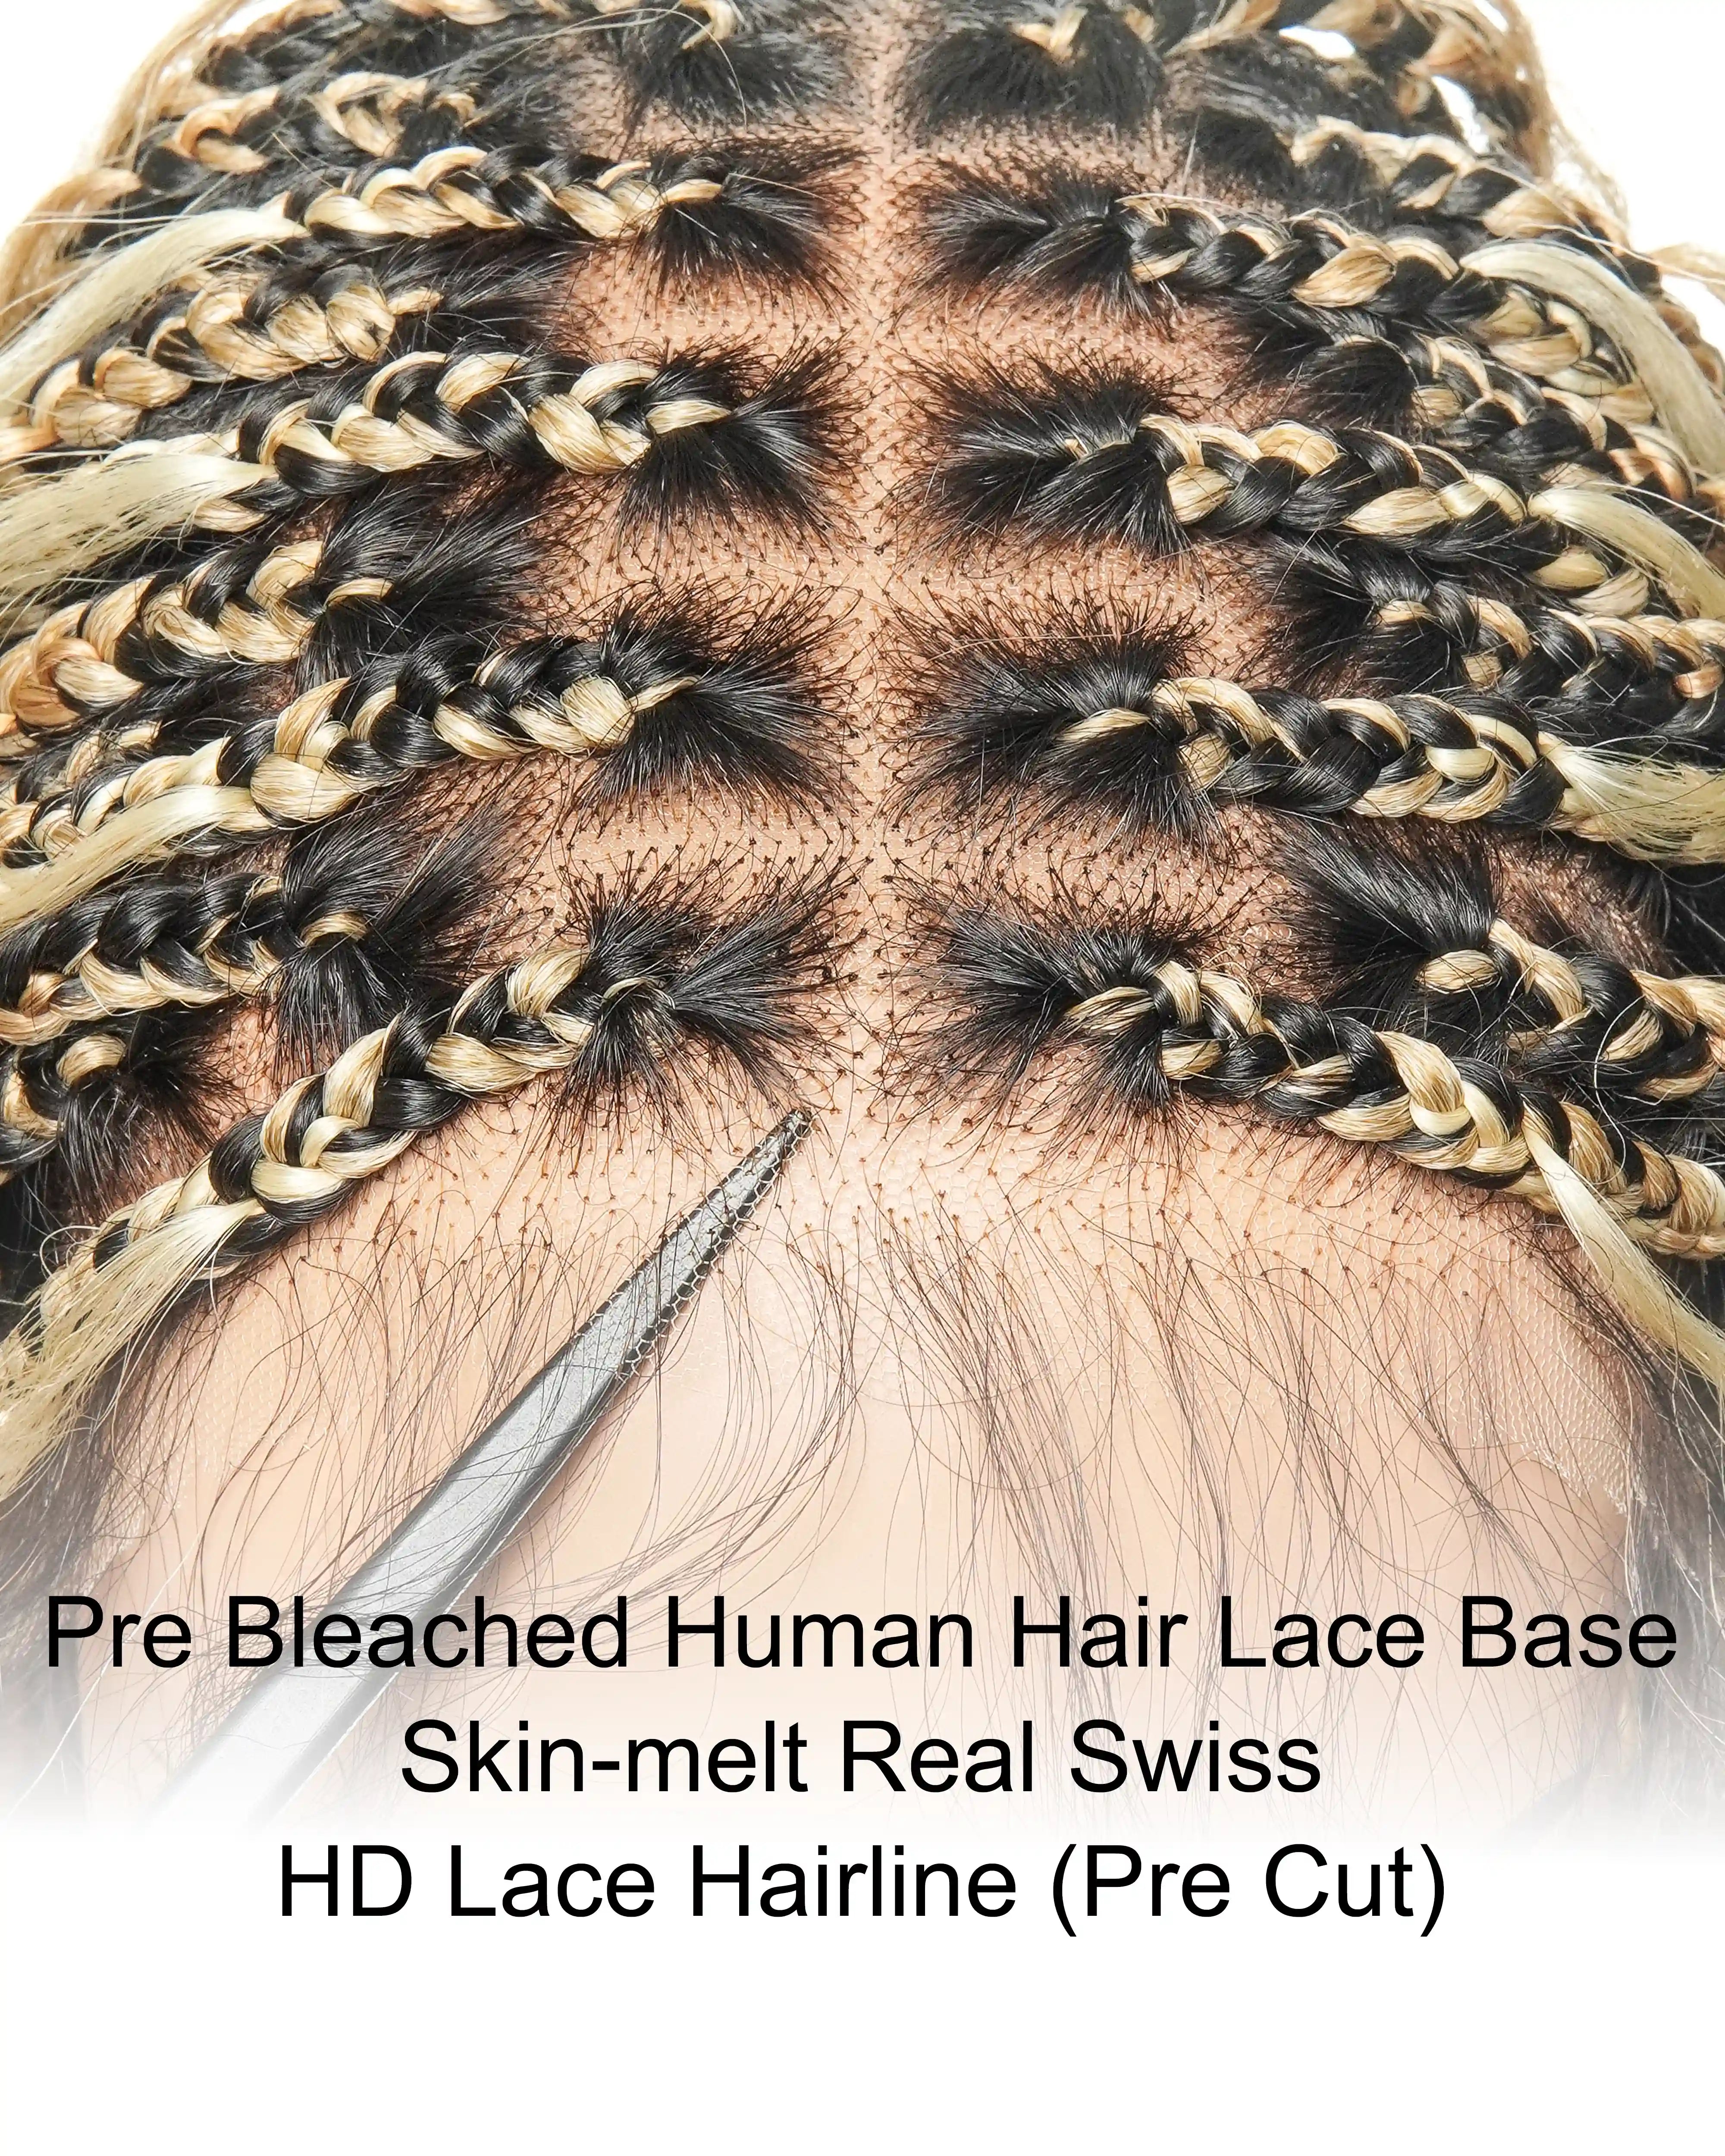
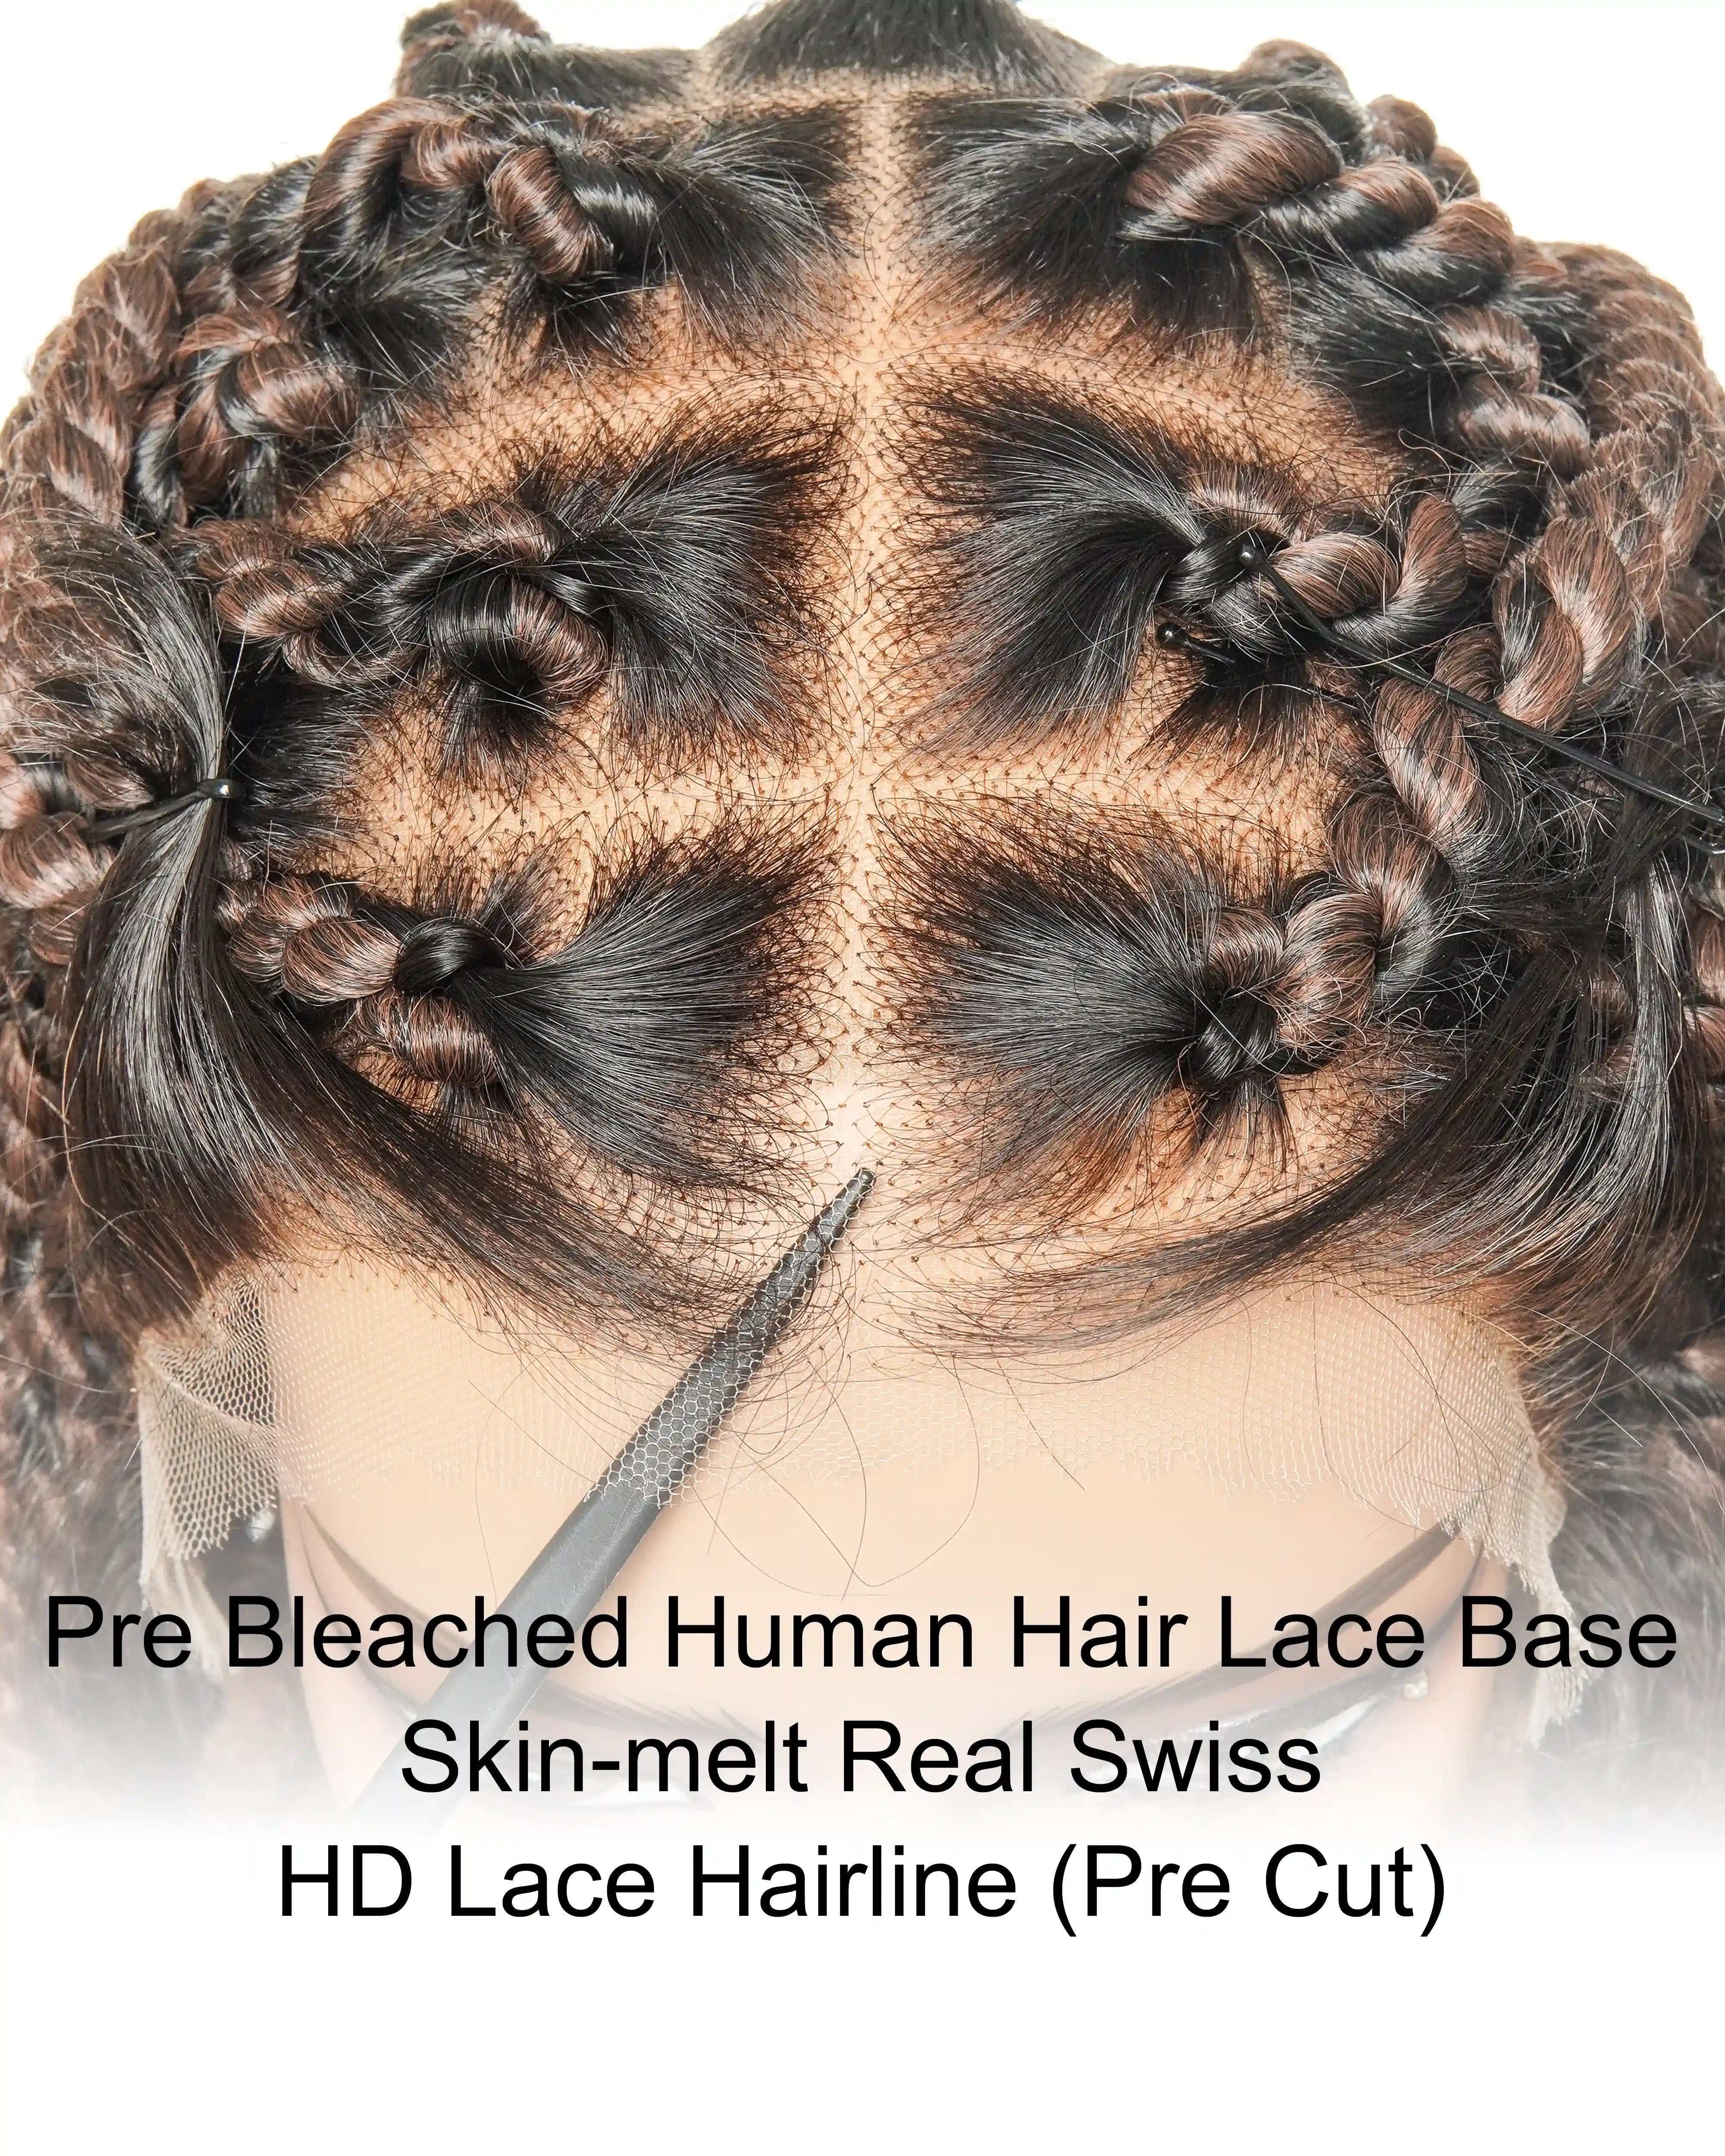
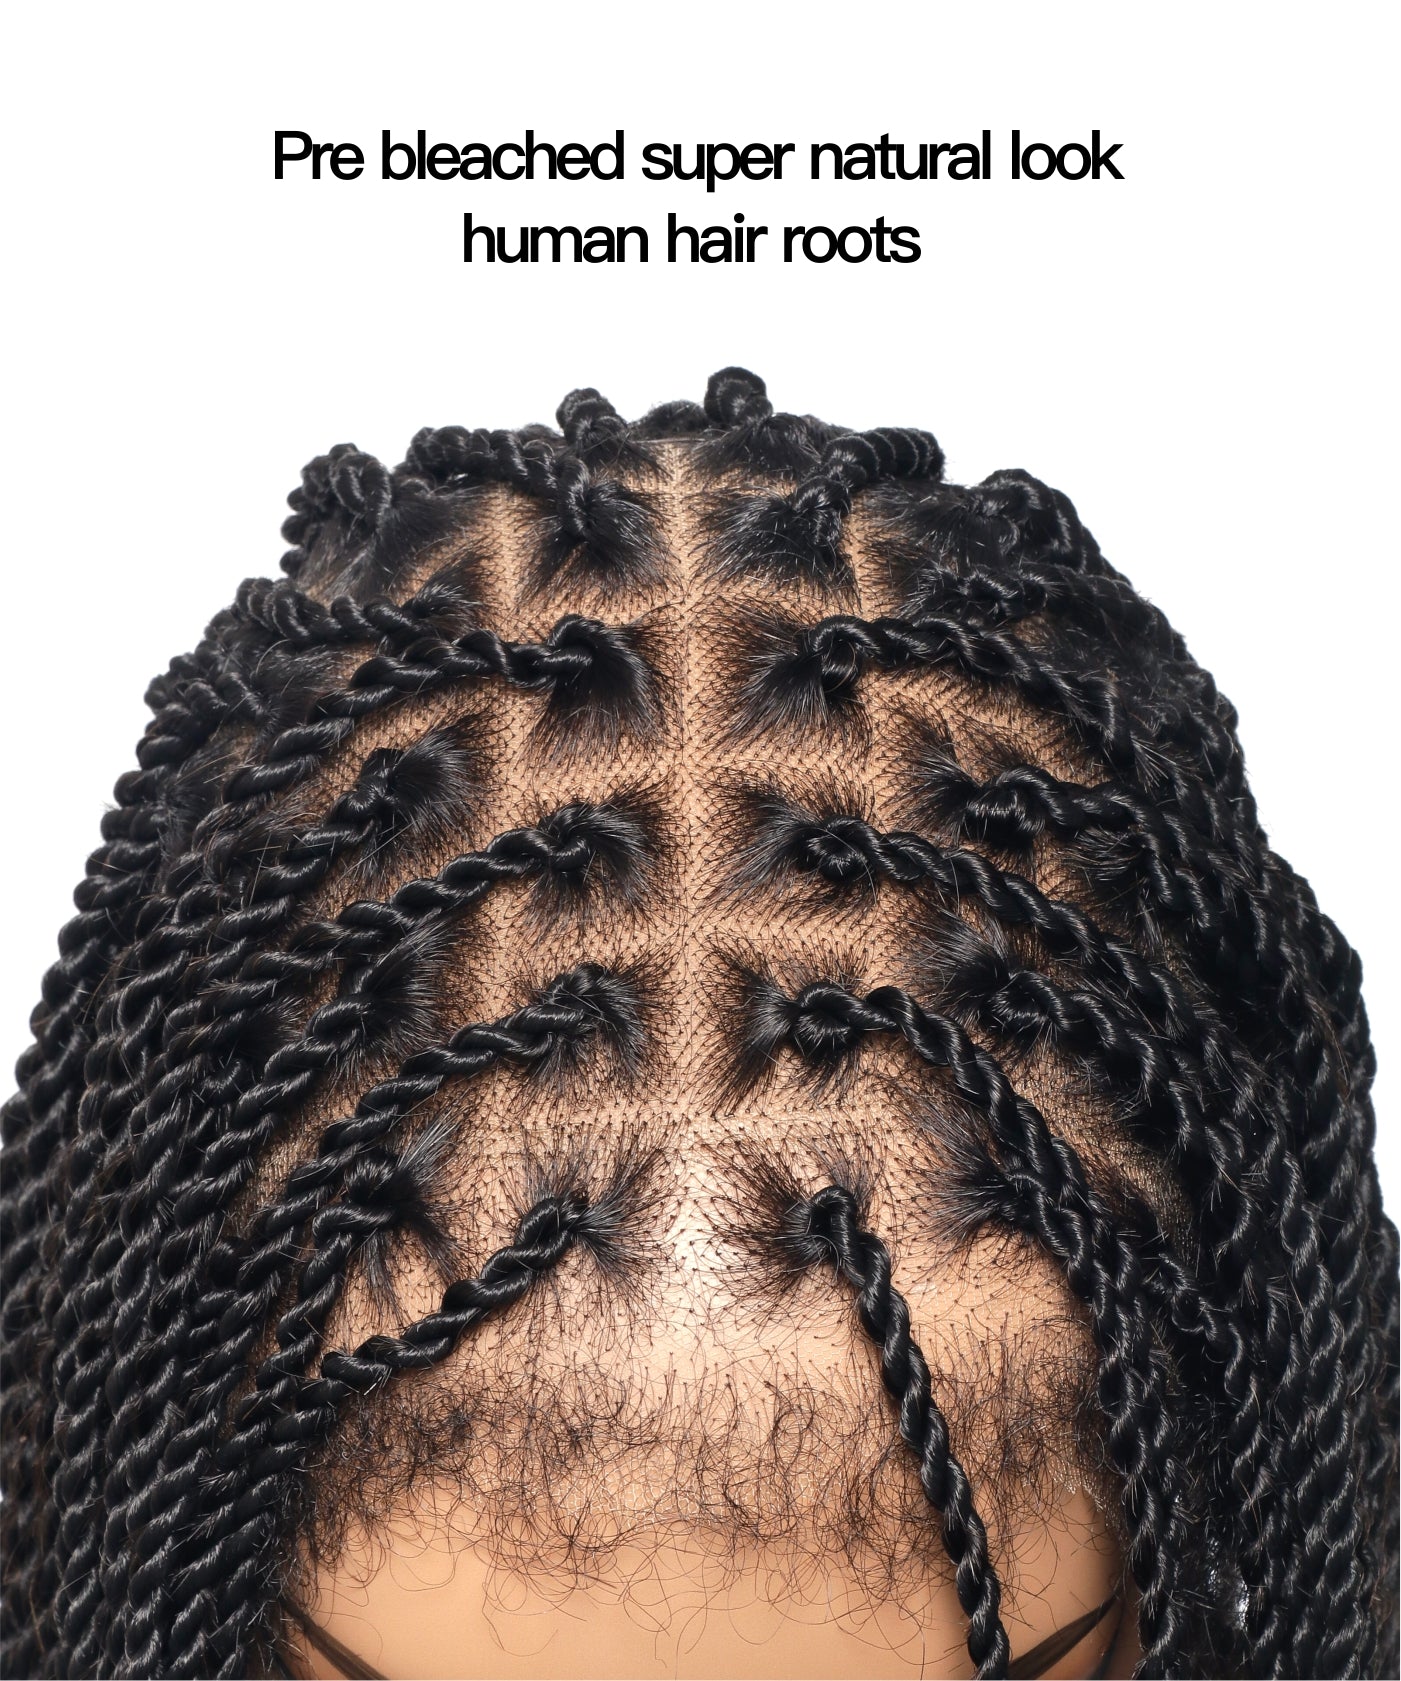
Opt for pre-plucked and pre-bleached lace front wigs to skip the extra steps of customizing the hairline and knots. These wigs are designed to offer a realistic look straight out of the box.

Choosing the Right Wig for a Natural Look
Selecting the perfect lace front wig is pivotal for achieving that sought-after natural look. Here are some factors to consider:
A. Understanding Wig Features
Lace Color: Choose a lace that matches your skin tone to ensure it's undetectable.
Hair Density: A wig with a density similar to natural hair tends not to look too bulky or artificial.
Hair Texture: Align the wig's texture with your natural hair, or opt for a style you can maintain easily.
B. Pre-Plucked and Bleached Lace Wigs
- Pre-plucked wigs have a natural density gradient at the hairline, mimicking a natural hairline.
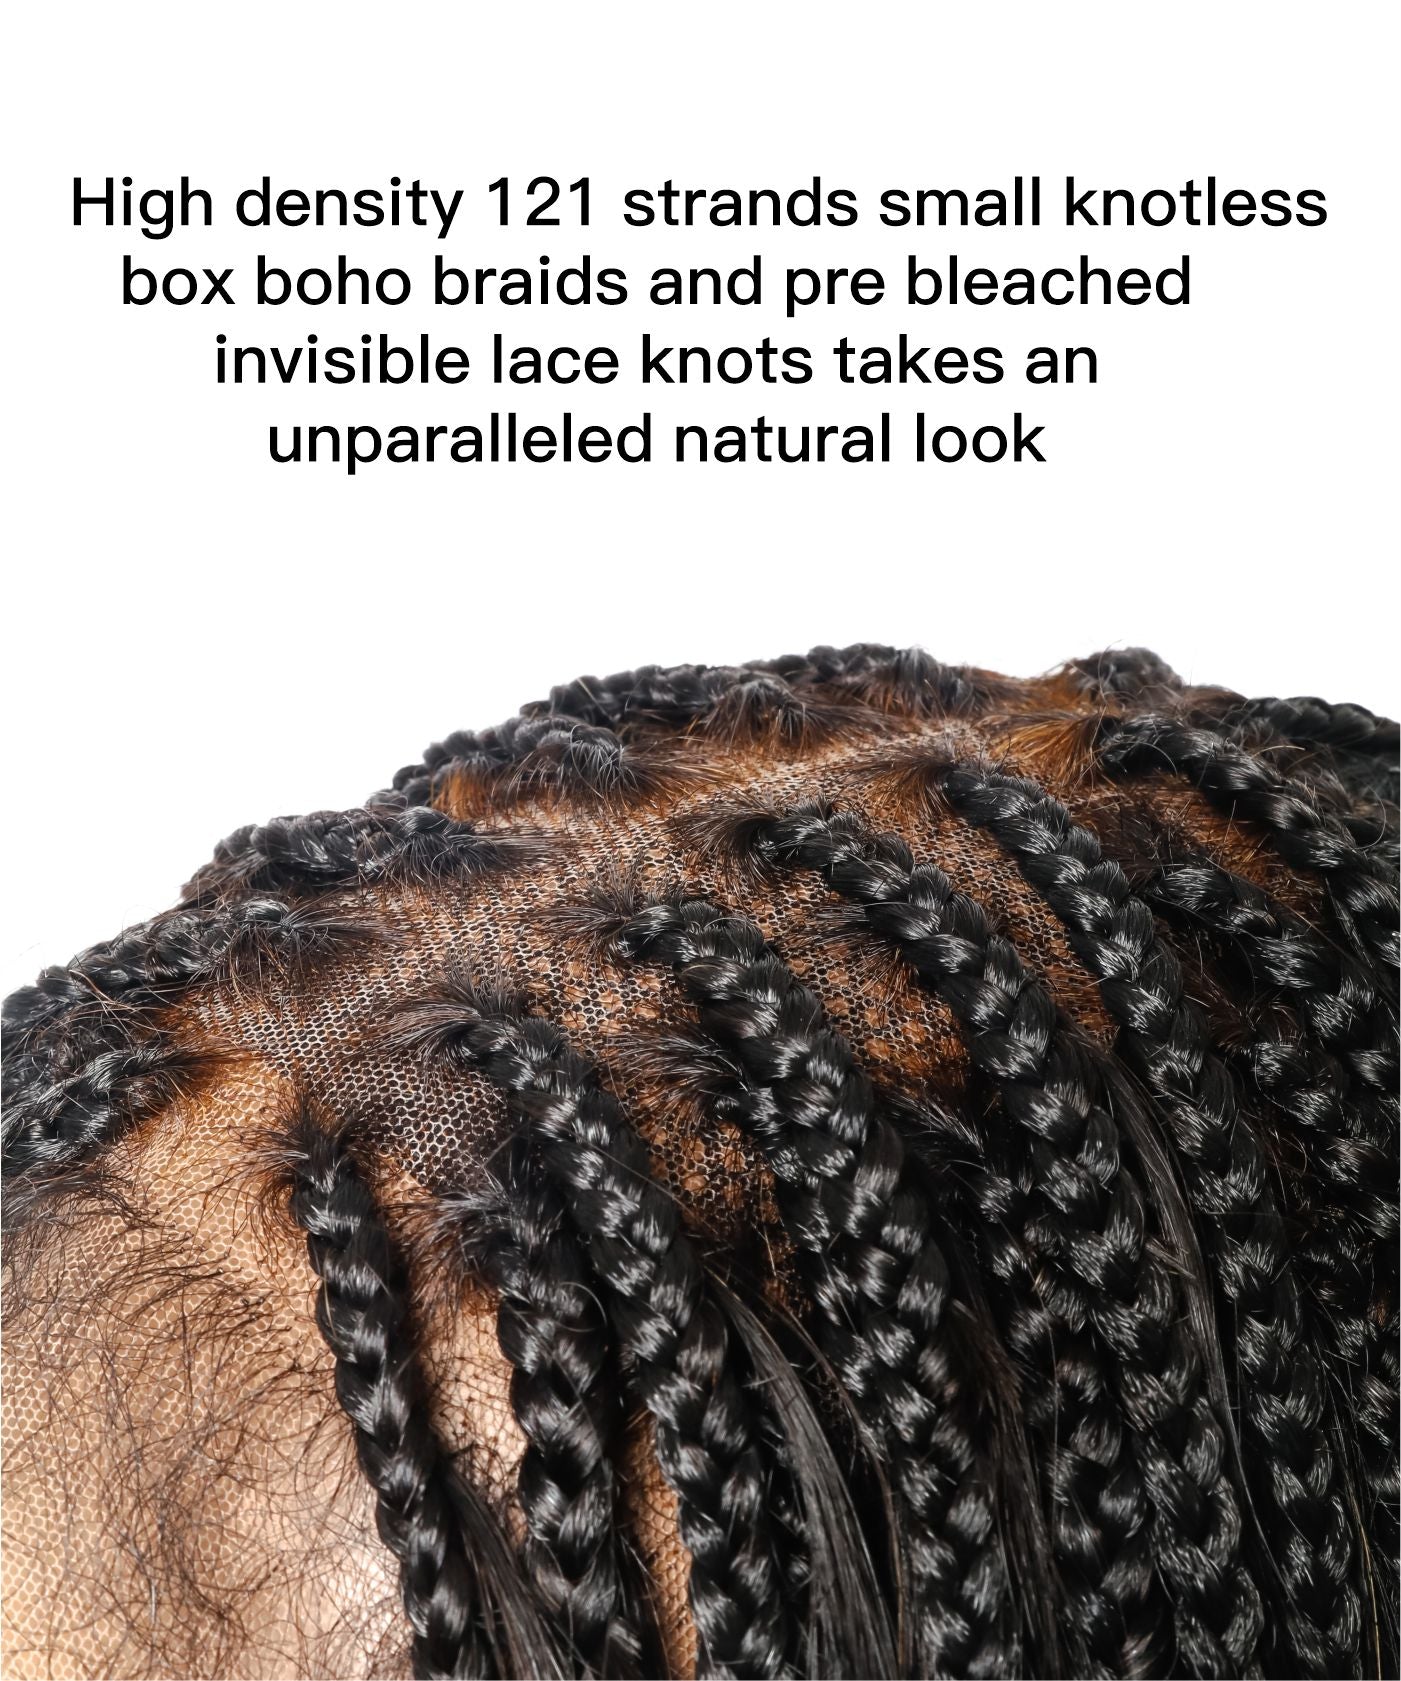
- Pre-bleached knots mean the lace has already been treated to make the hair appear as if it is growing from your scalp.
C. Sizing and Fit
- Measure your head to find the right size. A well-fitting wig is comfortable and looks more natural.
- Adjust the straps or add an elastic band for a custom fit.
D. Style and Length
- Choose a style that complements your face shape and personal aesthetic.
- Consider the length of the wig for ease of maintenance and the look you're aiming for.
E. Customization Options
- Some wigs can be dyed to match your desired color perfectly. Always conduct a patch test or consult a professional before dyeing your wig.
- Customizing the hairline and parting can further tailor the wig to suit your preferences.
F. Maintenance for Longevity
- Invest in proper wig care products to keep your lace front looking fresh and realistic over time.
- Regular washing, deep conditioning, and proper storage will extend the life of your wig.
By carefully selecting a lace front wig that meets these criteria, you will enhance not only the believability of your wig but also your confidence in wearing it. A natural-looking wig installation is an art that, with the right tools and techniques, anyone can master.
You may also like: Transform Your Look with the Stunning A-Line Bob Lace Wig!

Conclusion
Installing a lace front wig can seem daunting, but with the right tools, preparation, and care, you can achieve a stunningly natural look. Remember to select the right wig, prepare your natural hair, and take your time with the installation process. With practice, you’ll master the art of lace front wig installation, enjoying a flawless and natural appearance every time.
Understanding the diverse tastes and styling needs of women, Bobrina provides an array of options in terms of length, color, and texture, such as side part bob wig. Whether you're seeking a classic straight bob or a more contemporary wavy style, Bobrina's selection aims to meet your personal aesthetic with finesse. Made from premium human hair, these wigs promise longevity and the ability to withstand various styling tools, so you can tailor your look to perfection for any occasion.
Recognized for its versatility and chic sophistication, Bobrina wigs are designed to offer a seamless blend of style, comfort, and quality. Each wig is meticulously crafted to emulate the natural flow and density of human hair, ensuring a realistic appearance and a comfortable fit.


































Share:
The Art of Versatility: Exploring the World of Knotless Braid Styles
Mastering Volume: Advanced Techniques for Crafting Fuller Knotless Braids