
Box braids are a timeless hairstyle that is popular all over the world due to its protective characteristics and cultural importance. They originated in African hair traditions and have become a statement of identity and fashion across boundaries and generations. But how to draw box braids? It takes artistic ability and a thorough comprehension of their structure and form. This article provides a complete approach to reviving the beauty and complexity of box braids on paper, ensuring that artists can depict this hairdo with the accuracy and respect it deserves.
Materials Needed
Pencil and Eraser: Choosing pencils is critical for various line work, and kneaded, and vinyl erasers help fix and polish the drawing without destroying the paper.
Quality Drawing Paper: Heavyweight, slightly textured drawing paper is ideal, allowing for repeated erasing and the detailed pencil work necessary to capture the texture of box braids.
Fine Liners or Ink Pens: Fine liners add definition and permanence to your drawing, perfect for precisely detailing the intricate patterns of box braids.
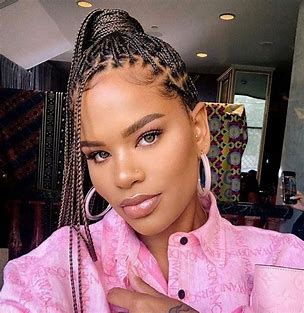
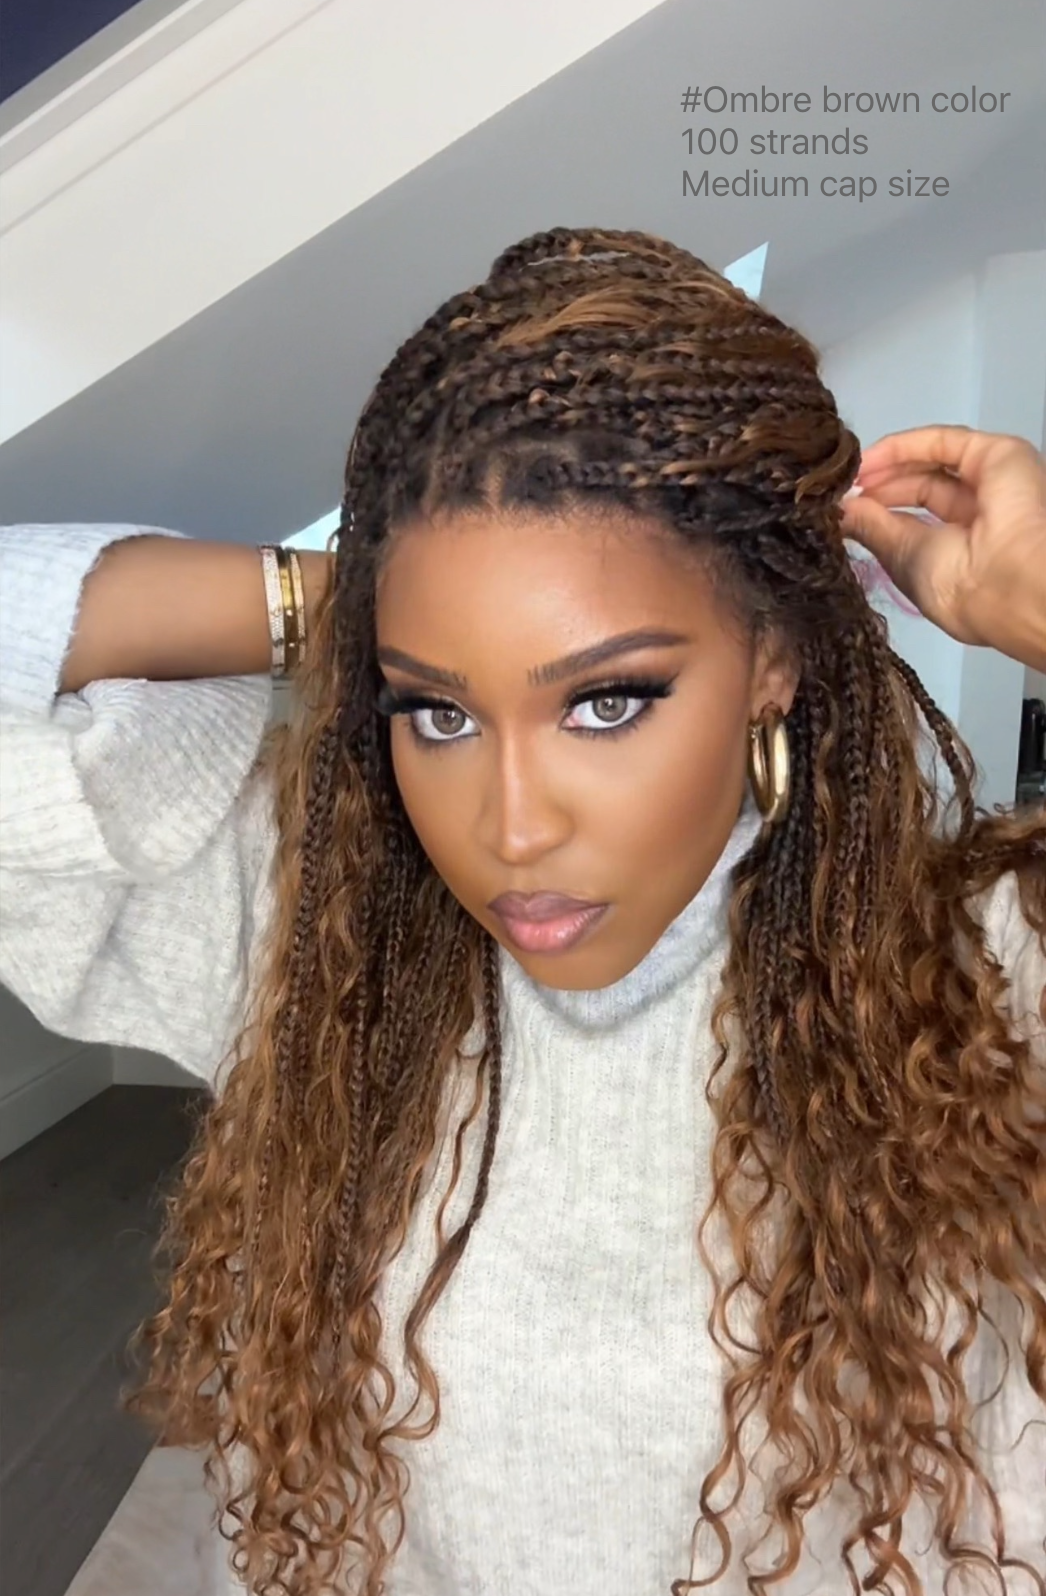
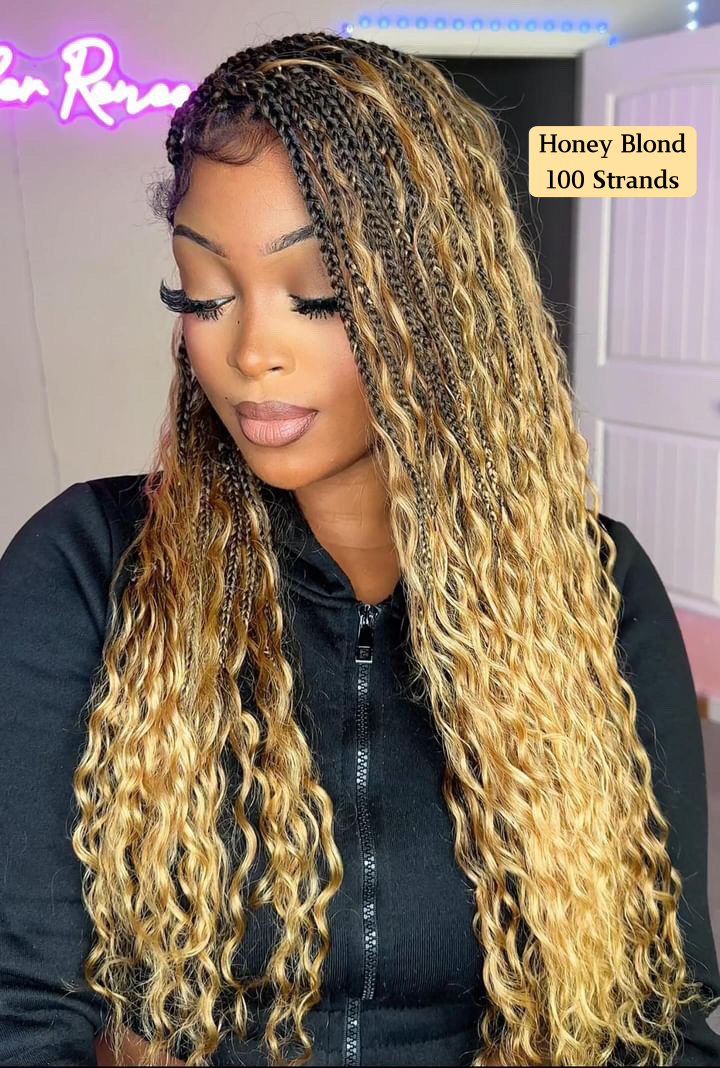
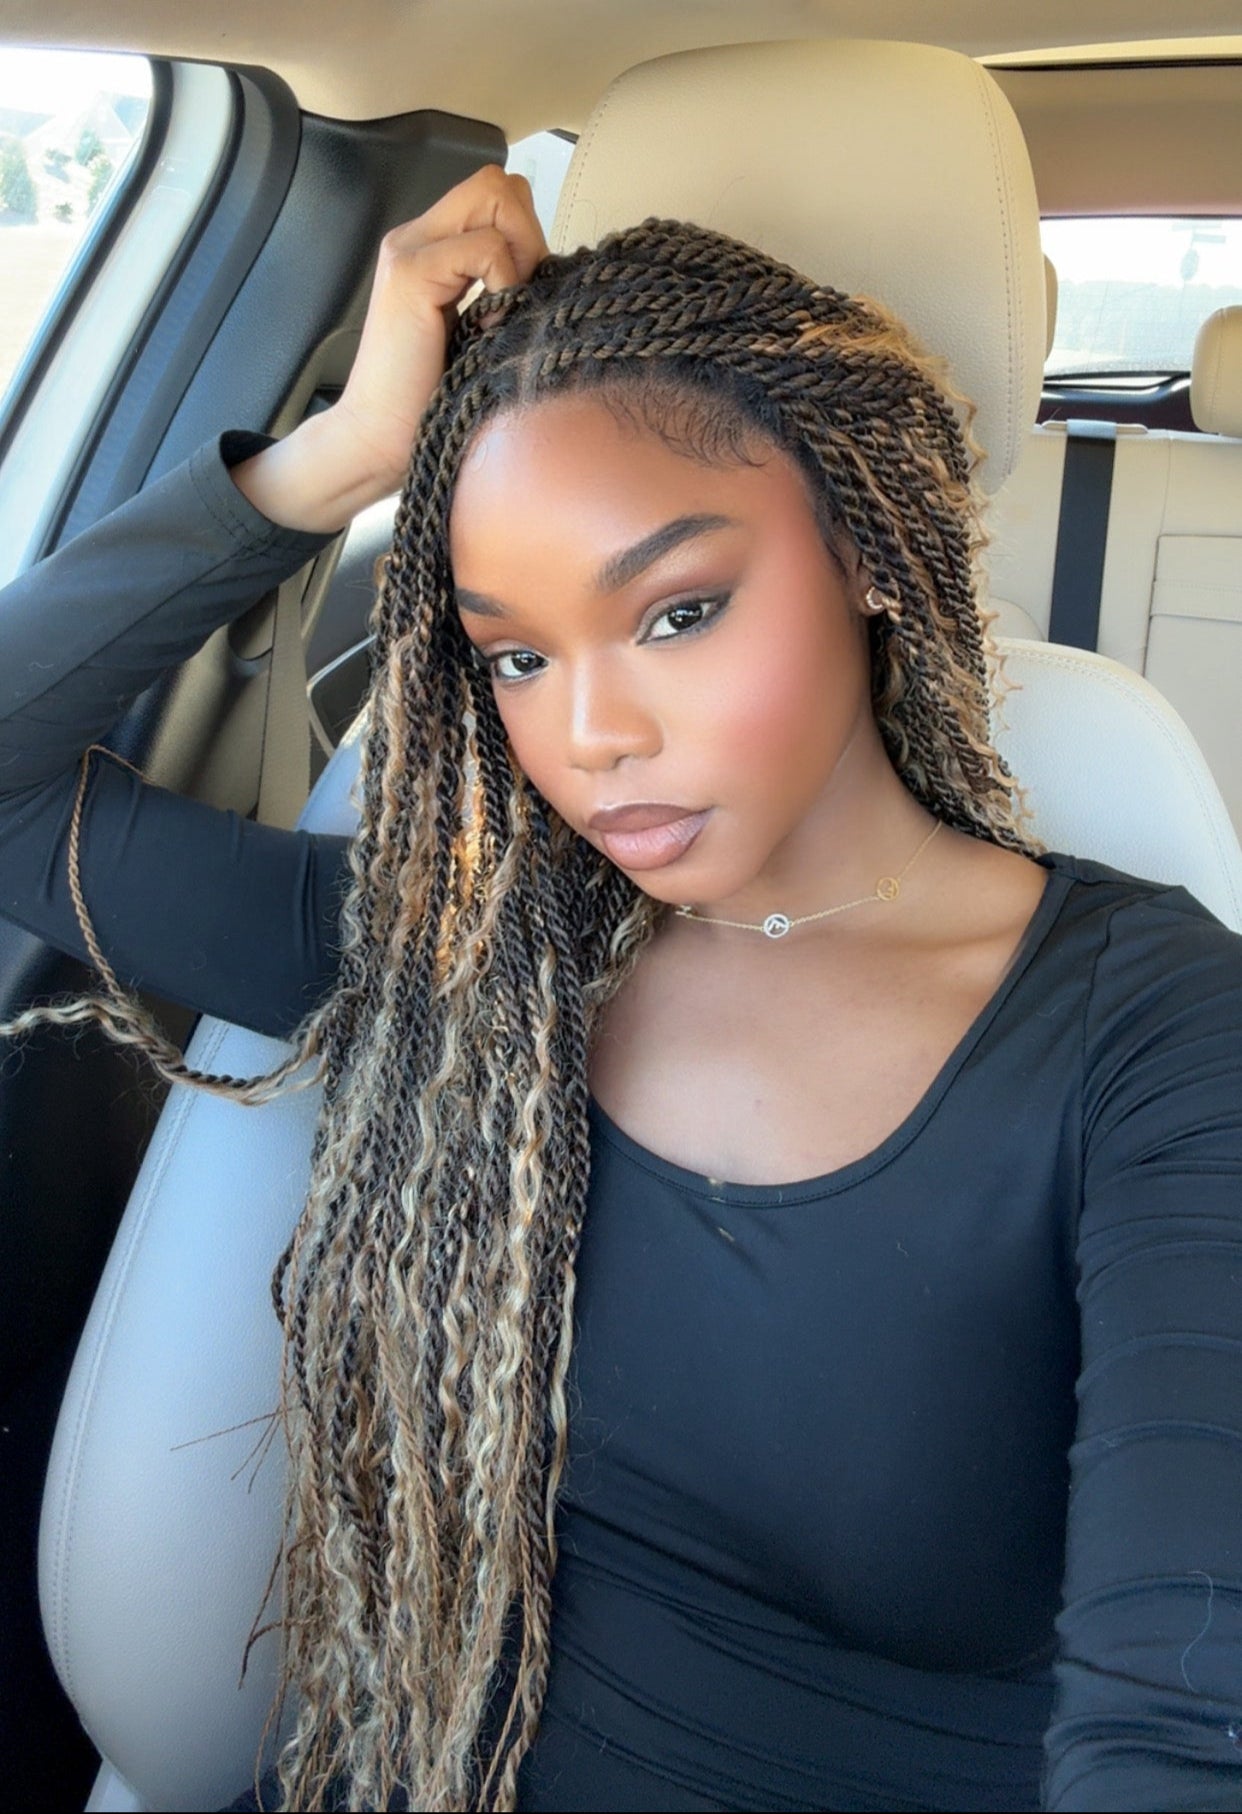
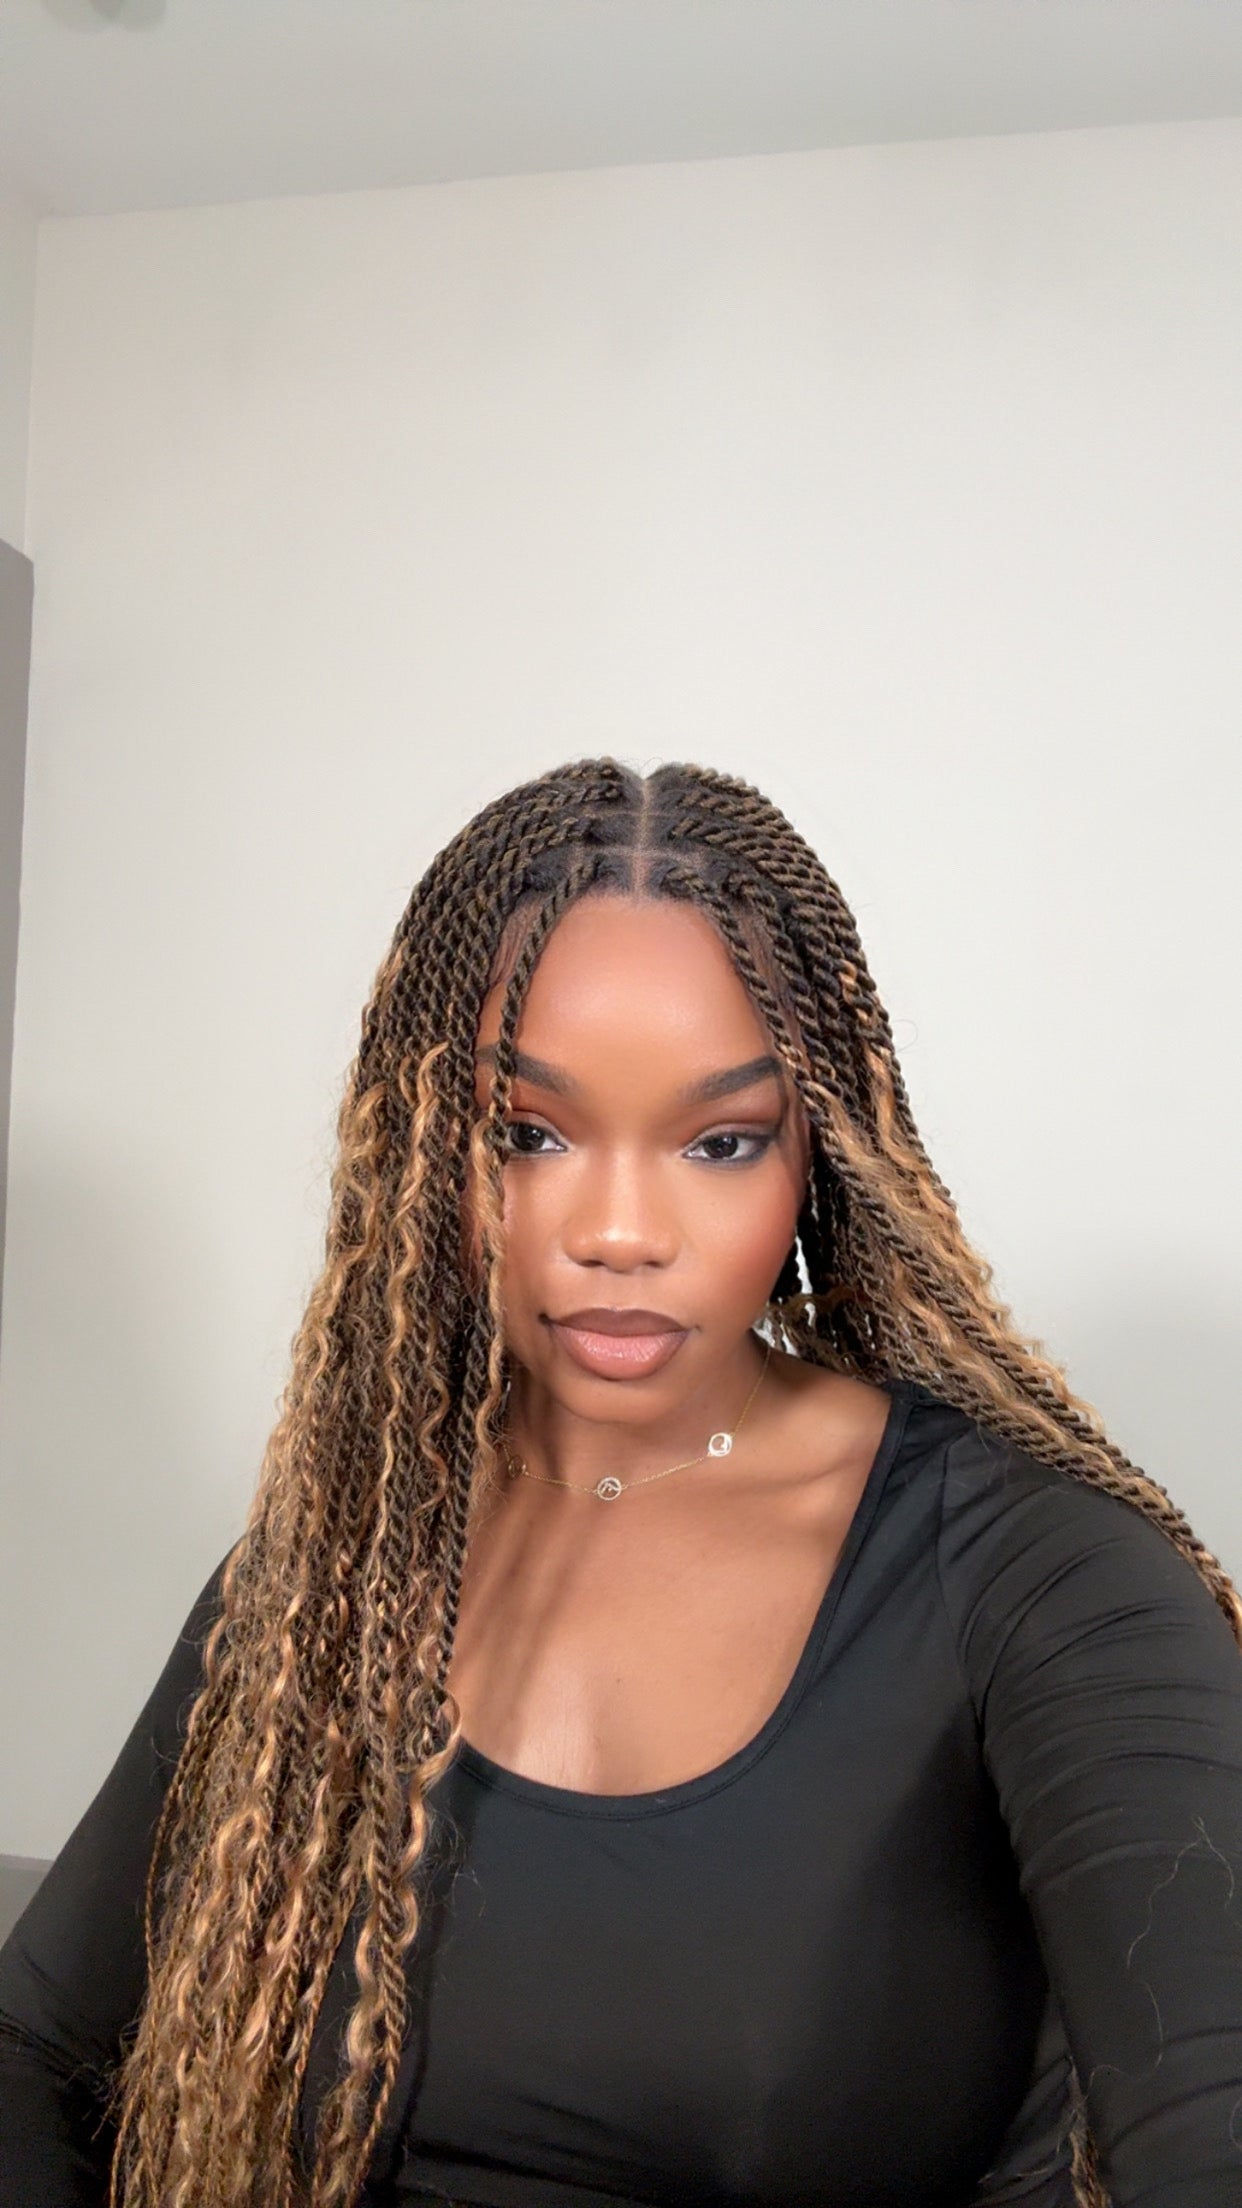
References for Box Braids: High-quality photographs or a live model provide essential visual guidance, ensuring accuracy in depicting box braid styles, sizes, and textures.
You May Also Like: Are box braids worth it >>
Understanding the Basics of Hair Anatomy and Texture
Hair texture is essential when it comes to box braids. The hair is often tightly coiled and full of volume, which must be portrayed to lend authenticity to your drawing. Begin by studying the natural parting of hair into sections. These sections are the foundation of box braids, as each braid starts from its square, or "box," on the scalp.

A Step-by-Step Guide to Drawing Box Braids
Step 1: Sketching the Head and Hairline
Begin your drawing by sketching the basic oval shape of the head, paying attention to your subject's selected perspective and angle. This first stage is necessary for proportion and orientation. After determining the shape of the head, meticulously sketch the hairline, taking into account the hair's natural growth pattern. Define the area where the box braids will be placed, ensuring that this initial arrangement guides the correct positioning of the braids.
Step 2: Outline the Sections
After sketching the head and hairline:
Proceed to create the unique box pieces that define this hairdo.
Use a ruler to draw straight lines across the scalp in squares or rectangles, if required.
Allow for little differences in size and shape to provide authenticity while striving for uniformity.
These portions are critical; they define how the box braids flow and guarantee that each one is correctly aligned with the scalp.
Step 3: Draw the Braids
Start with one portion at the scalp and carefully draw the first braid. Visualize and render the braid as a series of elongated, interconnected rectangles that thin somewhat as they descend, resembling the braid's natural tapering. Introduce delicate curves within these patterns to portray the dynamic movement and the box braids' response to gravity and motion, giving your picture a lifelike appearance.
Step 4: Add Volume and Texture
Now that the initial braid's outline has been finished, it's time to add volume and texture. Shape the flat rectangles into rounded, cylindrical shapes to communicate the braid's three-dimensional appearance. Draw light, curving lines inside these spherical patterns to imitate the delicate texture of the interlacing threads. These texture lines should be consistent with the overall flow of the braid, adding to the realistic portrayal of the hairdo.
Step 5: Detailing the Braids
Detailing is what brings the braid to life. Within each segment, draw finer lines to create the illusion of individual strands of hair being intertwined. Pay attention to the scalp area, where the braid is often tighter. Here, the lines should be closer together. As the braid descends, the lines can become more spaced out to show how the braid naturally loosens.

Step 6: Shading and Depth
Shading adds depth to your drawing, making the box braids pop out from the page. Observe where the light source is coming from and shade accordingly. The sides of the braids wig away from the light should be darker, while the sides facing the light should be highlighted. Consider the cast shadows each braid creates on the adjacent ones, enhancing the three-dimensional appearance.
Step 7: Finishing Touches
Once the box braids are fully detailed and shaded, it's time to add the finishing touches. Erase any guidelines that are no longer needed. If your braided hairstyle includes accessories such as beads or rings, draw them in their appropriate places, ensuring they follow the braid's curvature. Tiny, wispy hairs around the hairline, known as baby hairs, can be added for a more realistic look.
You May Also Like: How to make two cornrow braids >>
Common Mistakes to Avoid
Overly Complex Patterns
Avoid the temptation to overcomplicate the braid pattern. Simplicity often results in a more realistic portrayal. Excessively intricate patterns can detract from the overall look and make the drawing appear unnatural and confusing.
Disregarding Natural Movement
Braids have a natural flow and fall that should be captured in your drawing. Ignoring this can lead to stiff and unrealistic braids. Observe the effect of gravity on natural braids and reflect that in your artwork to enhance realism.
Uniformity Versus Variety
Creating too many uniform sections can make the box braids look artificial, while making them too varied can disrupt the hairstyle's rhythm. Aim for a balanced approach, with consistent sections yet slight natural variations.
You May Also Like: How to make glueless wig look natural >>

Conclusion
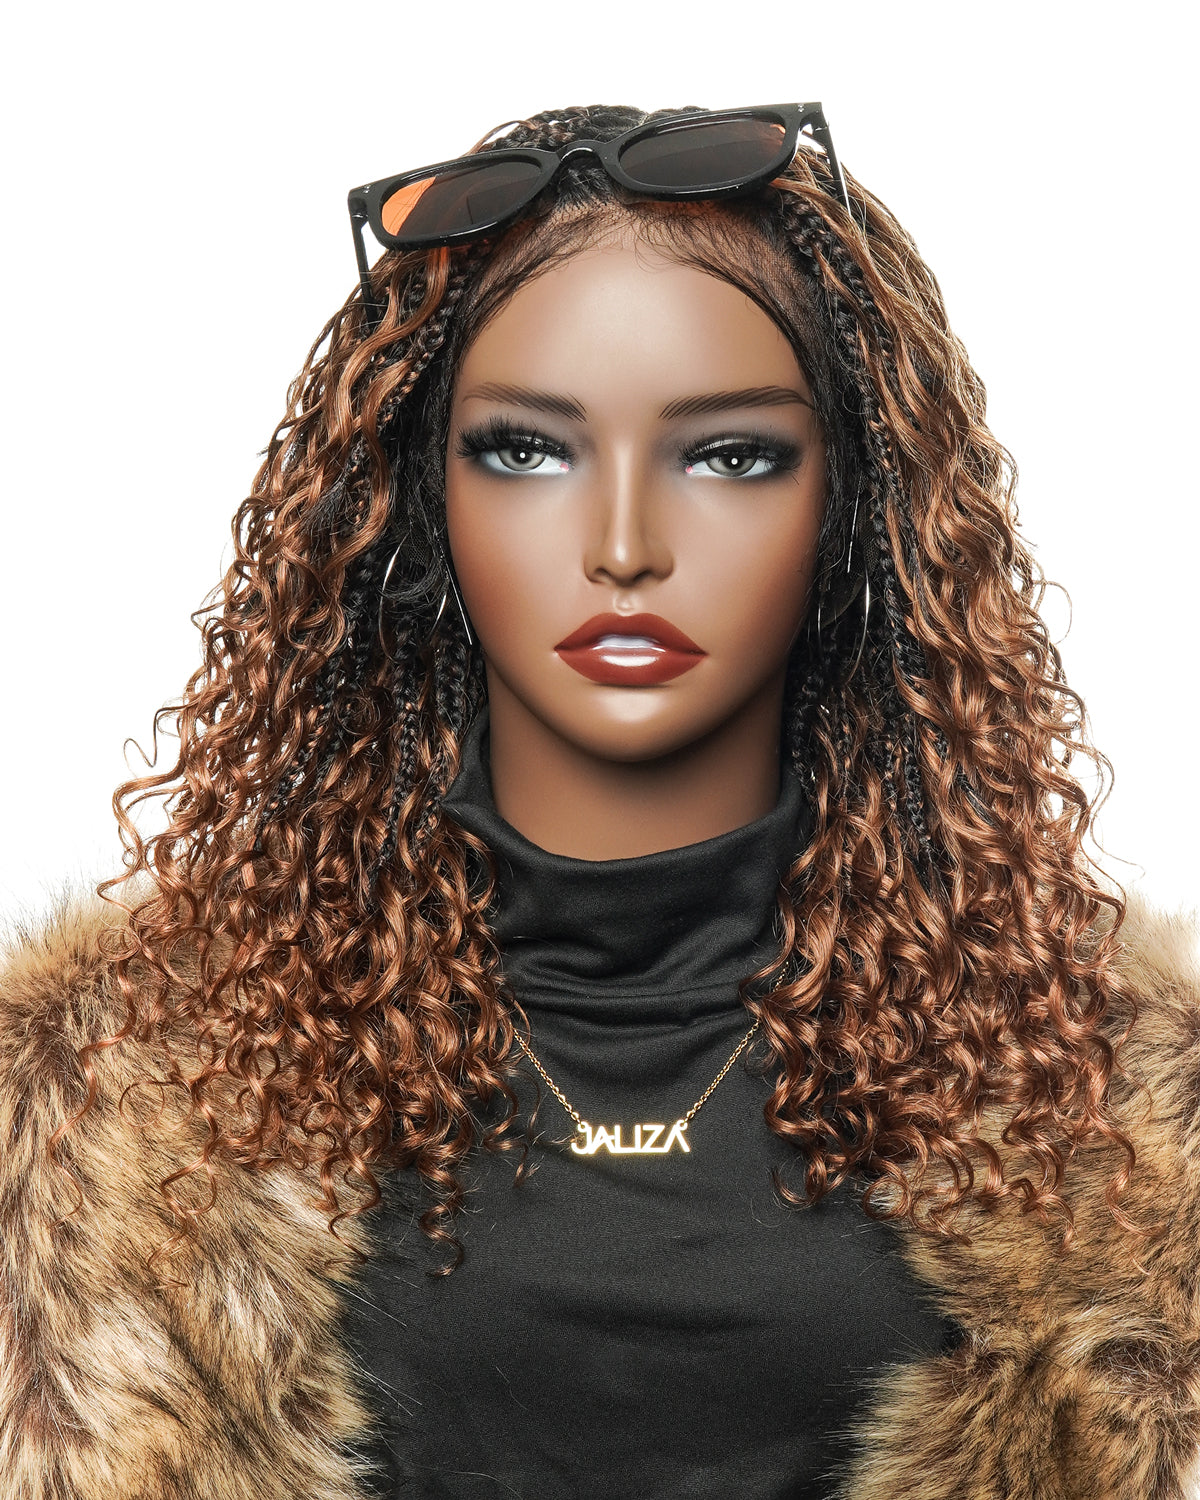
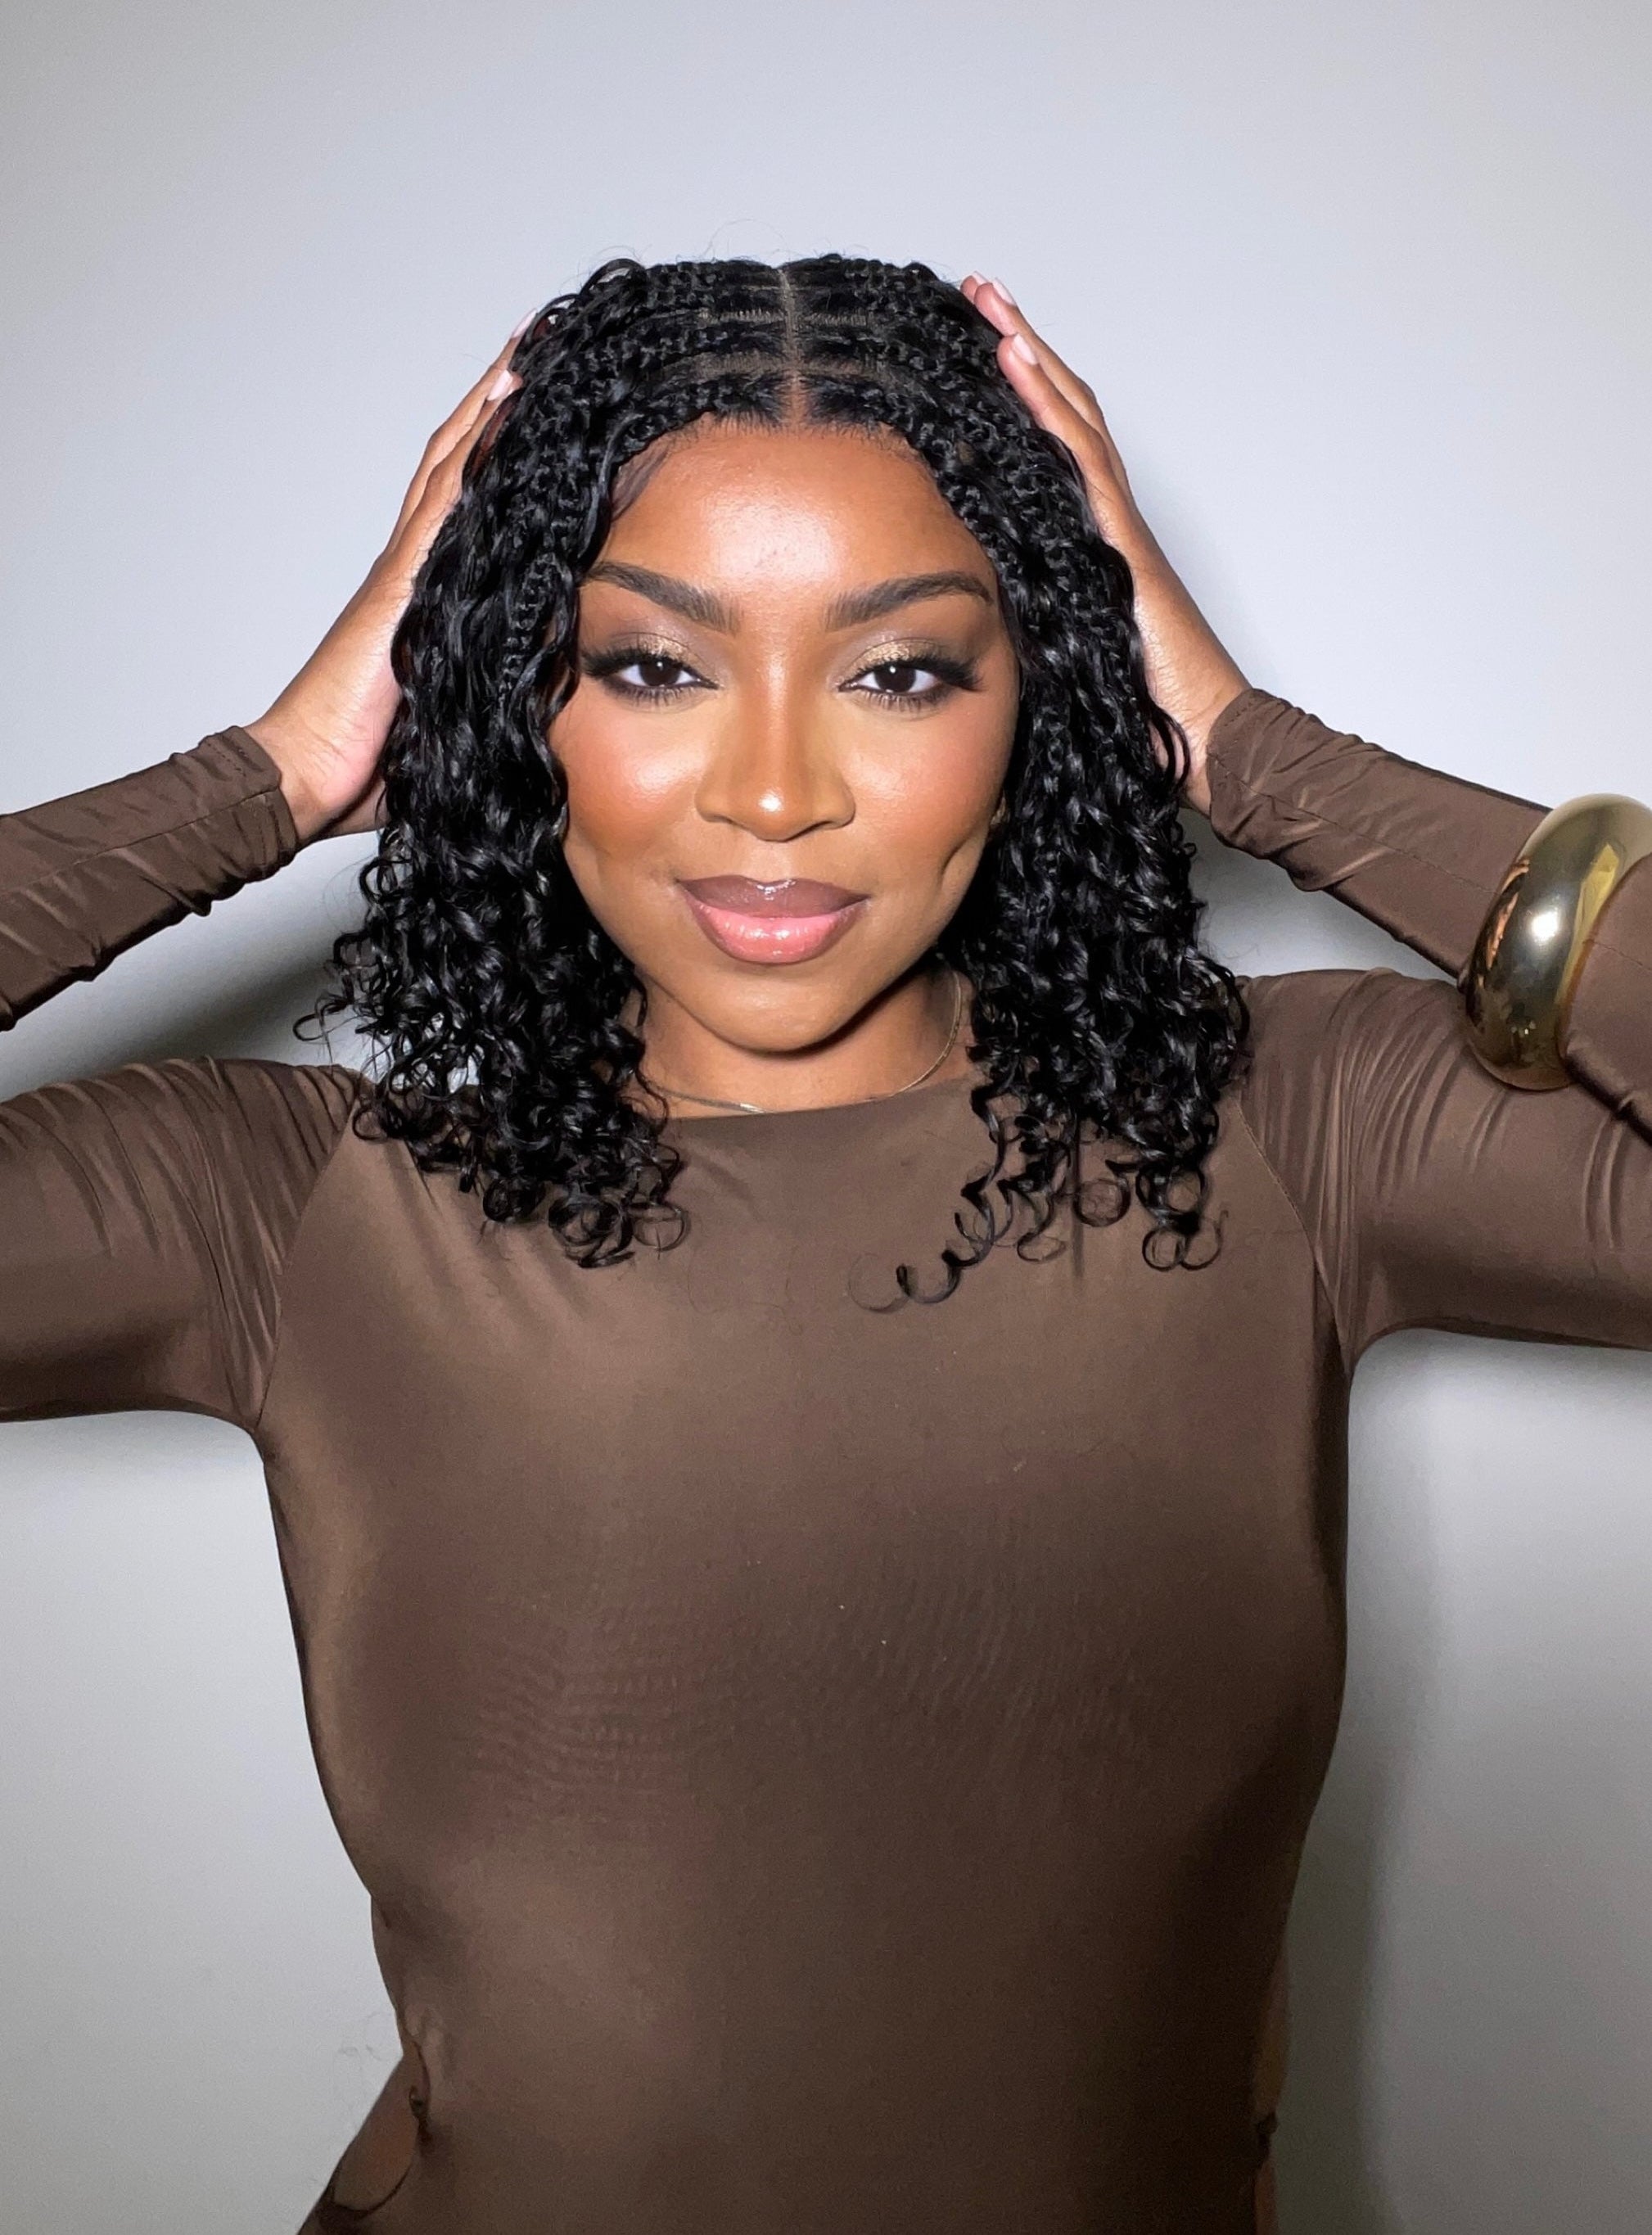
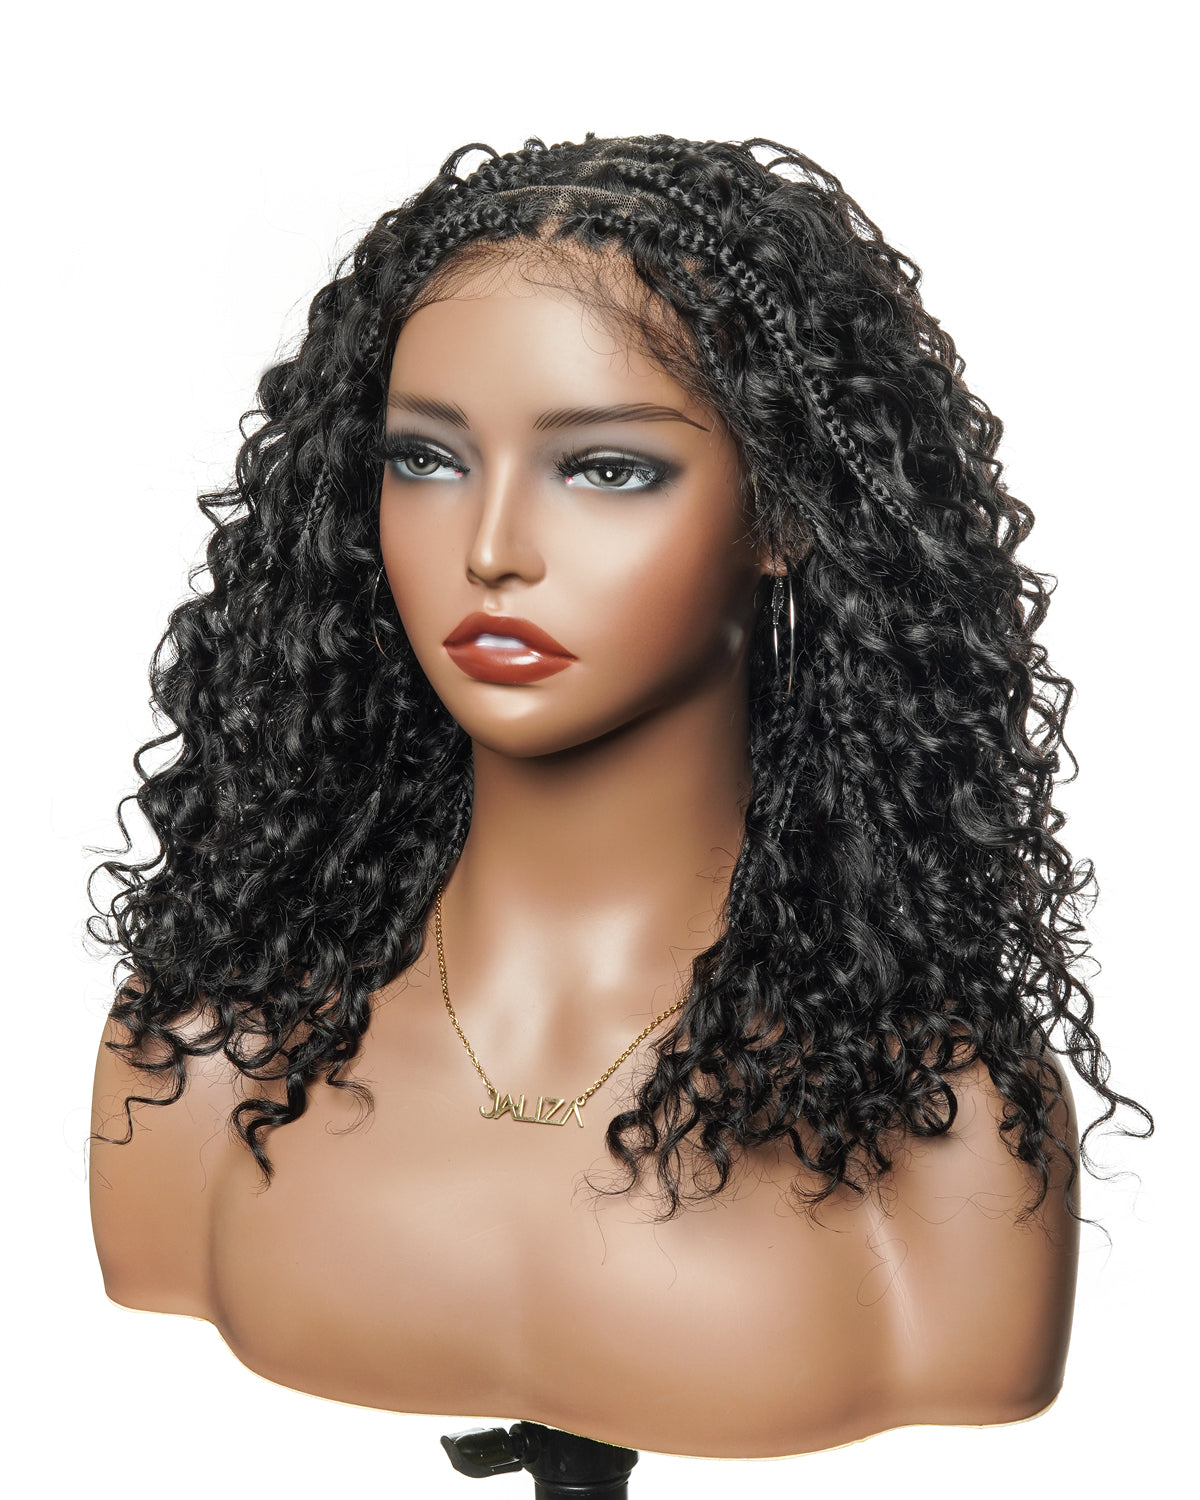
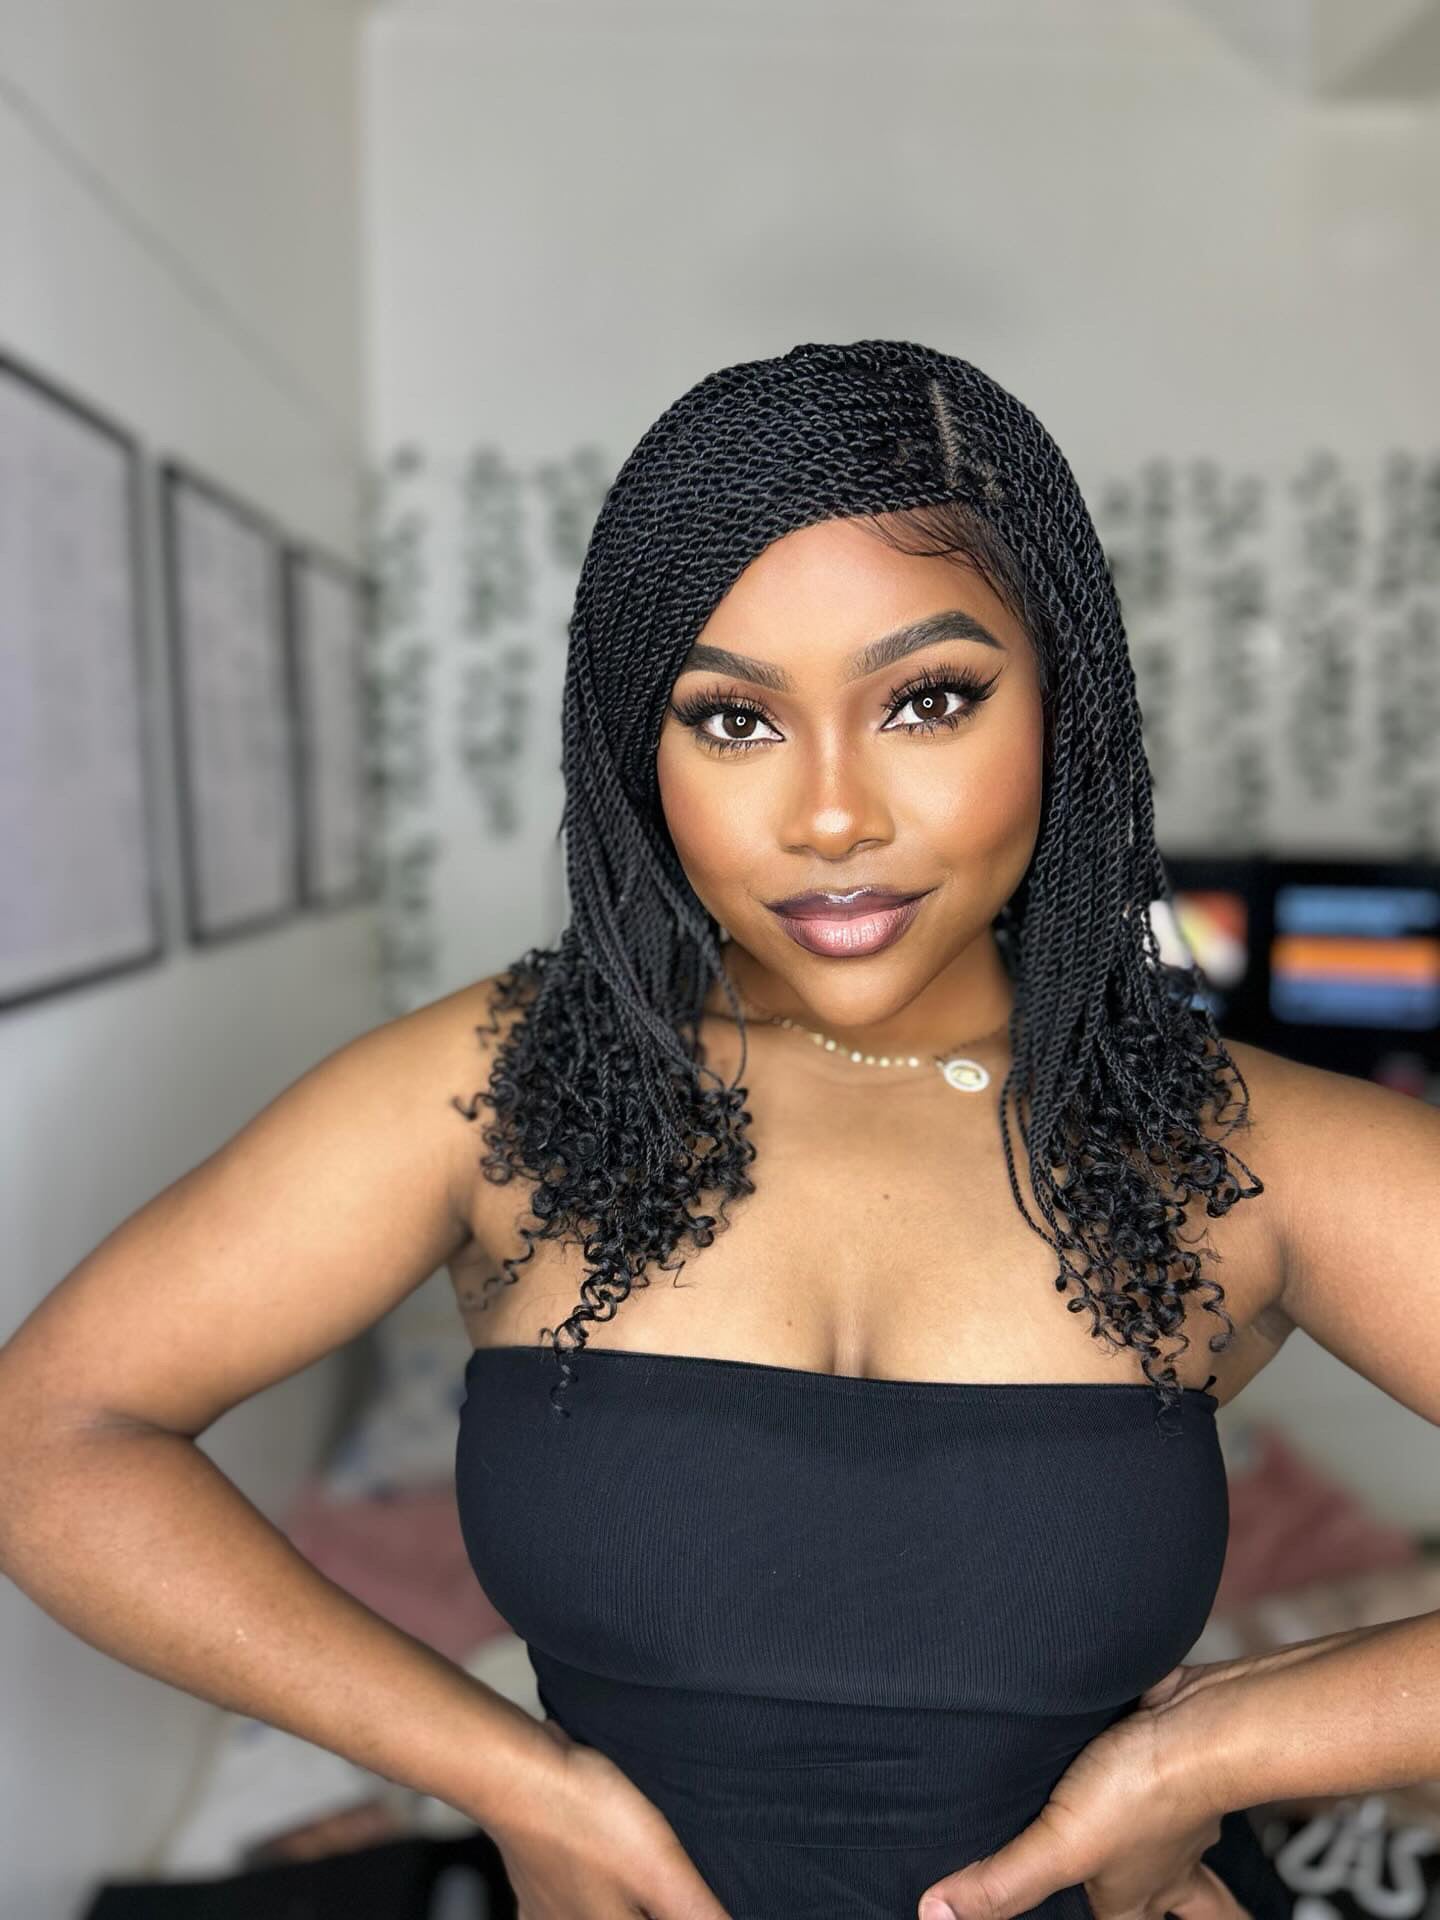
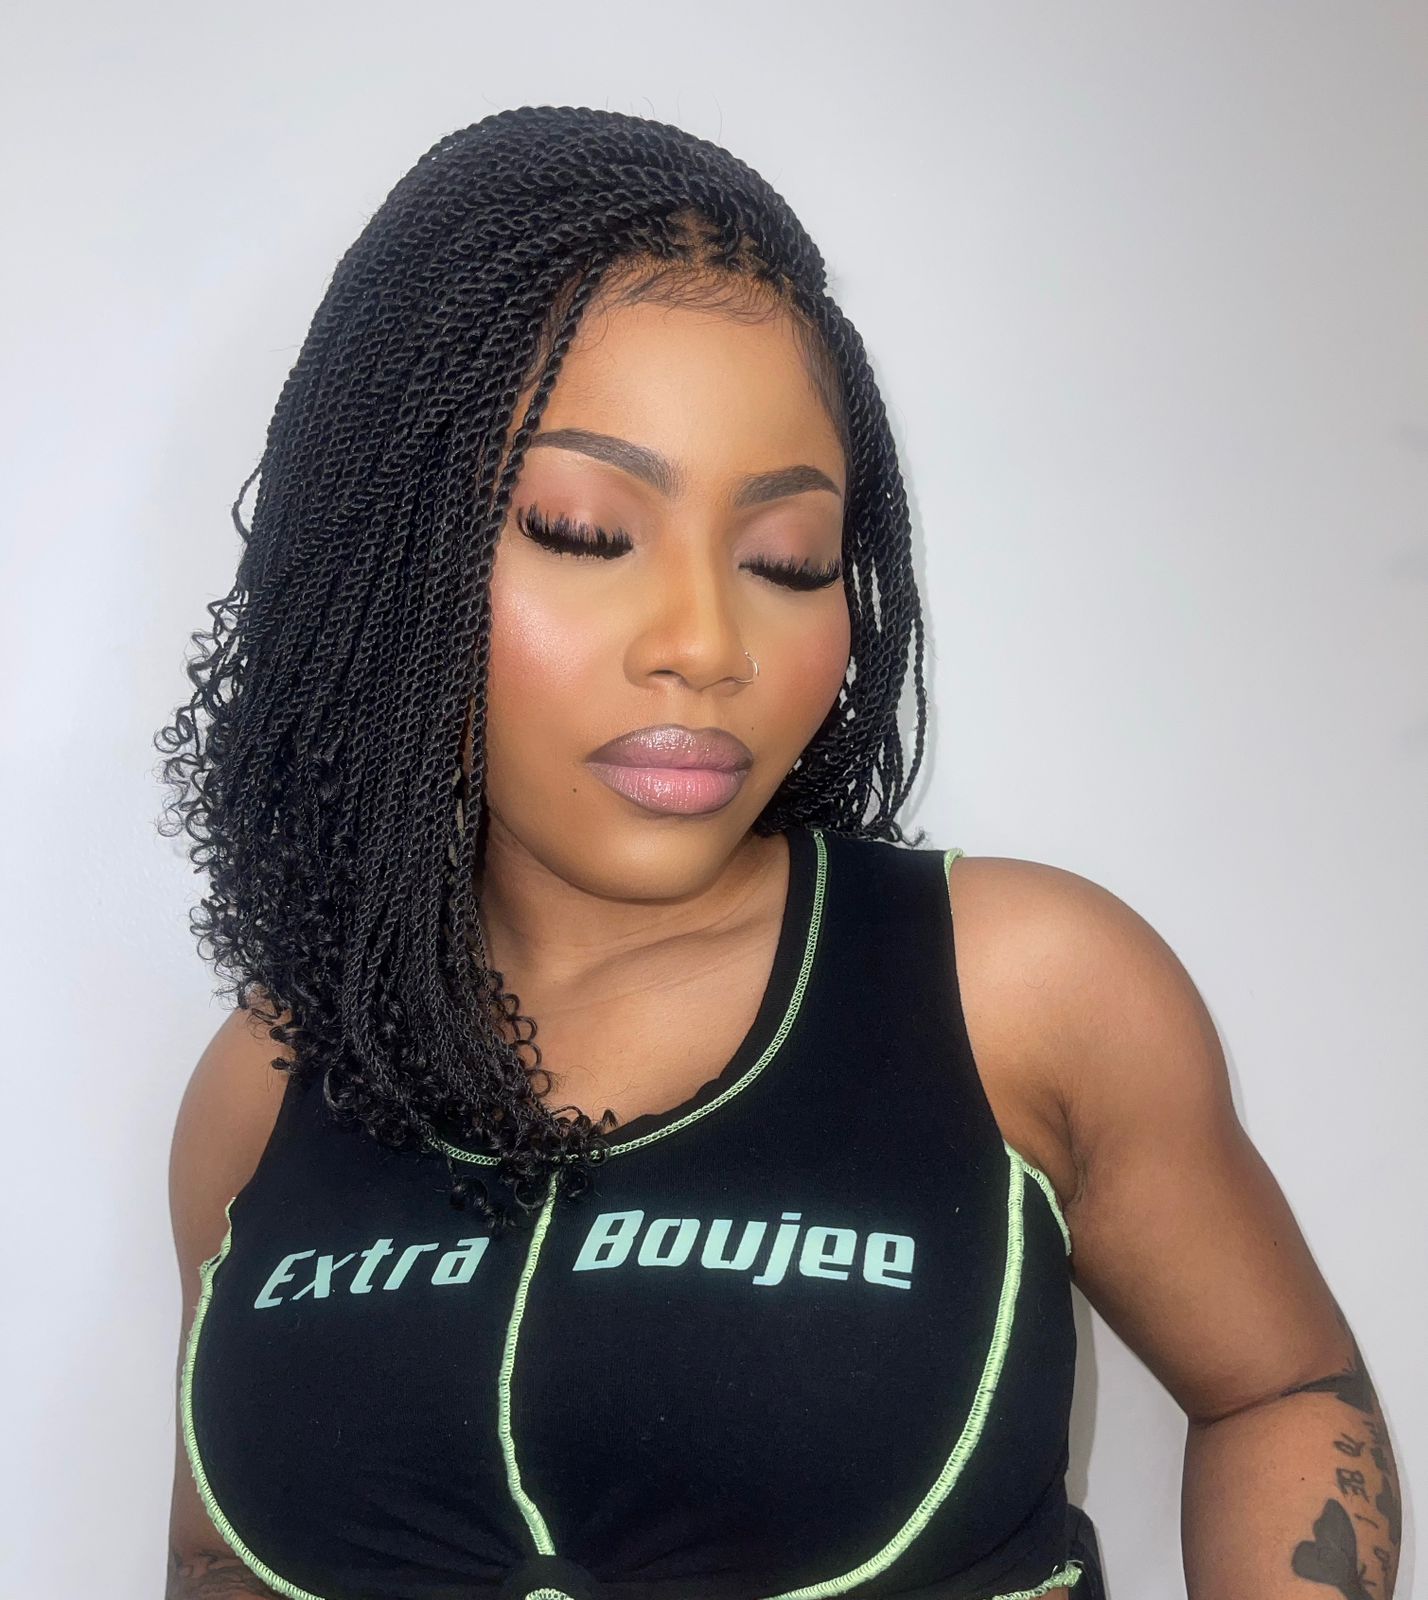
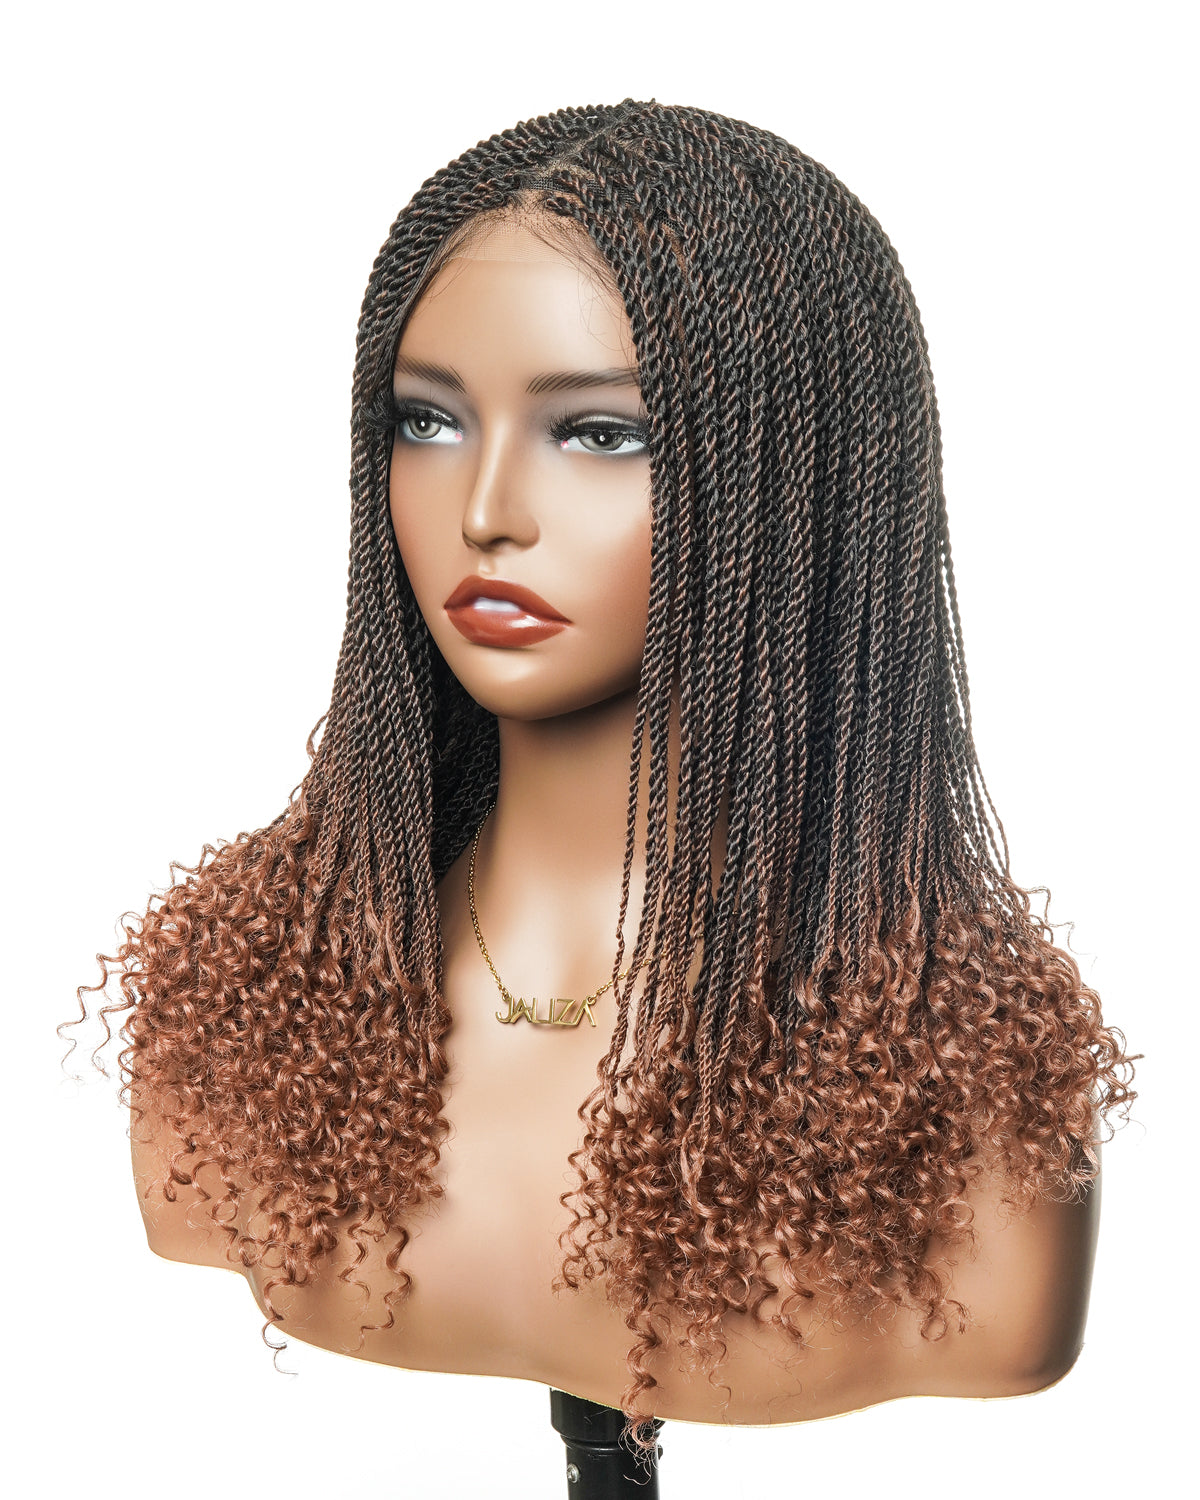
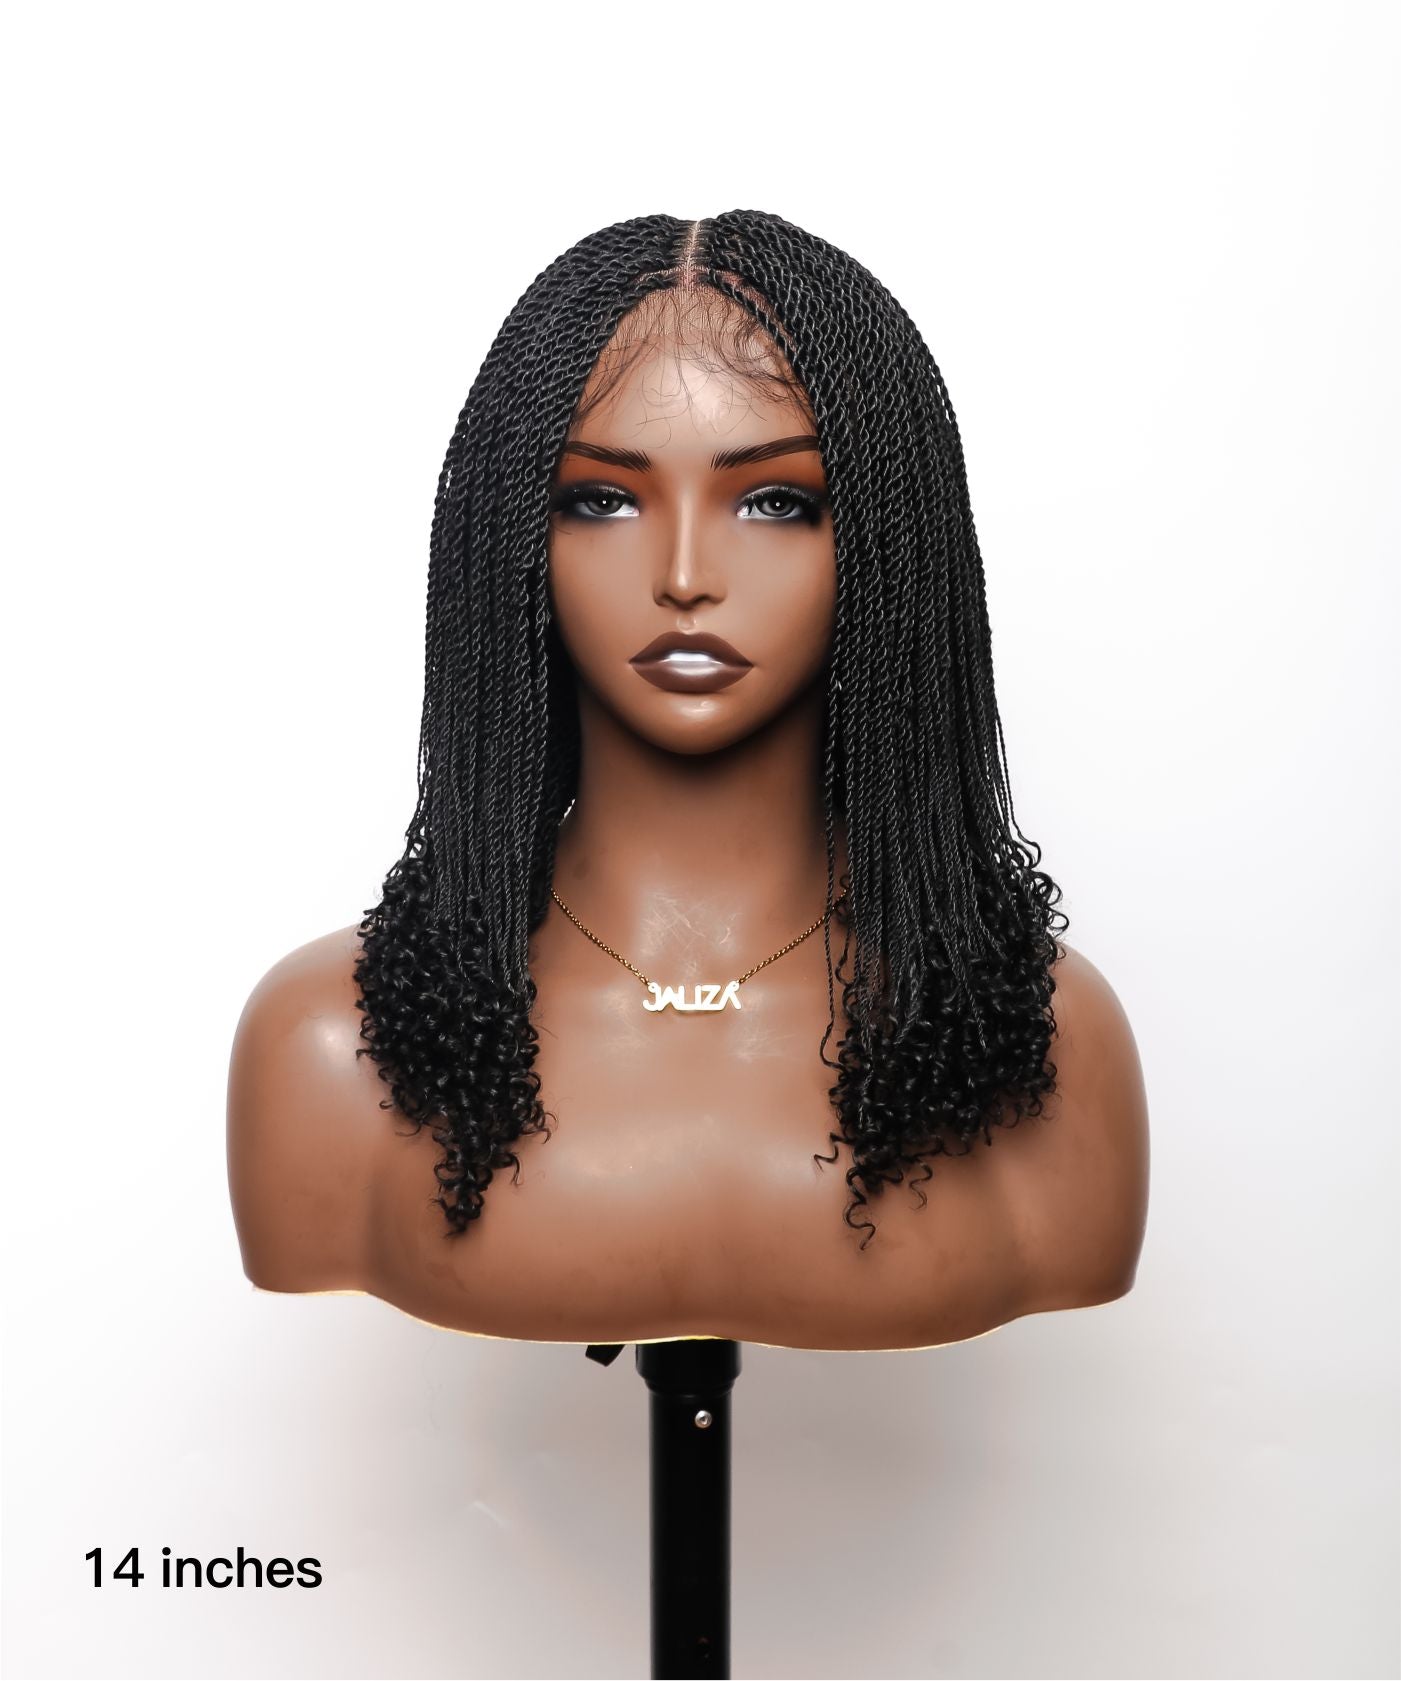
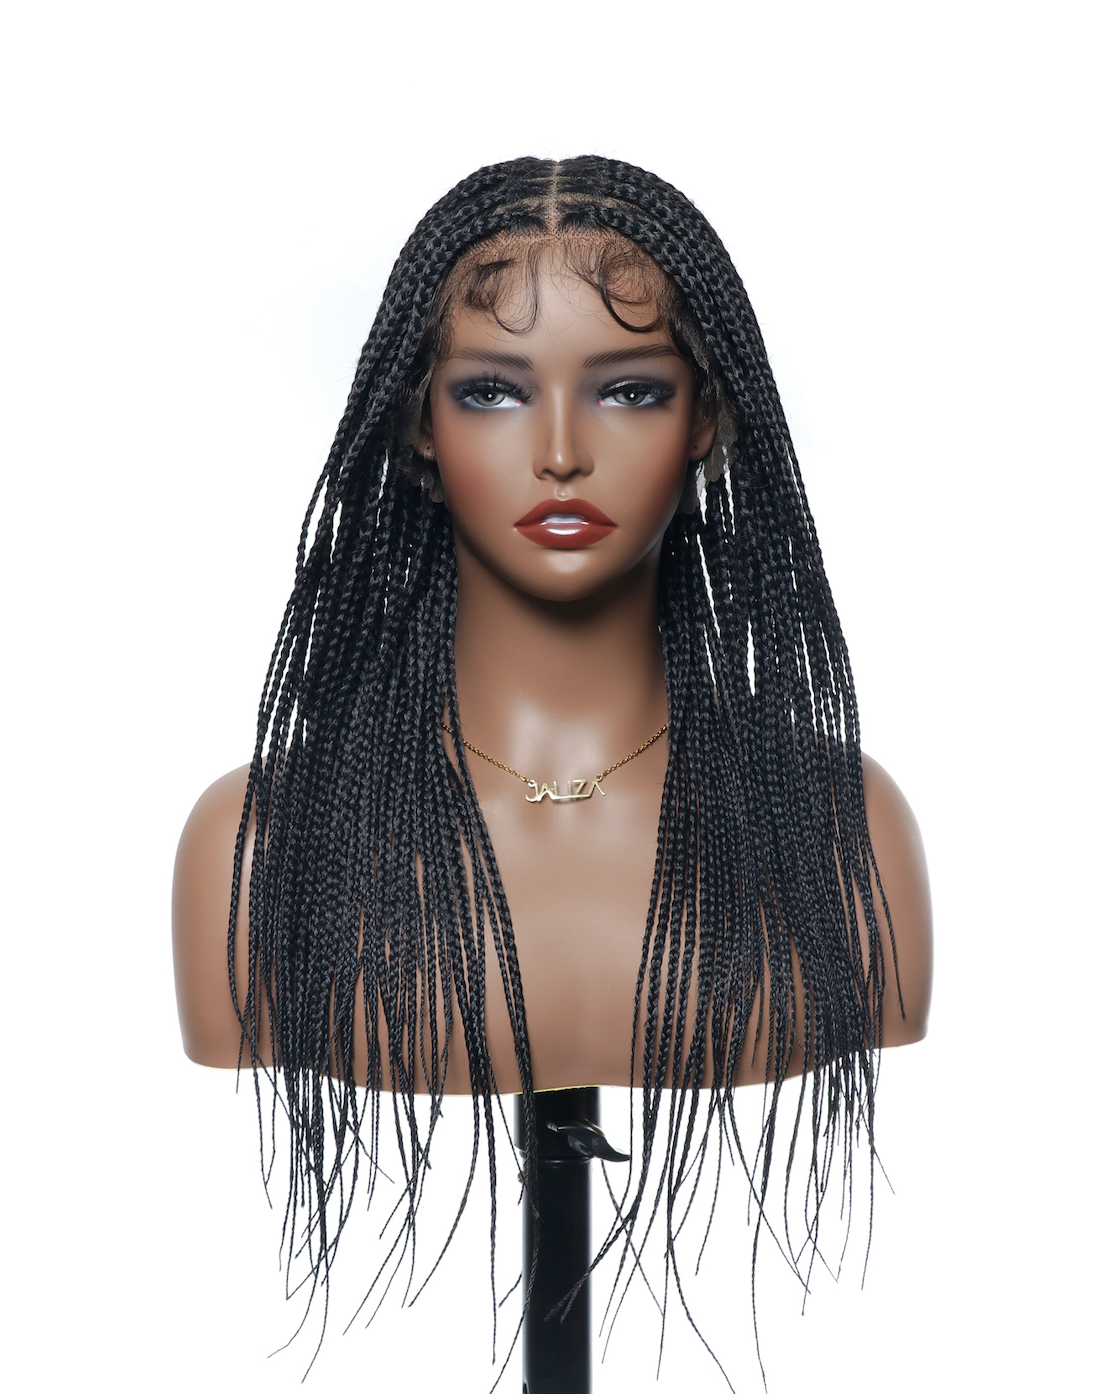
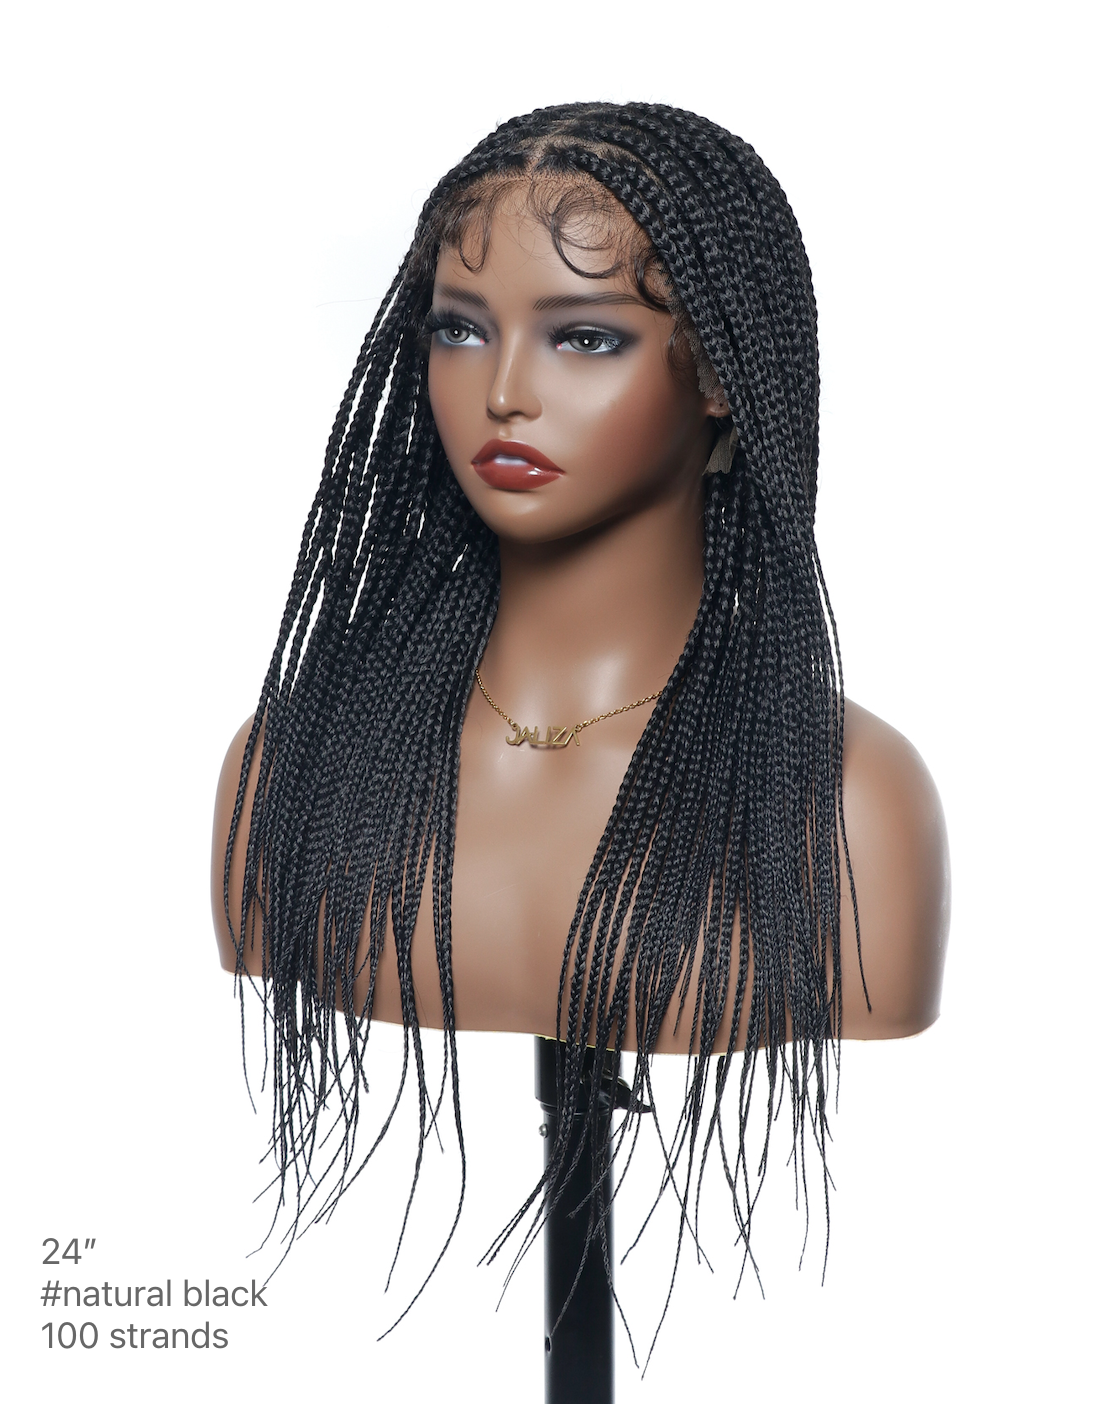
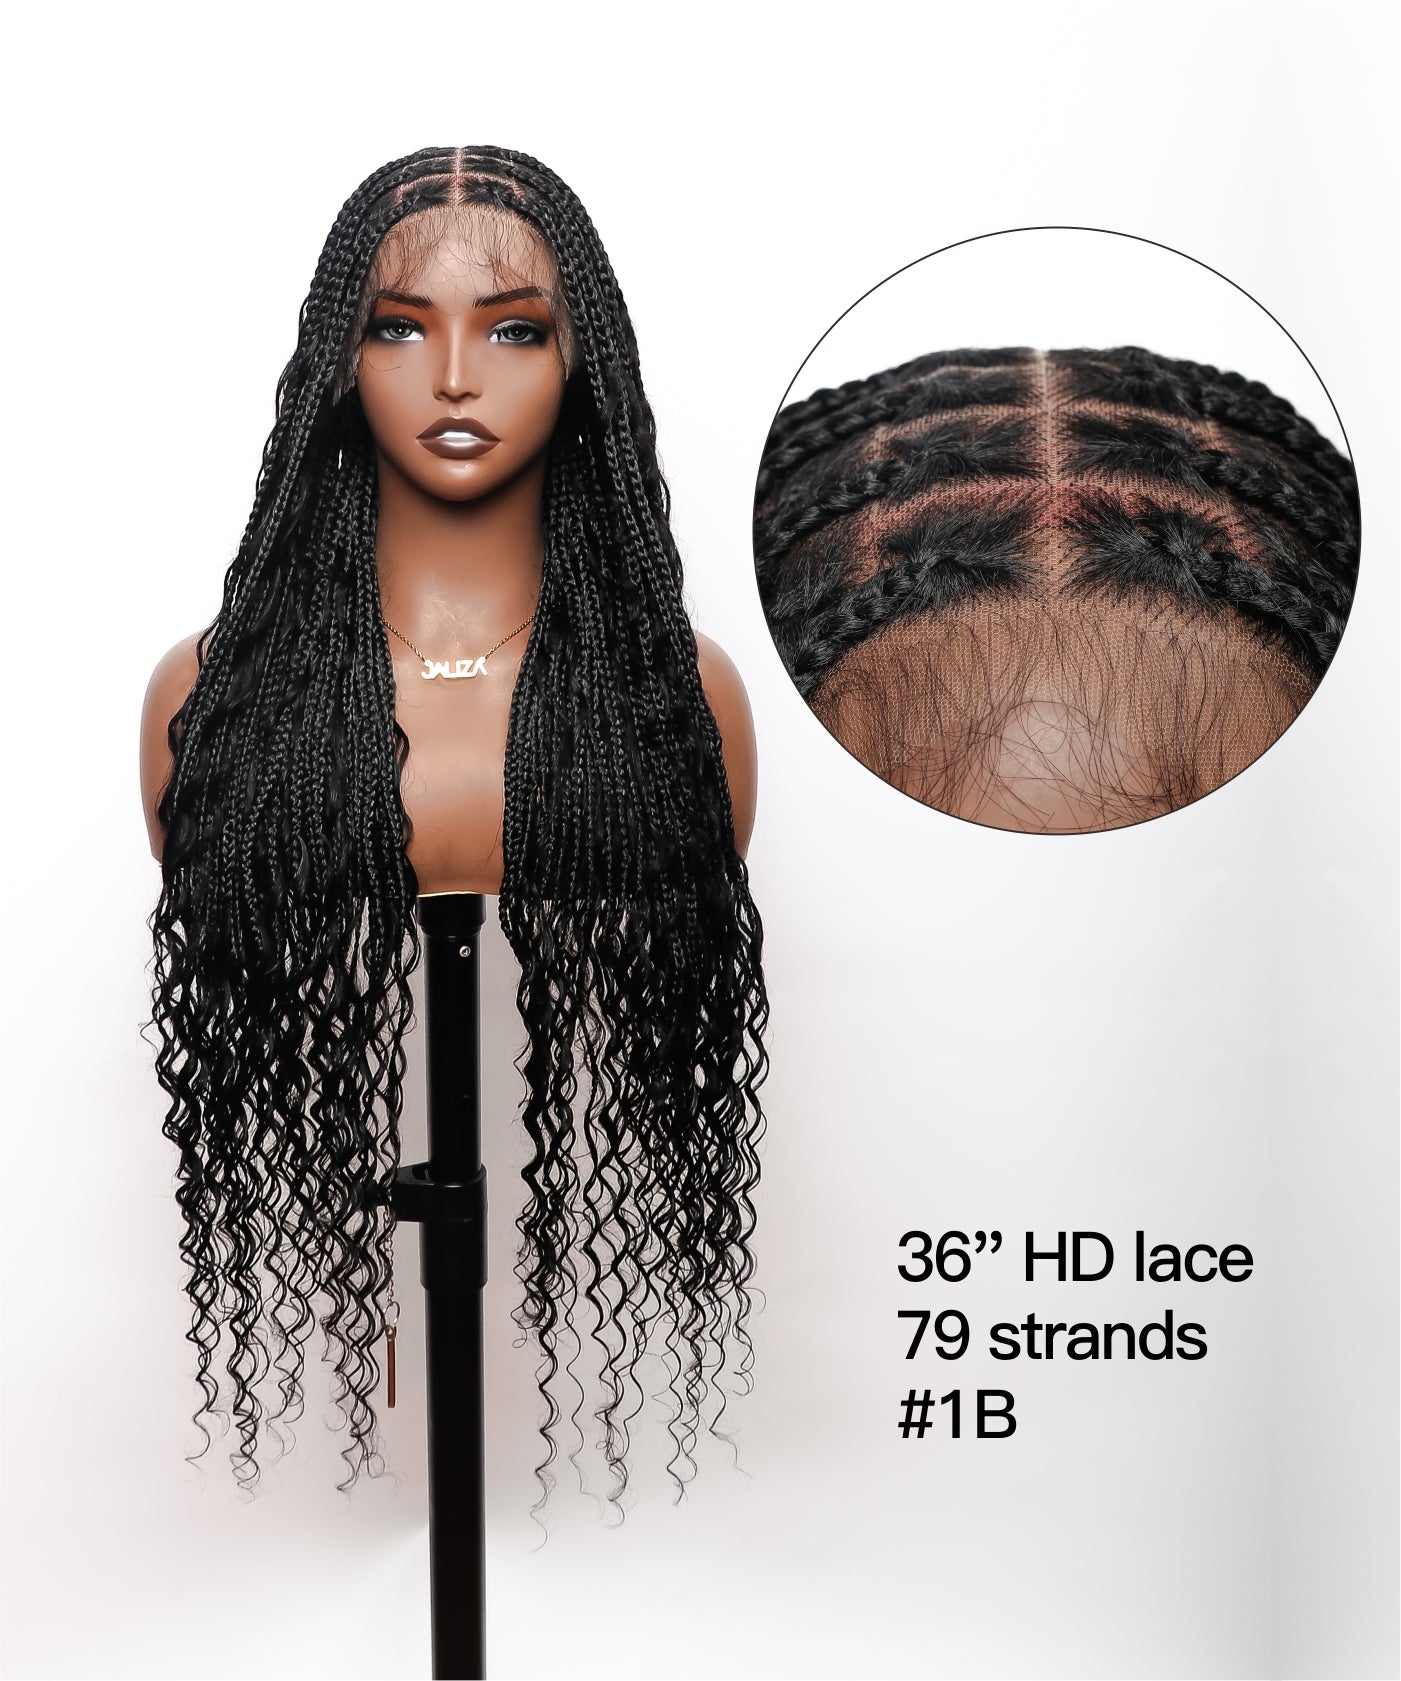
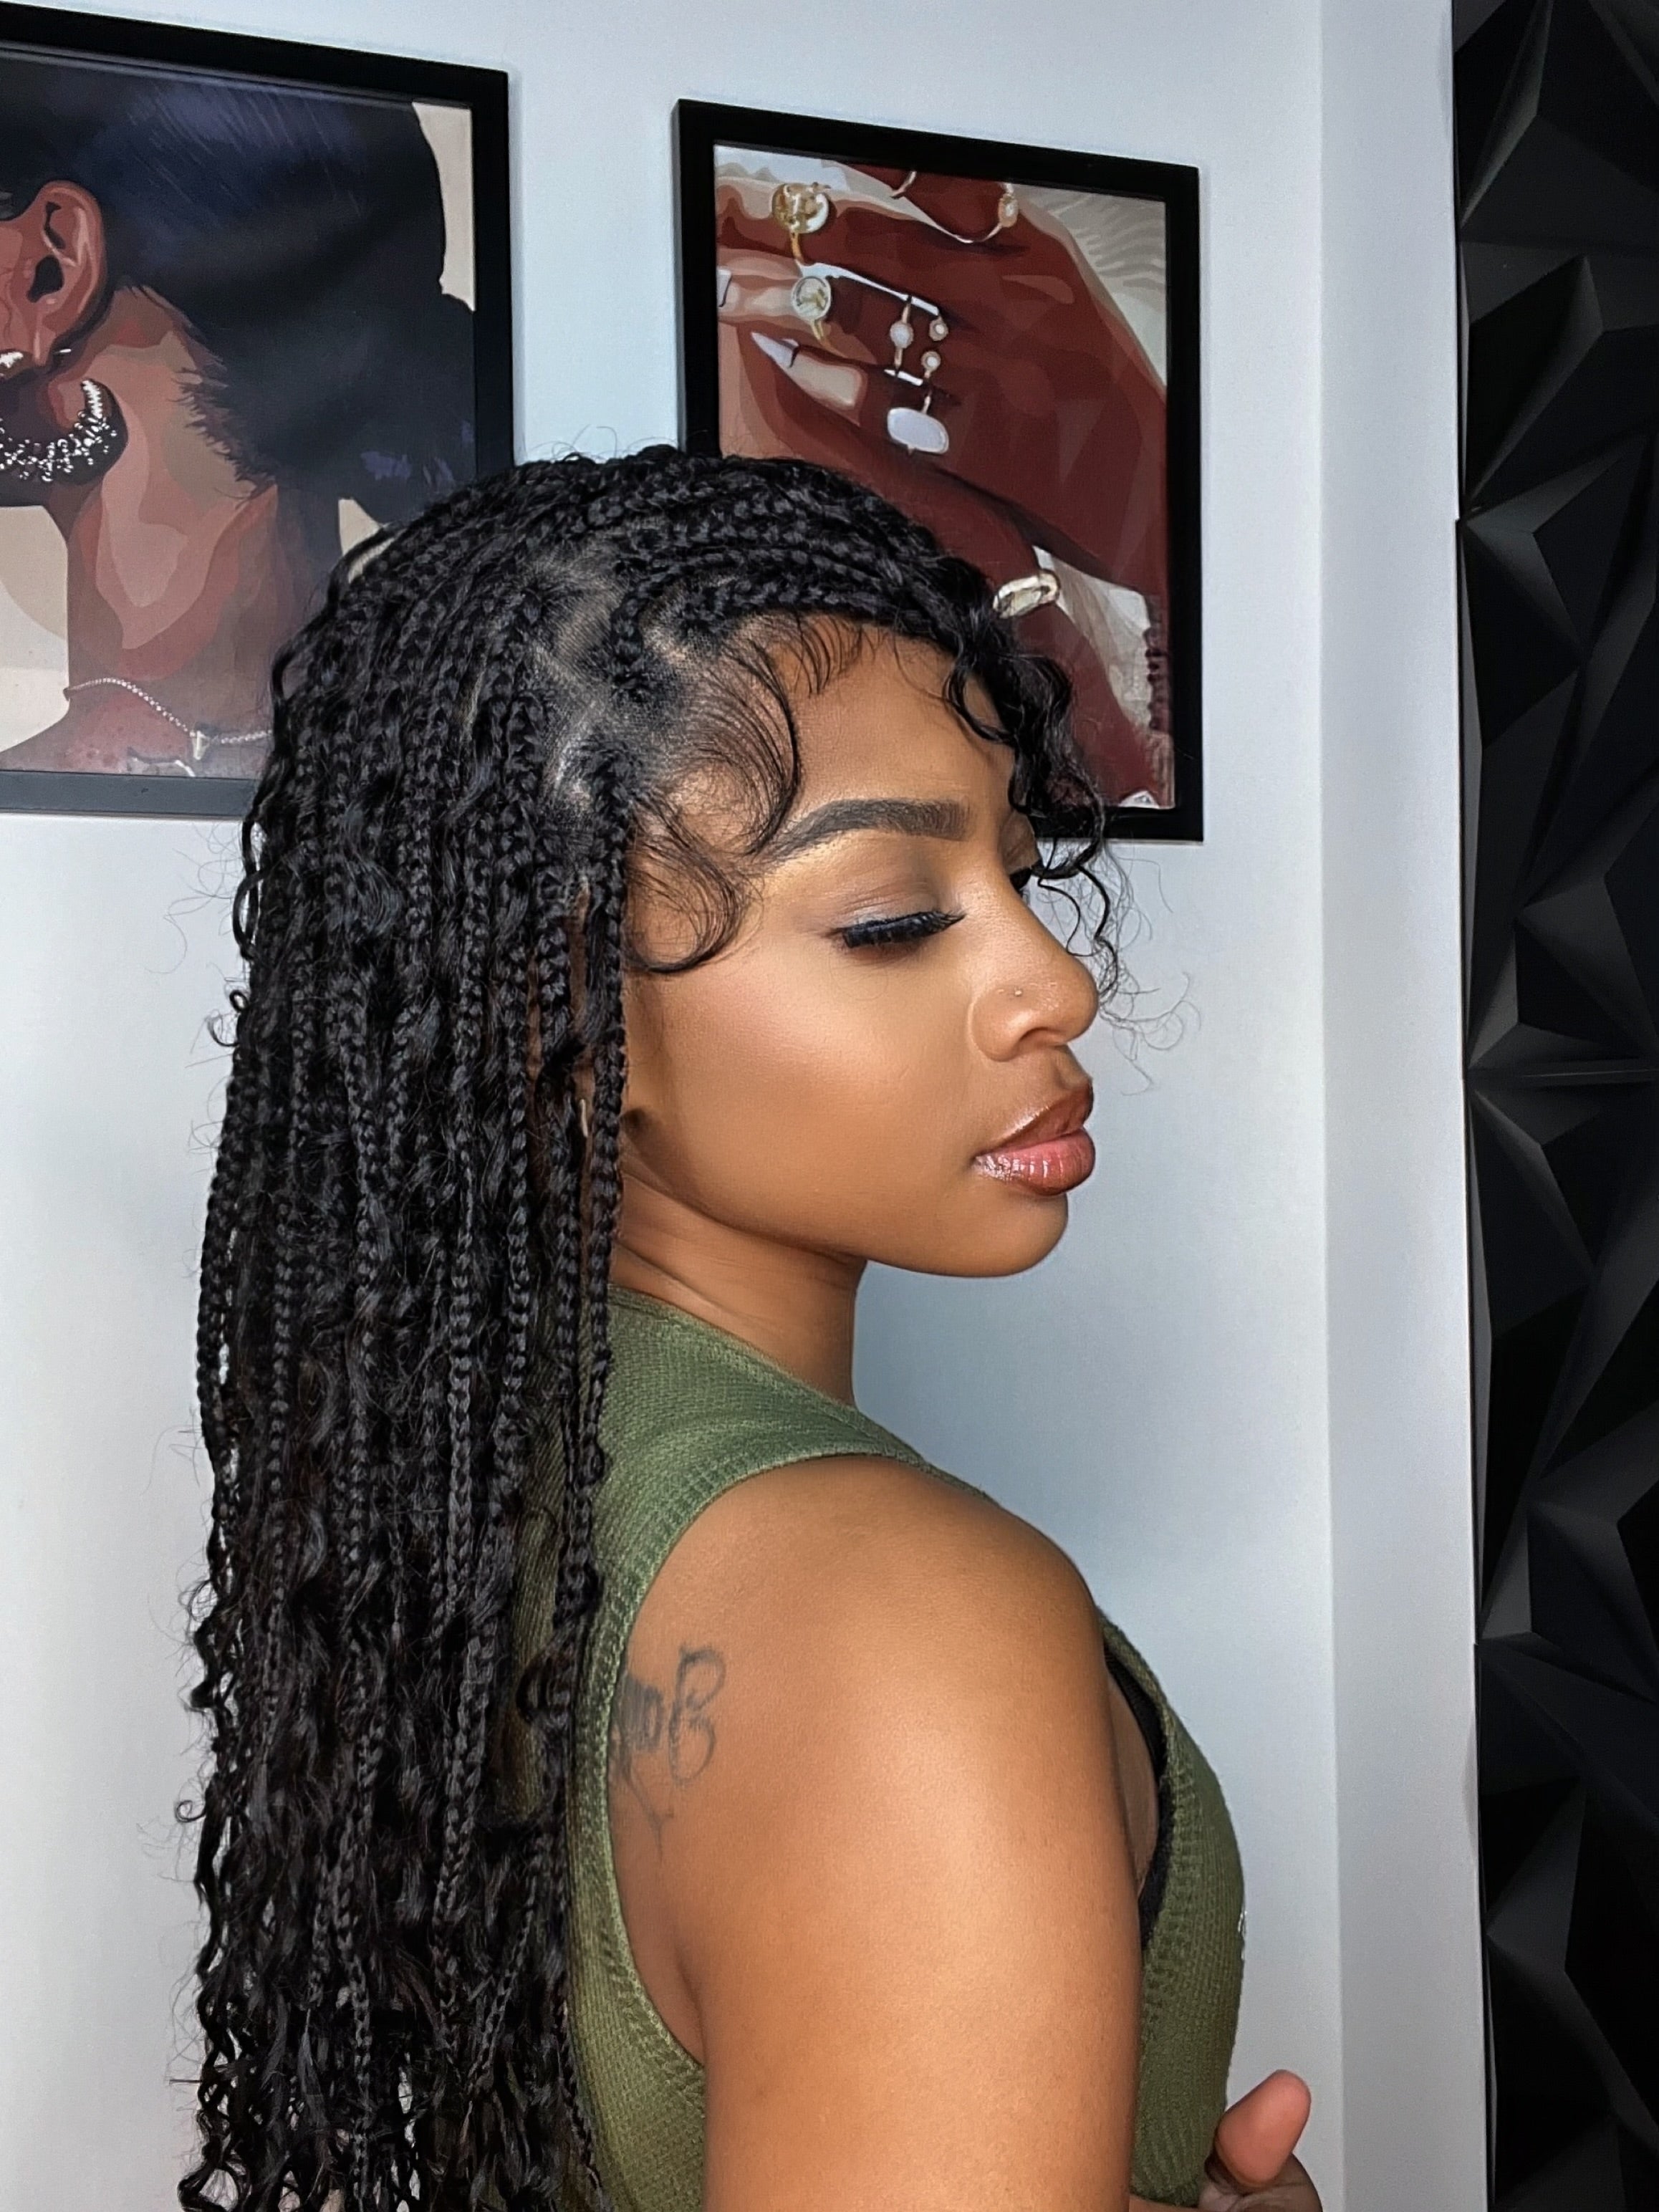
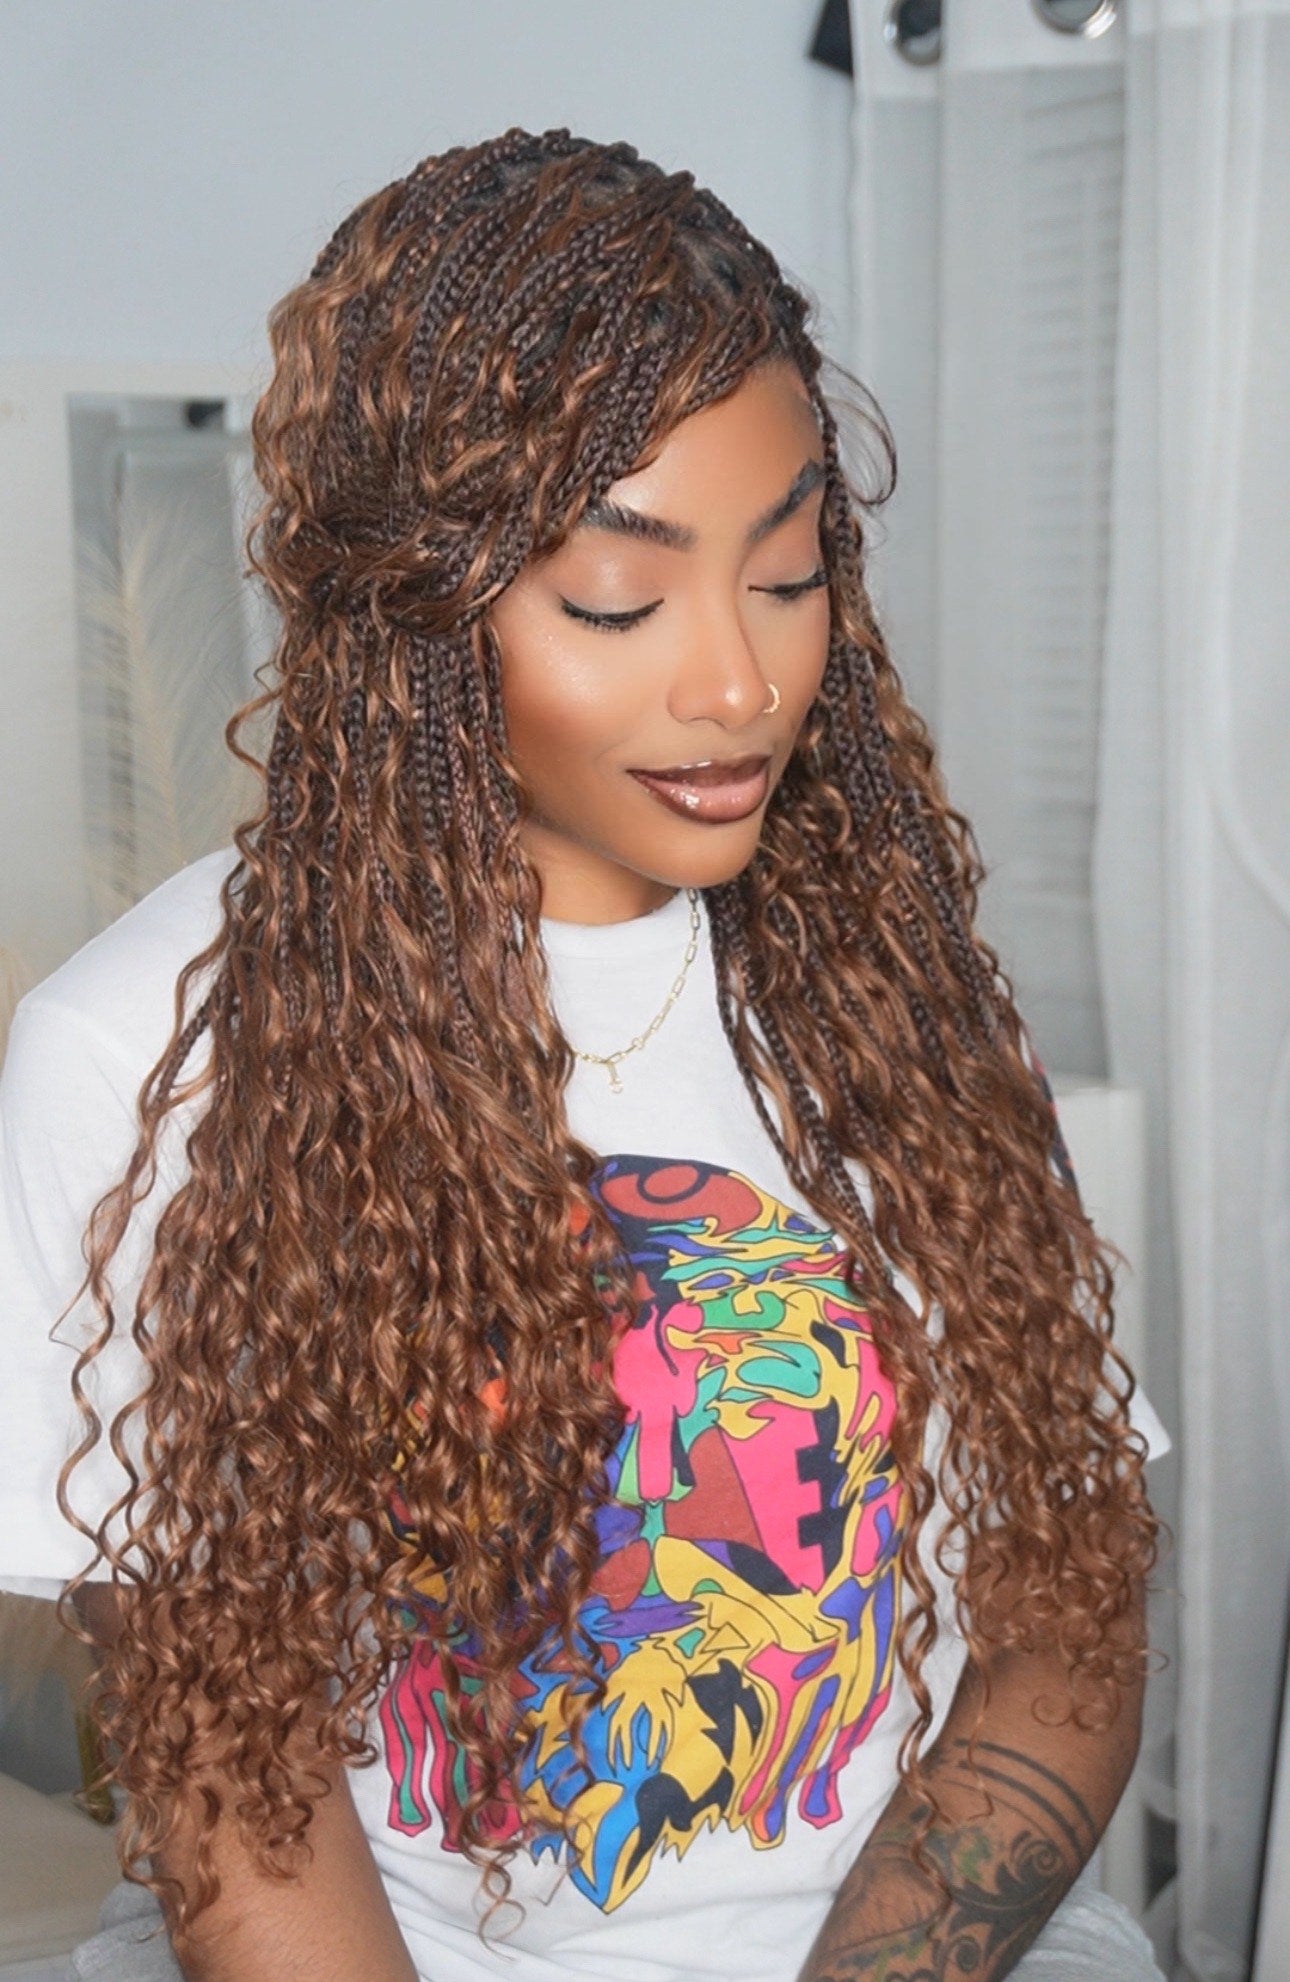
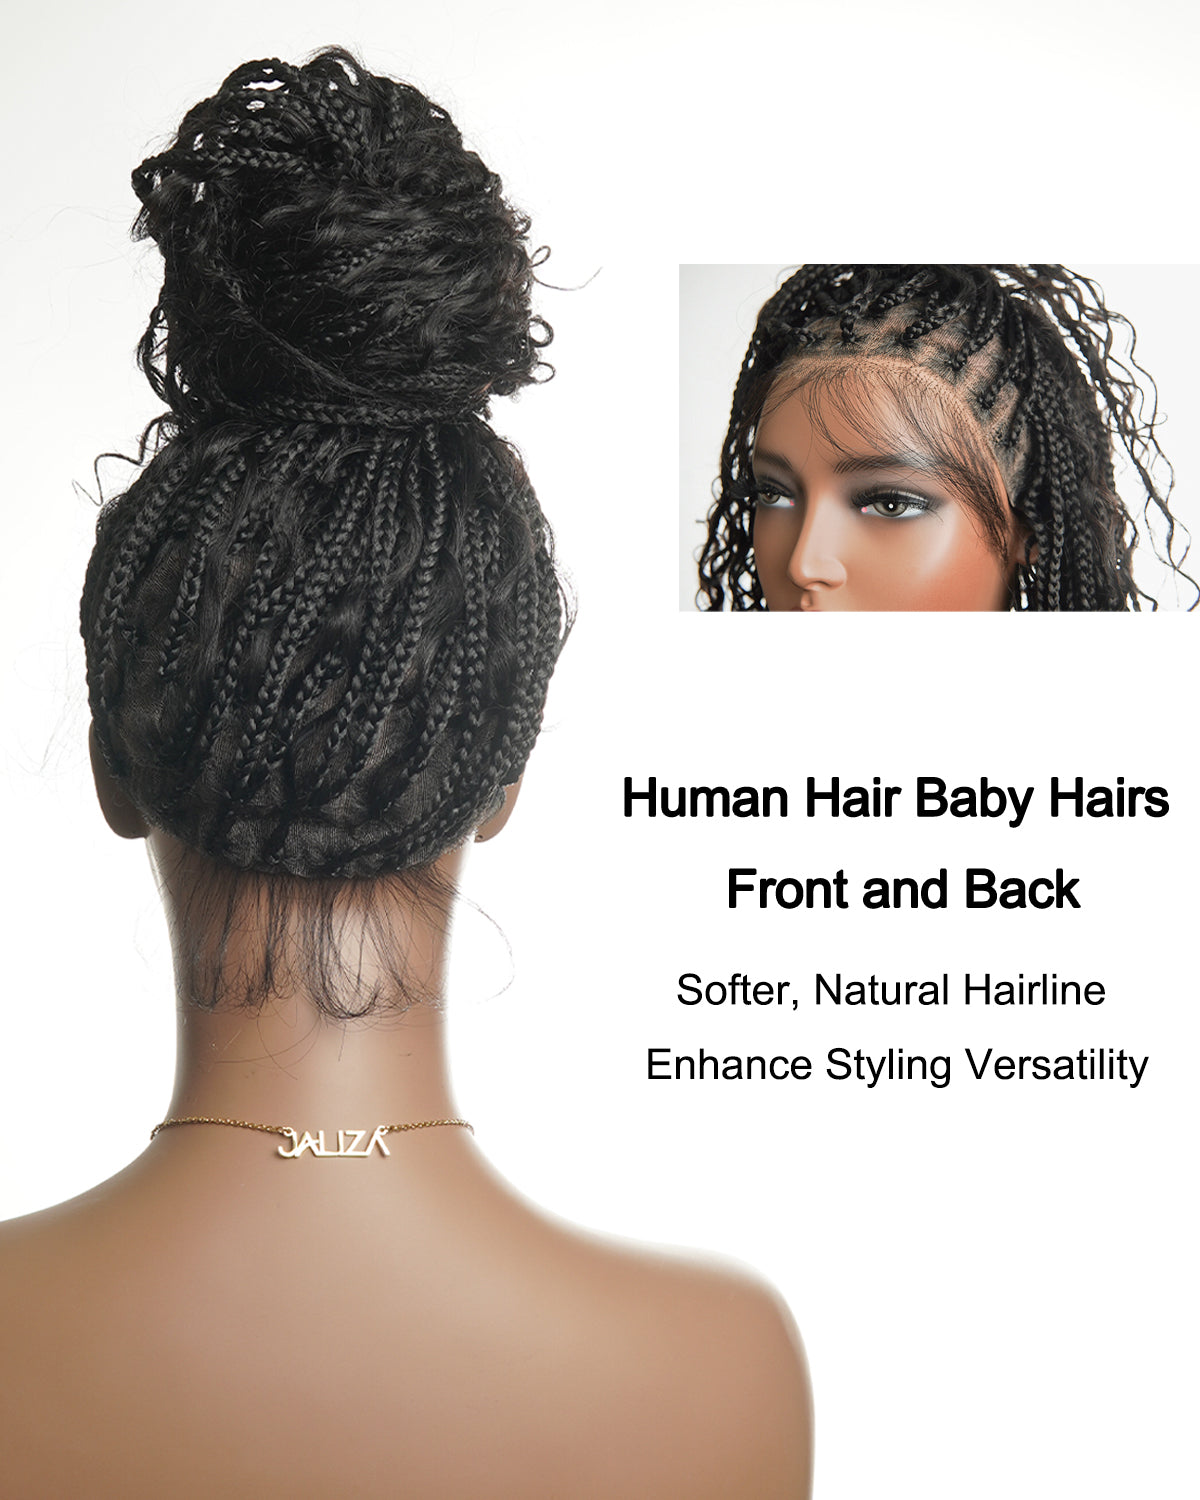
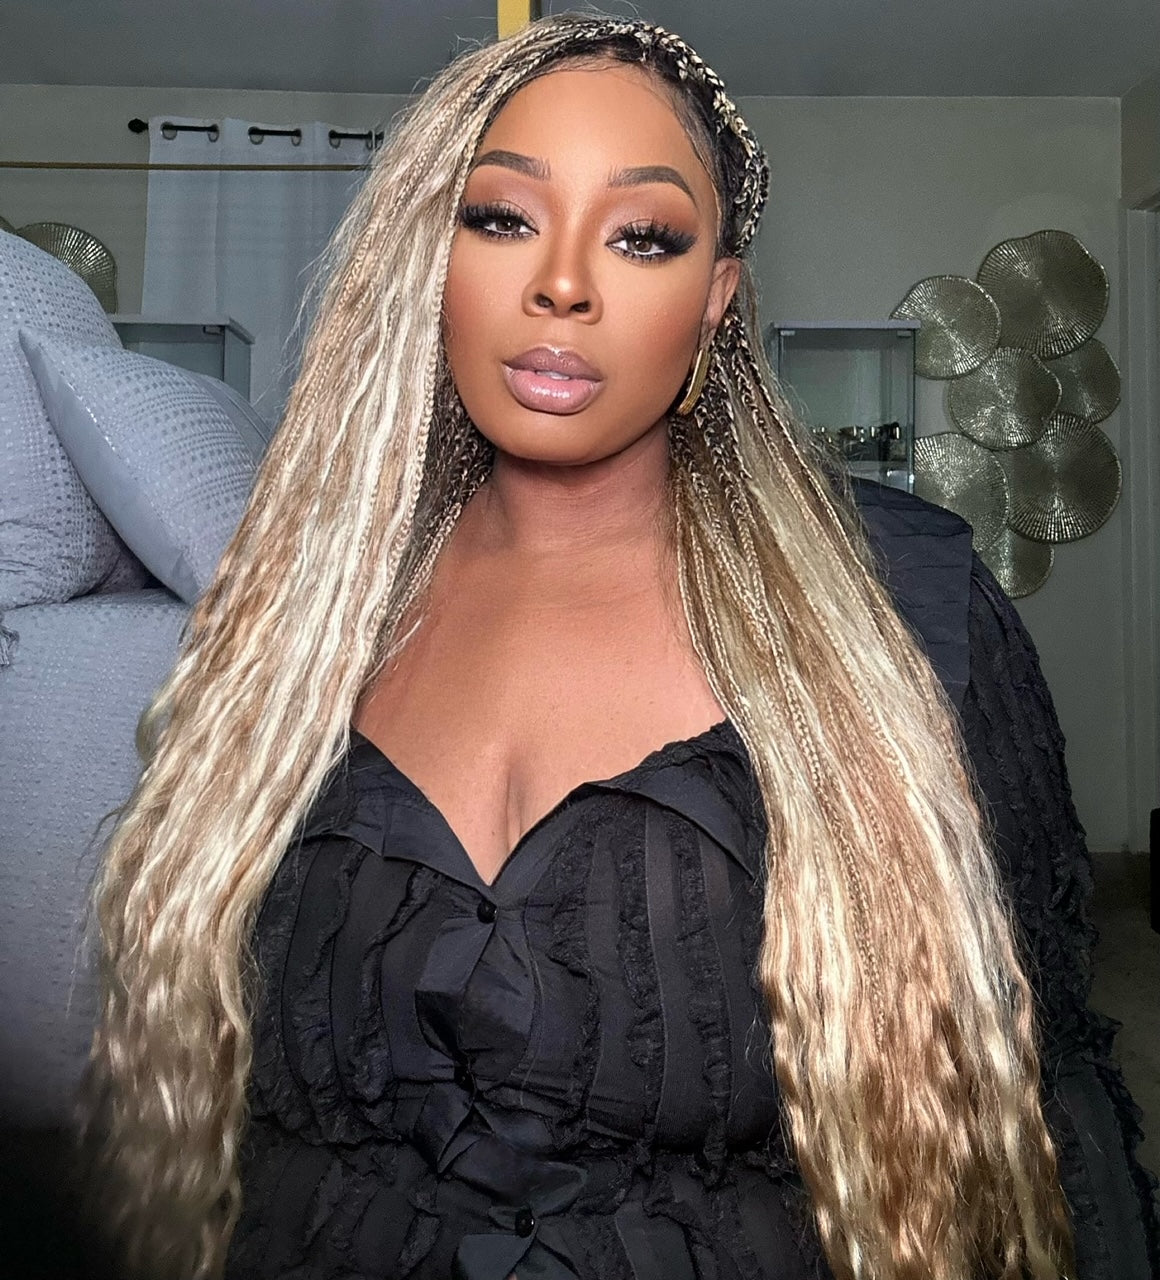
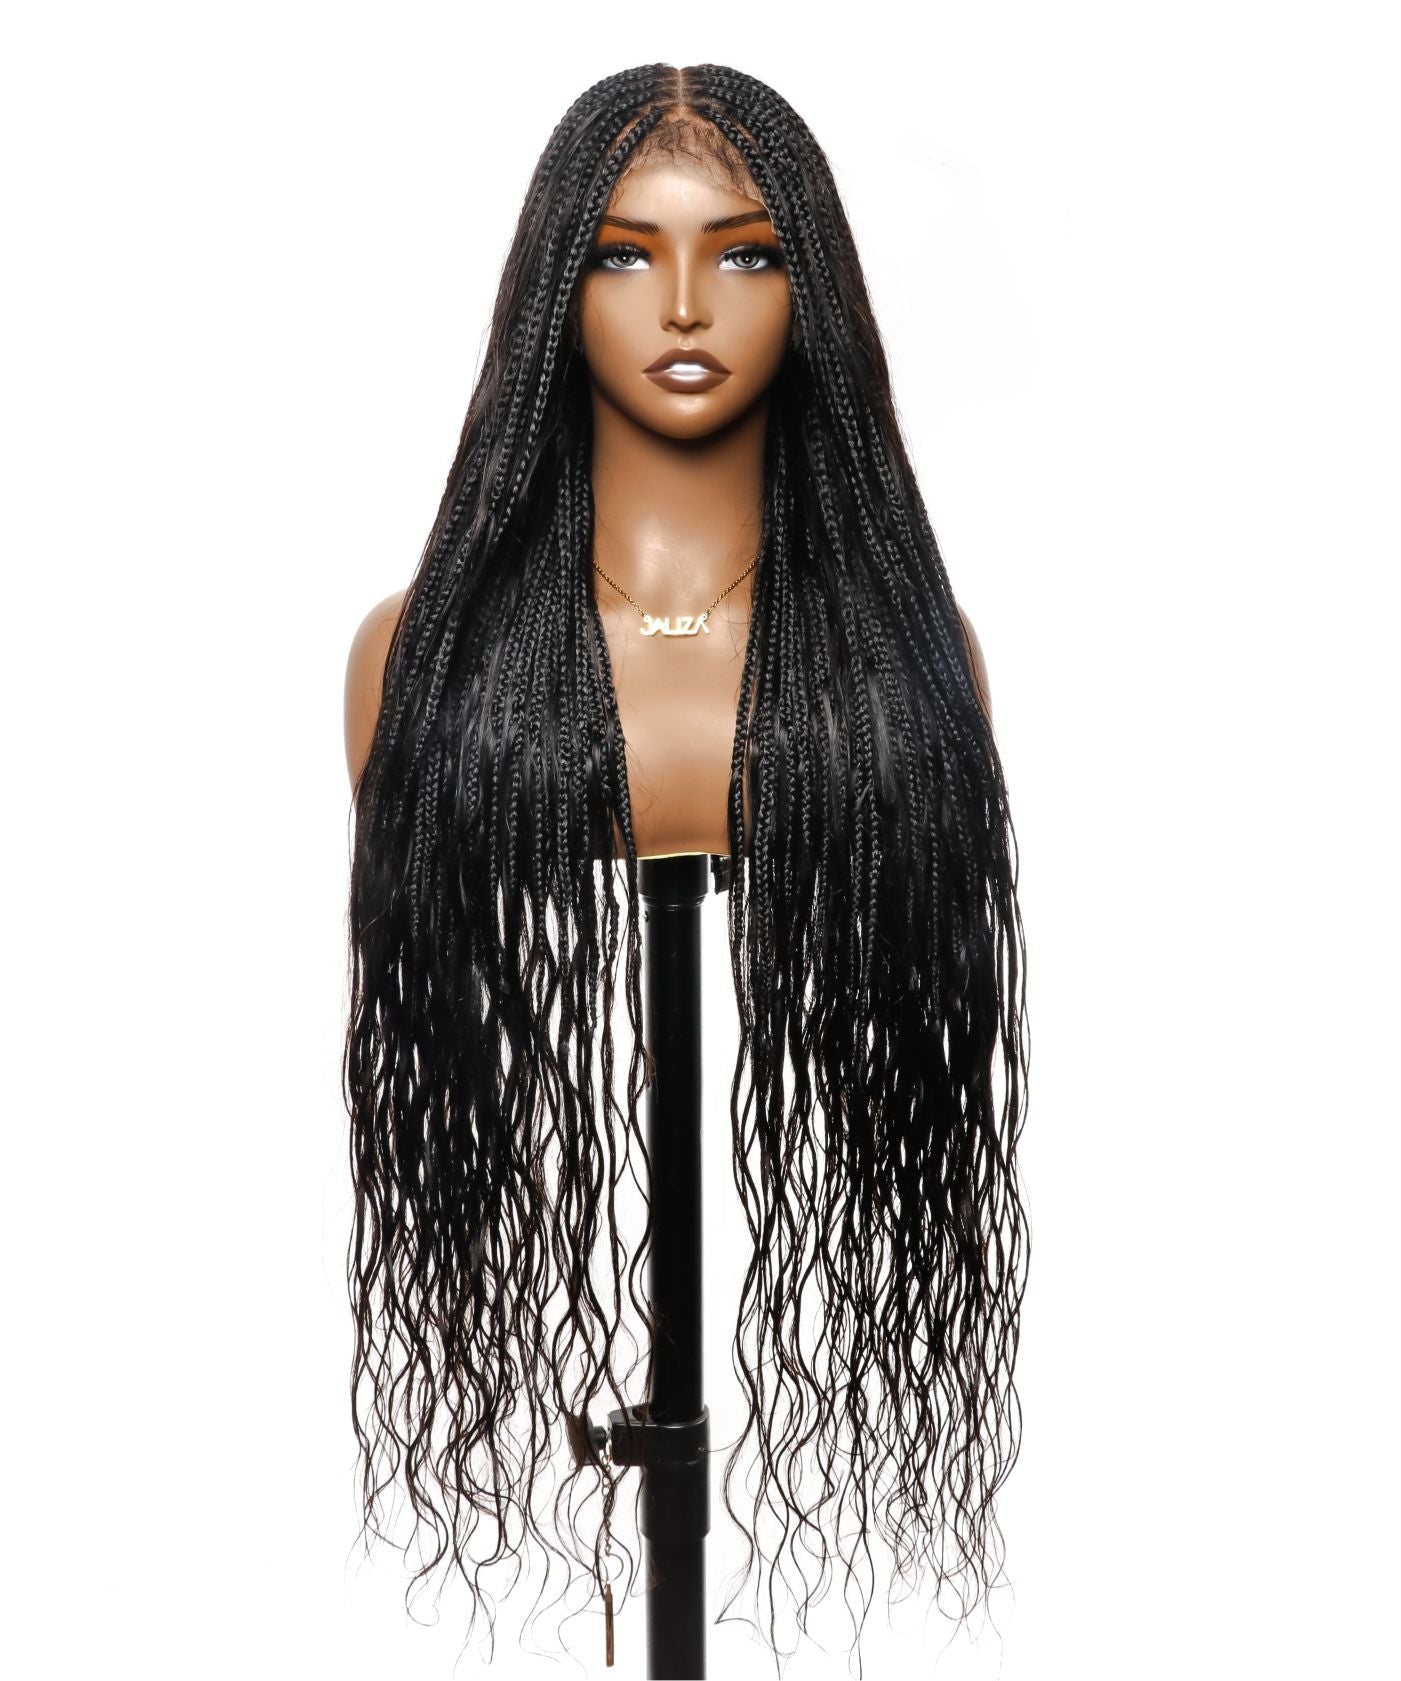
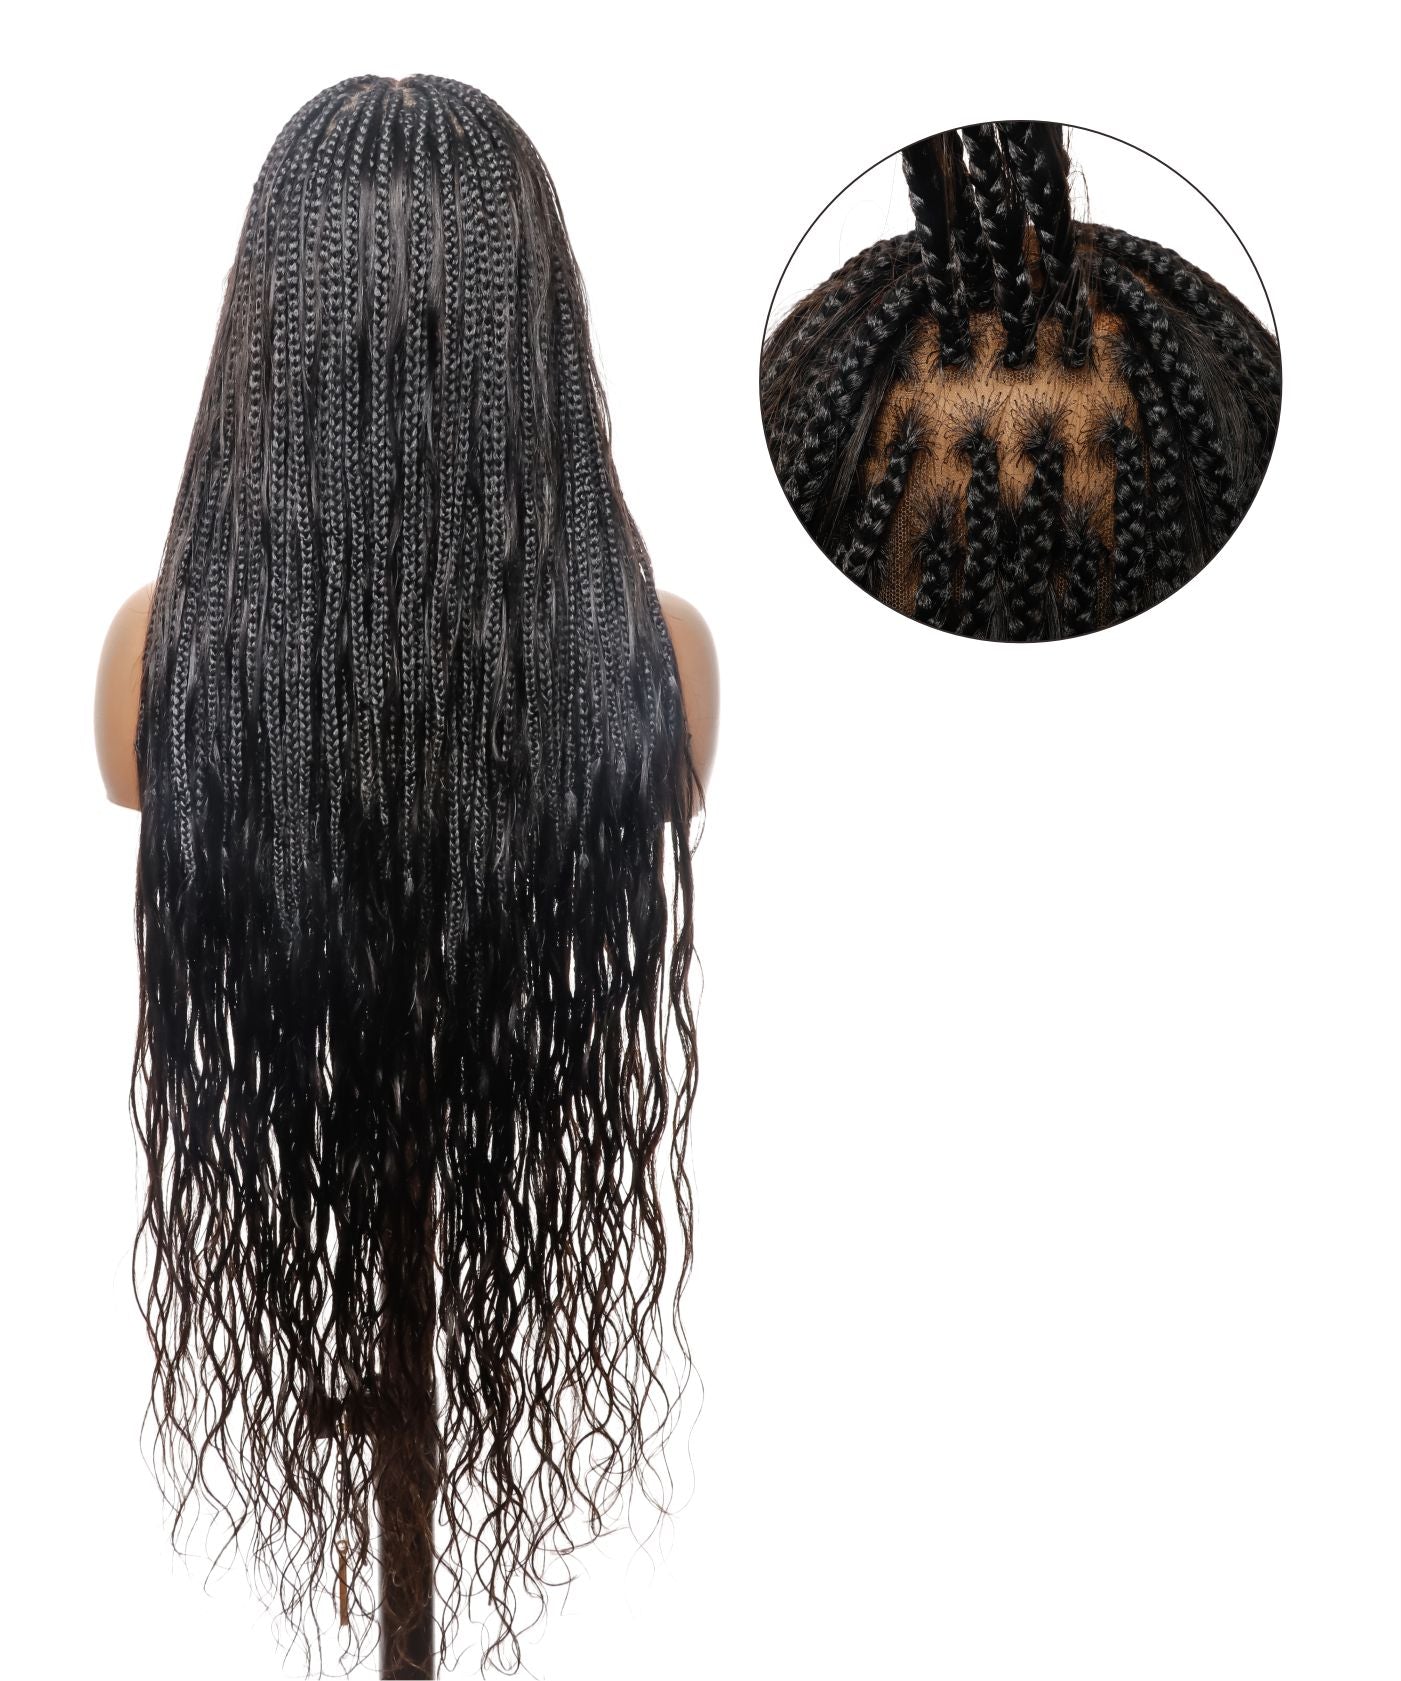
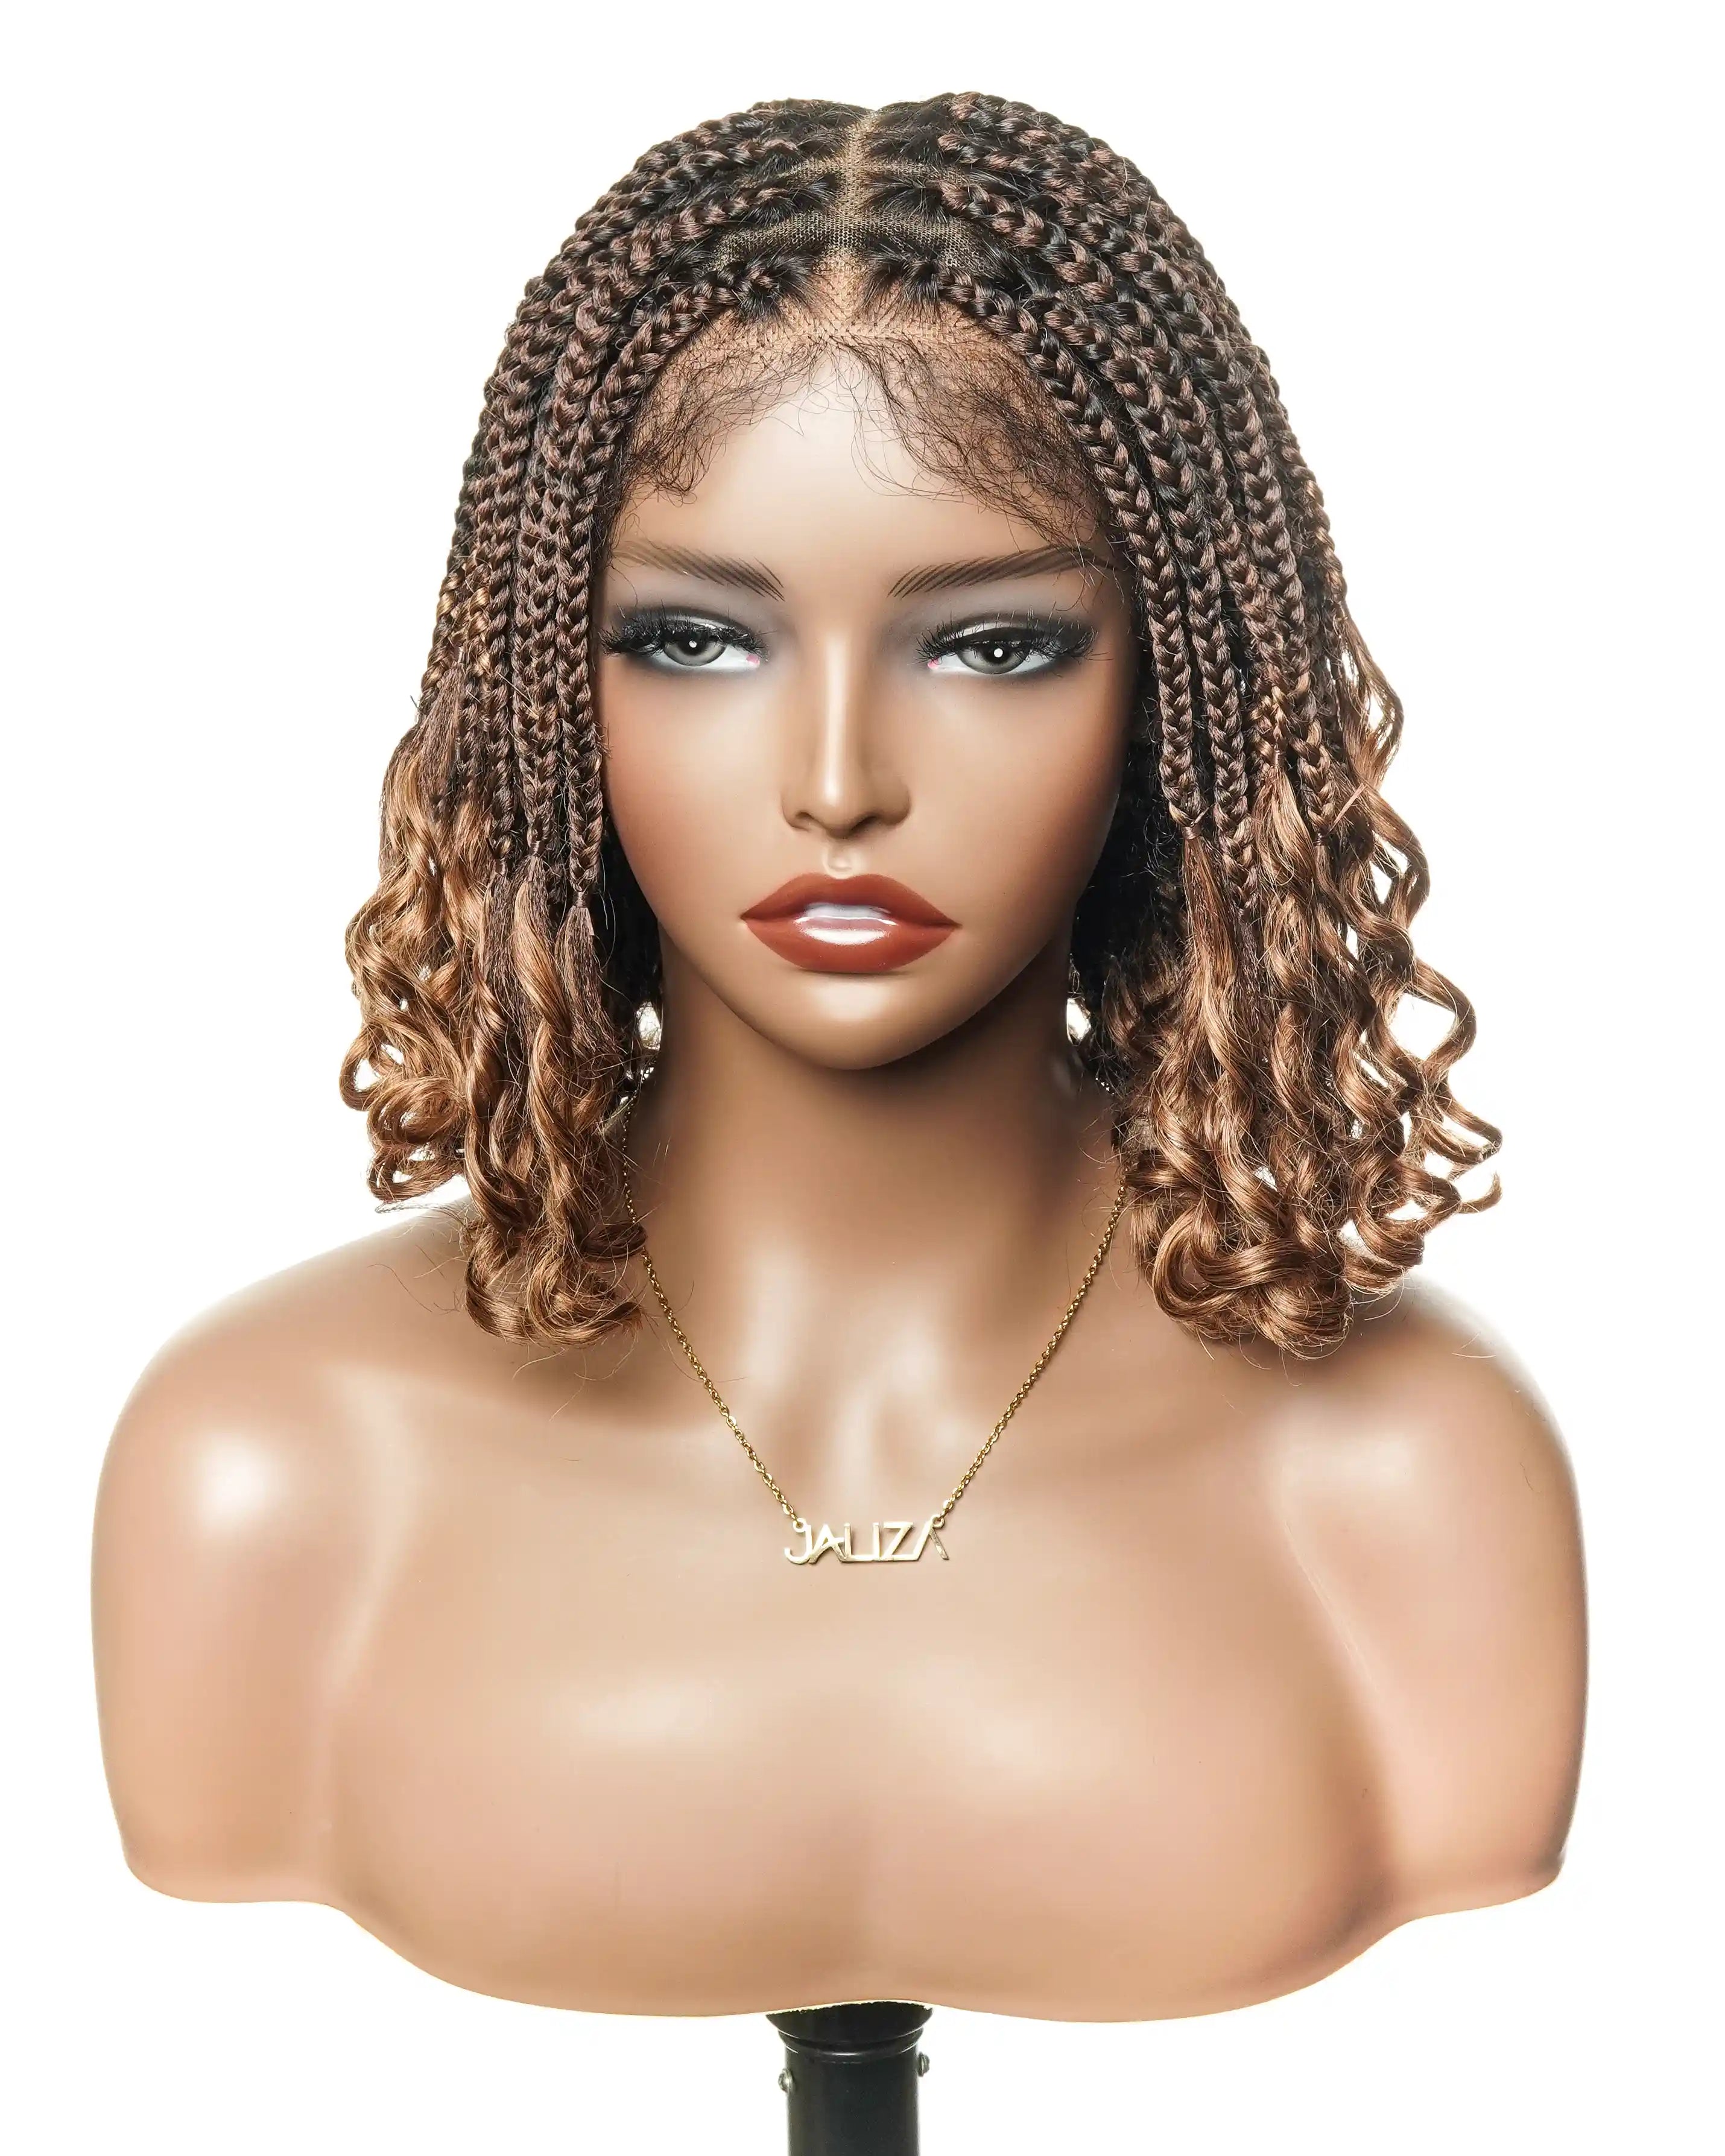
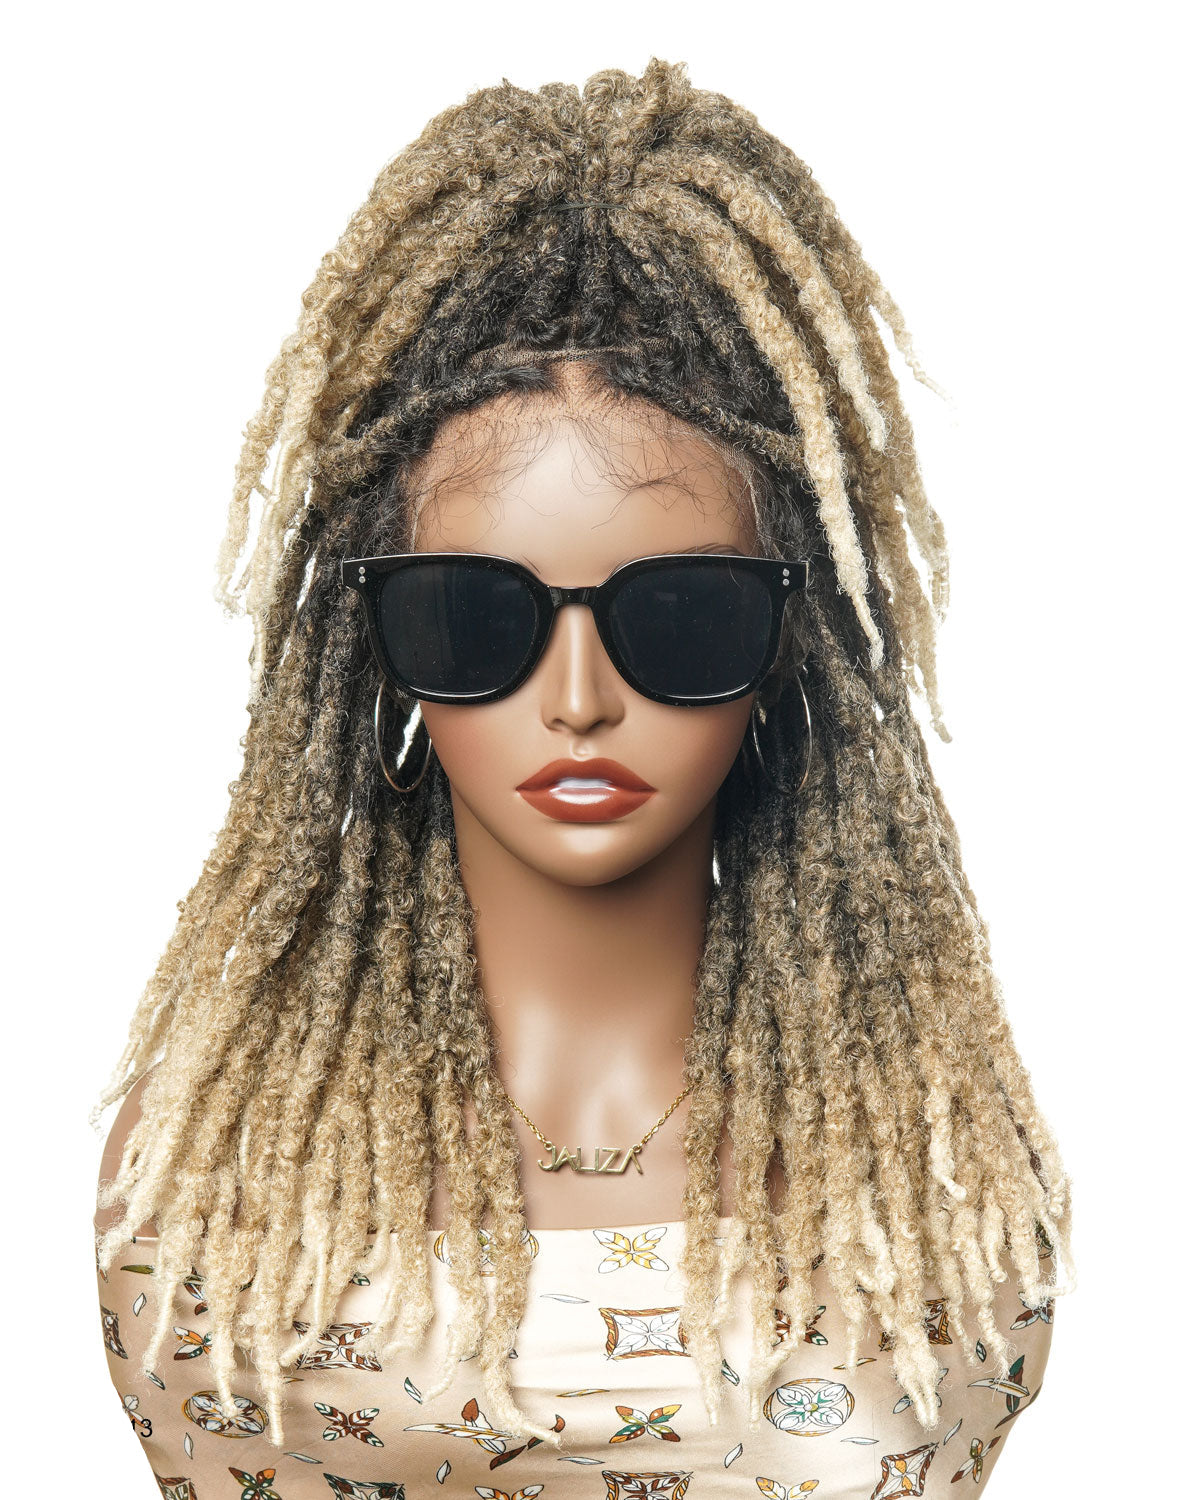
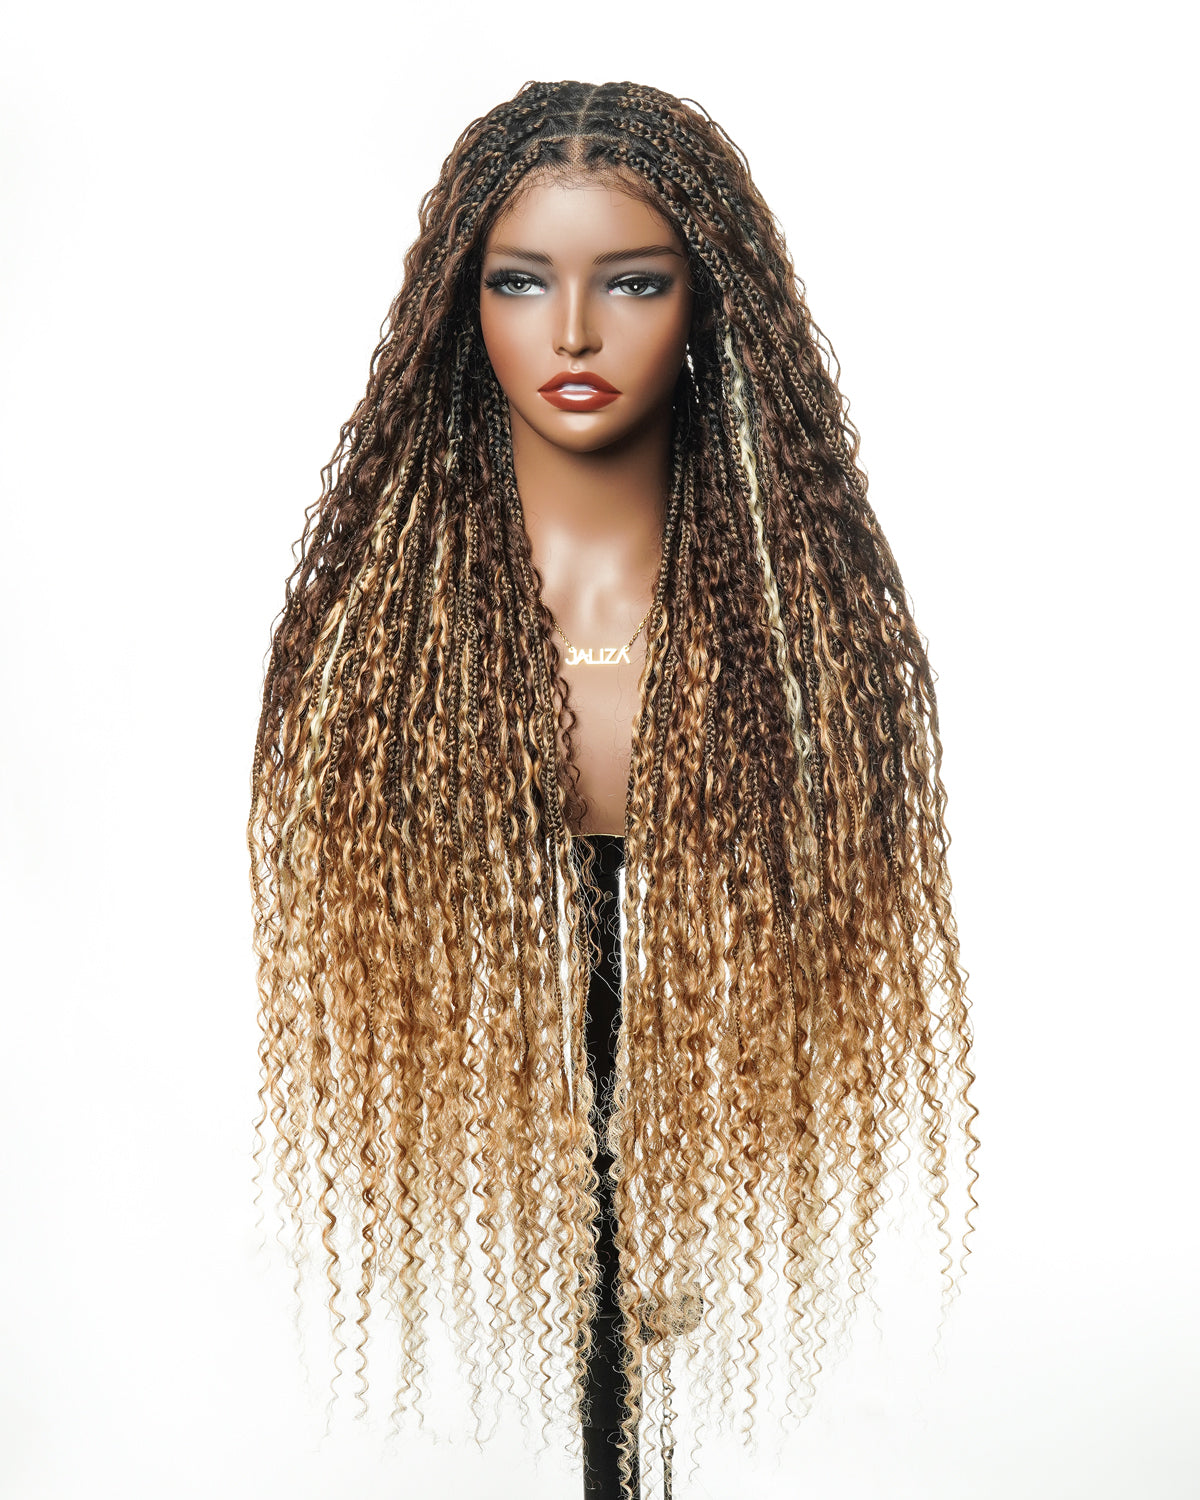
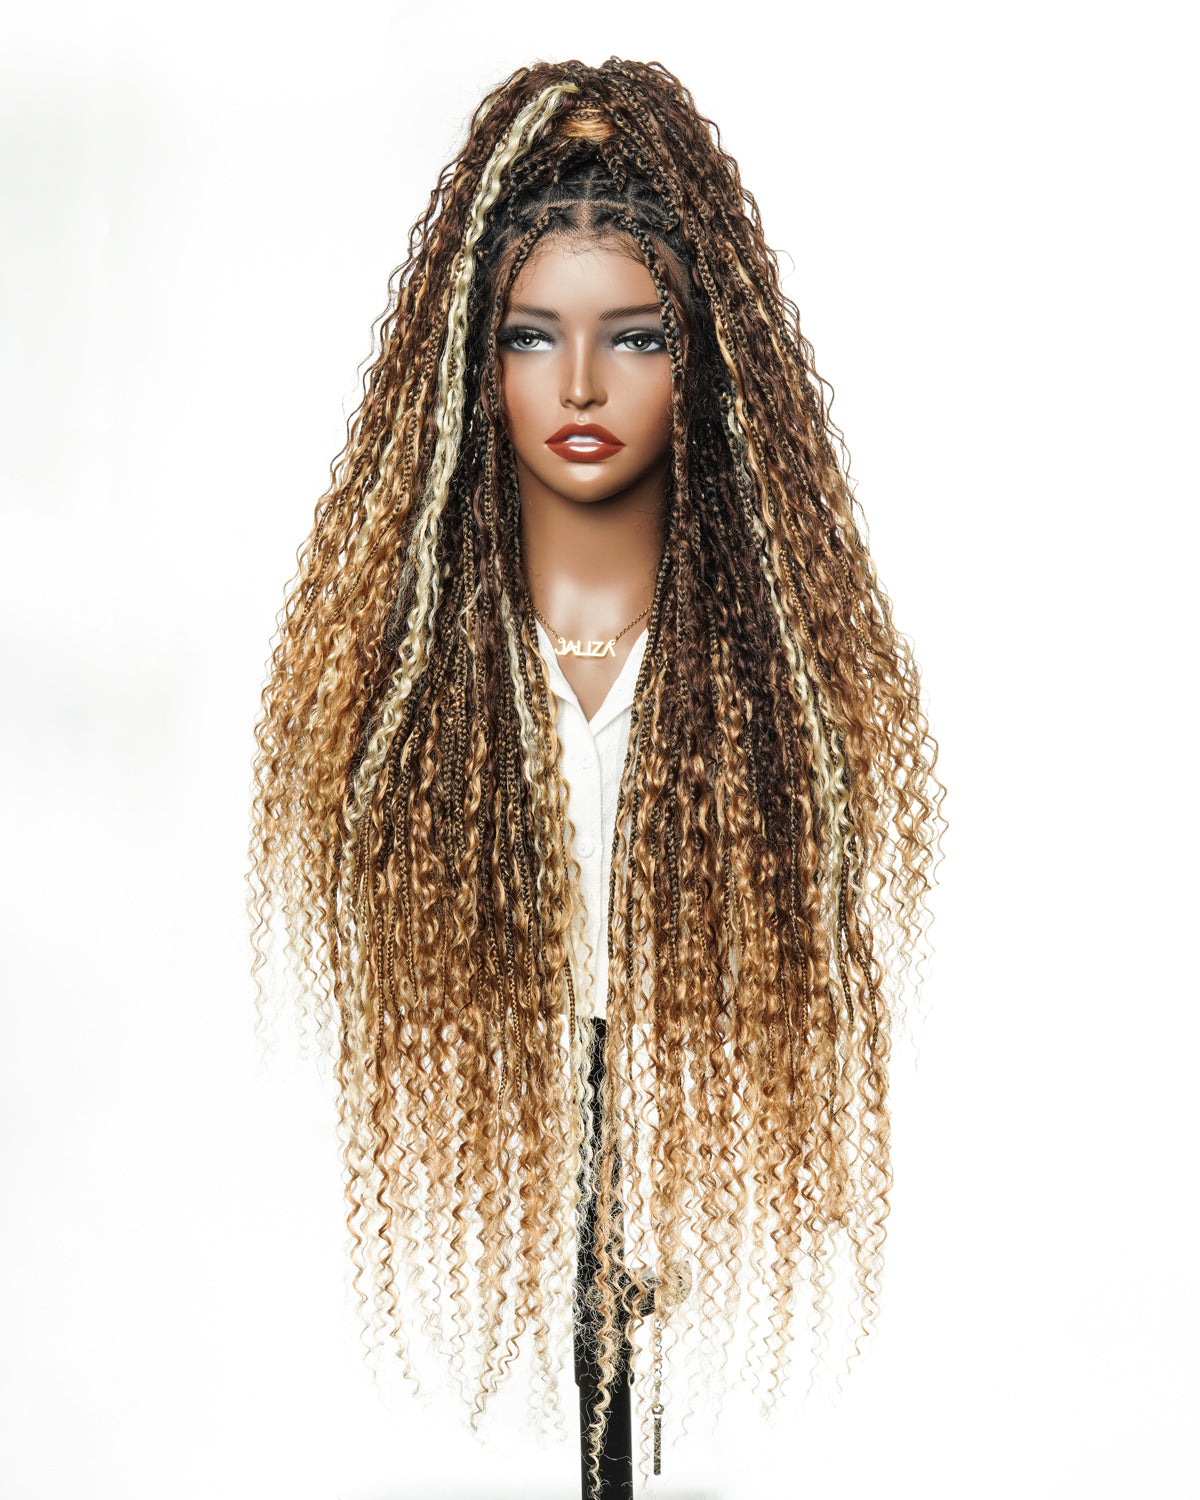
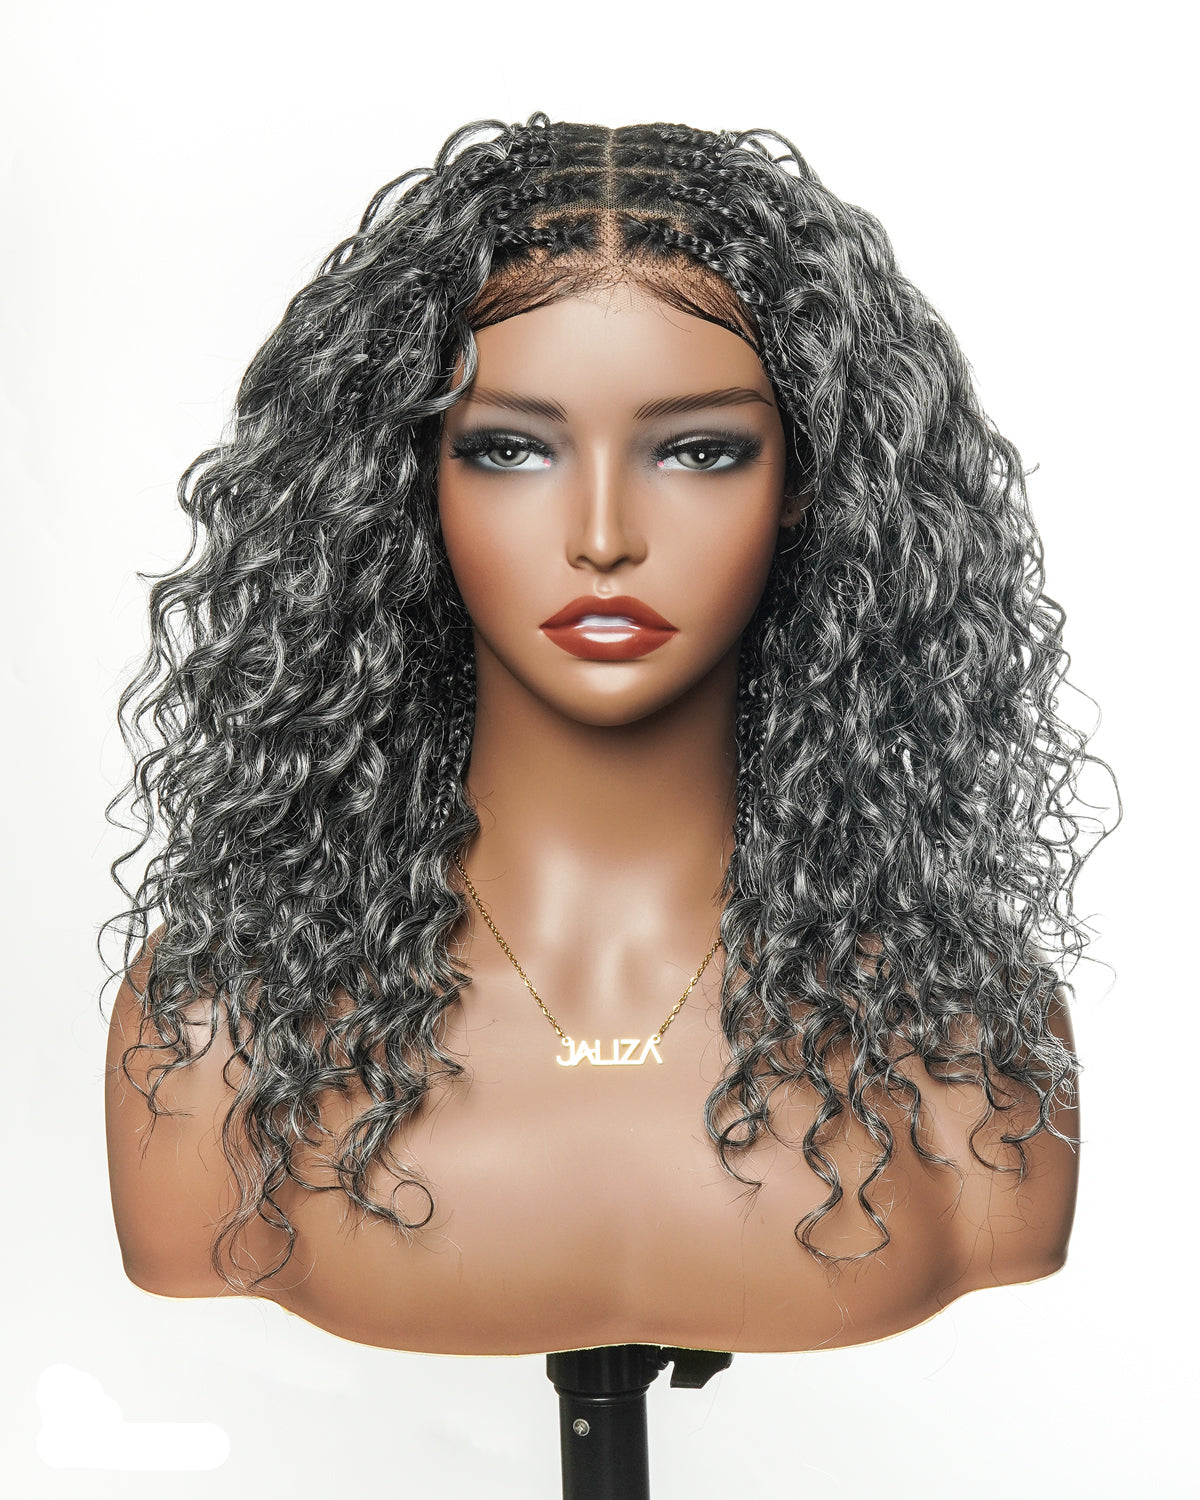
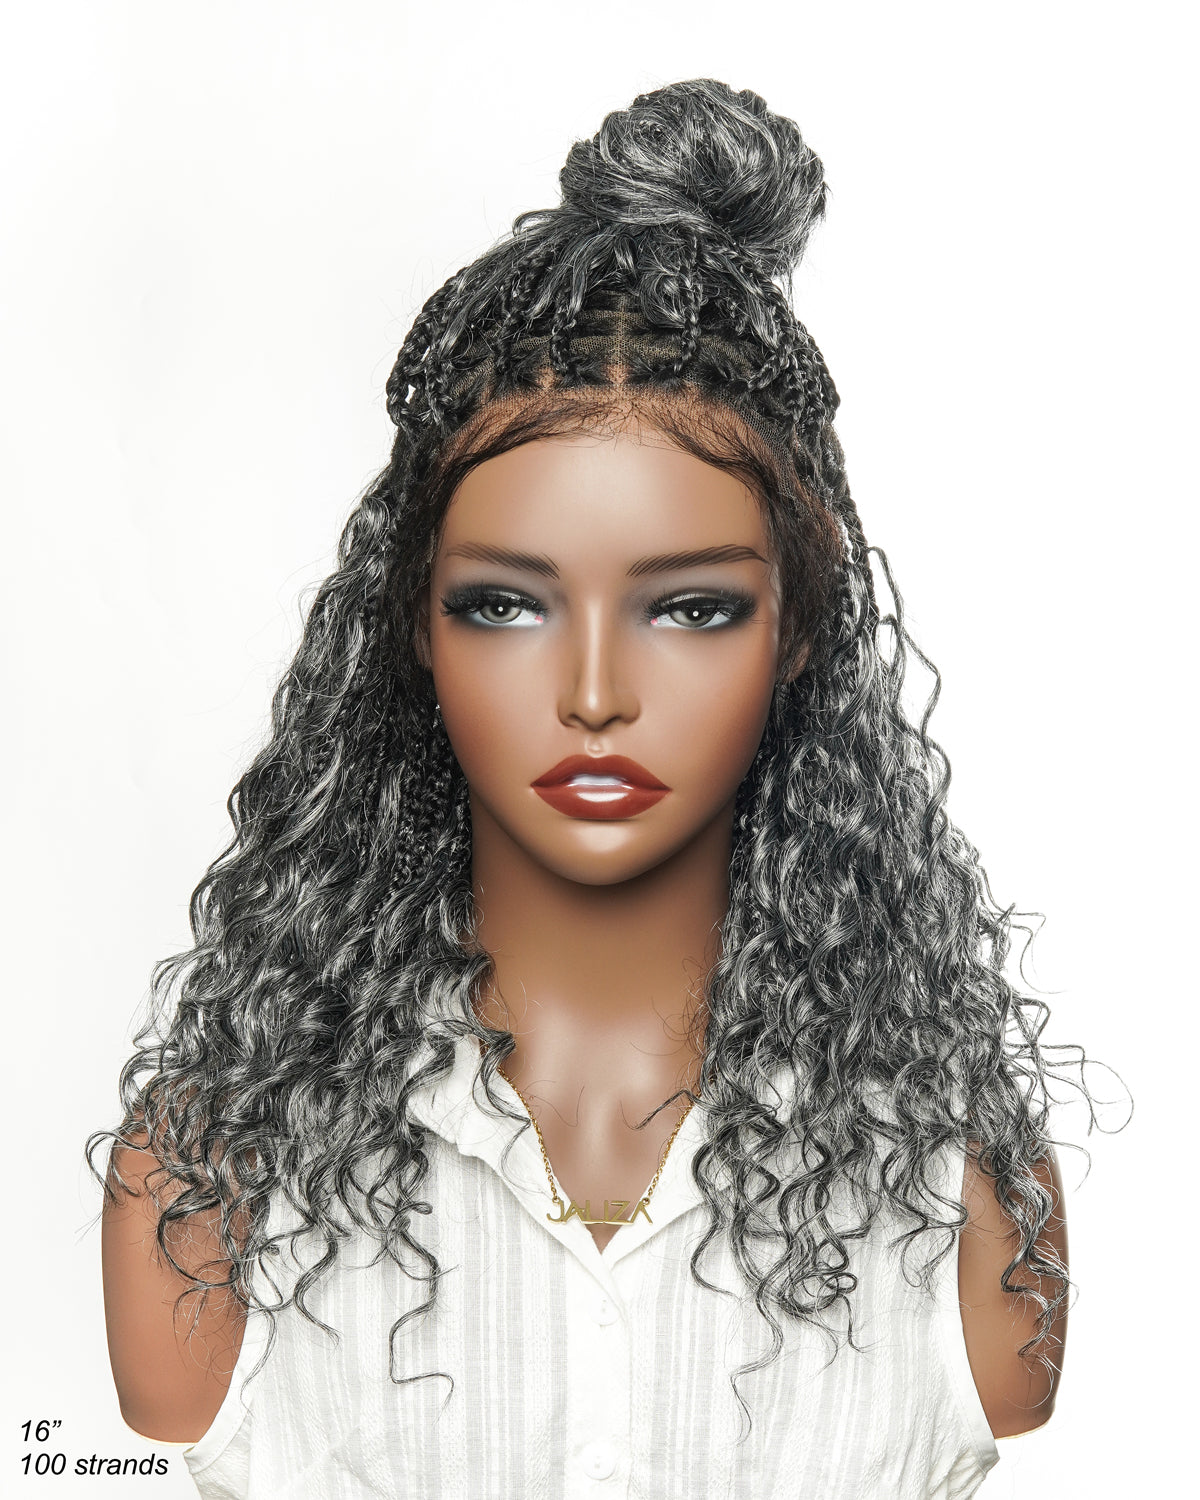
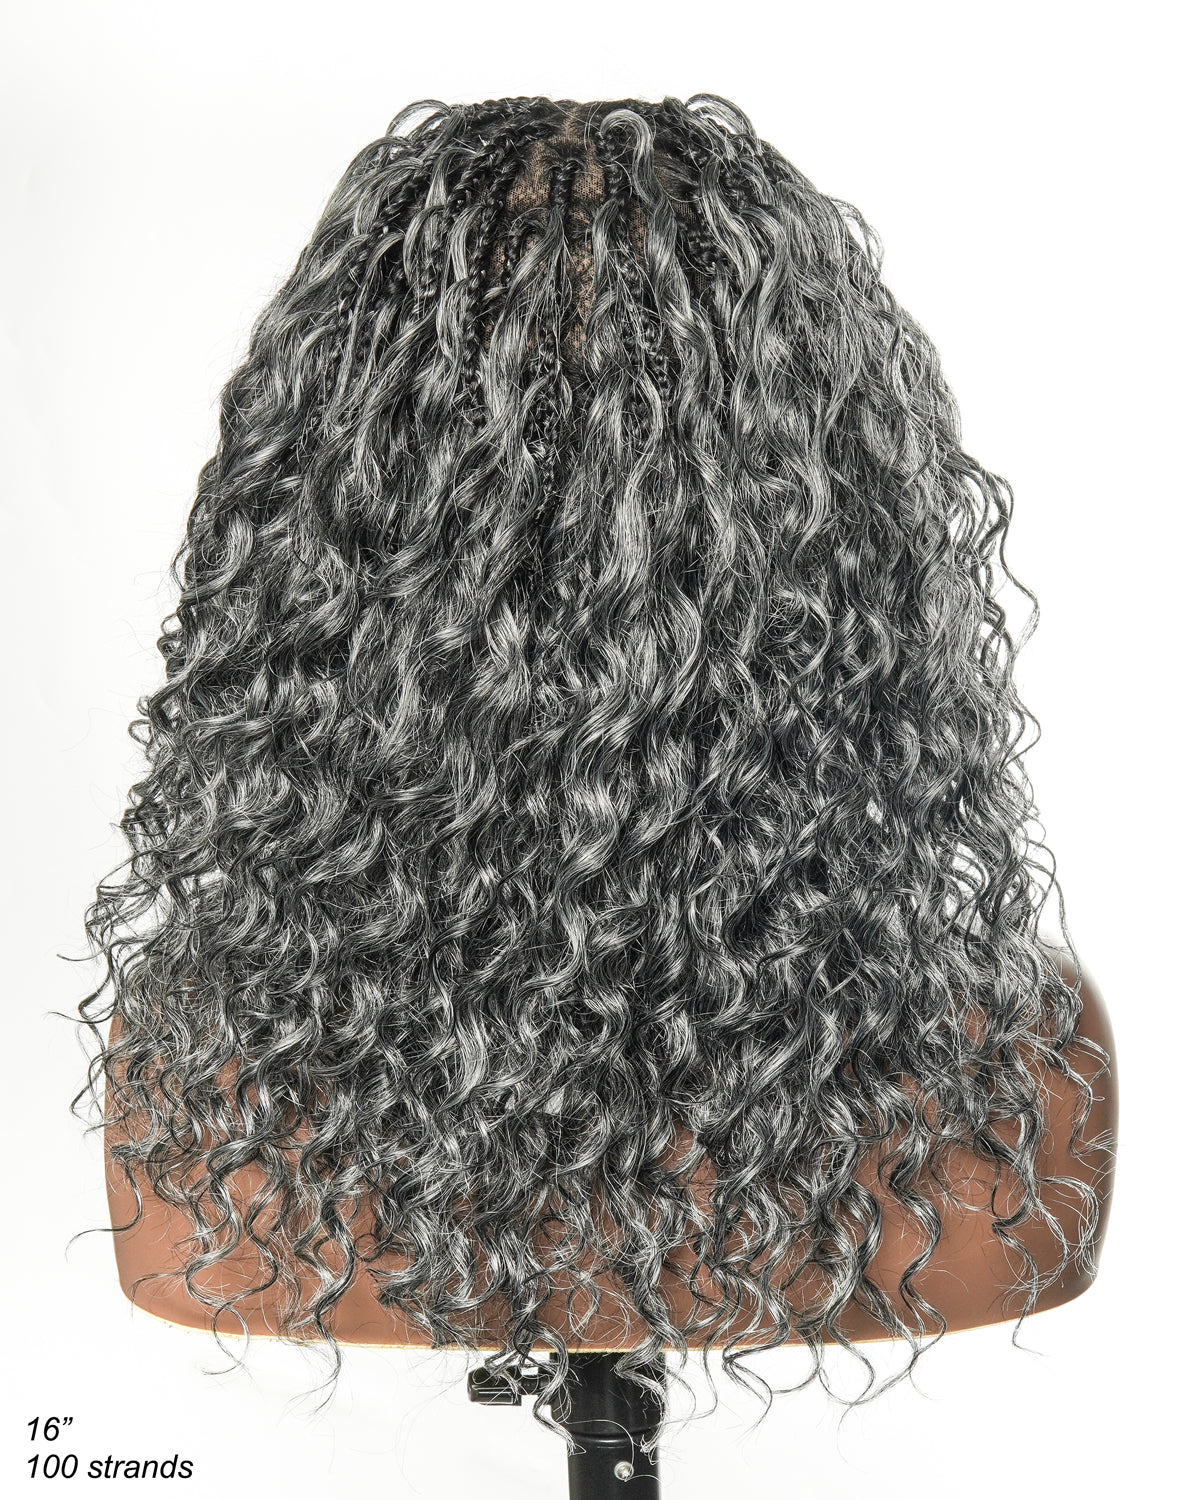
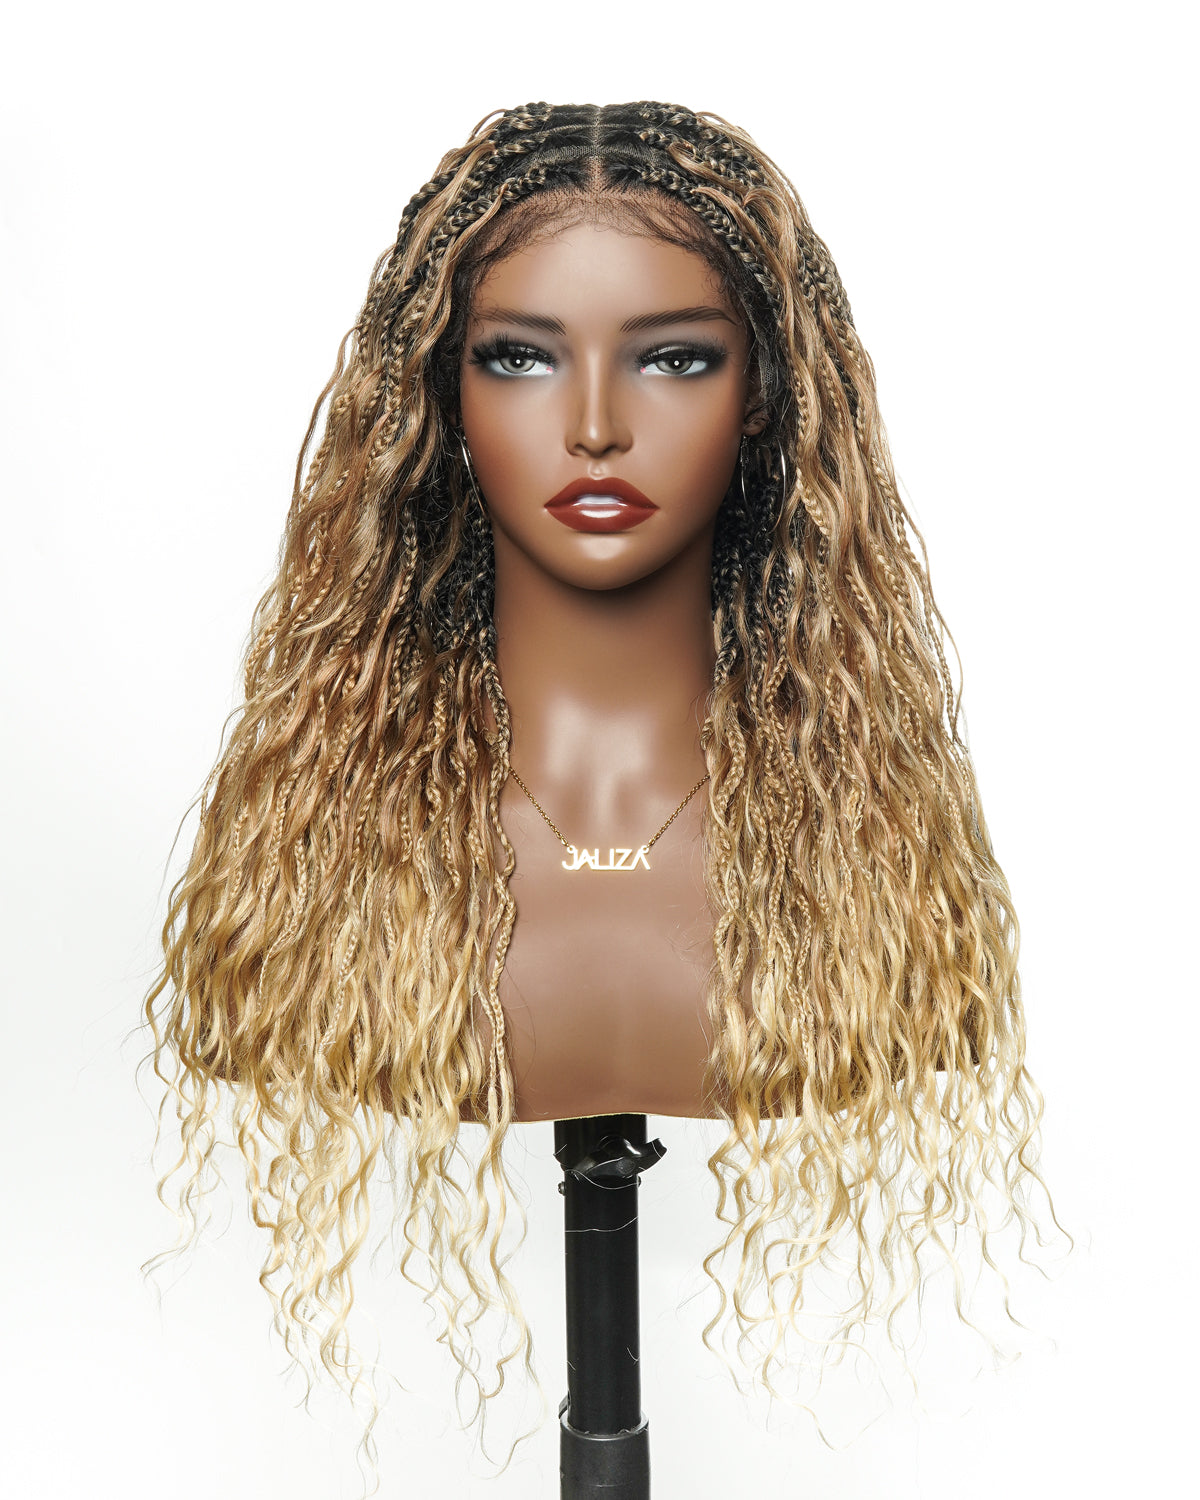
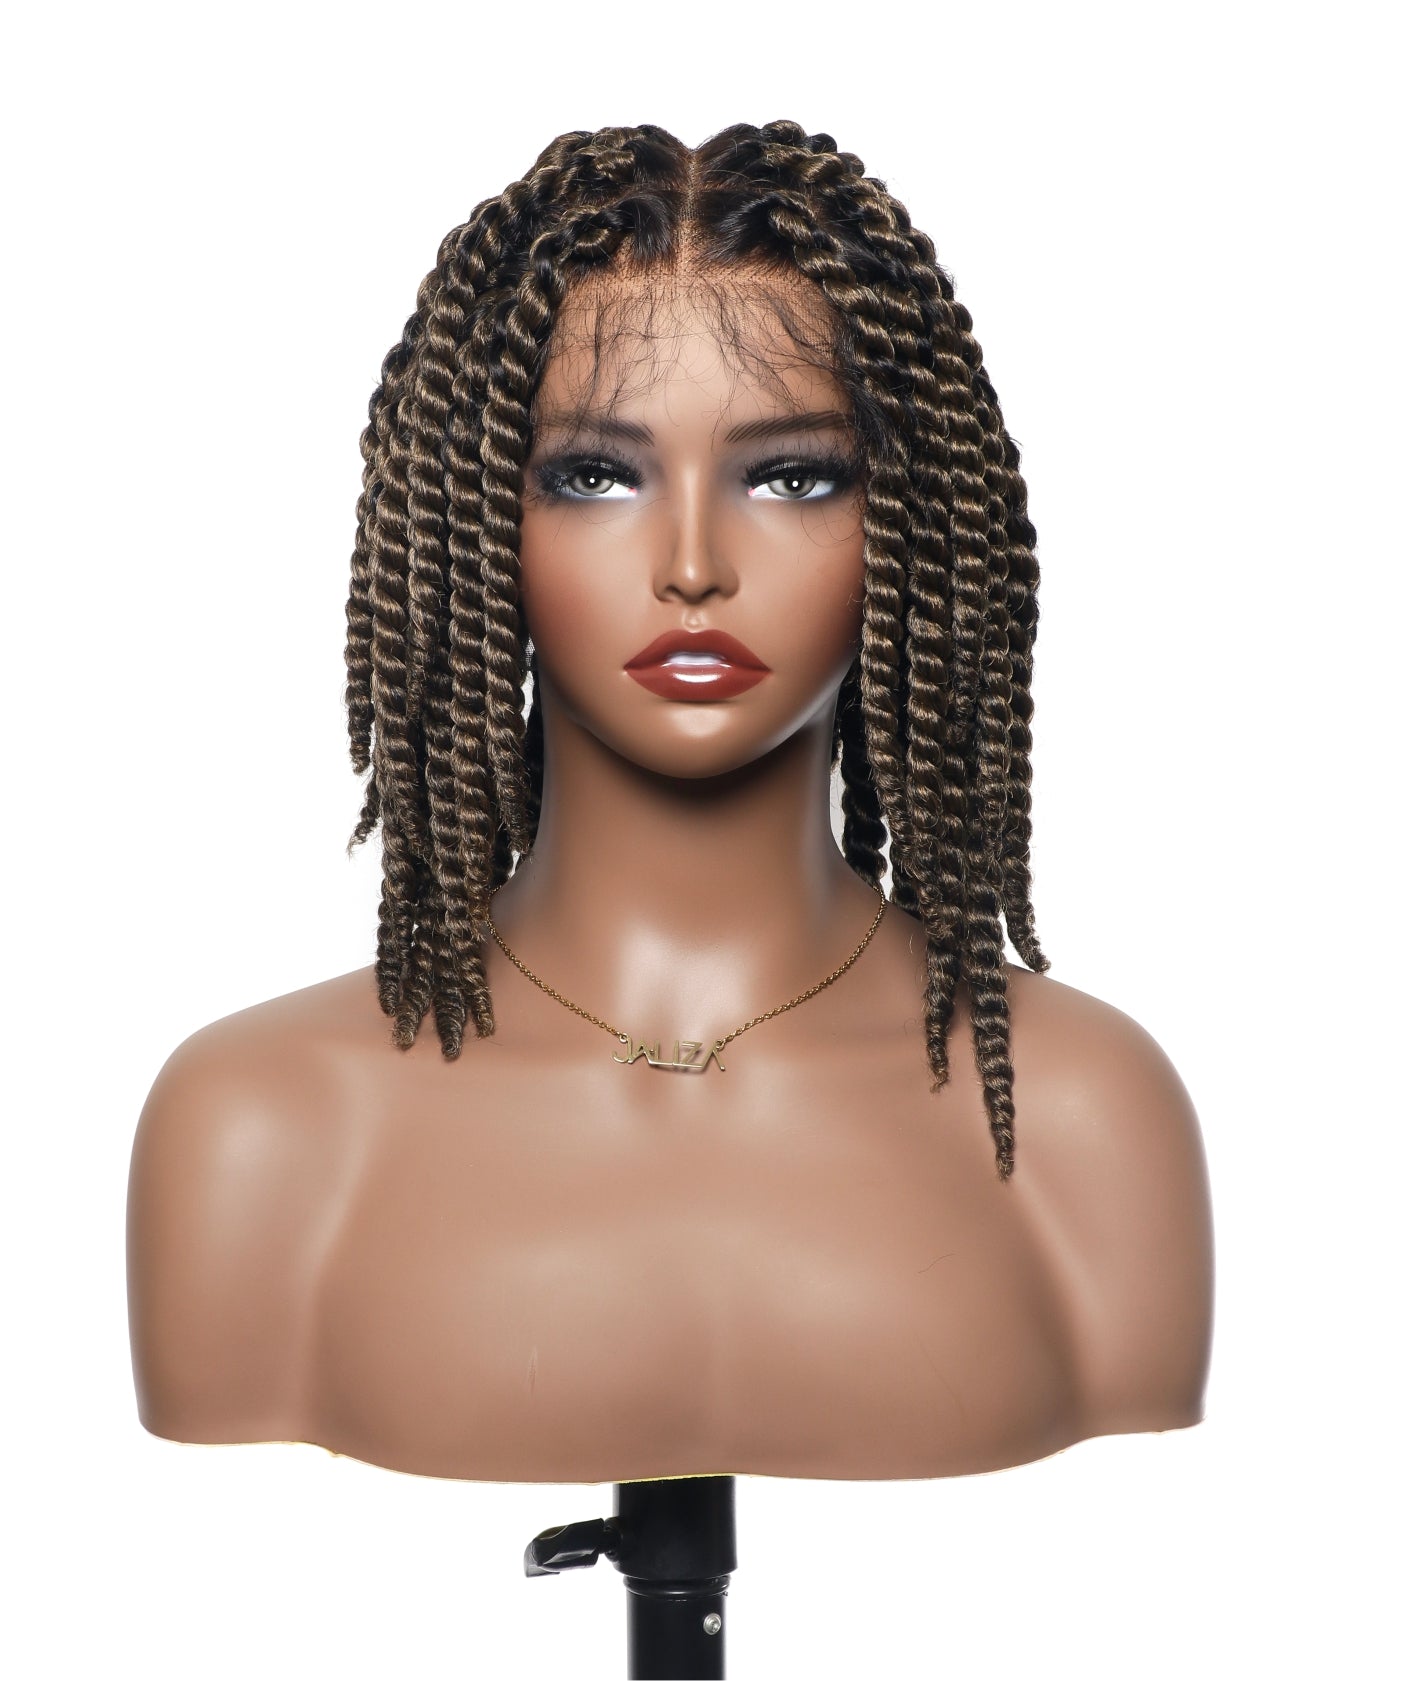
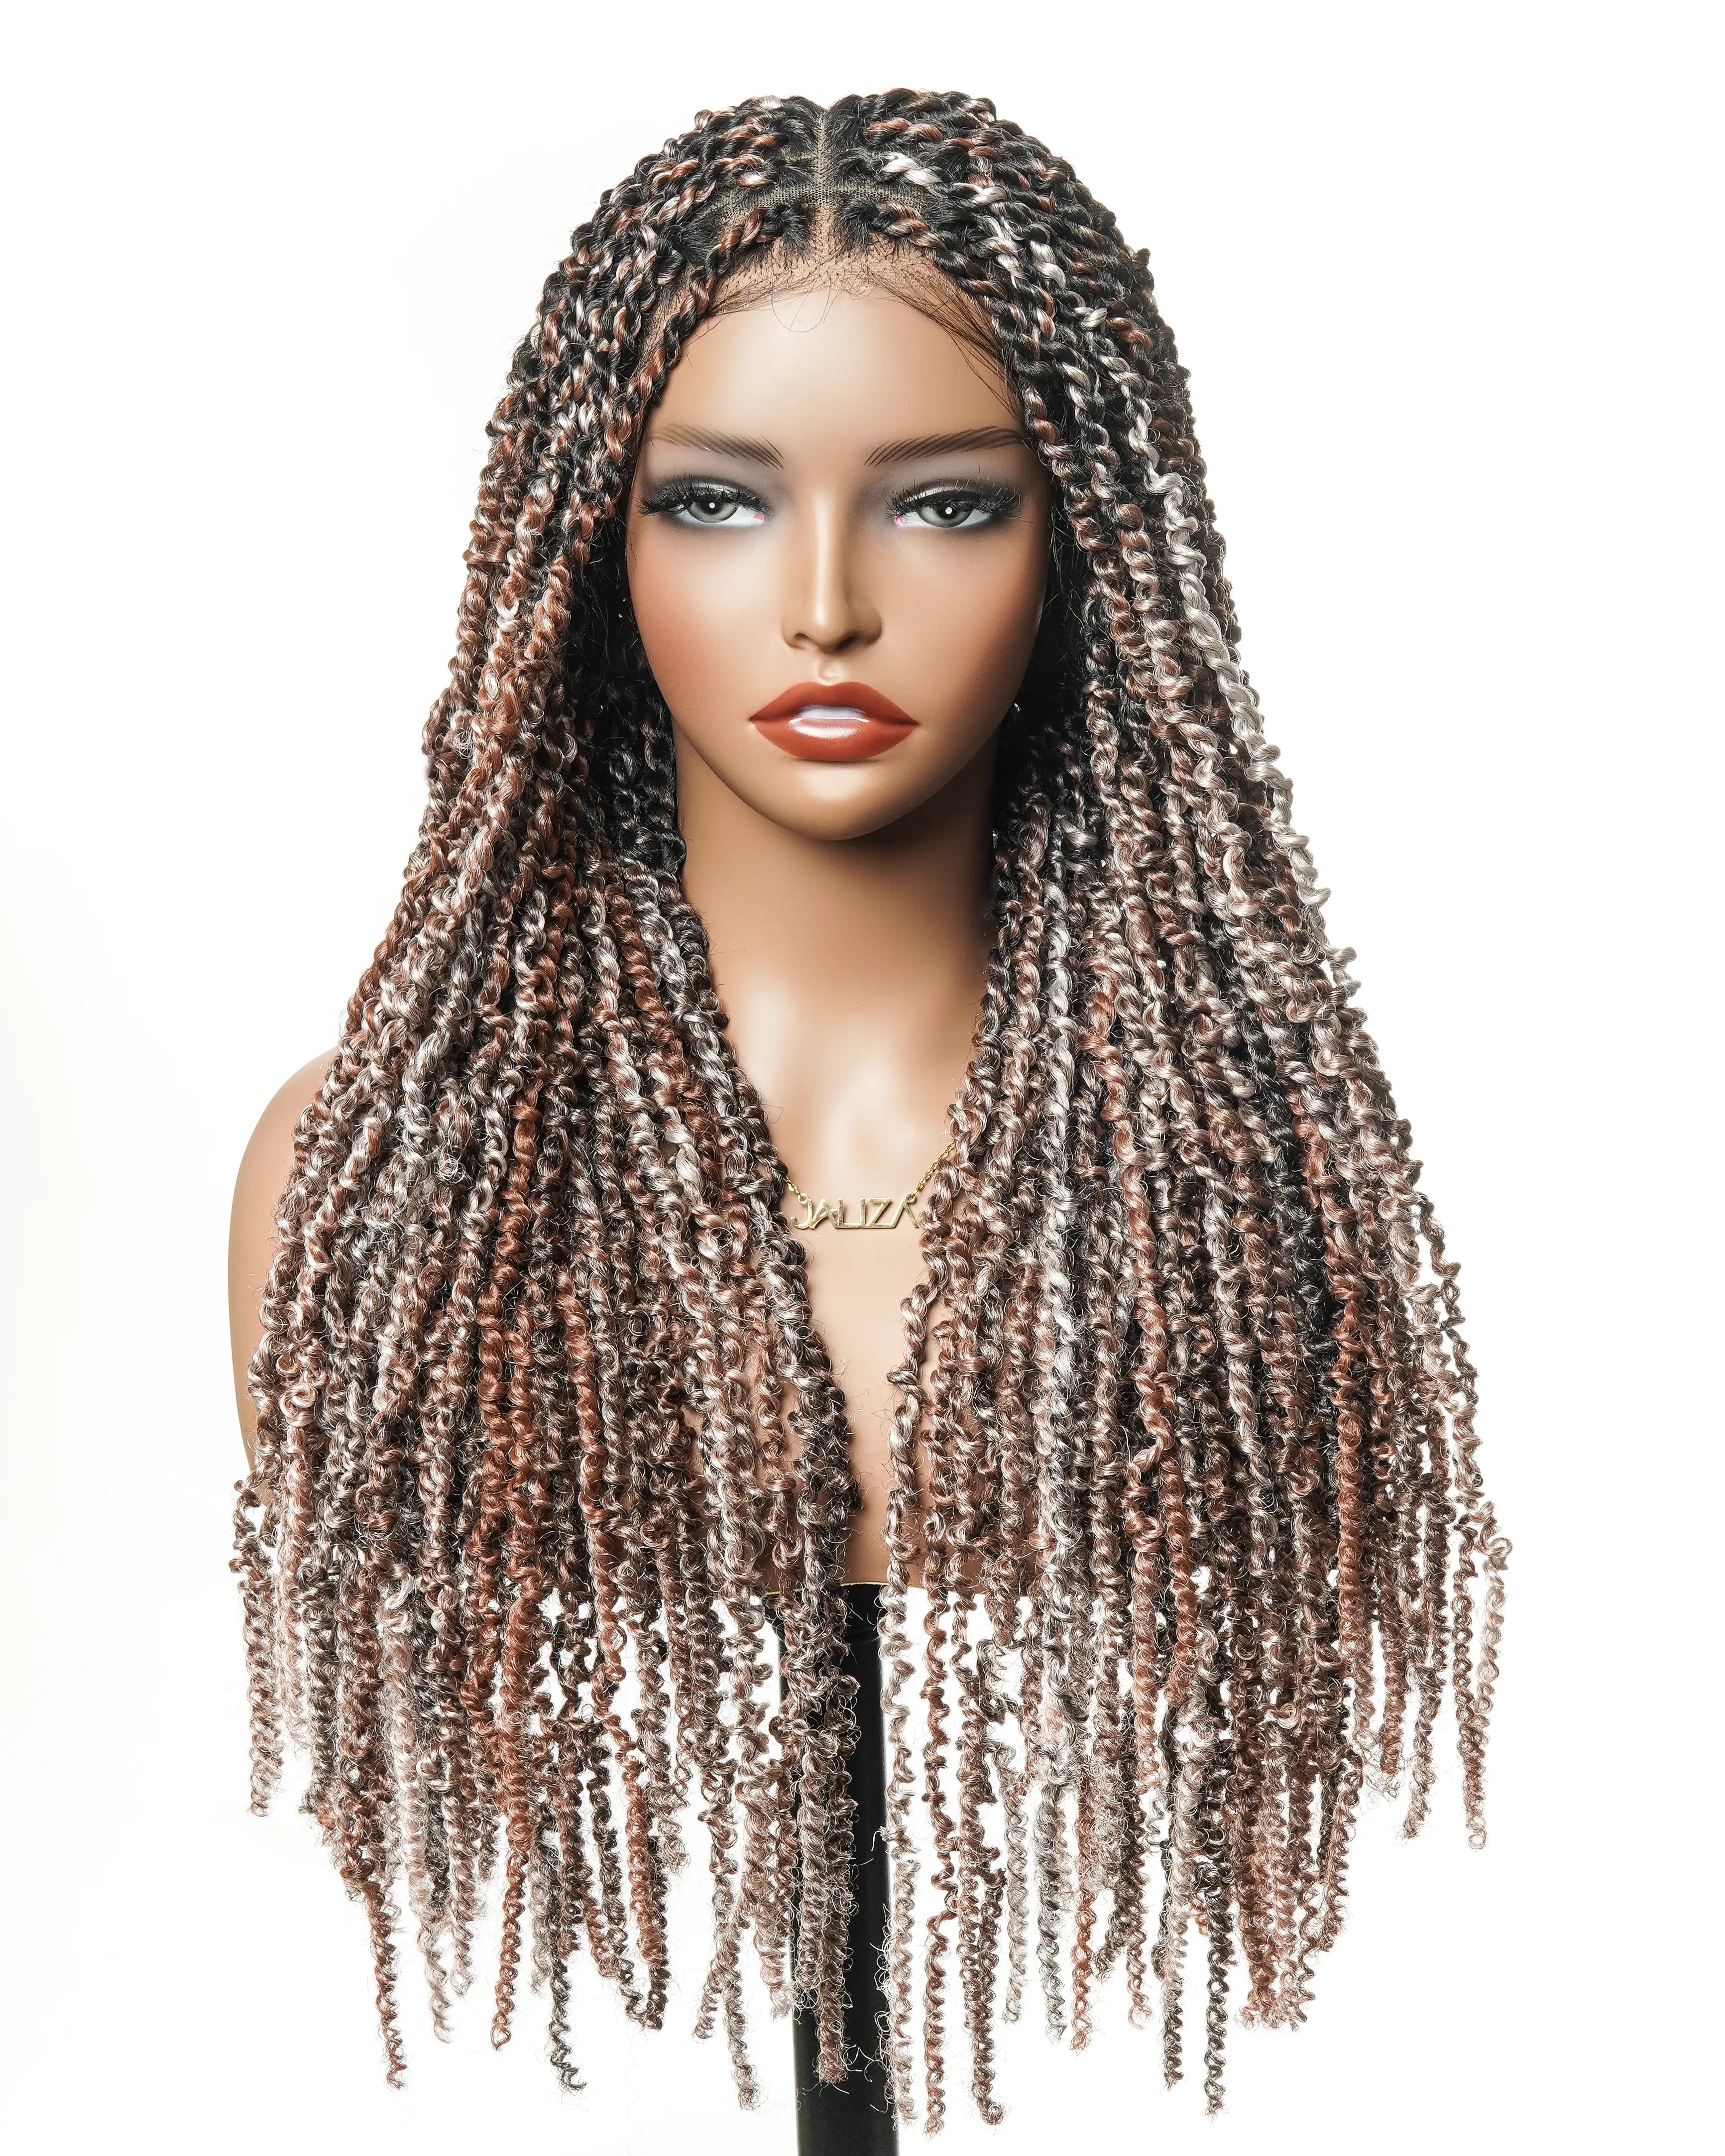
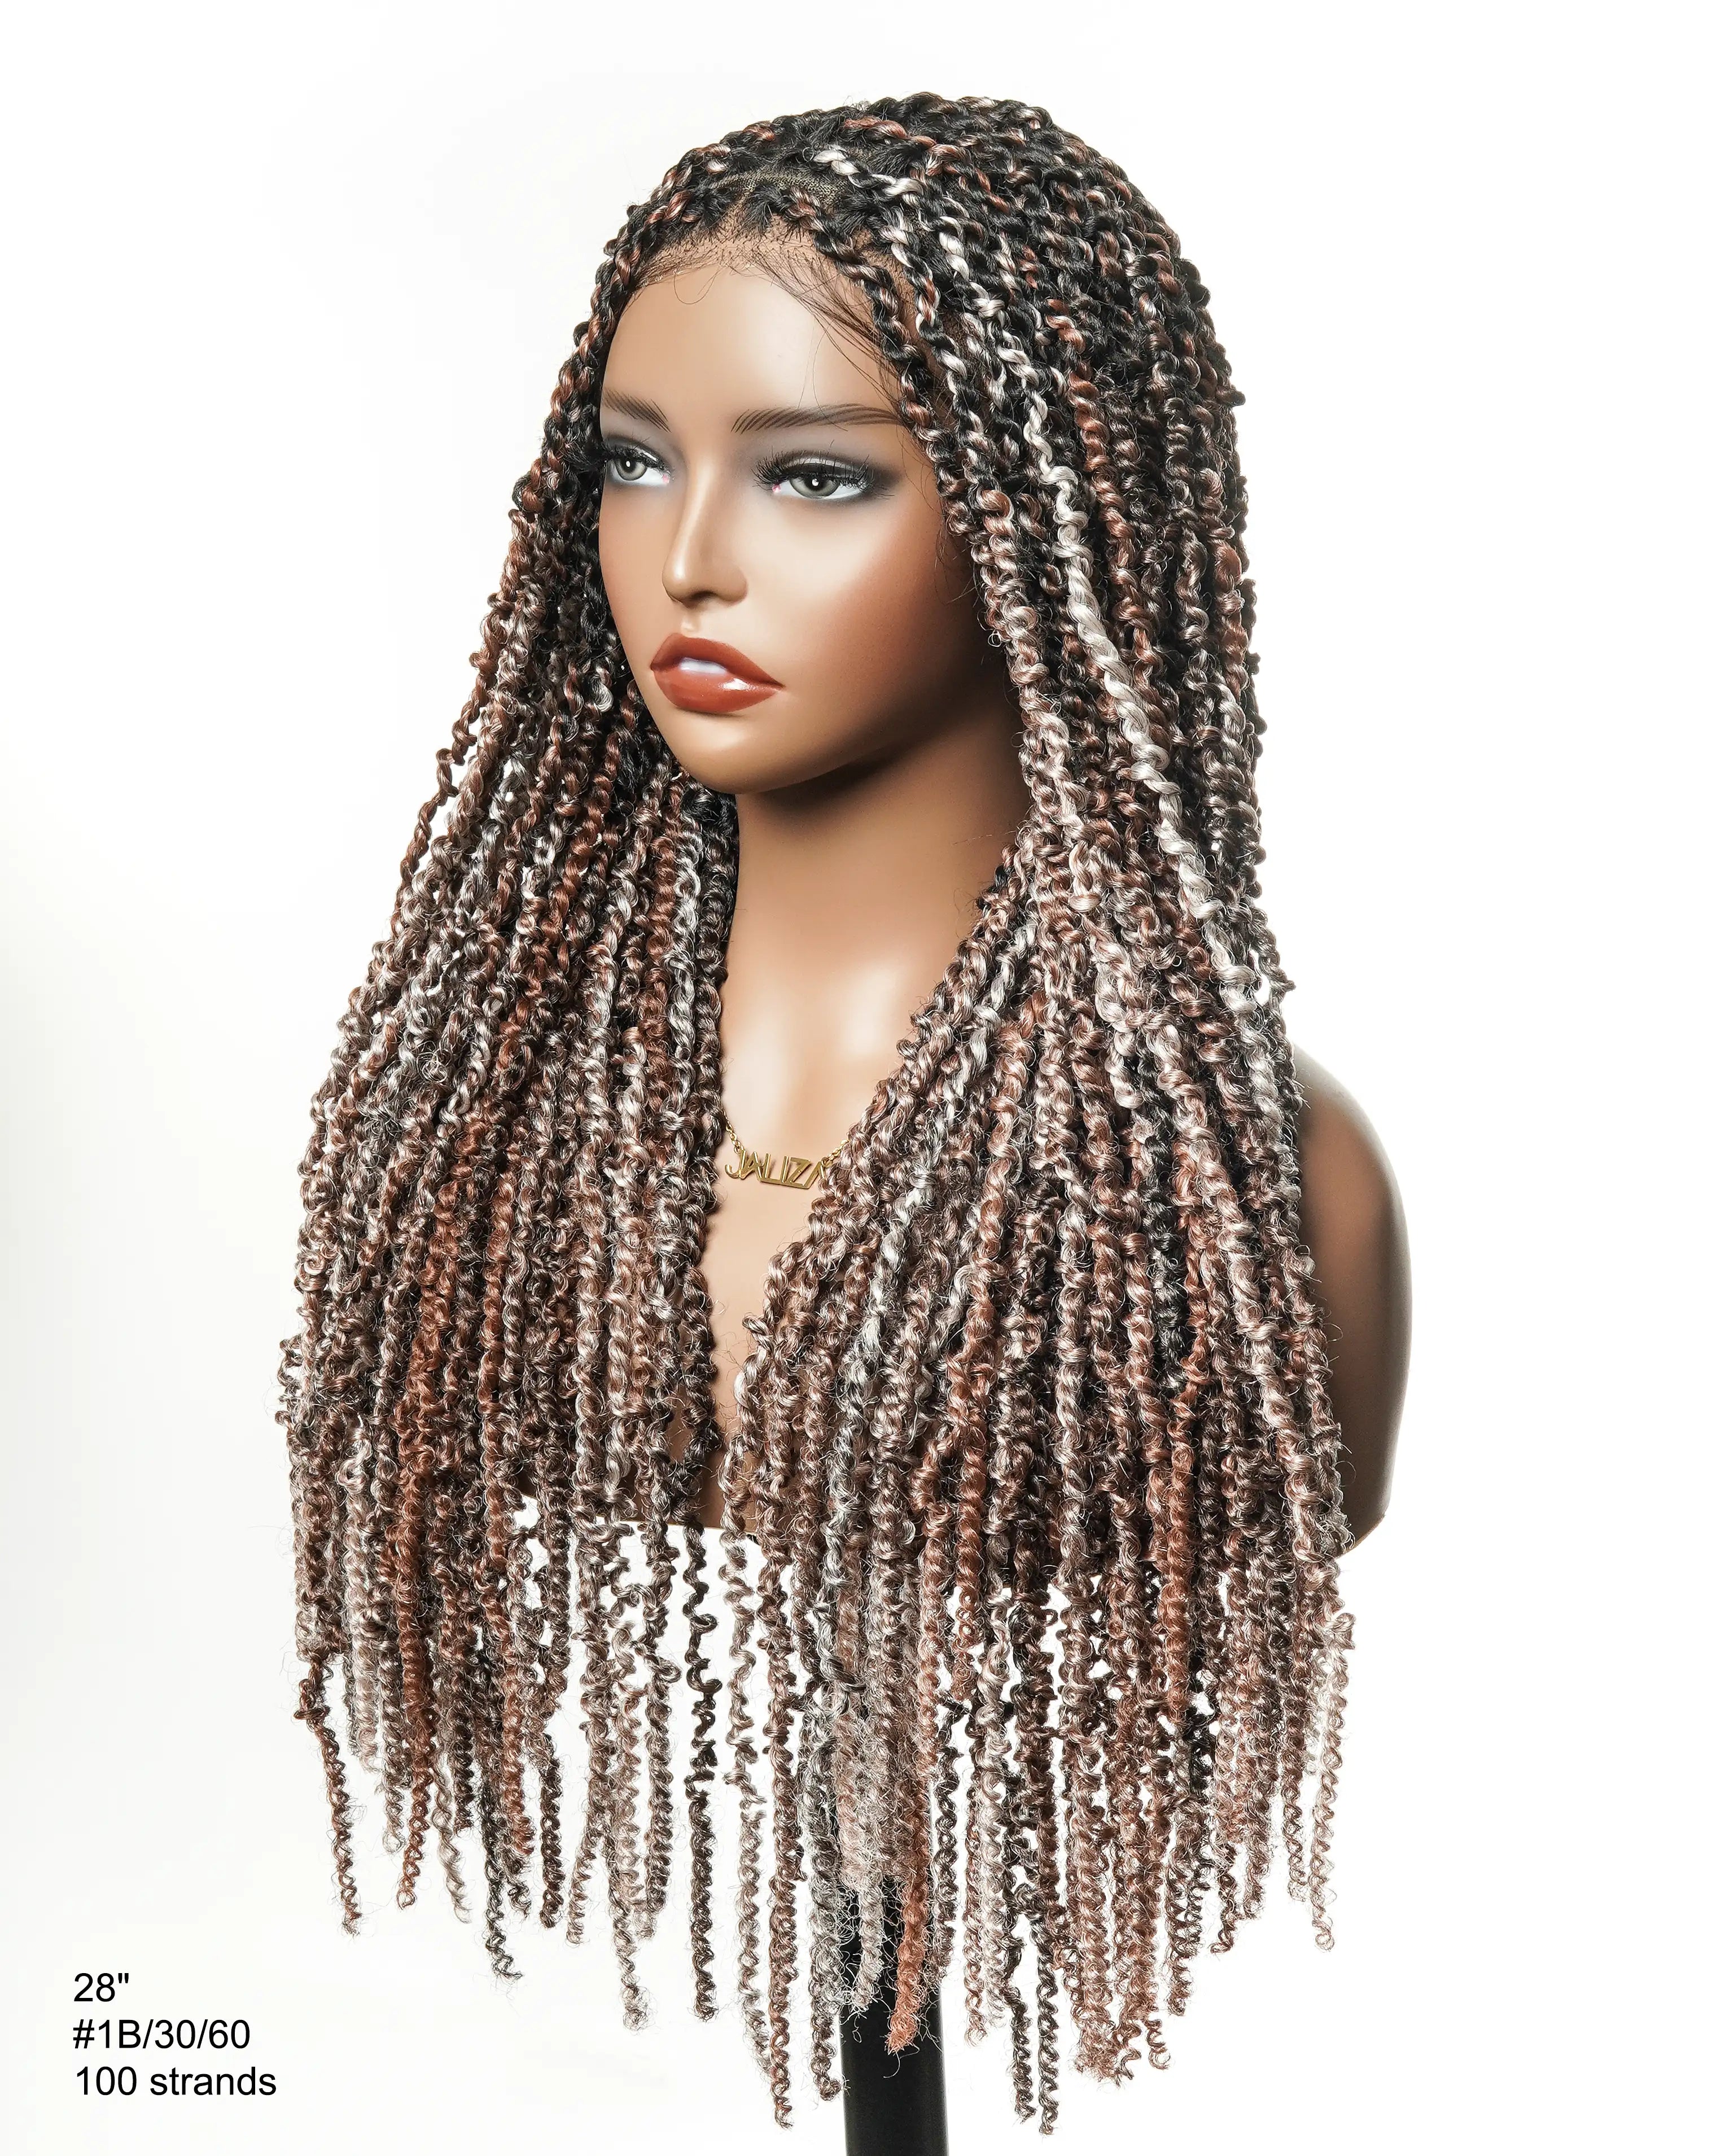
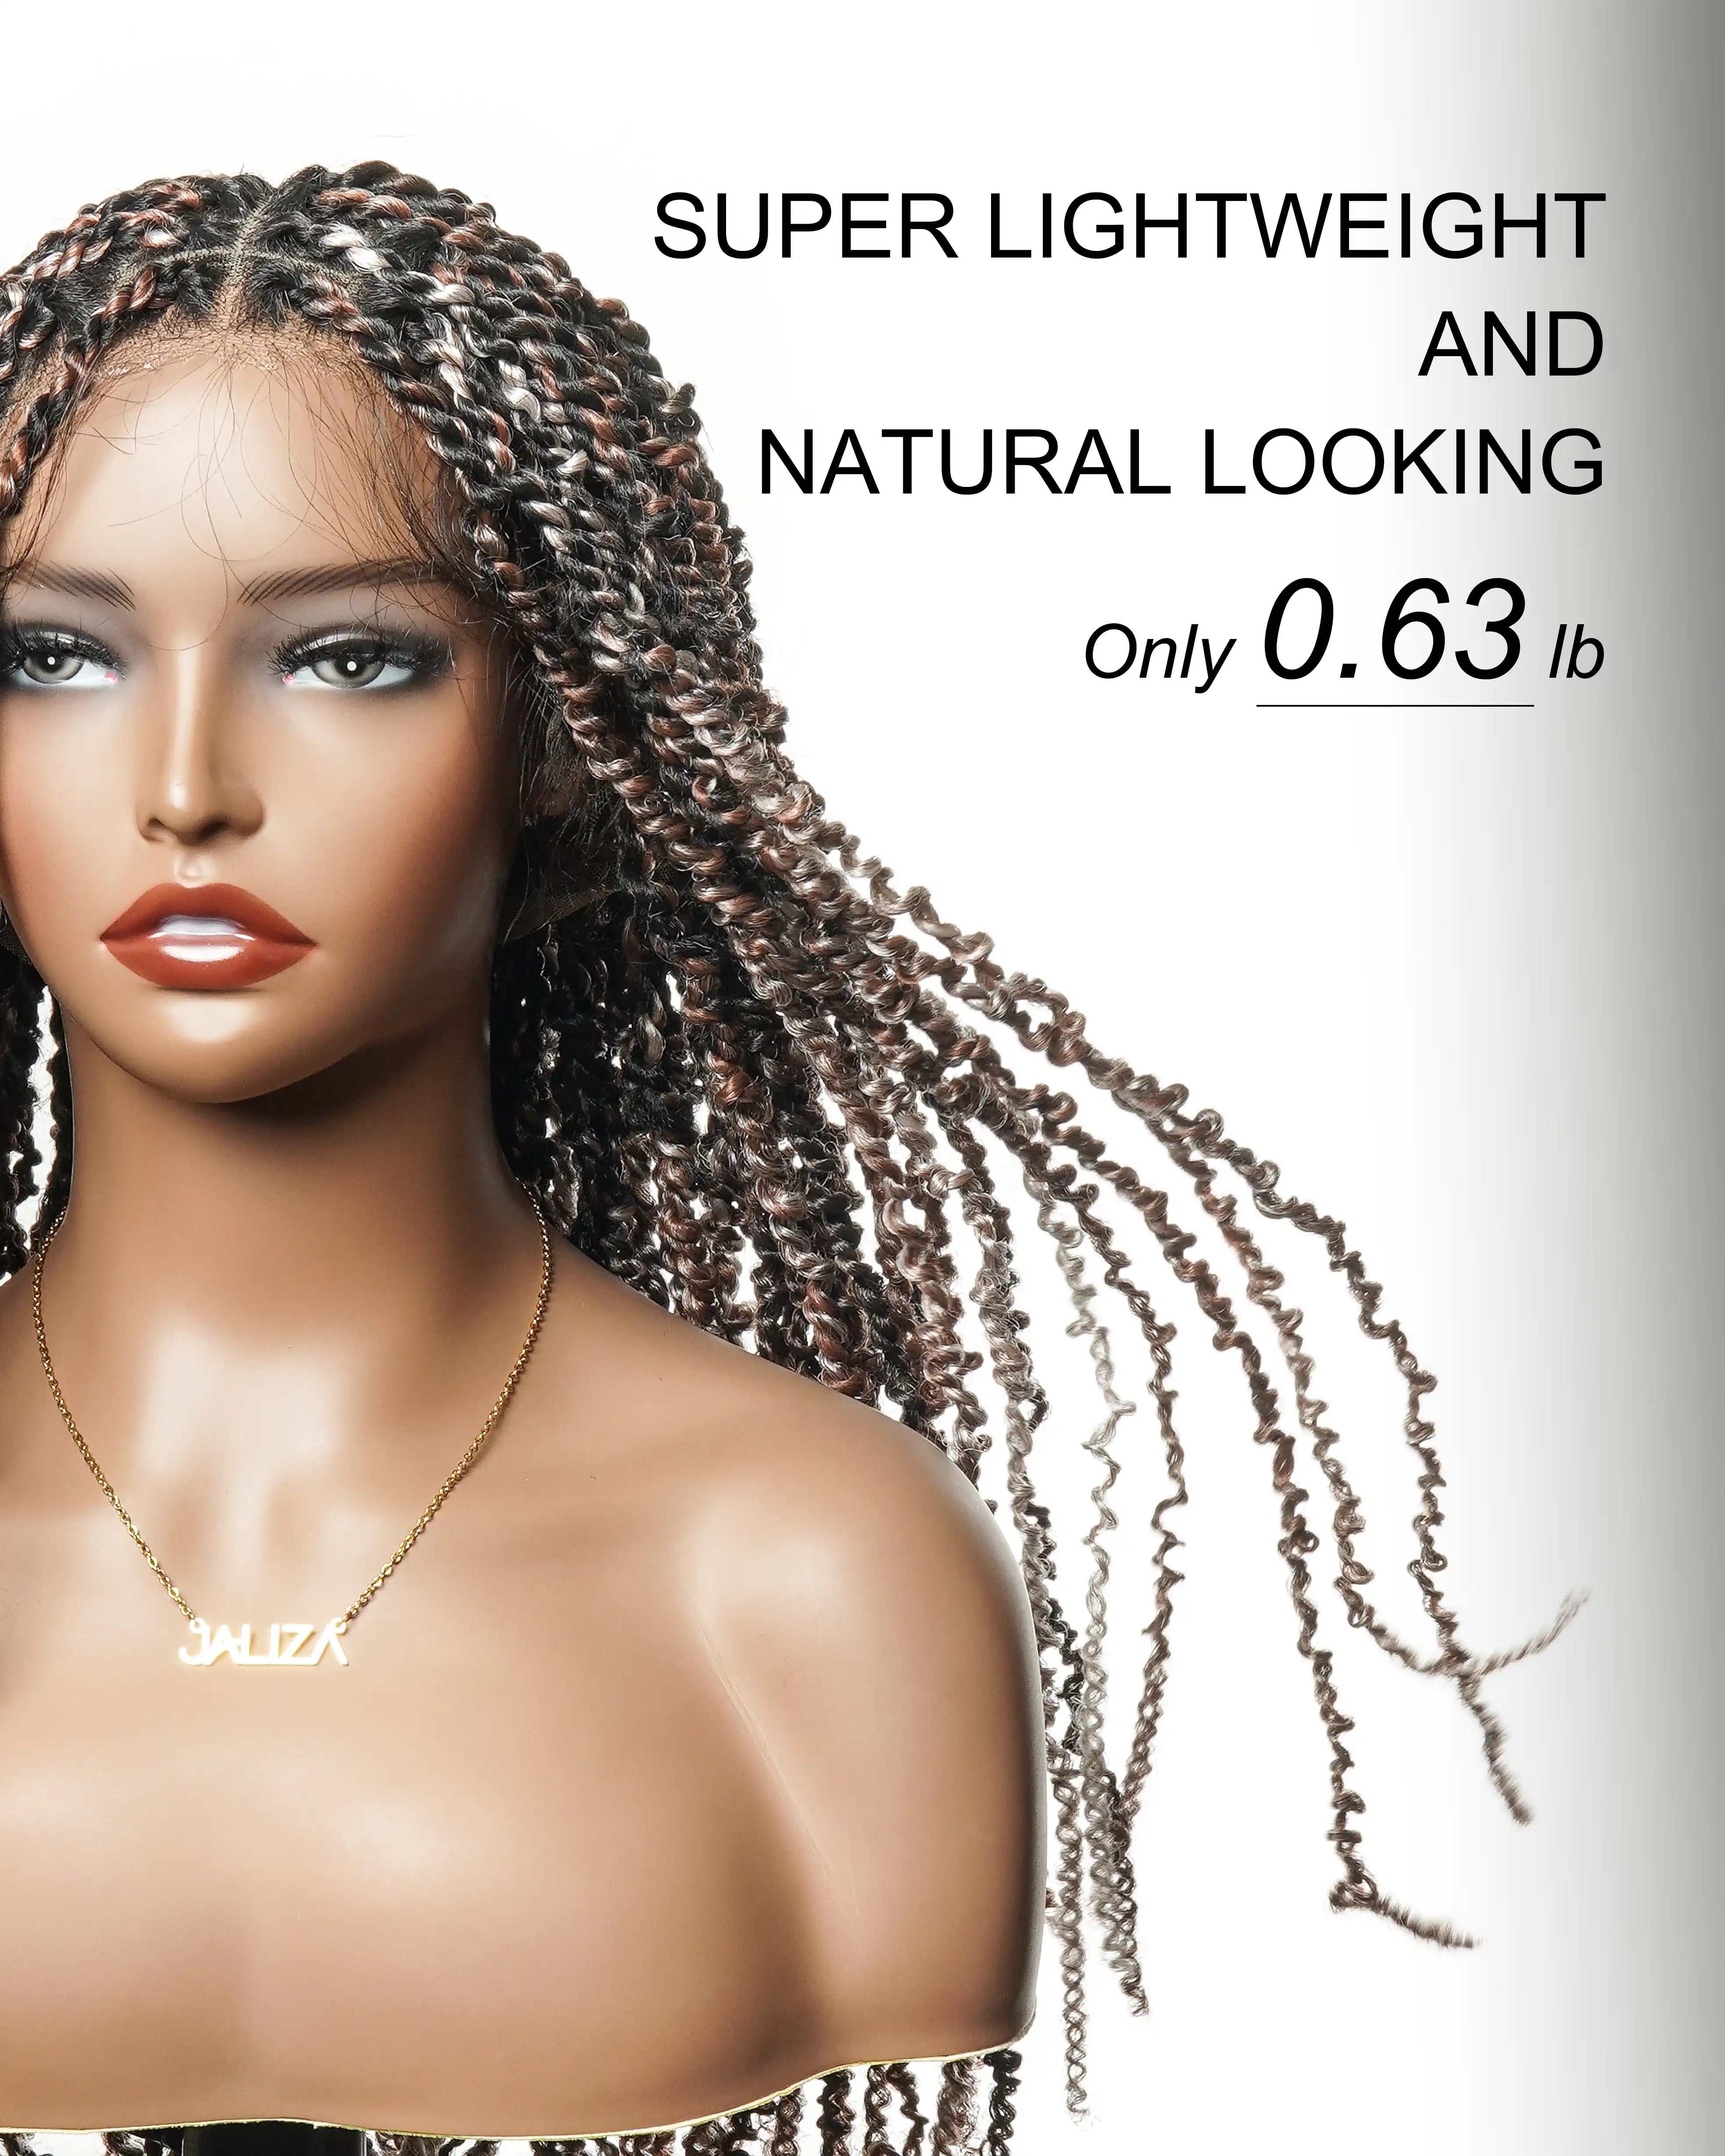
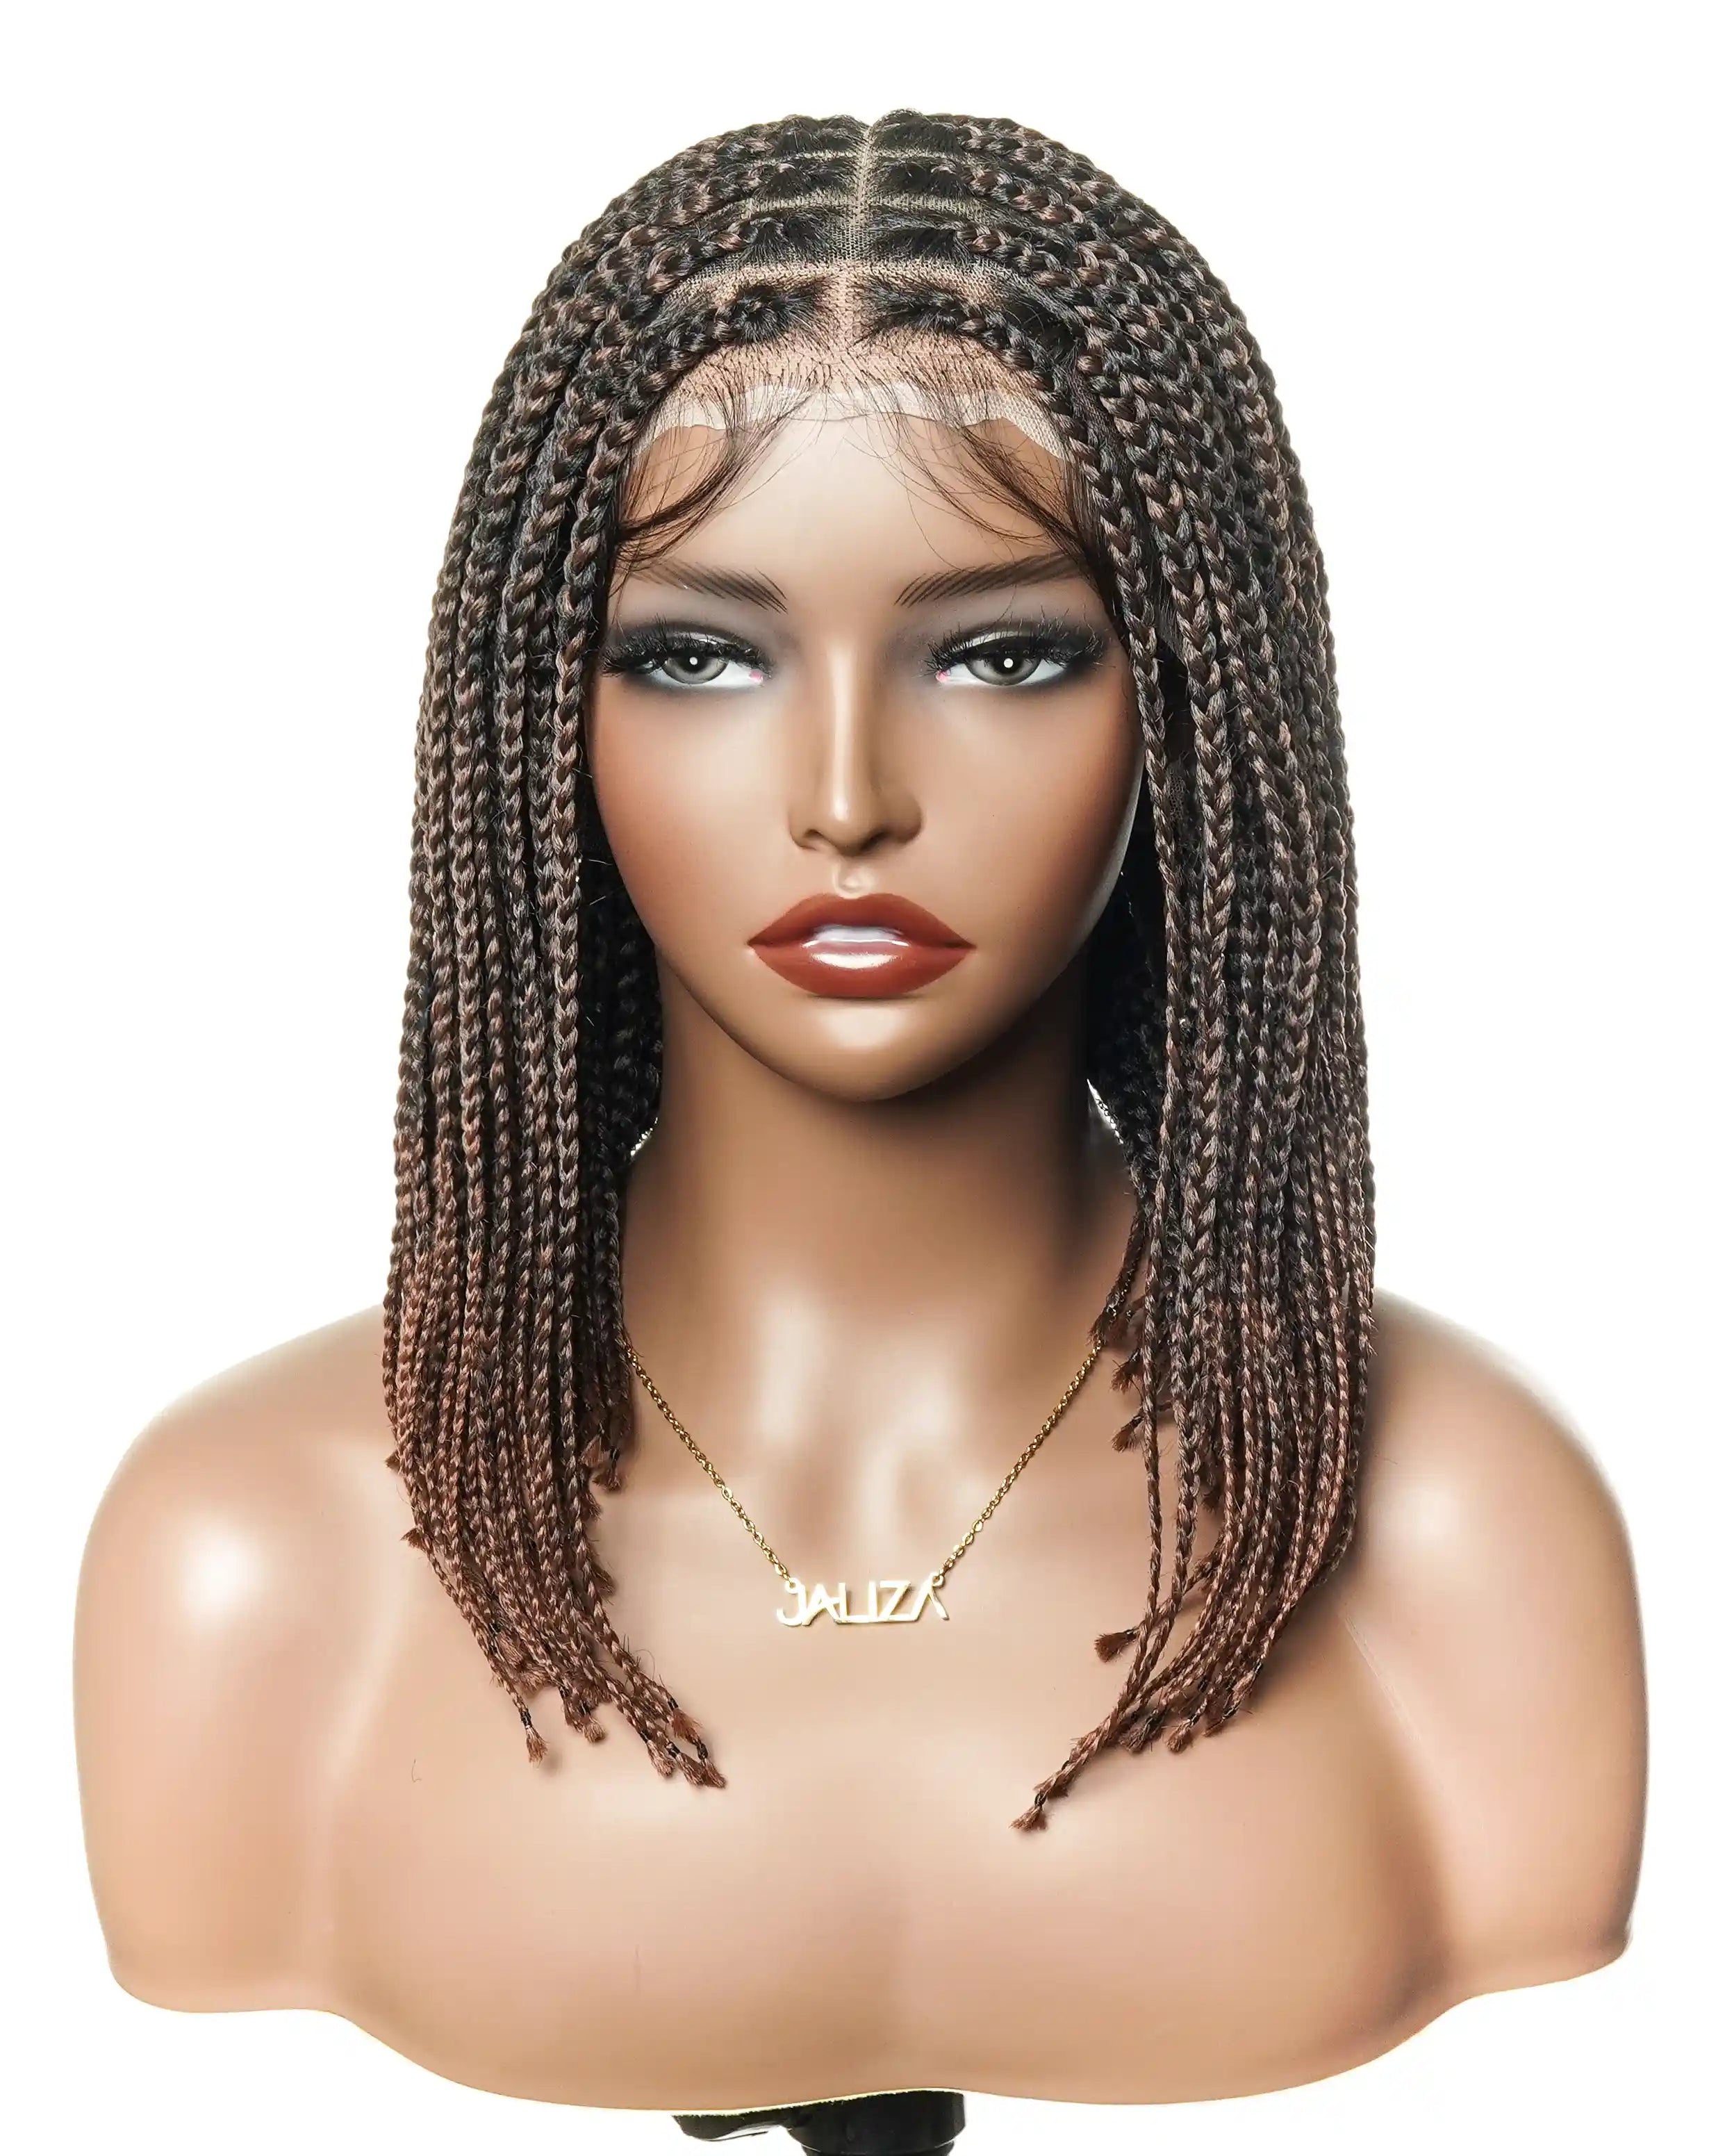
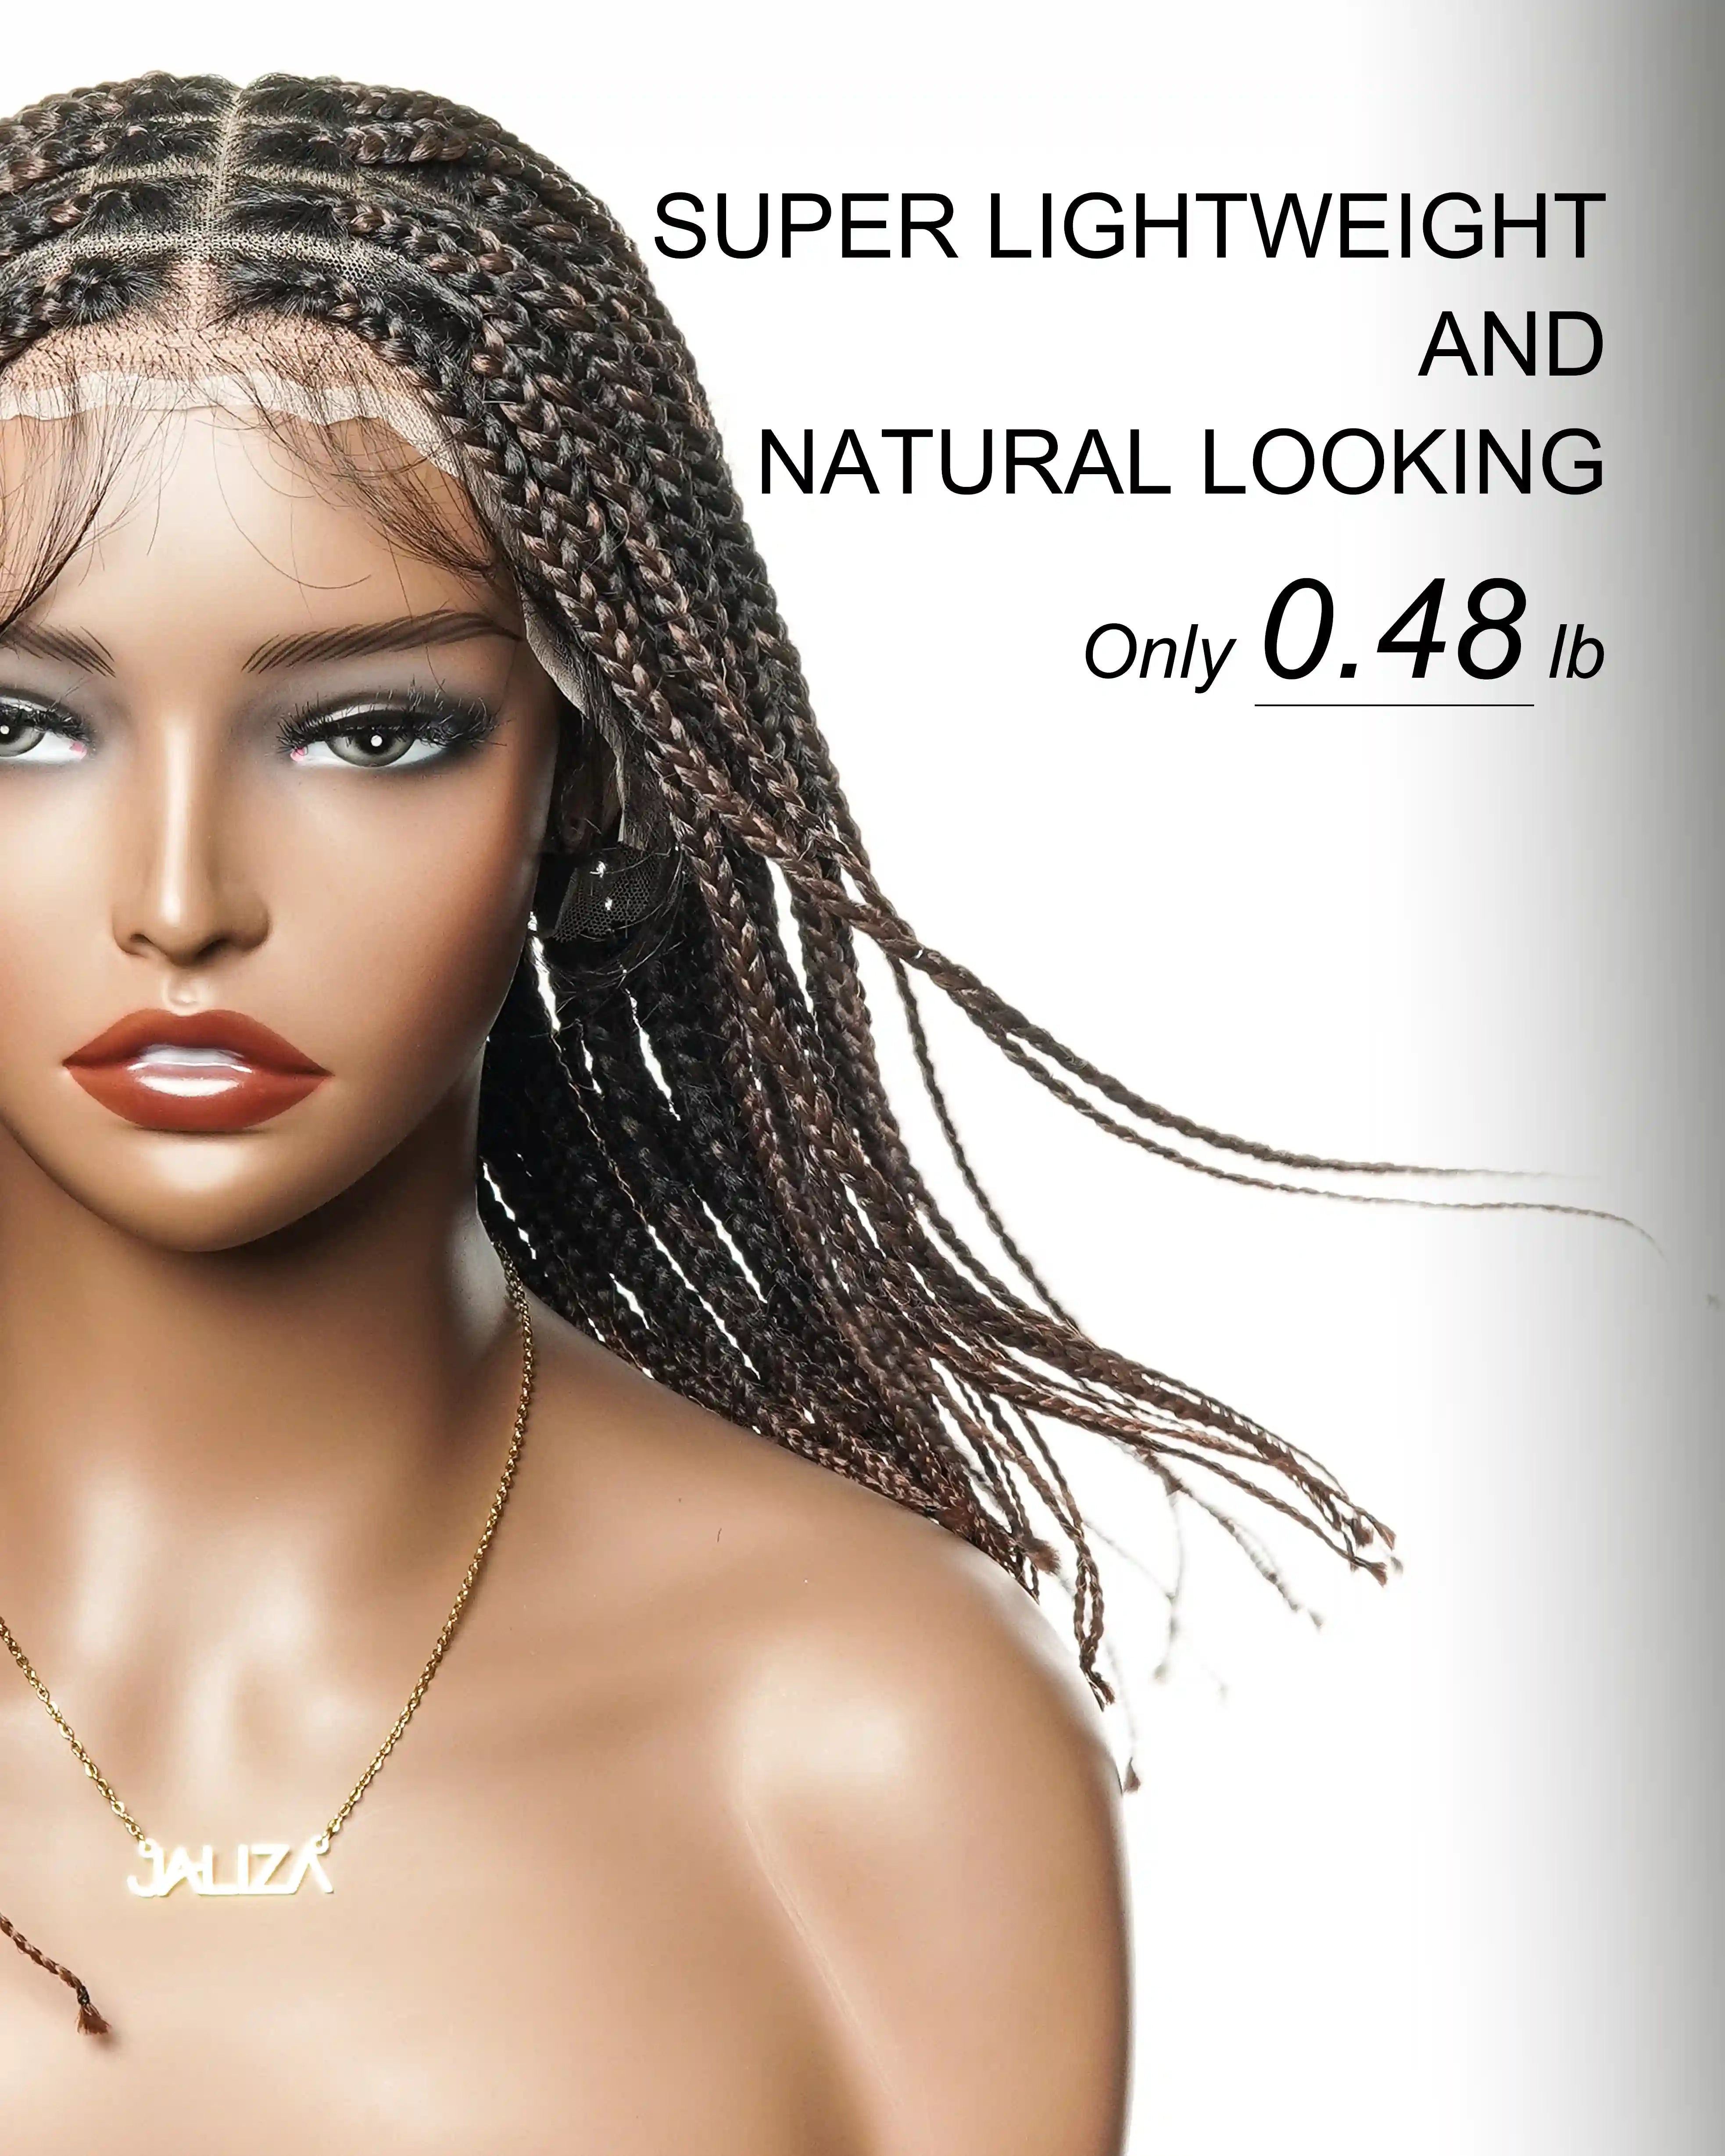
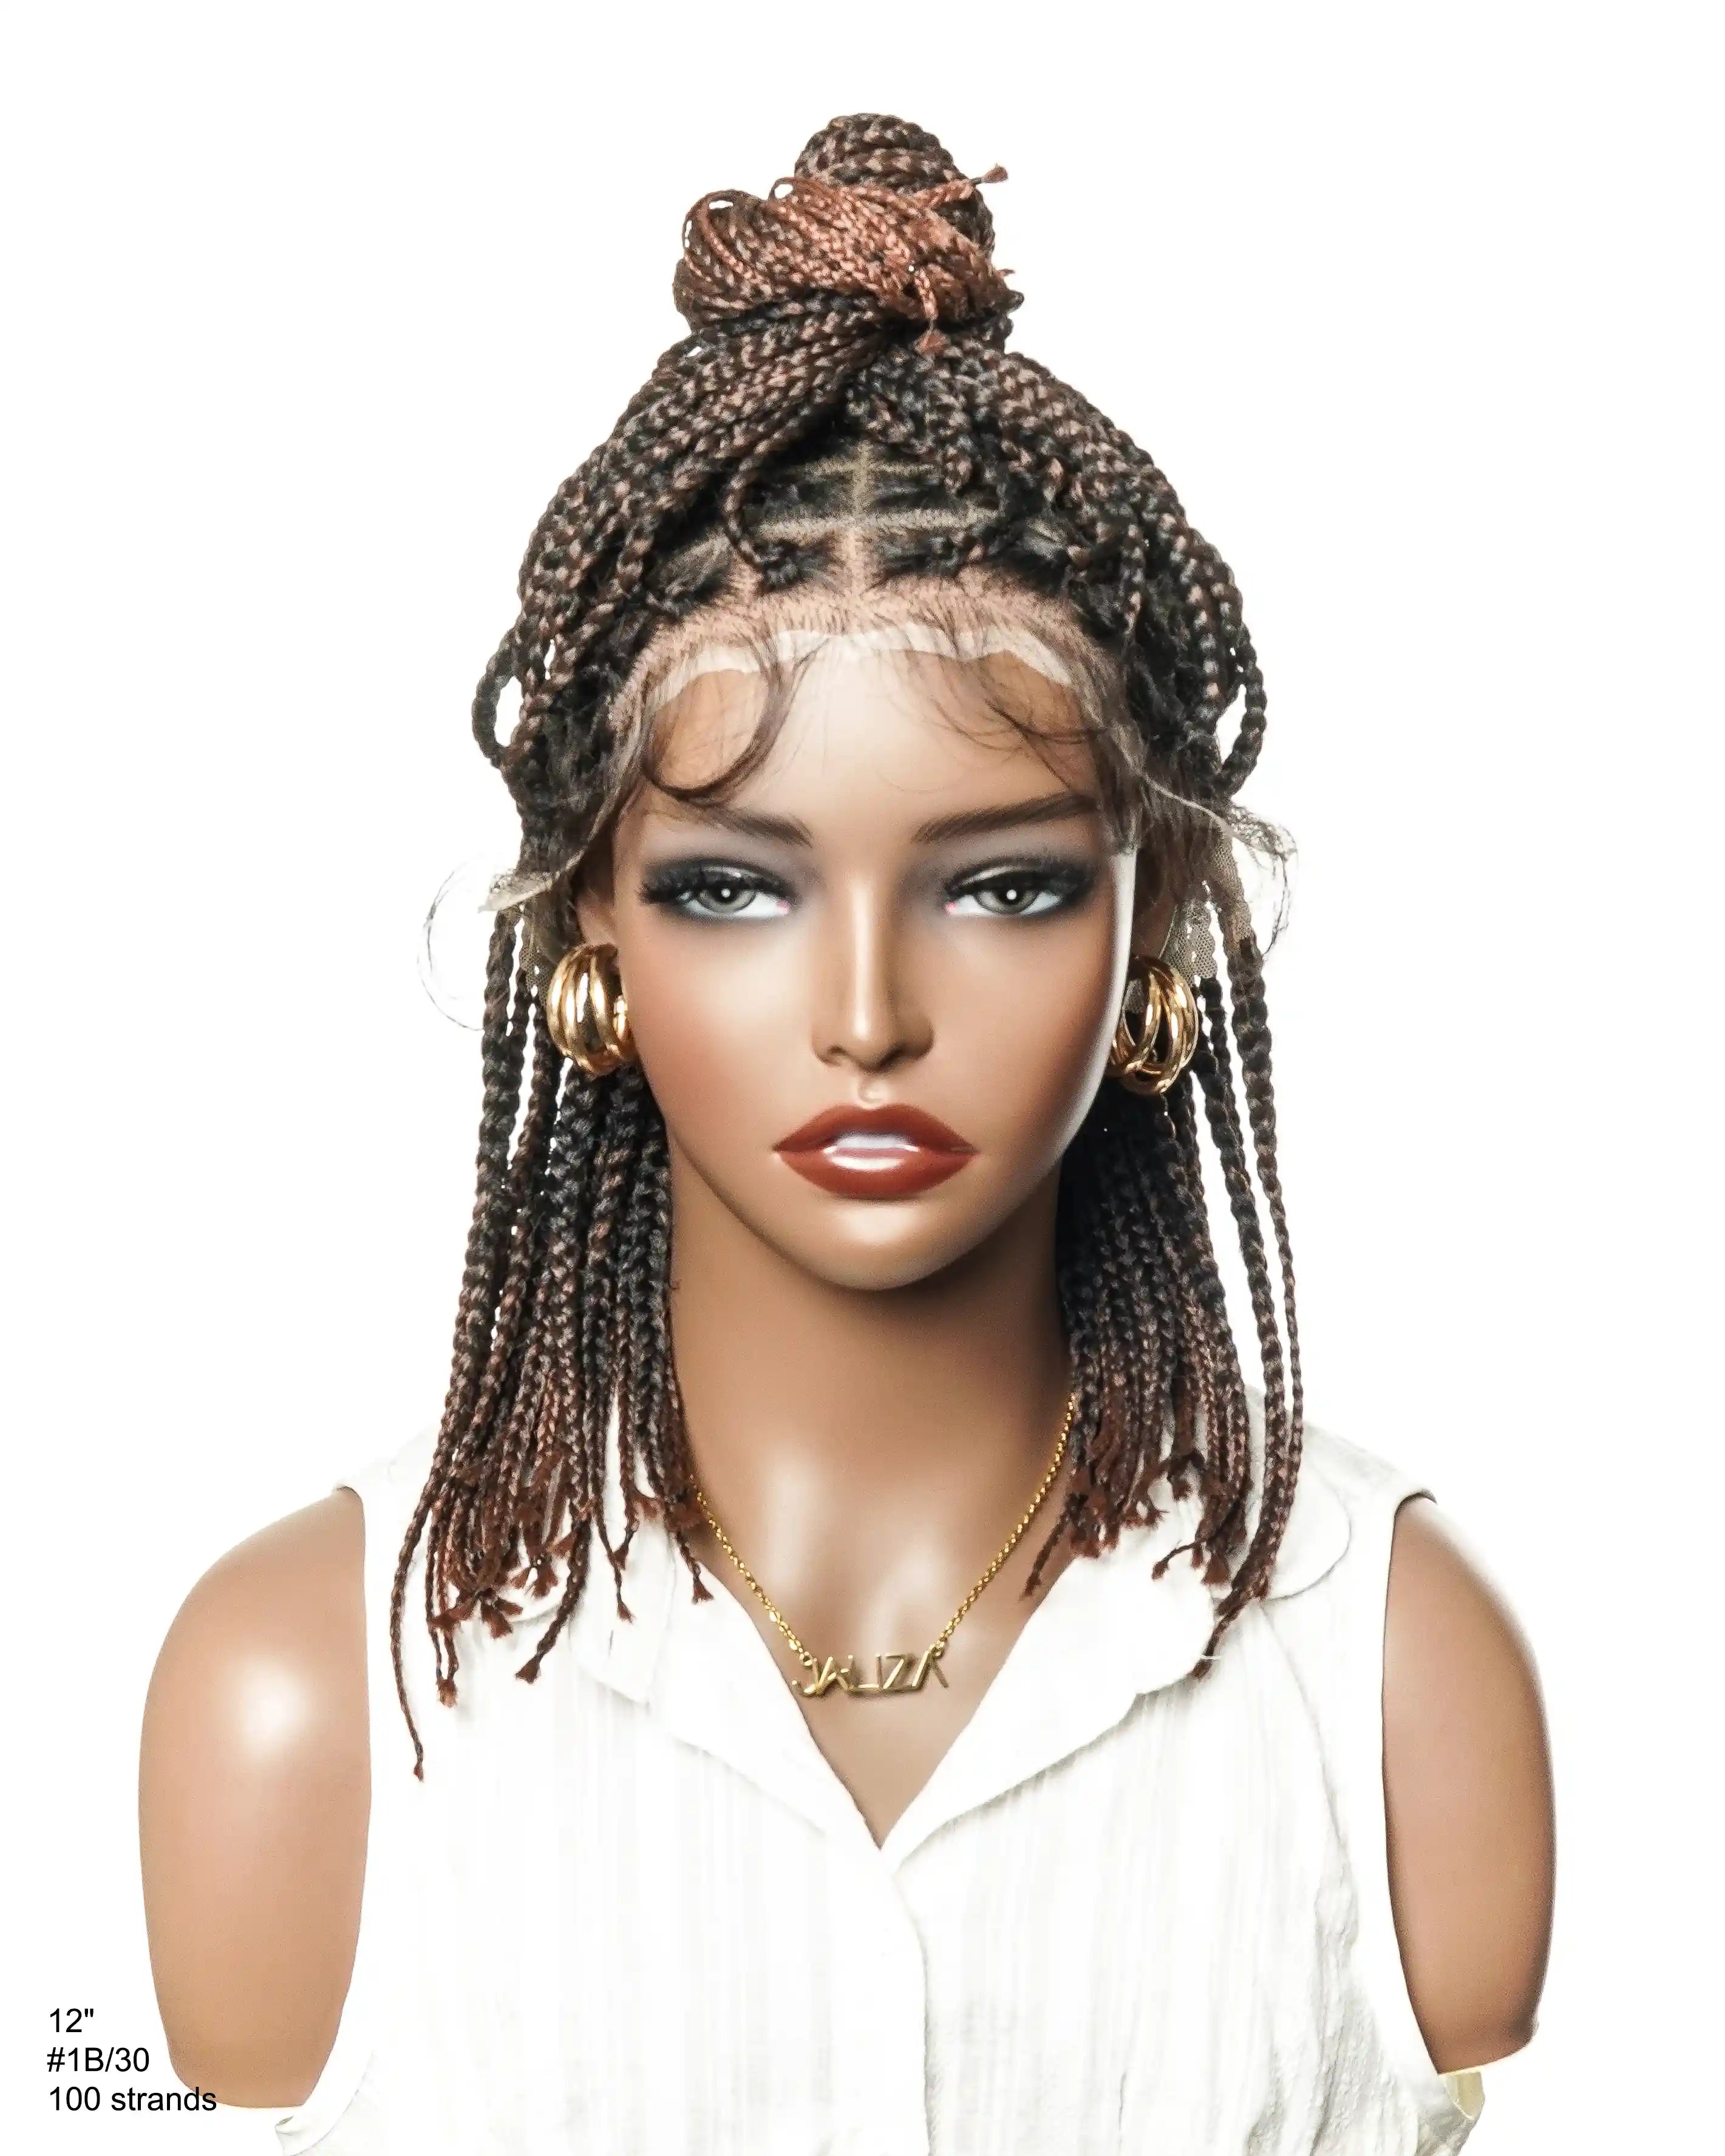
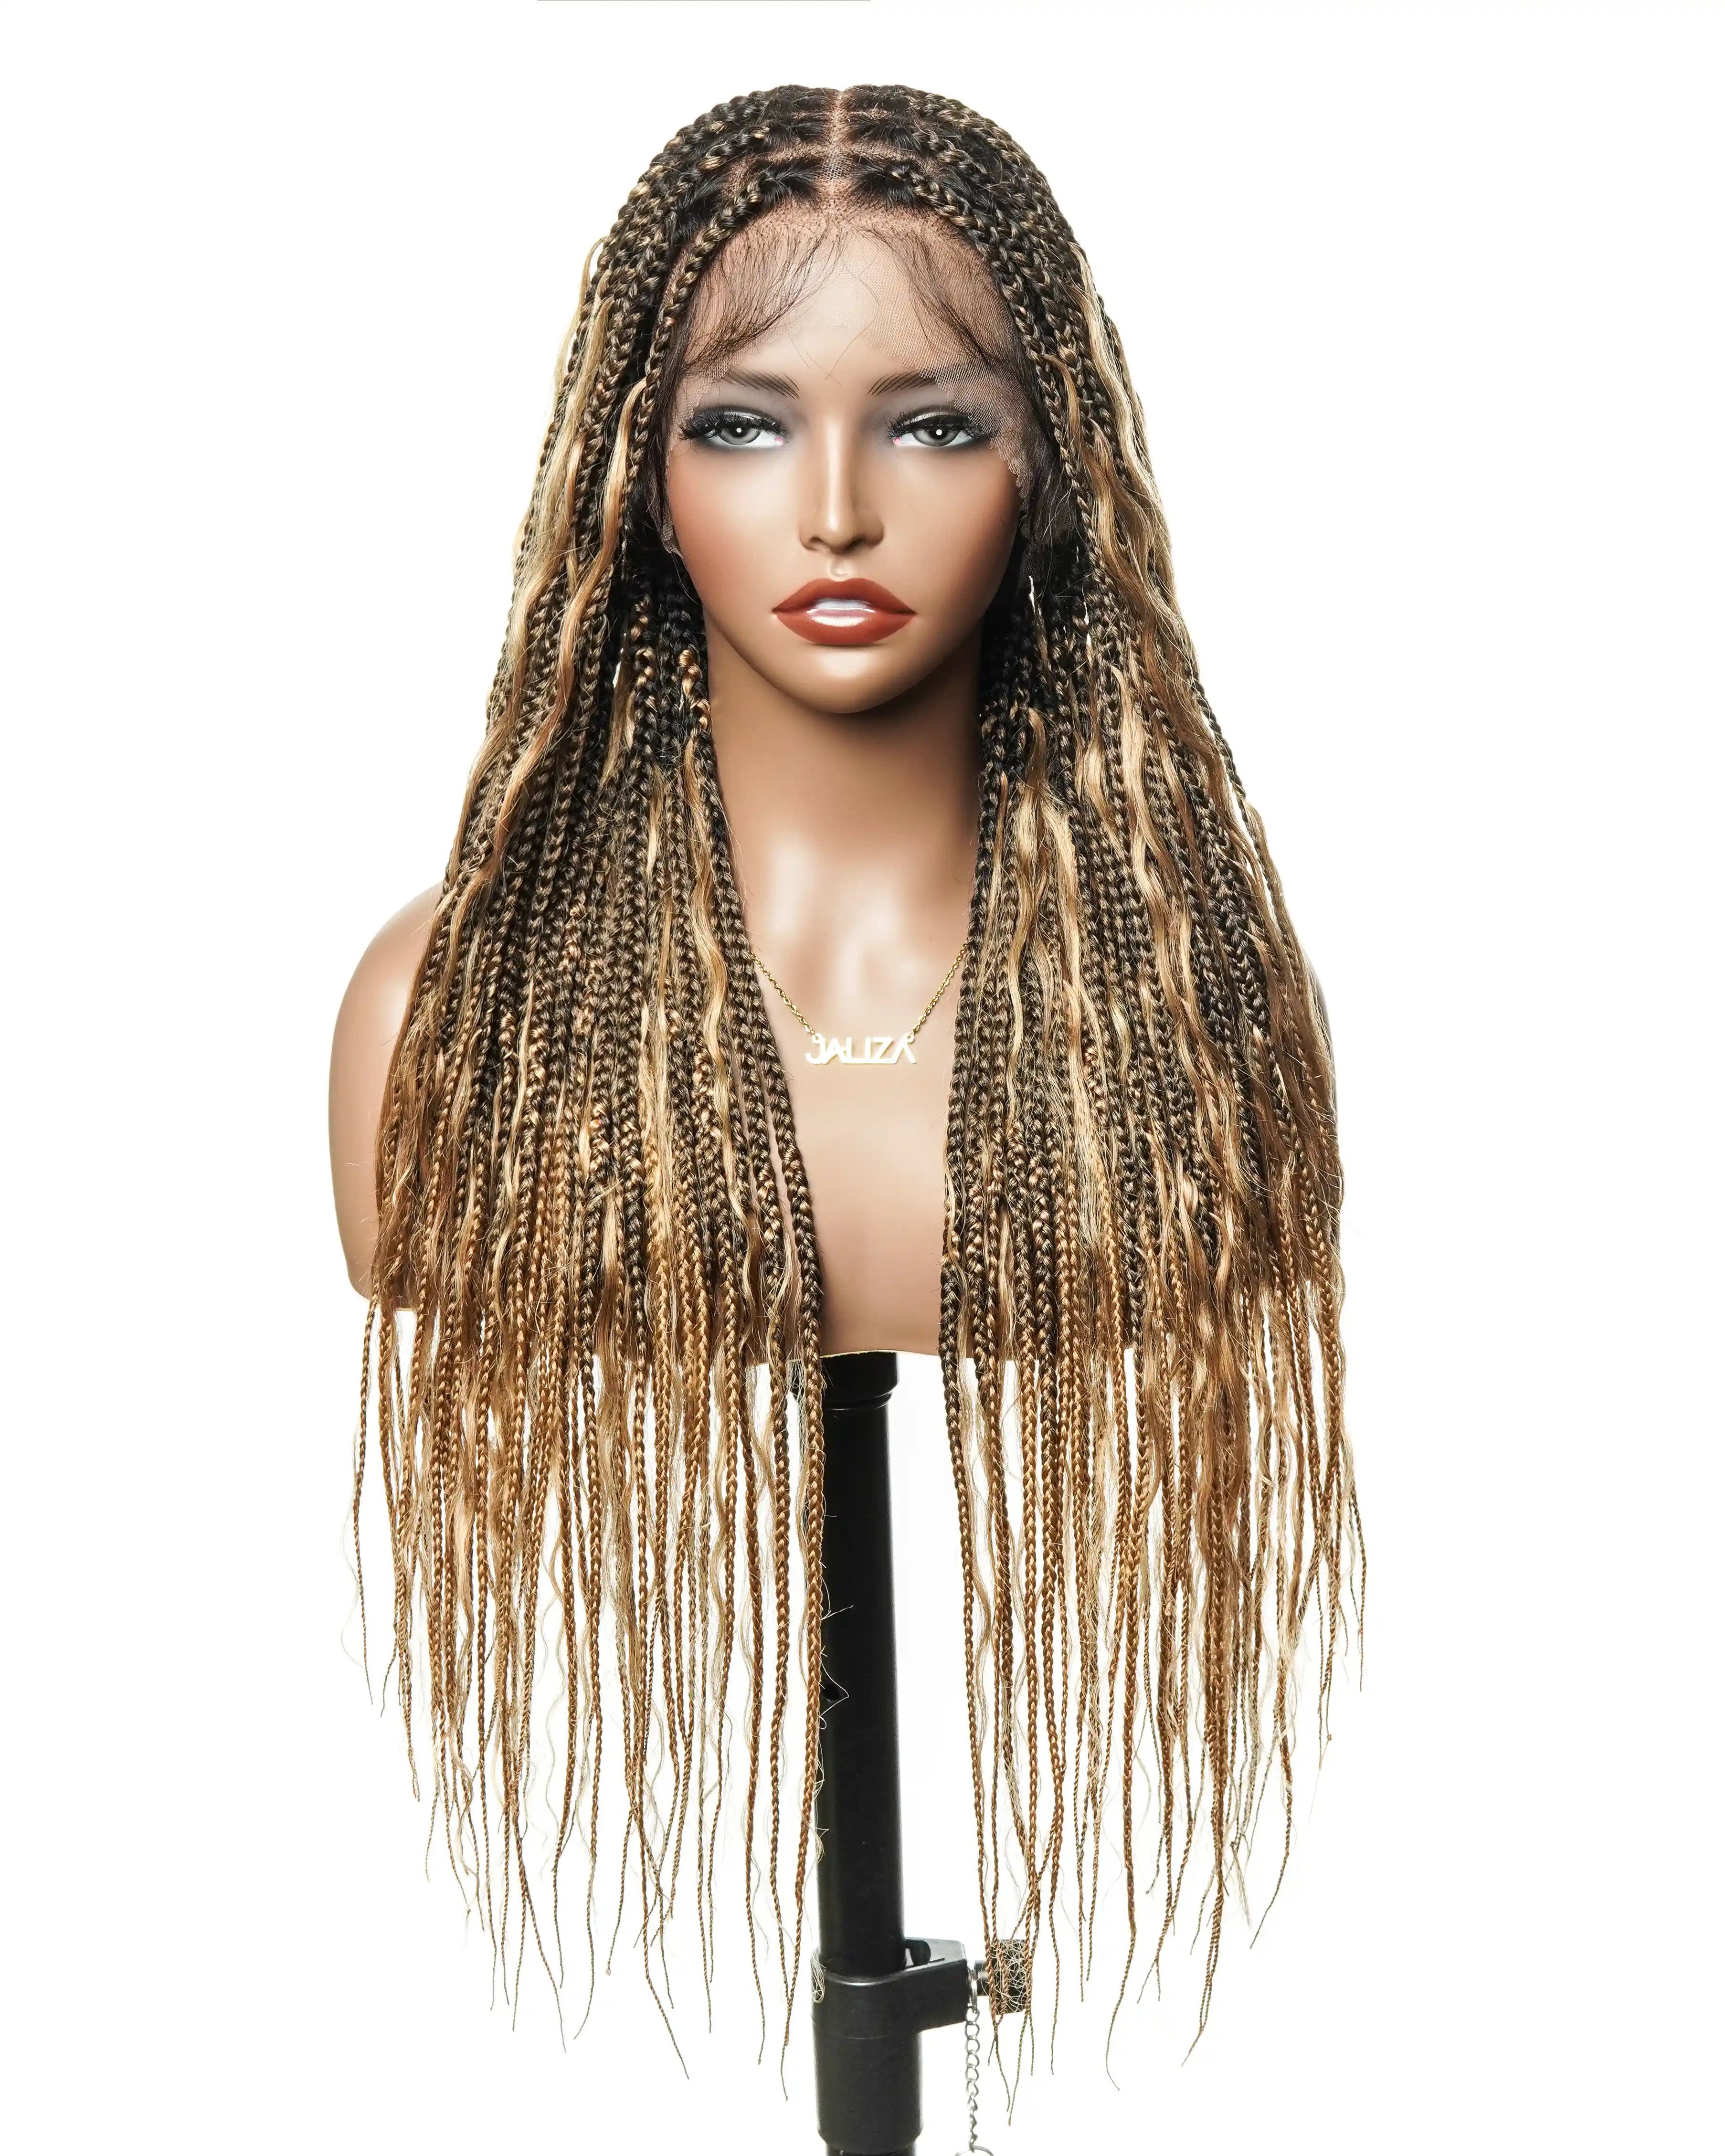
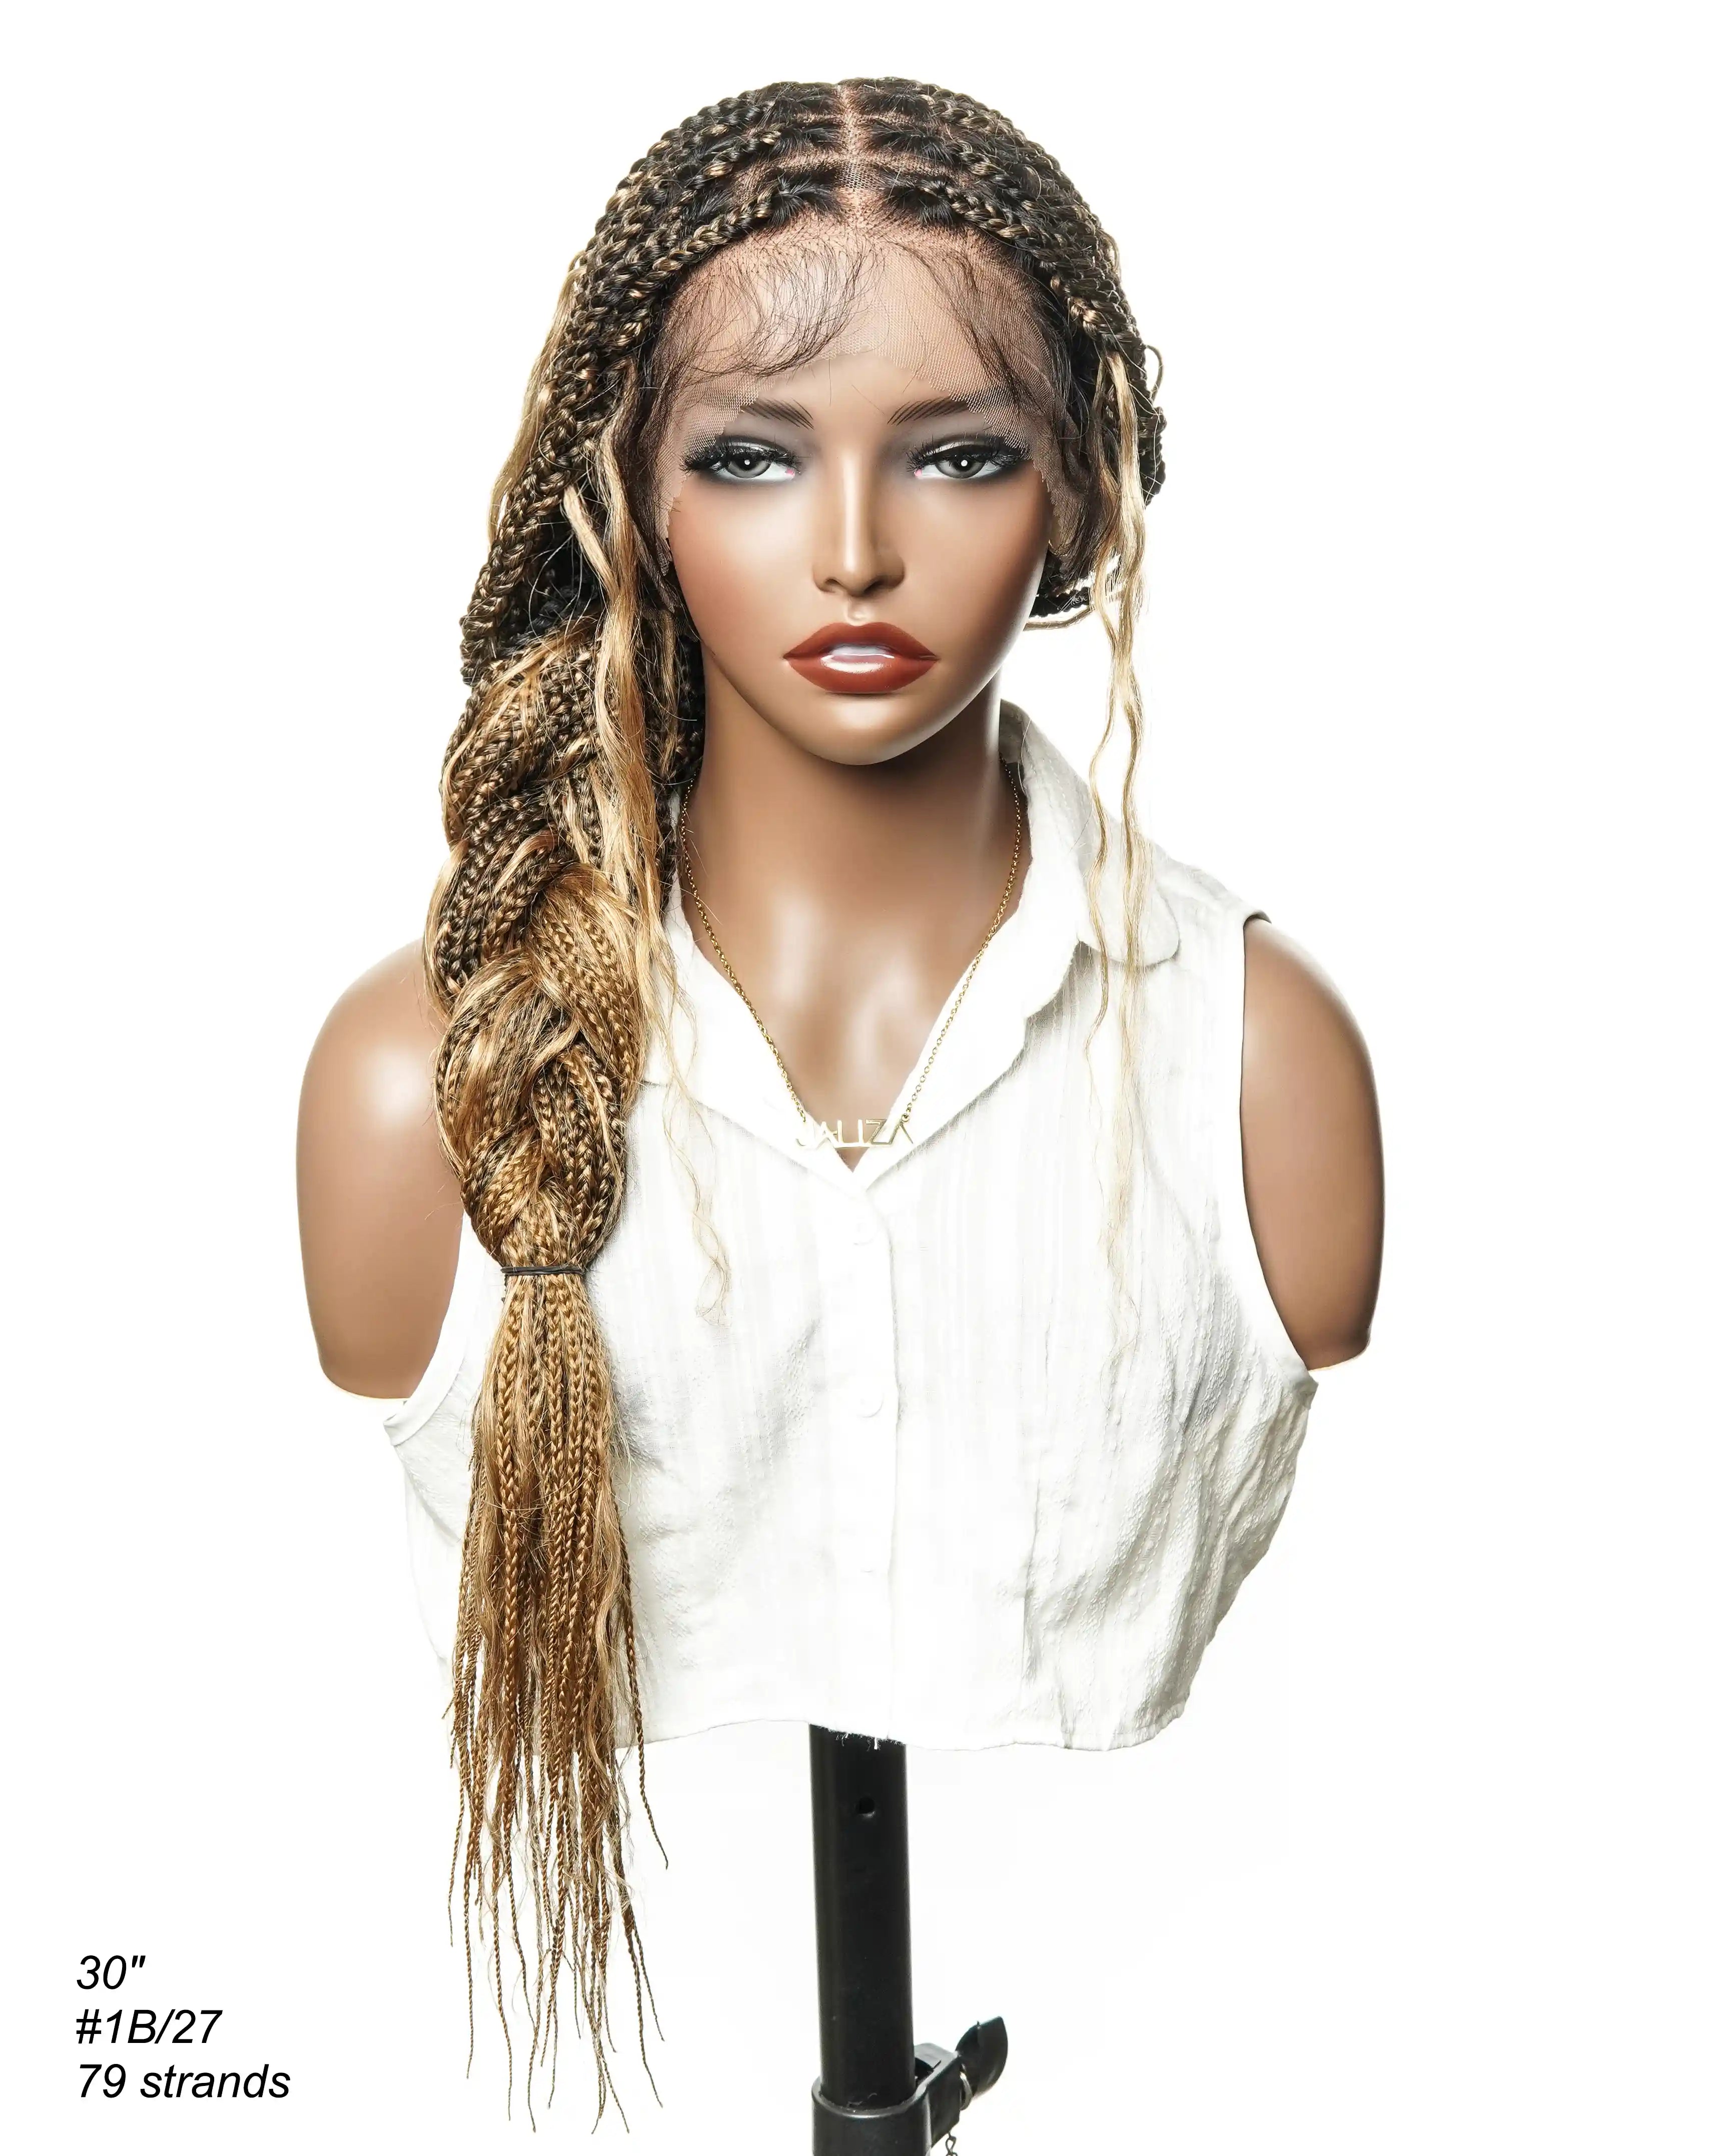
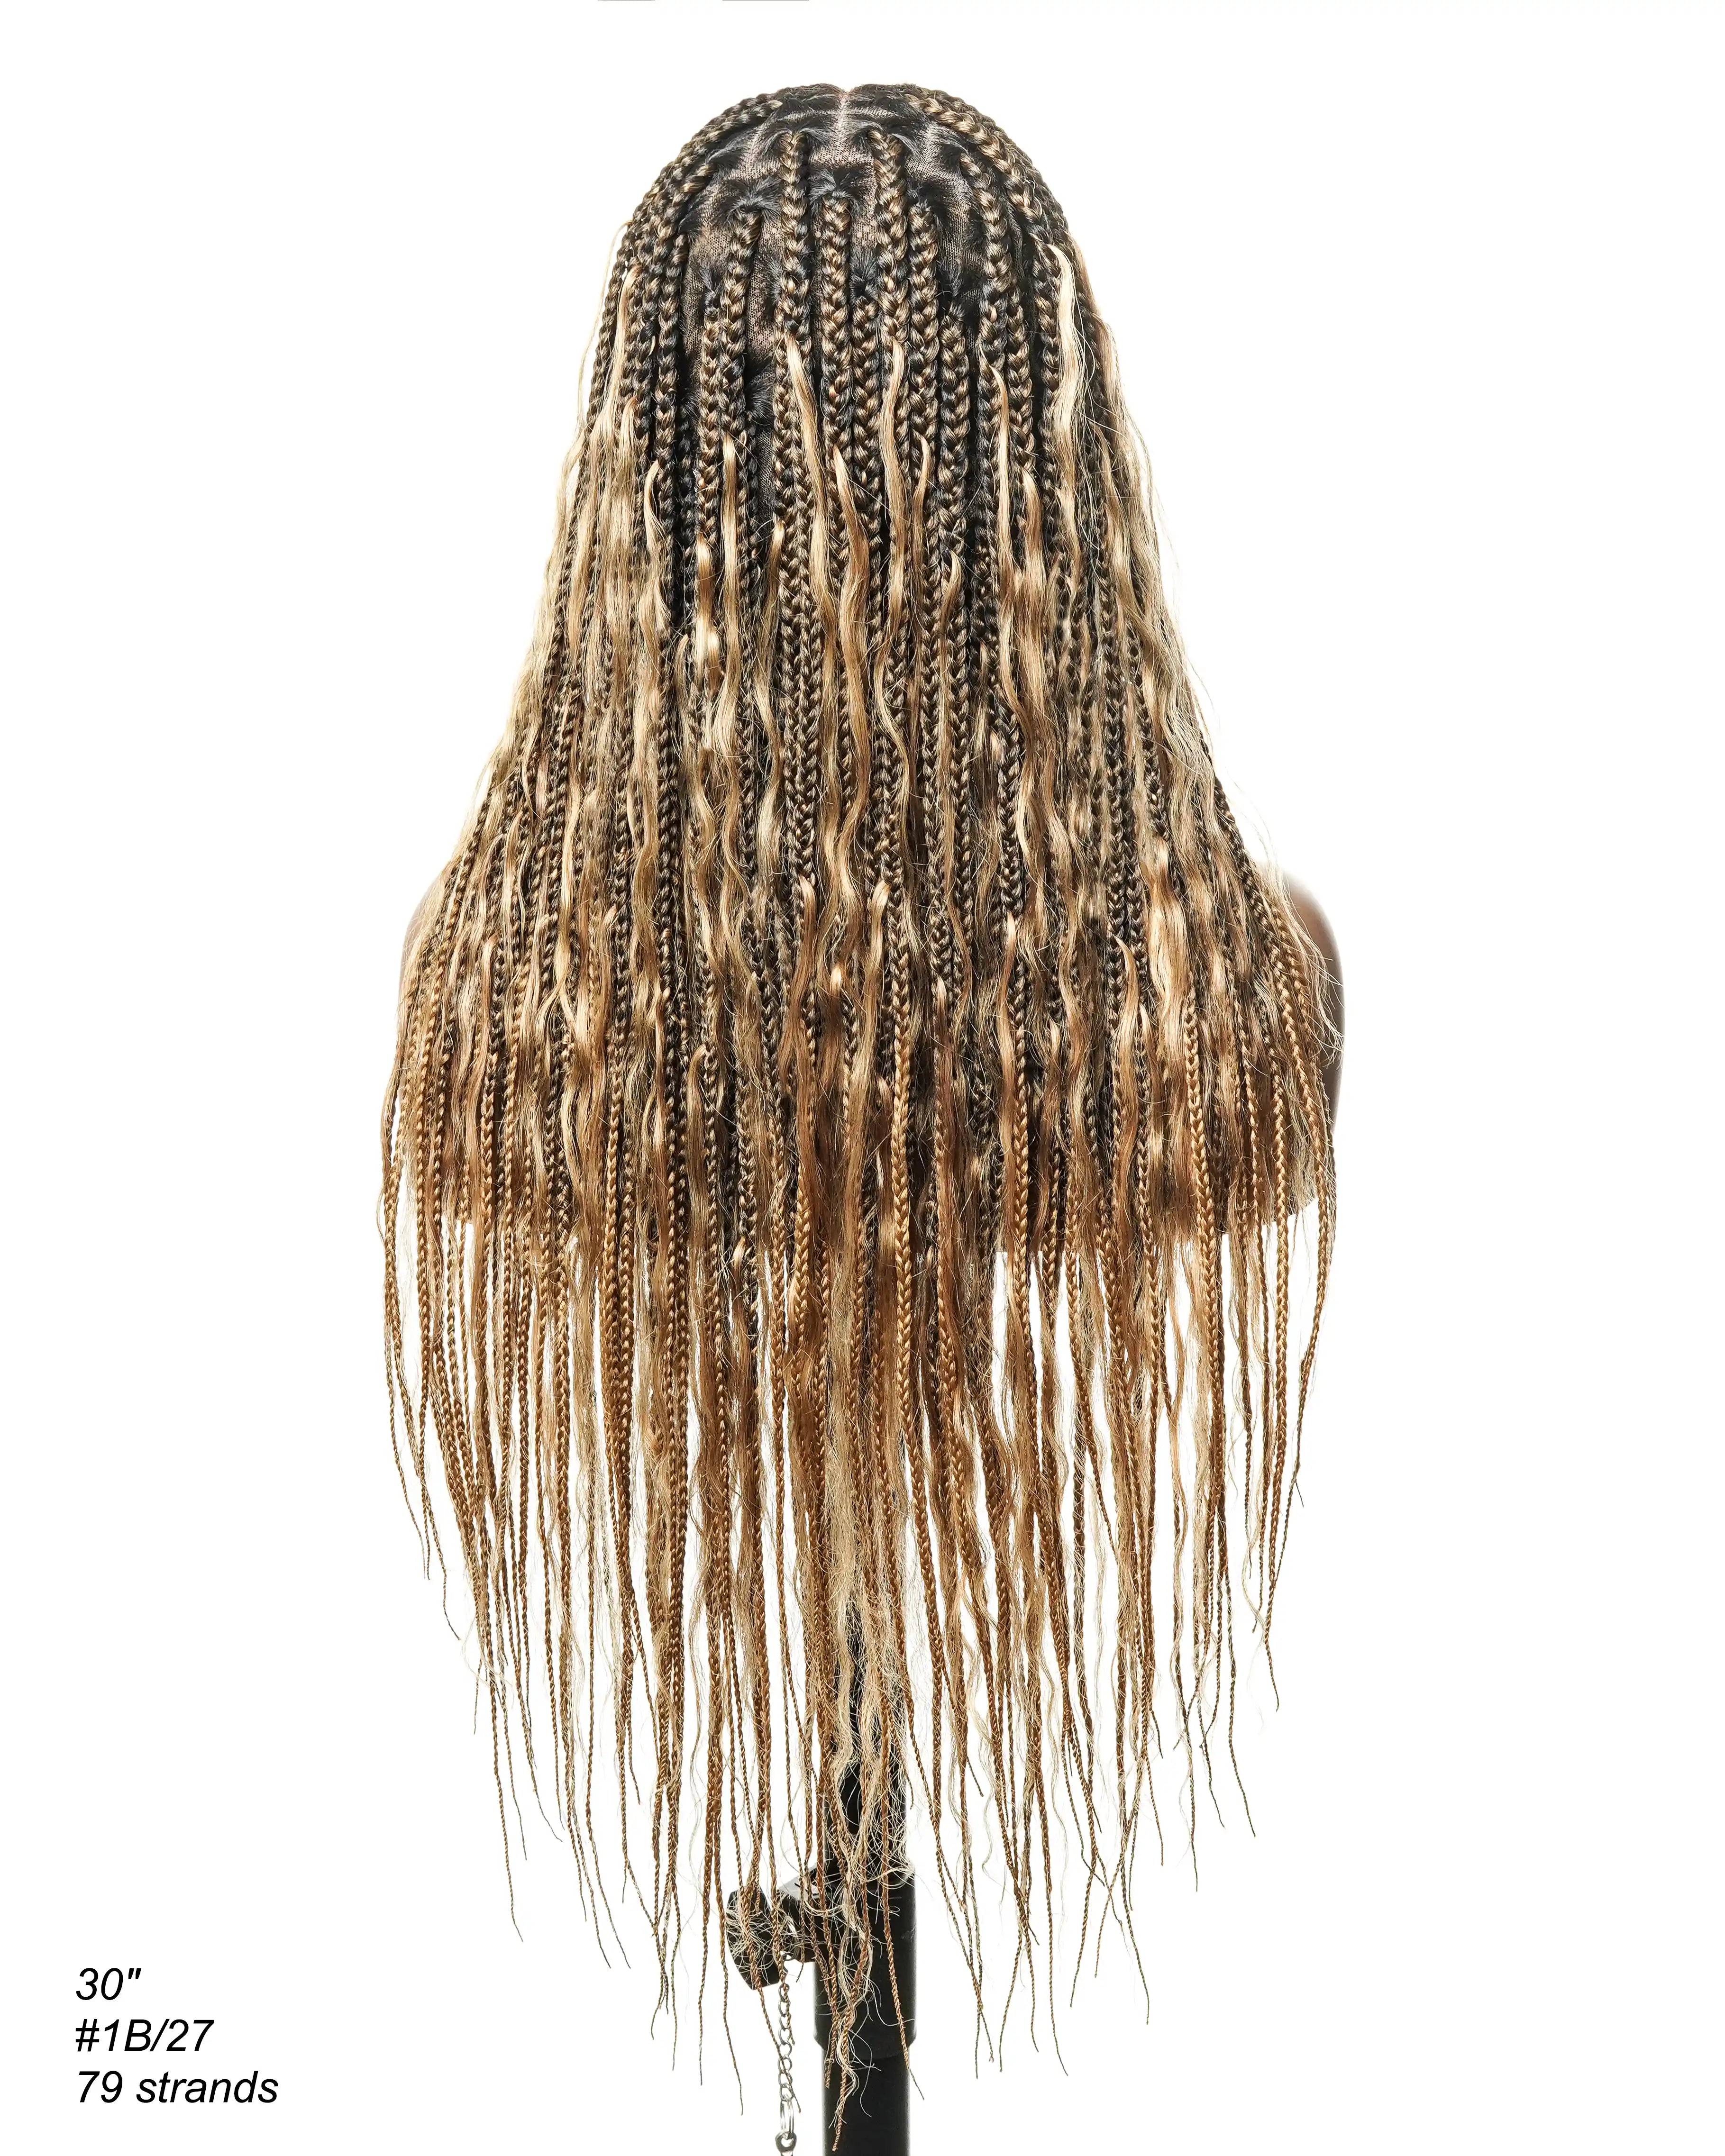
Drawing box braids combines observation and creative perfection, requiring patience to express their essence and cultural value. Artists can properly recreate this hairdo by practicing and paying attention to the details of texture, movement, and lighting and by including a variety of braid sizes and styles. Beyond depiction, drawing box braids is a celebration of cultural artistry, with each pencil stroke bringing the artist closer to mastery as they weave the complex storylines reflected in the strands.Similarly, uBraids seeks to honor box braids' rich heritage and intricate beauty, including the ever-popular small box braid wig. Our brand is built on a foundation of appreciation for the artistry and significance of braided hairstyles. Each small box braid wig is crafted with meticulous attention to detail, not only to showcase the elegance of the braids but also to offer a practical and protective styling option for black women. By choosing uBraids and our small box braid wig selections, you embrace a legacy of cultural artistry, with every wig echoing the history and identity that box braids represent.
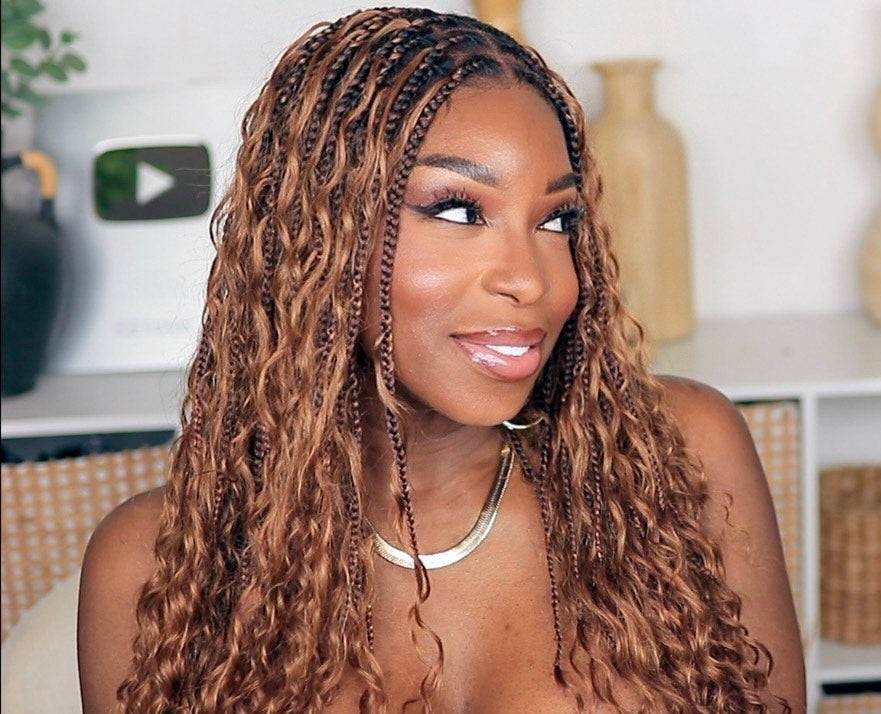
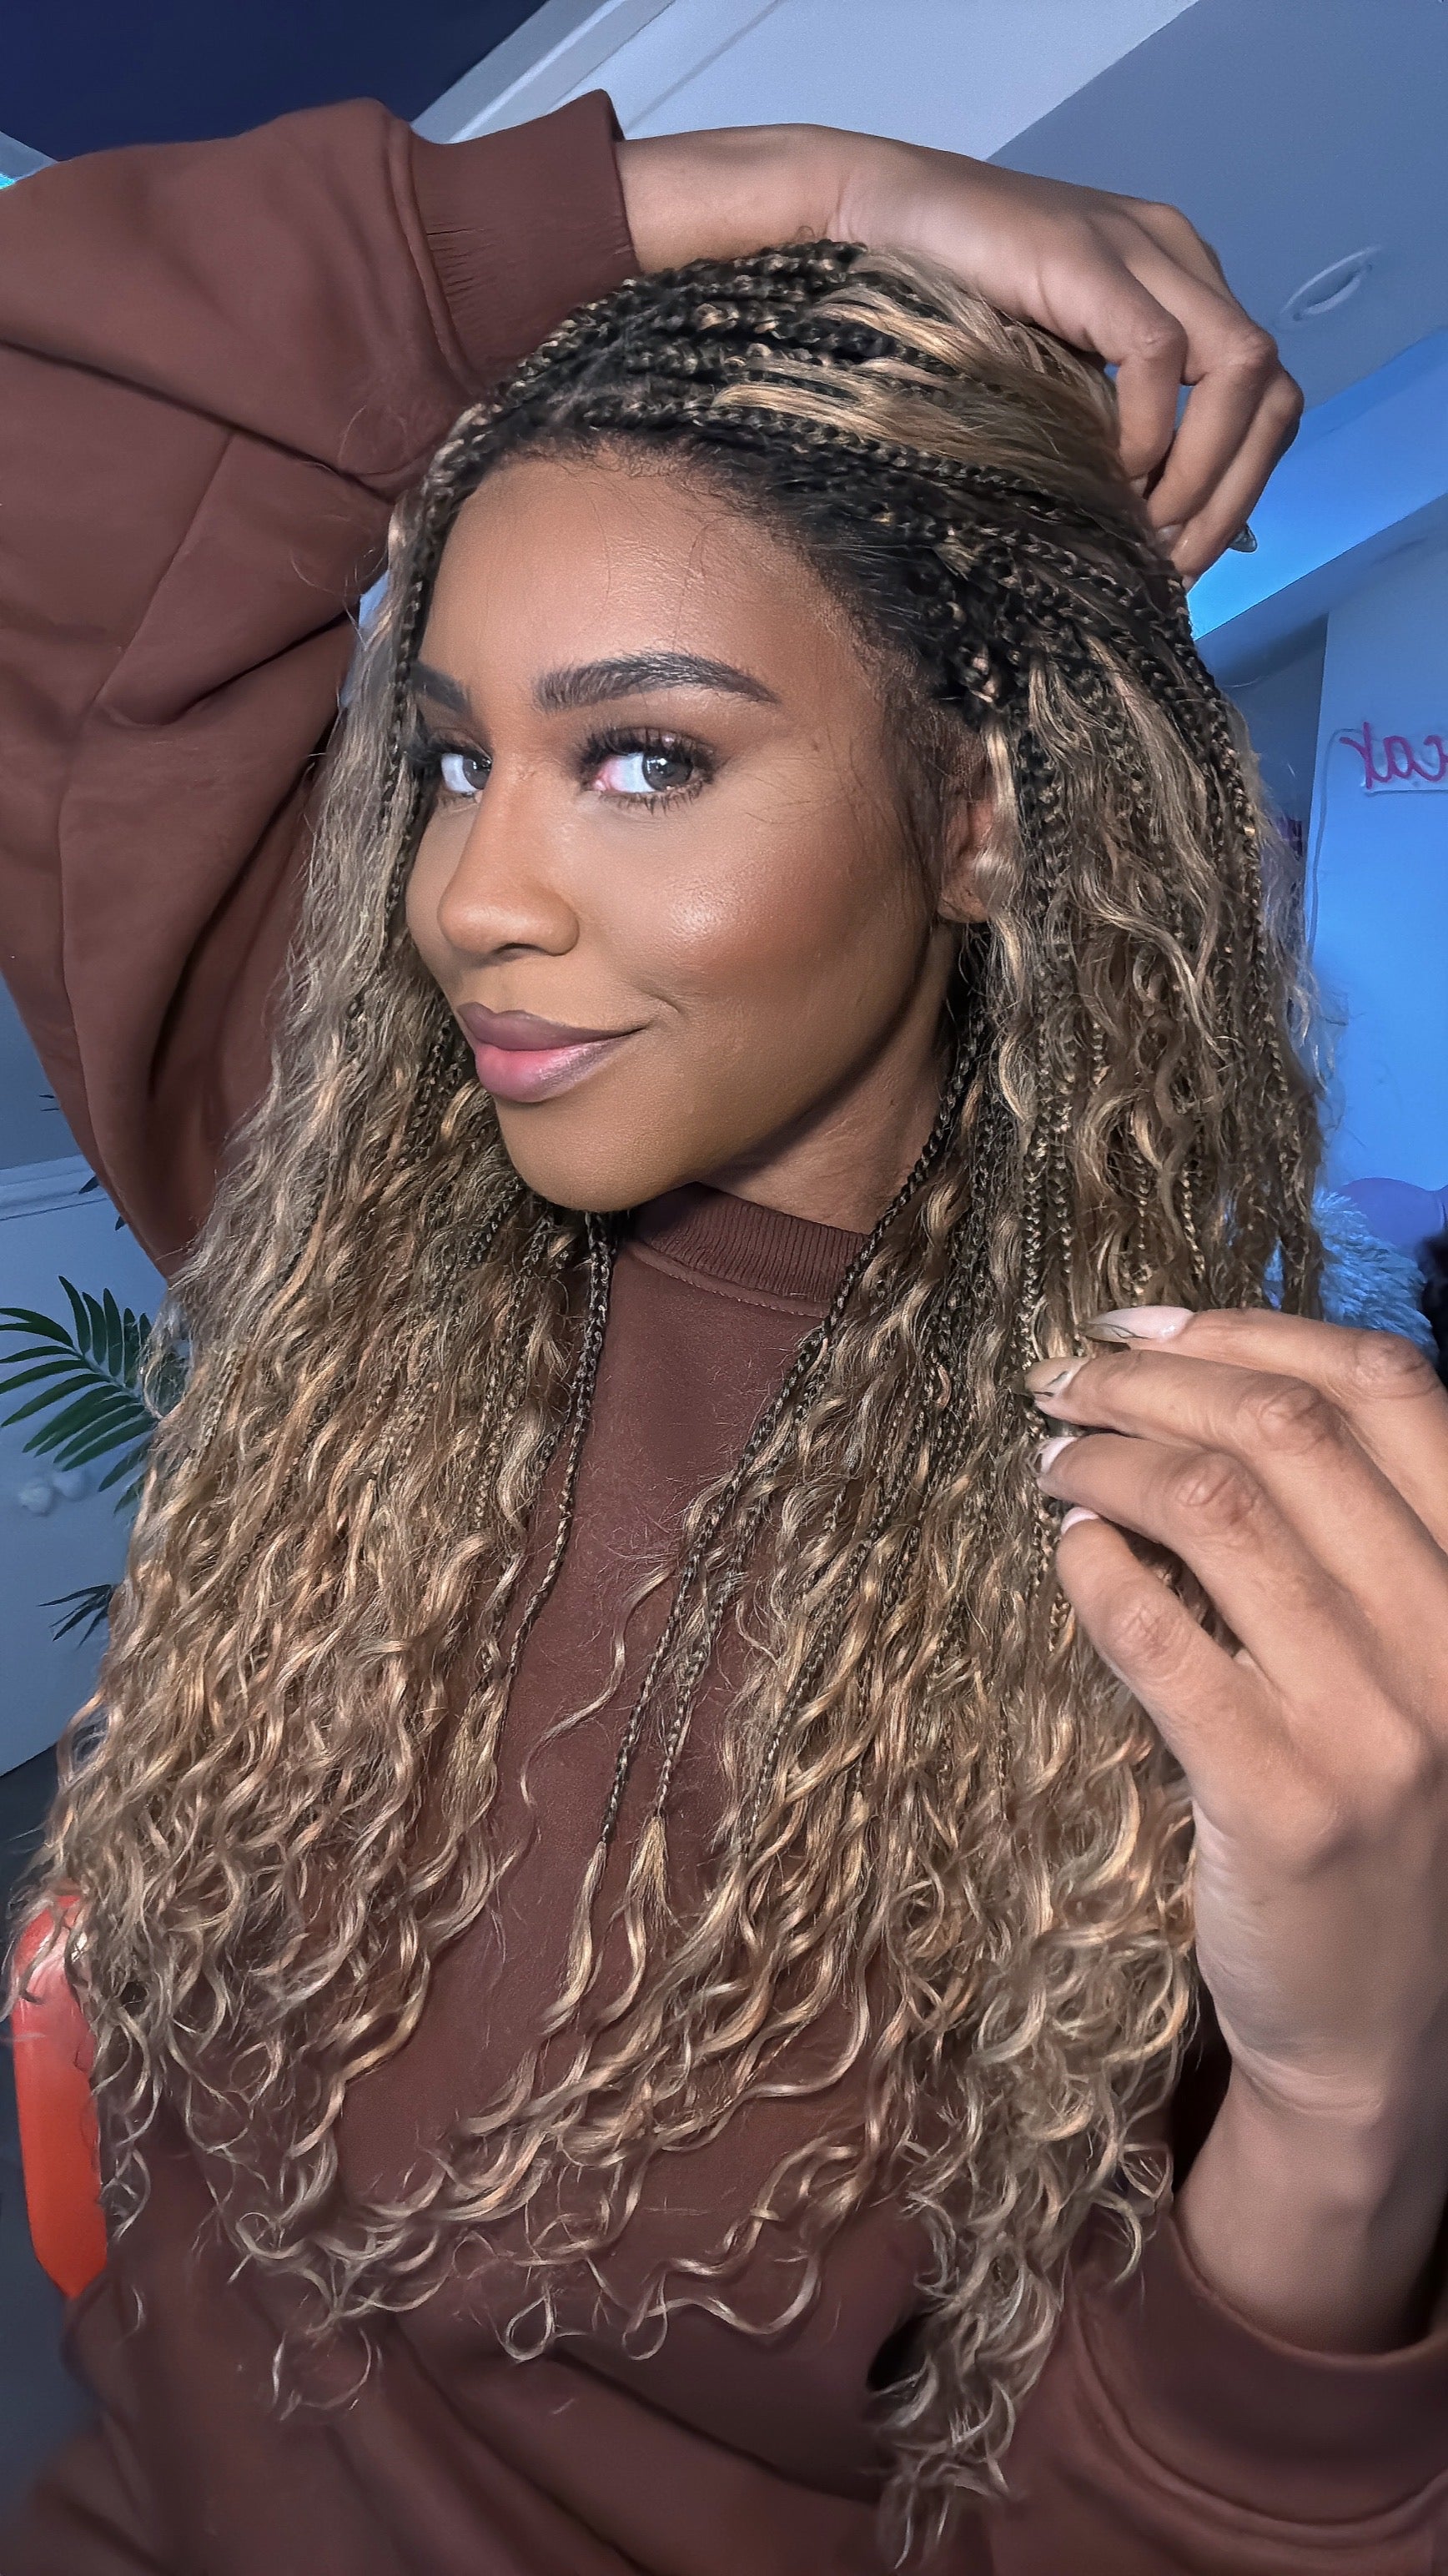
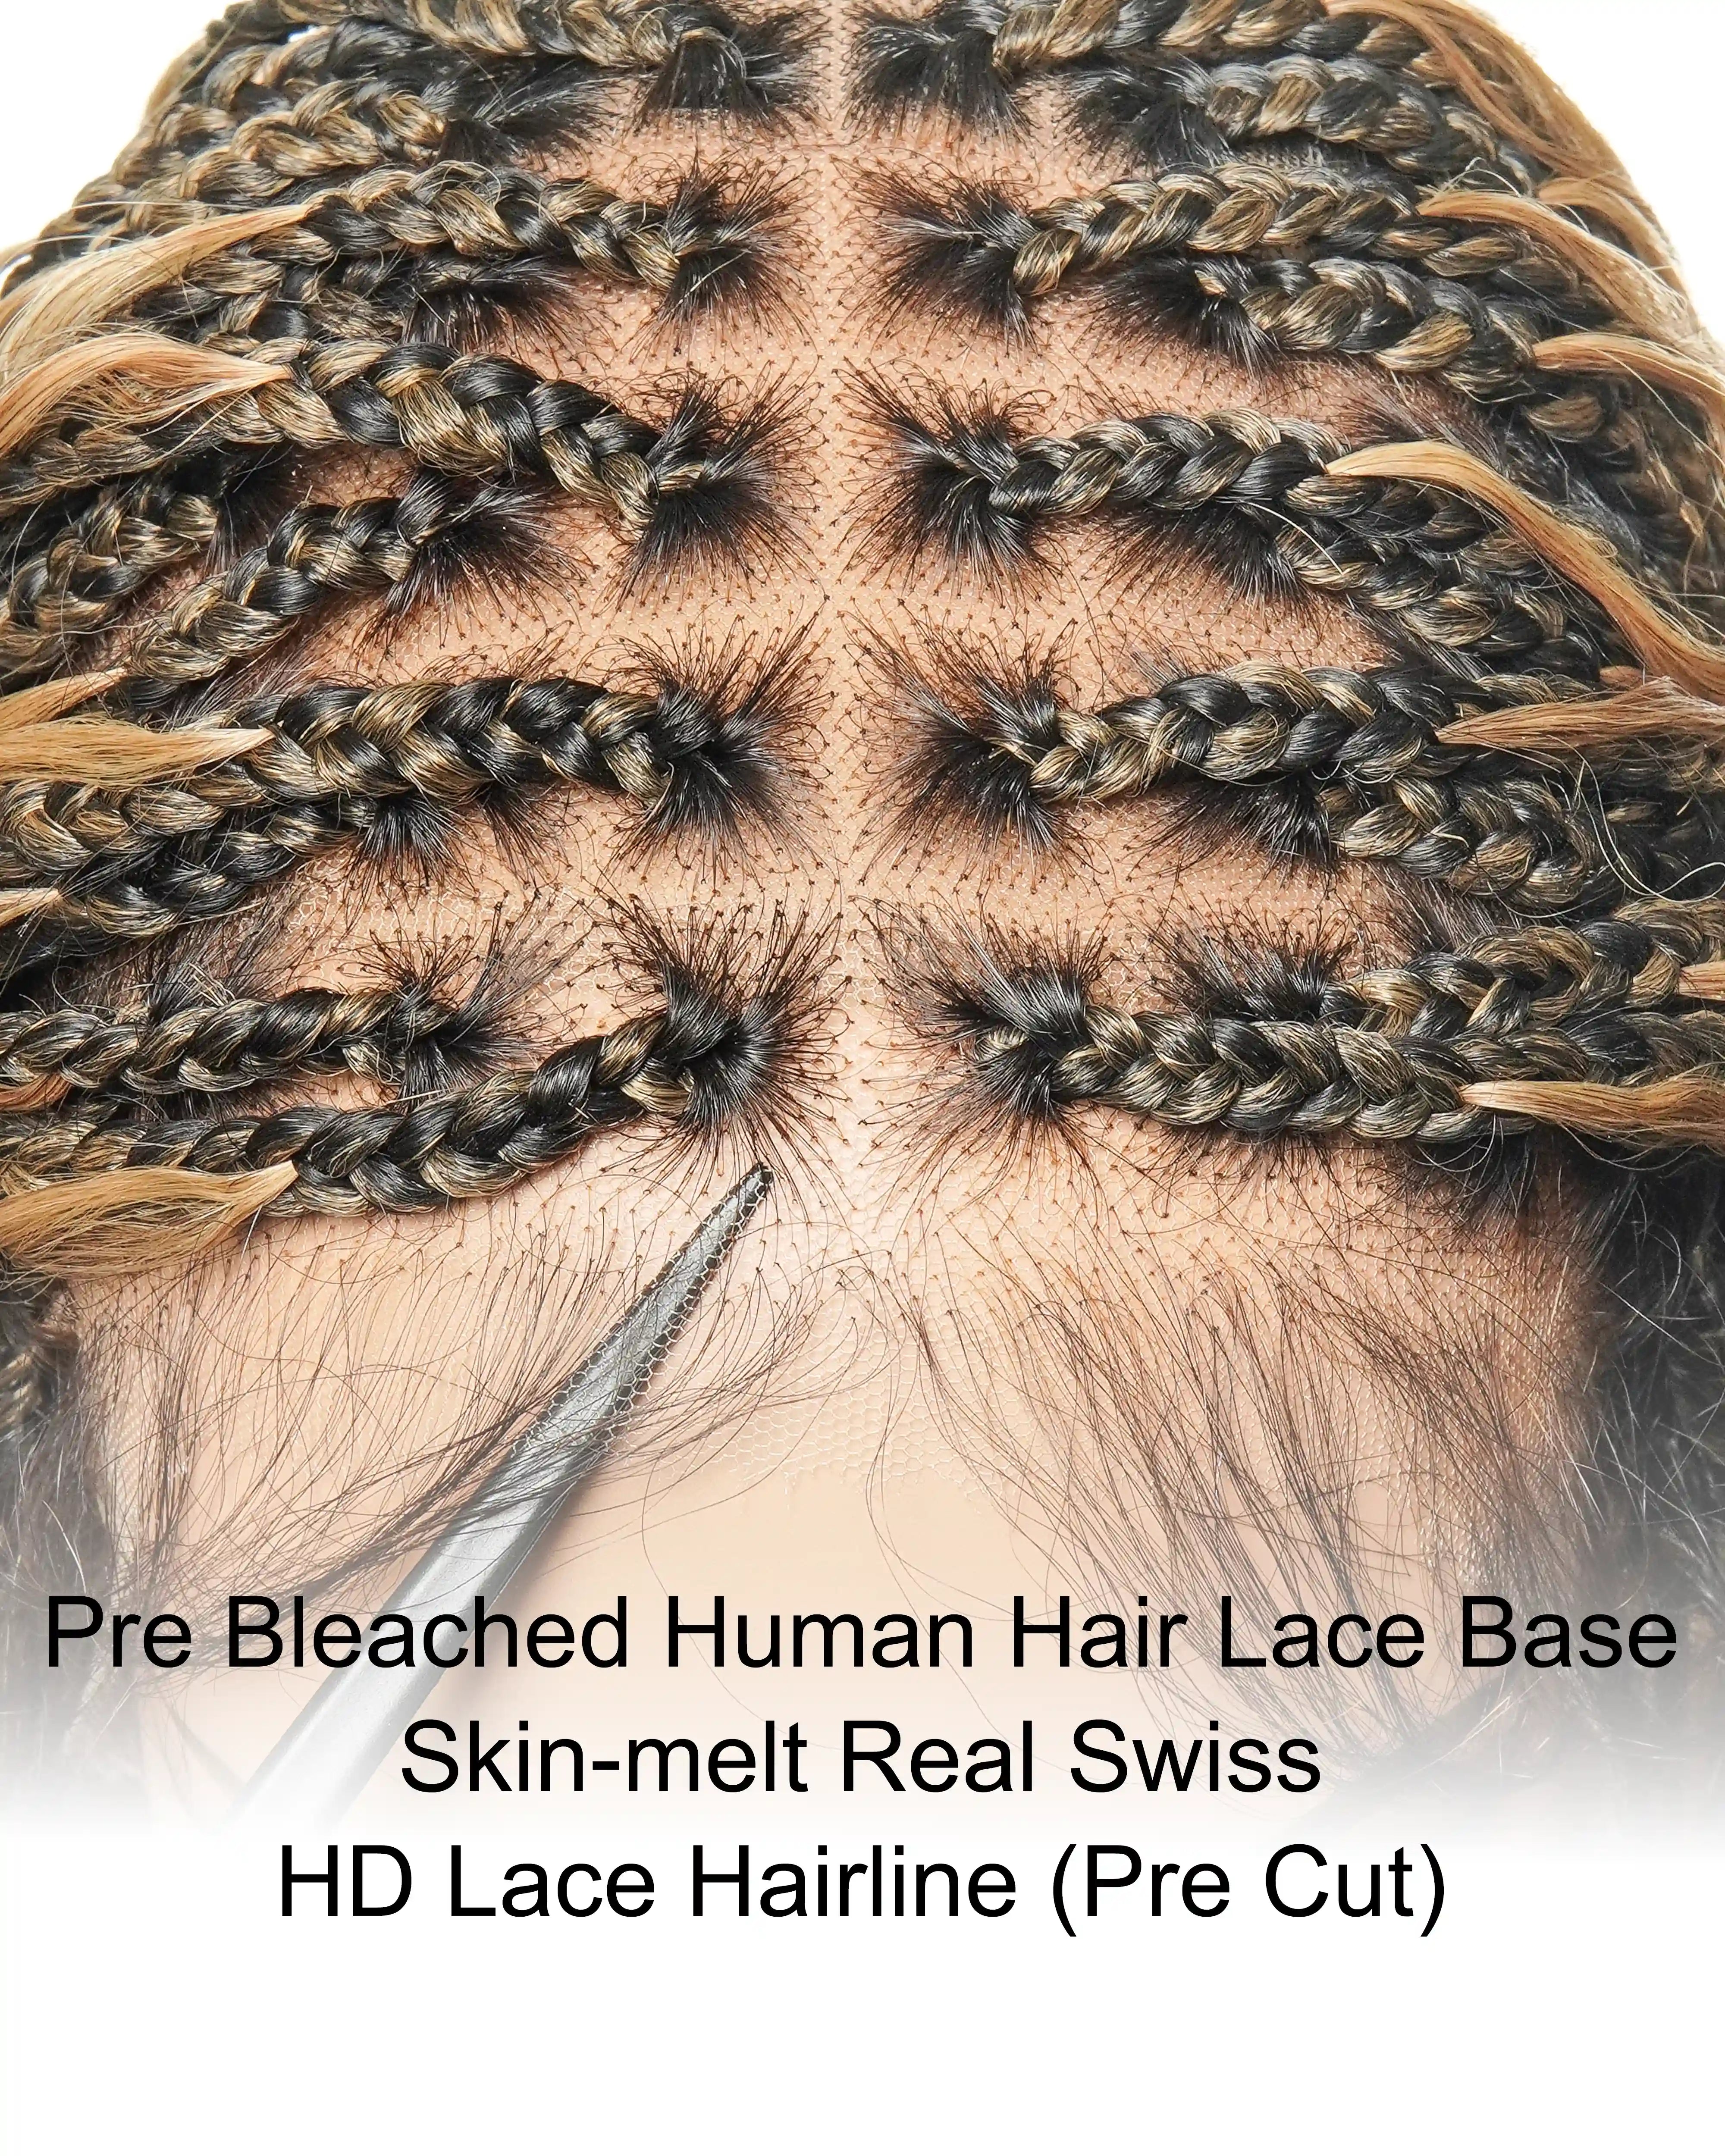
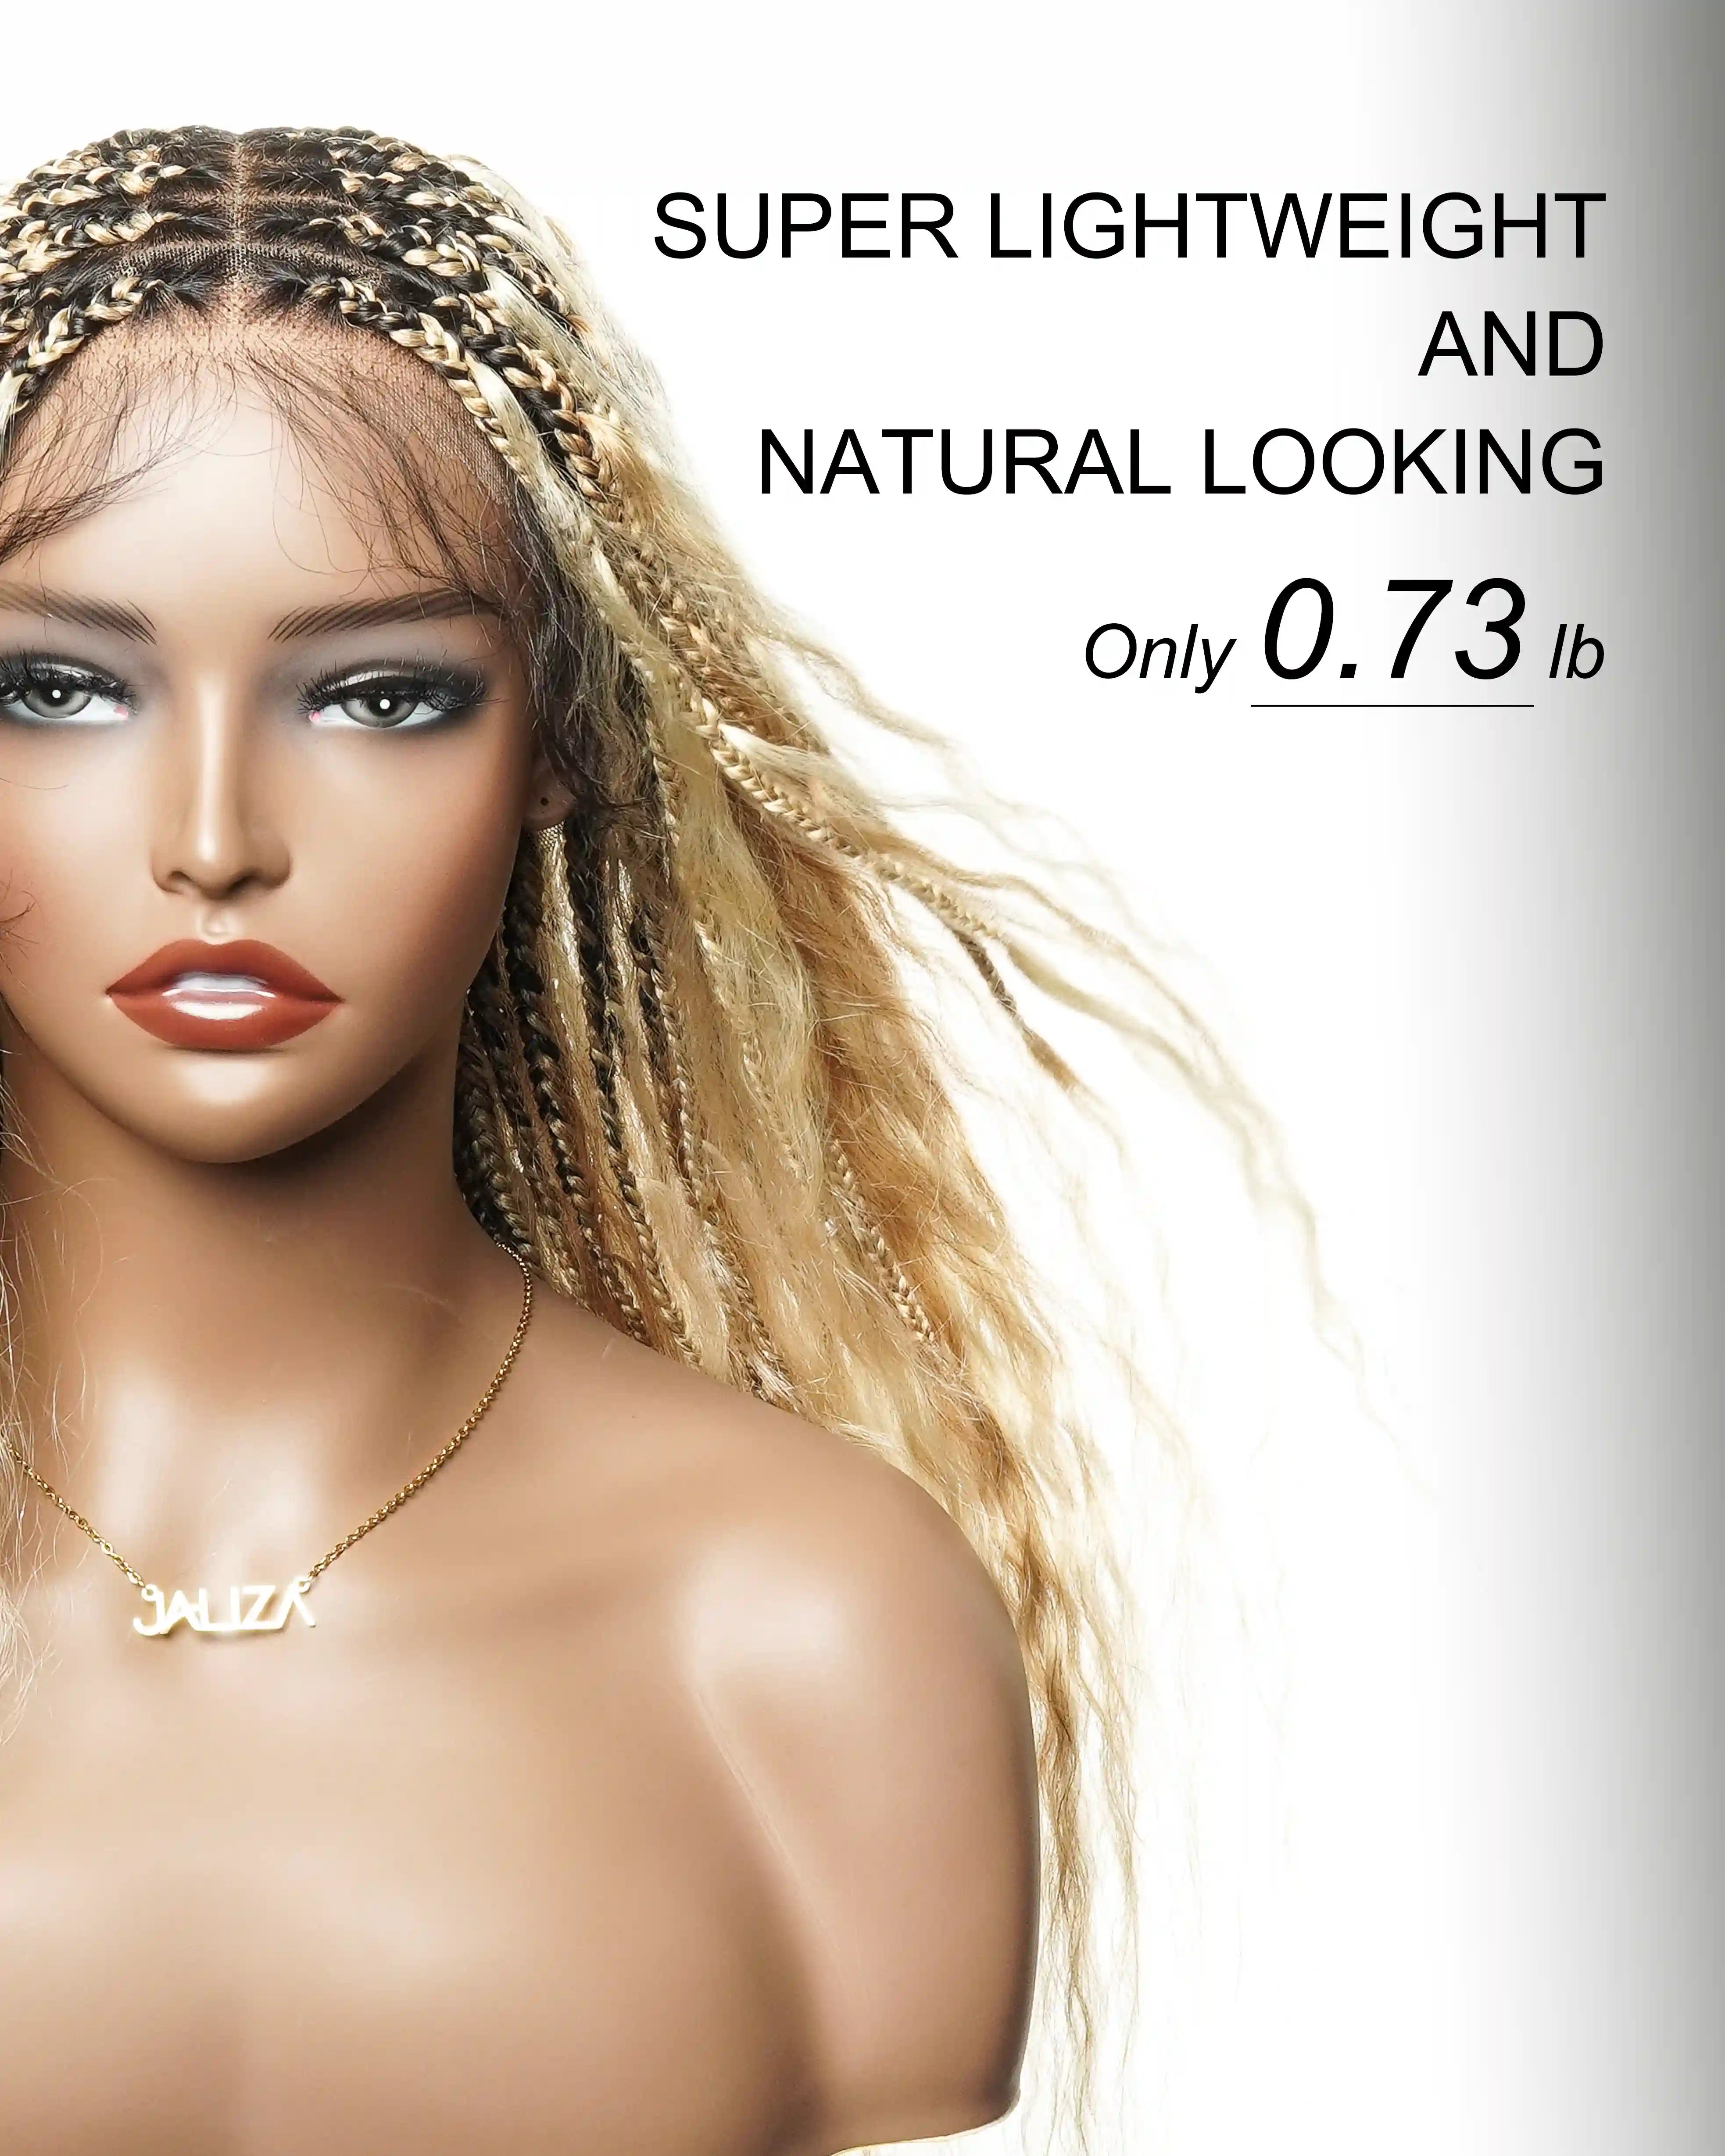
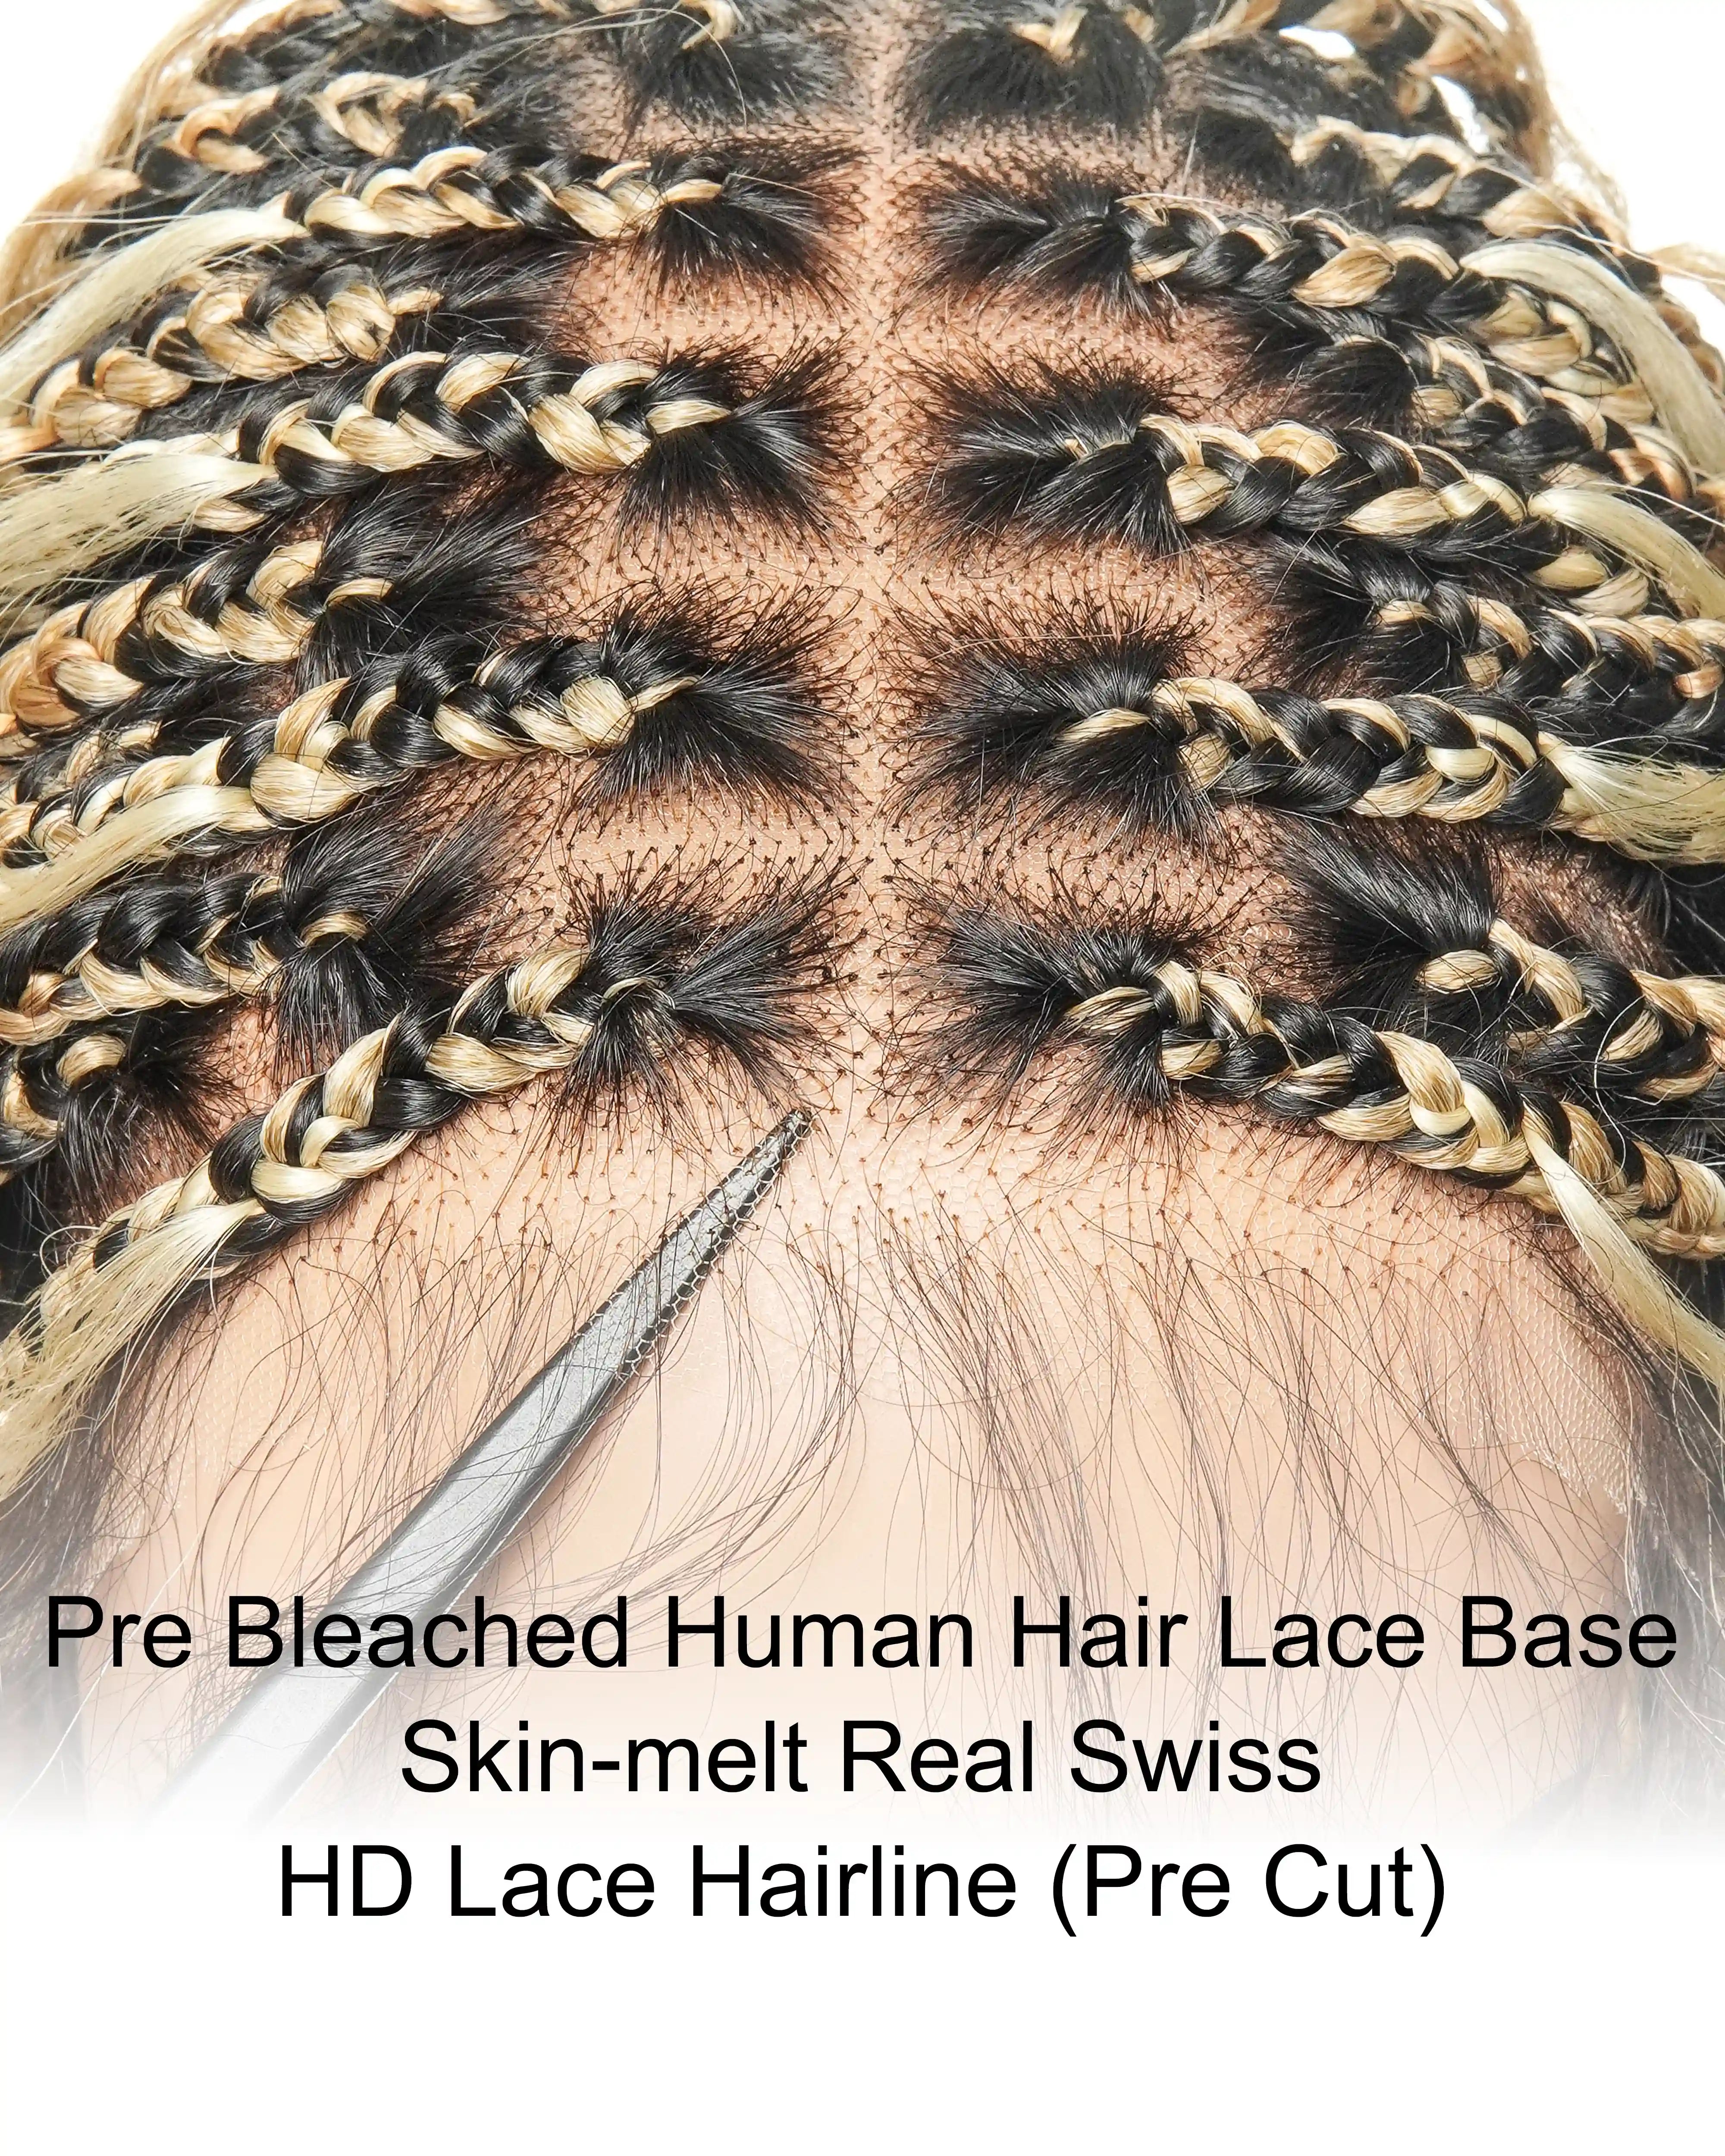
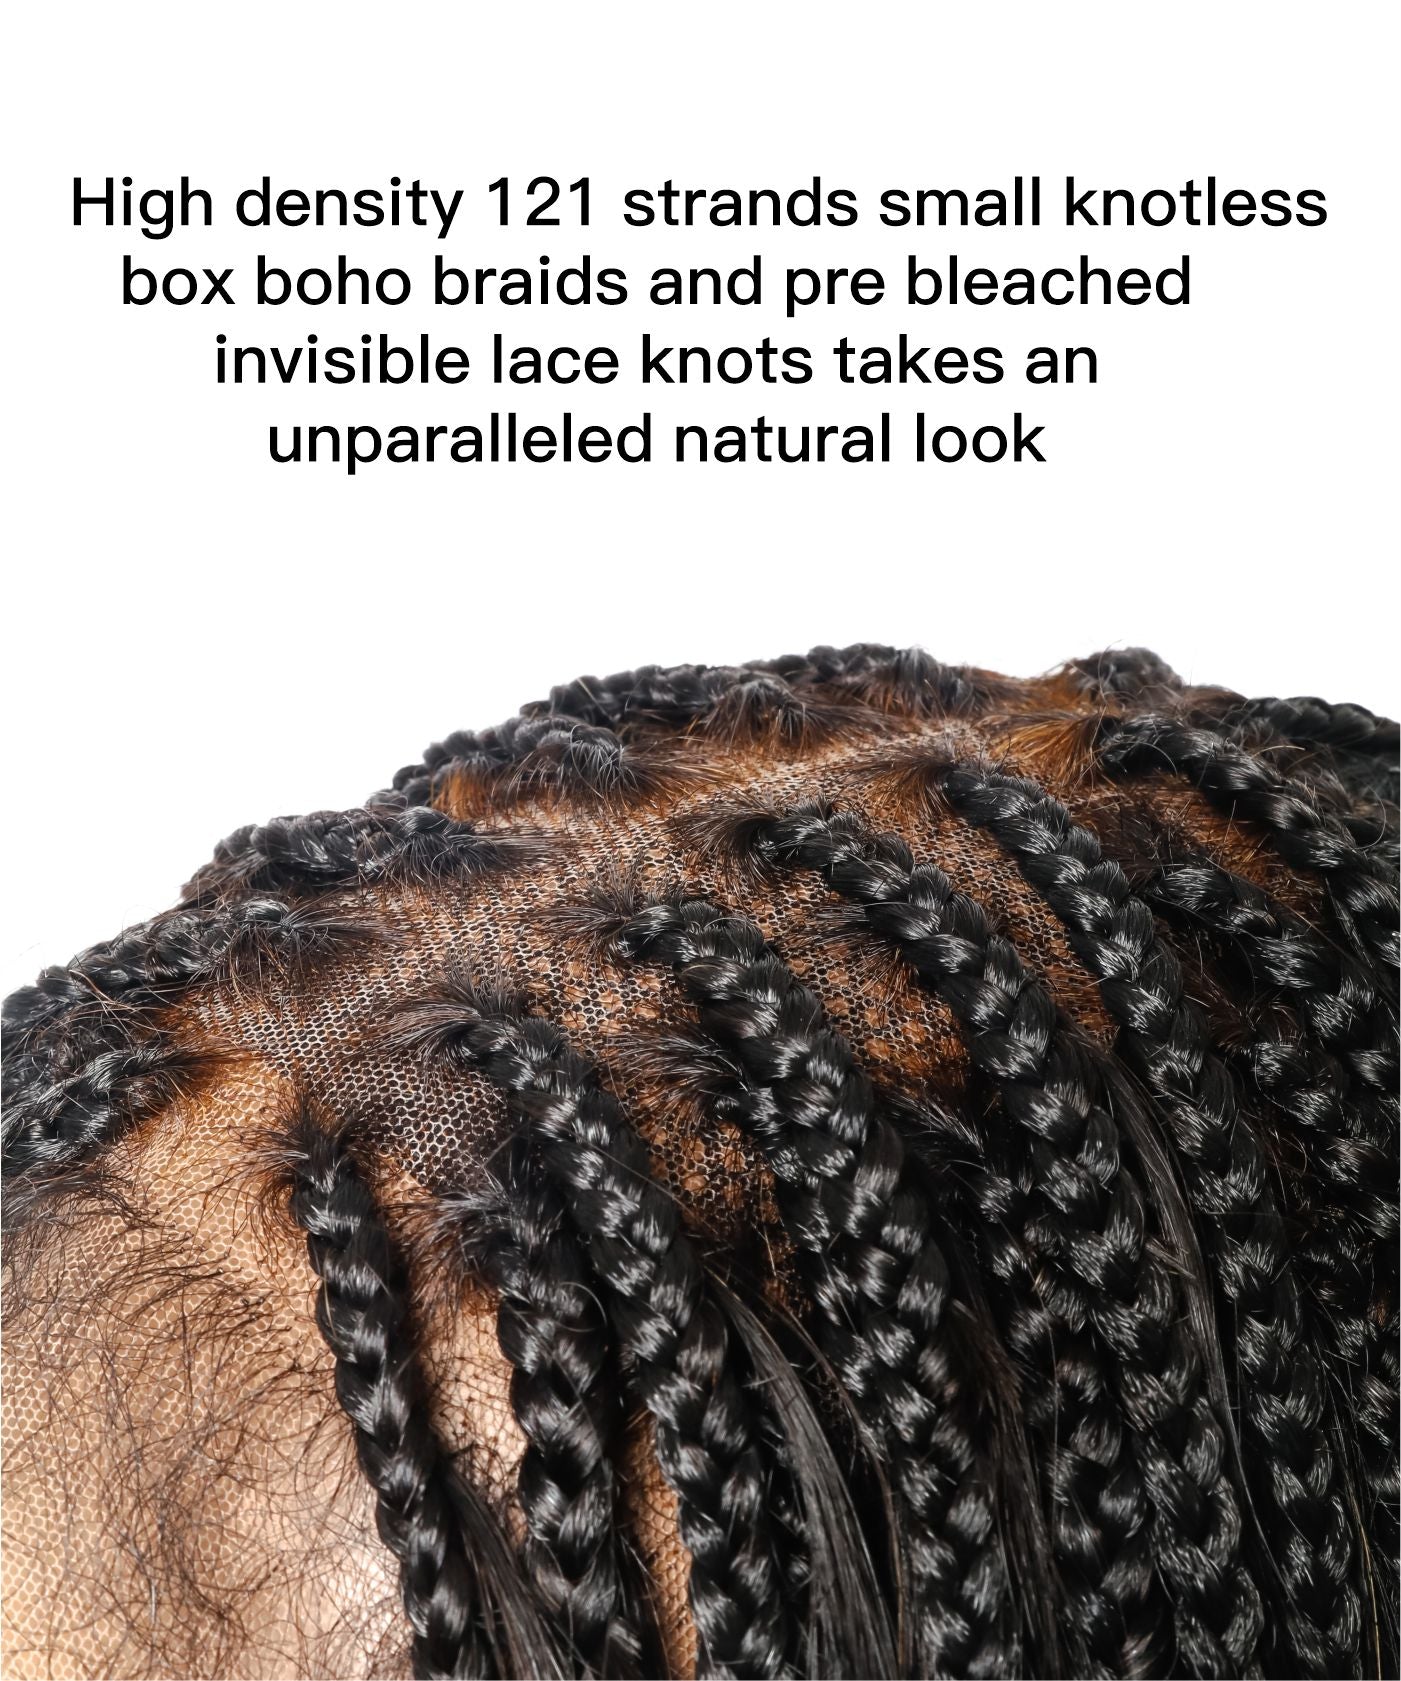
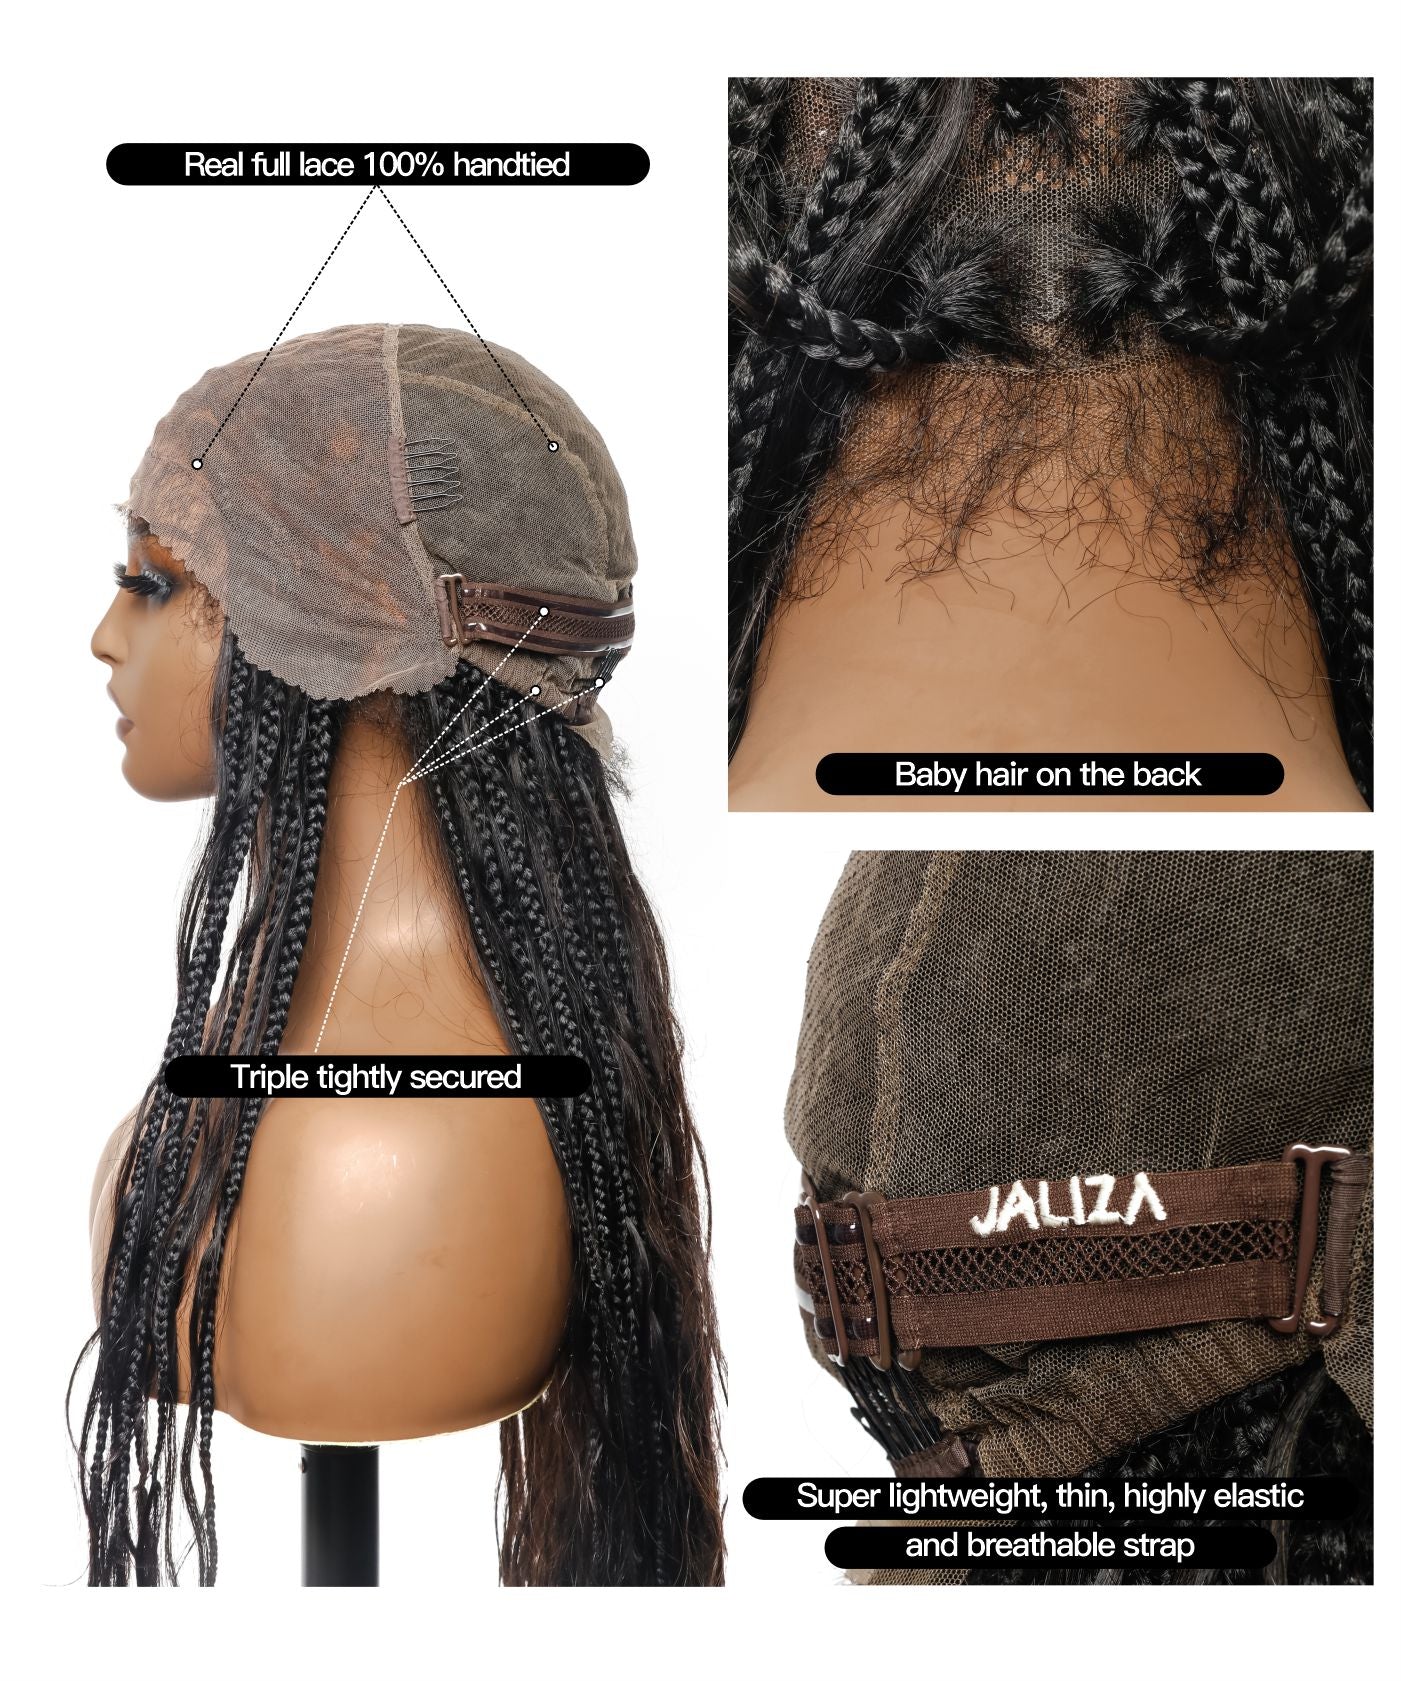
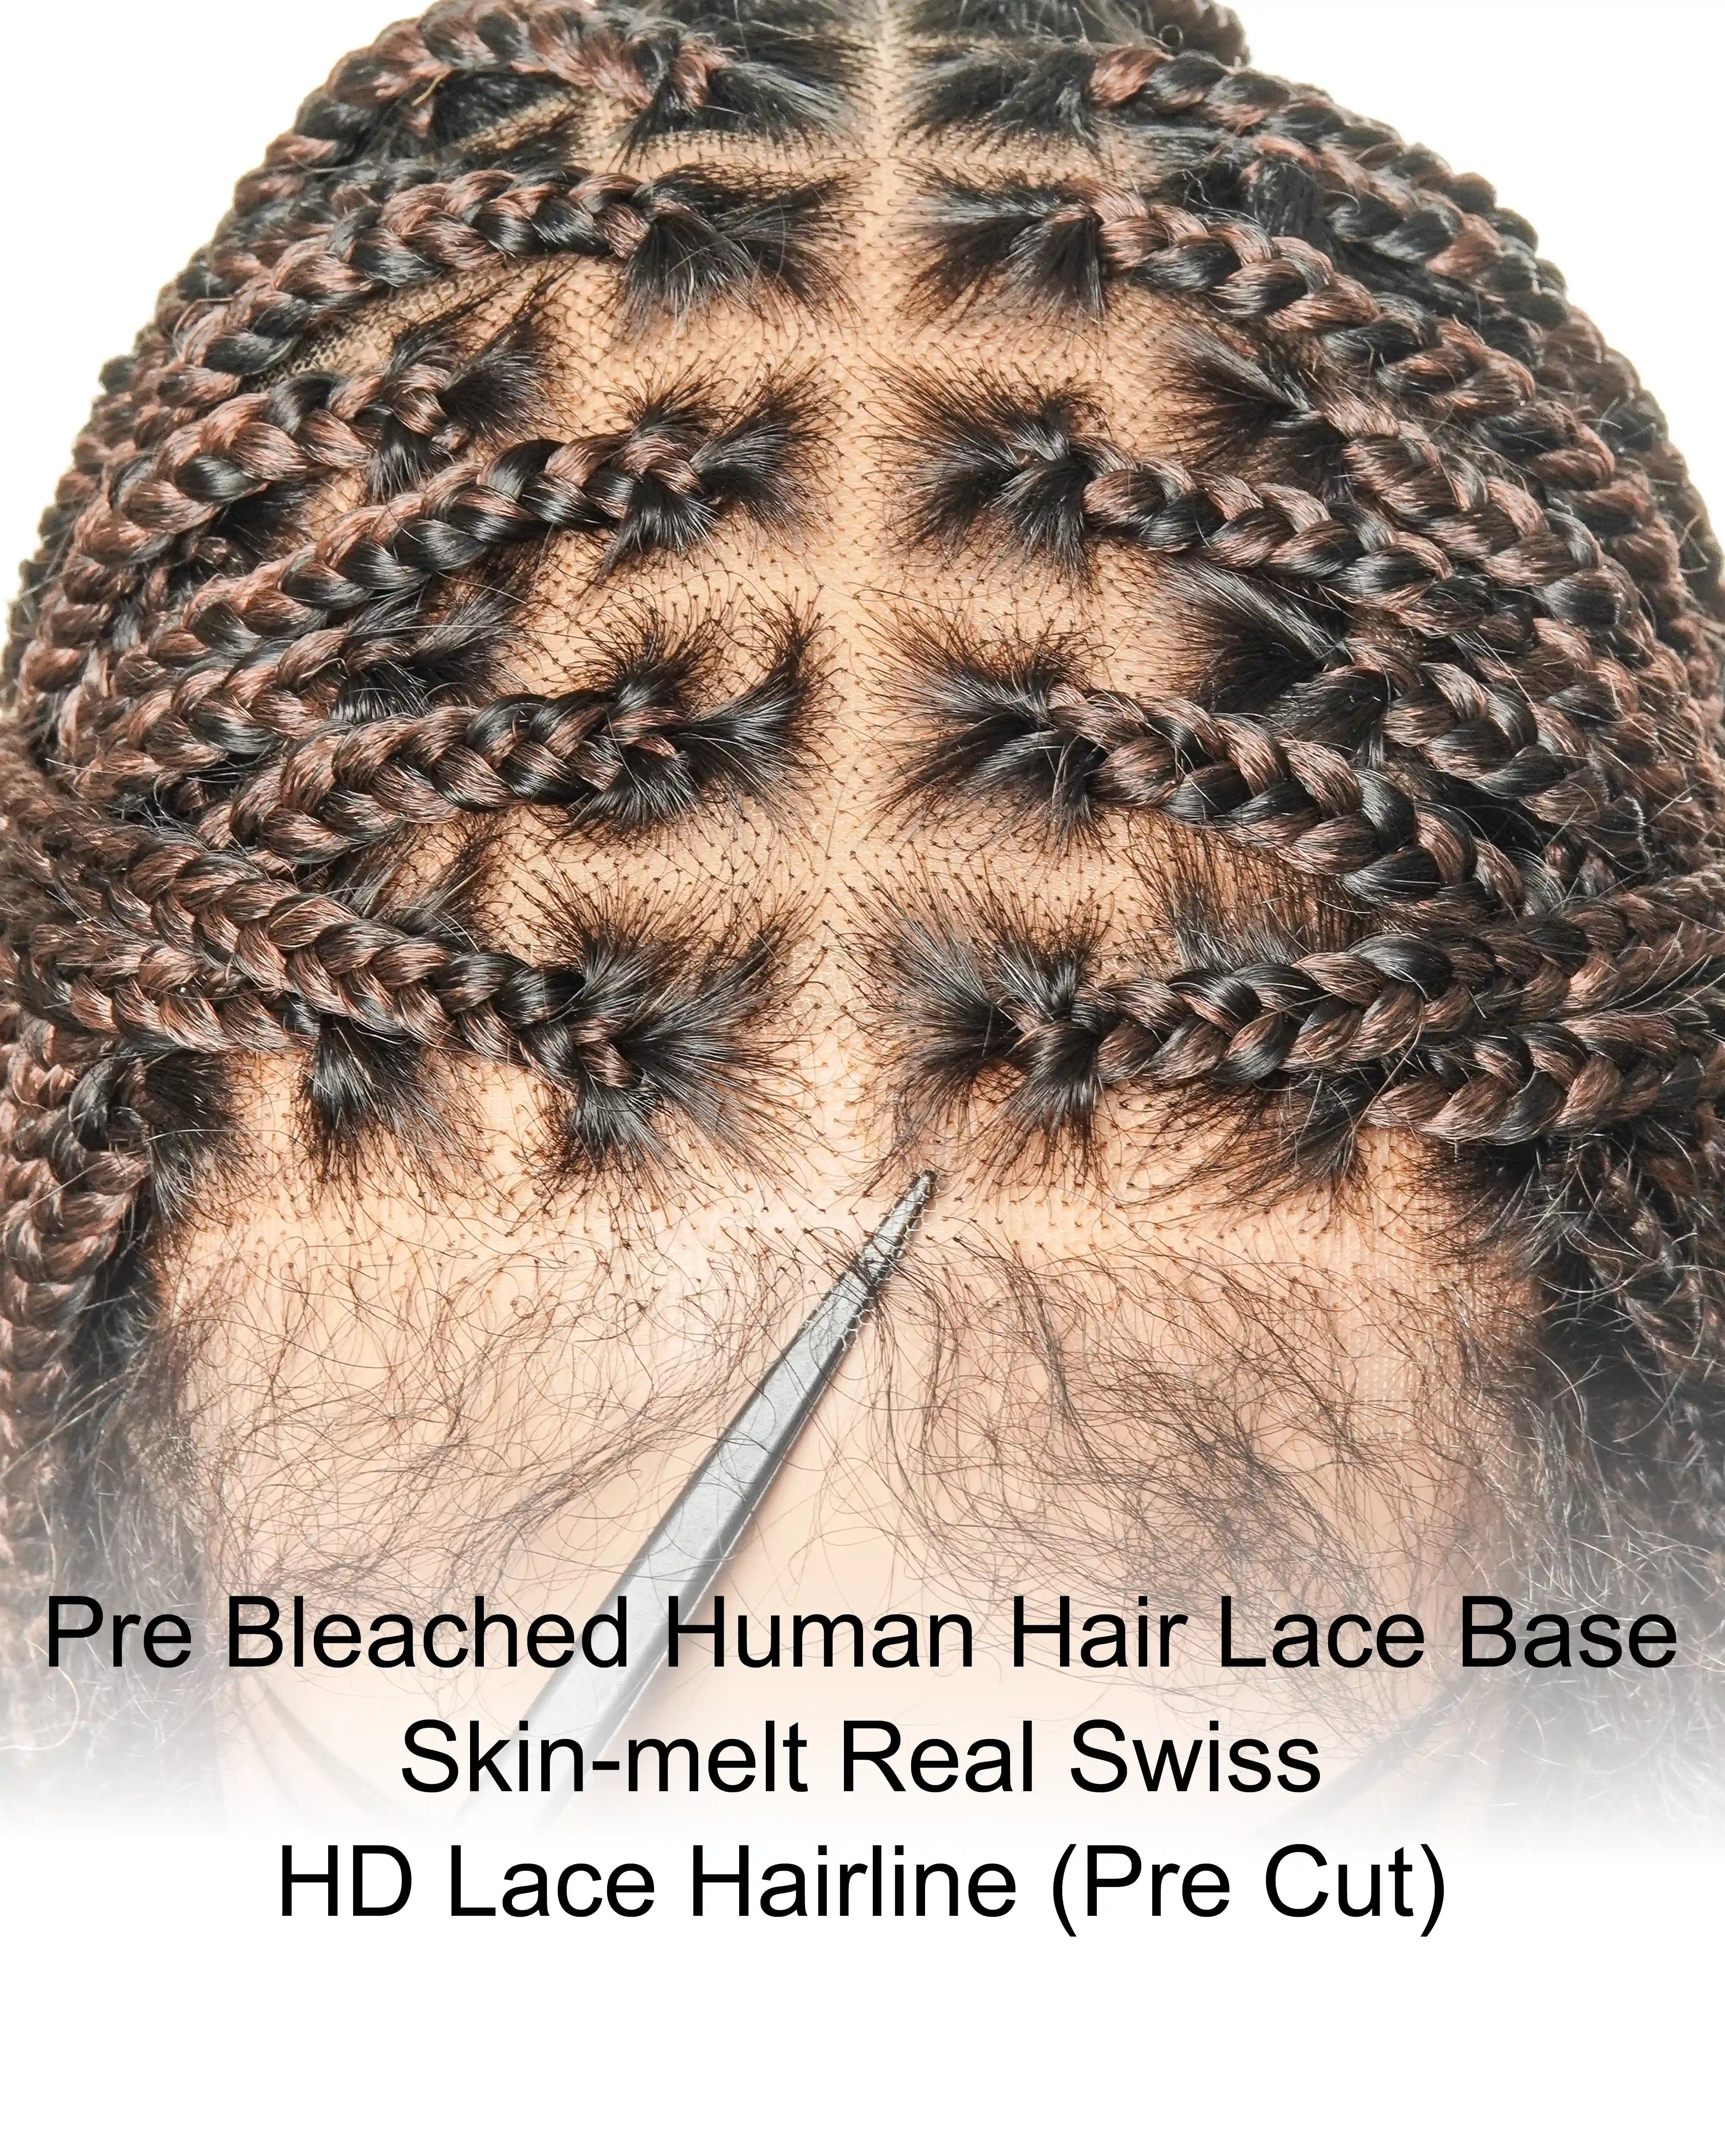
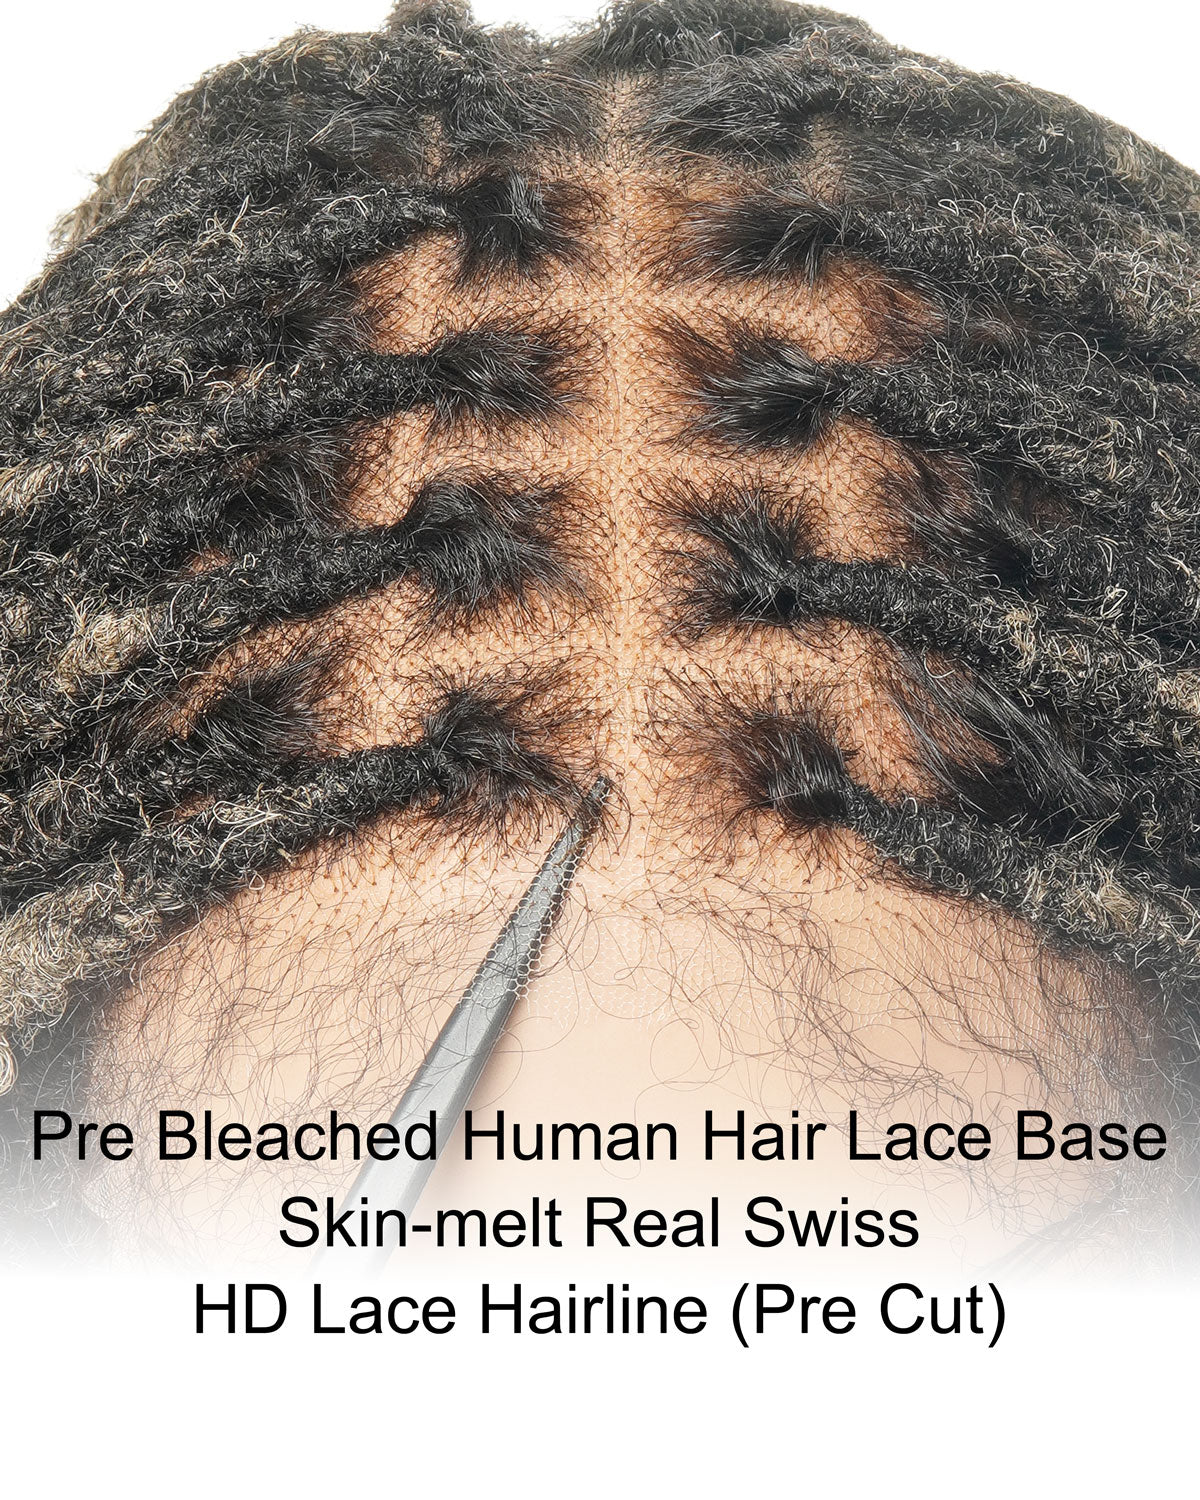
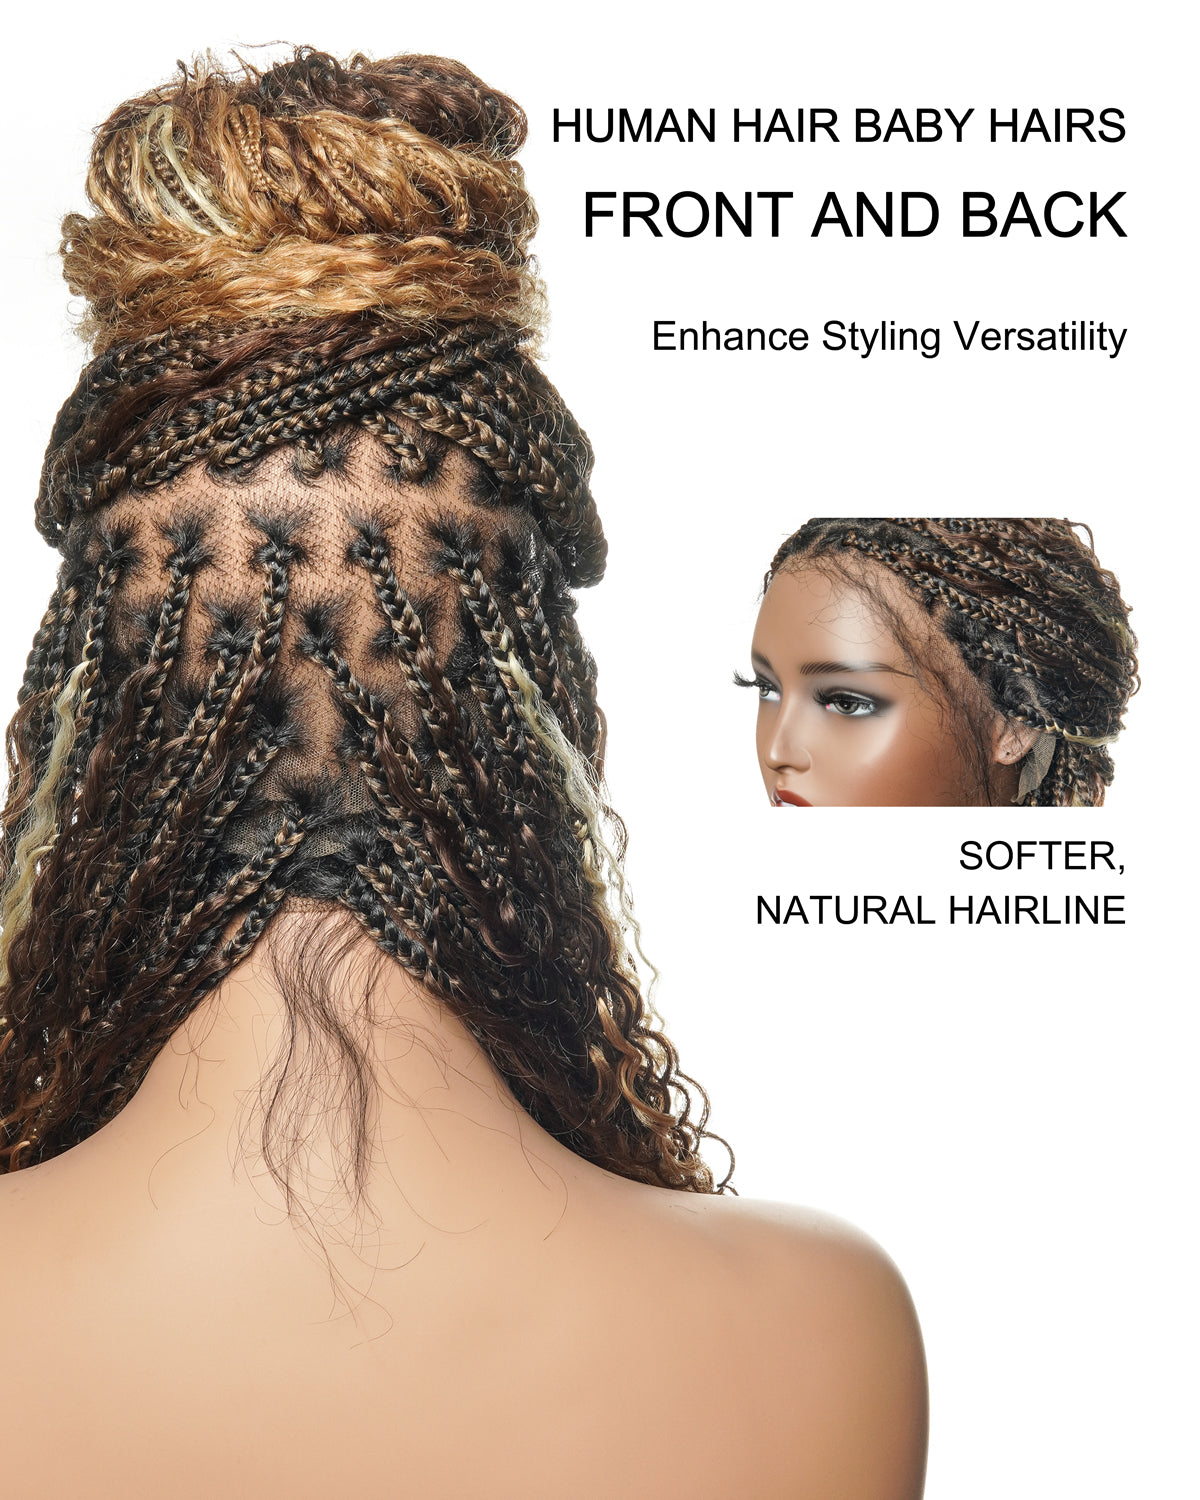
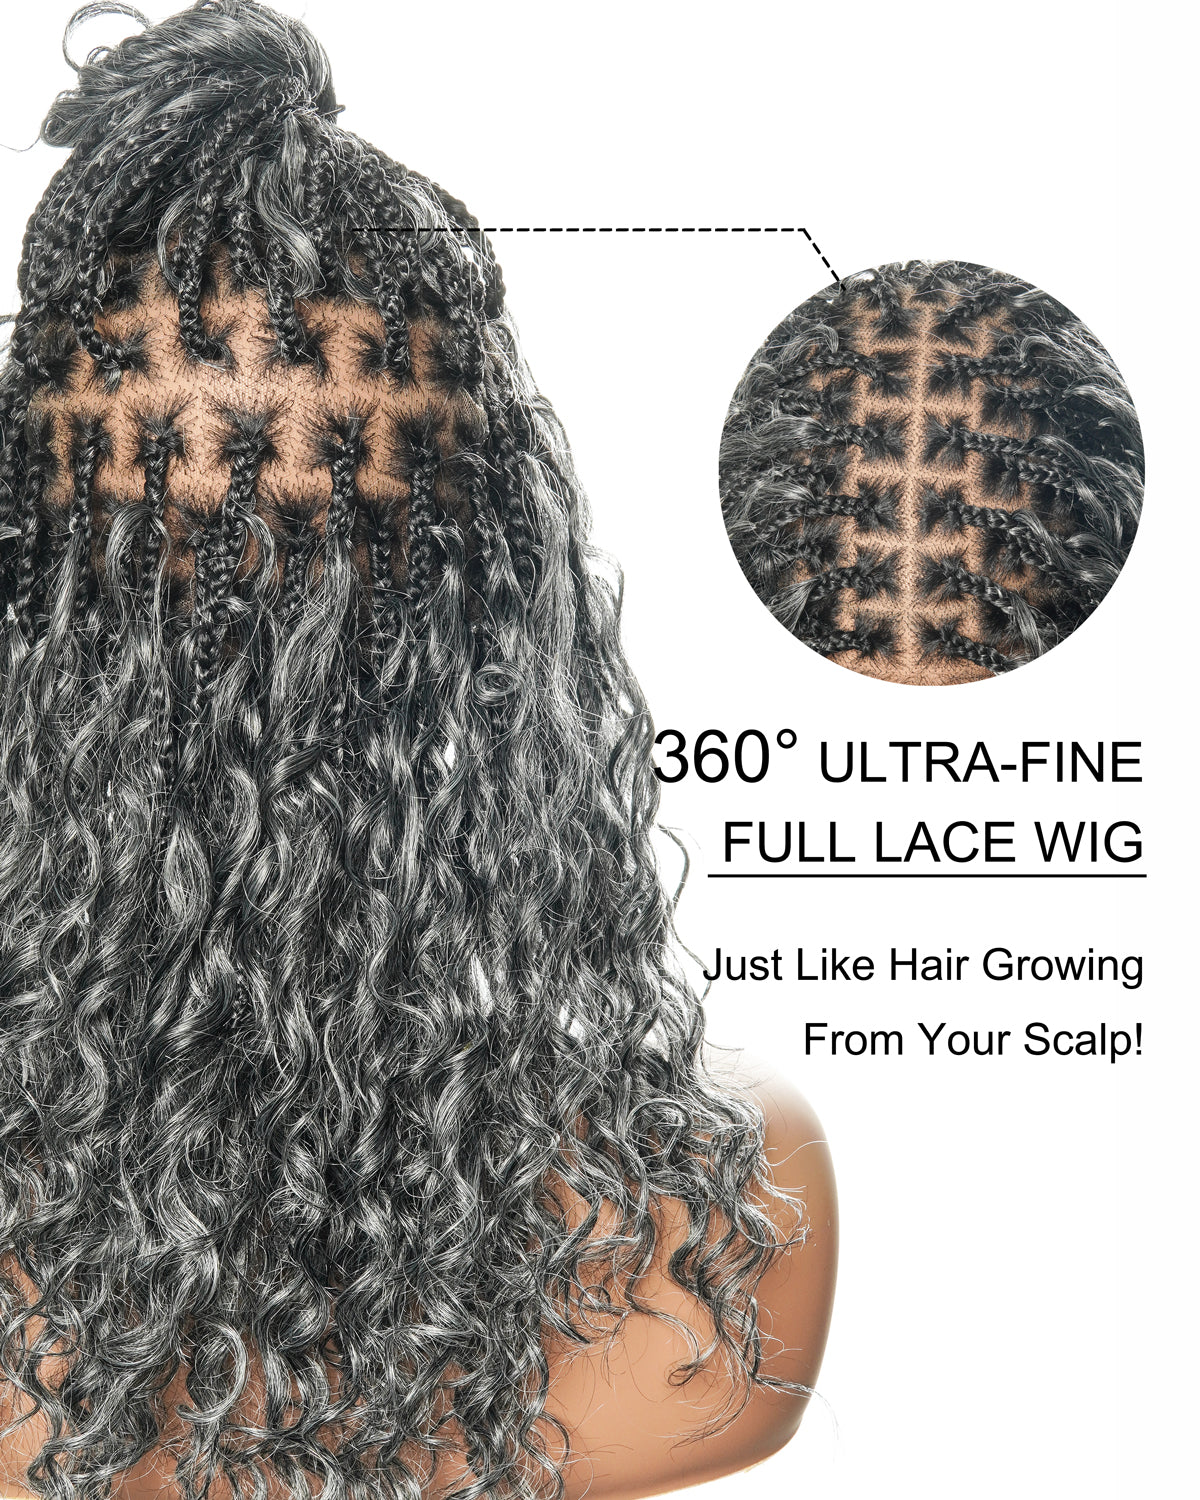
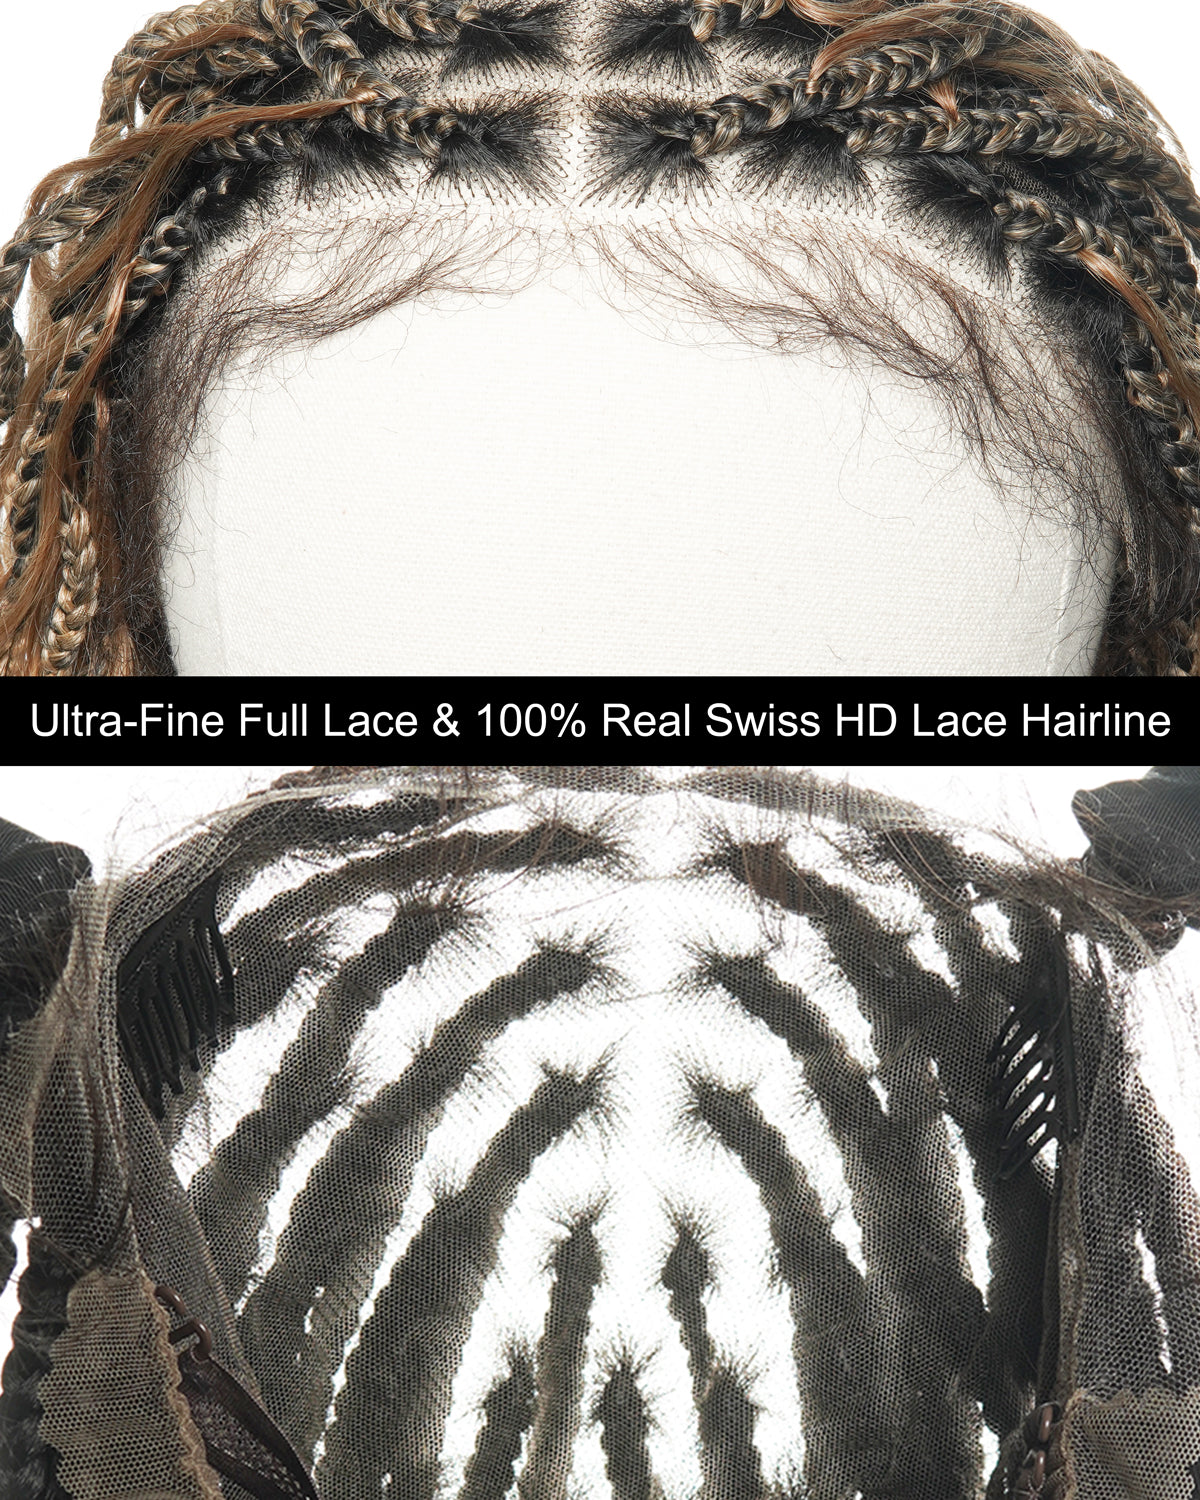
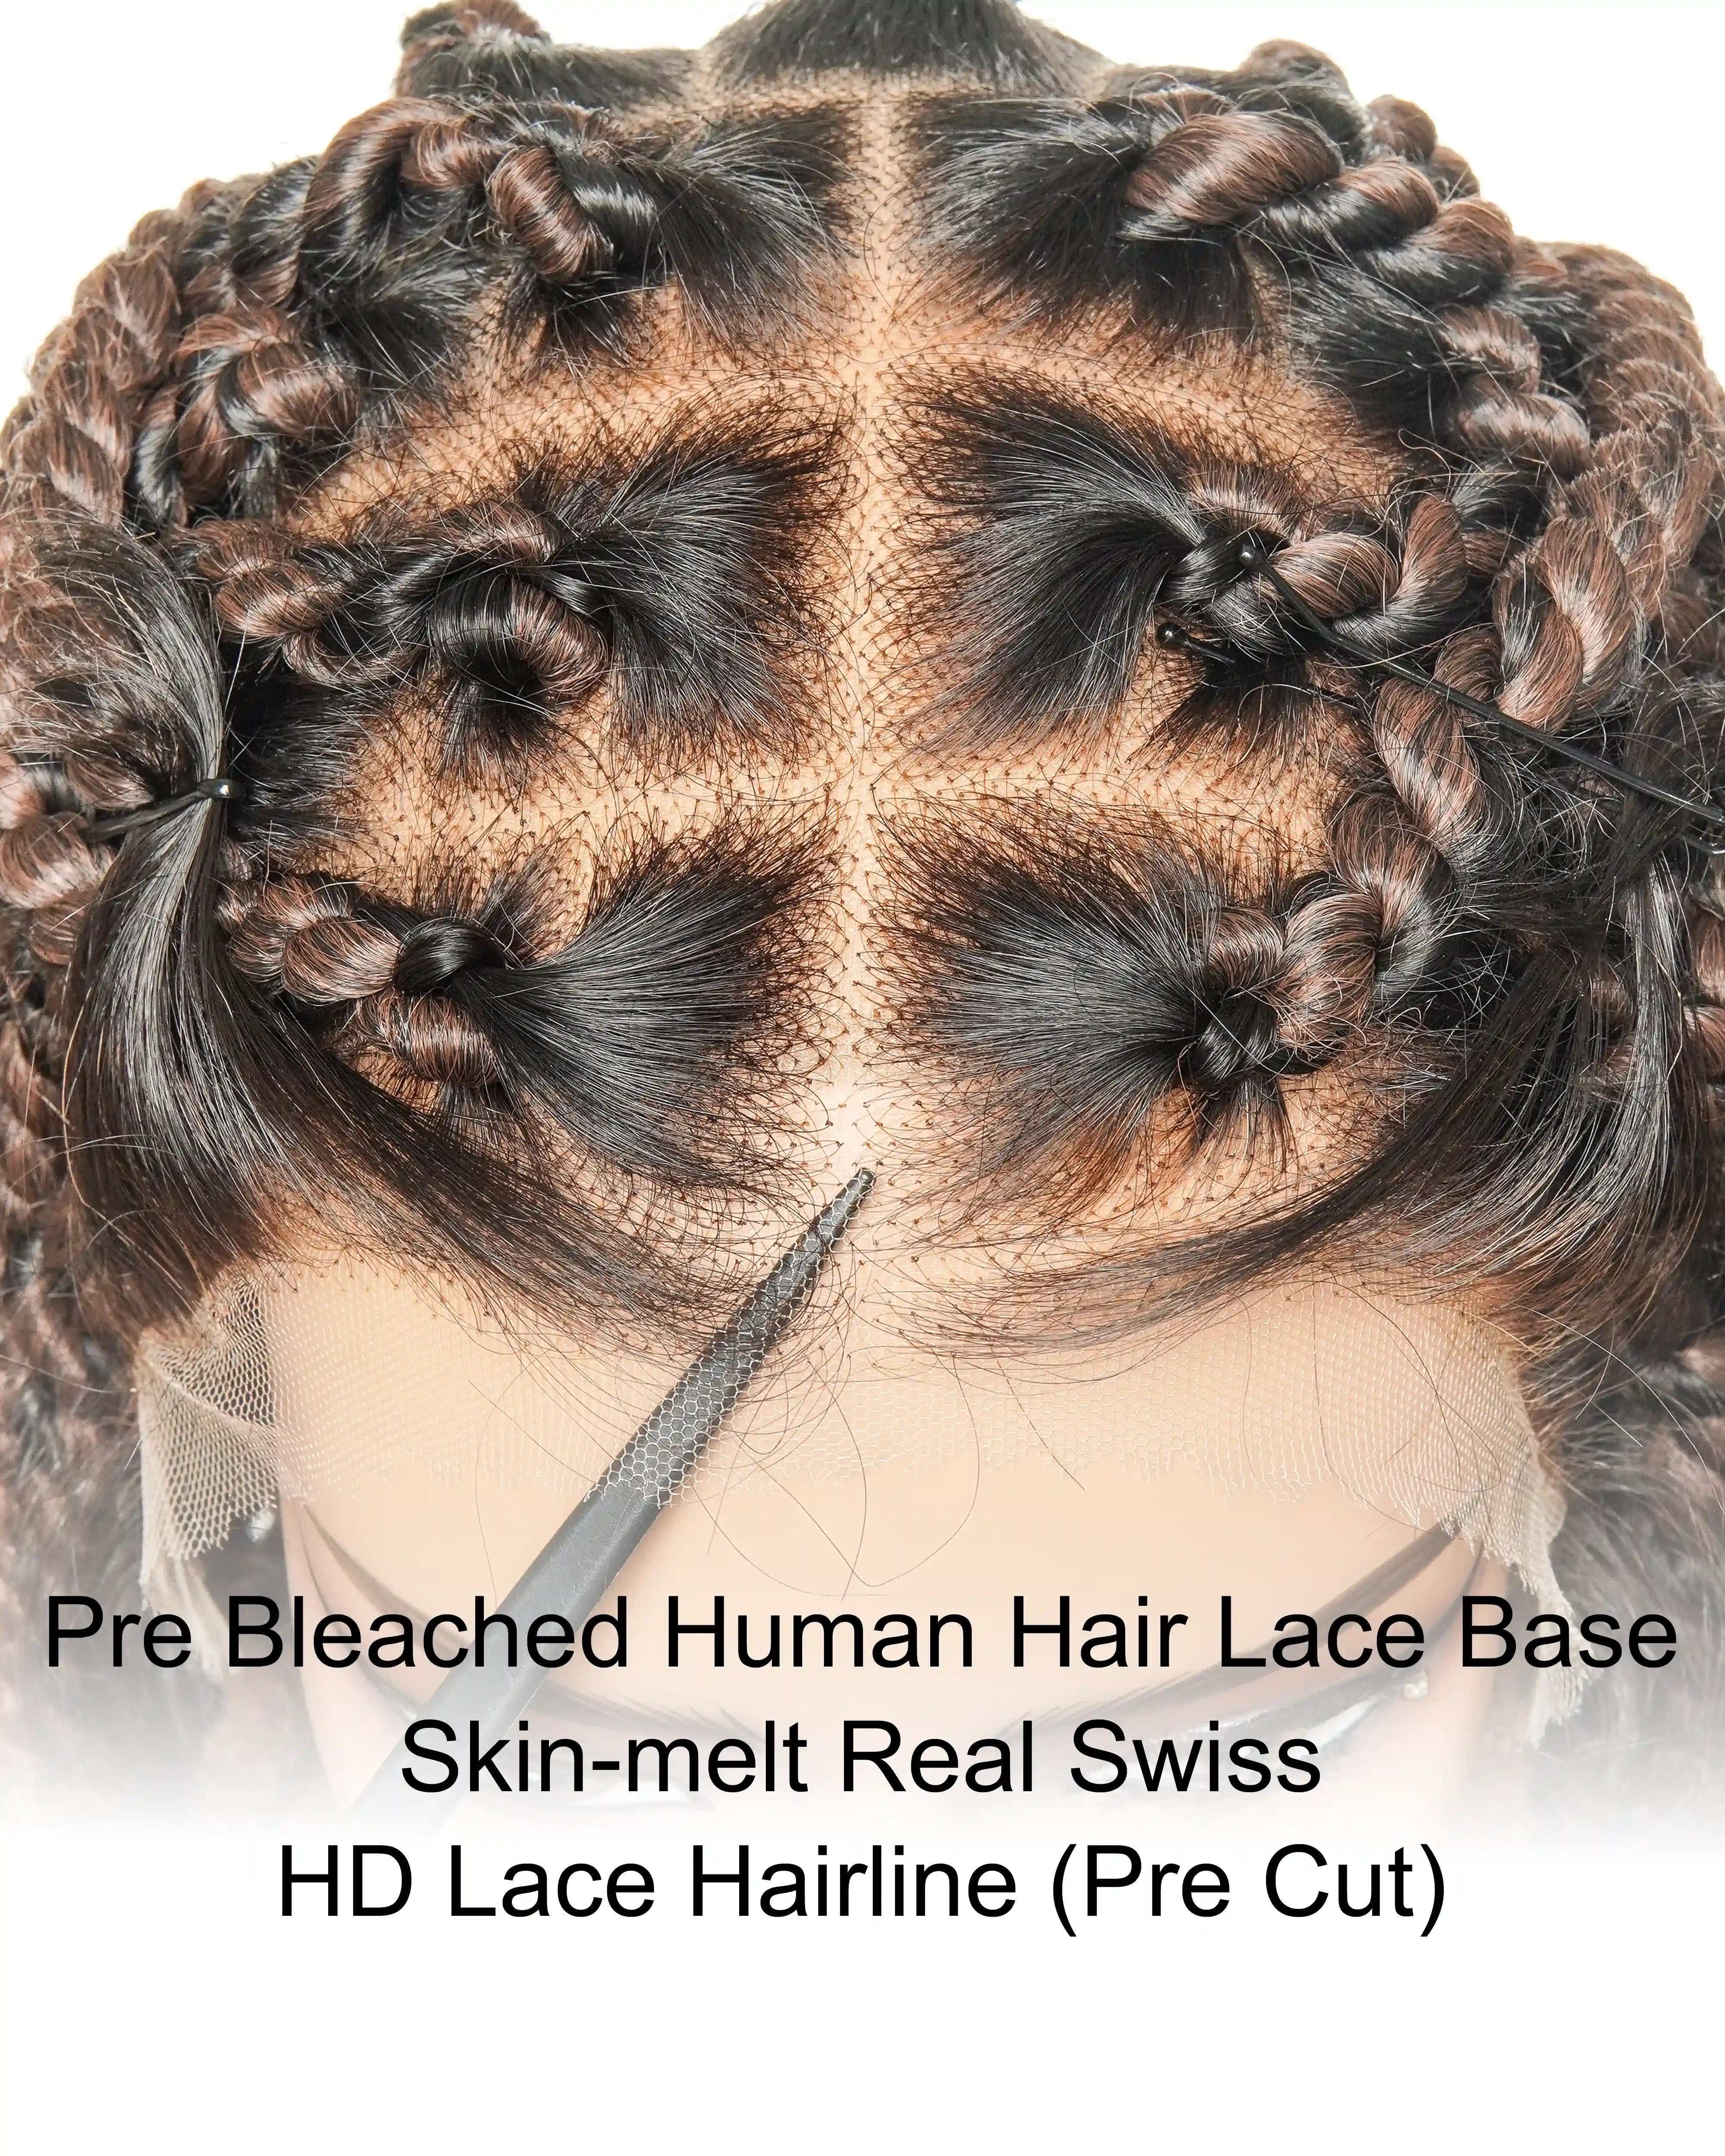
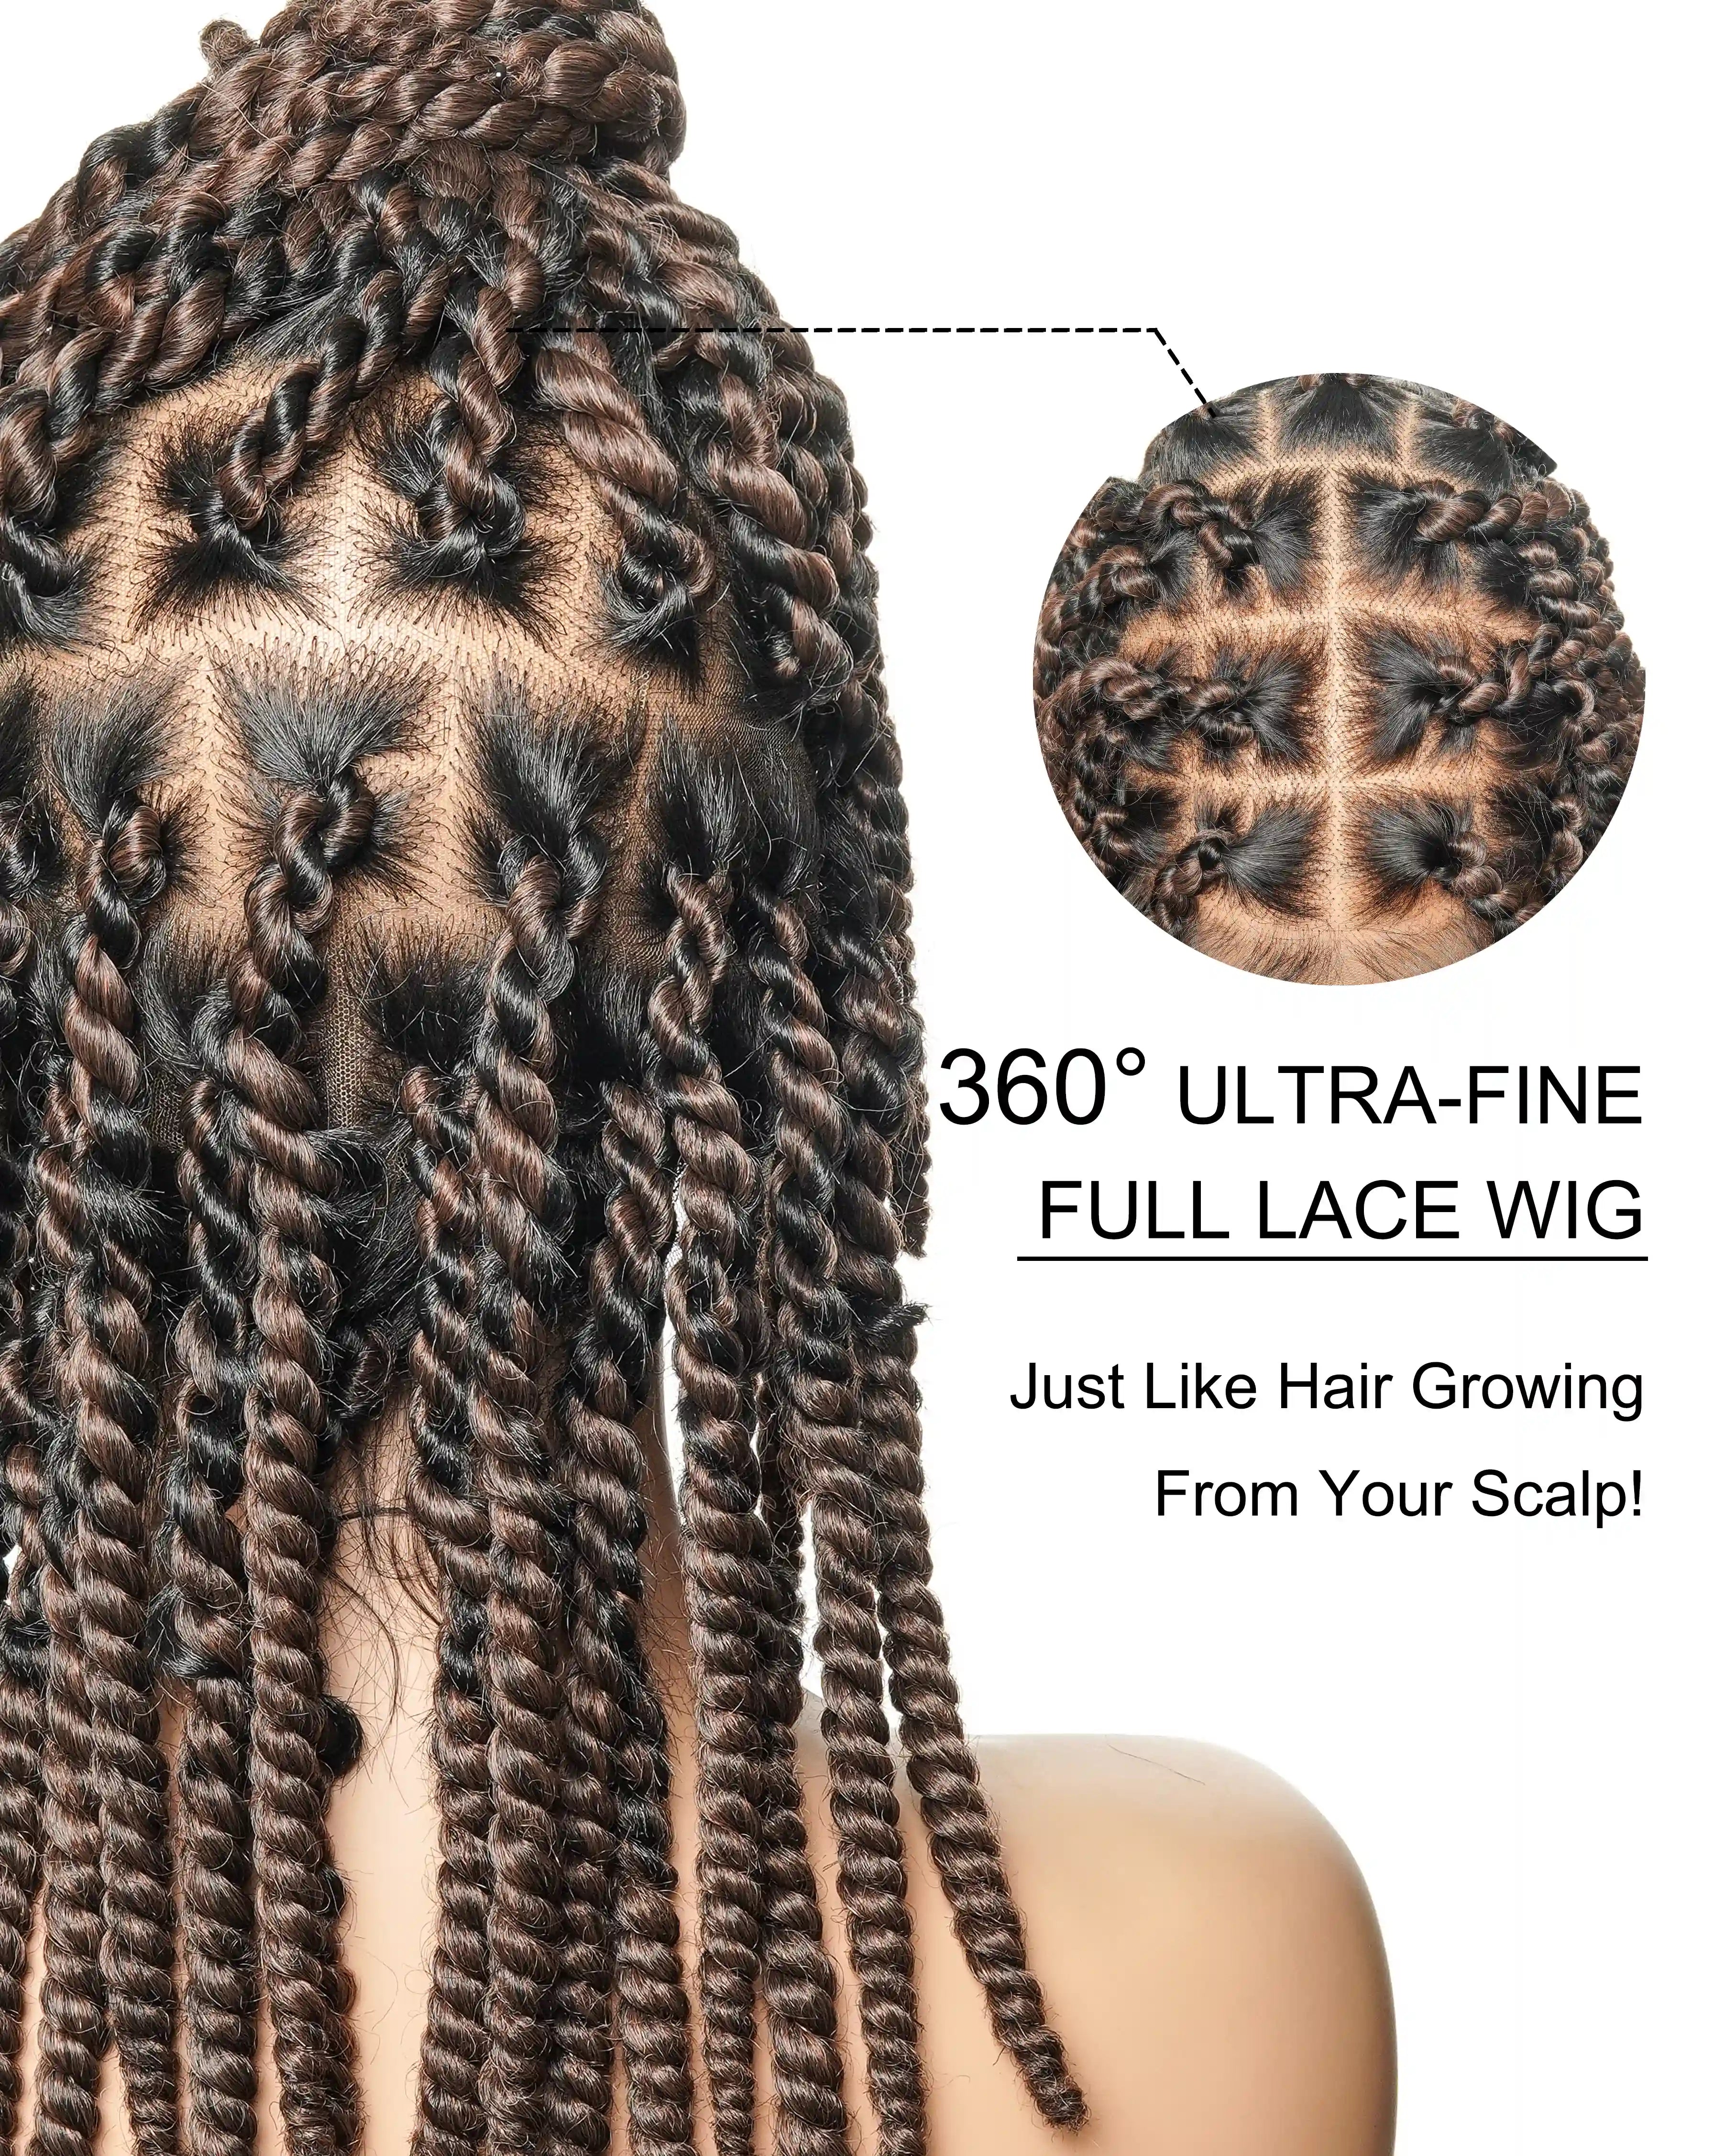
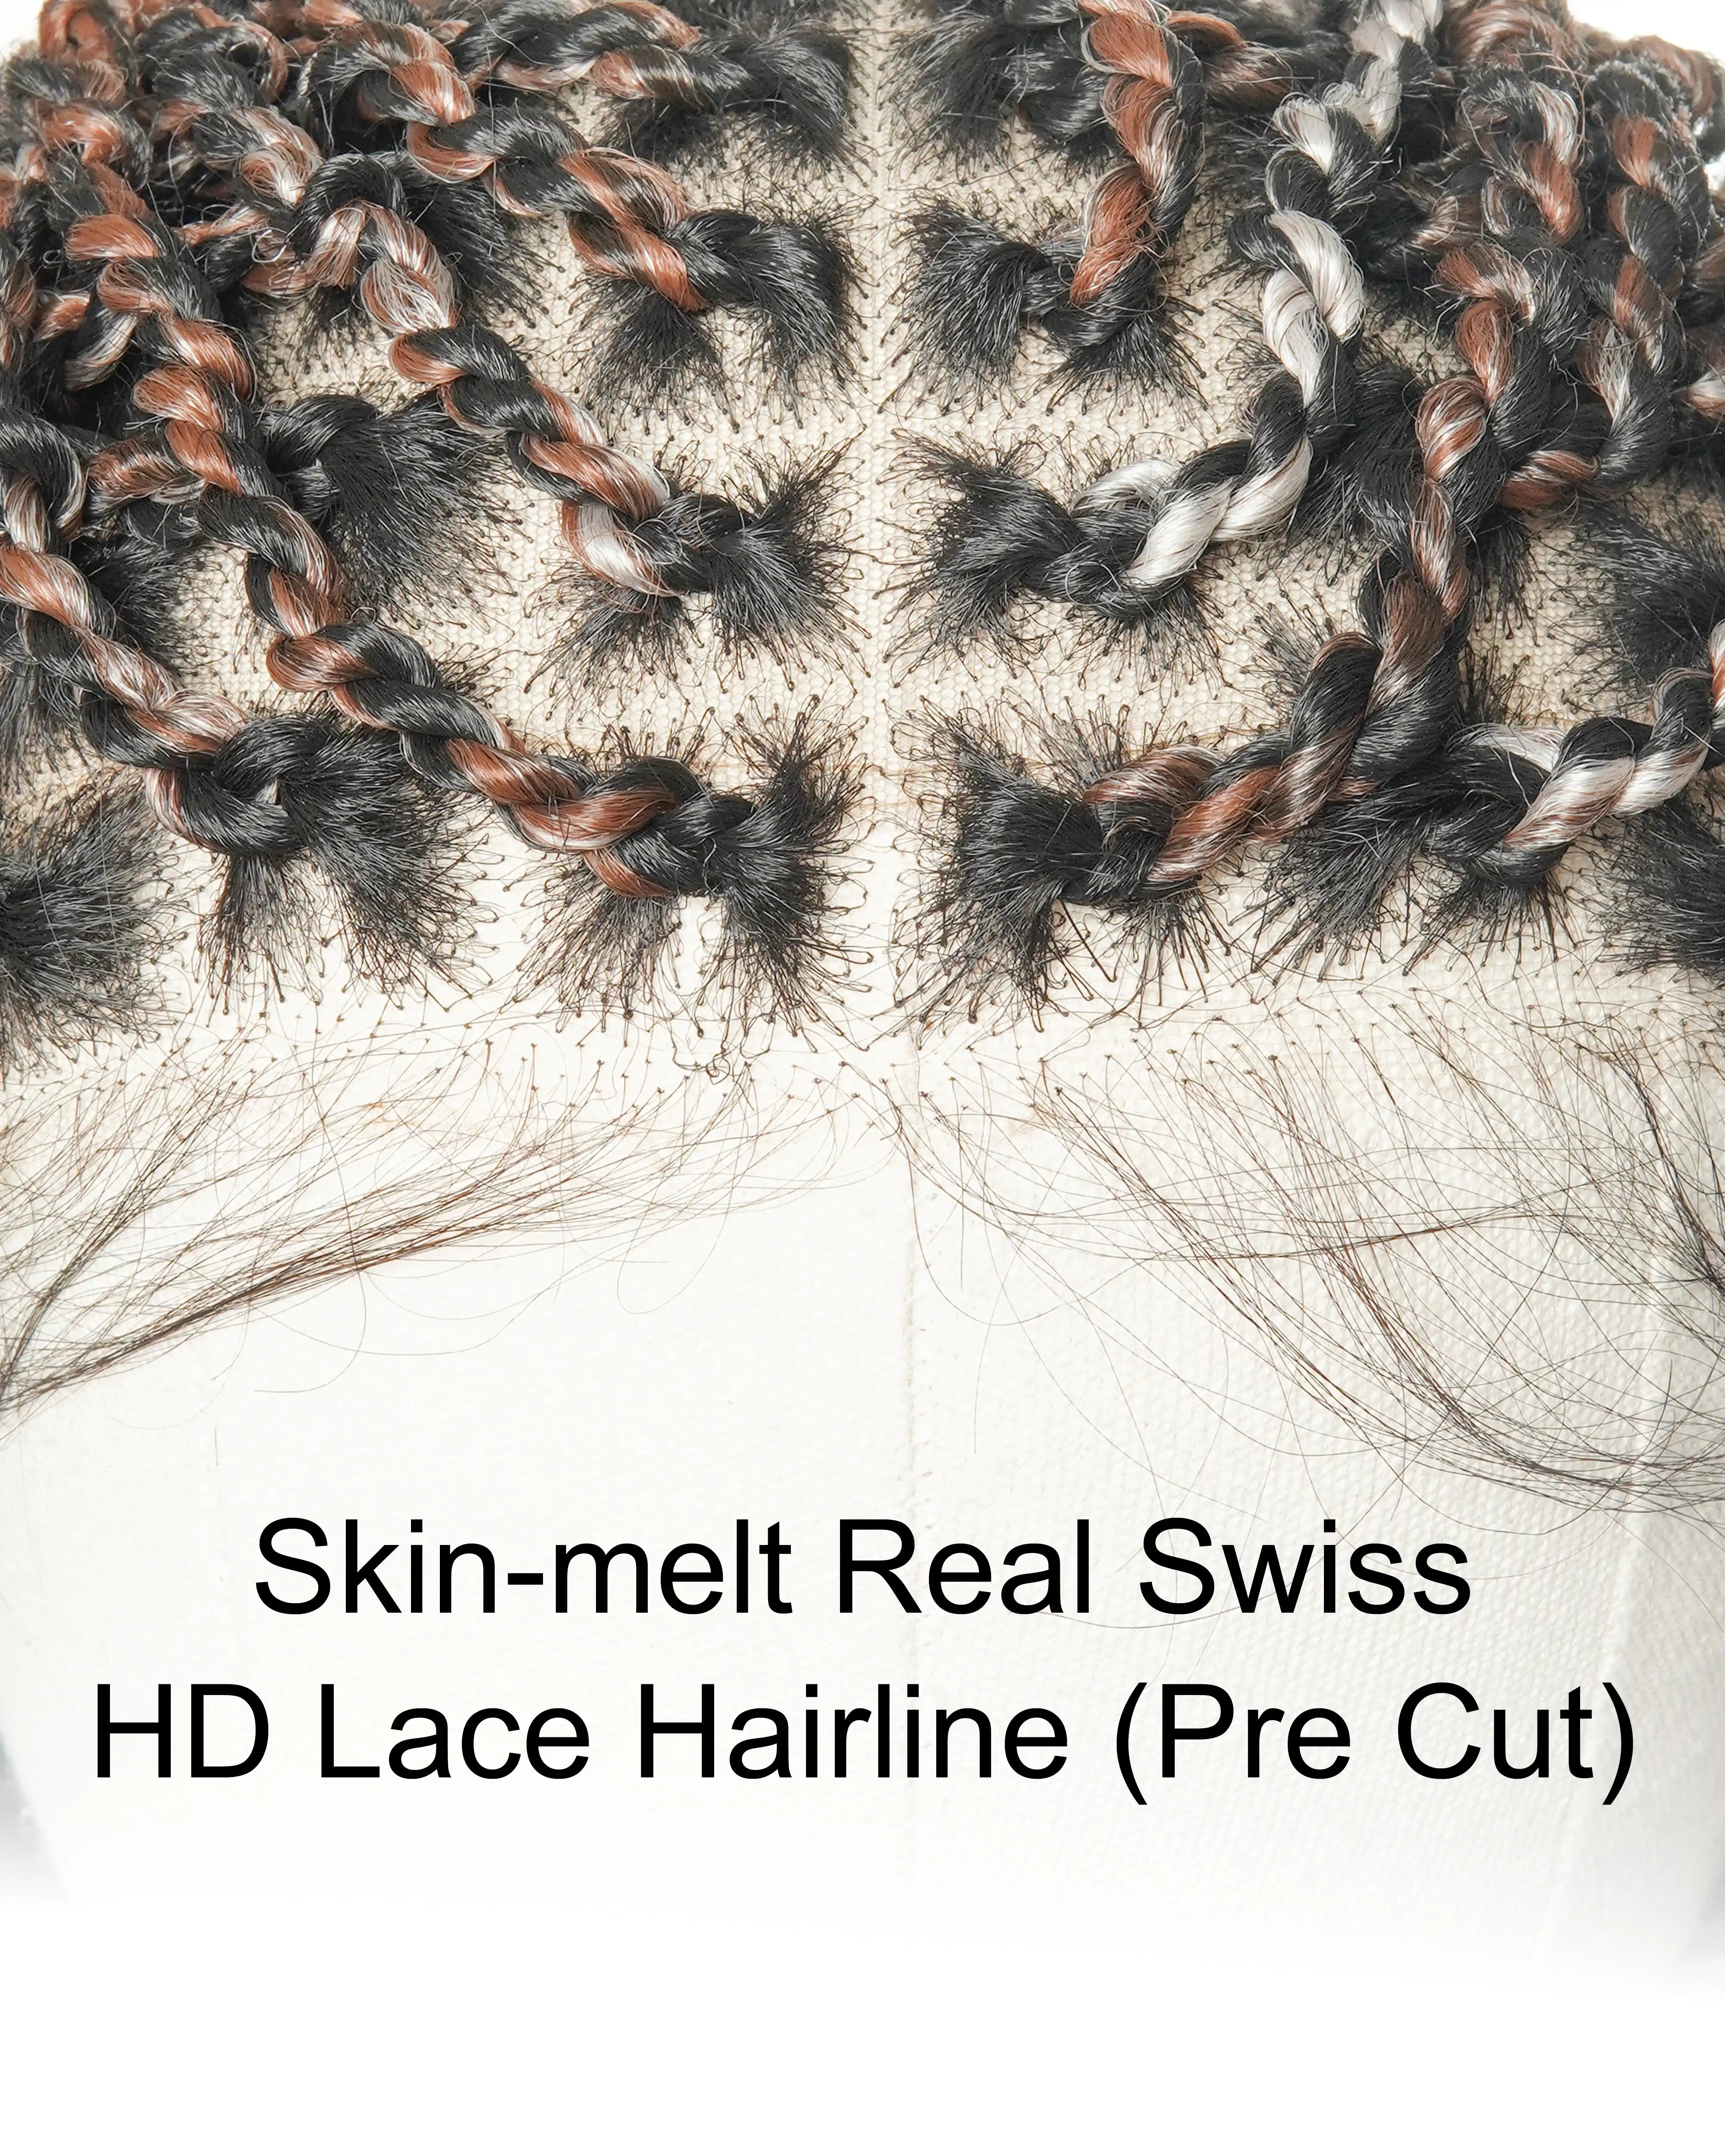
The selection of uBraids wigs available at the JALIZA Wig Store provides an extensive array of styles, from the traditional to the contemporary. Our wigs are designed with the user in mind, ensuring that each product captures the aesthetic appeal of braided hair and offers ease and convenience. The use of high-quality human hair in creating our baby hair, coupled with our innovative HD lace, ensures a realistic appearance and ease of maintenance. At uBraids, we are committed to delivering an unparalleled experience, allowing you to find the perfect wig that speaks to your style and cultural roots.


Share:
Mastering Volume: Advanced Techniques for Crafting Fuller Knotless Braids
A Comprehensive Guide on Navigating the Waters with Box Braids