
Box braids, a timeless and protective hairstyle, have roots deeply intertwined with African culture and have been worn by women and men for centuries. Not only do they offer a stunning aesthetic appeal, but they also protect hair from environmental factors and reduce daily styling damage. With their surge in popularity in recent years, becoming a versatile statement in fashion and beauty, many people are curious about how to start box braids. This traditional technique involves sectioning the hair into square-shaped parts and braiding it with extensions to add length and fullness.
Understanding Box Braids
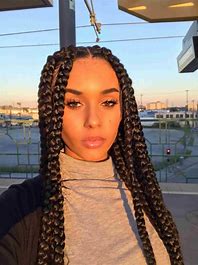
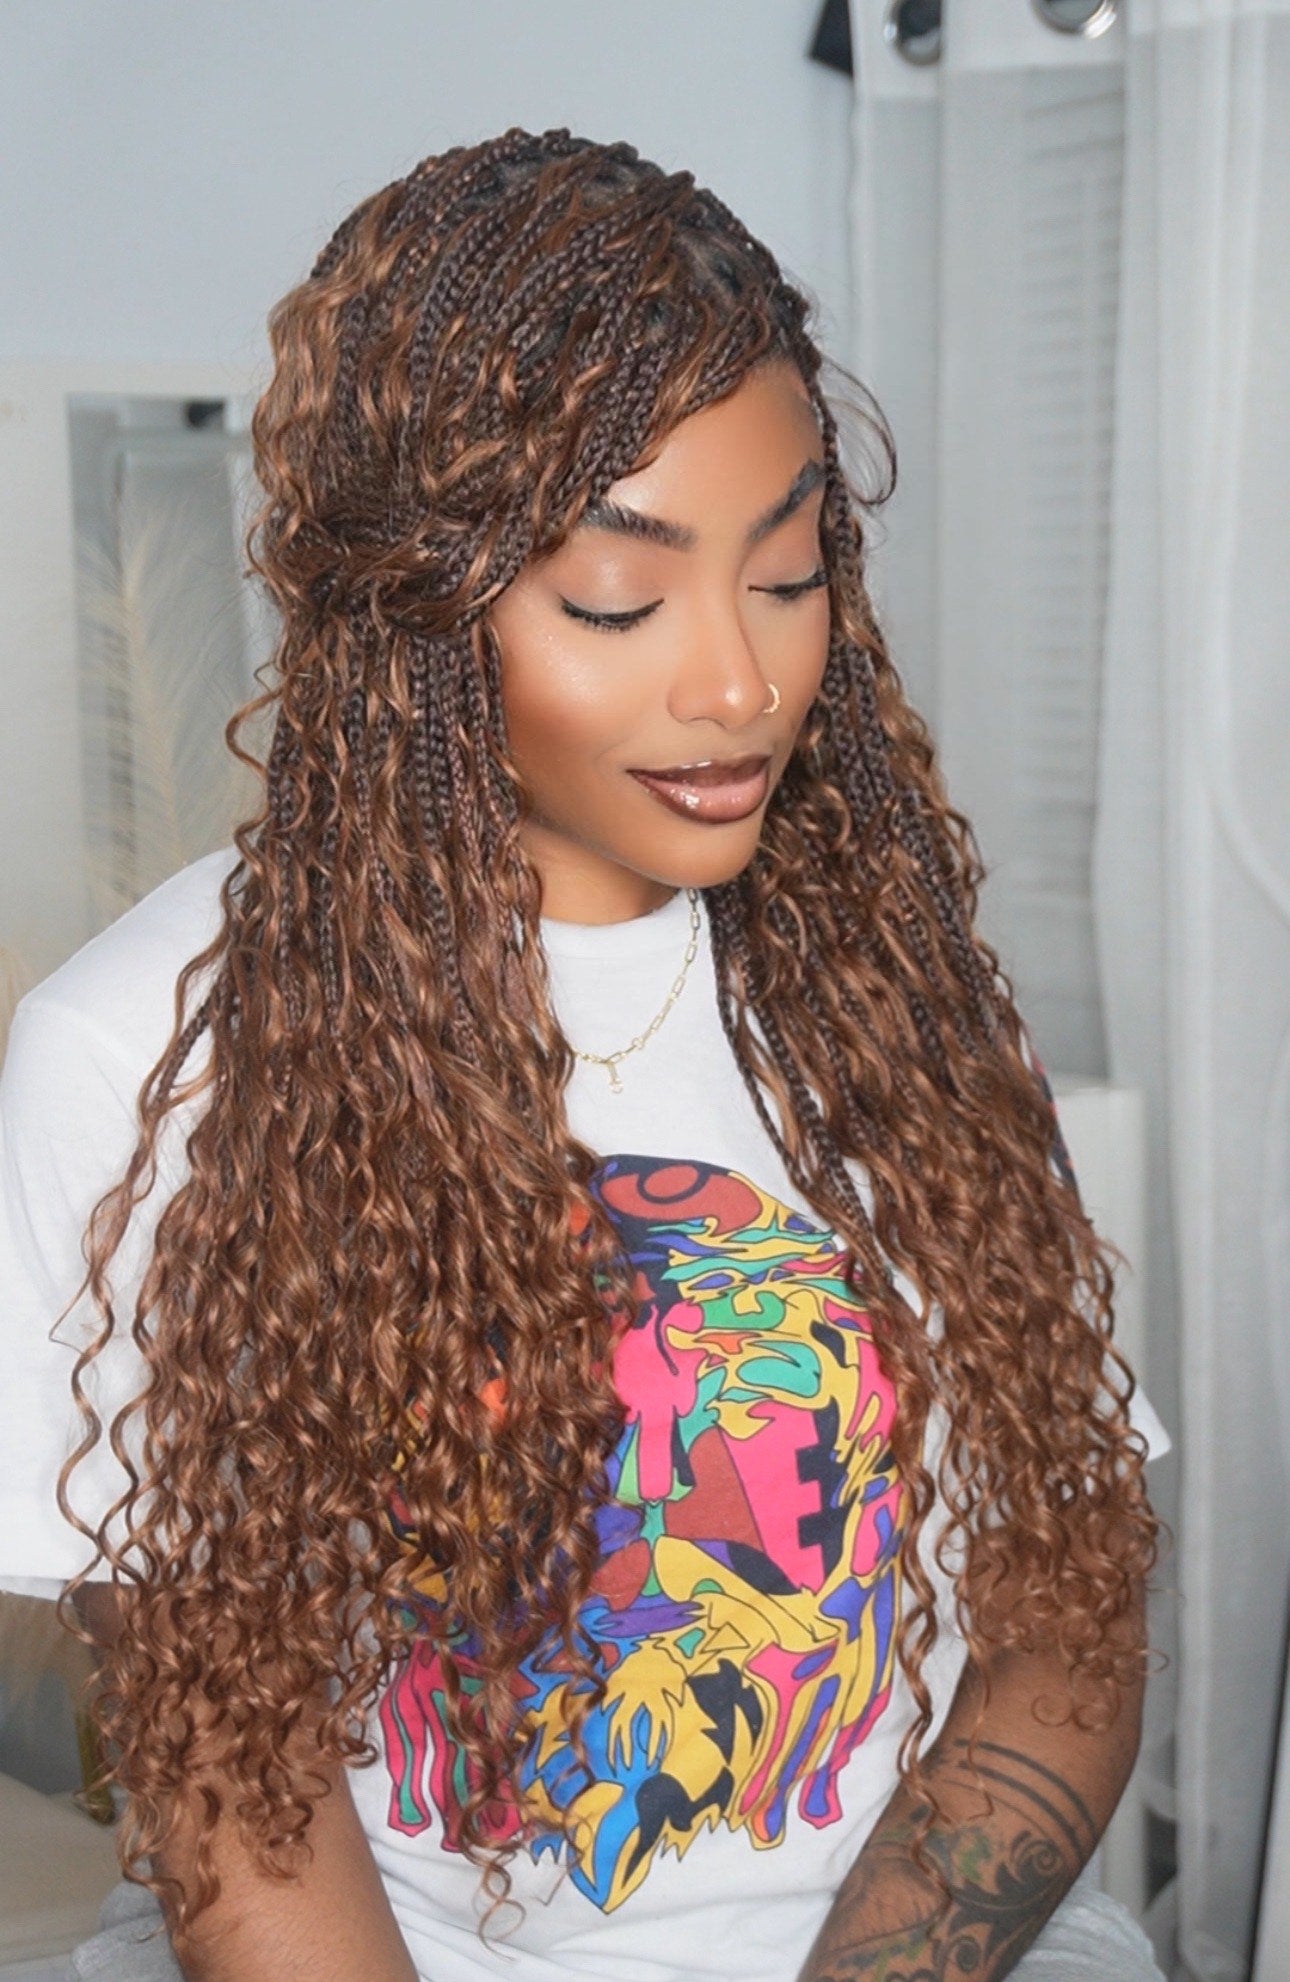
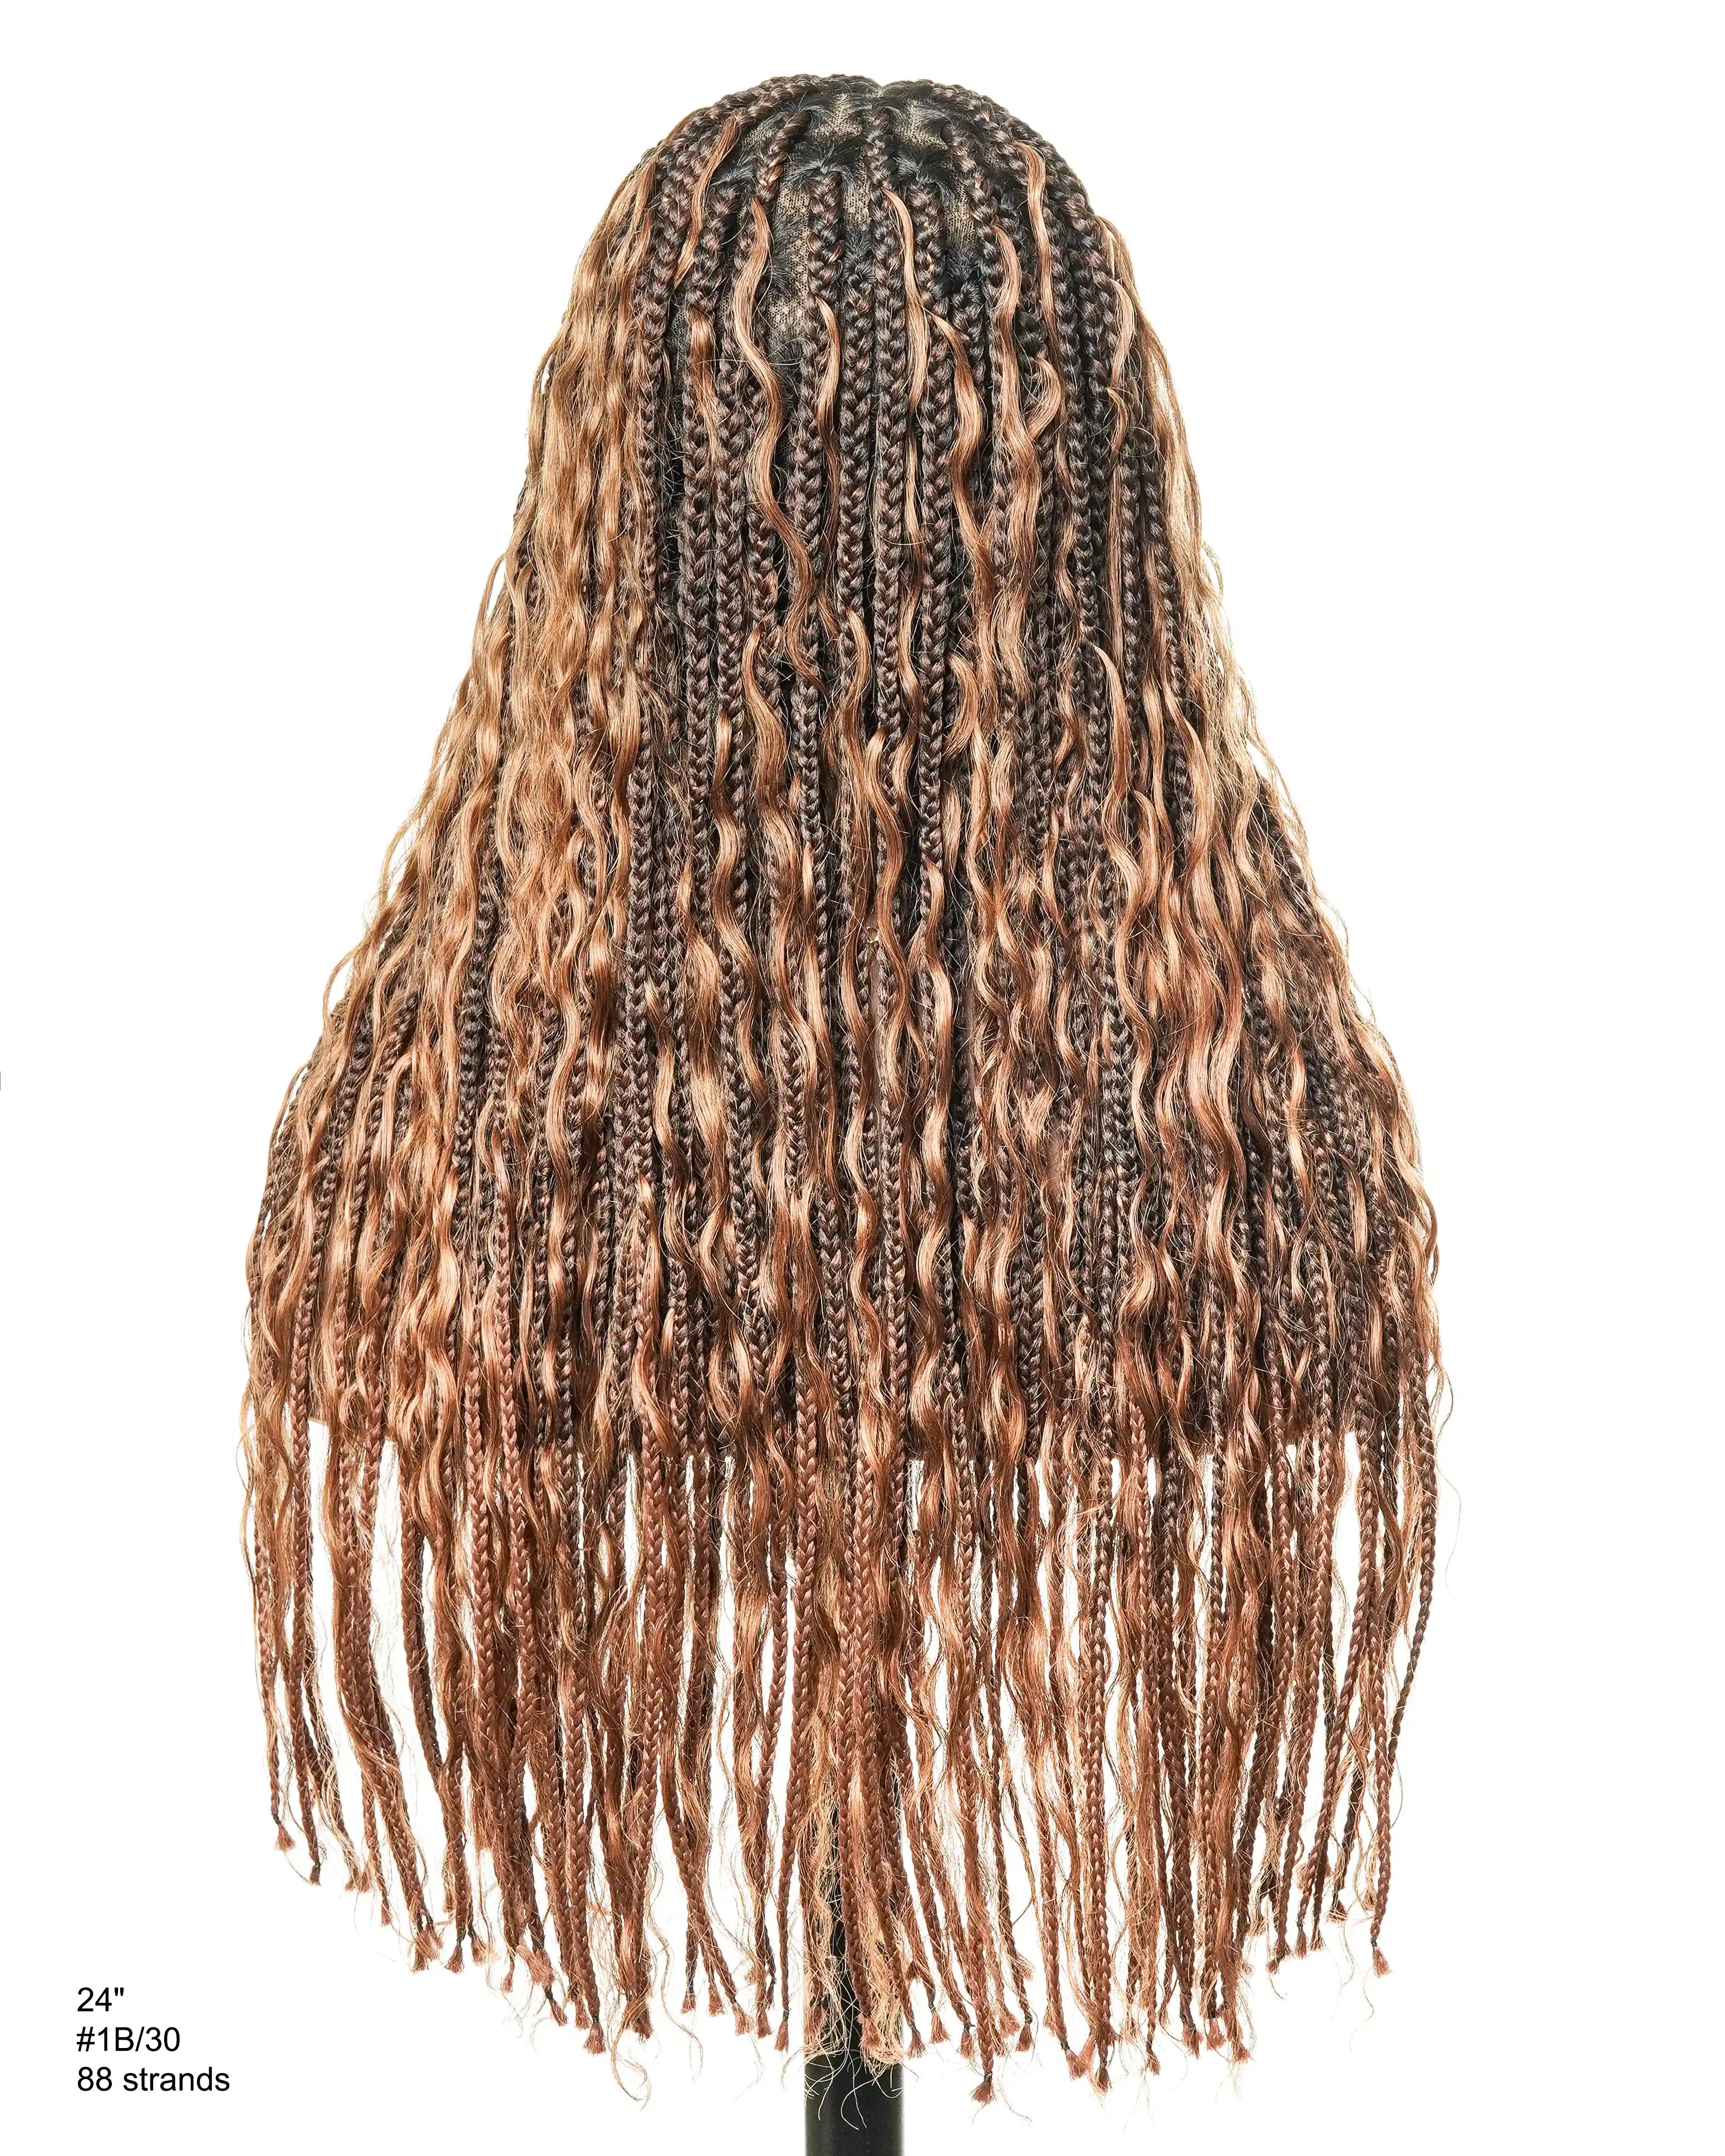
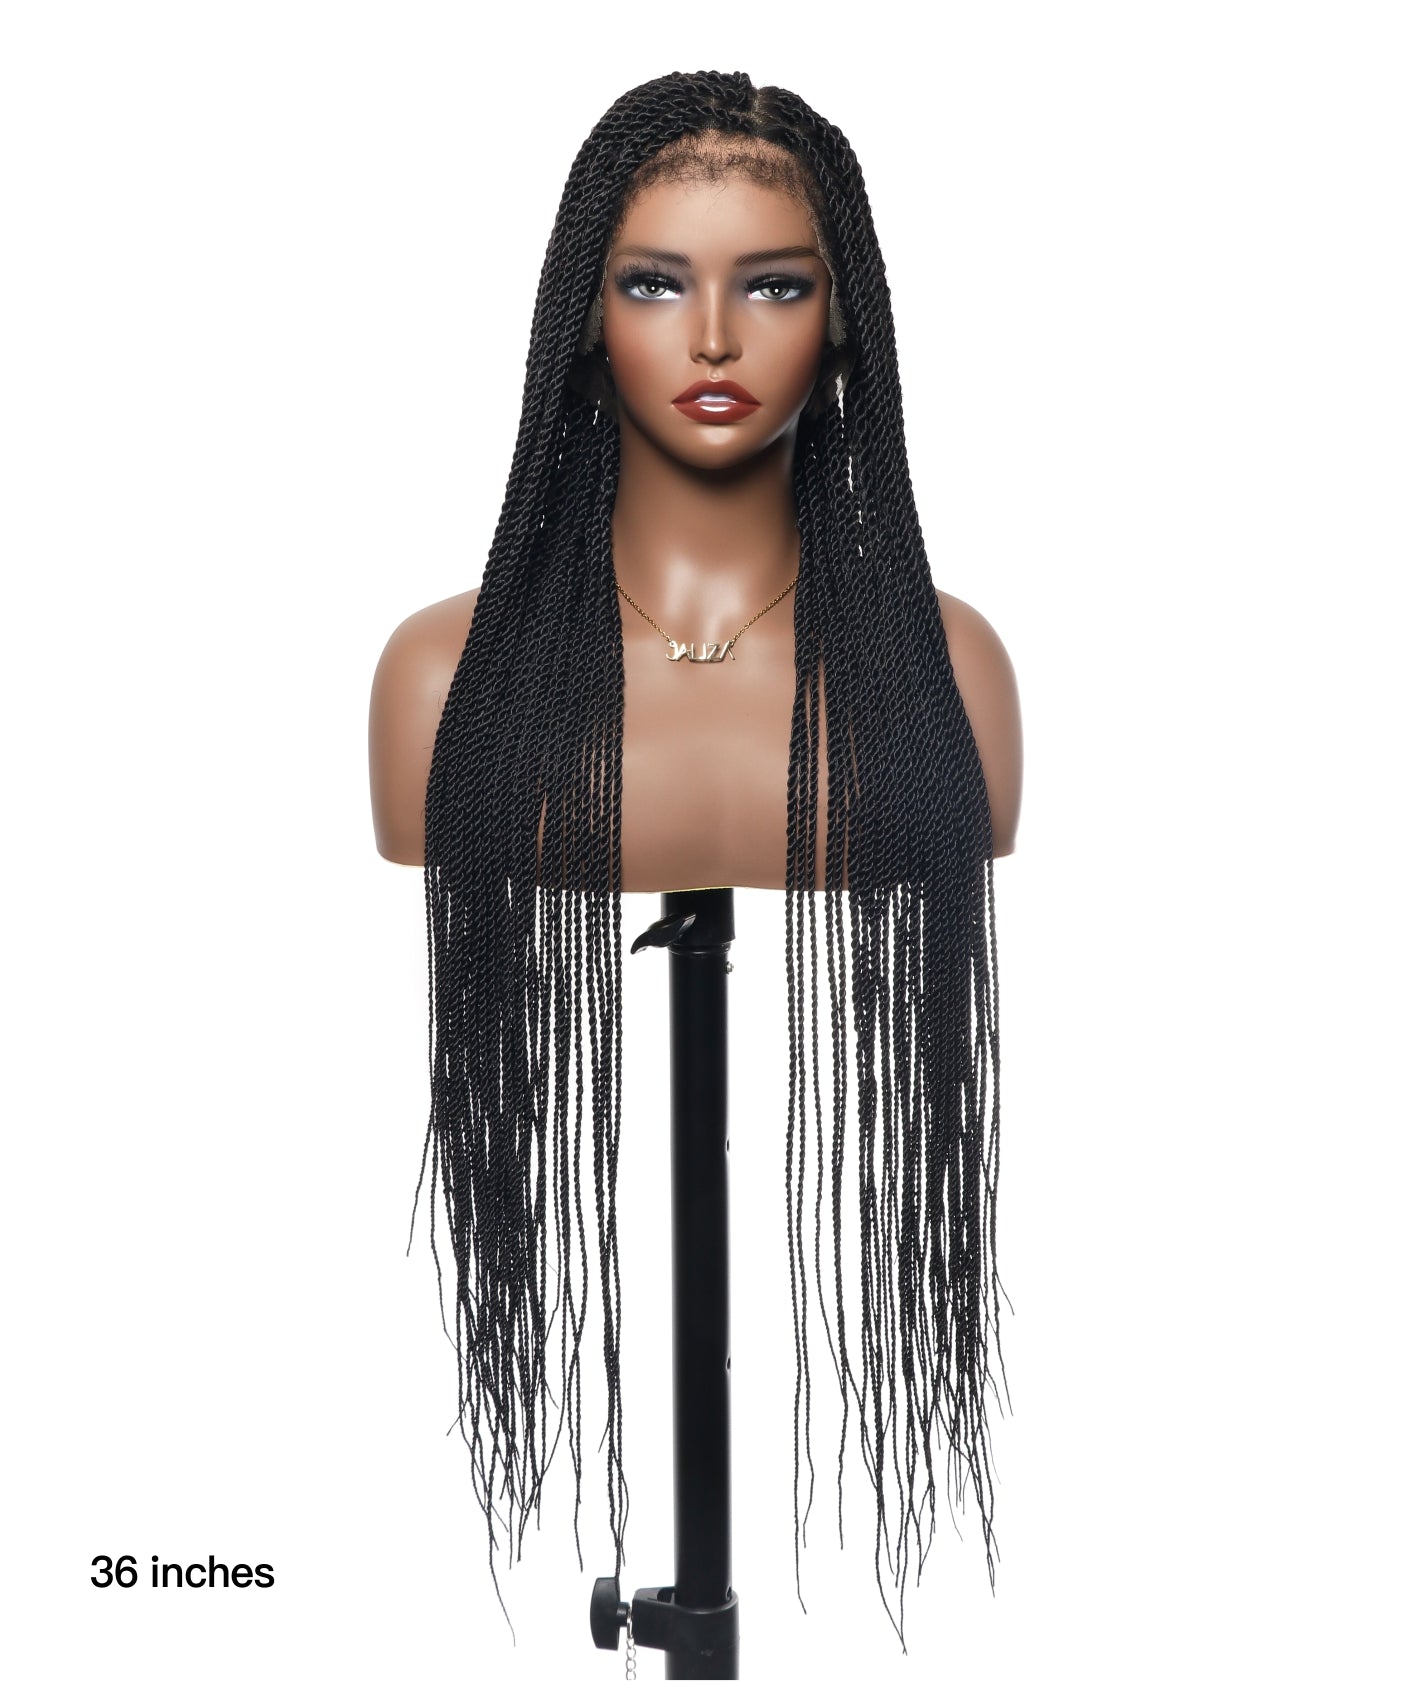
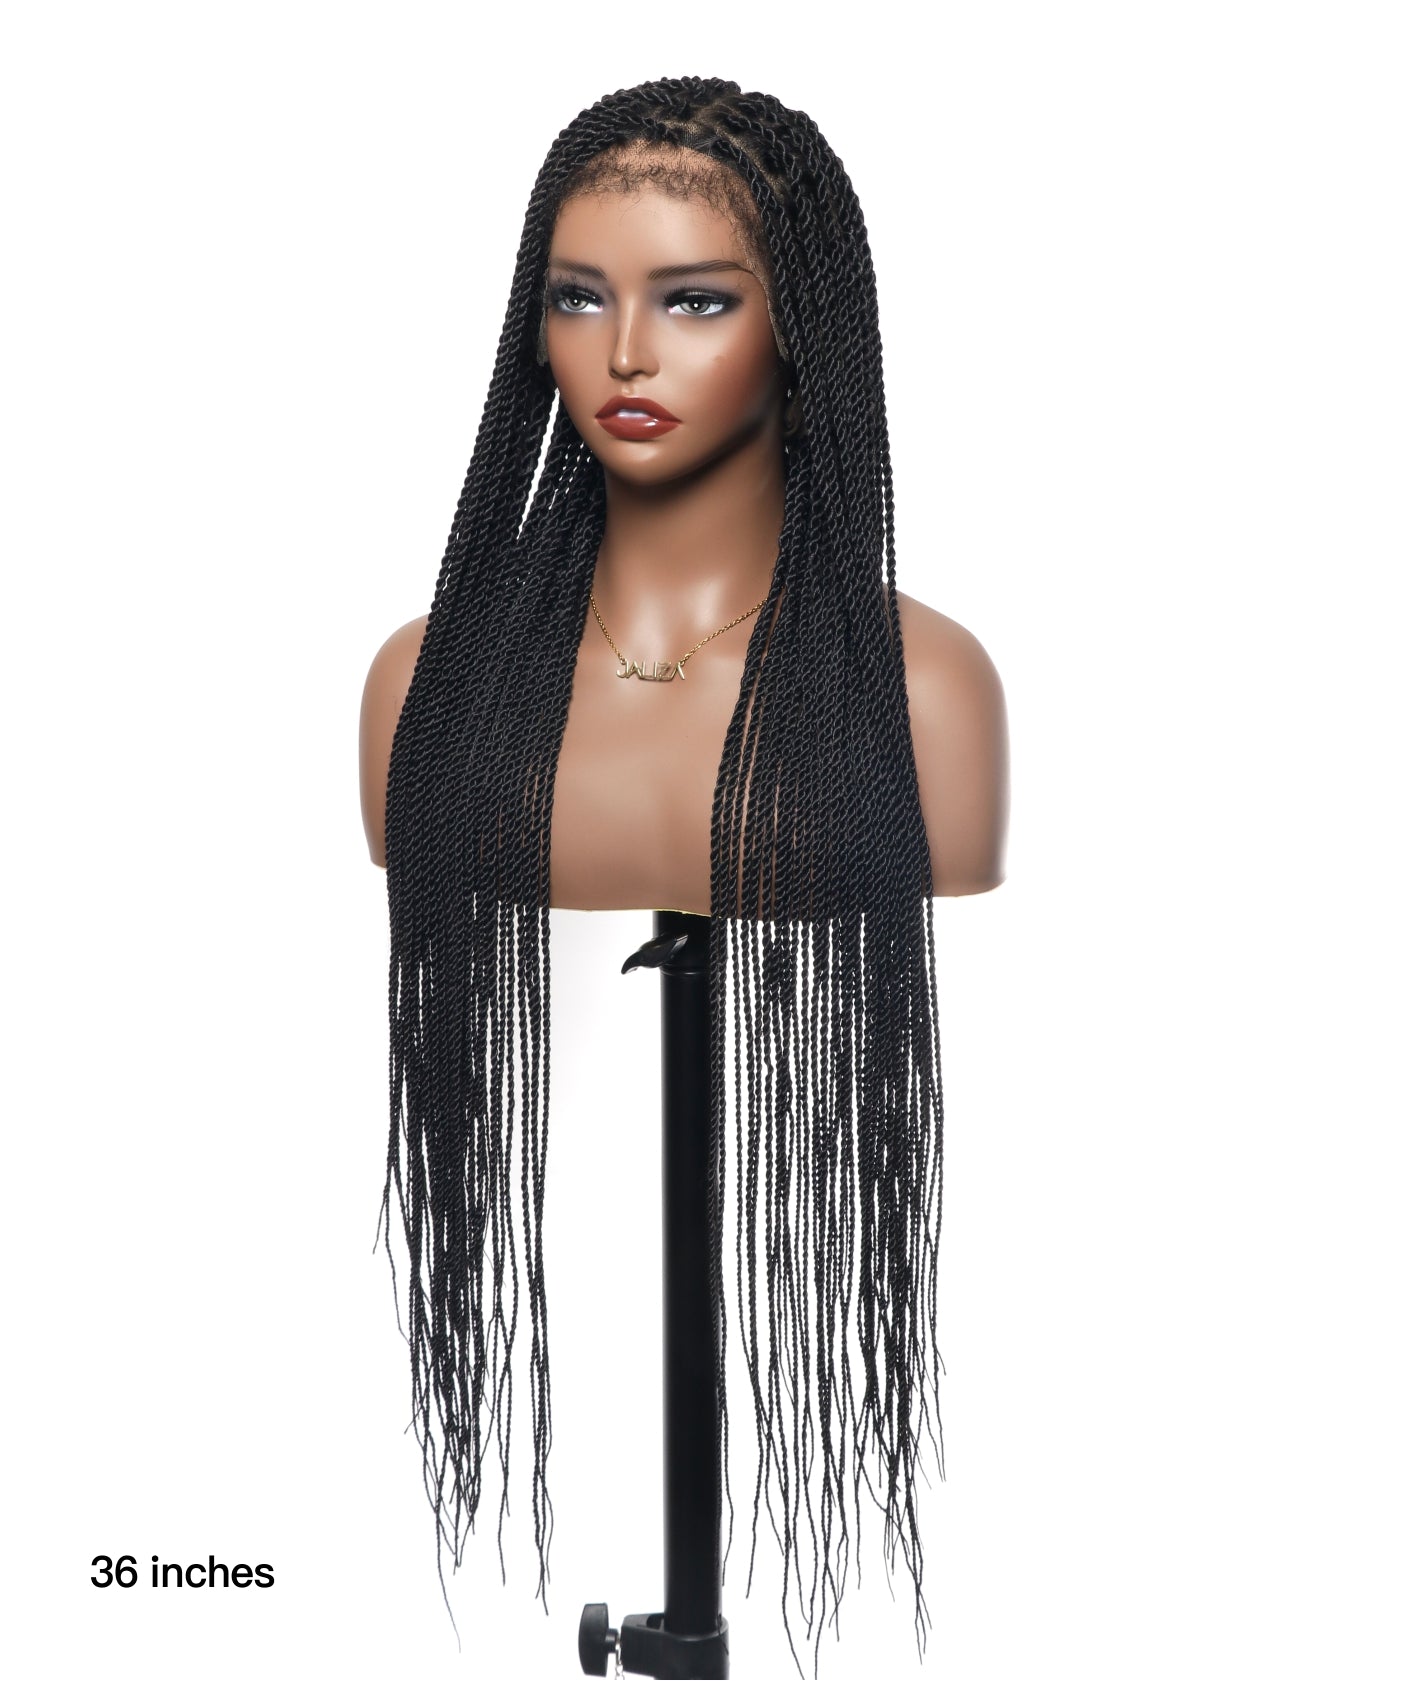
Box braids are separate plaits that have been divided into a box form. They can be adjusted in size, length, and thickness to suit any personal style. This protective style is perfect for those with textured hair since it helps it grow naturally without manipulation.
Consider your hair's health before beginning the braiding process. Box braids work best on healthy hair, so take care of issues like breakage or scalp conditions beforehand. Consider your hair length as well; While box braids may be done on any length of hair, having at least a few inches of hair helps the procedure.
Essential Tools and Materials
First, a rat-tail comb for parting, hair clips for sectioning, hair extensions for increased length and fullness, and hair products such as moisturizers and sealants are required. Consider whether you want synthetic or human hair extensions; synthetic is less expensive, but human hair can provide a more natural look and feel.
Here's a list of the essential items:
1. Rat-tail Comb: For precise parting and sectioning of the hair.
2. Wide-tooth Comb: For detangling hair before starting the braiding process.
3. Hair Clips or Sectioning Clips: To hold sections of hair out of the way while you work.
4. Braiding Hair Extensions: Synthetic or human hair extensions add length and fullness to the braids.
5. Hair Gel or Pomade: To smooth the hair and help control flyaways.
6. Hair Moisturizer or Leave-in Conditioner: To ensure the natural hair is well-hydrated before braiding.
7. Scissors: For trimming the ends of the hair extensions if necessary.
8. Rubber Bands (optional): For securing the ends of the hair before braiding to keep sections neat or for securing the braids if you're not using heat to seal them.
9. Hot Water: If you're using synthetic extensions, hot water can be used to seal the ends of the braids.
10. Towel: Dry the braids after sealing them in hot water.
11. Blow Dryer with a Concentrator Nozzle (optional): For stretching natural hair before braiding if you choose not to air dry.
12. Edge Control Product: Taming and smoothing edges for a polished look.
13. Spray Bottle with Water: To mist hair if it begins to dry out during the braiding process.
14. Hair Oil: To nourish the scalp and hair once the braids are installed.
15. Silk Scarf or Satin Bonnet: To cover the hair at night to reduce frizz and maintain moisture.
Consider the condition and length of your natural hair, as well as the size and length of your intended braids, while choosing your equipment and supplies. Quality products and tools will make the braiding process more accessible and can lead to longer-lasting, more comfortable box braids.
Preparing Your Hair
It is critical to begin with clean, detangled hair. Thoroughly wash and condition your hair, eliminating all knots and tangles. After washing, gently dry and stretch your hair with a cold blow dryer or by braiding it into loose braids and letting it air dry. This procedure will significantly simplify splitting and braiding.
Sectioning the Hair
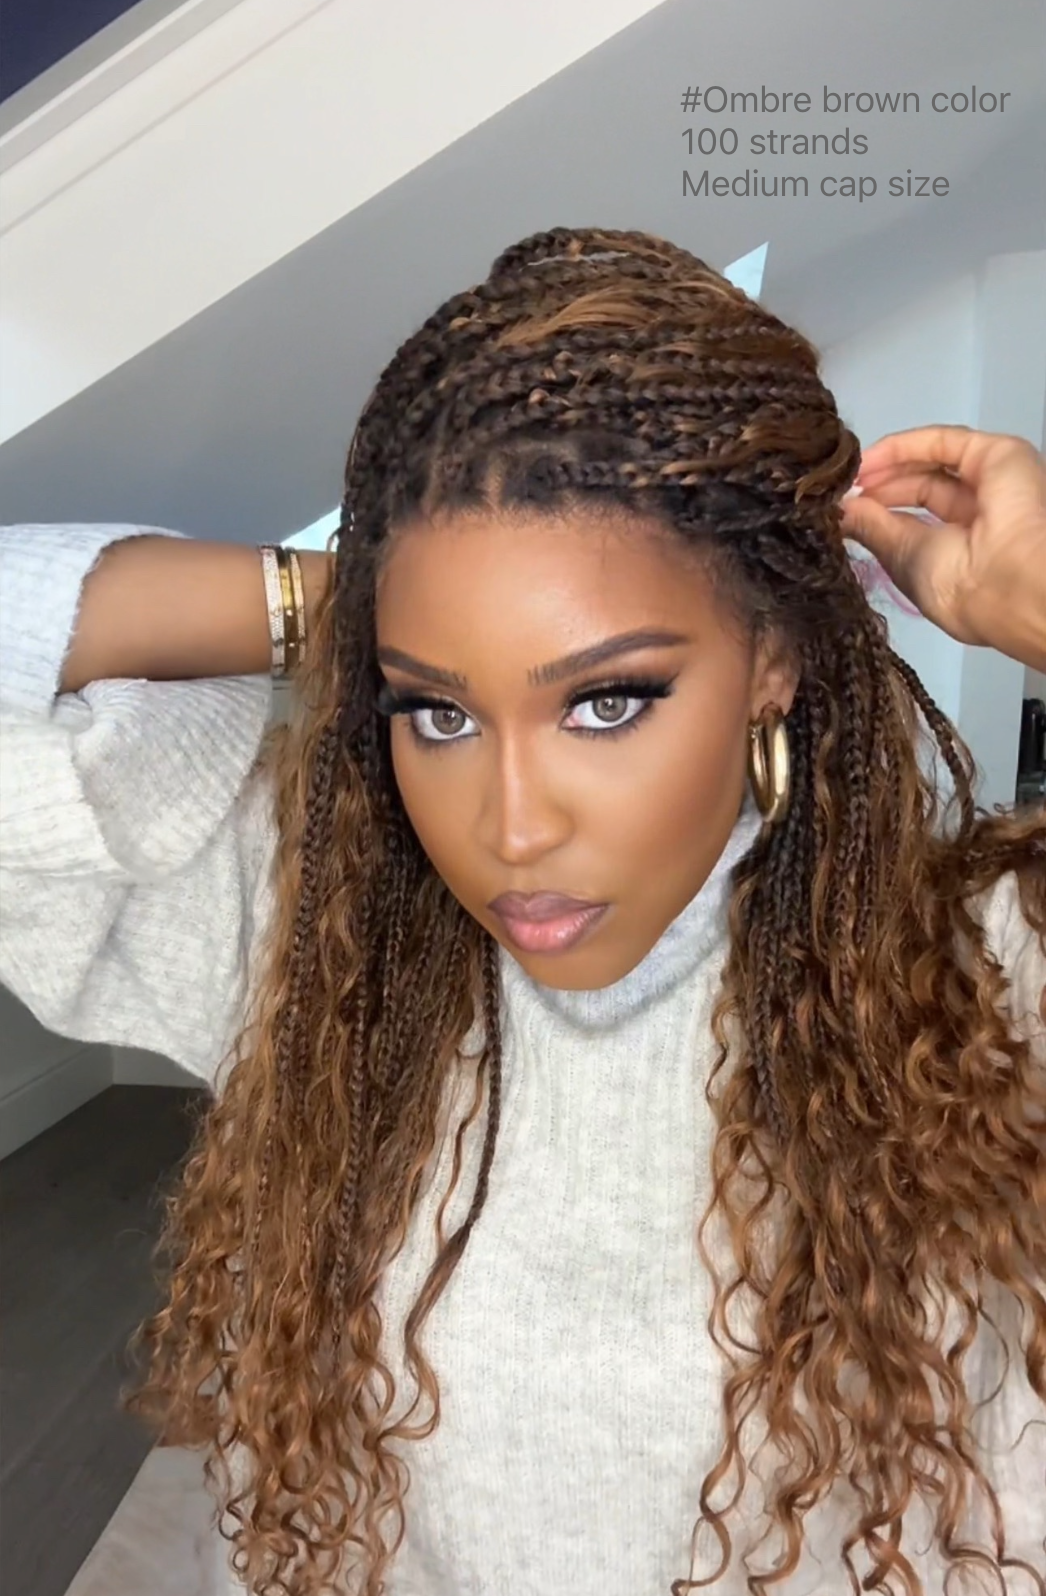
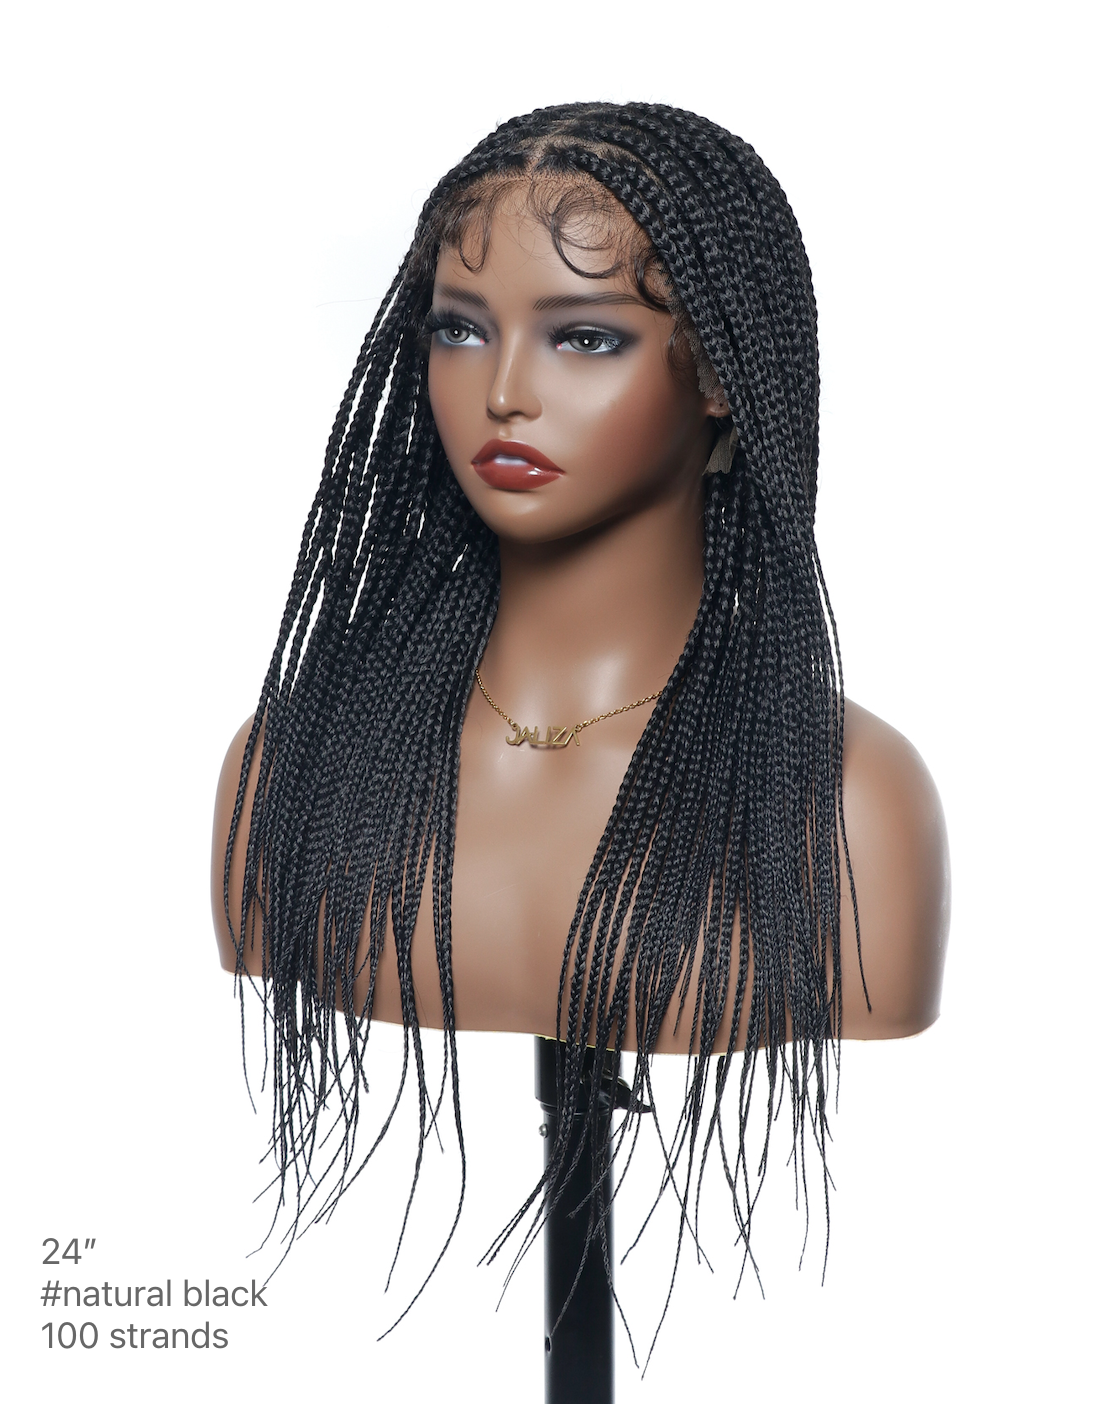
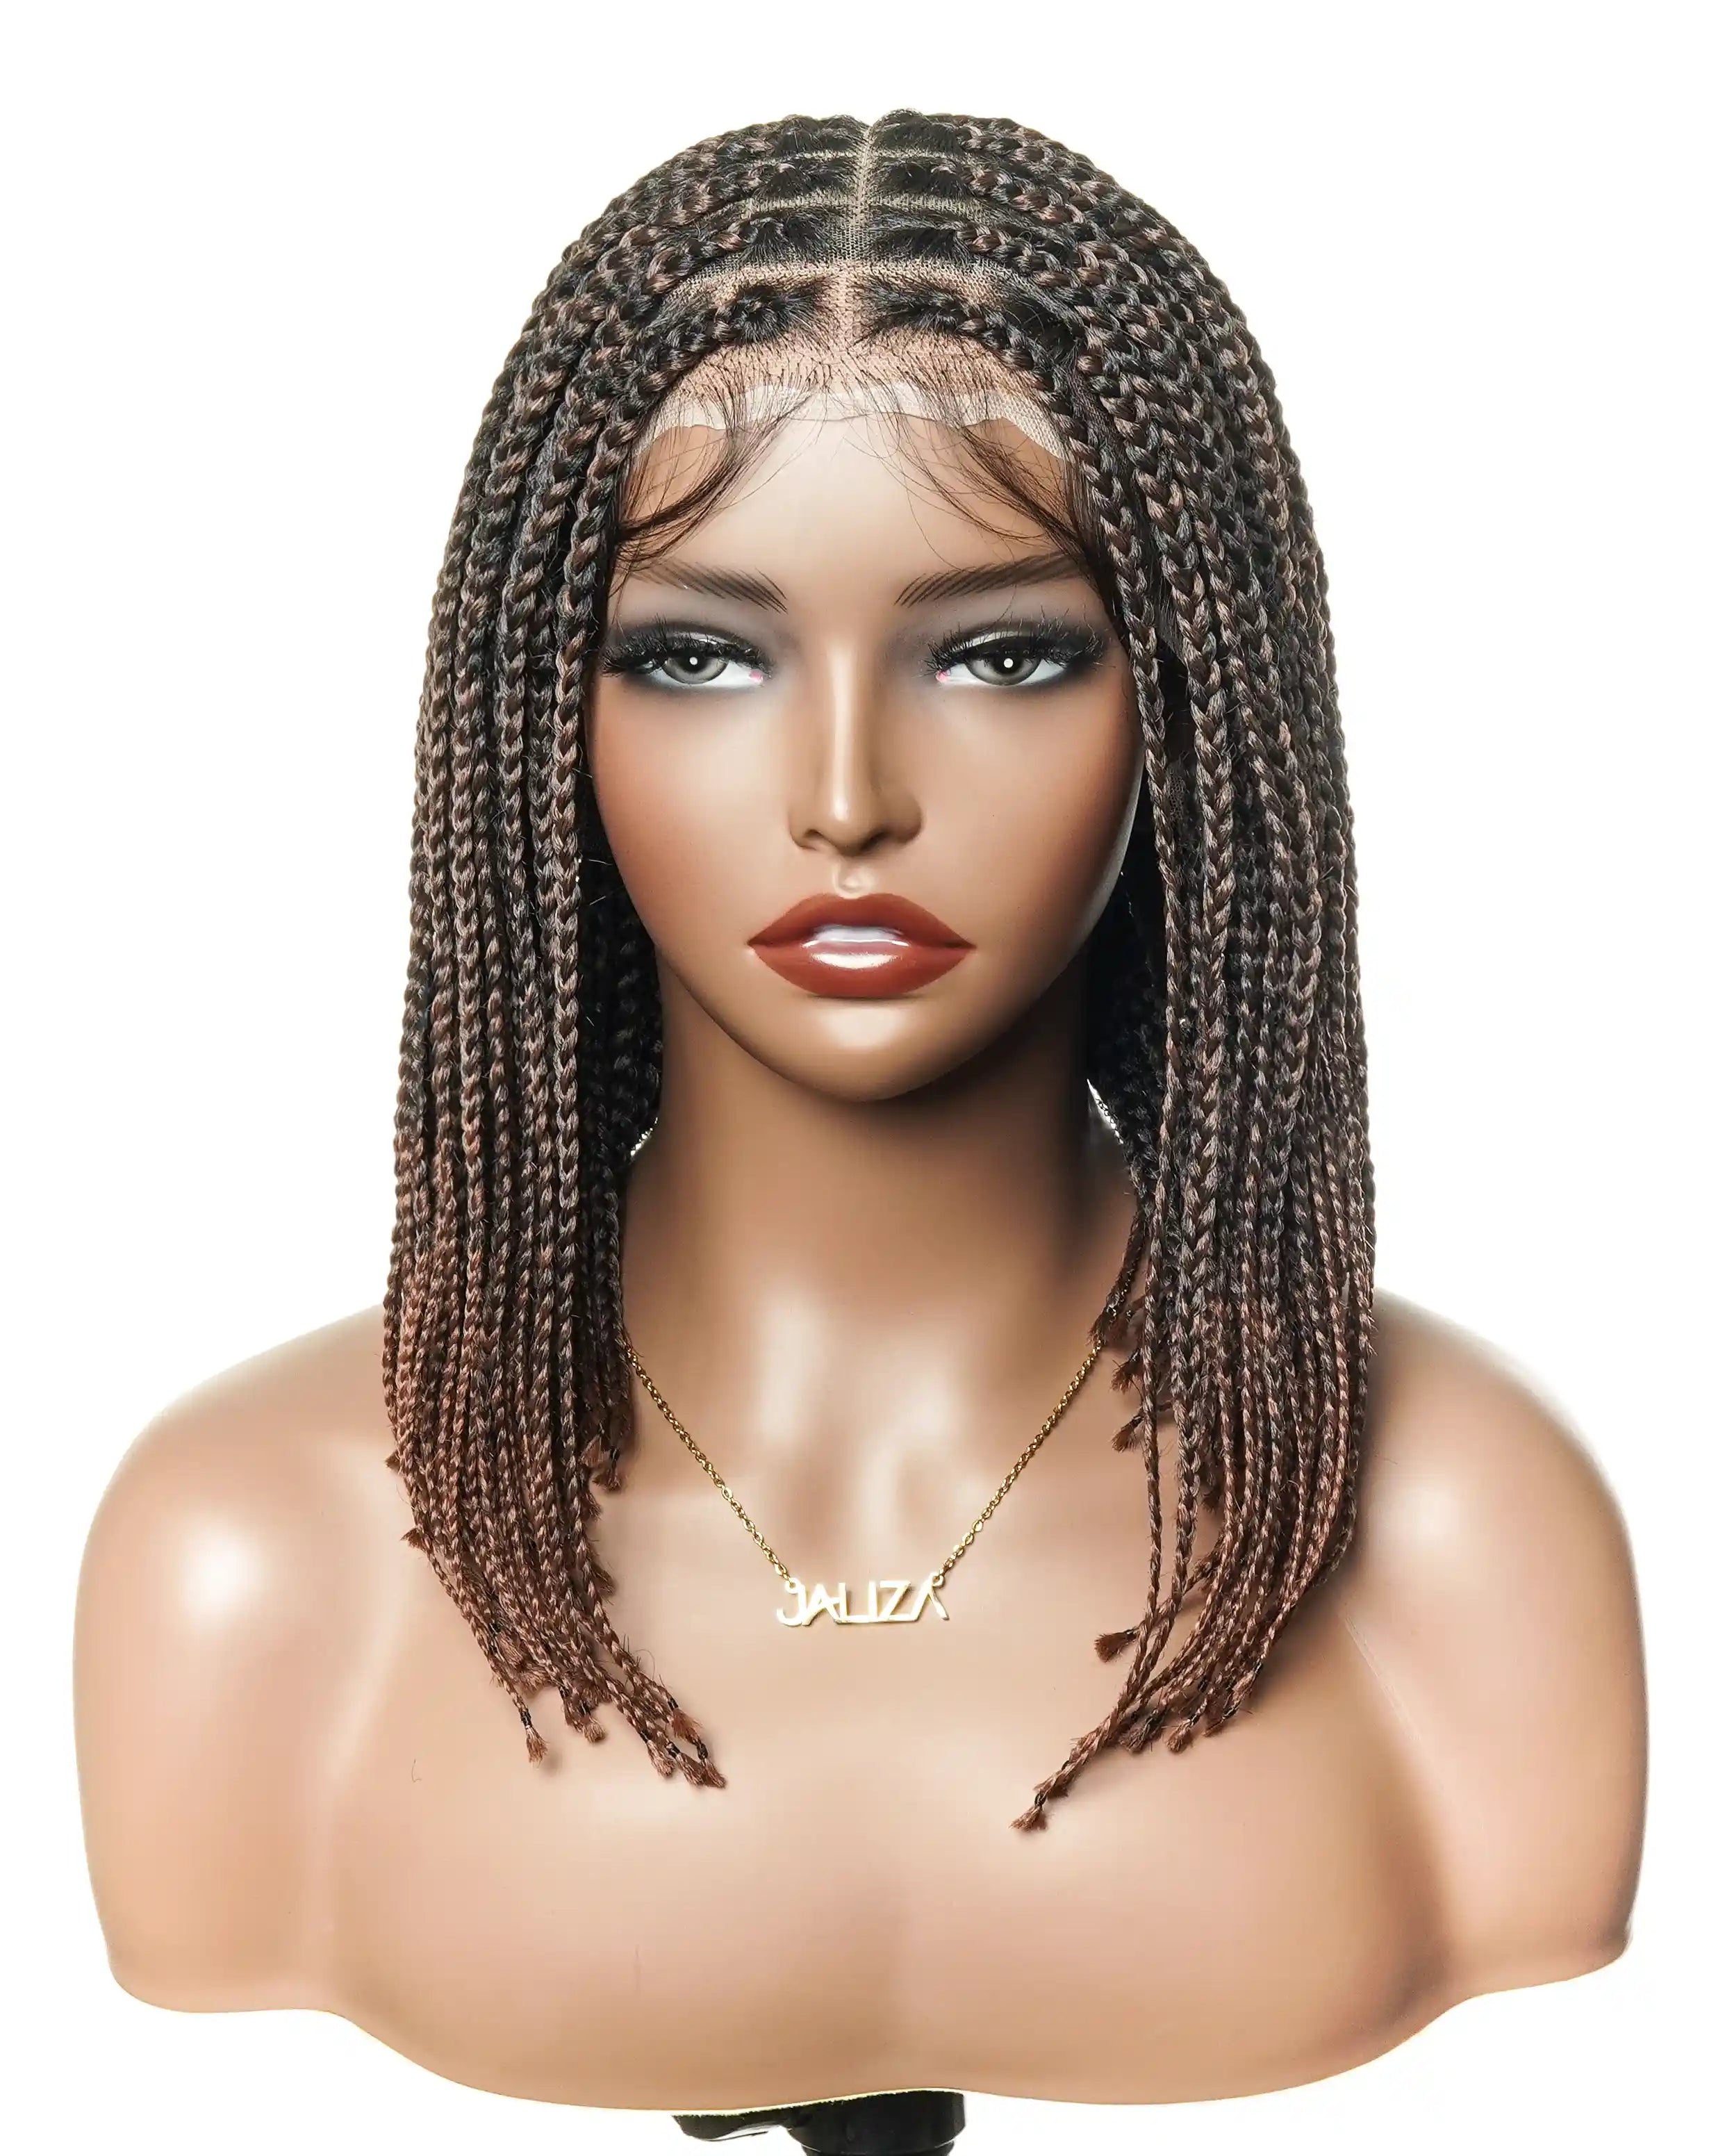
Now, it's time to section the hair. Parting hair for box braids is an essential step in achieving this look. Choose the size of the box braids you want; smaller braids may take longer to install but will last longer, whereas larger braids will be easier to place but may not last as long.
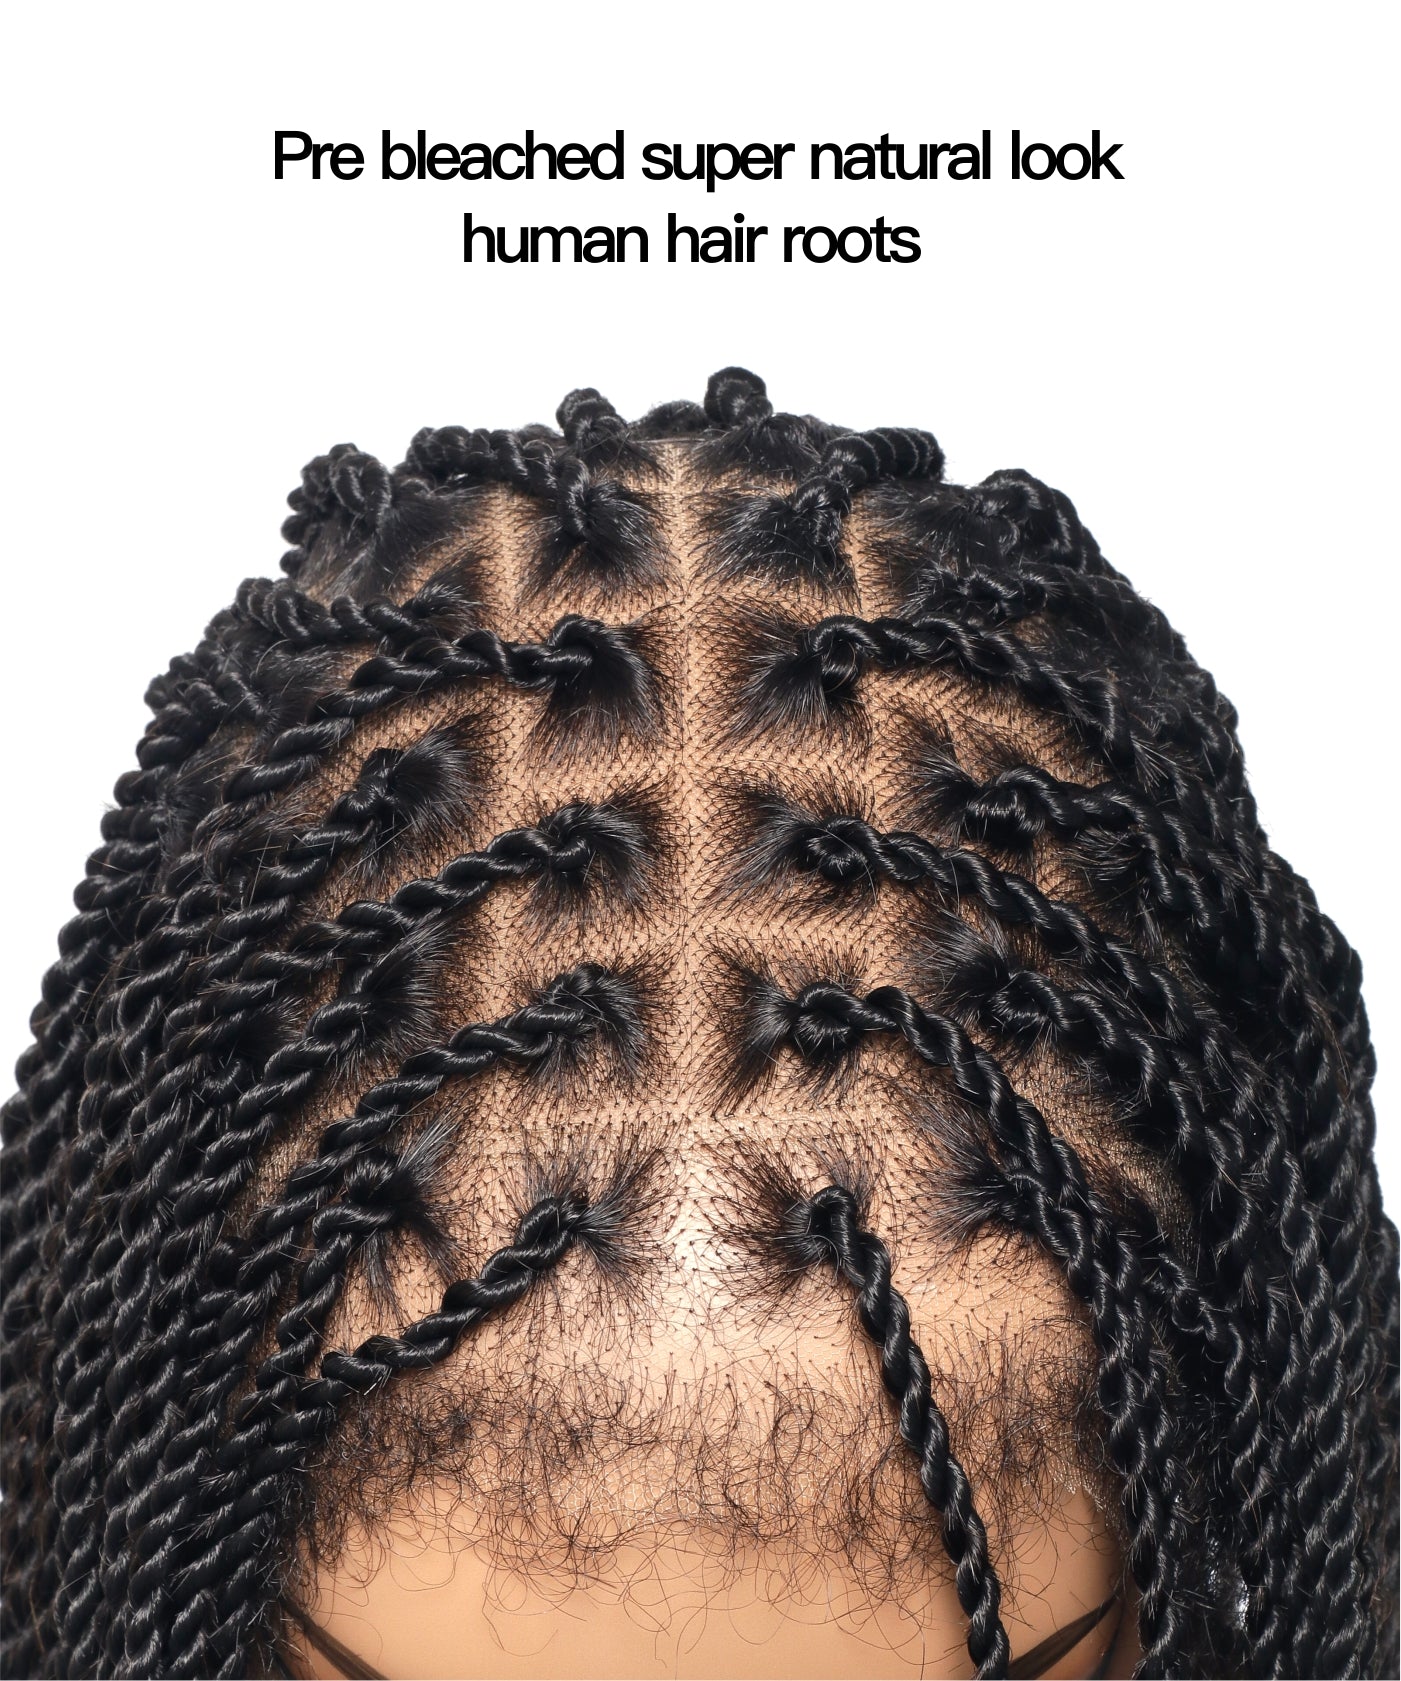
Start at the front of your head and work your way back to produce even parts. Create straight lines with the tail of your comb and clip each segment together. Aim for uniform squares, but remember that tiny variances won't be evident after the box braids are finished.
The Braiding Process
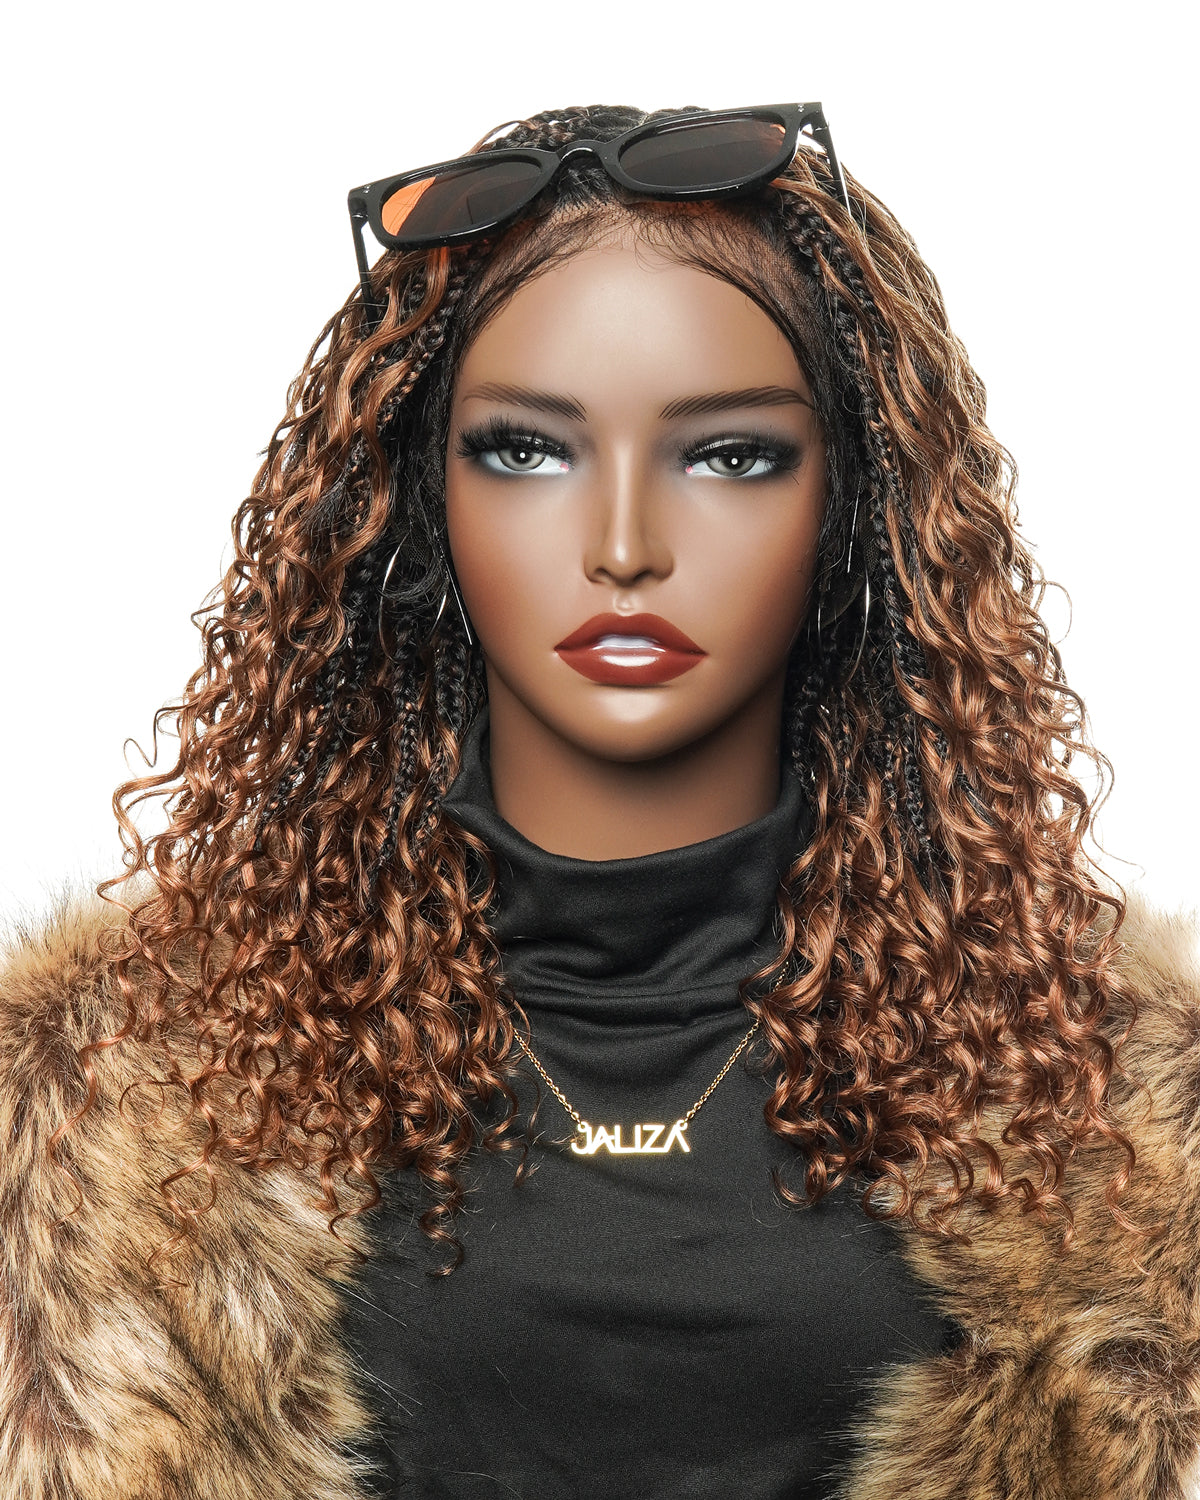
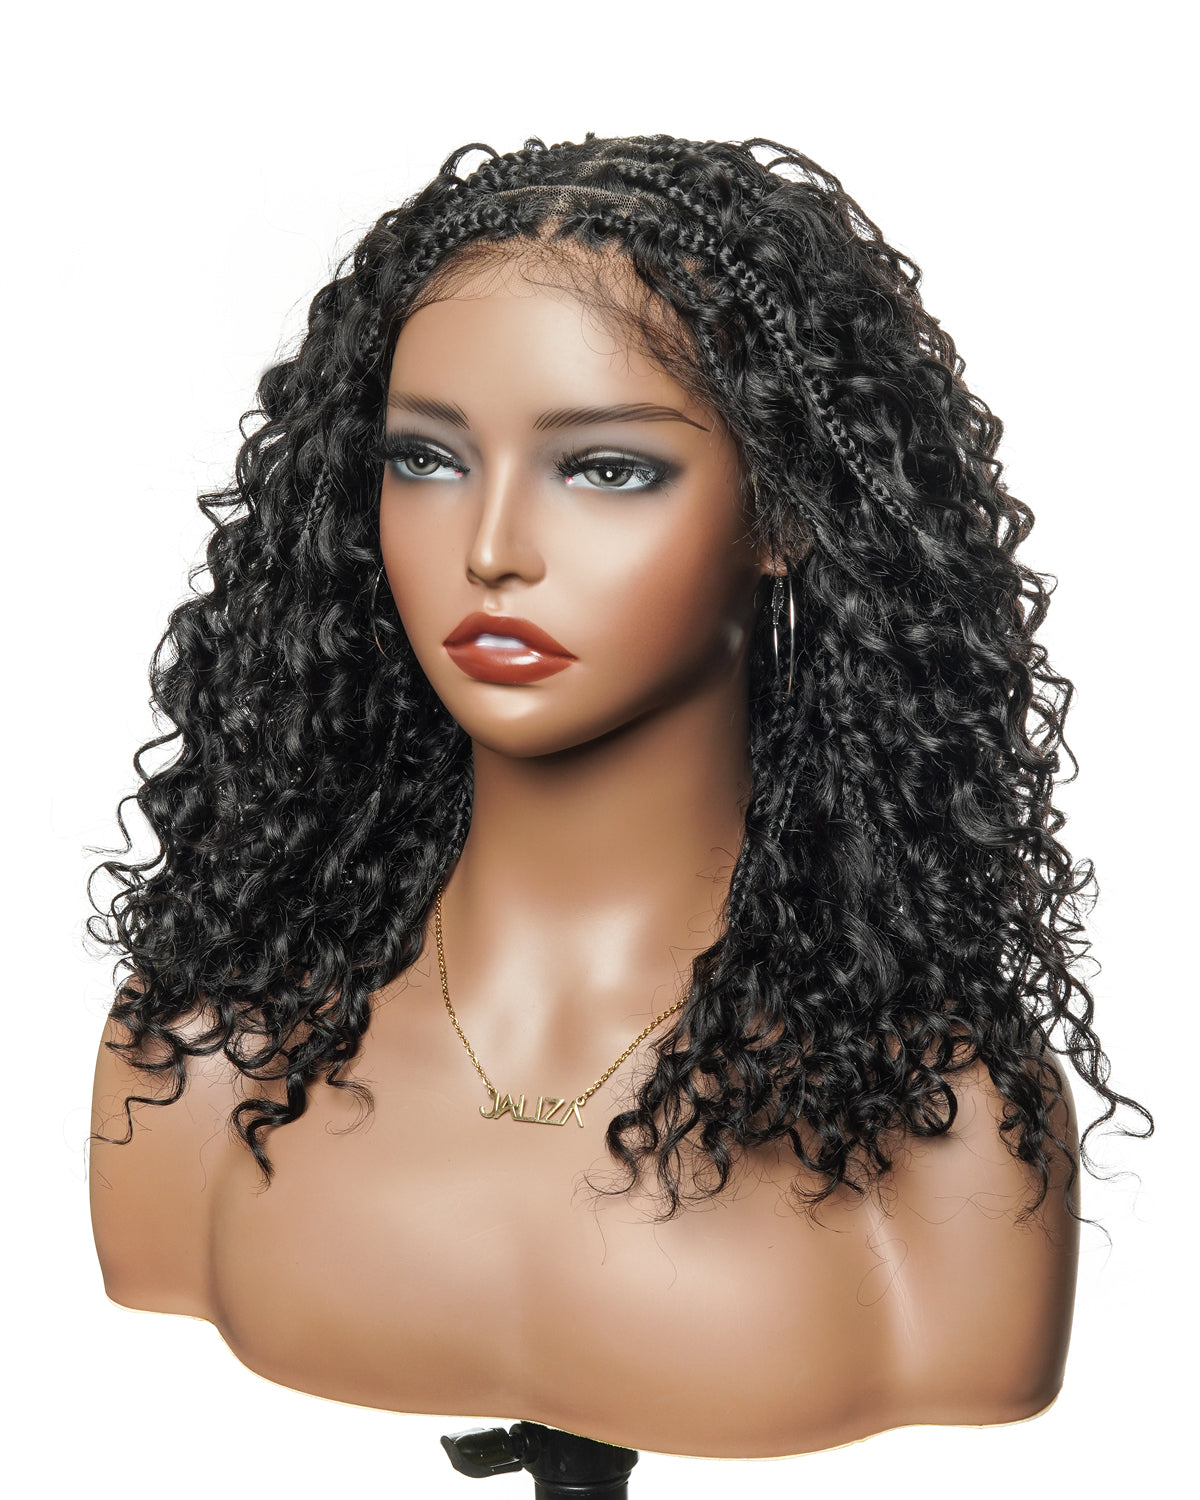
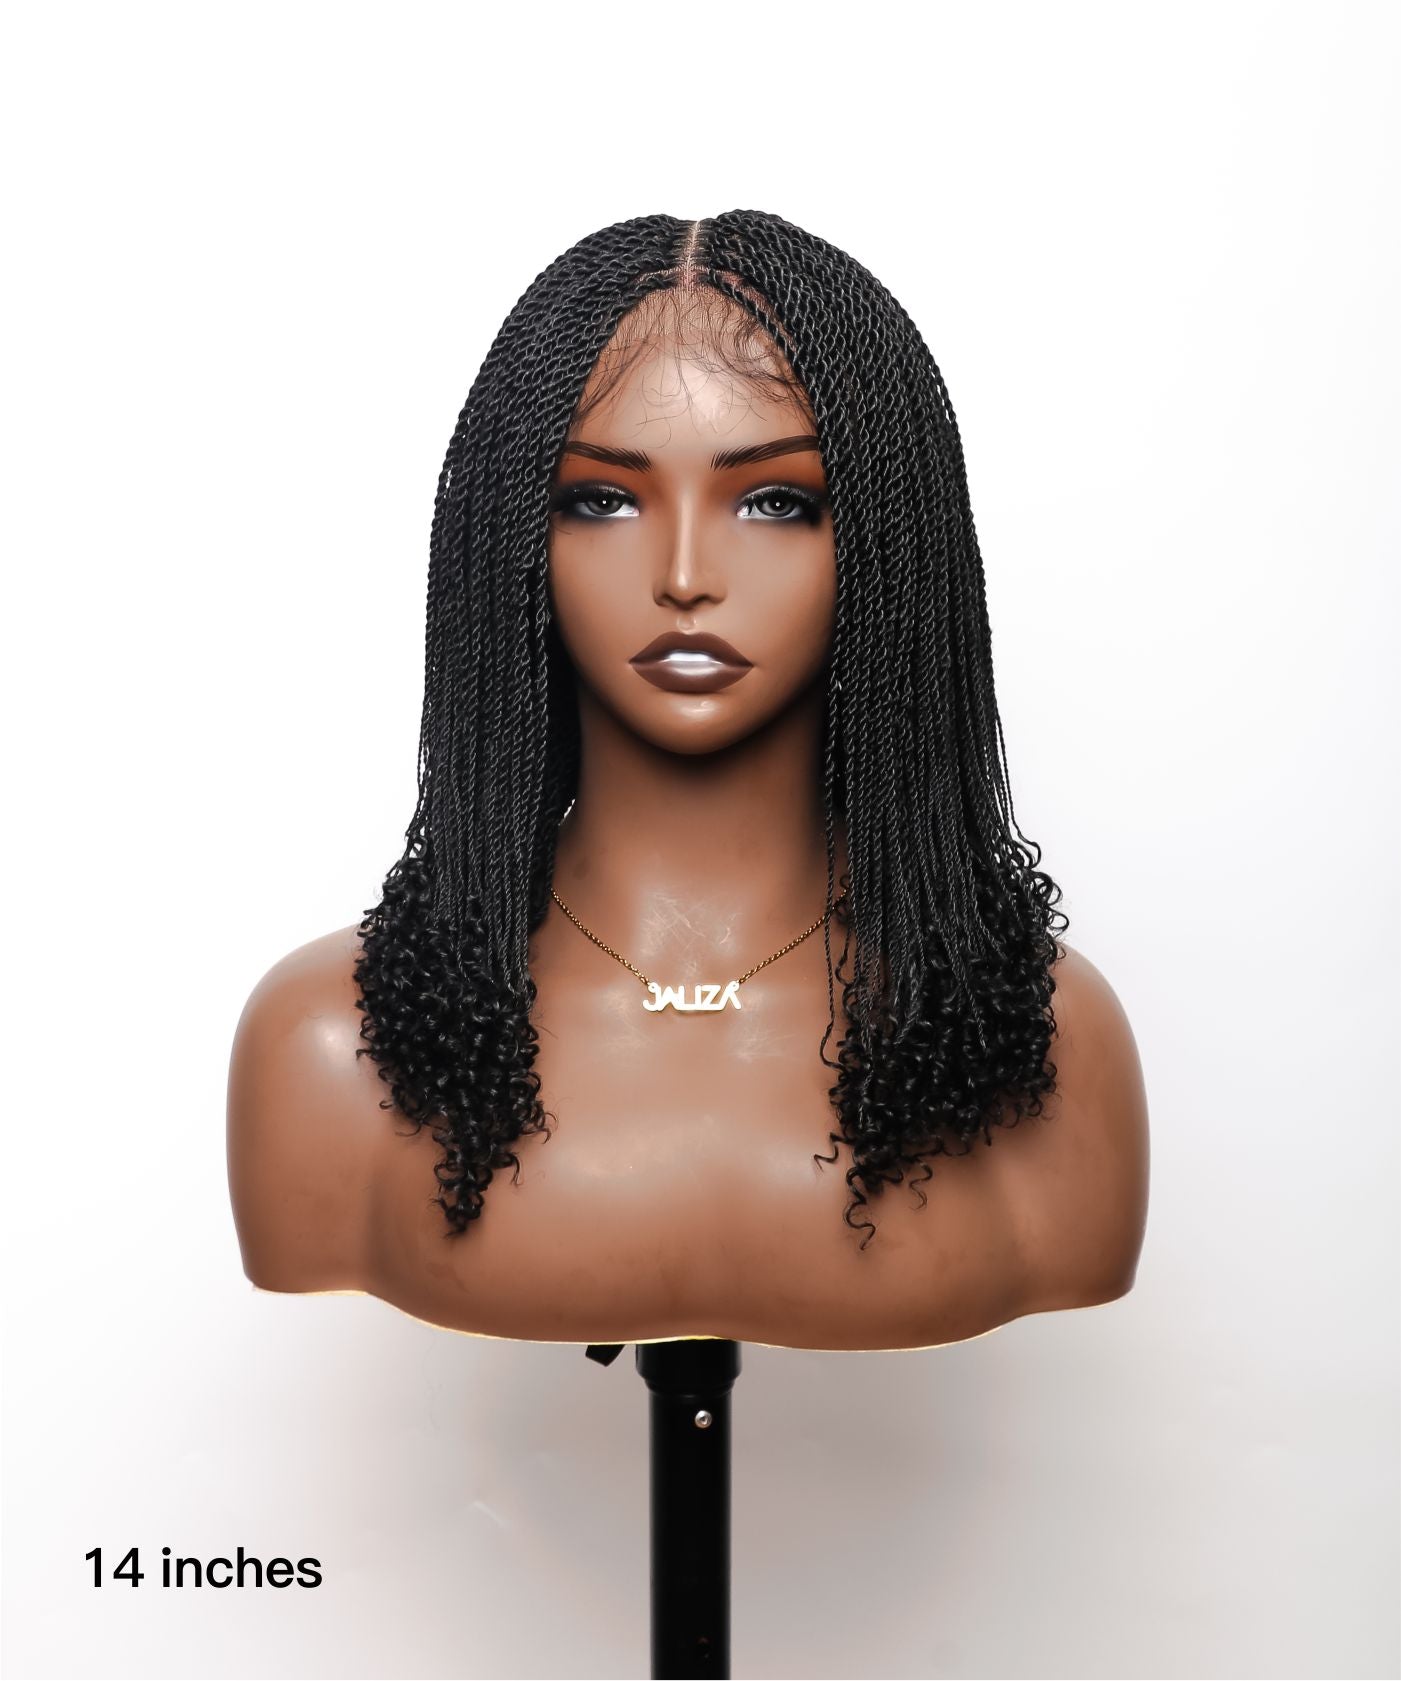
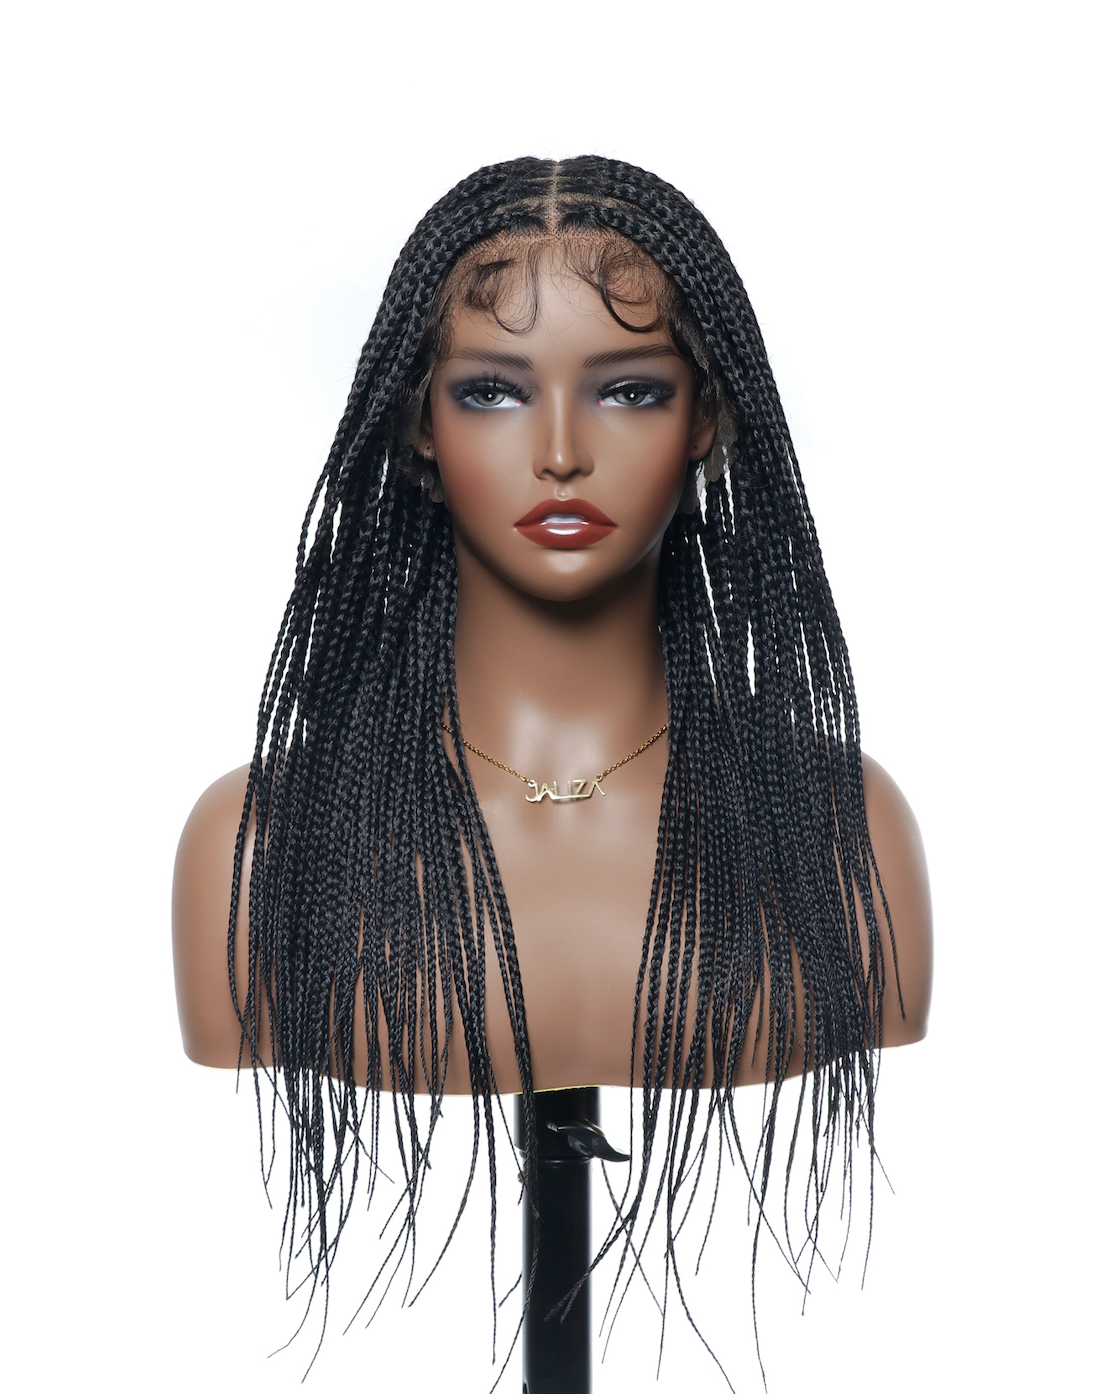
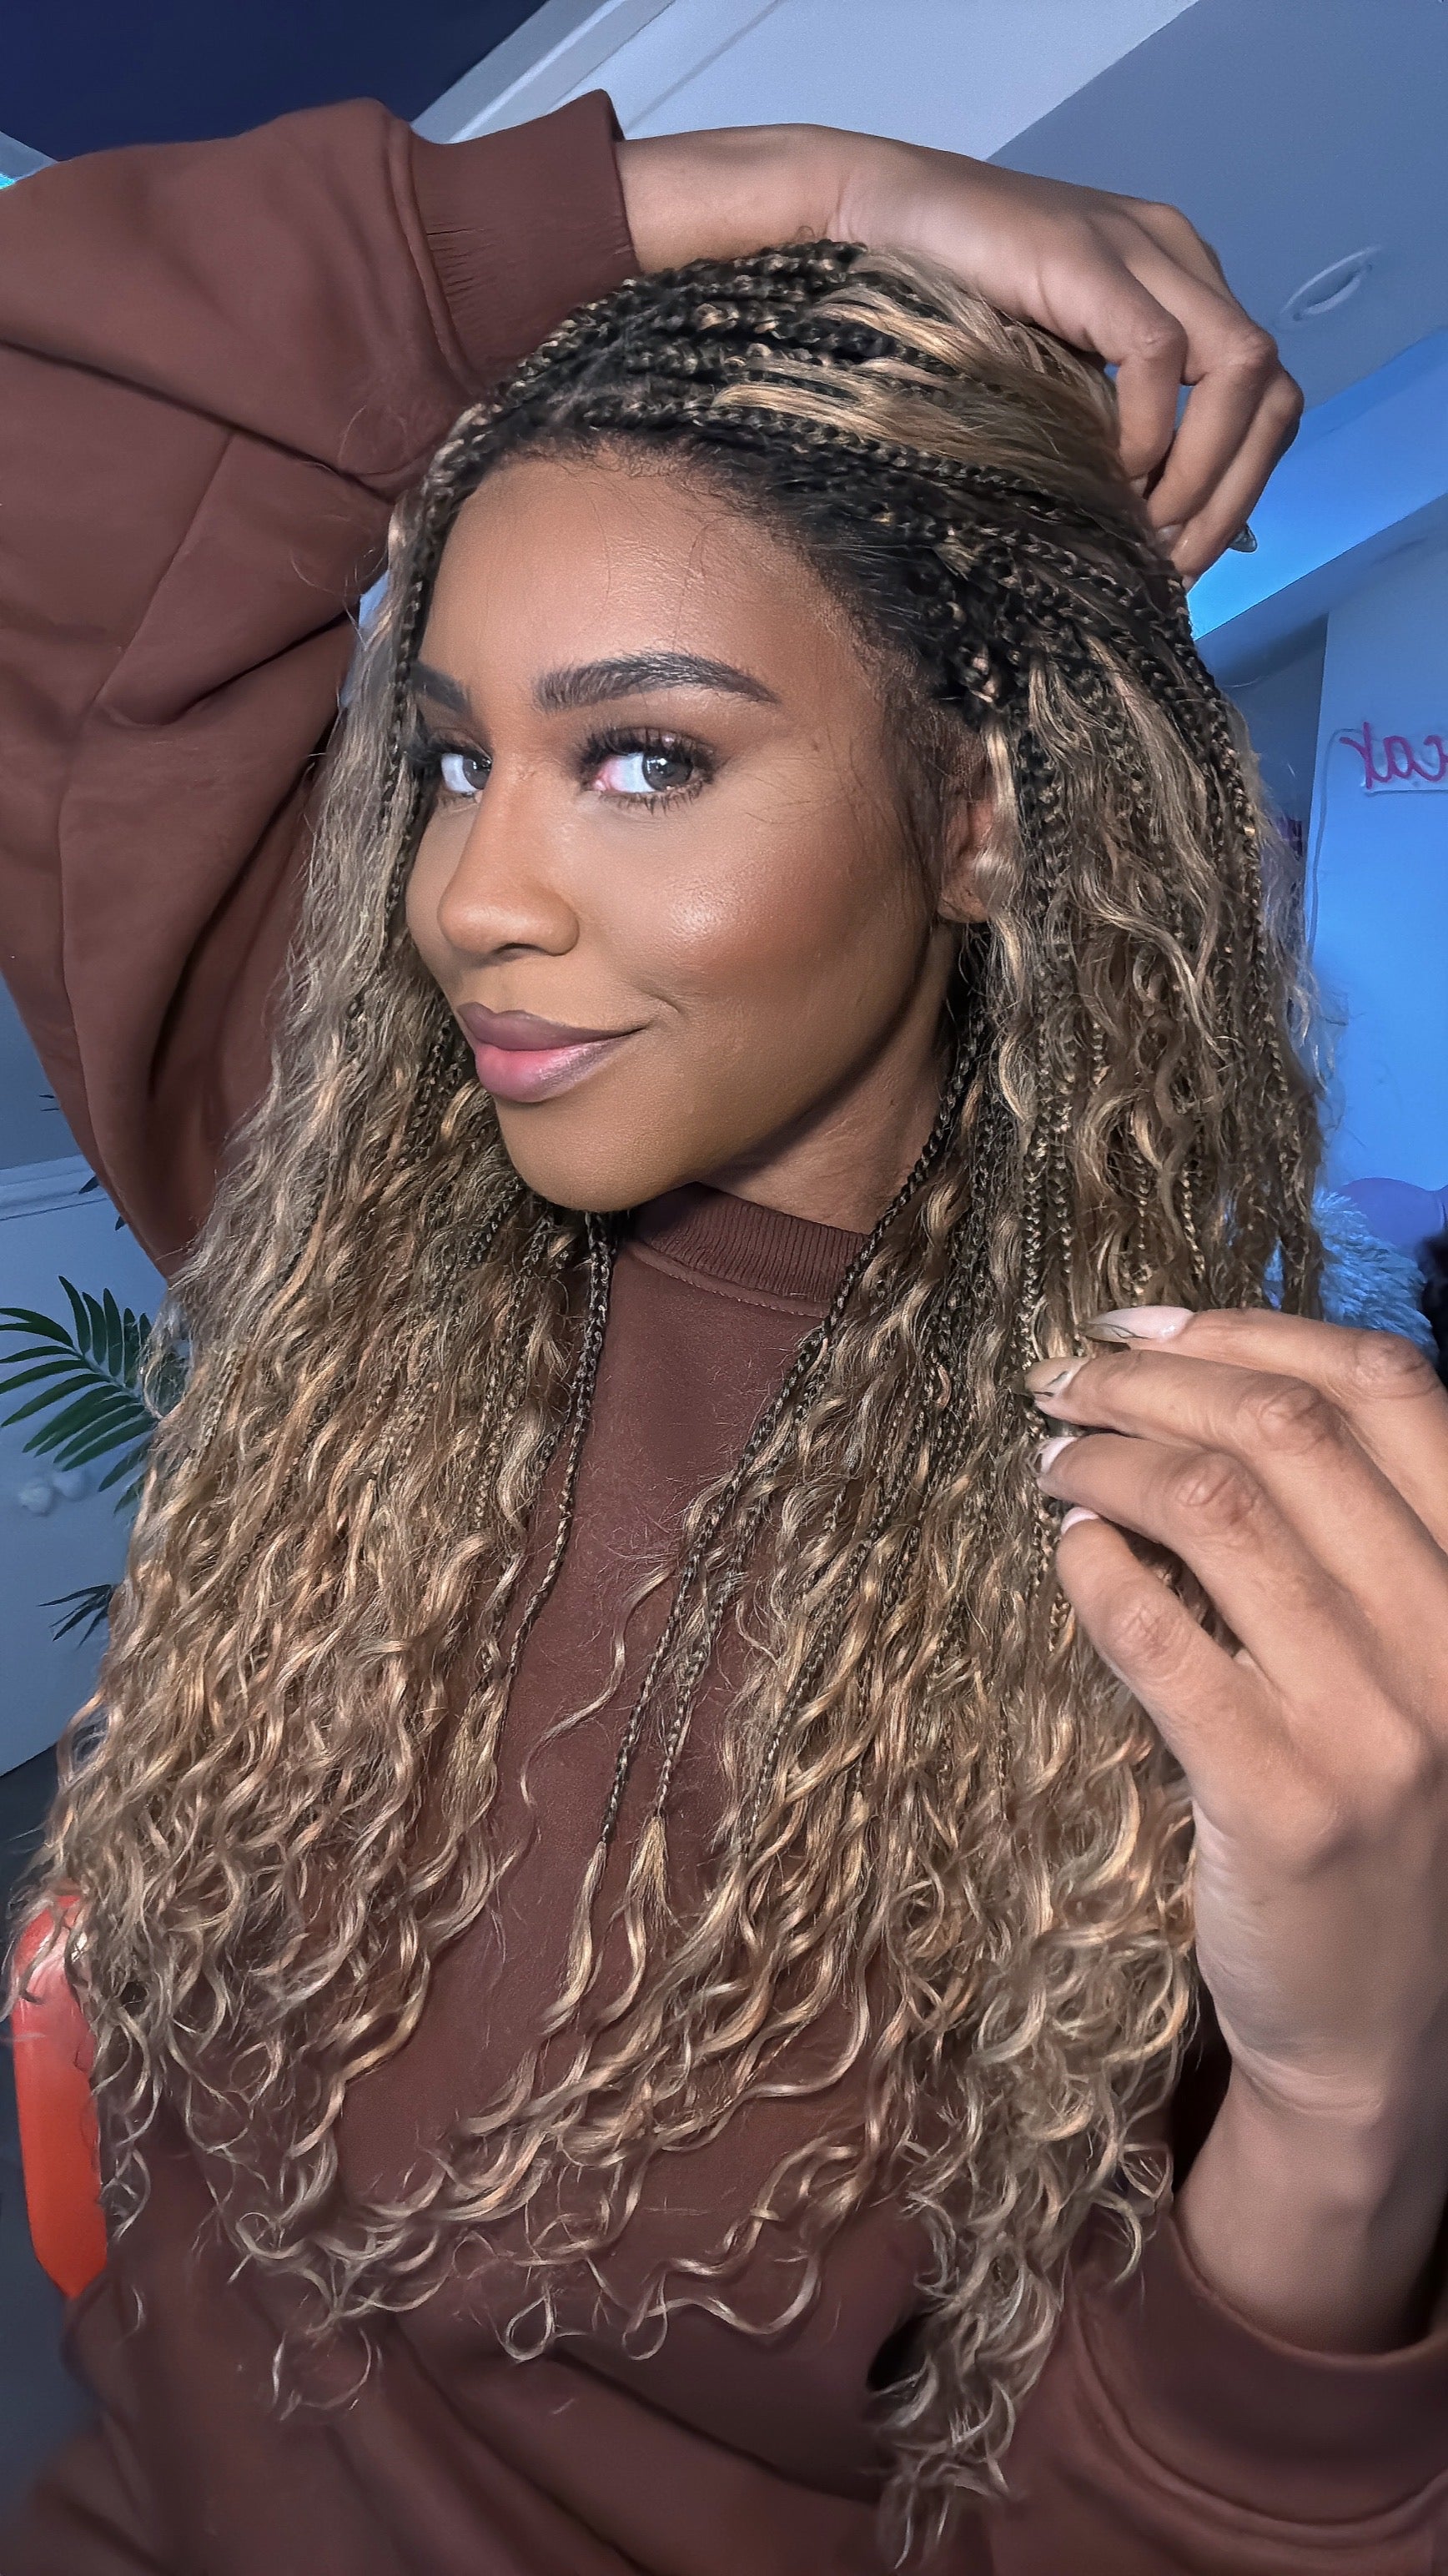
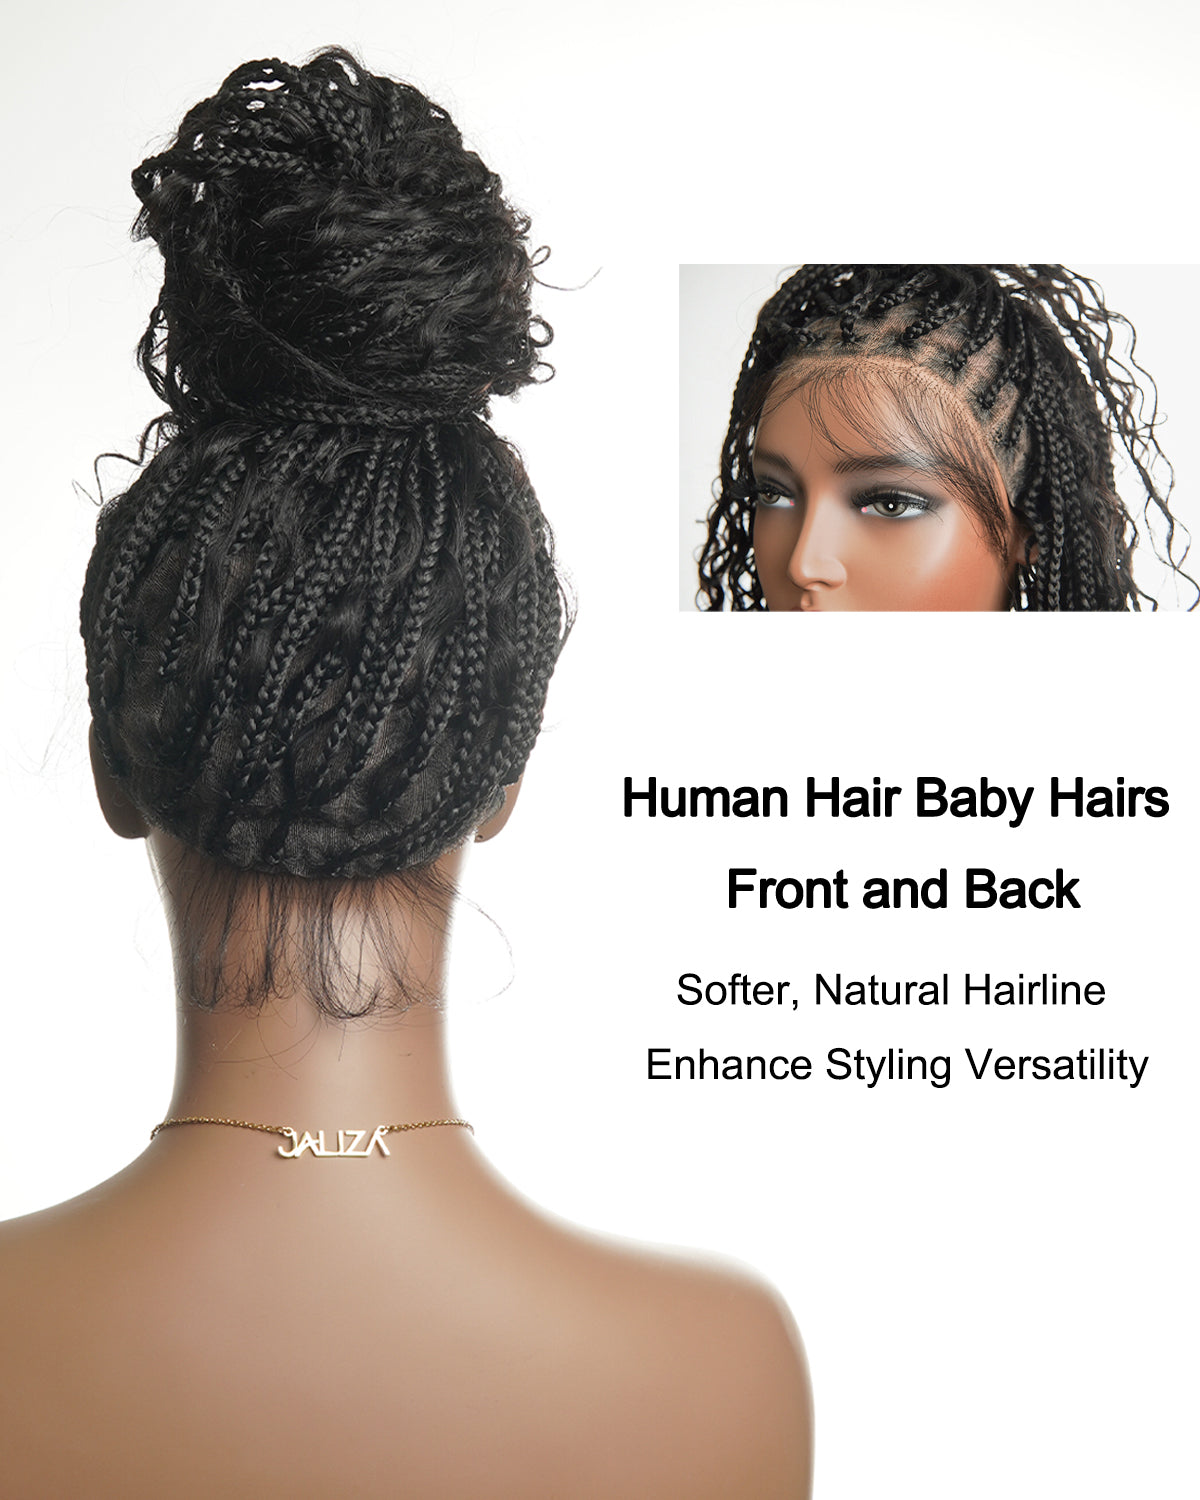
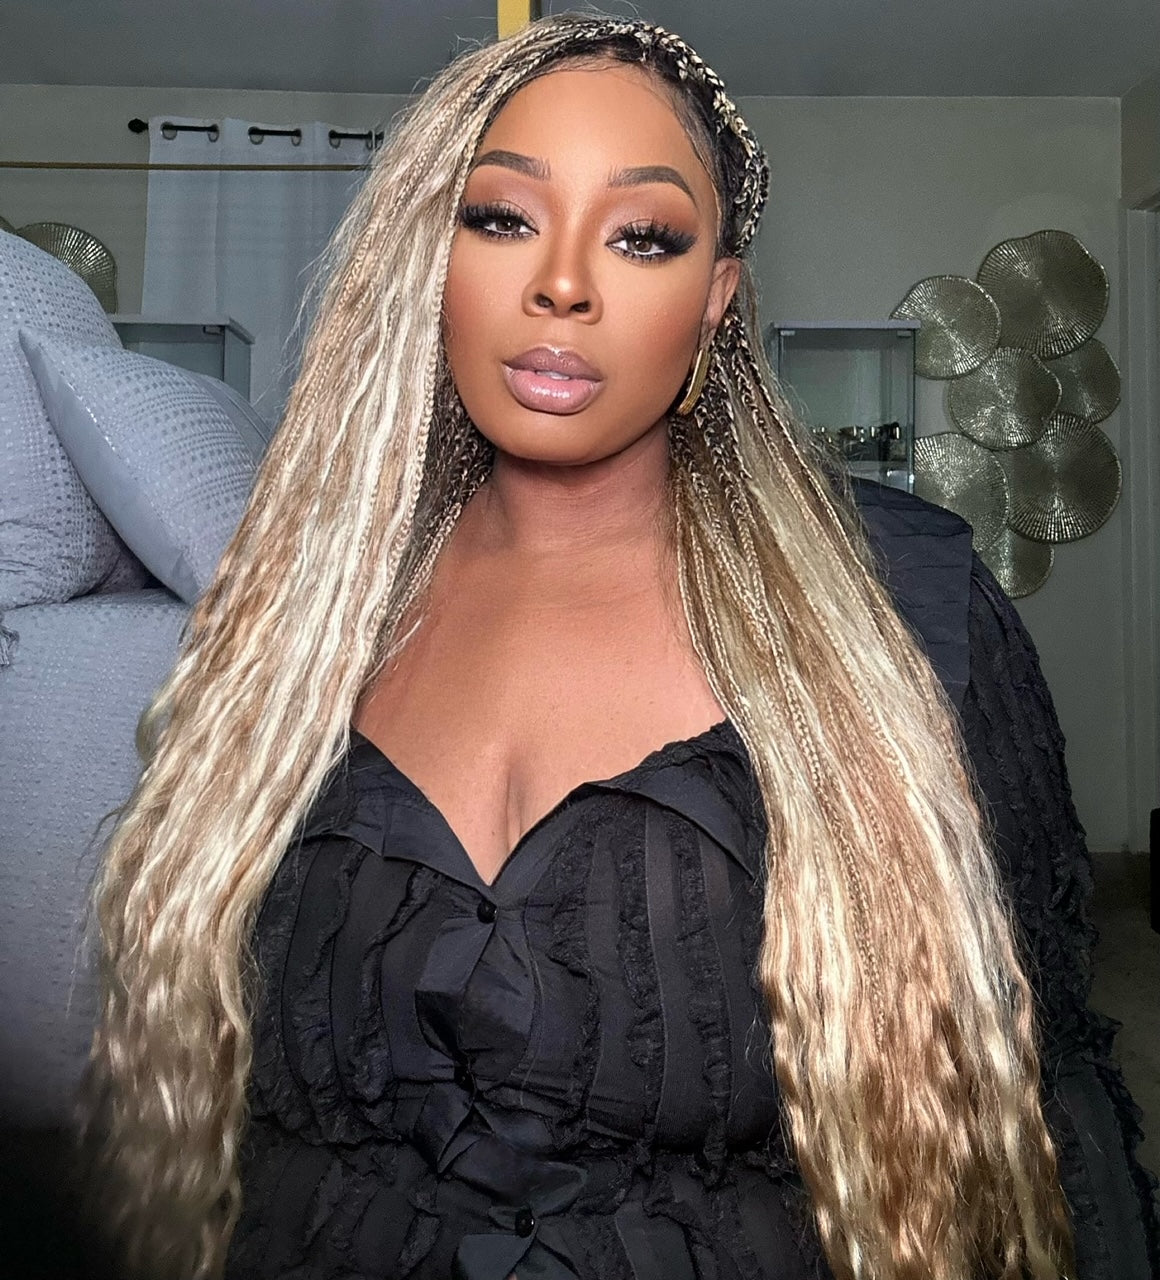
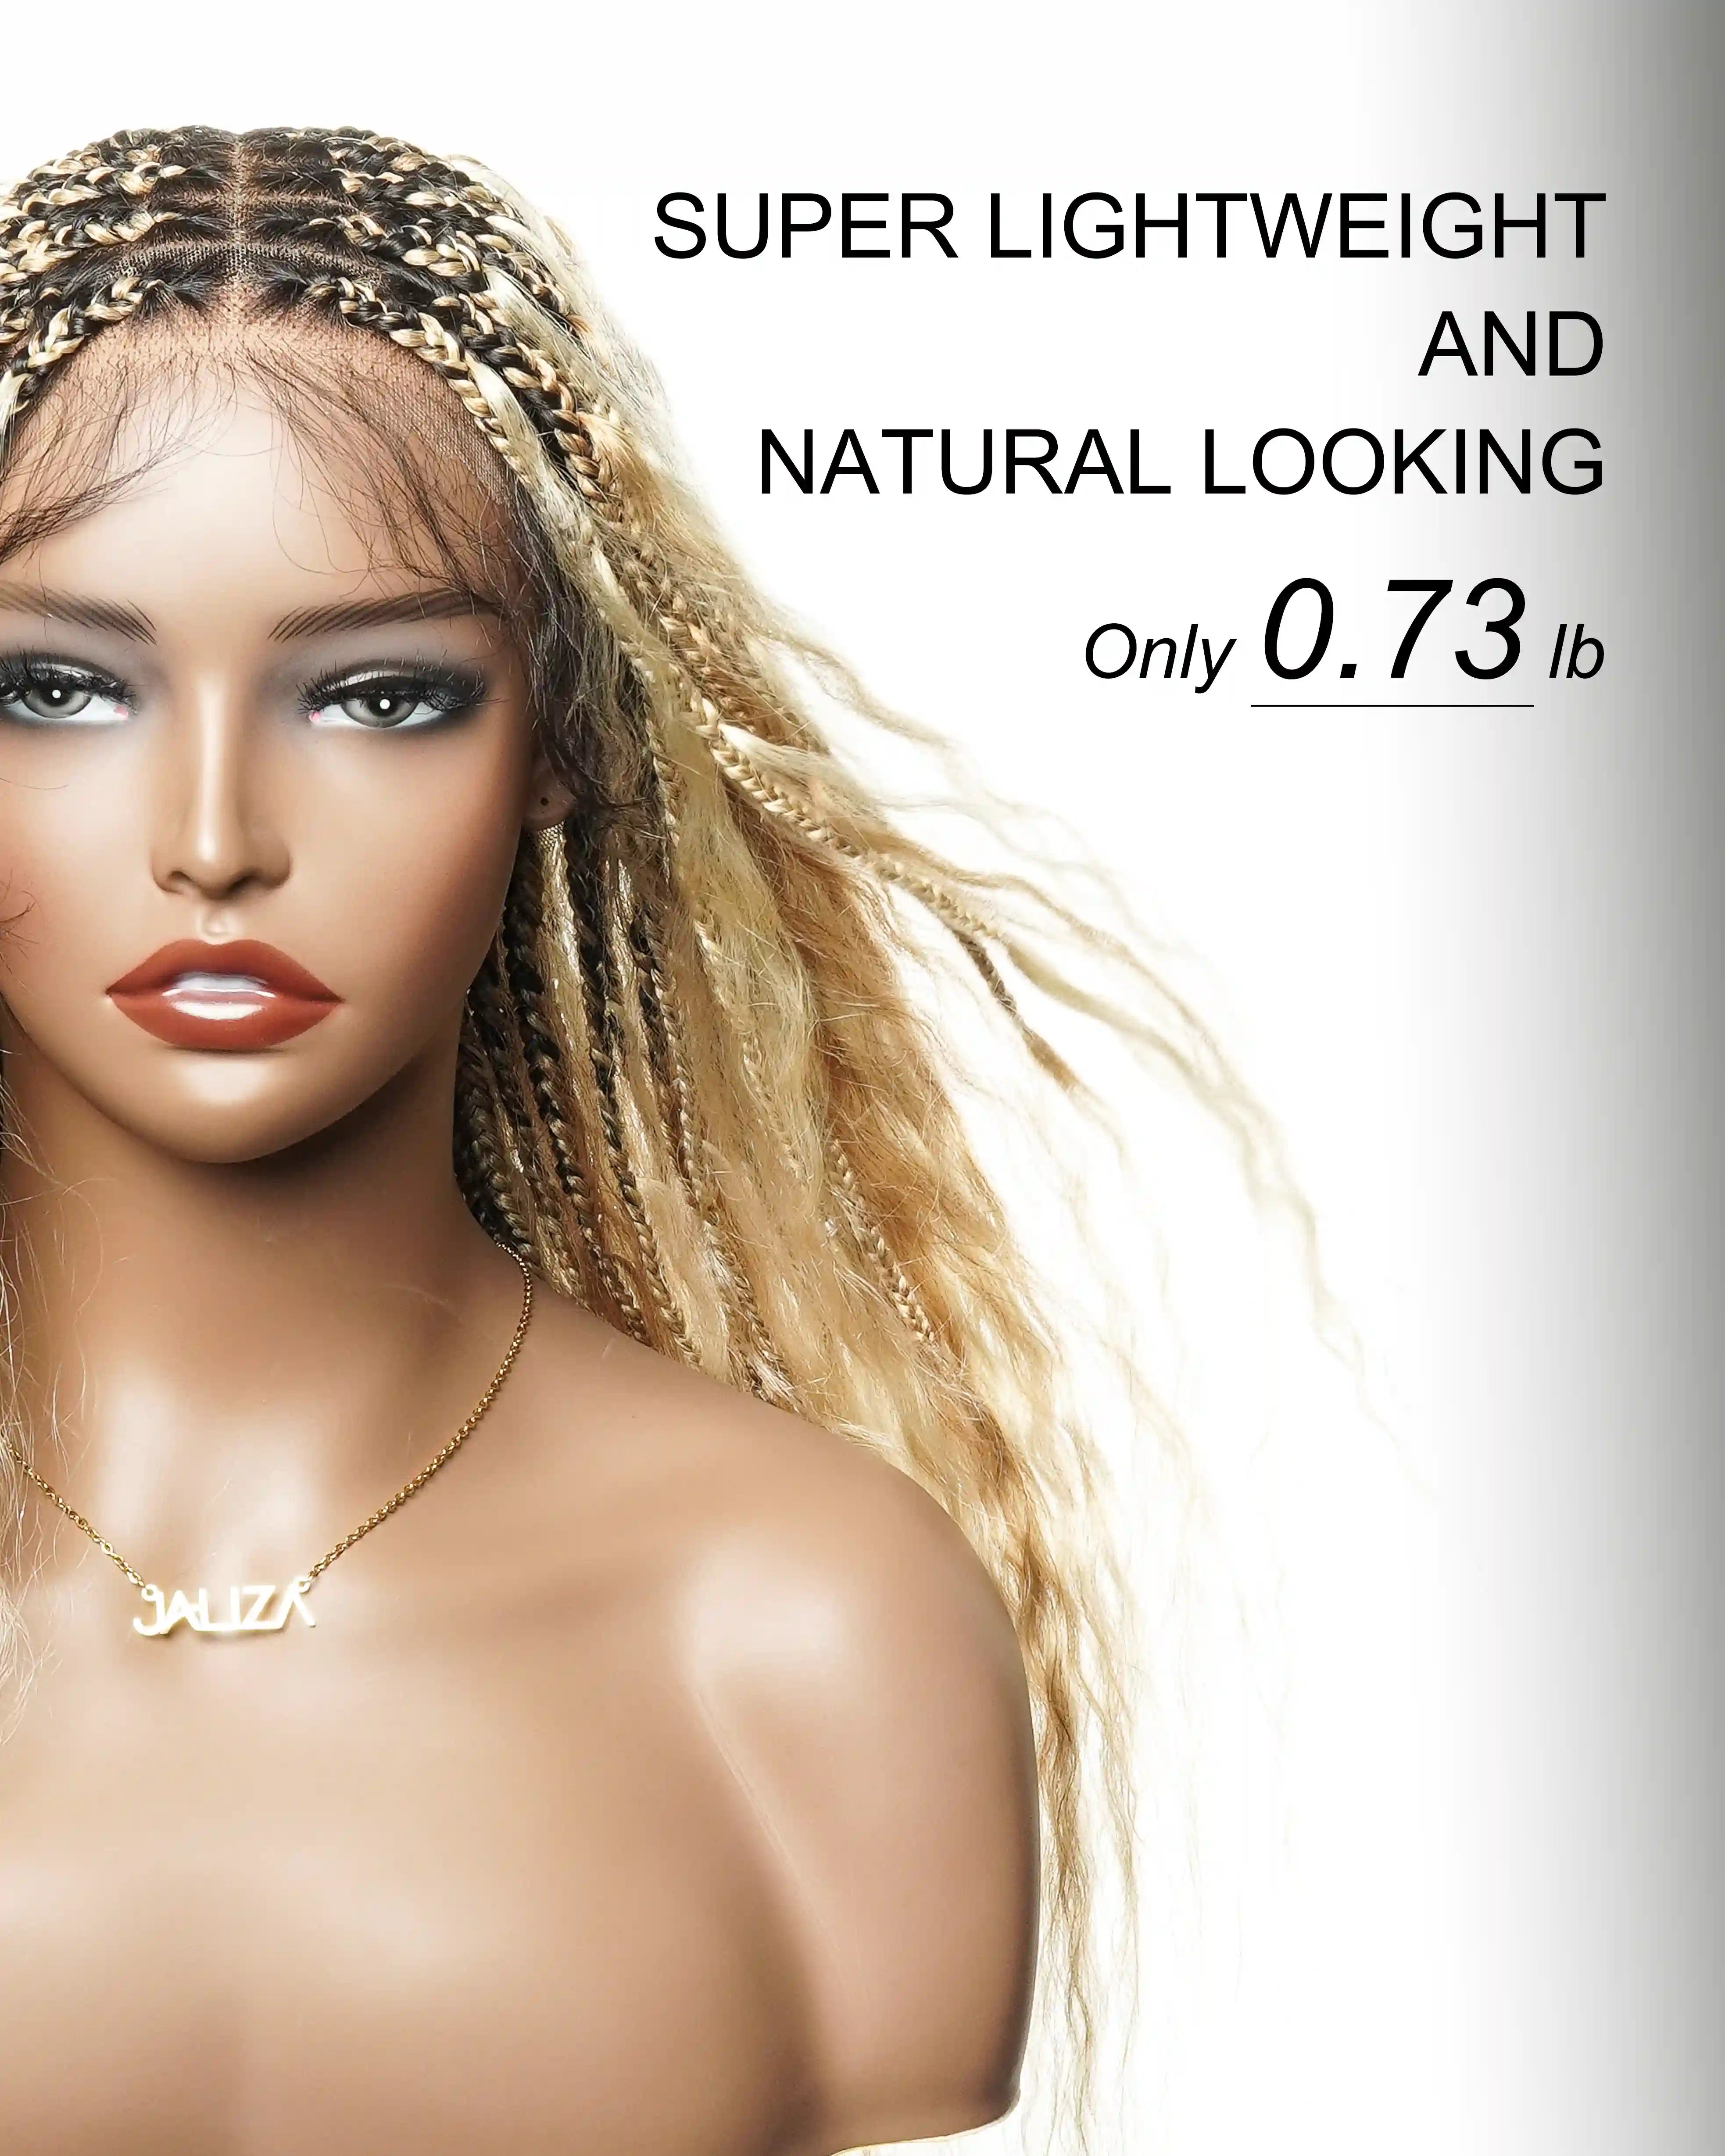
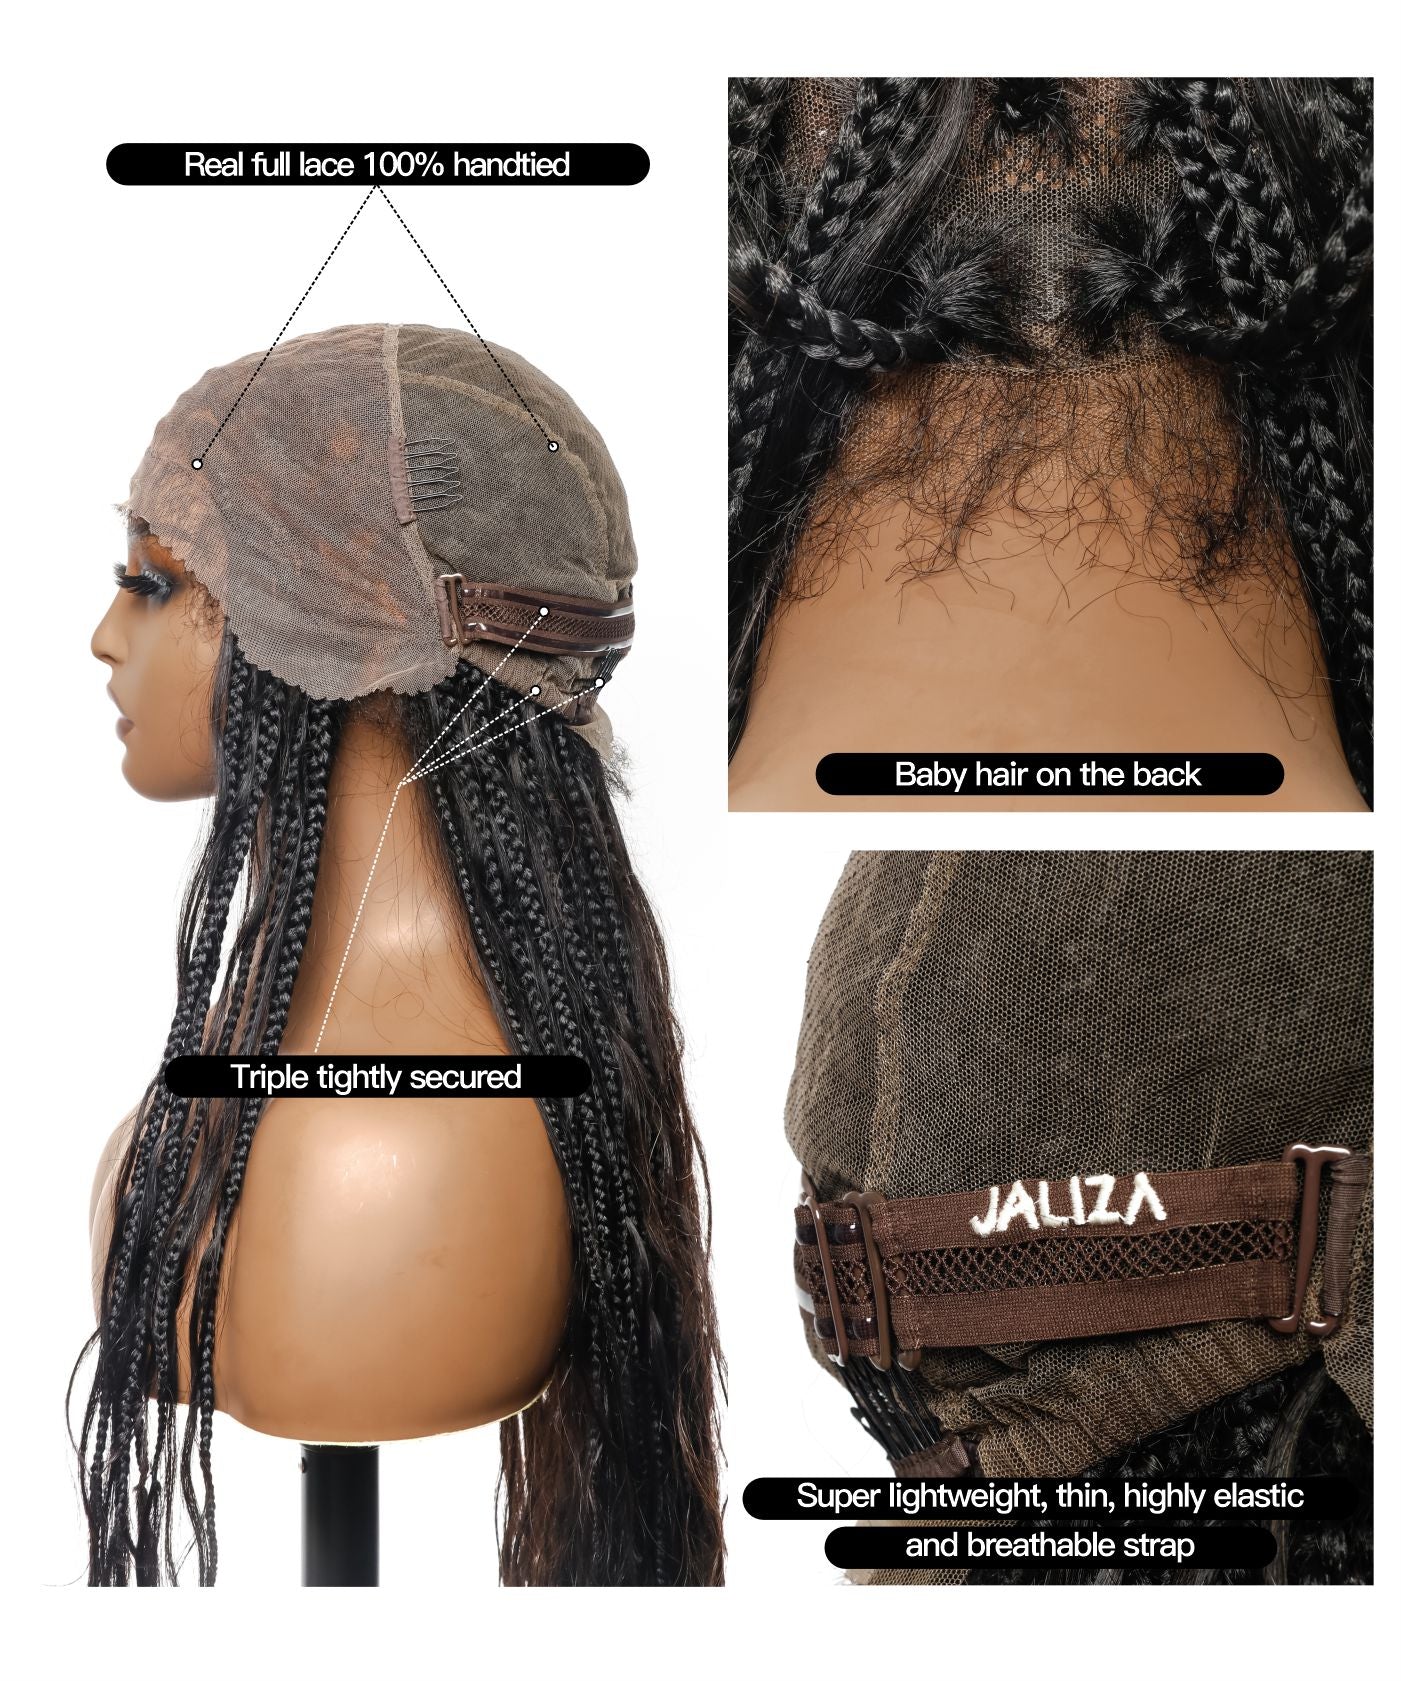
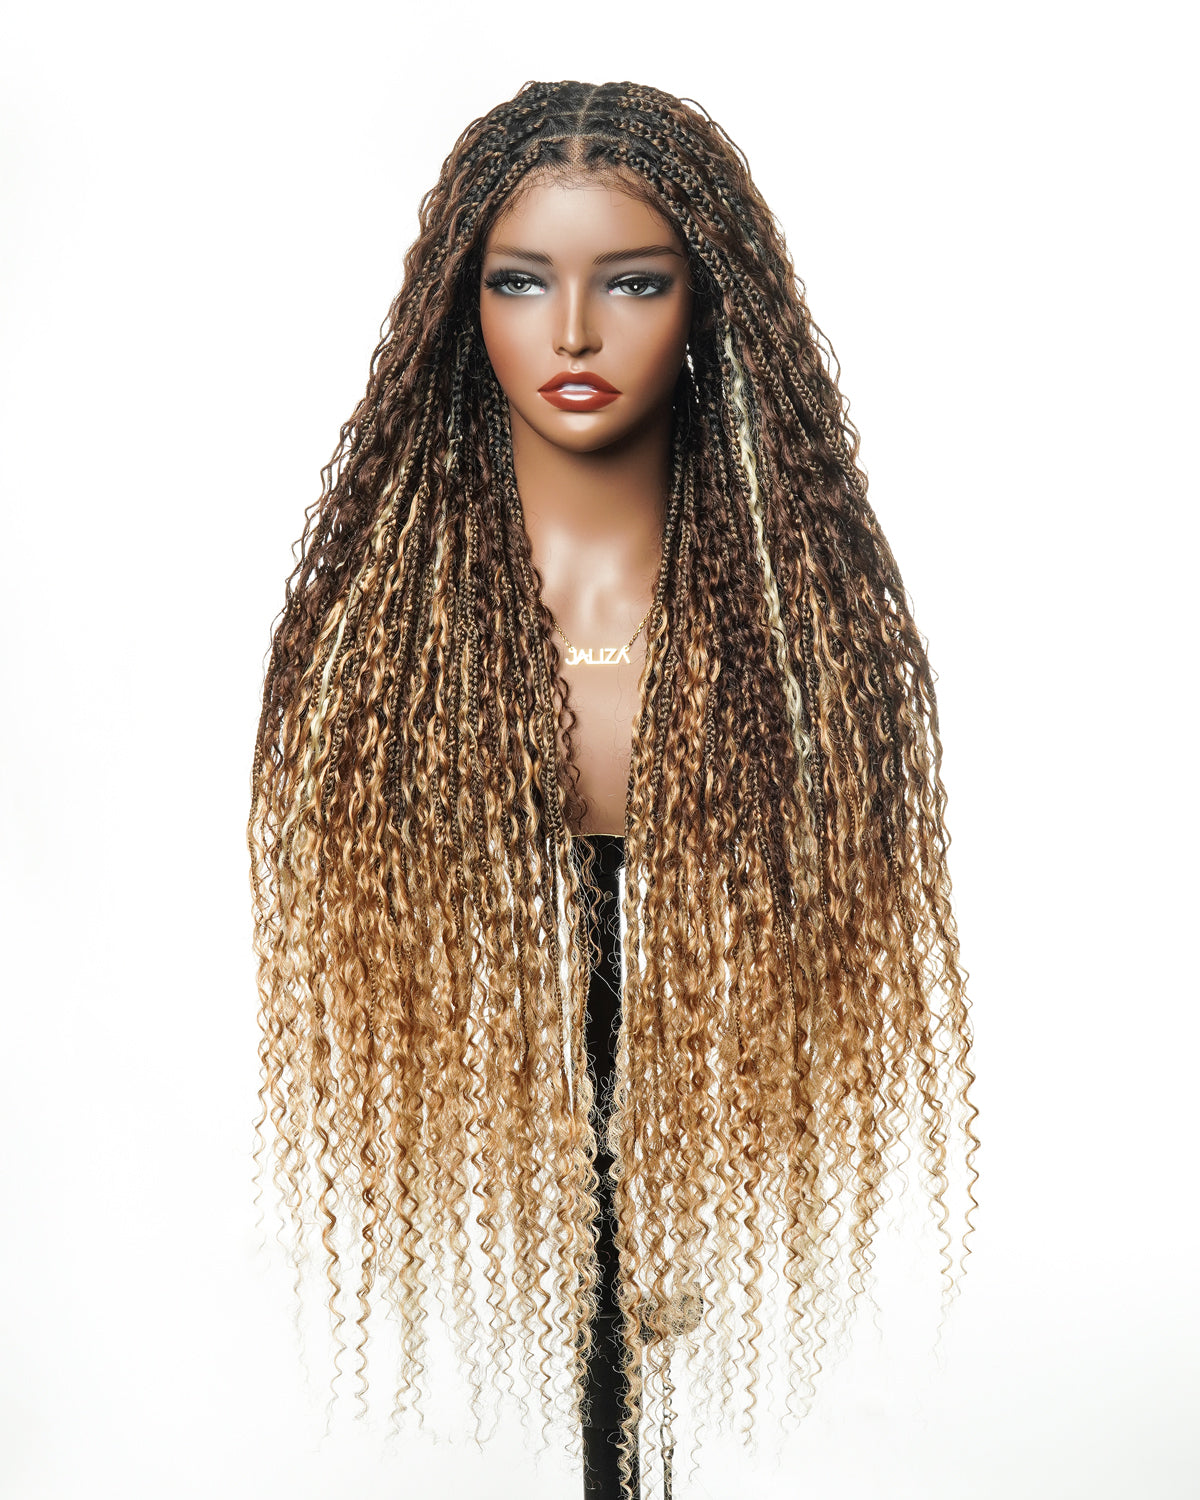
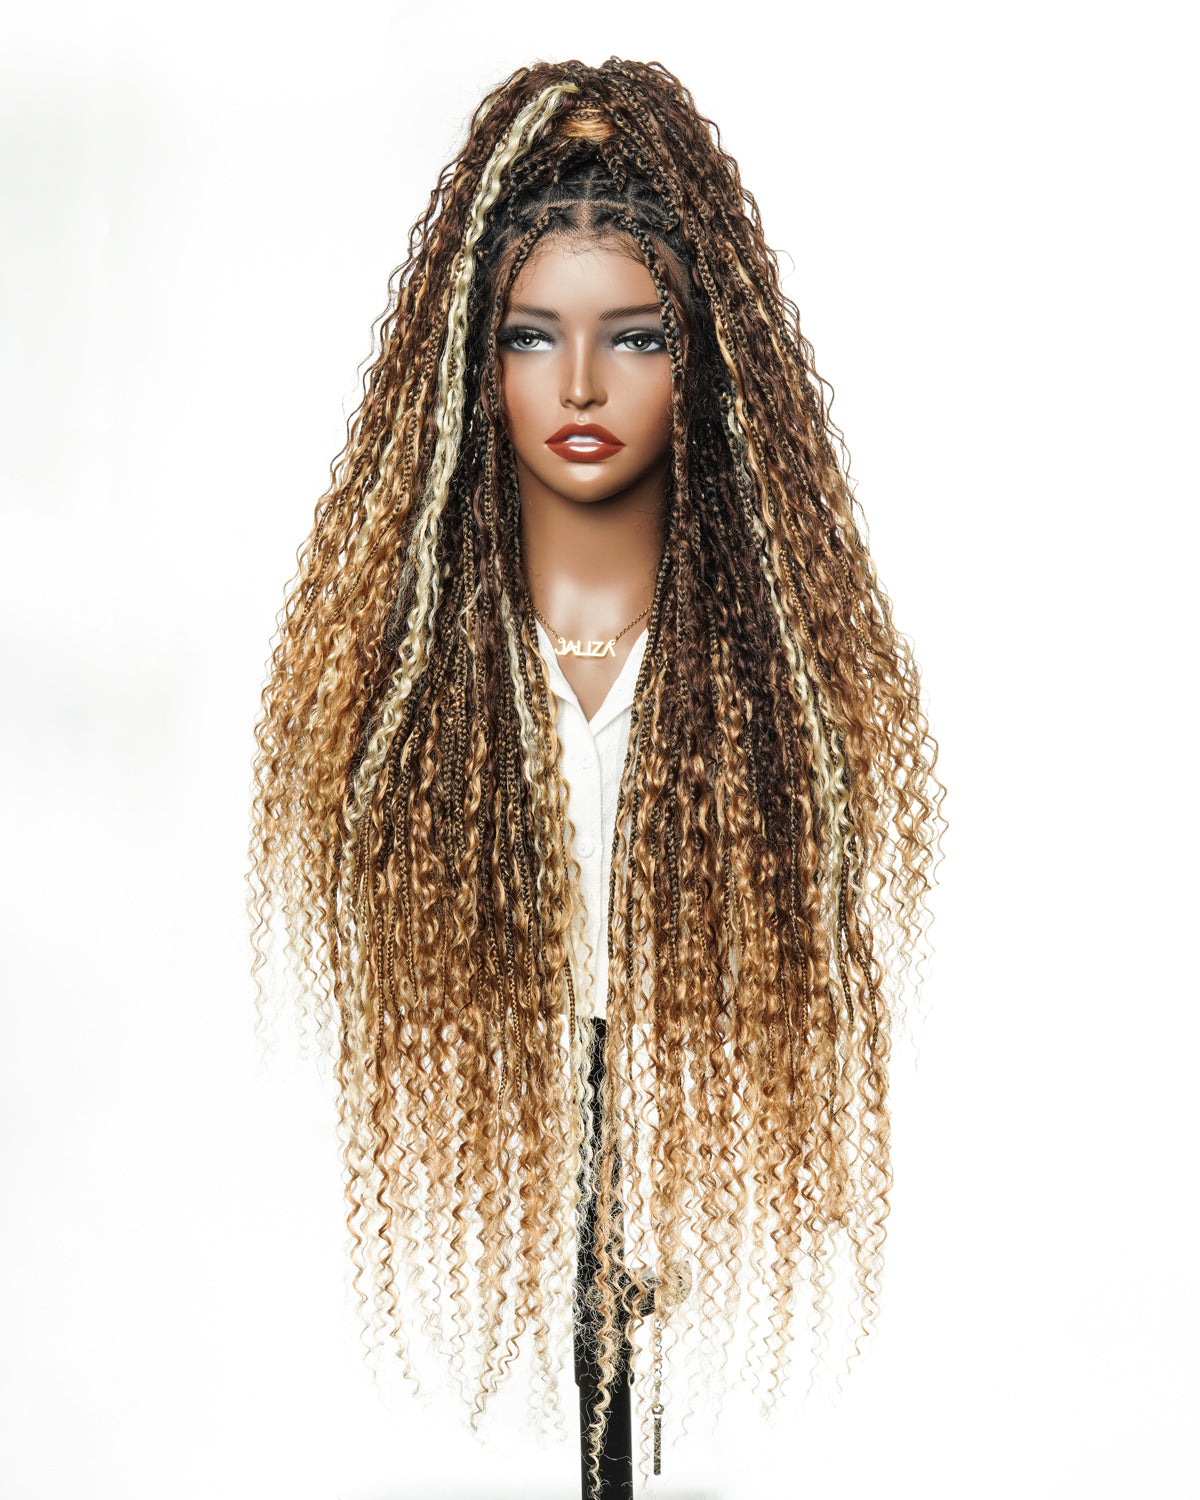
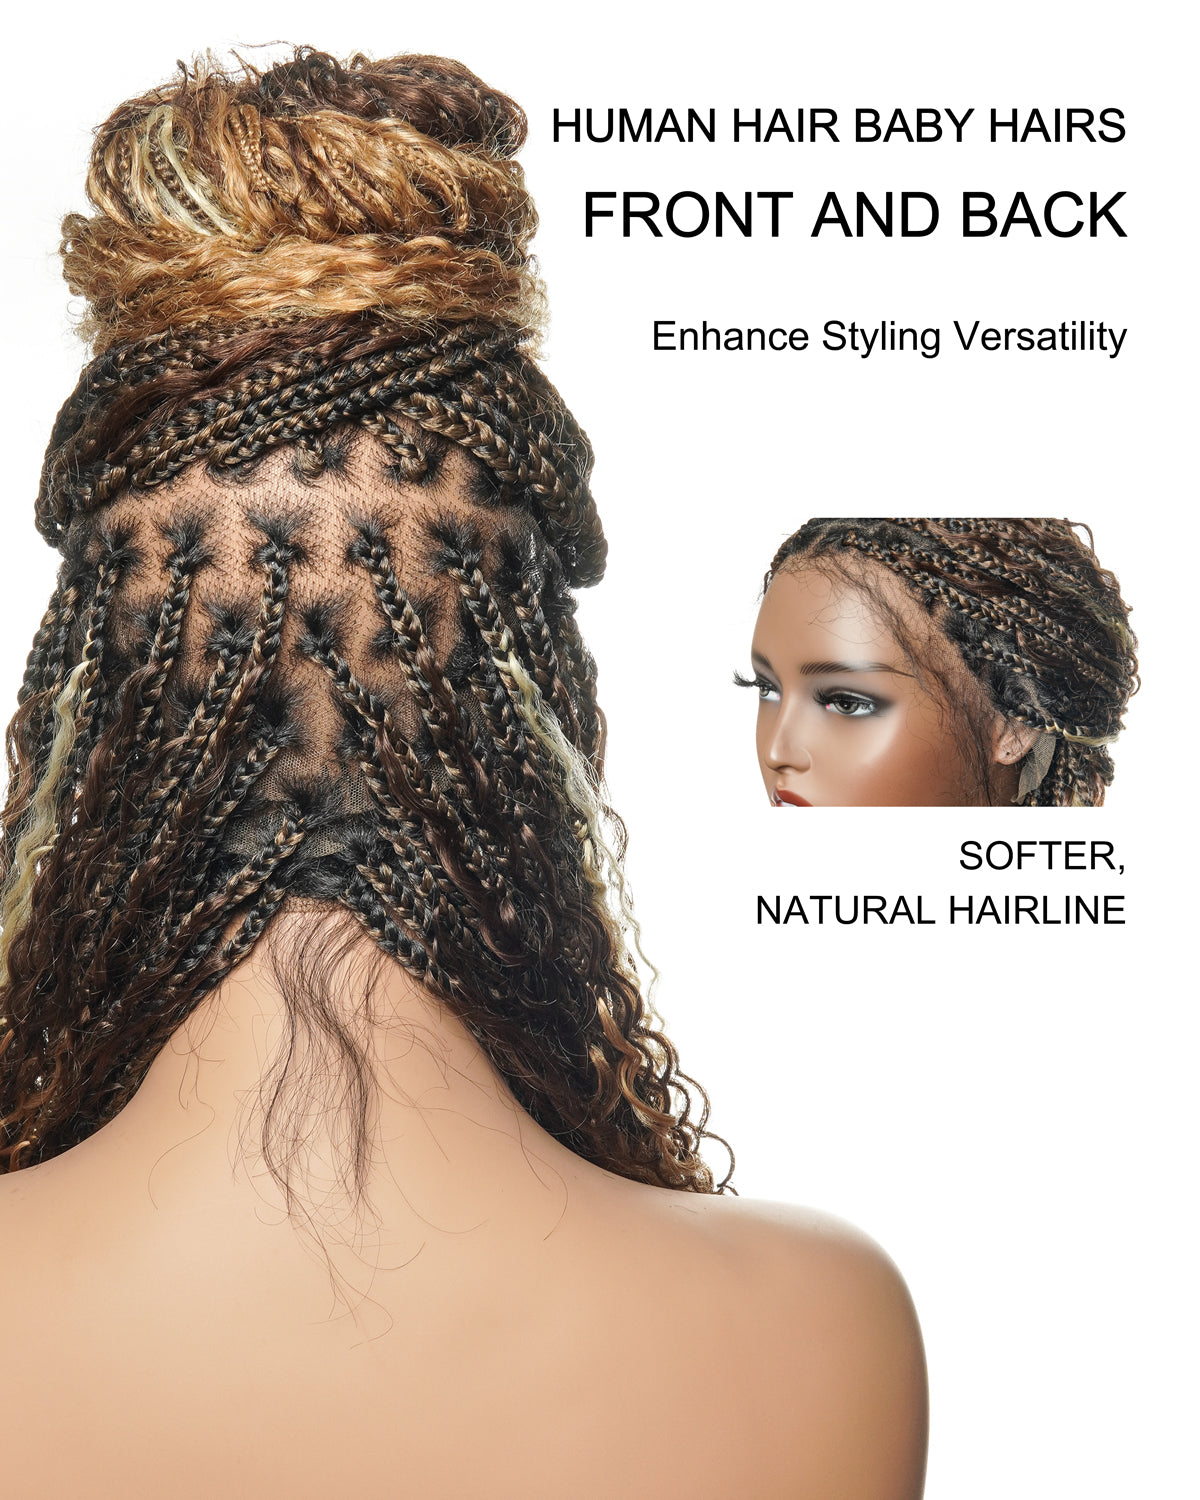
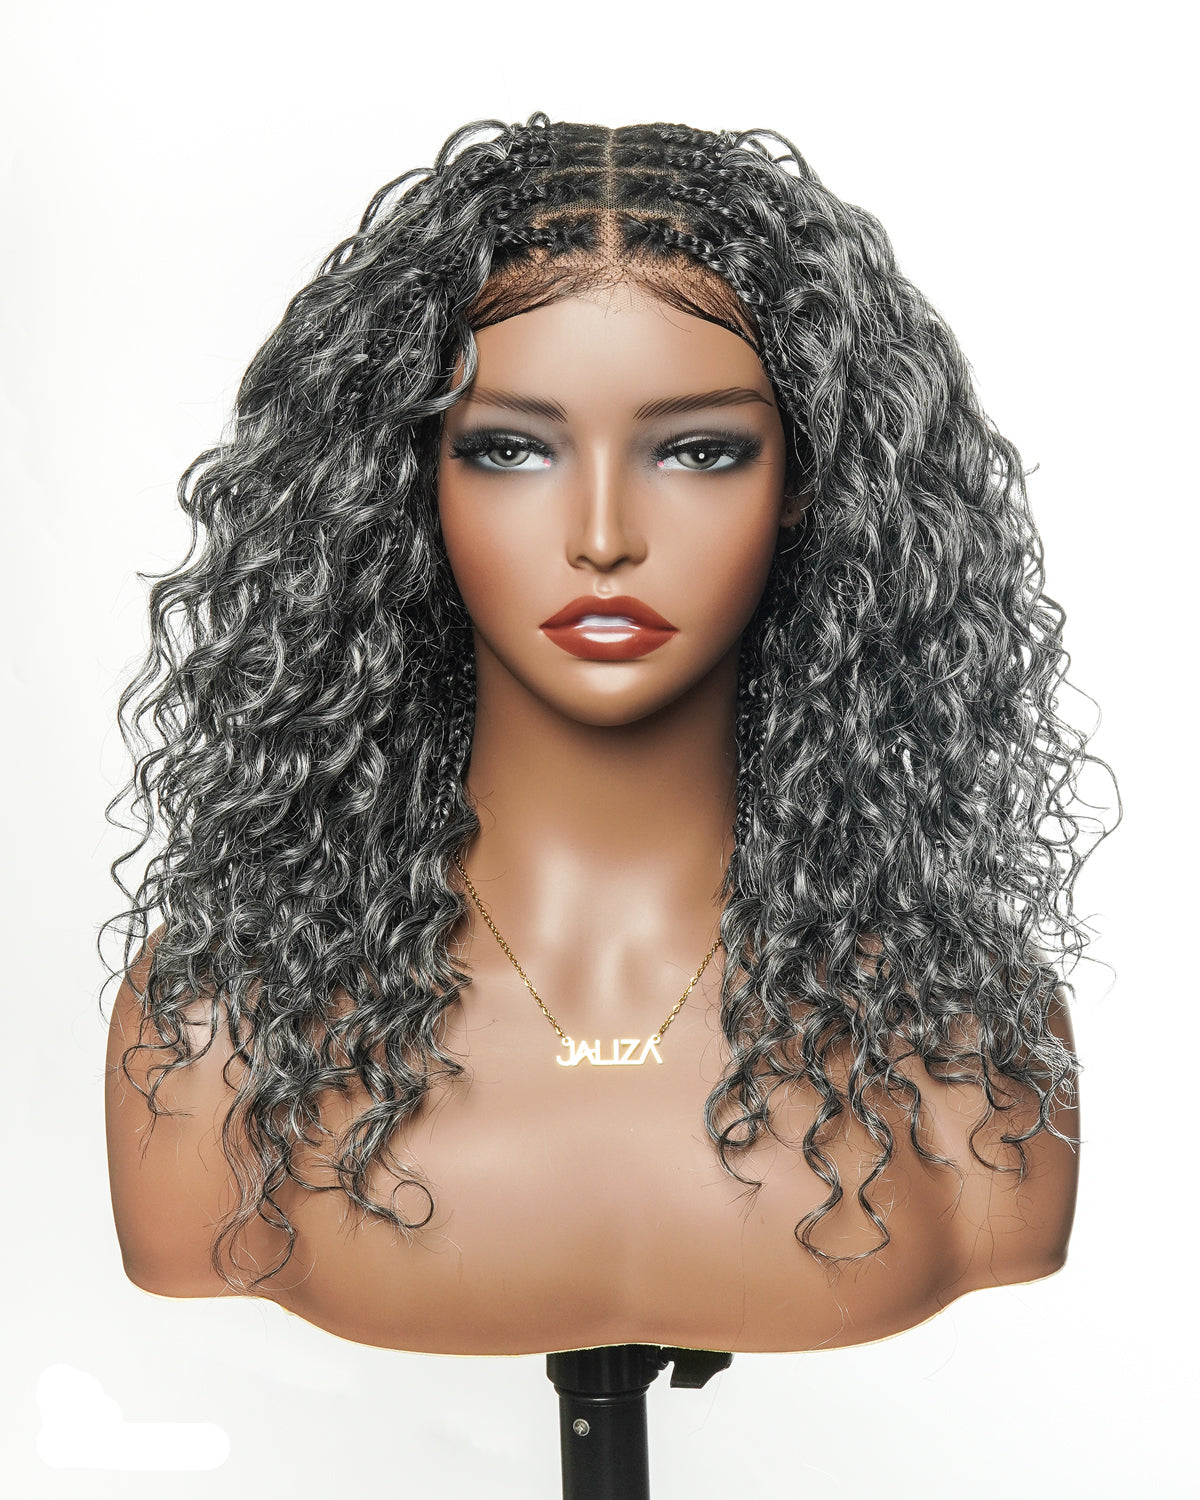
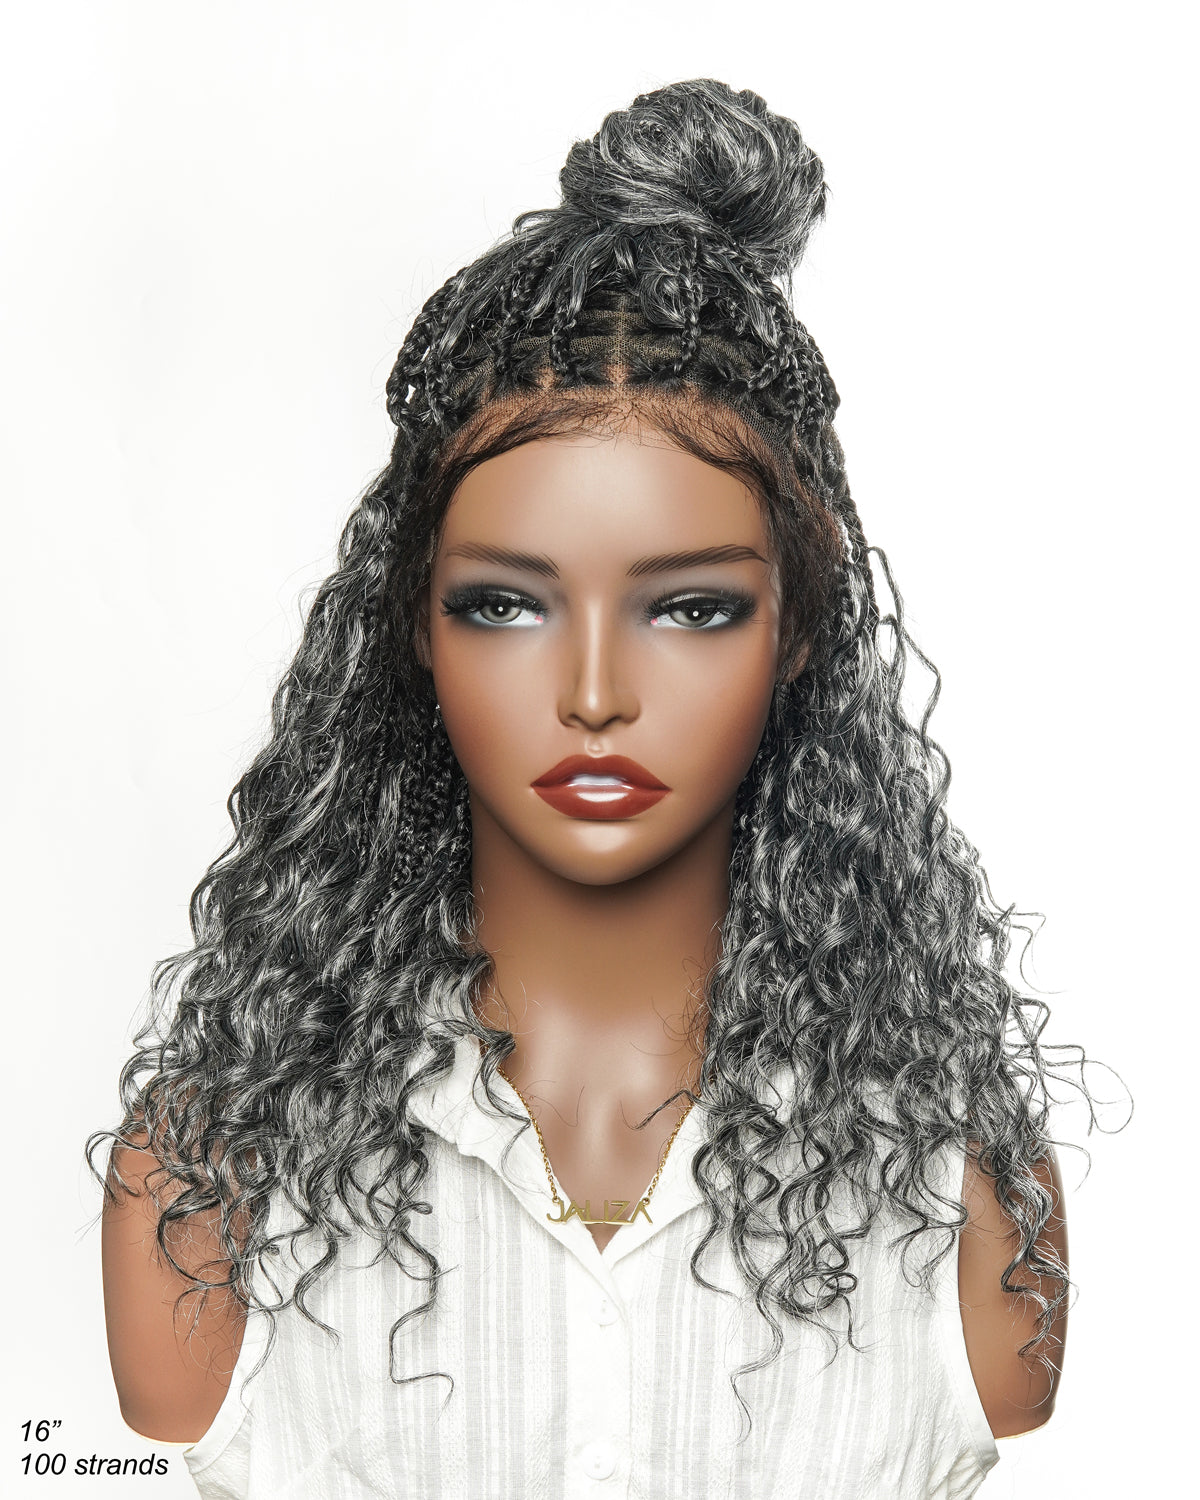
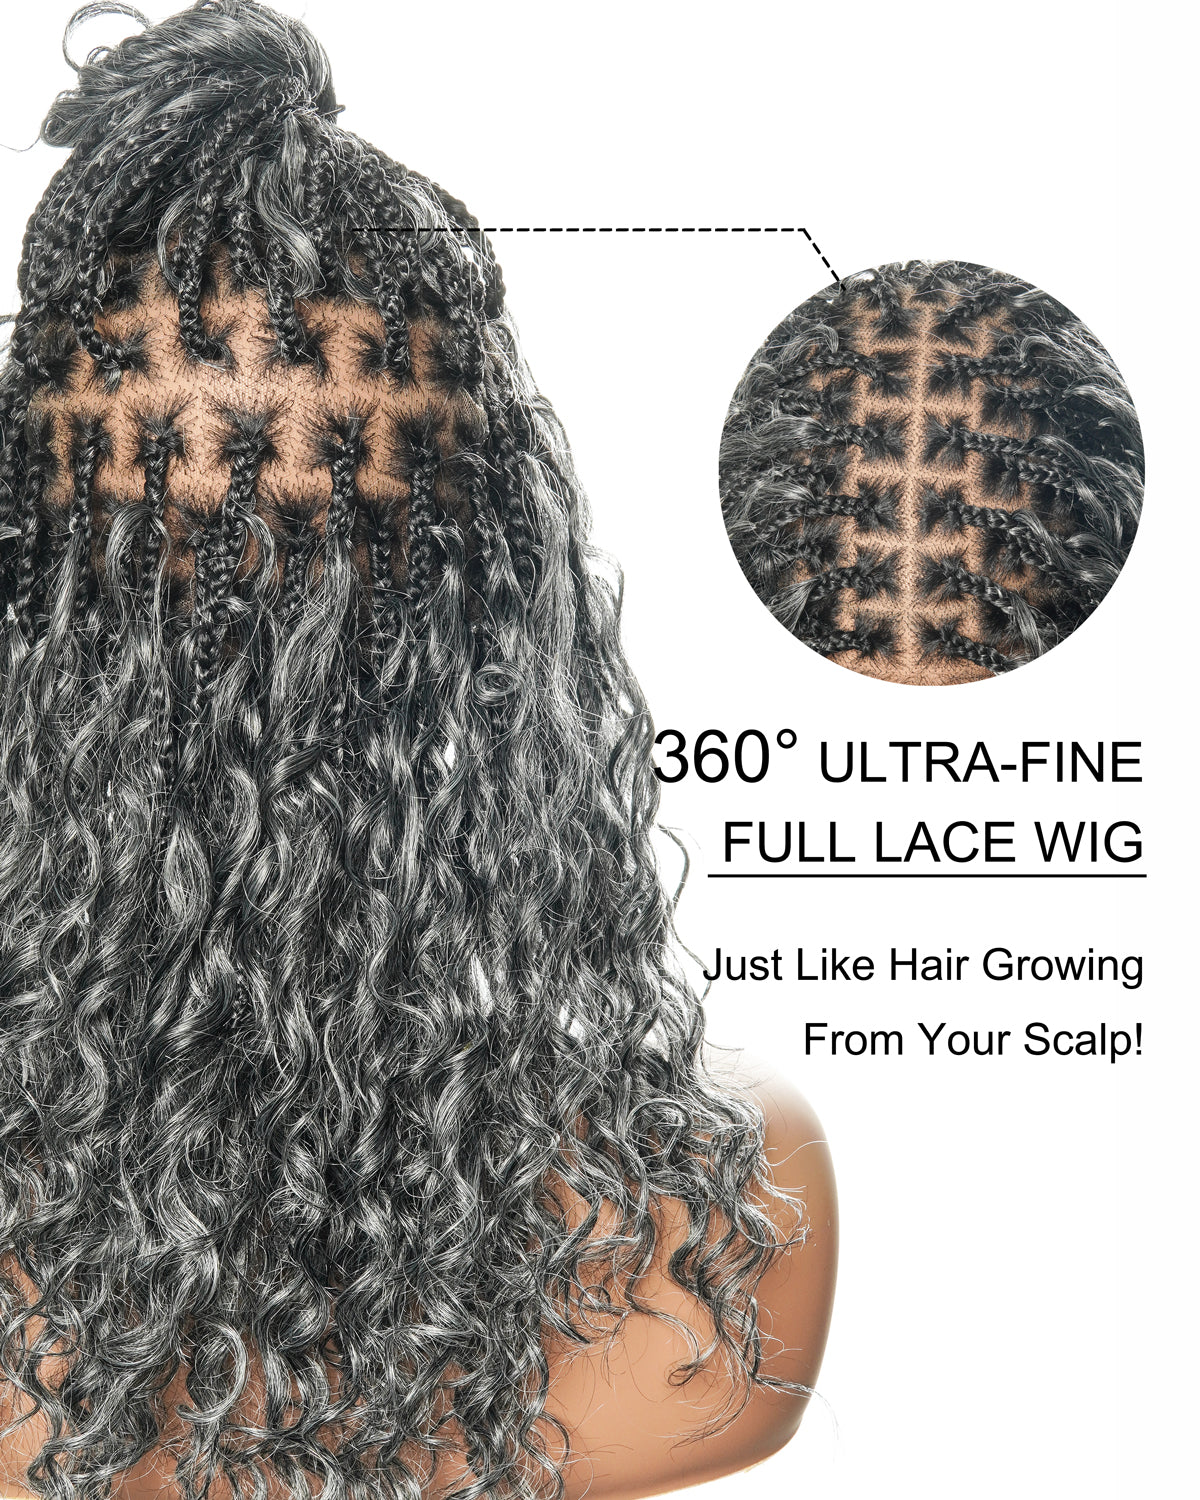
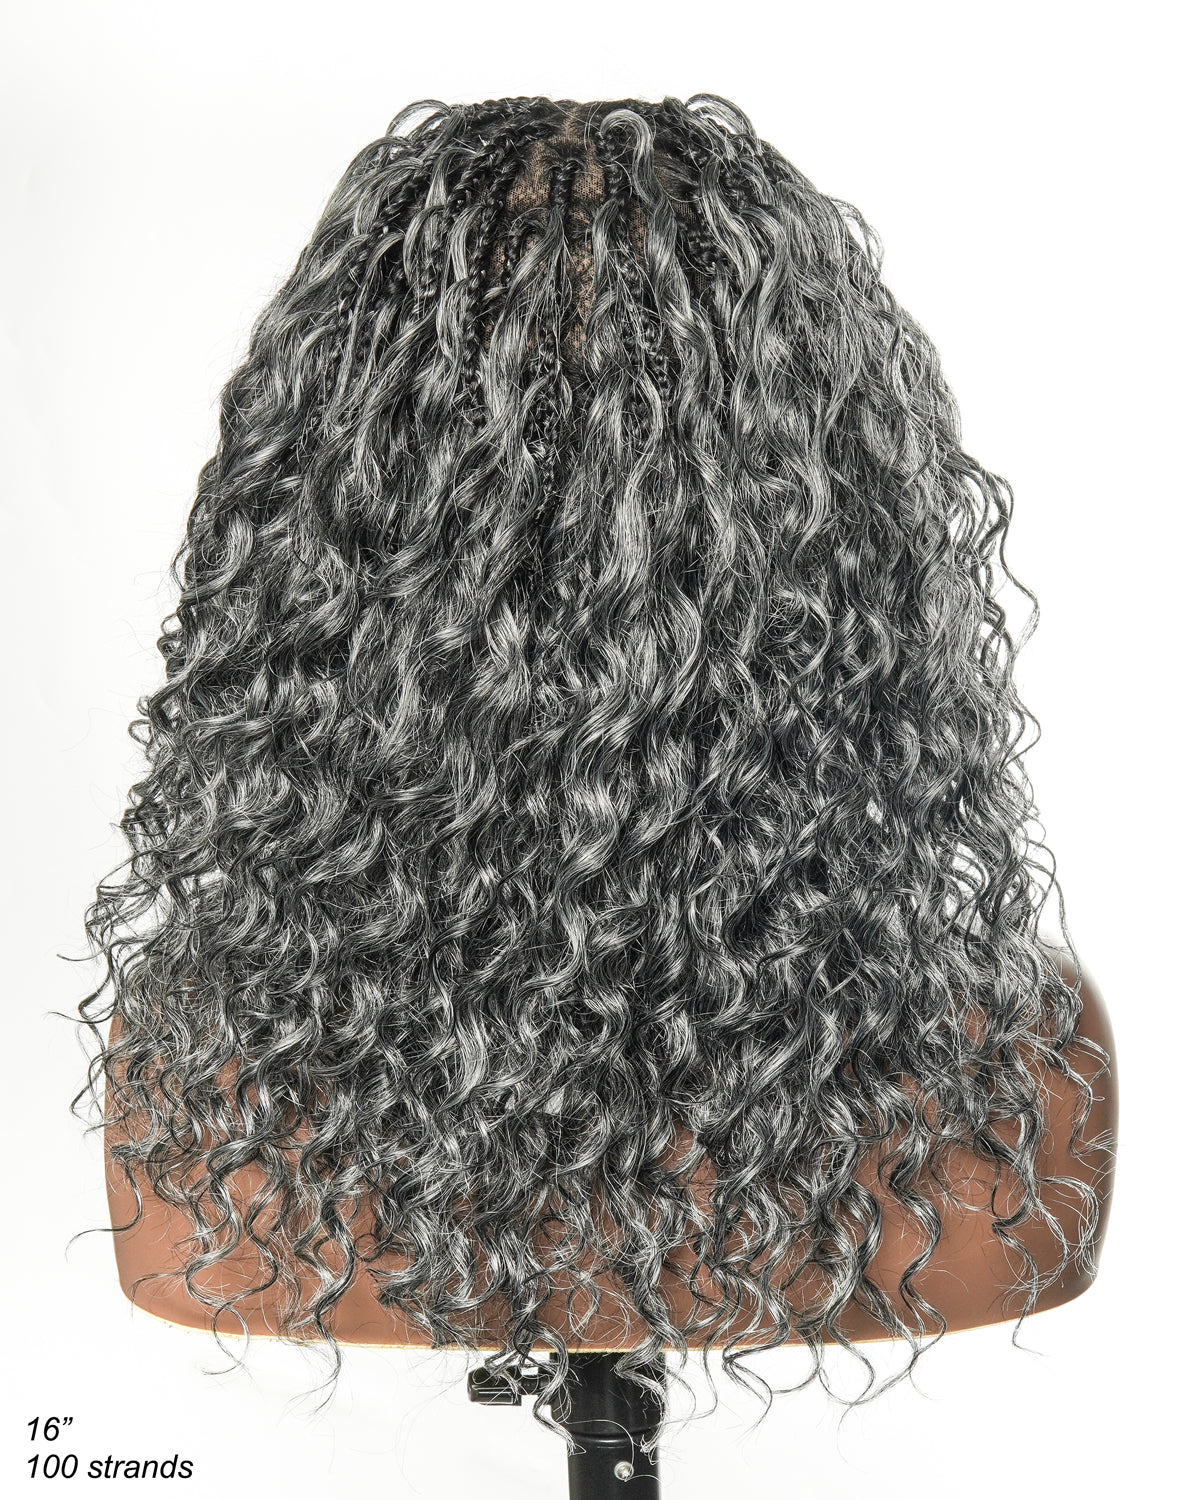
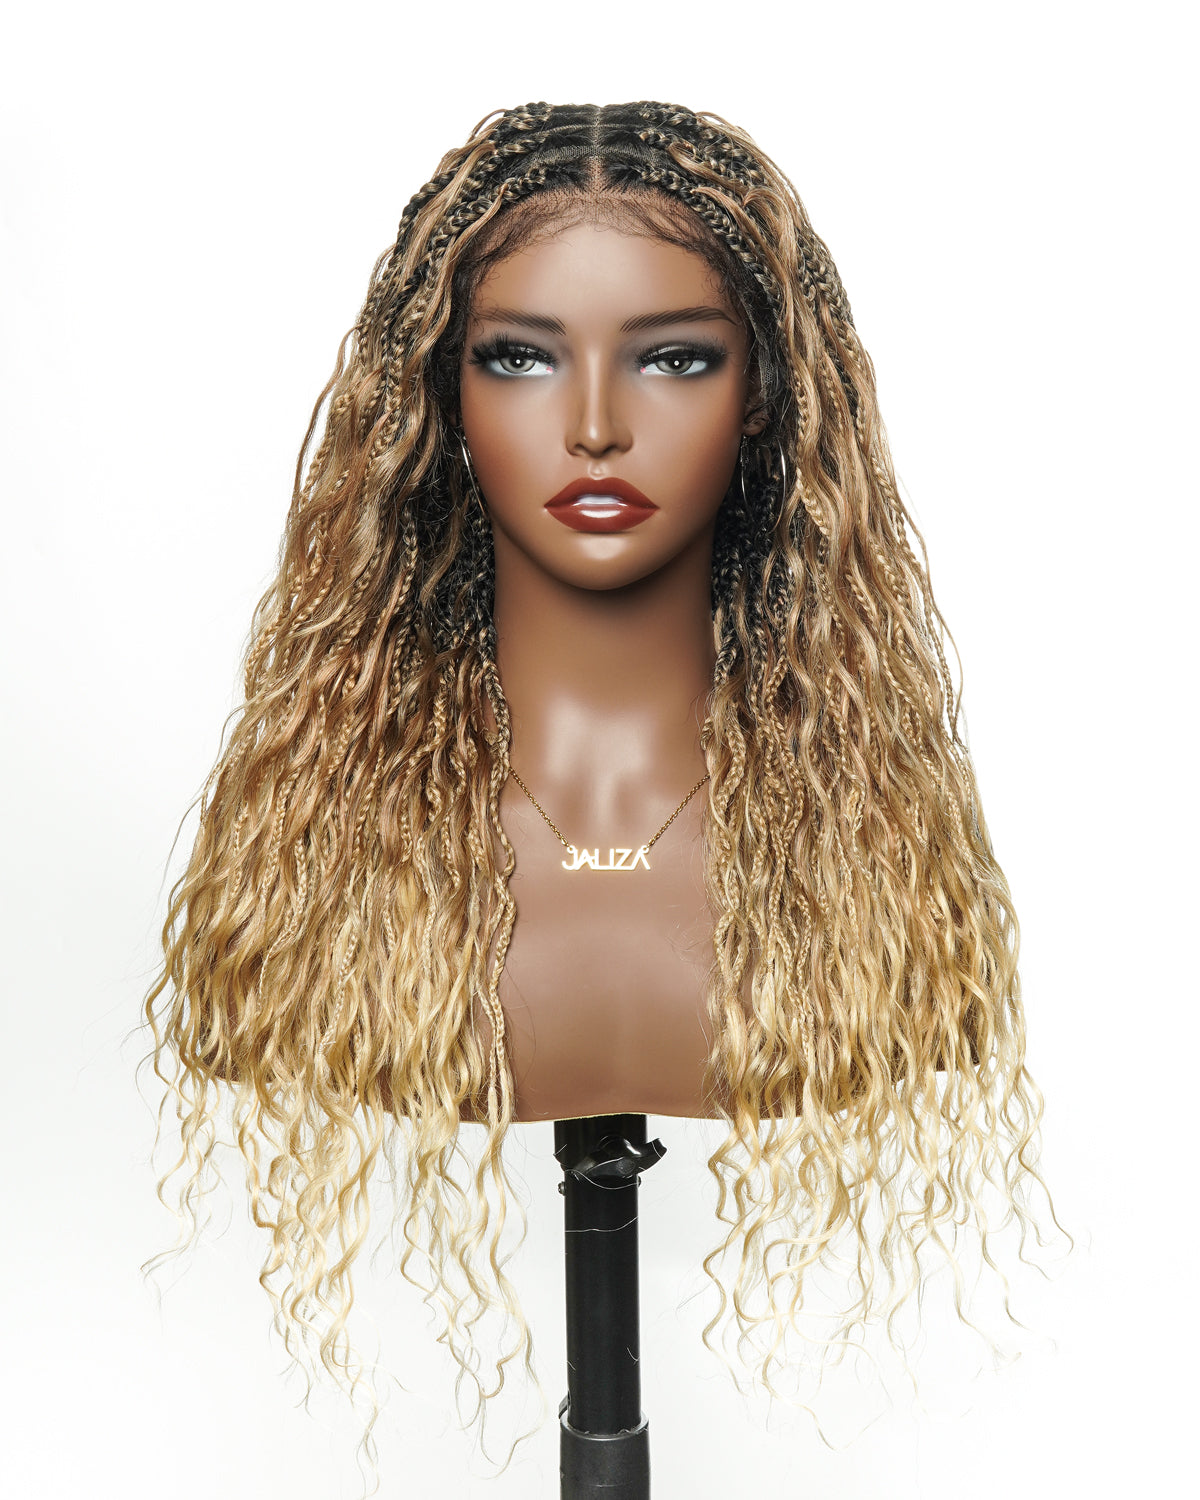
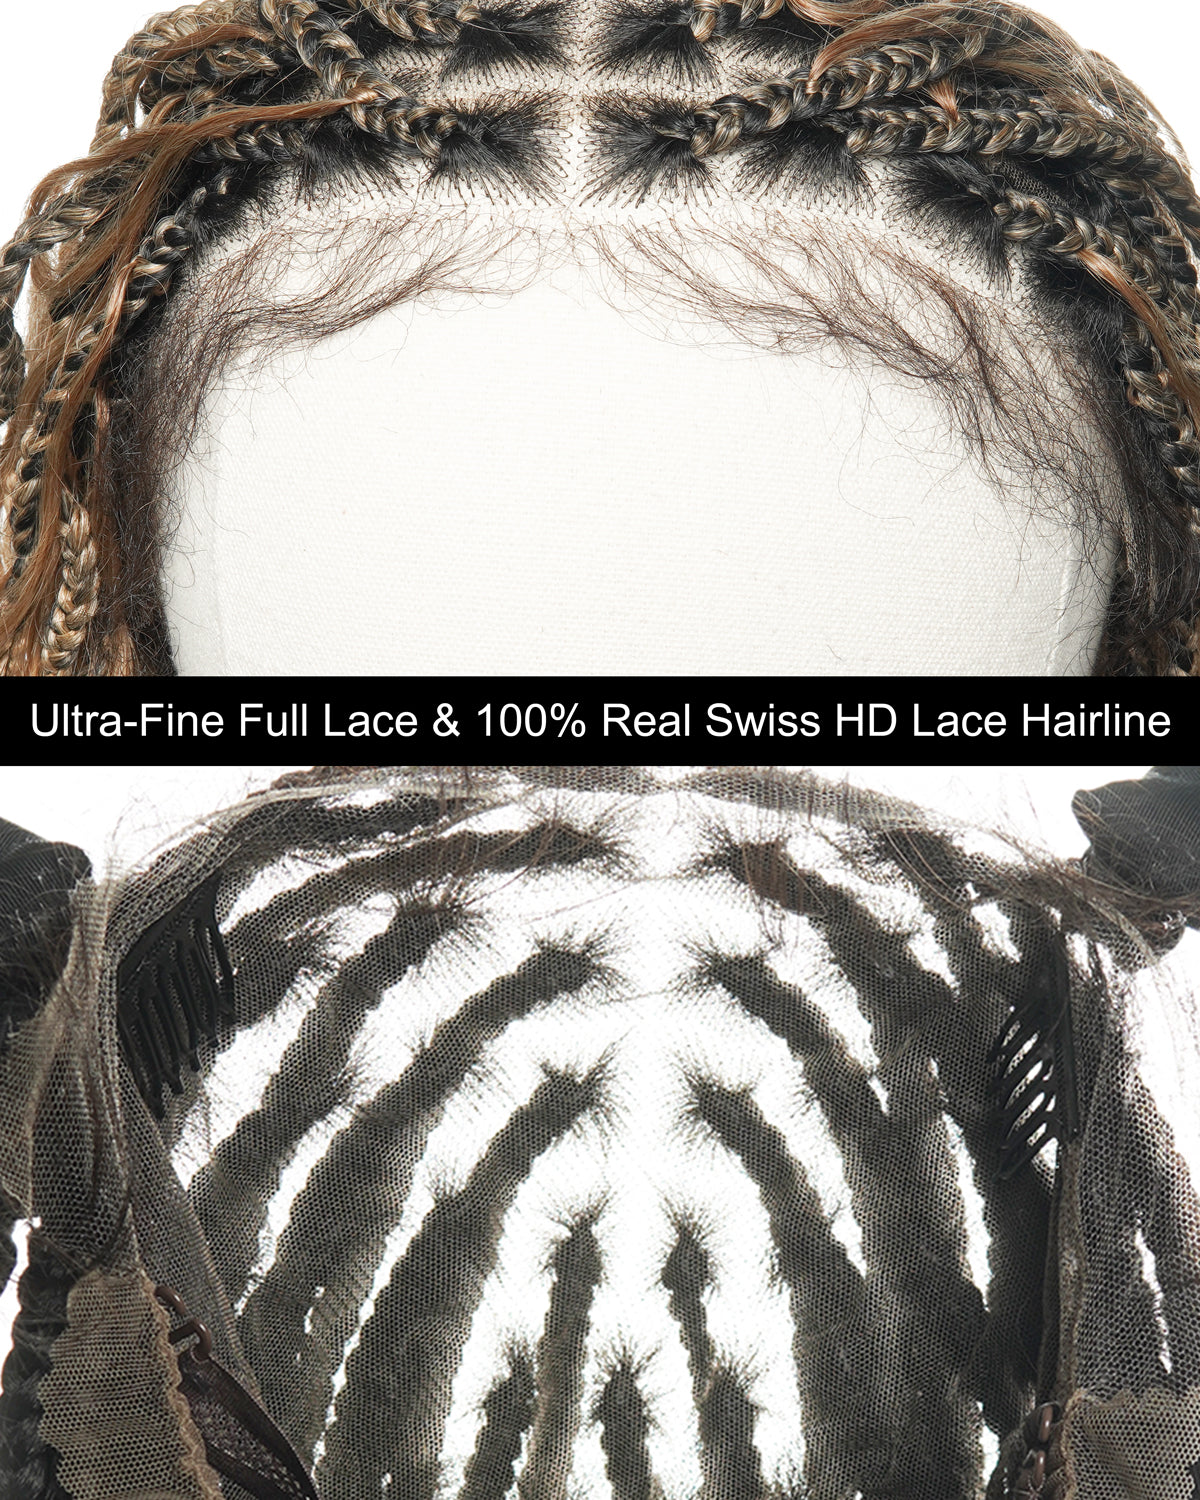
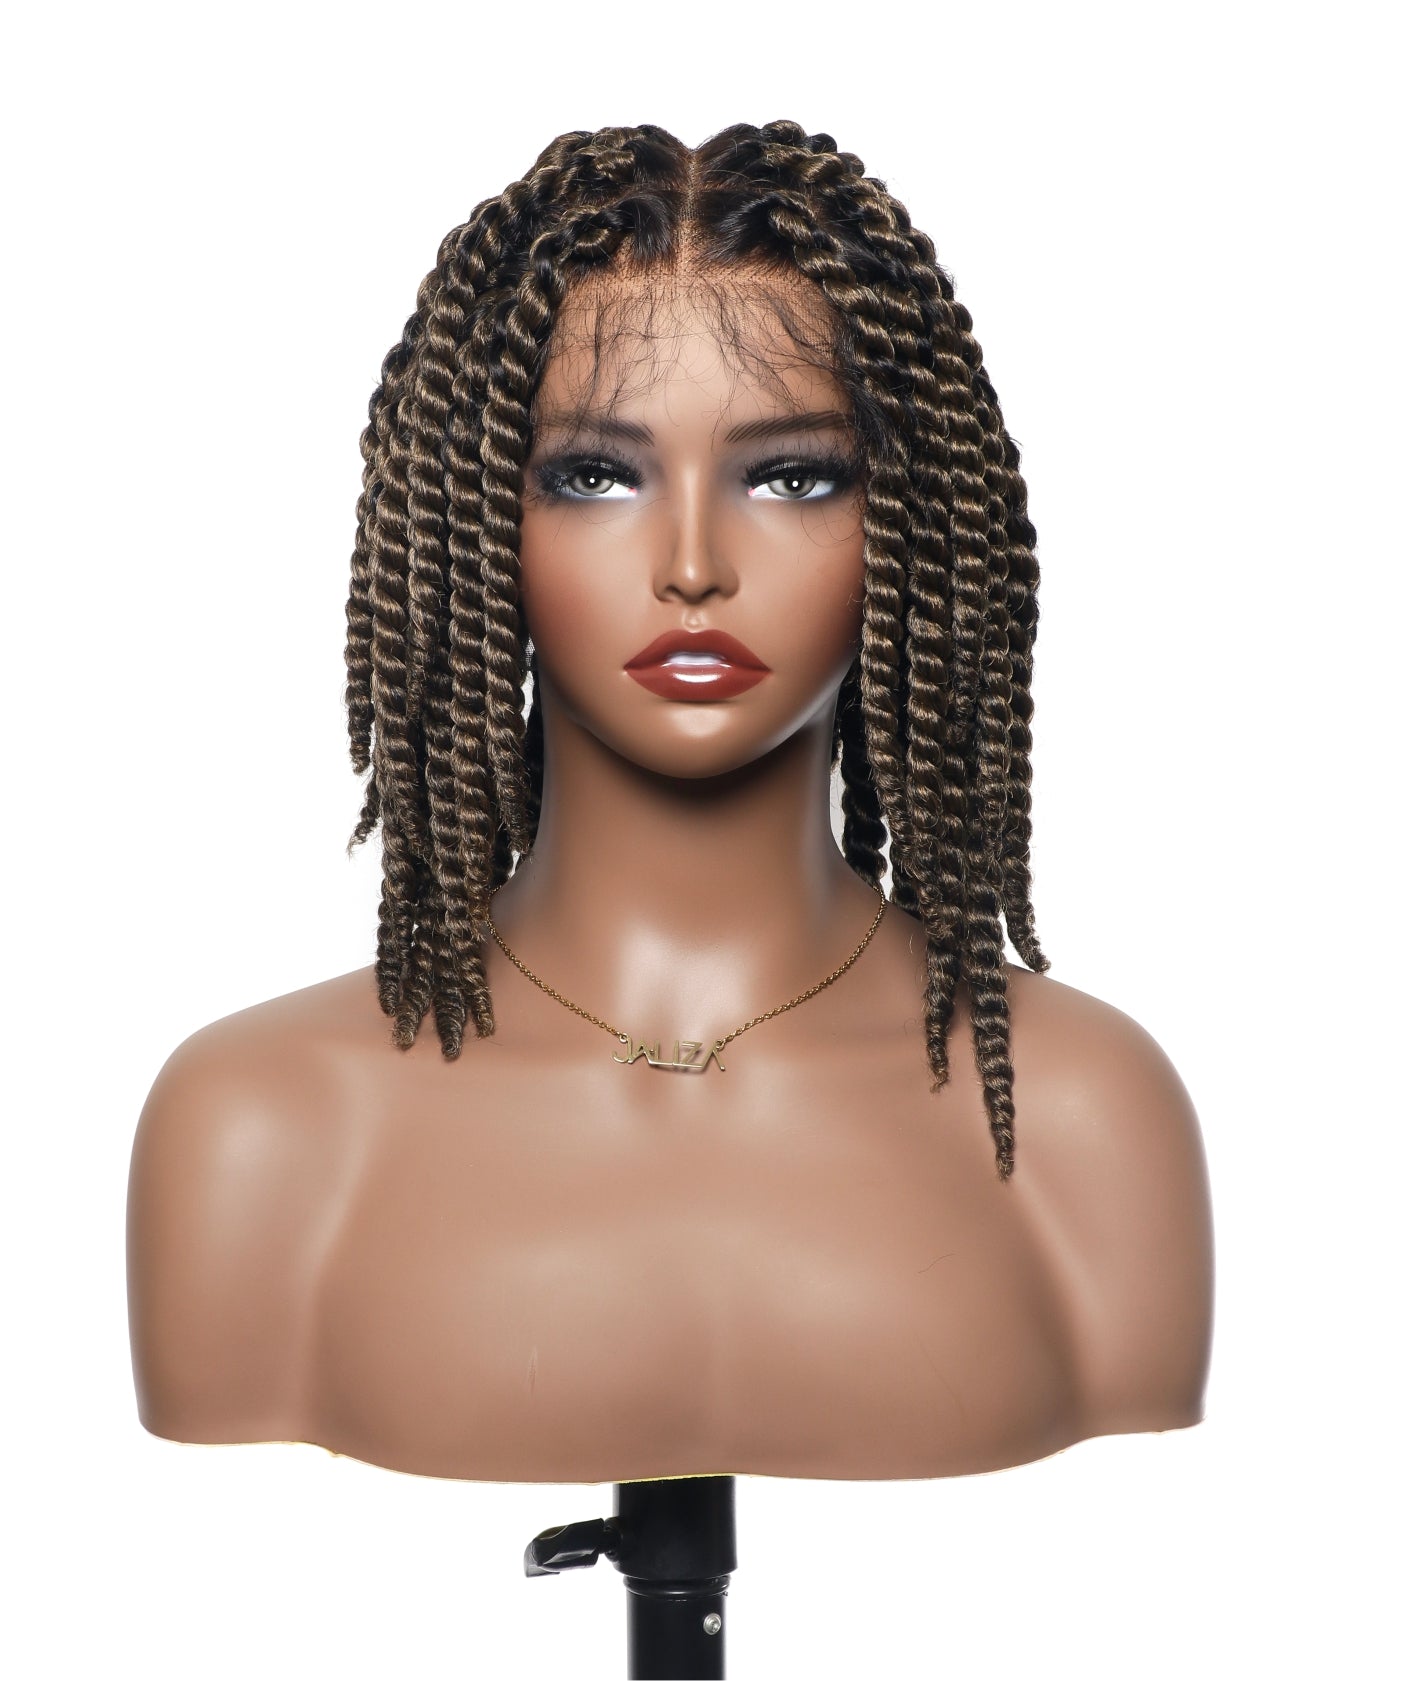
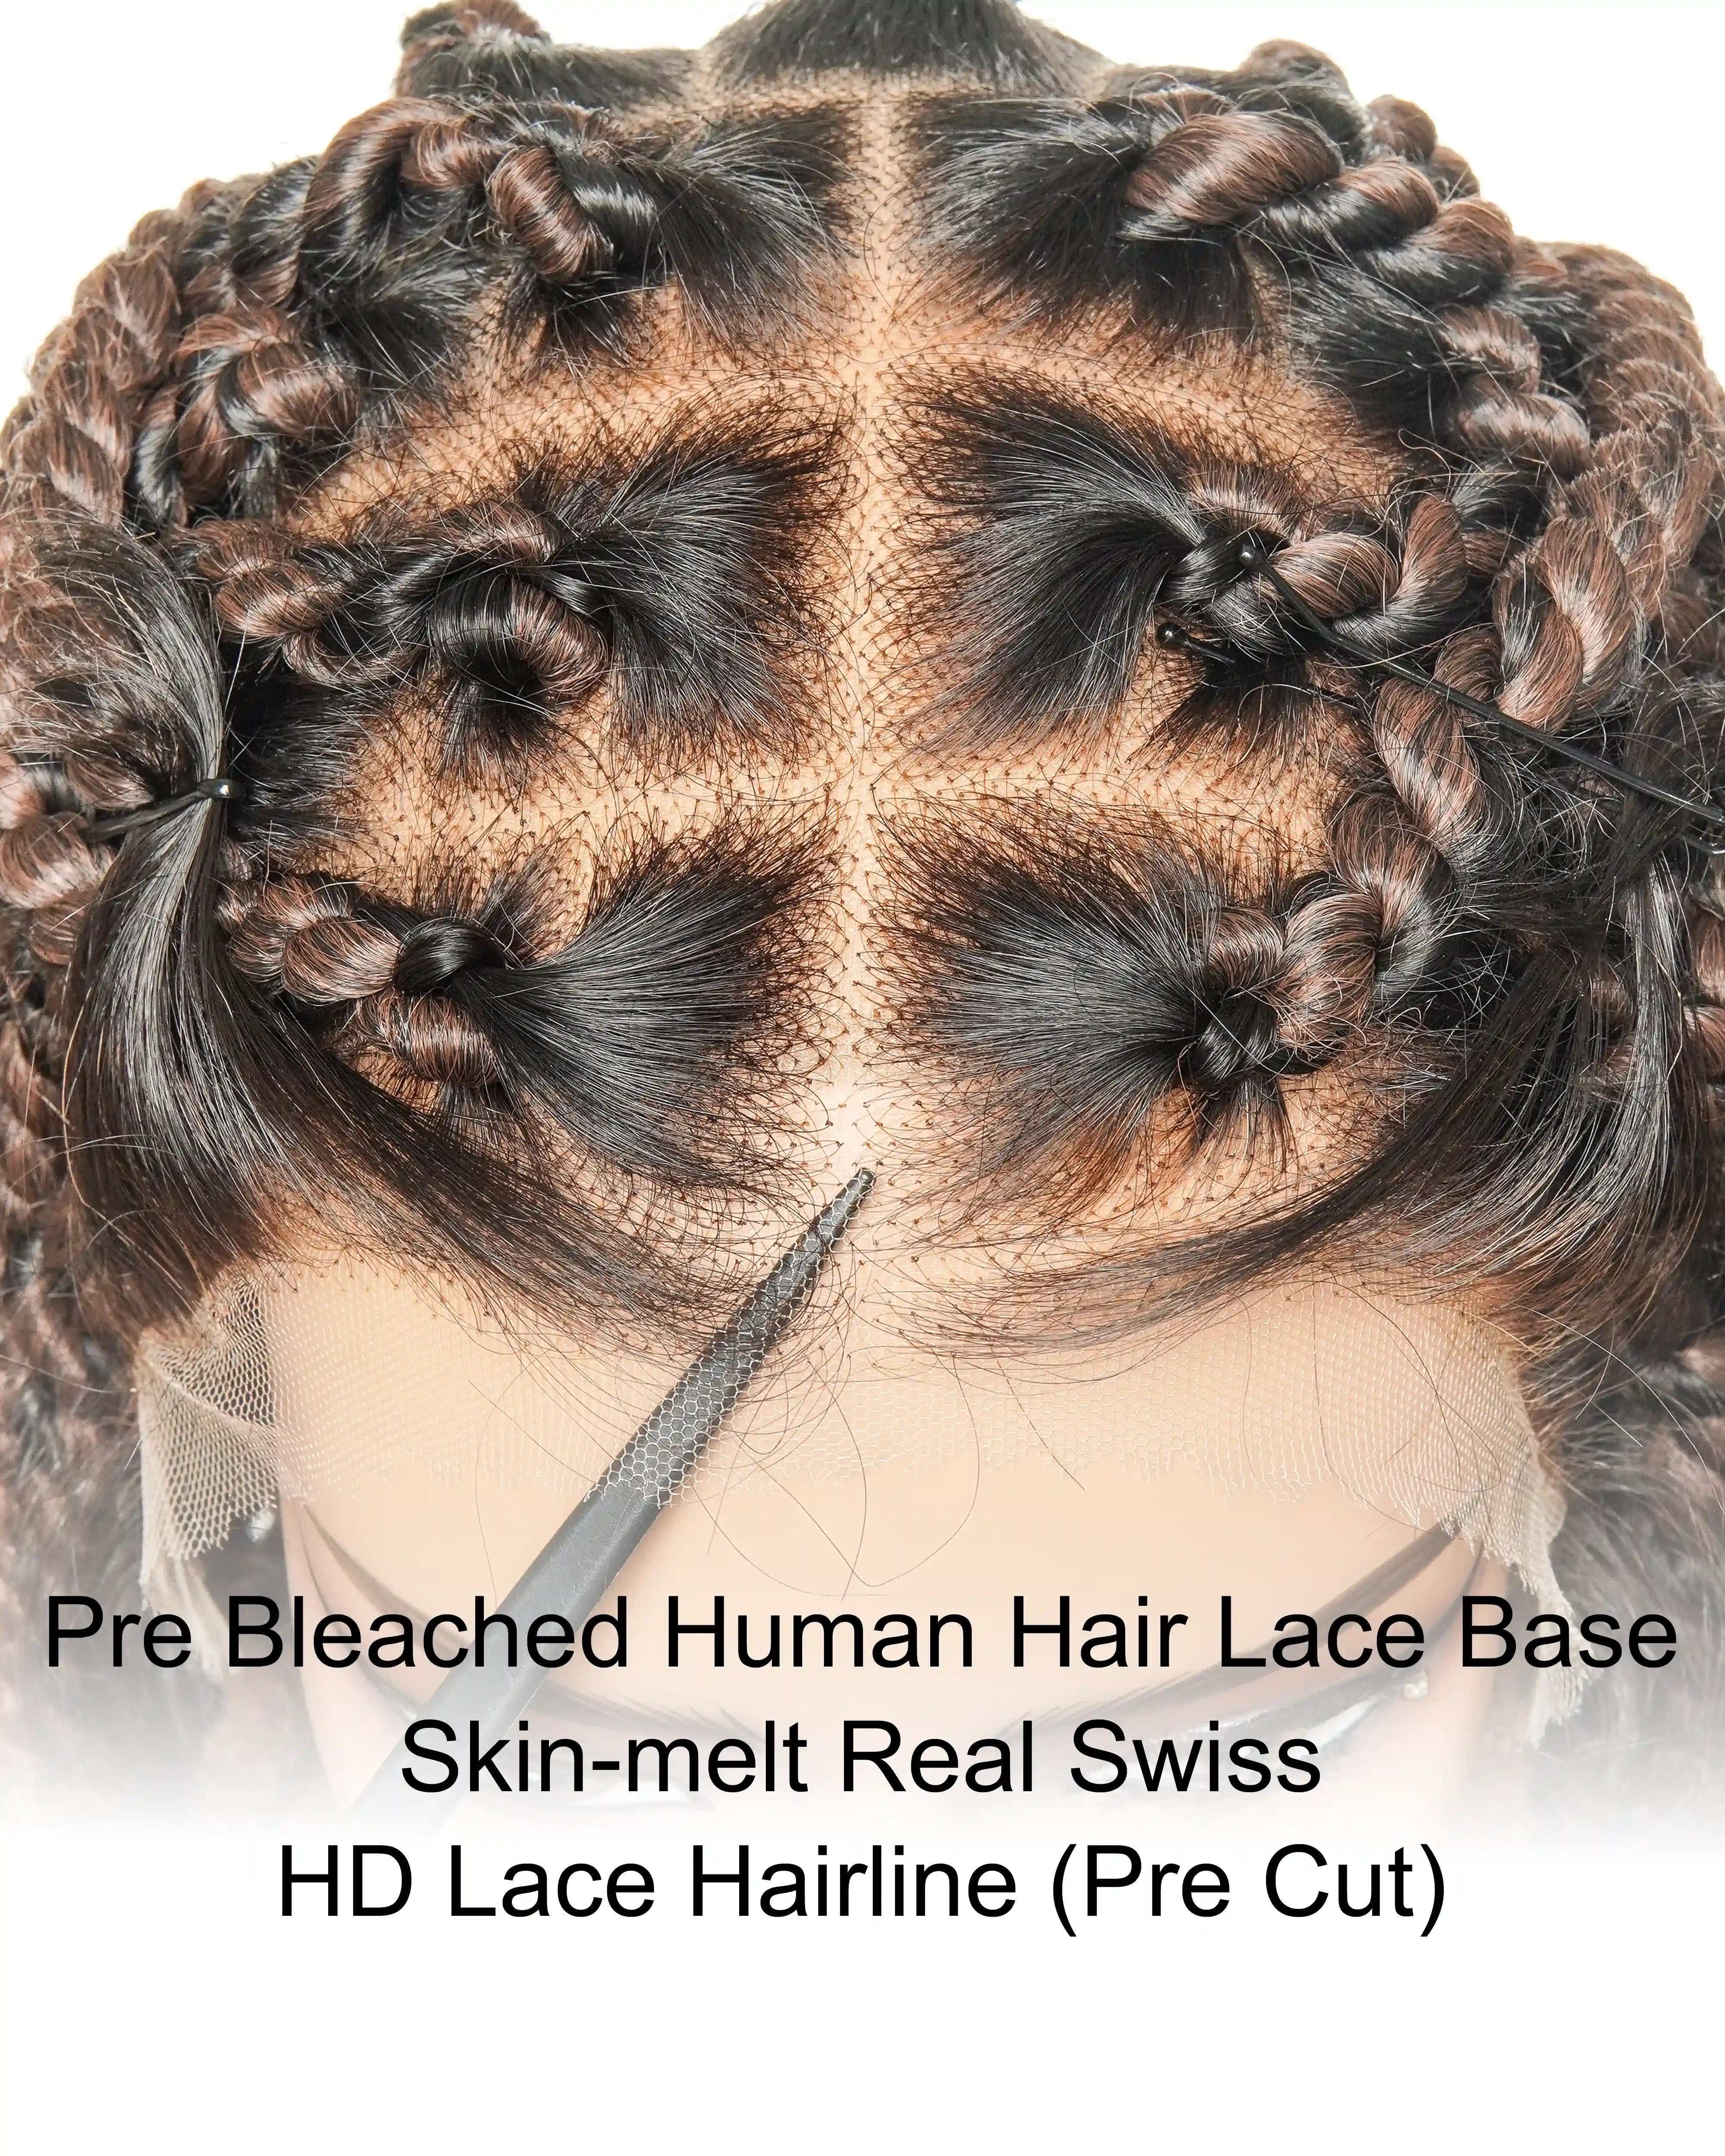
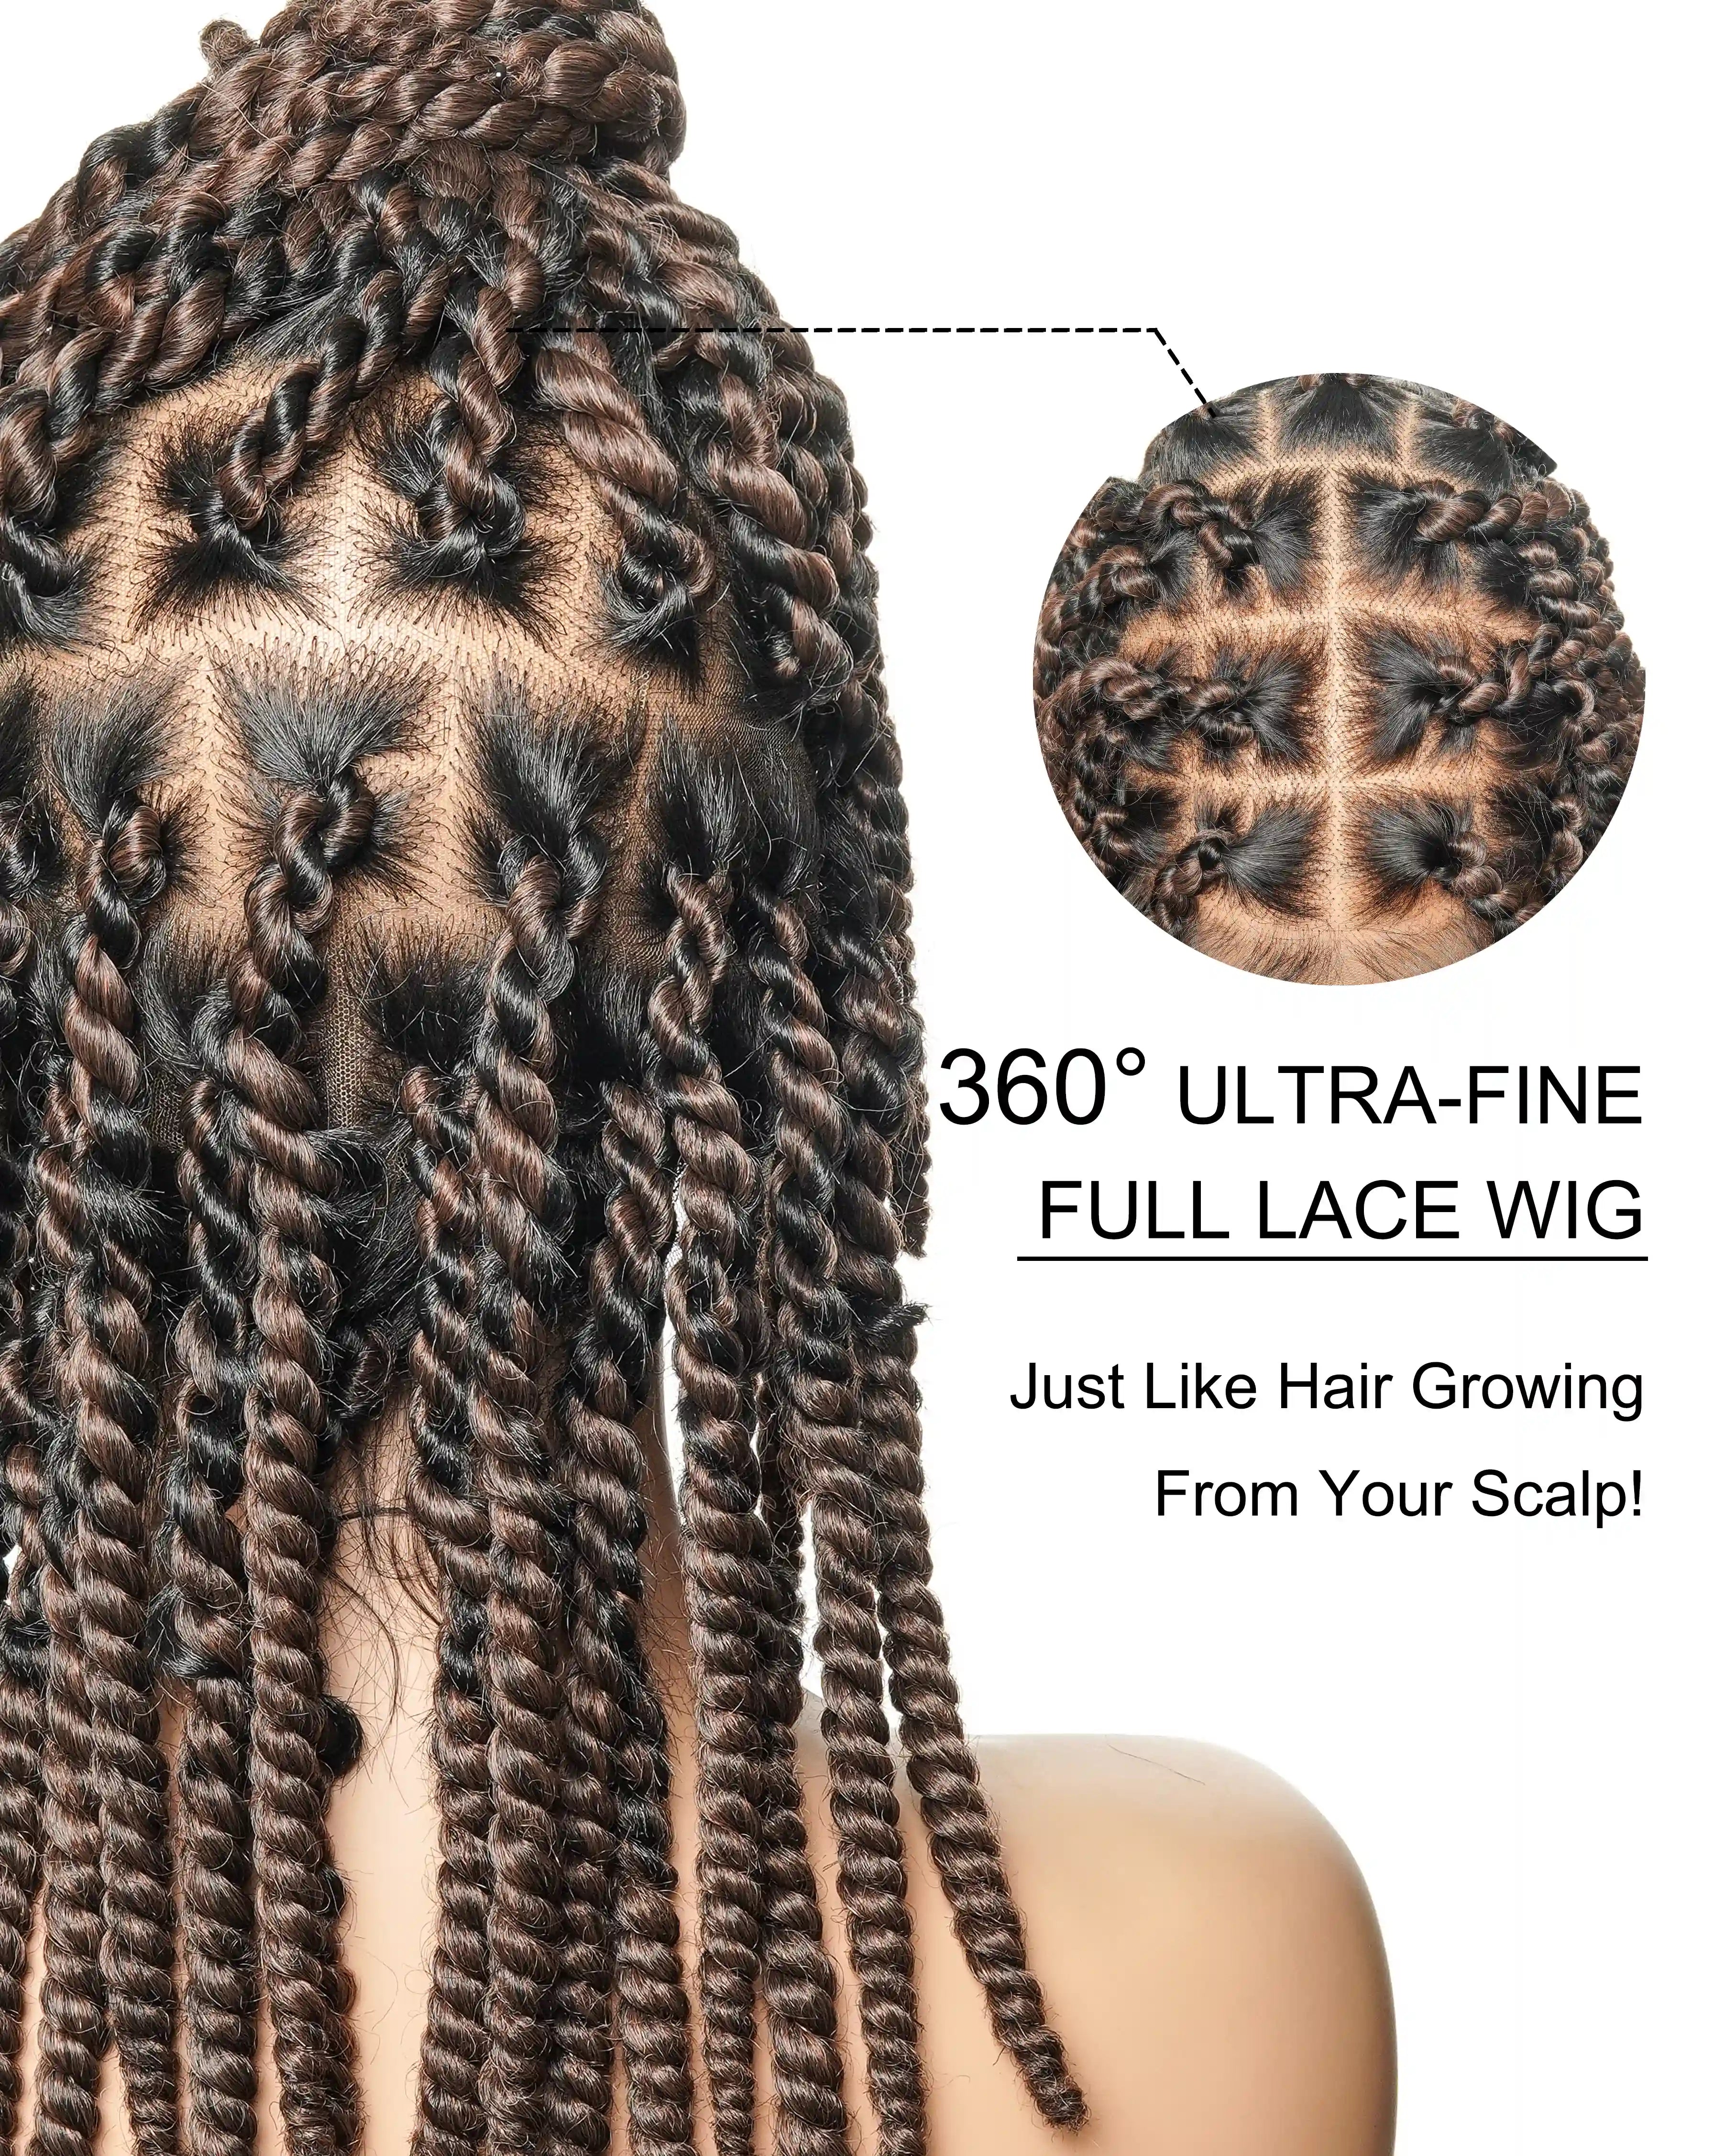
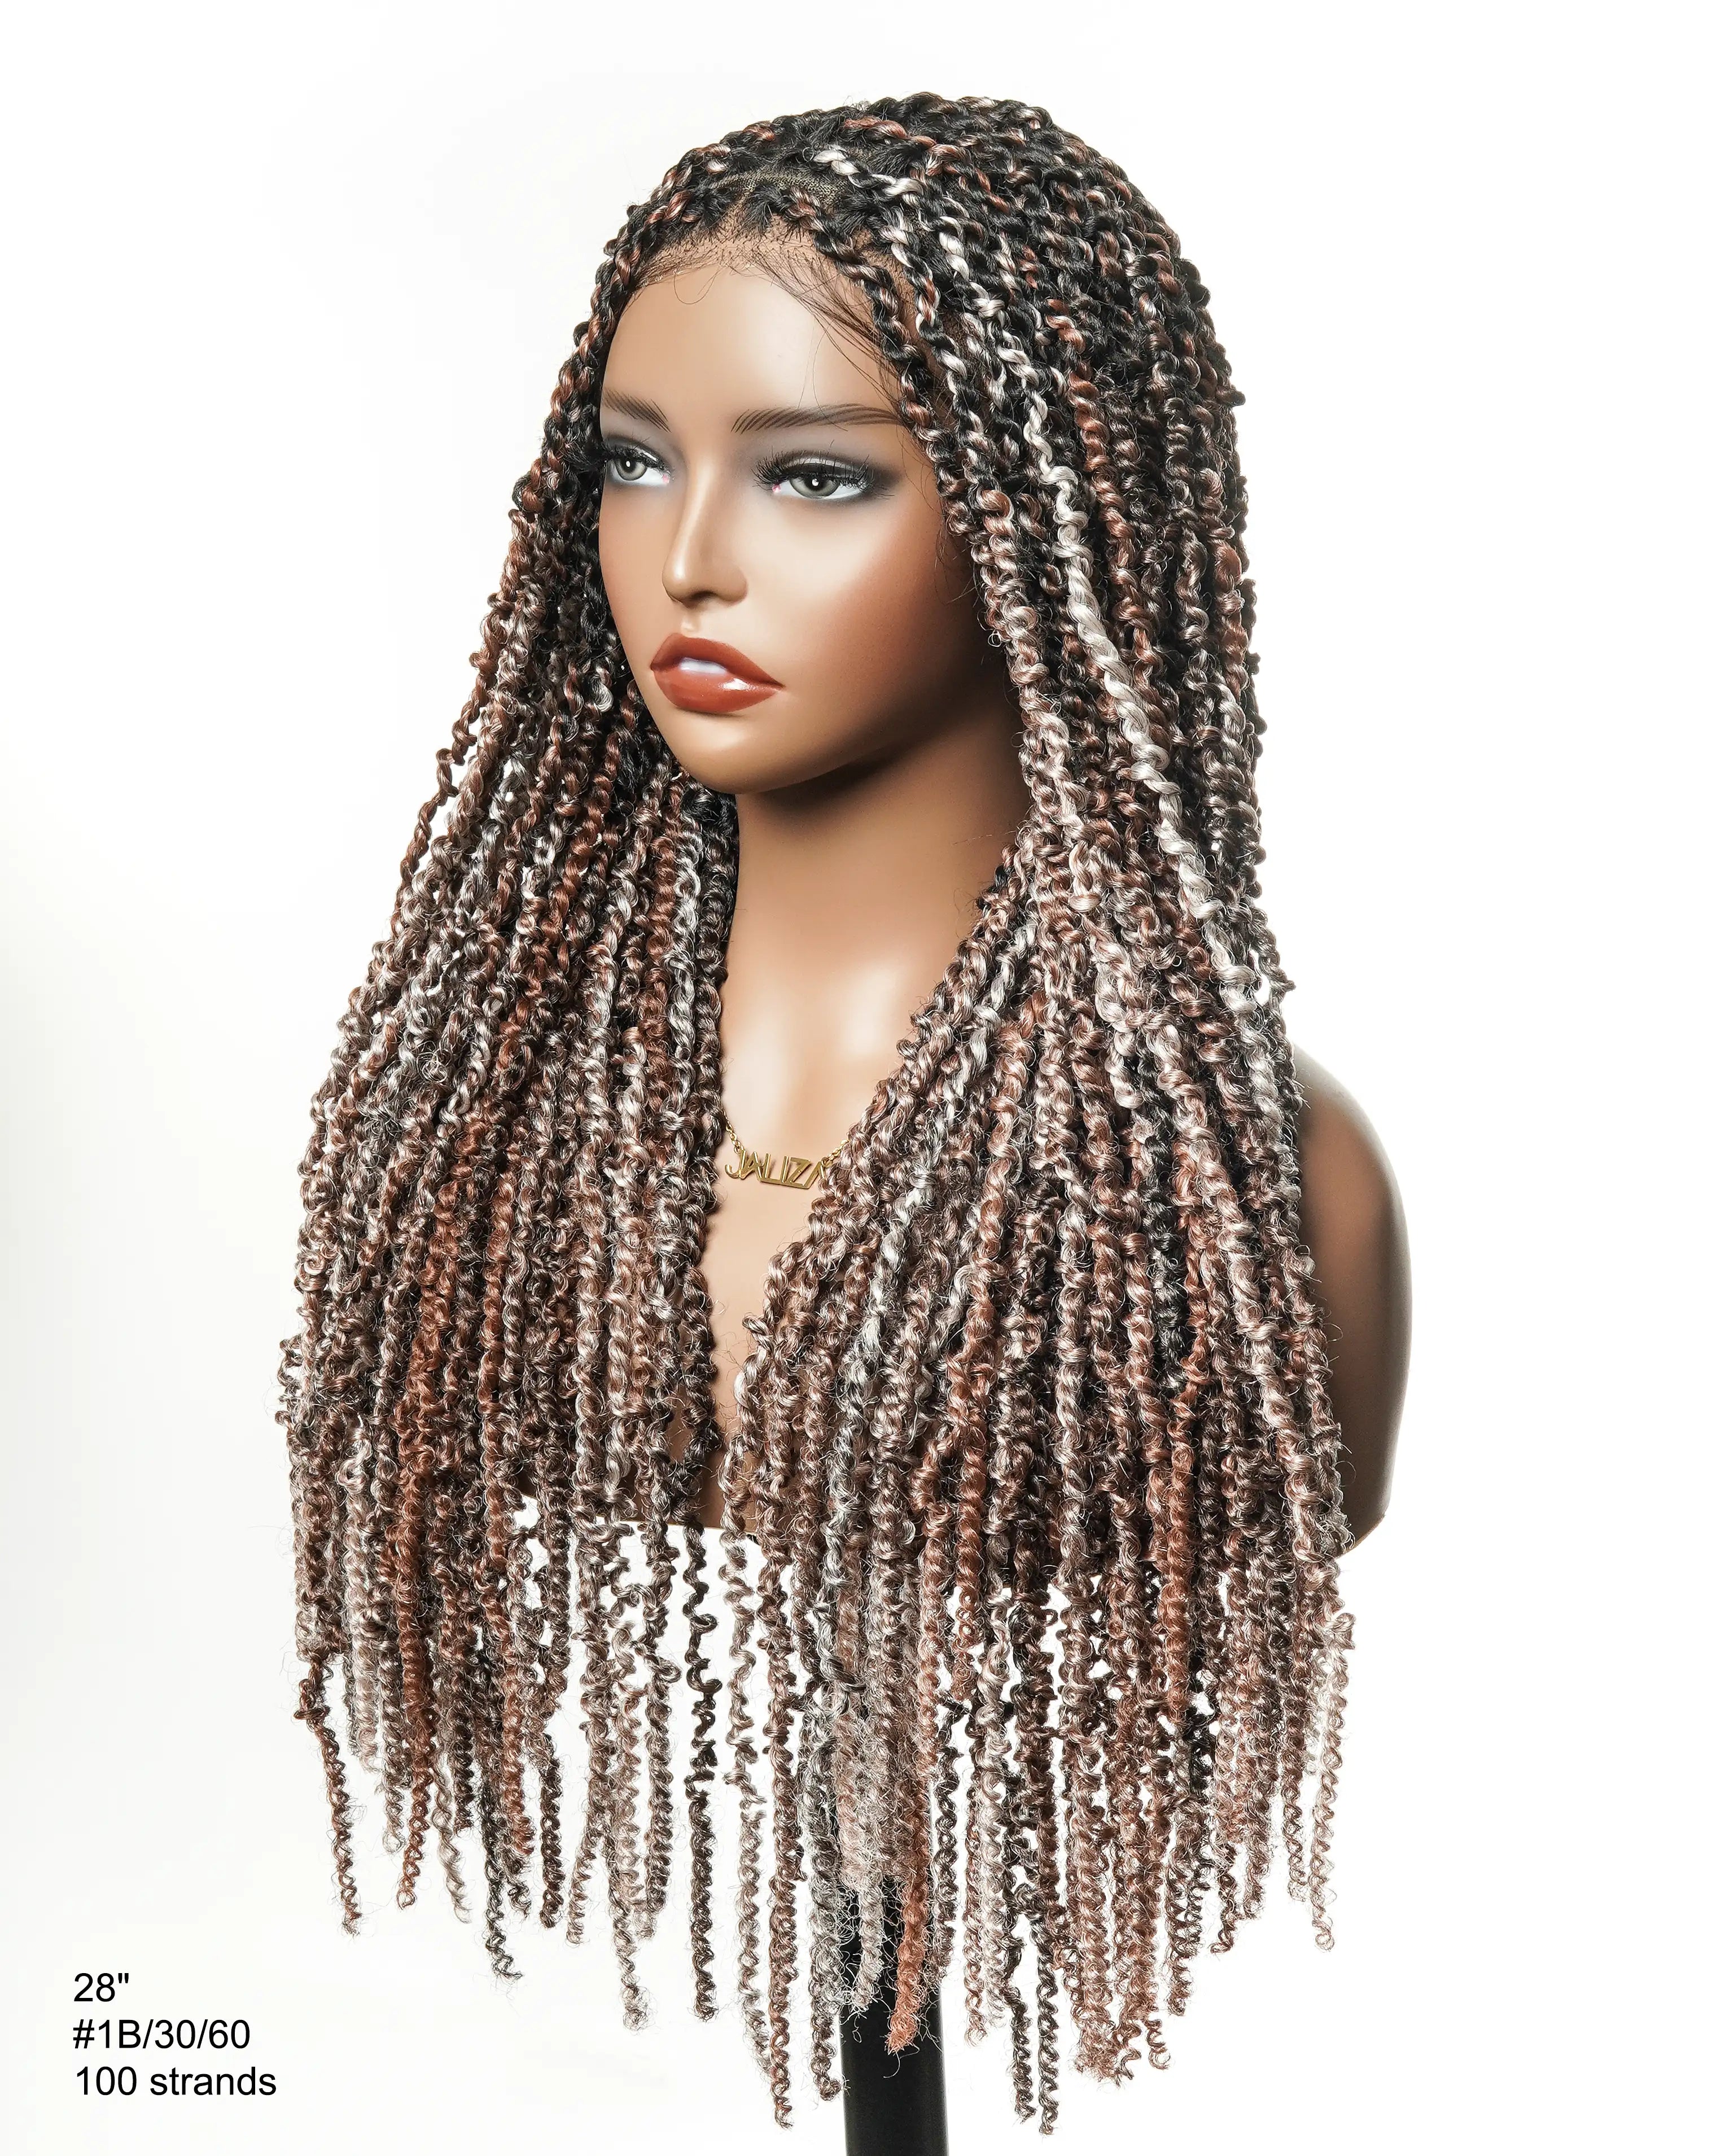
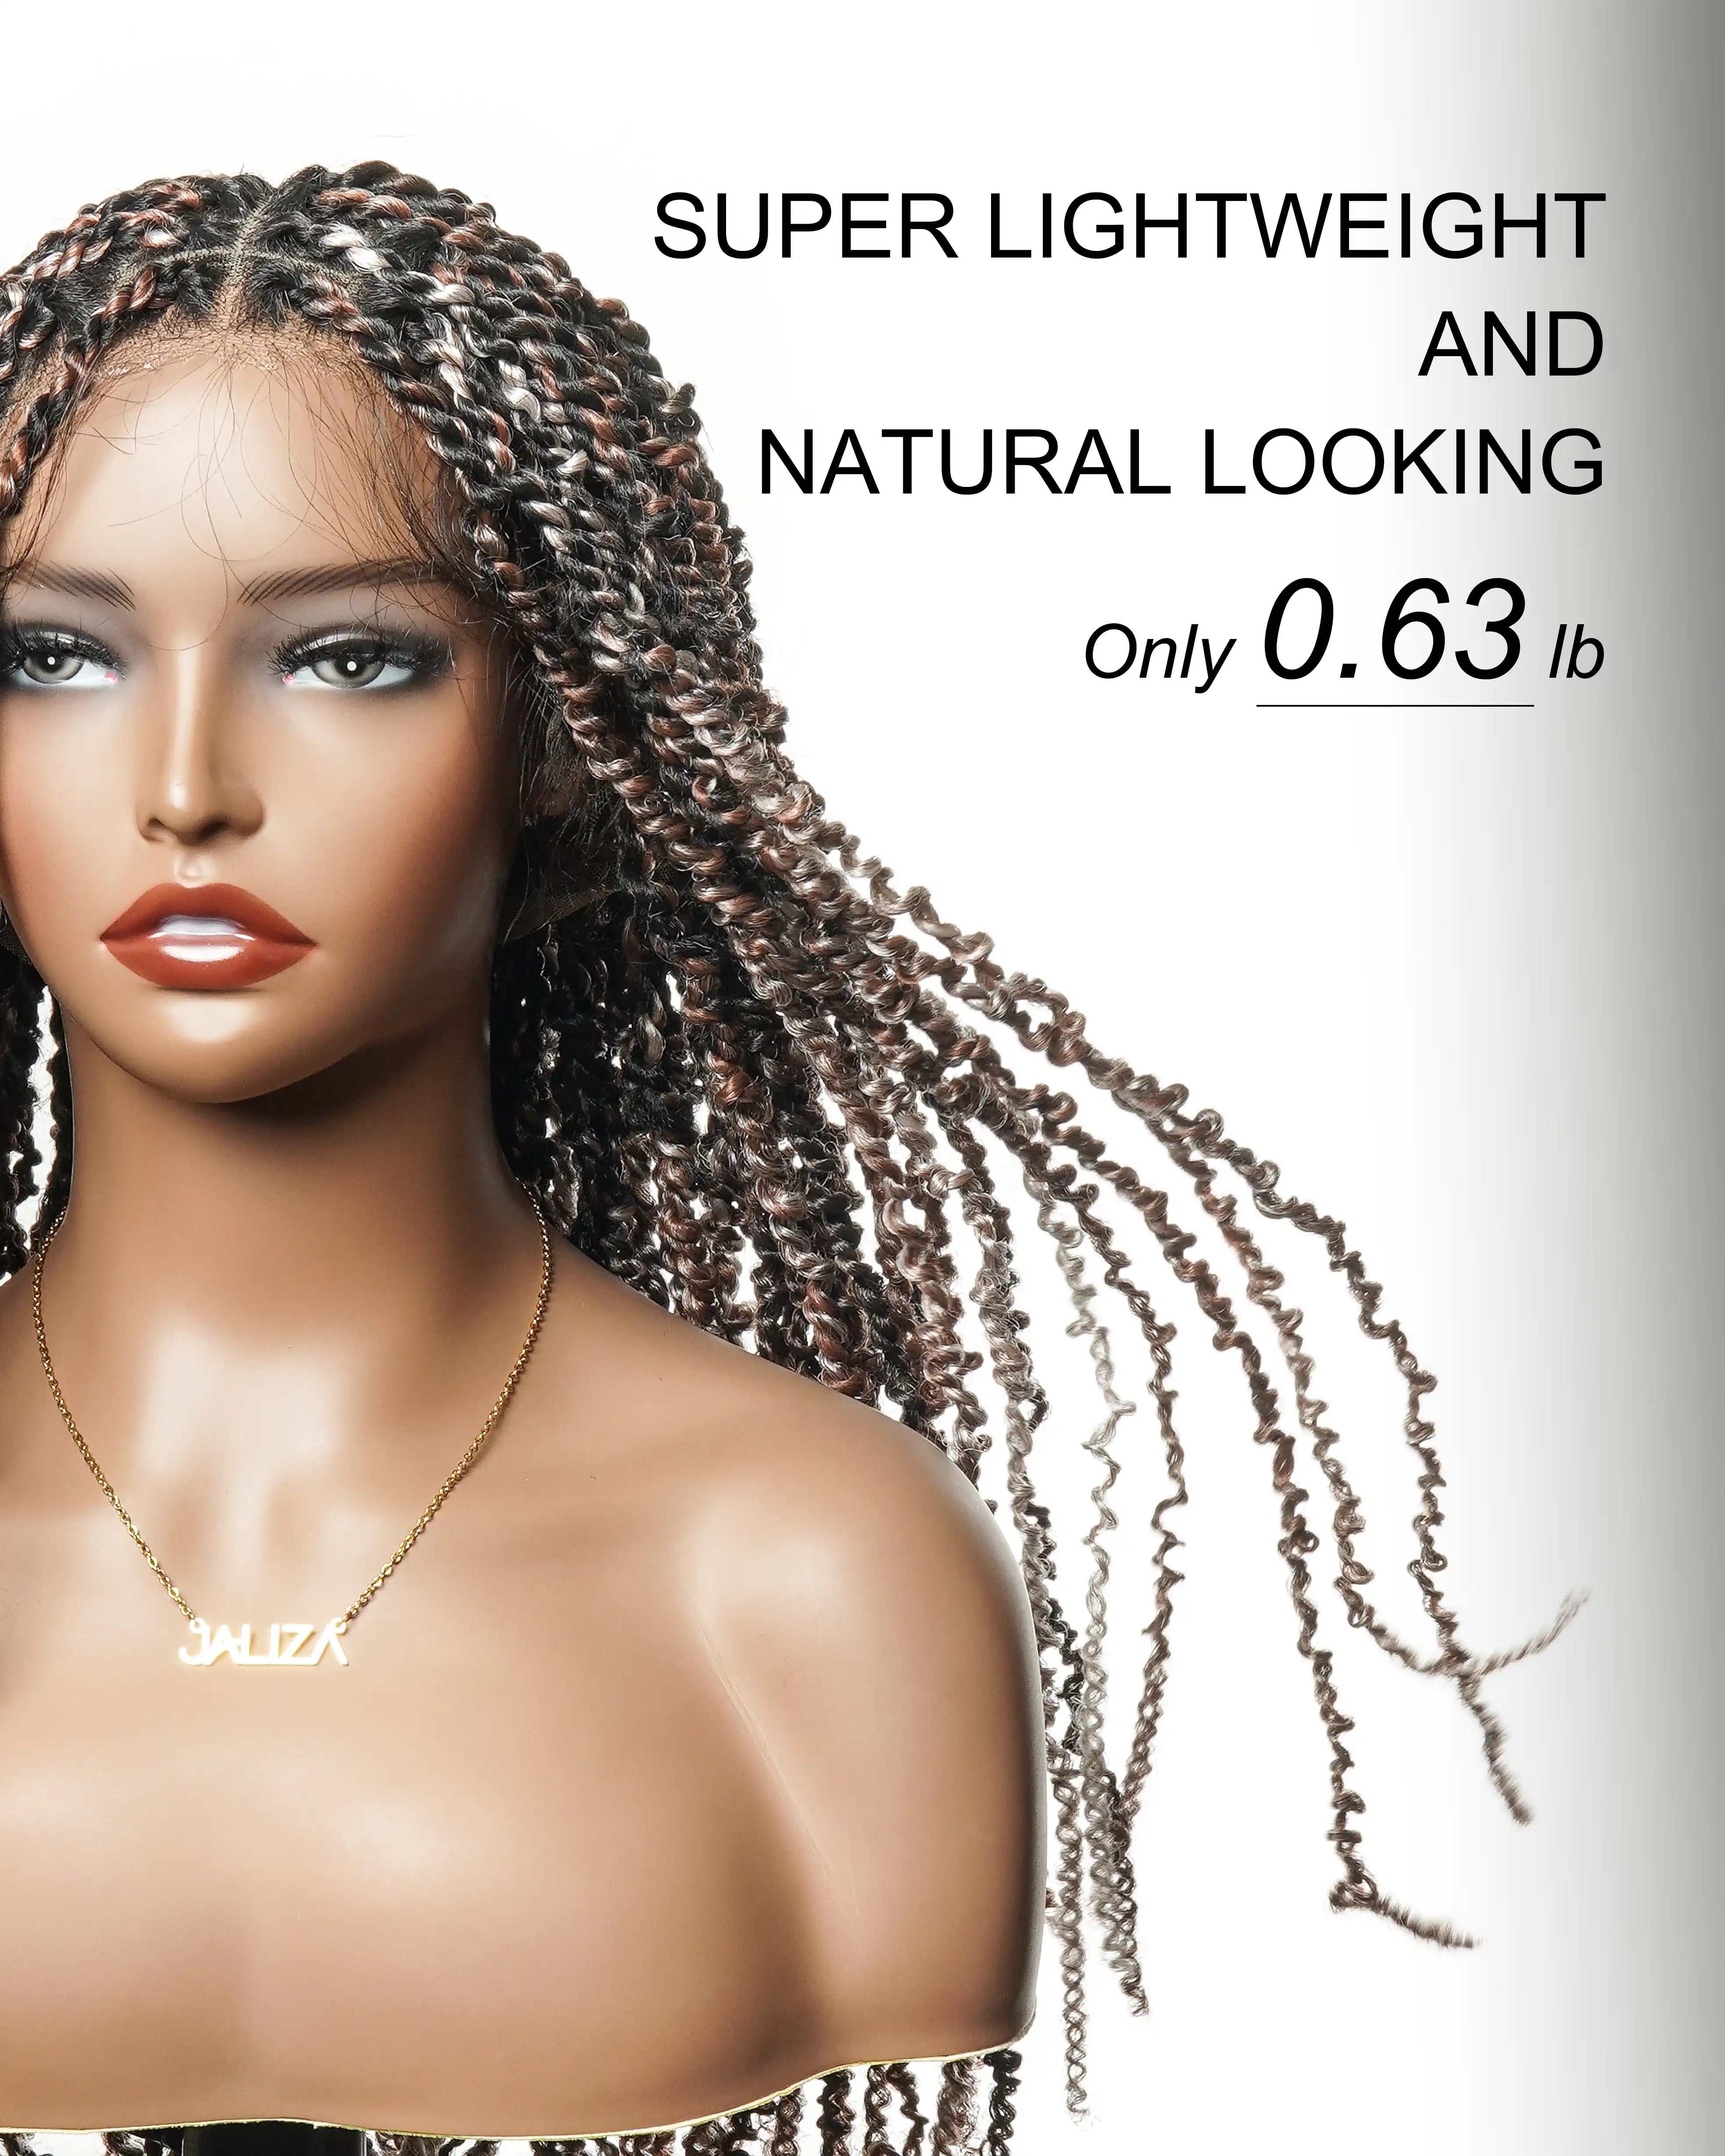
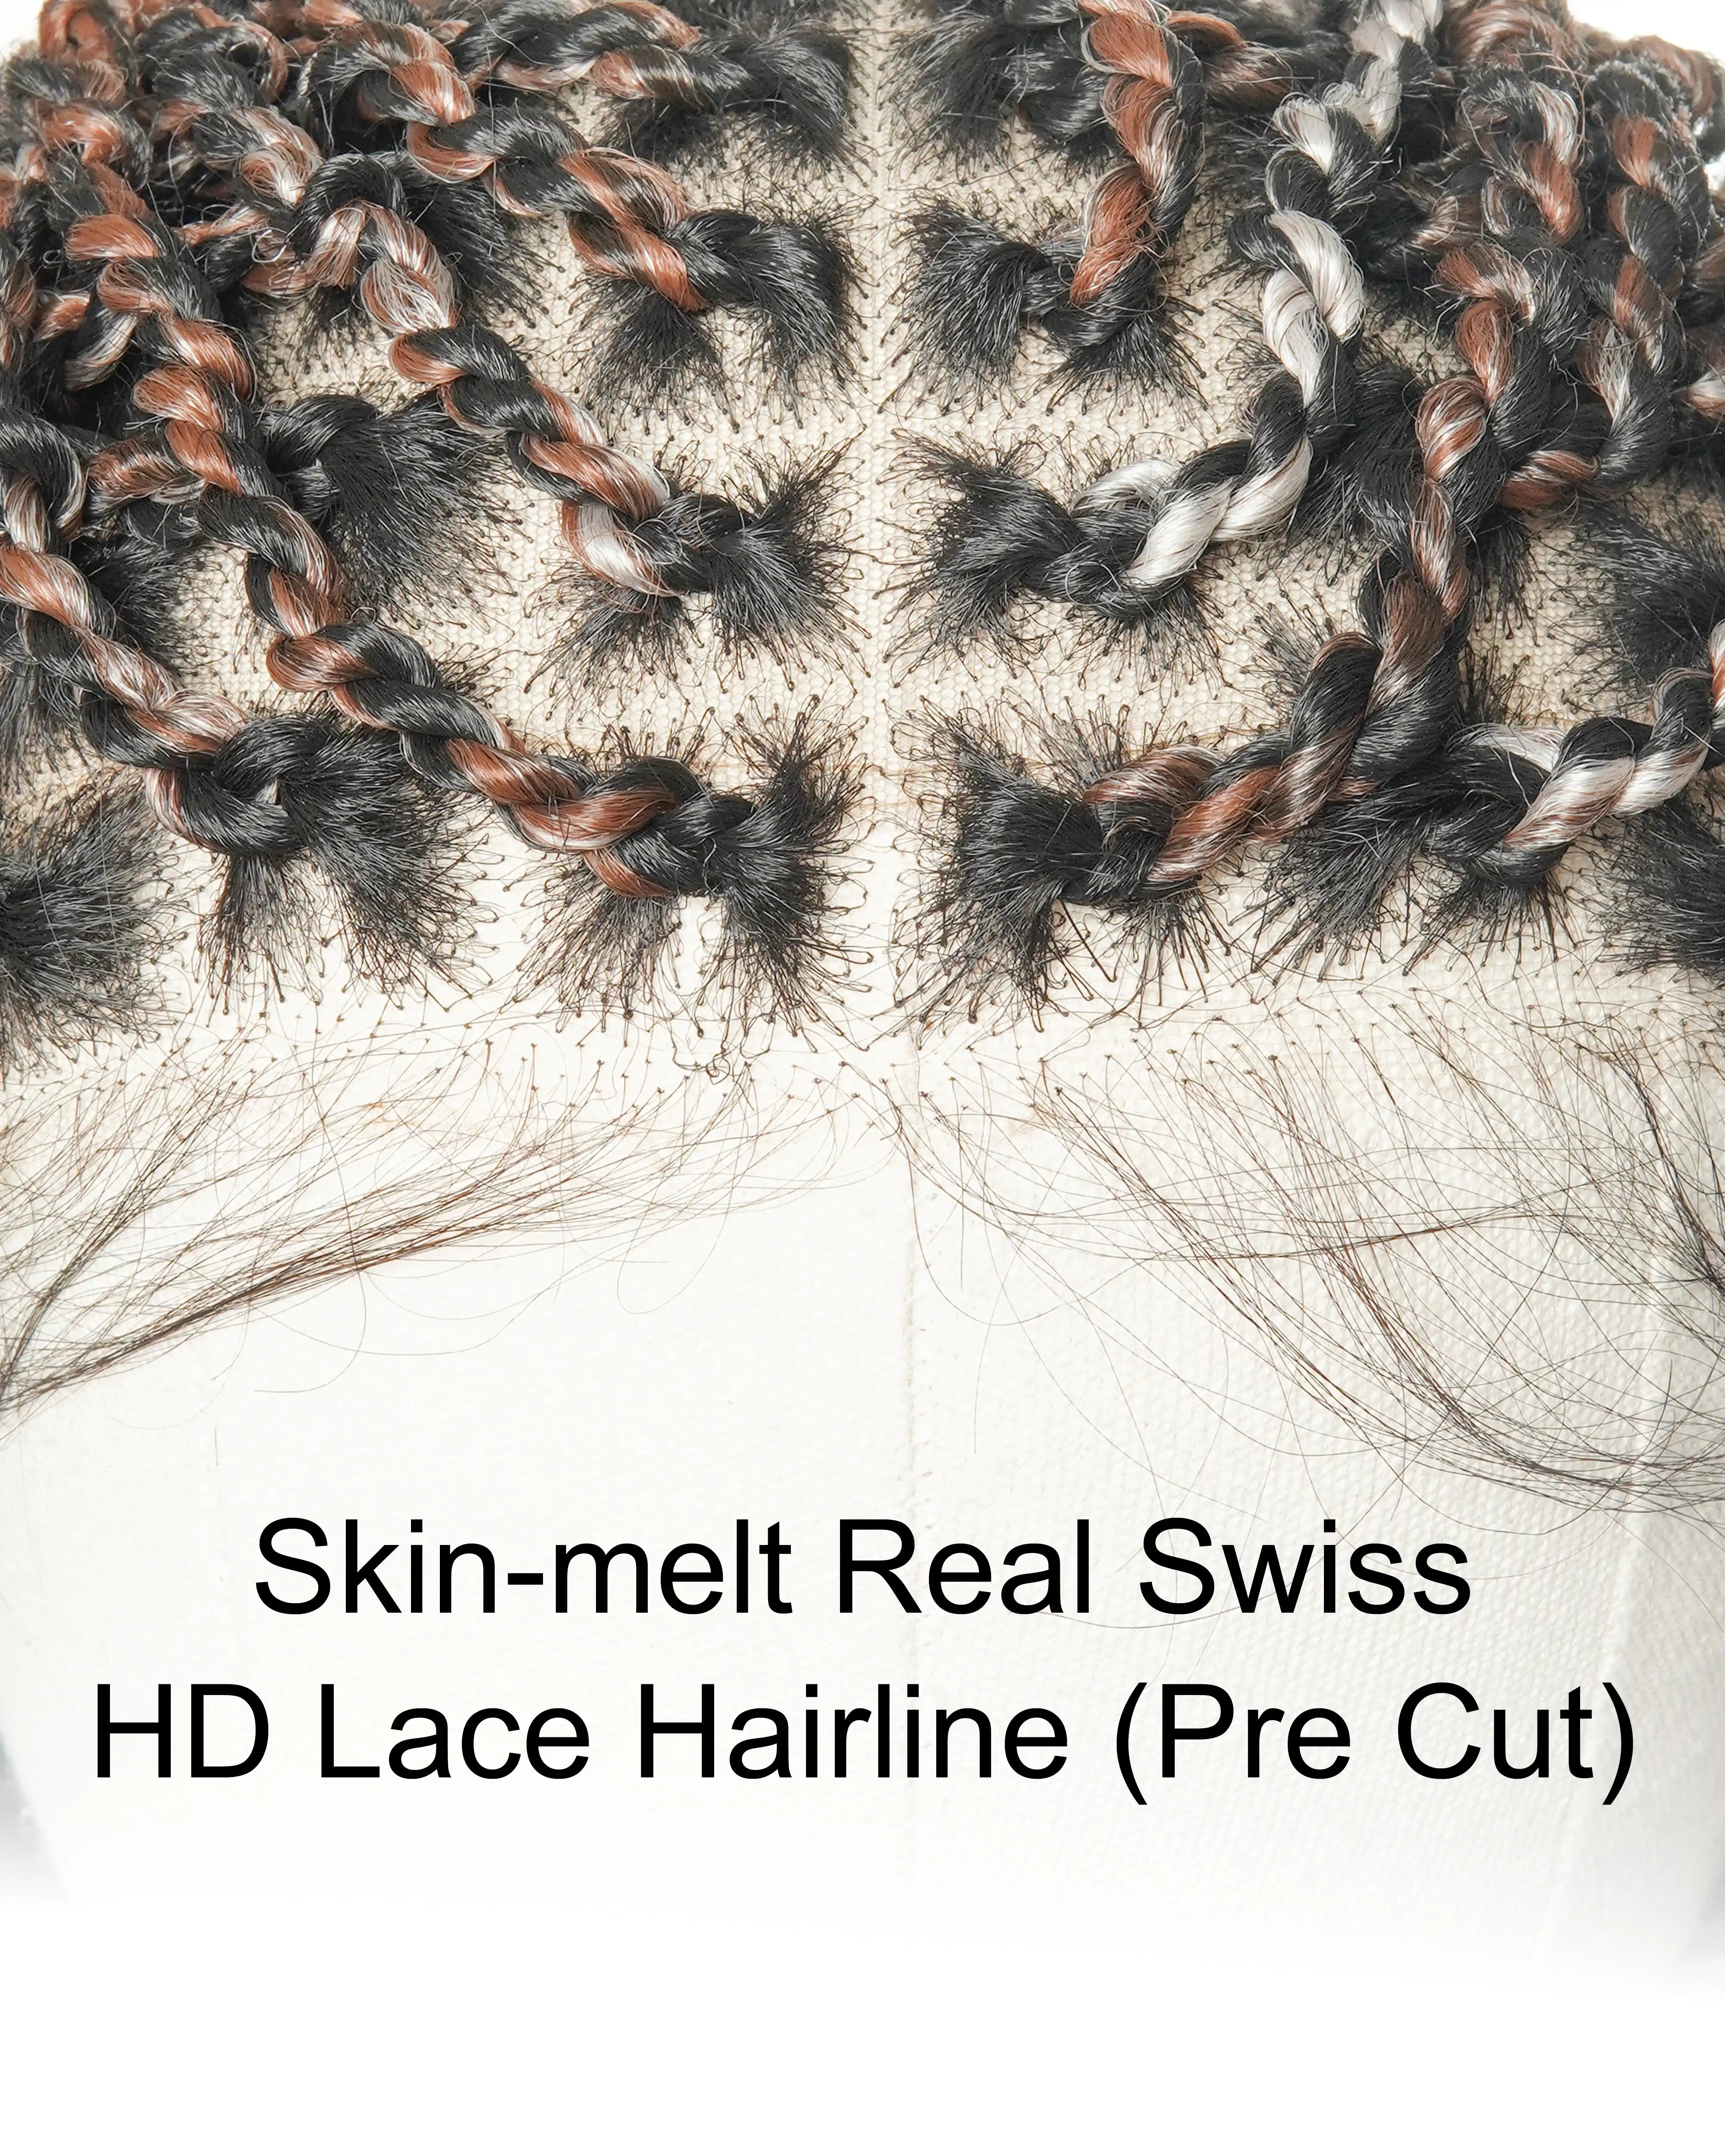
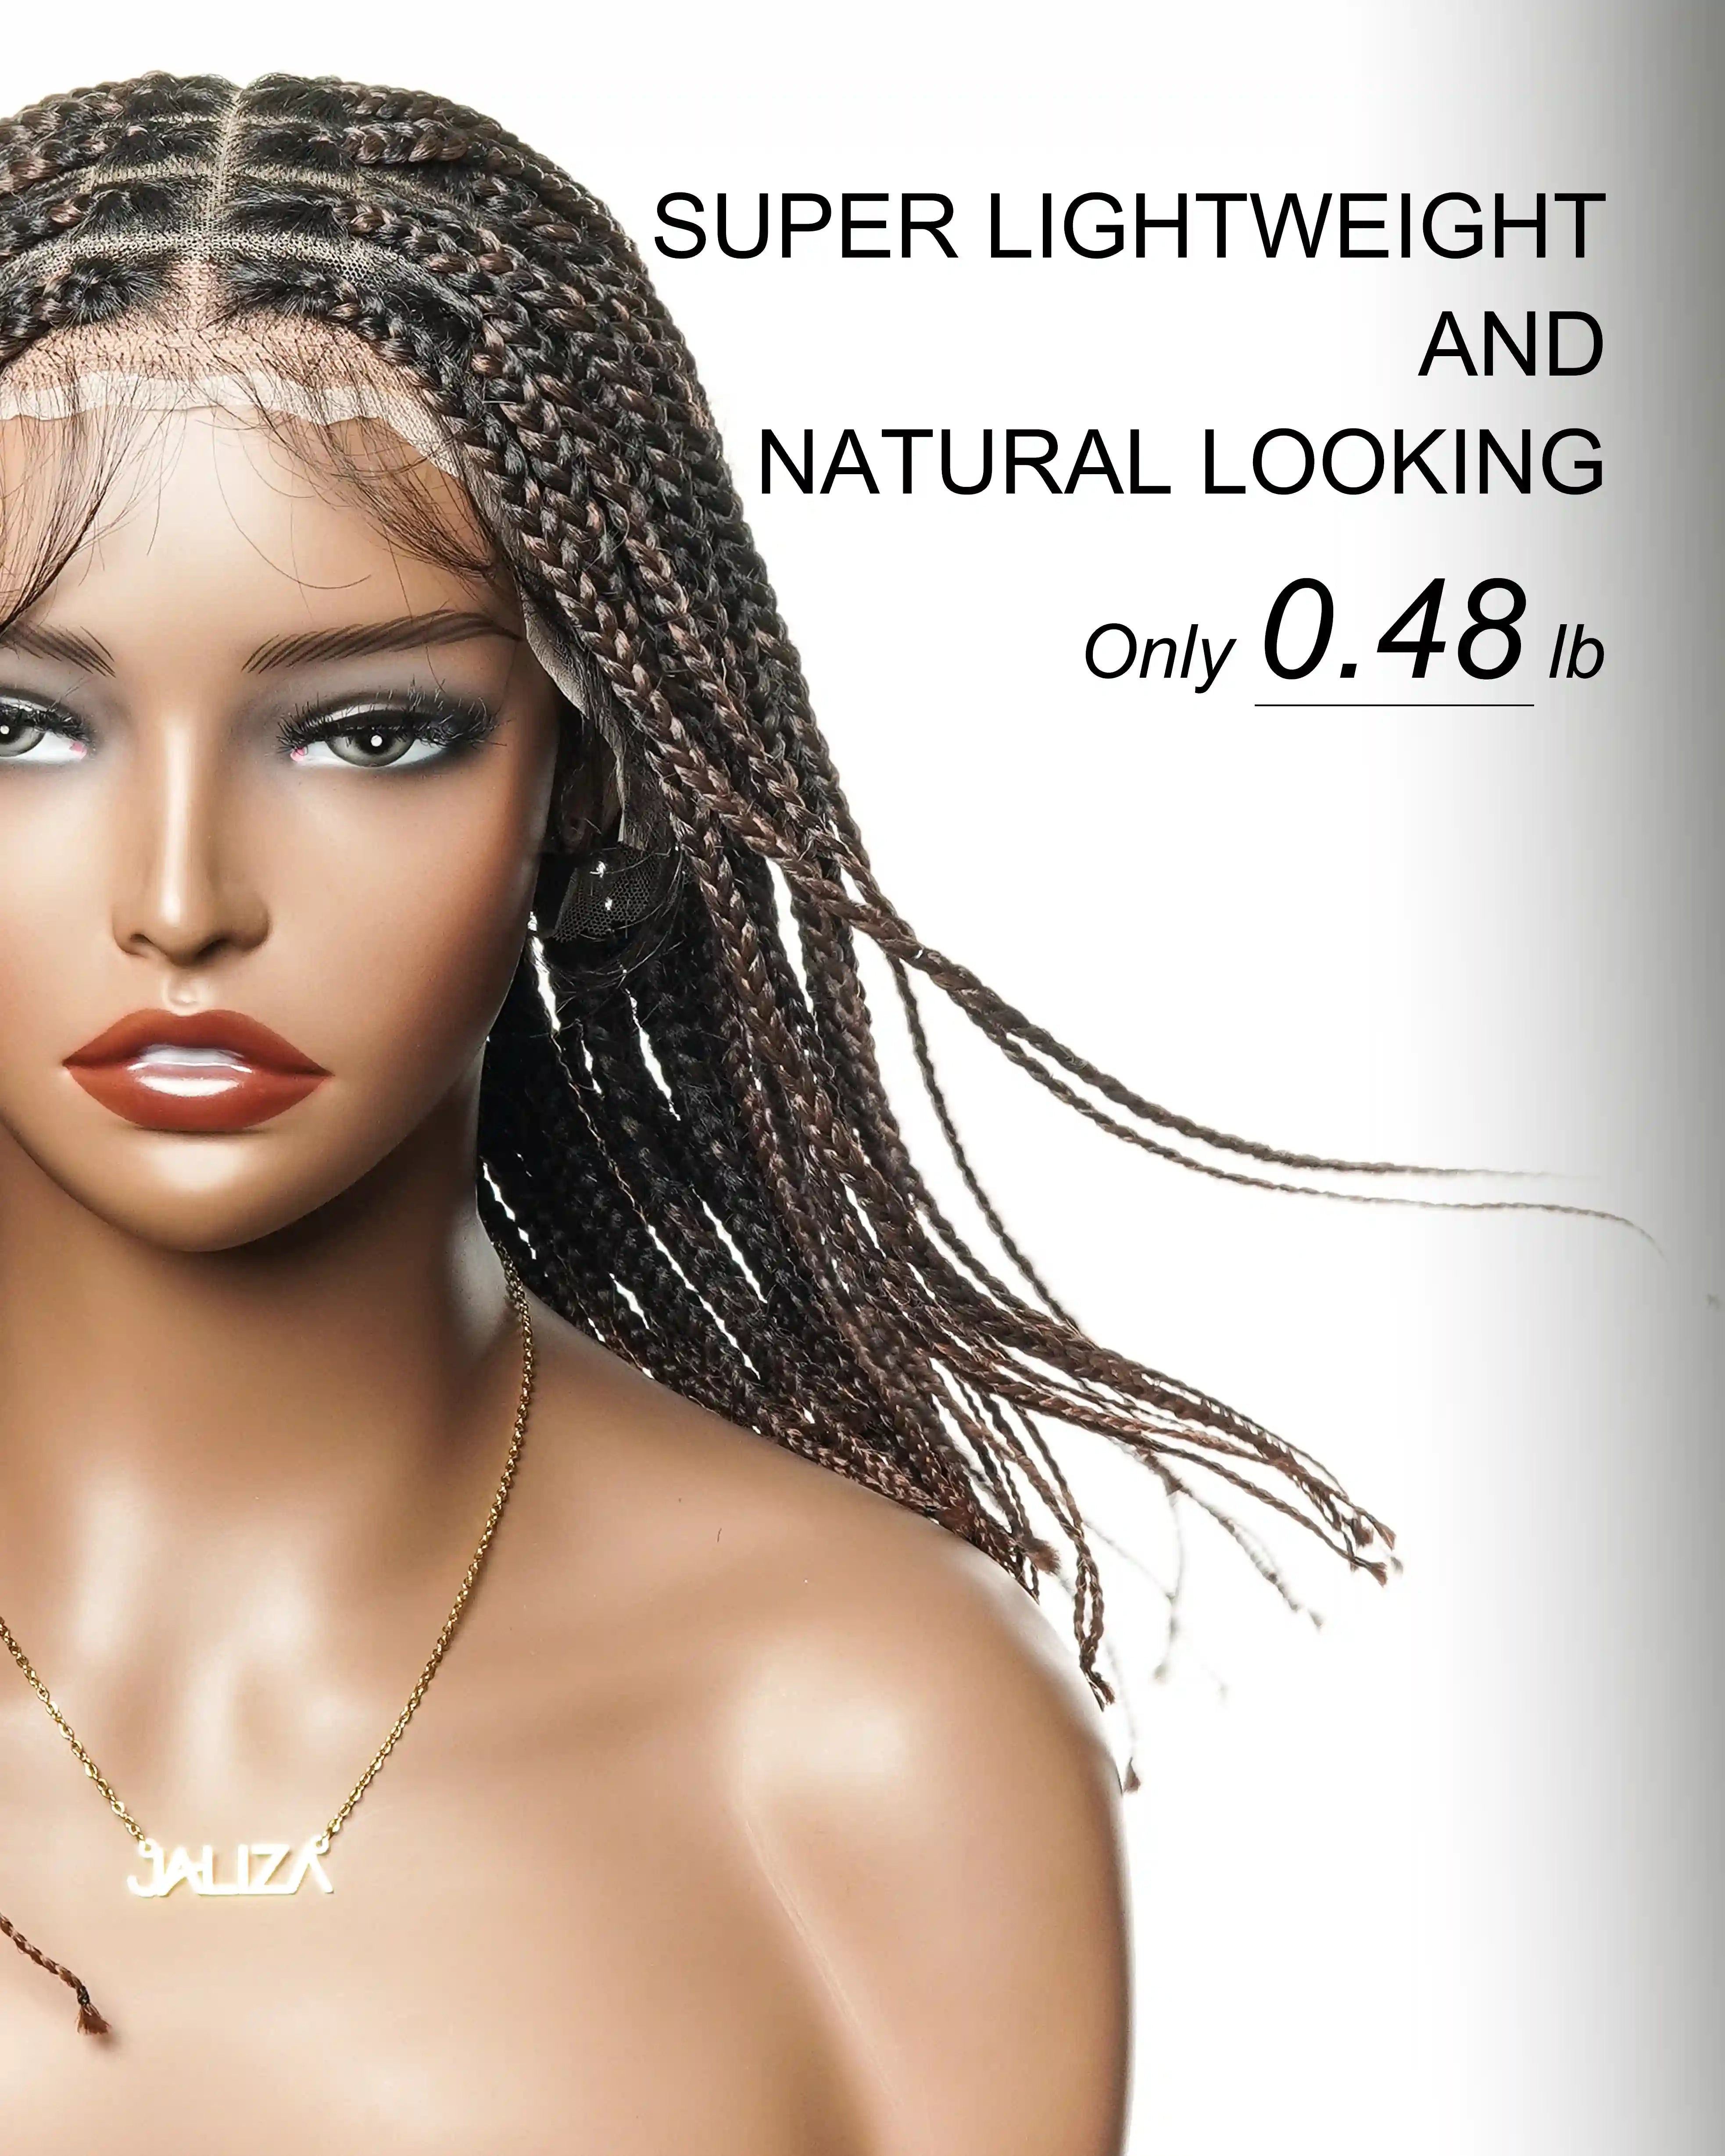
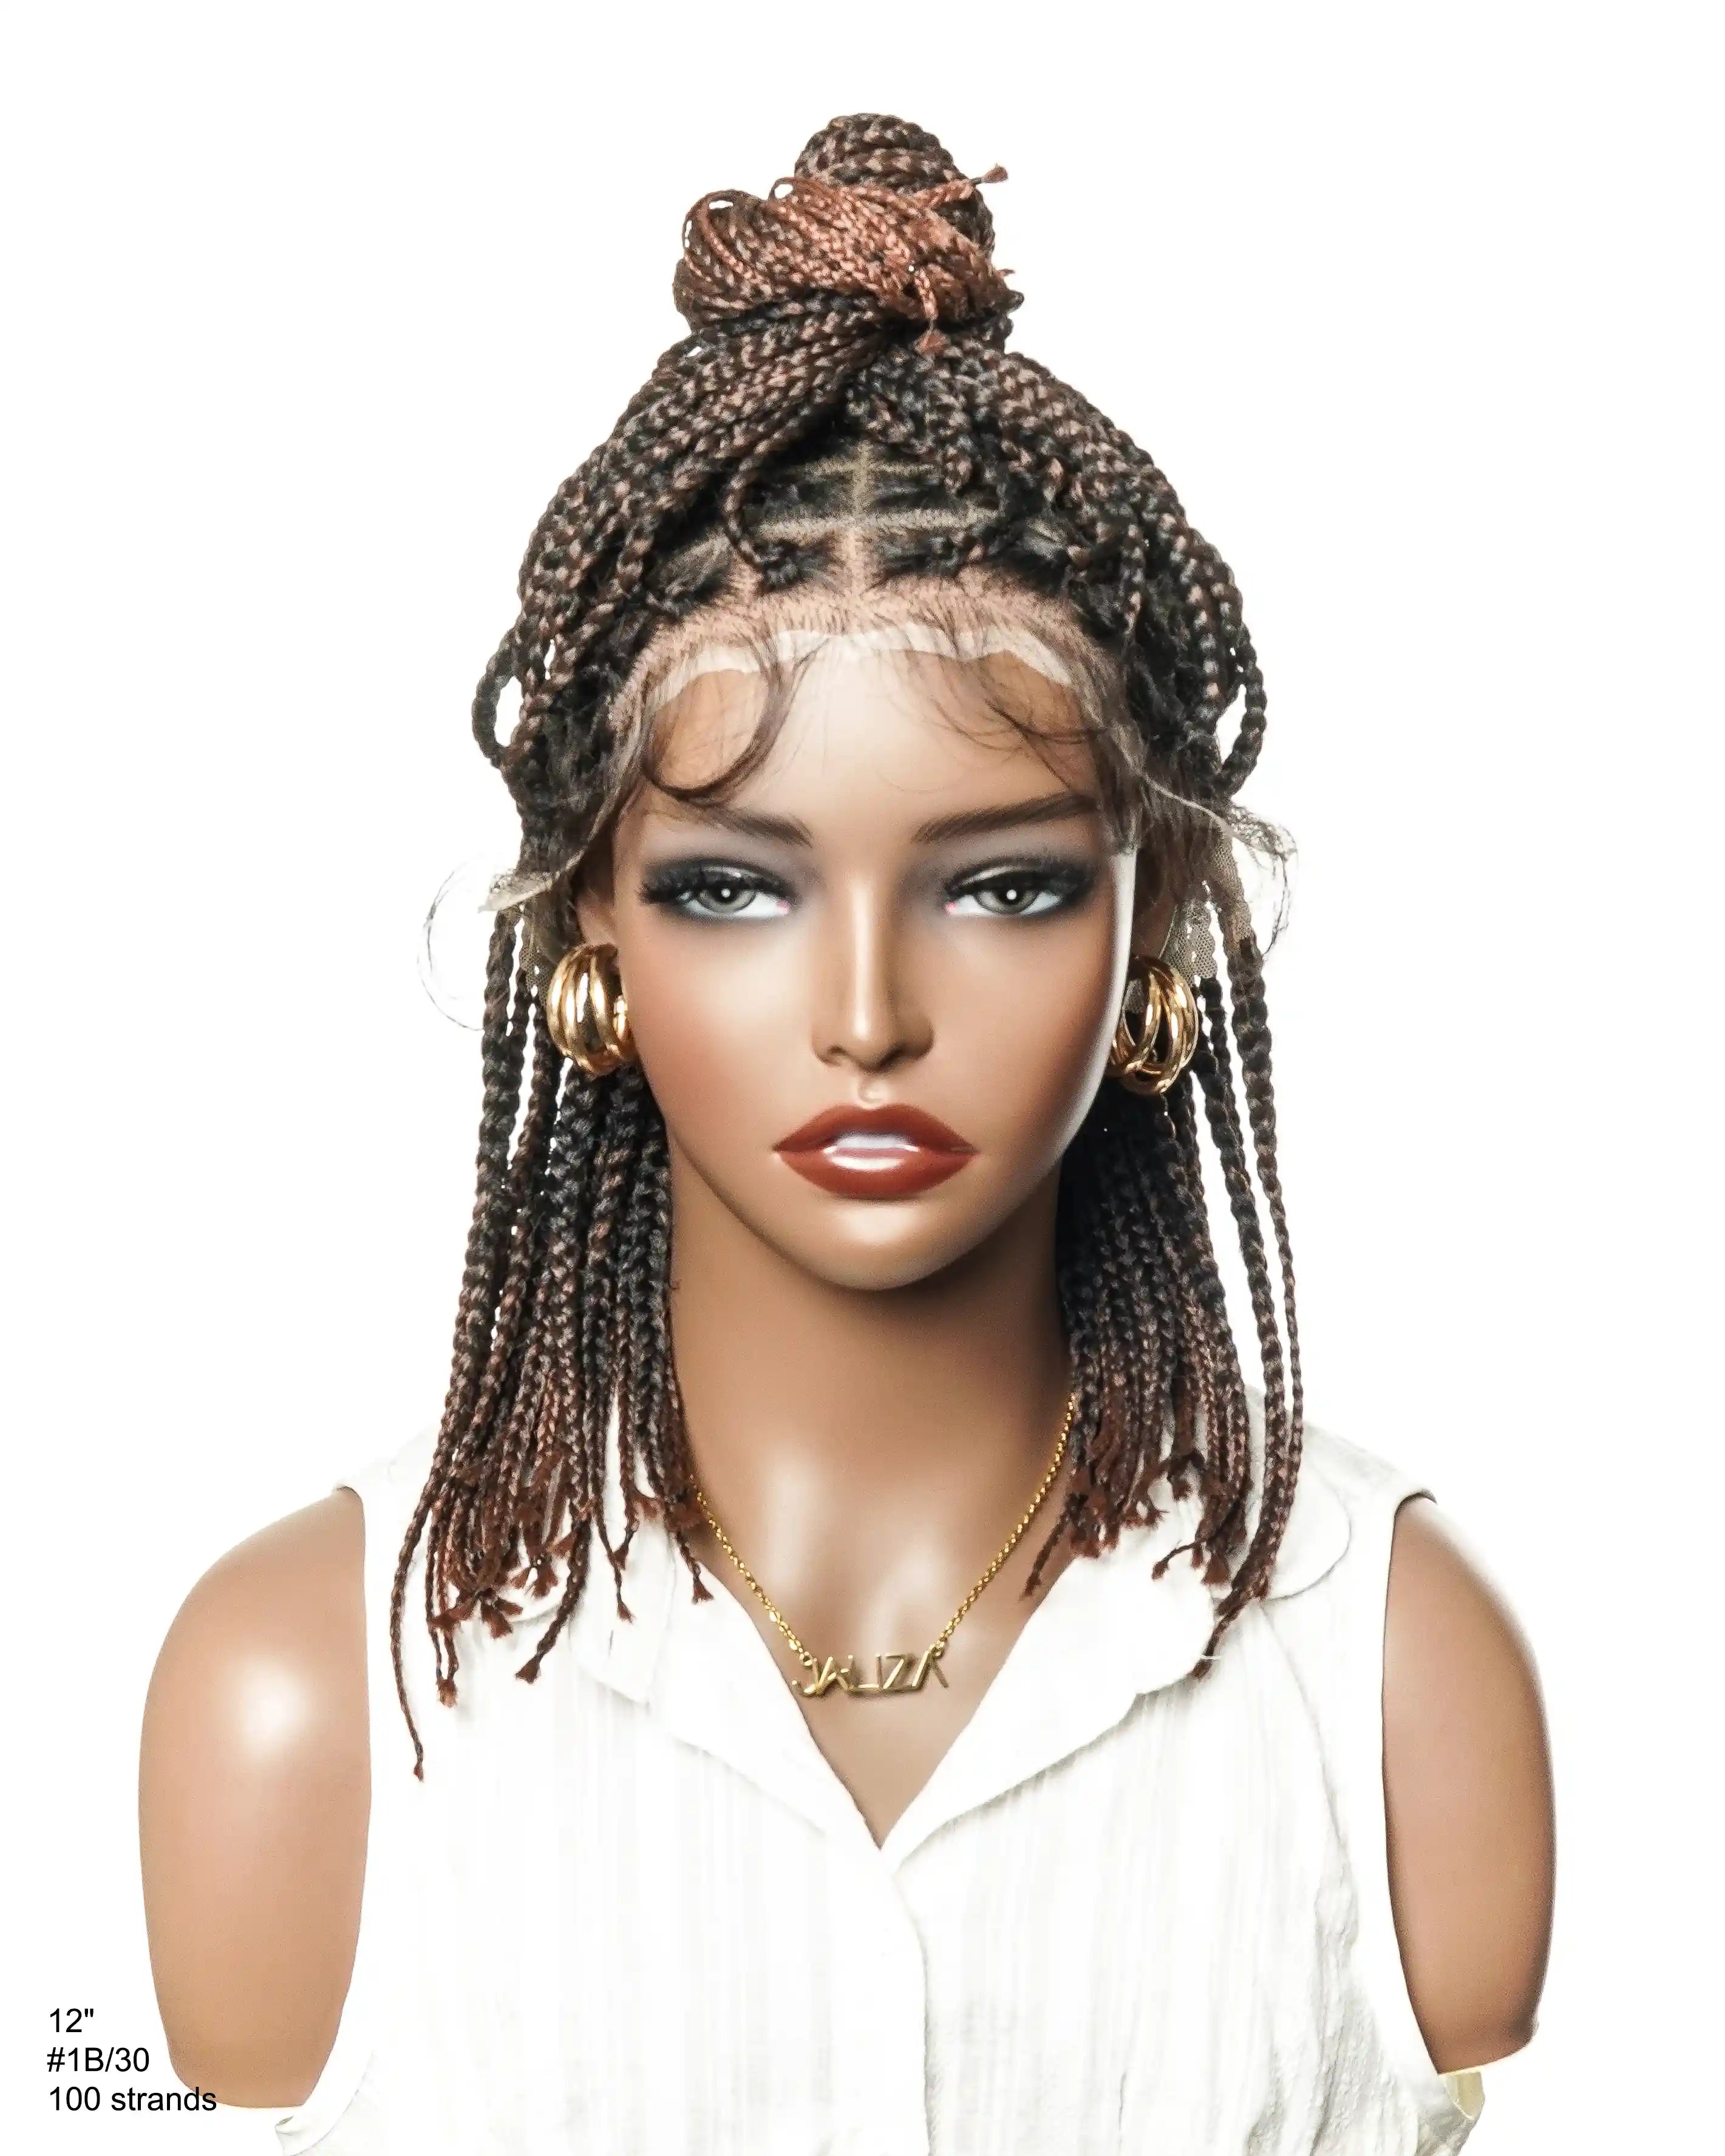
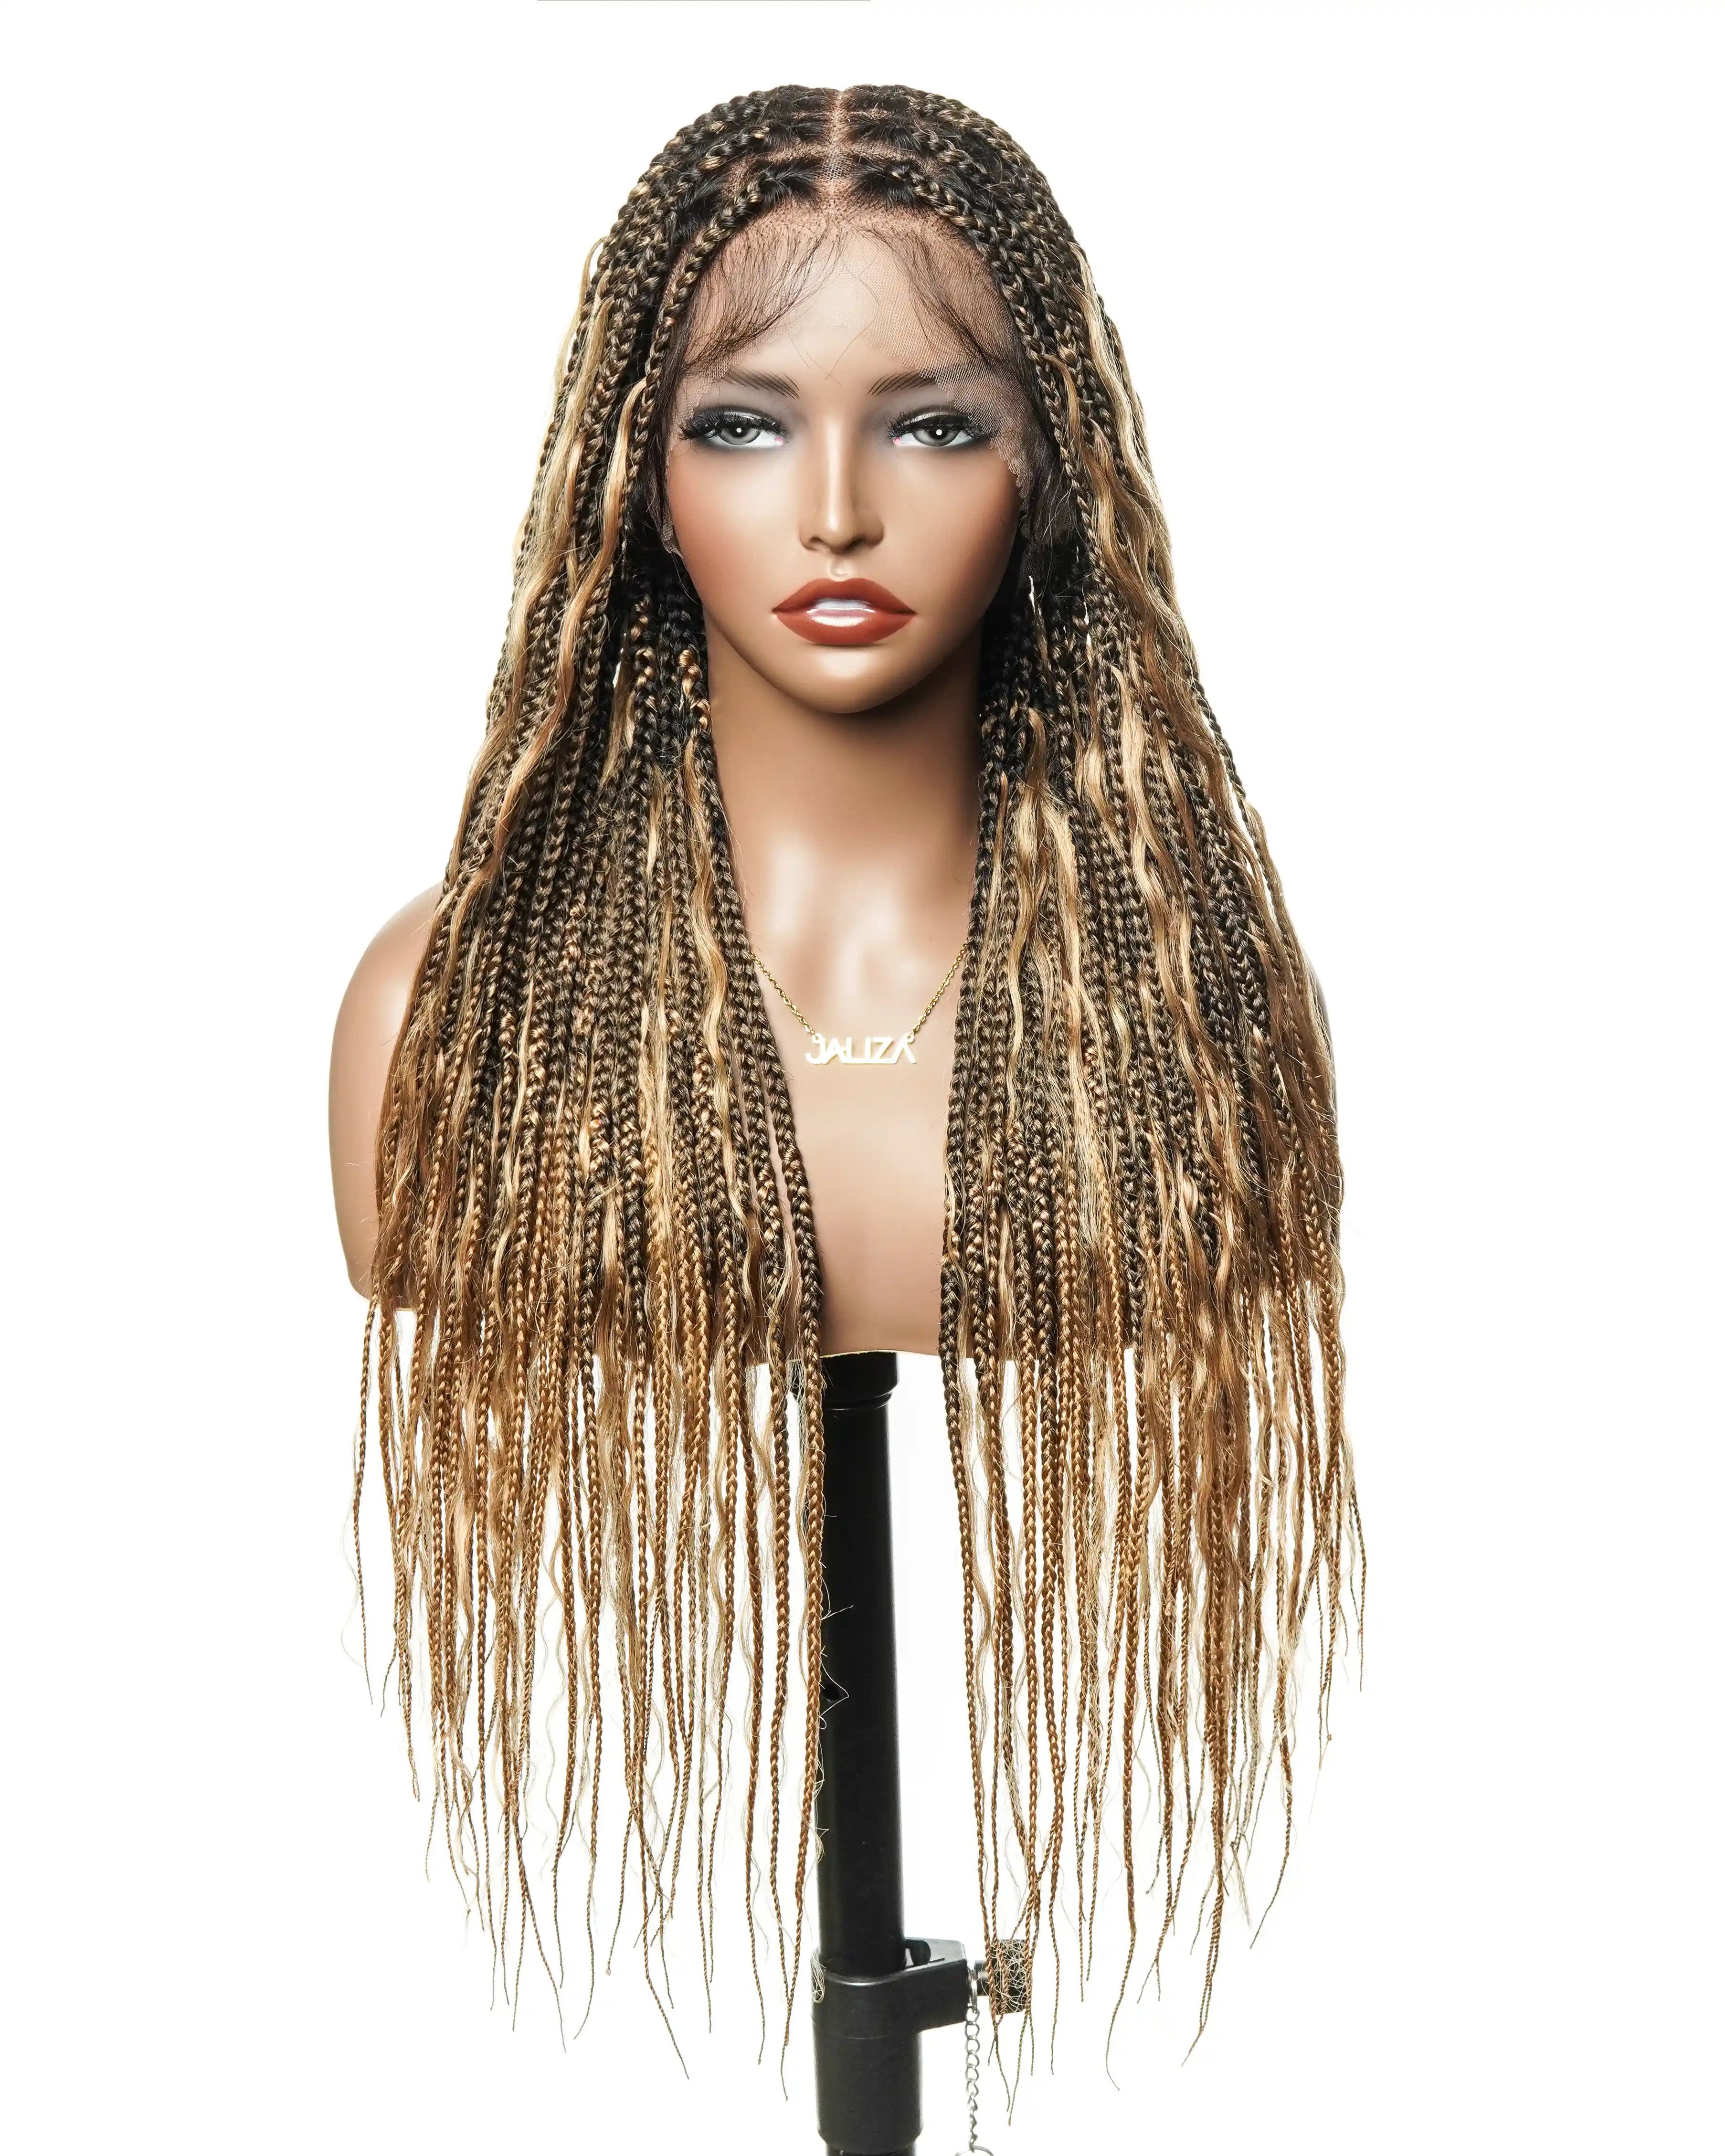
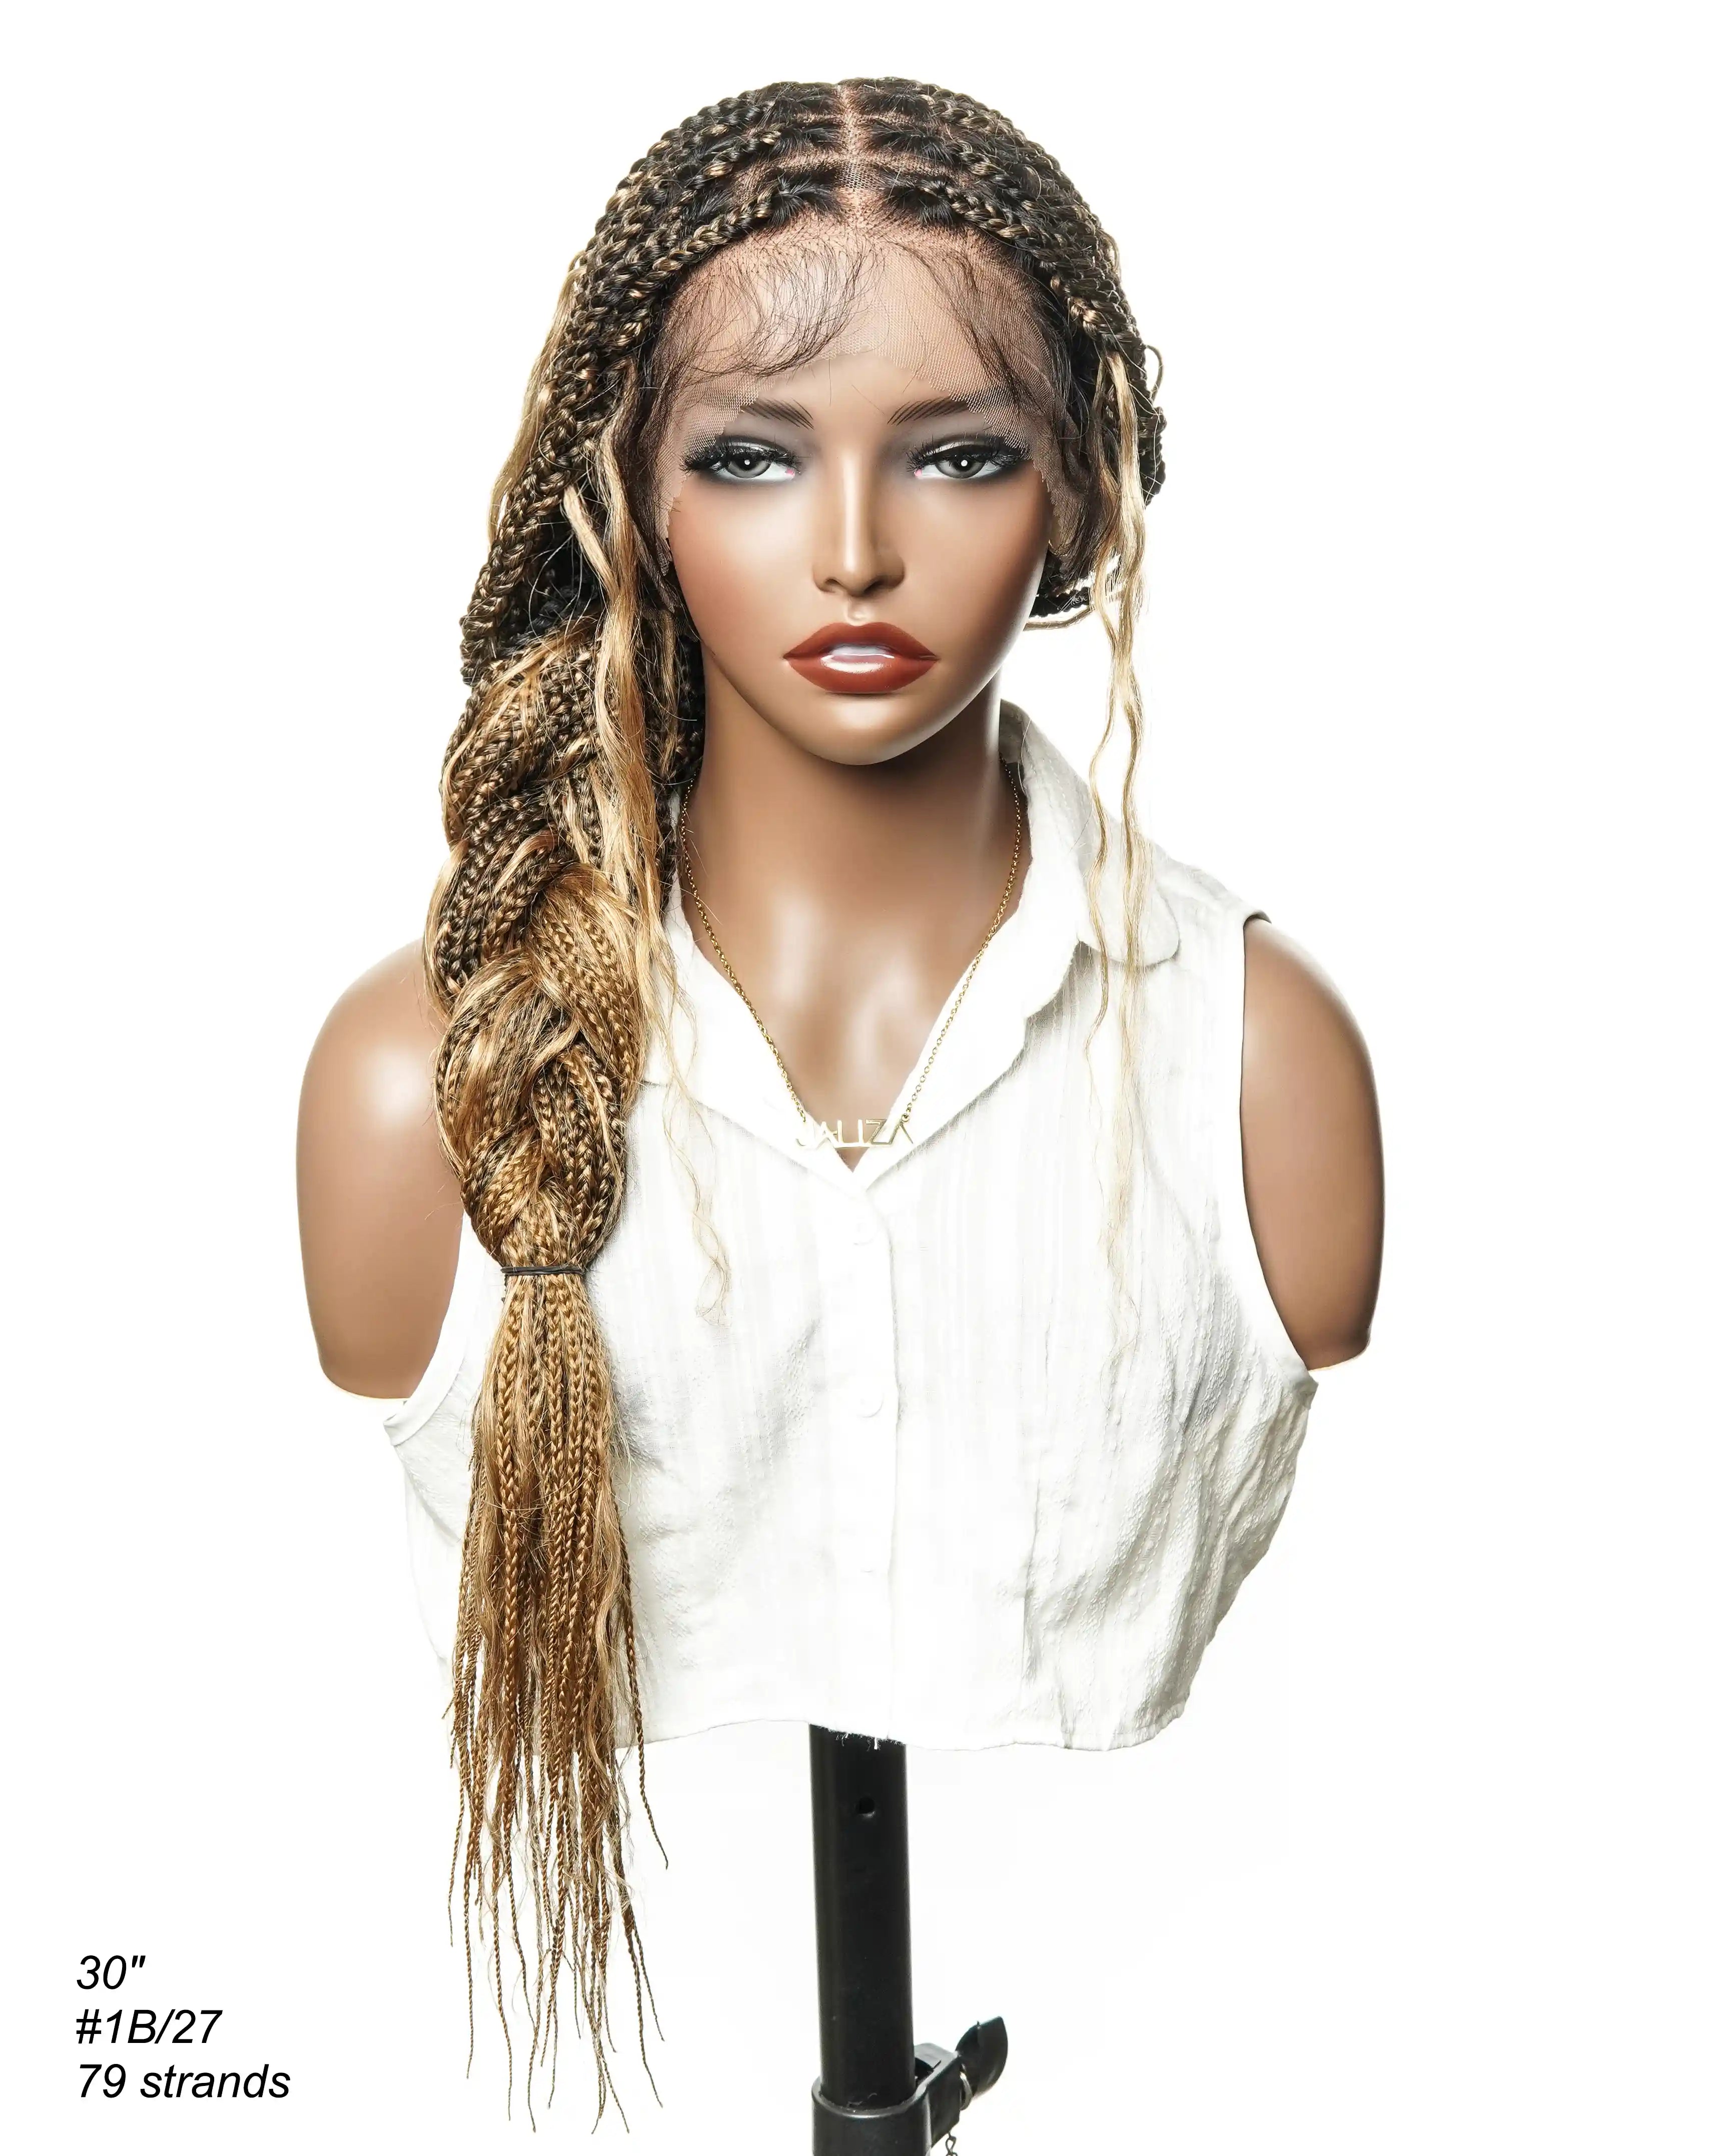
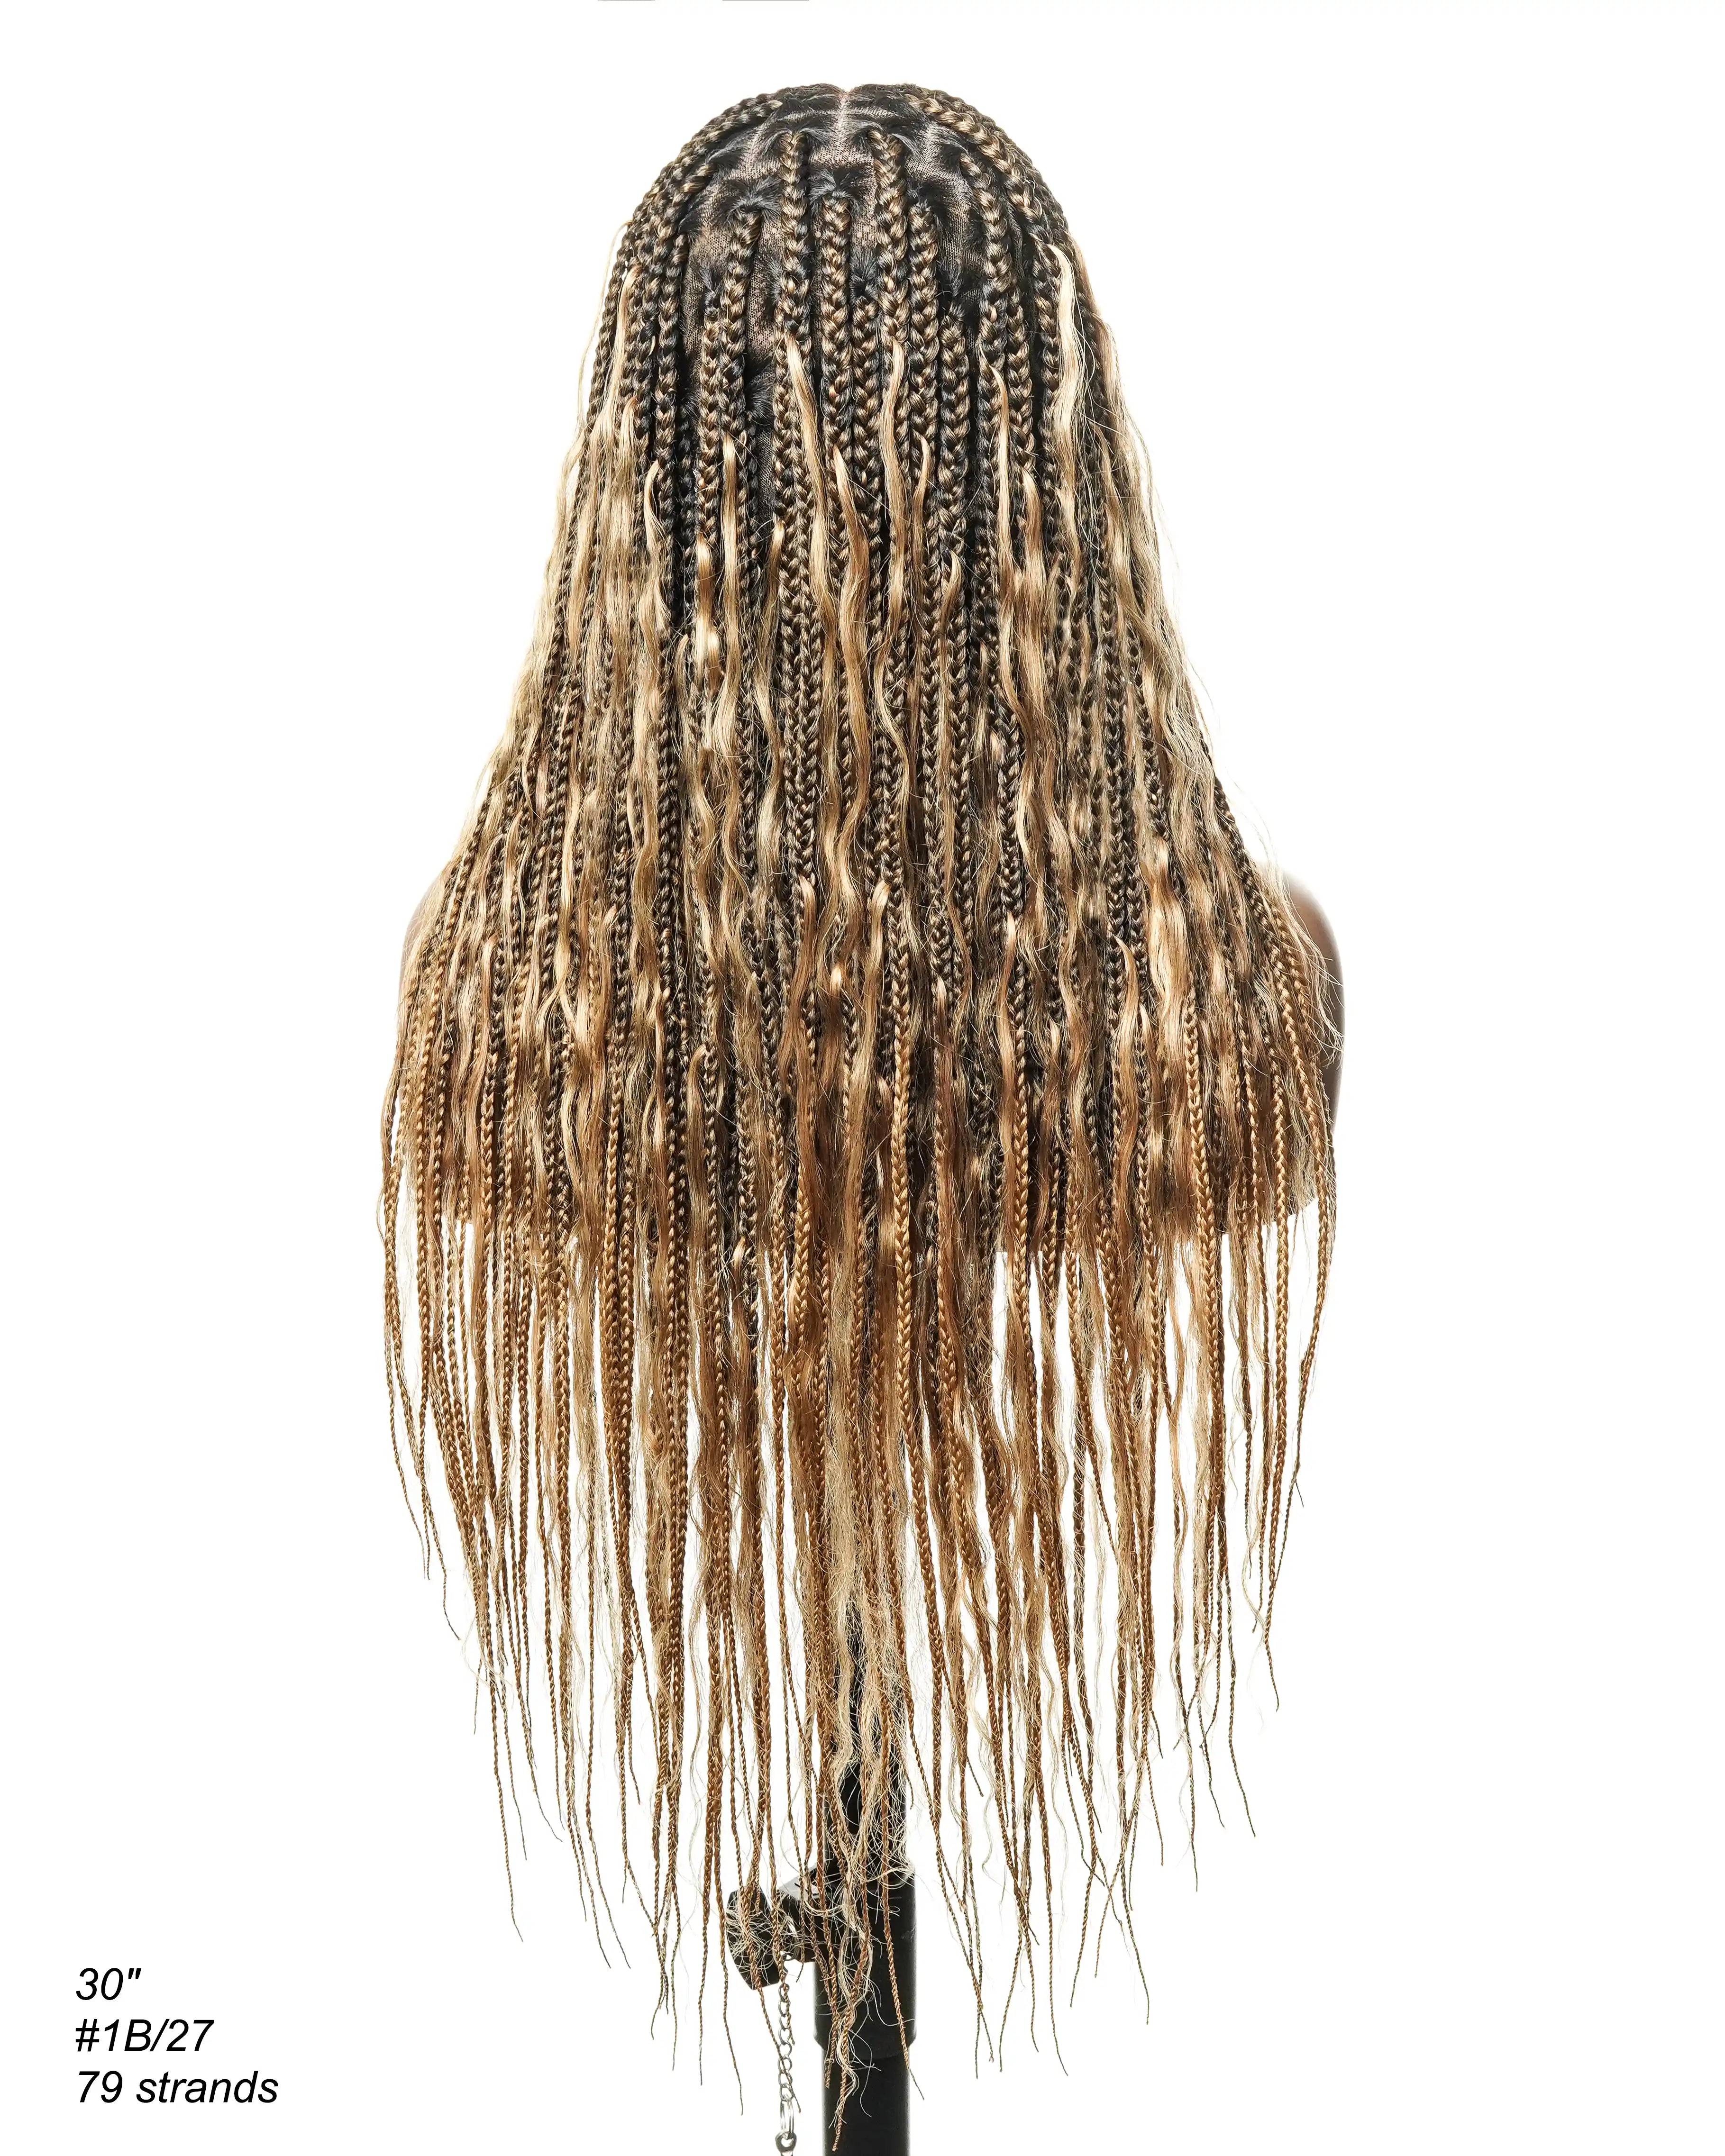
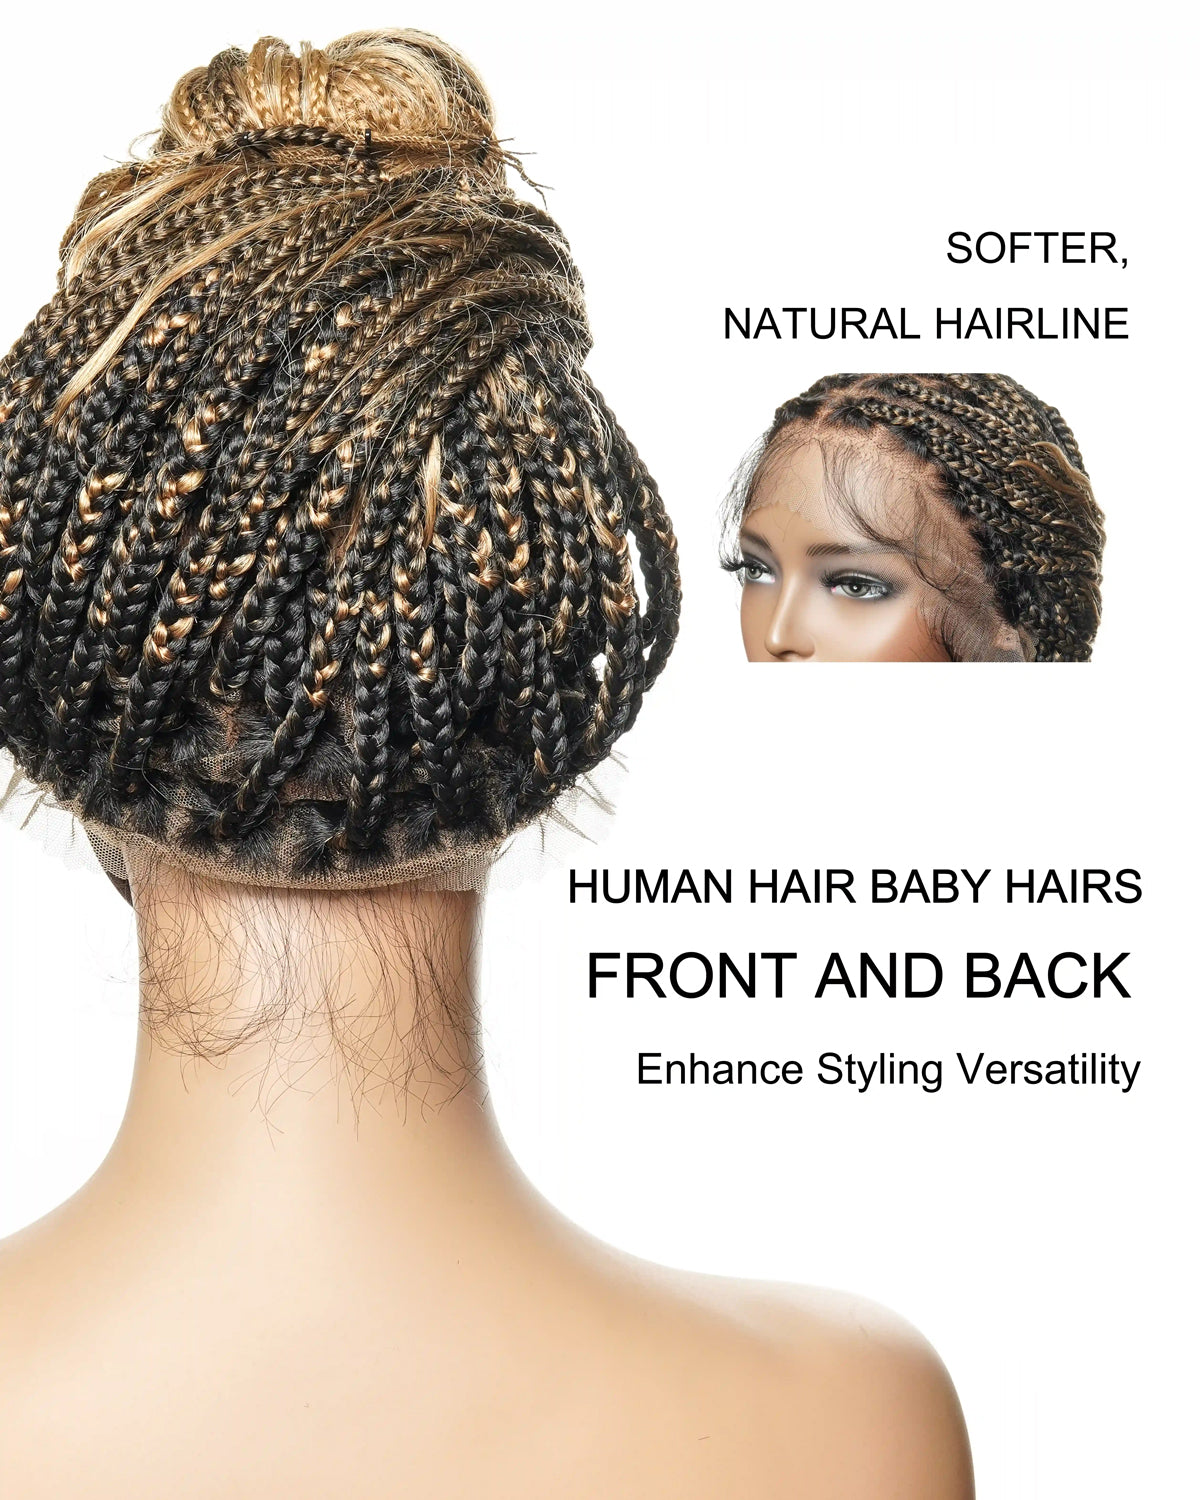
To begin a box braid, separate a portion of hair into three equal parts. If you want to add extensions, now is the moment. Fold the extension over the base of your natural hair to make three box braid legs. Begin braiding by crossing the right strand beneath the middle, then the left, gradually adding more hair as you go down. Consistent tension is essential for tidy, uniform box braids. However, don't pull too firmly, as this might cause stress, pimples, or even hair loss. At uBraids, we respect the rich heritage of box braids and strive to offer solutions that honor this tradition while providing modern convenience. Our braided wigs are masterfully created to reflect the intricate beauty of box braids, ensuring that you can enjoy this timeless style without the time commitment of traditional braiding methods. By incorporating the latest in wig technology, uBraids offers a protective styling option that blends seamlessly with your natural hair, providing a realistic and polished look tailored to your personal style.
Step 1: Begin Braiding
Secure the Extension: Take your first section of natural hair and the hair extension. Fold the extension over the section to create three legs (two legs of the extension and one leg of the natural hair).
Start the Braid: Begin braiding by crossing the right leg under the middle leg, then the left leg under the middle, incorporating the natural hair.
Maintain Tension: Keep the tension consistent but tight to prevent scalp pain or damage.
Step 2: Braid to the Ends
Continue Braiding: Braid the hair right down to the ends, making sure the braid is smooth and without lumps.
Secure the Ends:Once you've reached the end of the braid, you may secure it by soaking the ends in hot water or using hair bands, depending on the type of hair you're using.
Step 3: Repeat
Continue Sectioning and Braiding: Repeat each section of hair until your entire head is done. Ensure each braid is similar in size and tension for a uniform look.
Securing the Braids
Once you reach the end of the box braid, you need to secure it to prevent unraveling. You can seal the ends by dipping them in hot water, using a lighter to burn them slightly (for synthetic hair), or tying tiny knots using human hair extensions. Choose the method that works best for the type of hair you are using.
Aftercare and Maintenance
Following a maintenance plan is critical when all of your box braids are in place. Keep your scalp nourished with oils or sprays, and sleep with your hair covered with a silk scarf or hat to prevent frizz. If you're using synthetic hair, you can set your braids by soaking them in hot water, which will also help them to hang naturally.
To clean your scalp while wearing box braids, use a diluted shampoo and gently massage your scalp, allowing the mixture to run down the braids. Rinse thoroughly and follow up with a light, leave-in conditioner.
Troubleshooting Common Issues
Suppose your braids are overly tight and creating discomfort. In that case, it's critical to address the problem immediately to avoid damage to your hair and scalp. Pain can be relieved by gently massaging the scalp and applying warm compresses. A little mousse can control frizzy braids and keep them looking fresh. Braids can be gently re-braided if they become loose at the roots, although this should be done sparingly to avoid stress on the hair.
Conclusion
Starting box braids can be lengthy, but the protection and style they offer make it worthwhile. Throughout the procedure, remember to emphasize the health of your hair and scalp. Feel free to seek professional help if you need clarification on doing it yourself. With the correct technique and proper care, your box braids can be a beautiful expression of personal style and cultural heritage.
Additional Resources
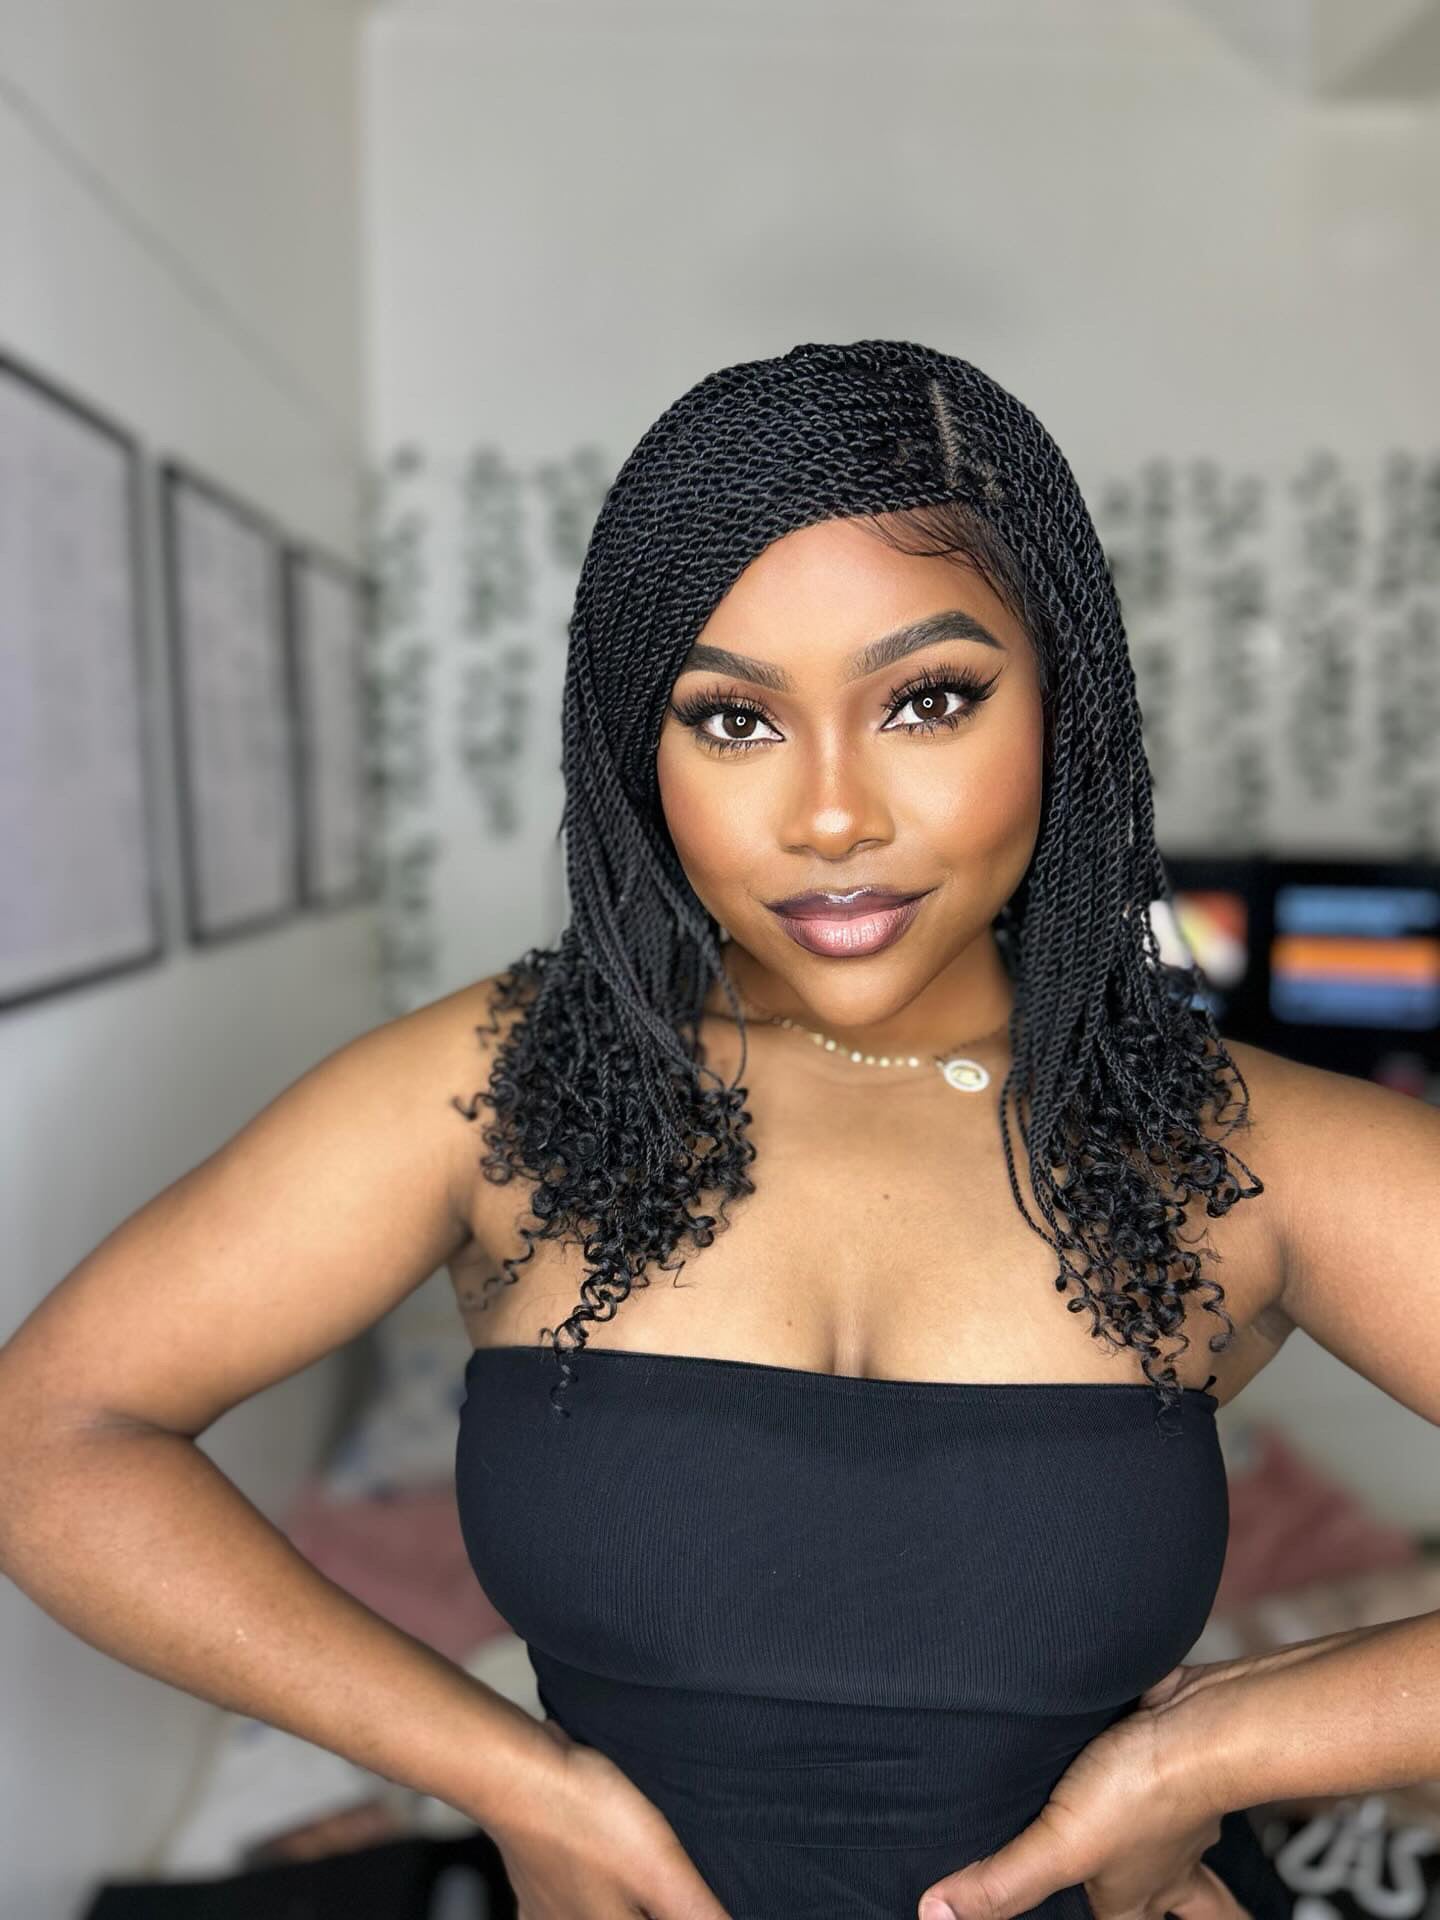
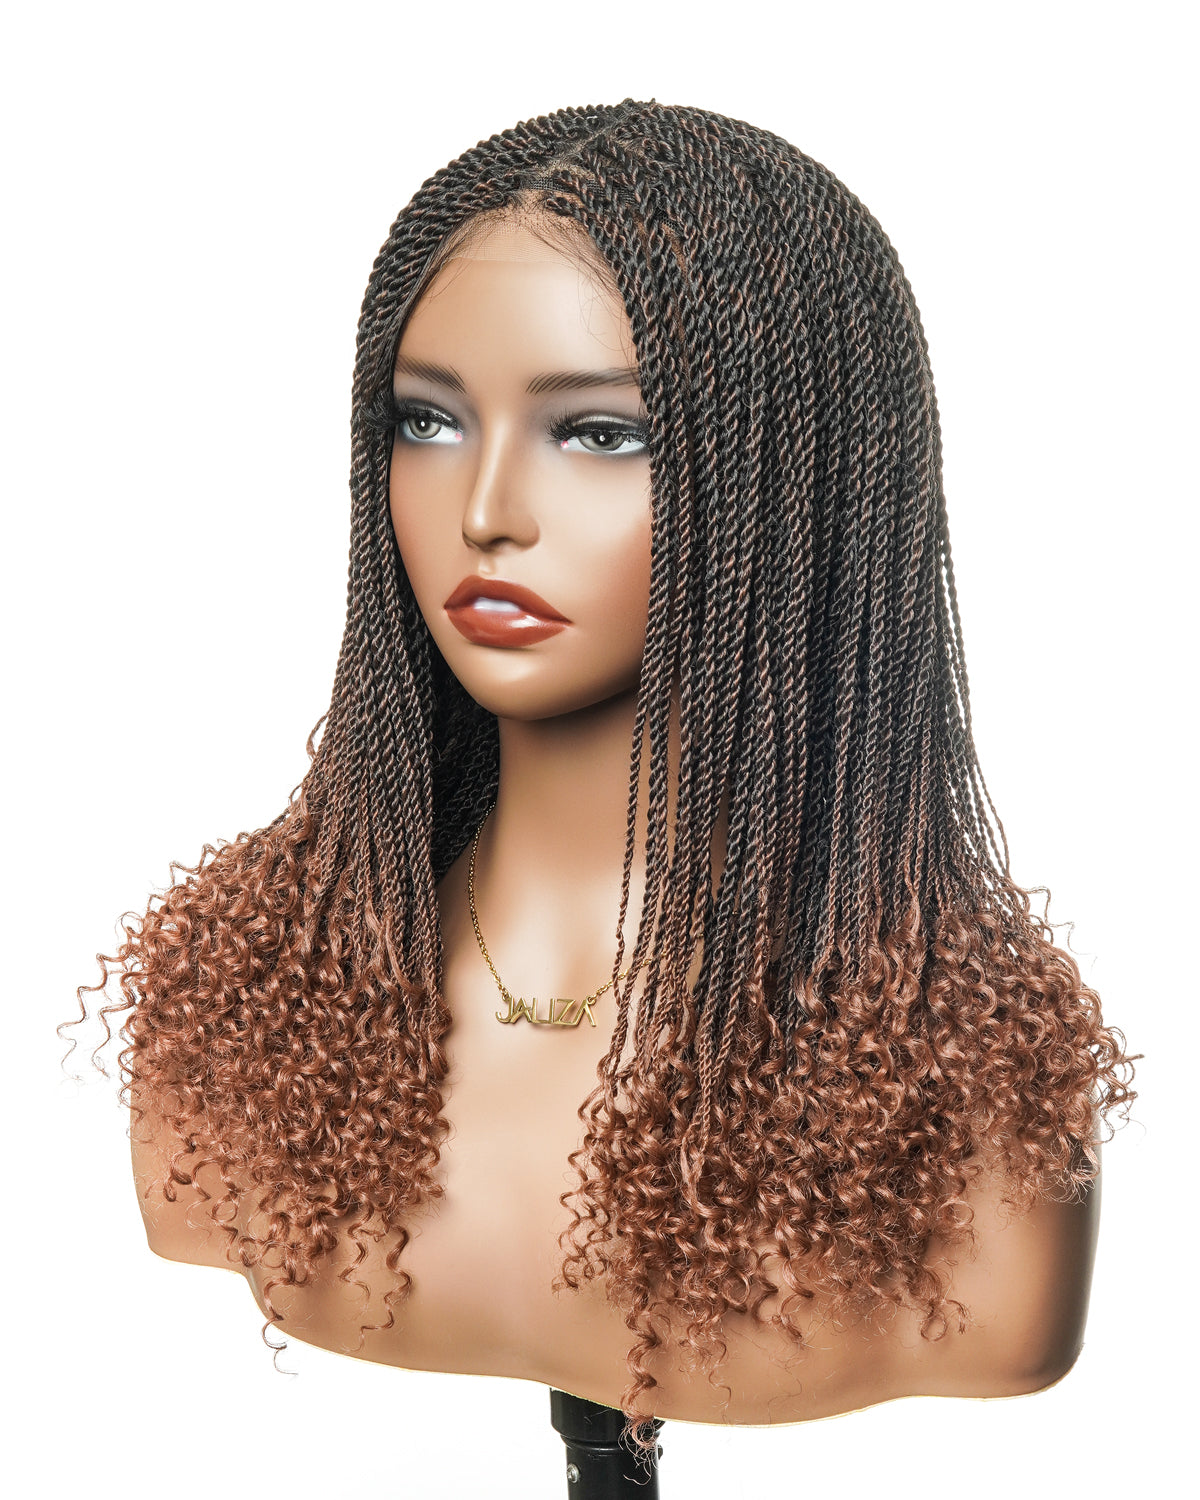
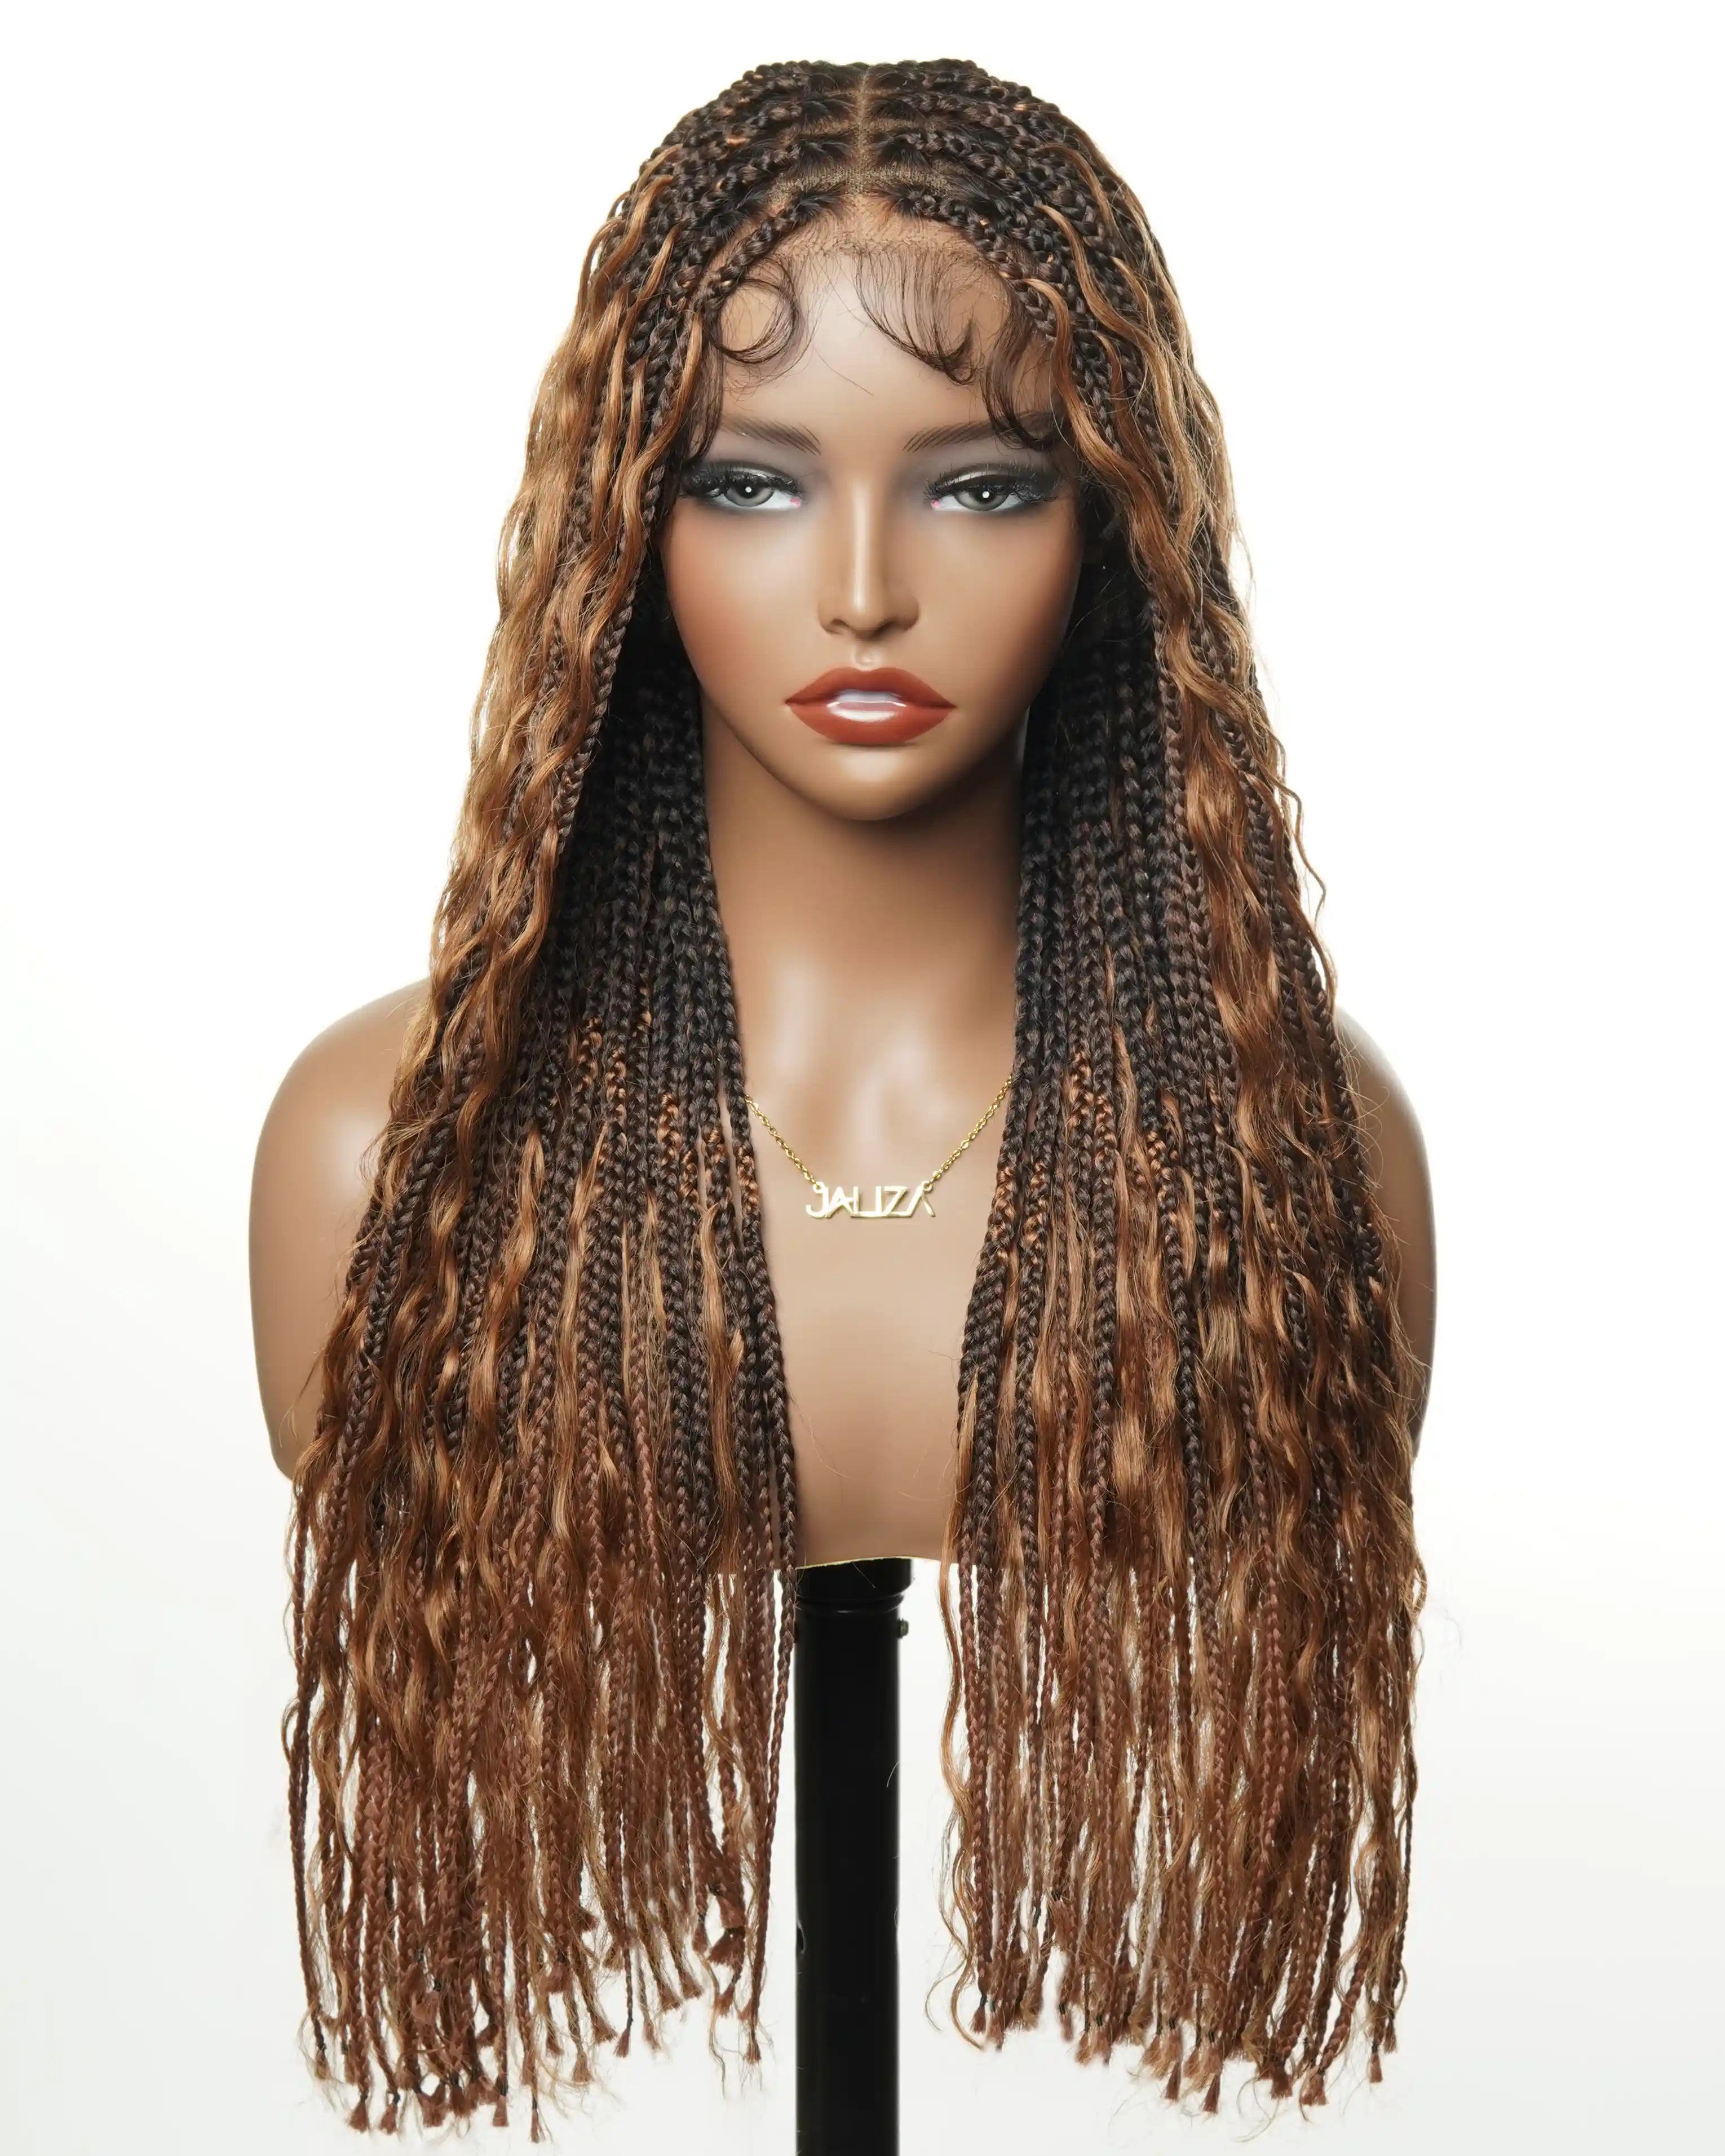
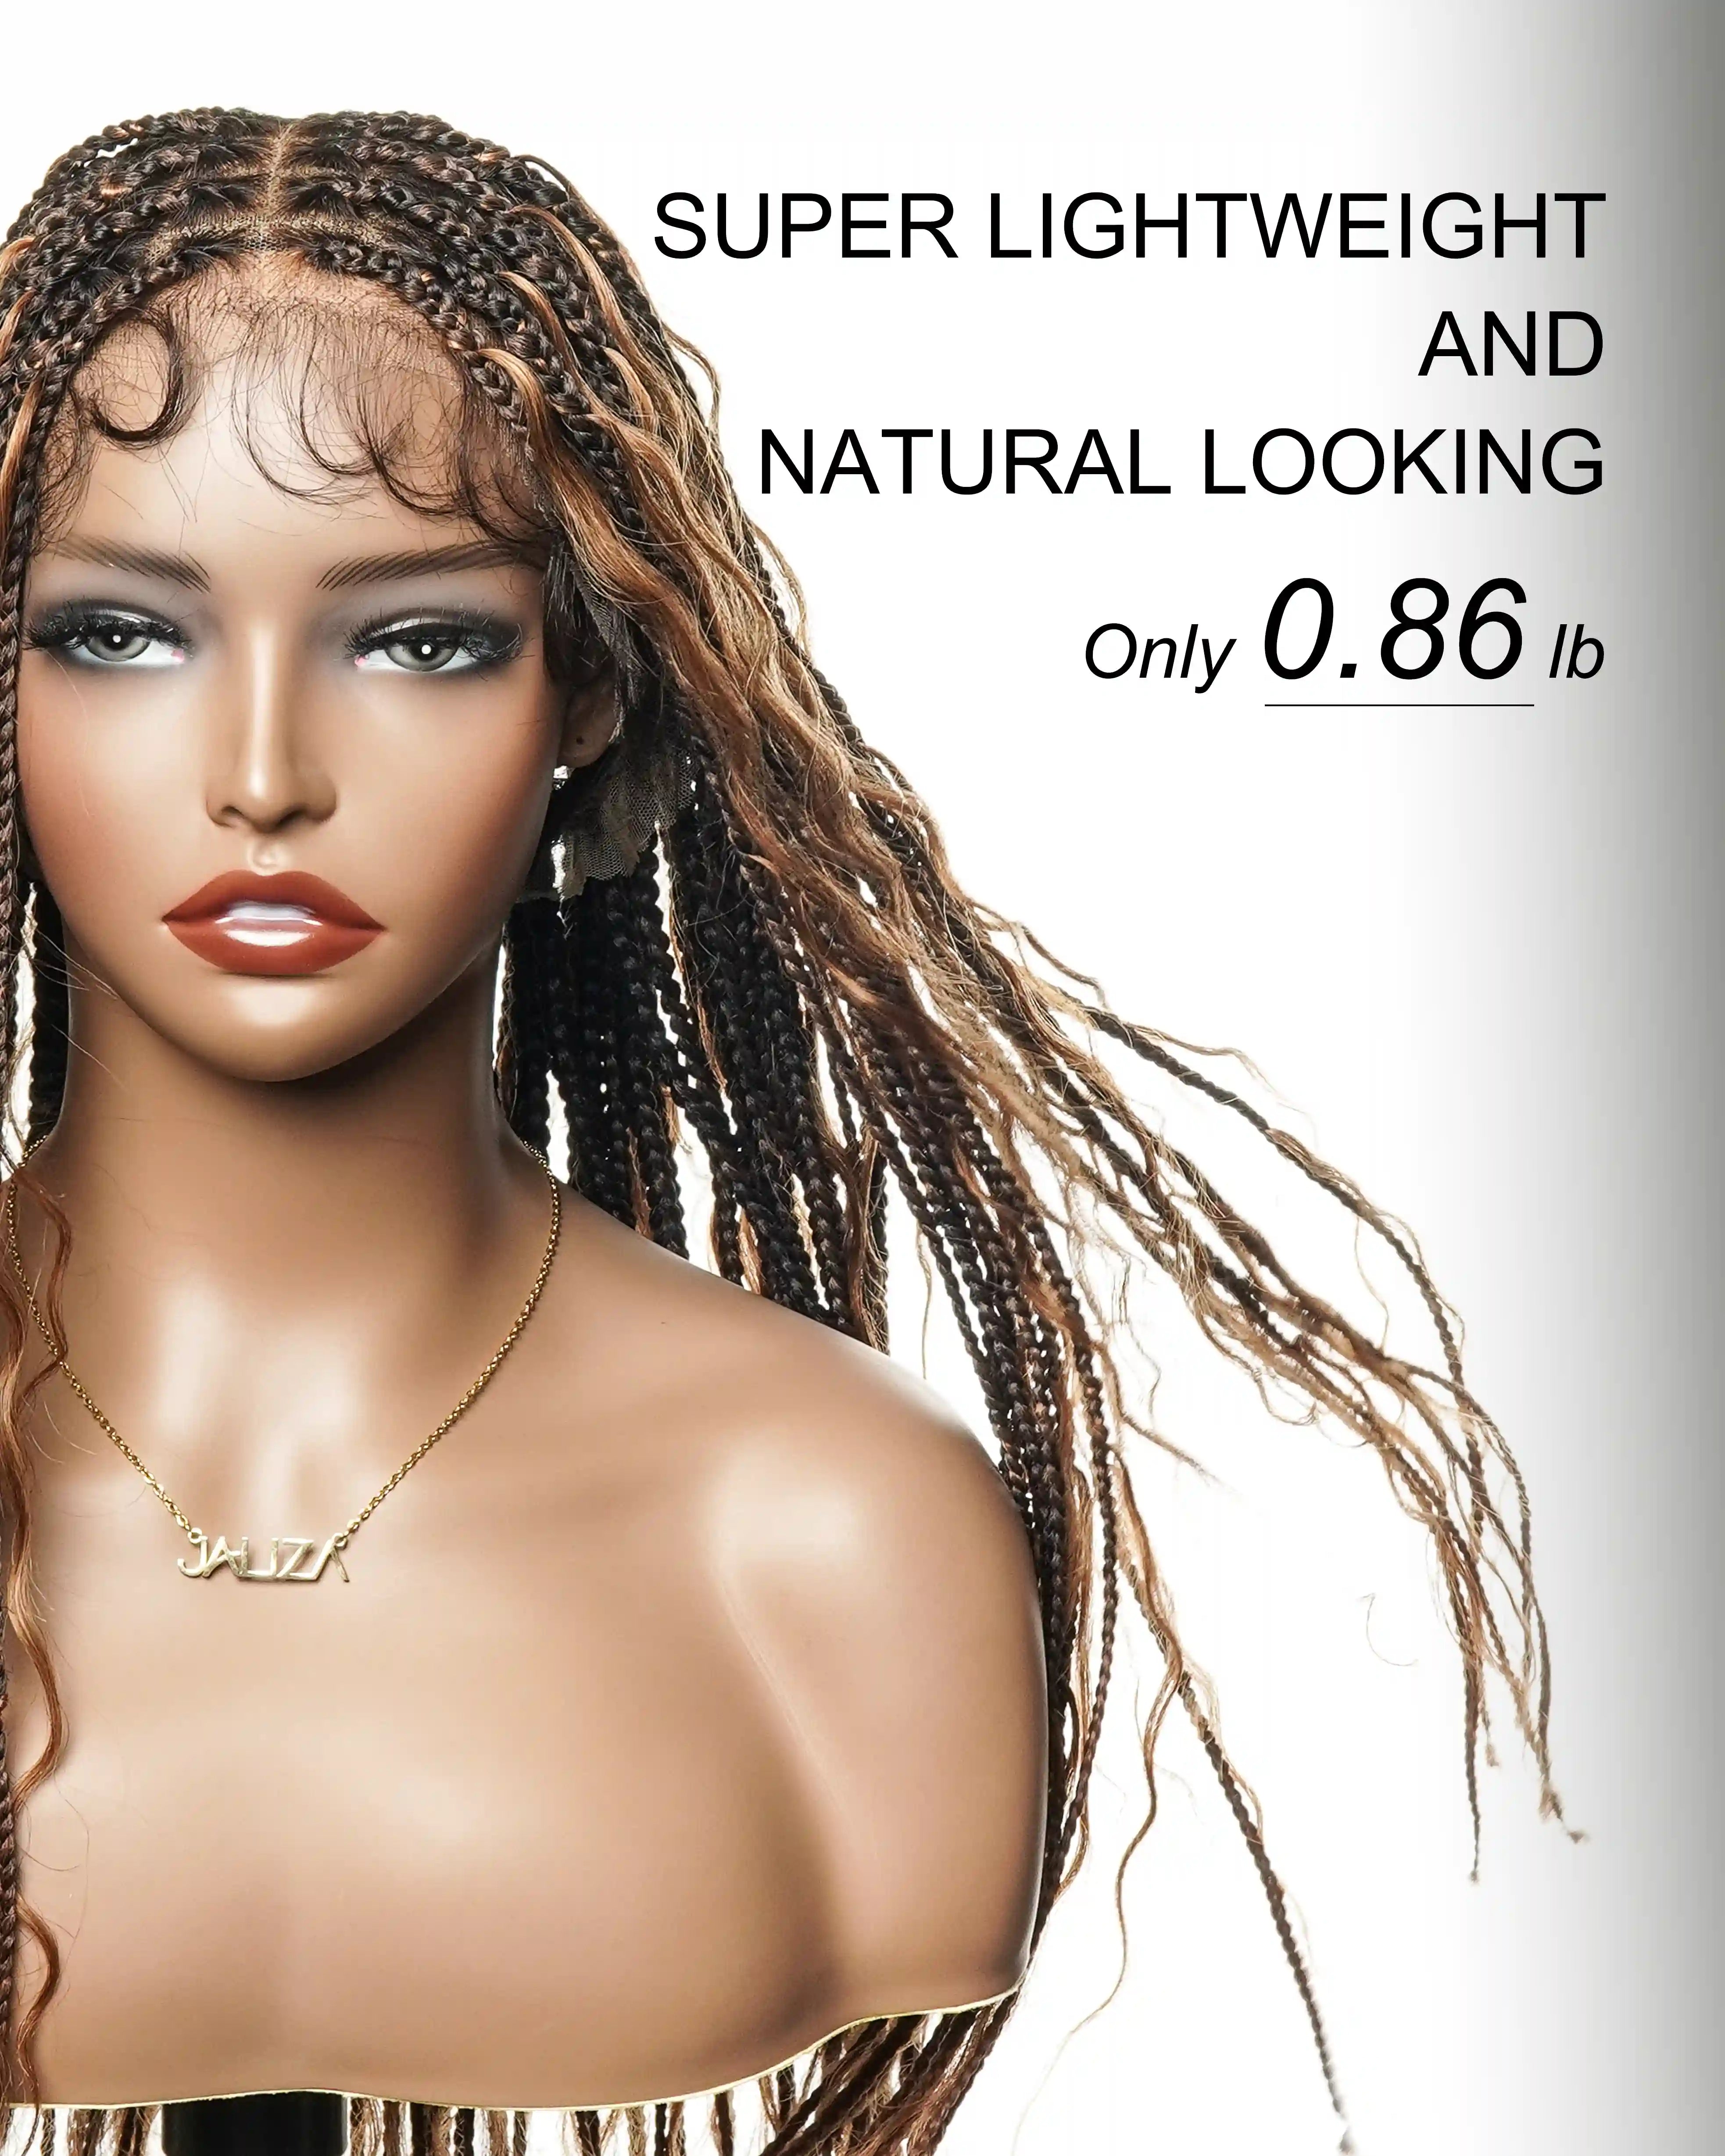
Various video instructions available online lead you through the braiding procedure step by step for individuals who prefer visual guidance. Furthermore, seeking a professional stylist who specializes in box braids may give you individualized advice and guarantee that your box braids are correctly fitted. Online discussion boards and social media groups are also excellent places to provide advice, gain inspiration, and interact with others who appreciate this protective style.At uBraids, available through the JALIZA Premium Wig Store, we celebrate the deep-rooted tradition of box braids by providing high-quality braided wigs that honor this age-old hairstyle. Our commitment to excellence in craftsmanship is evident in every wig we create, designed to reflect the meticulous artistry of box braids. With uBraids, you gain access to the beauty and protective qualities of braids with the added convenience and versatility that our premium wigs offer. Each piece we offer through JALIZA is a blend of cultural heritage and contemporary style, ensuring that you can enjoy the iconic look with ease and comfort.
Box braids are more than a fashion statement; they celebrate cultural history and a wise choice for preserving healthy hair. Anyone can master the skill of box braiding and enjoy the myriad styling options it affords with patience and practice. This instruction will help you make beautiful, long-lasting box braids whether you are new to braiding or looking to improve your skills.


Share:
Cornrow Braid Magic: Master the Art of Creating a Stunning Bun!
Embracing the Versatility and Security of Glueless-Braided Wigs