If you've ever wondered ''how to pluck a bob wig'' to make it look indistinguishable from natural hair, you're in the right place. Plucking a bob wig is an essential skill for anyone looking to achieve a natural and seamless look with their synthetic or human hairpiece. Unlike the typical straight-across cut of traditional bobs, a well-plucked bob wig can mimic the natural hairline and density of real hair, making it virtually undetectable. This article will guide you through the process, ensuring that you can confidently create a realistic appearance.
Materials Needed
Before you begin the plucking process, it's important to gather all the necessary materials. You'll need your bob wig, preferably placed on a wig stand, to keep it secure. High-quality tweezers are crucial for removing the hairs without damaging the lace. Some people may choose to use scissors for cutting baby hairs. A wig comb or brush will help in detangling the hair and a mannequin head or stand will provide stability during the plucking process. A water spray bottle can moisten the hair for easier handling. If you want to enhance the realism further, lace tint can be used to match the lace to your scalp color. Most importantly, arm yourself with patience, because a well-plucked wig is a result of meticulous work.
Understanding the Hairline
To correctly pluck a bob wig, you must first understand the difference between a natural hairline and a wig hairline. Natural hairlines are frequently variable, with varying densities and baby hairs, but bob wigs usually have a uniform and dense hairline. Identifying the areas that require plucking is essential for a realistic appearance. The dividing gap and the temples are usually the regions that require care. Understanding hair density — the amount of hairs in a certain location — is crucial because the goal is to replicate the various densities of a natural hairline.
Preparing the Wig
If your wig is brand new, you should wash and condition it to eliminate any residue and ensure the fibers are as natural as possible. After your wig has been cleaned and dried, place it on a mannequin head or wig stand. This will not only provide you with a clear view of the hairline but will also provide you with stability while you work. Gently comb through the wig to remove tangles and prepare the strands for plucking.
Plucking the Wig: Step-by-Step
1. Parting the Hair
Begin by parting the bob wig as you would like to wear it. This is important because the hairline needs to look natural when the bob wig is styled in its intended fashion. Lightly spritz water along the hairline to prevent flyaways and make the hairs more manageable.
2. Identifying Plucking Zones
After you've divided your hair, search for places that appear overly dense and could benefit from thinning out. These are often the temples, the forehead, and, on occasion, the sideburns. Remember that the hairline should be less dense near the temples and gradually thicken as it advances away from the face.
3. The Plucking Process
Holding your tweezers at a slight angle, begin to pluck the hairs from the hairline. Work in small sections, and alternate between different areas to avoid over-plucking one spot. The goal is to create a gradual fade from a sparse to a denser hairline, which mimics natural growth patterns. Be gentle and patient; this is a slow and meticulous process.
4. Checking the Density
Periodically step back and examine the bob wig from different angles to ensure that the density looks natural. You might want to try the wig on several times during this process to see how it aligns with your natural hairline and make adjustments as necessary.
5. Creating Baby Hairs
To create baby hairs, isolate a thin section of hair along the hairline and trim it to about 1 to 1.5 inches in length. Use a comb and scissors for precision. When cutting, avoid a straight-across cut; instead, opt for a more staggered, natural look.
6. Final Touches
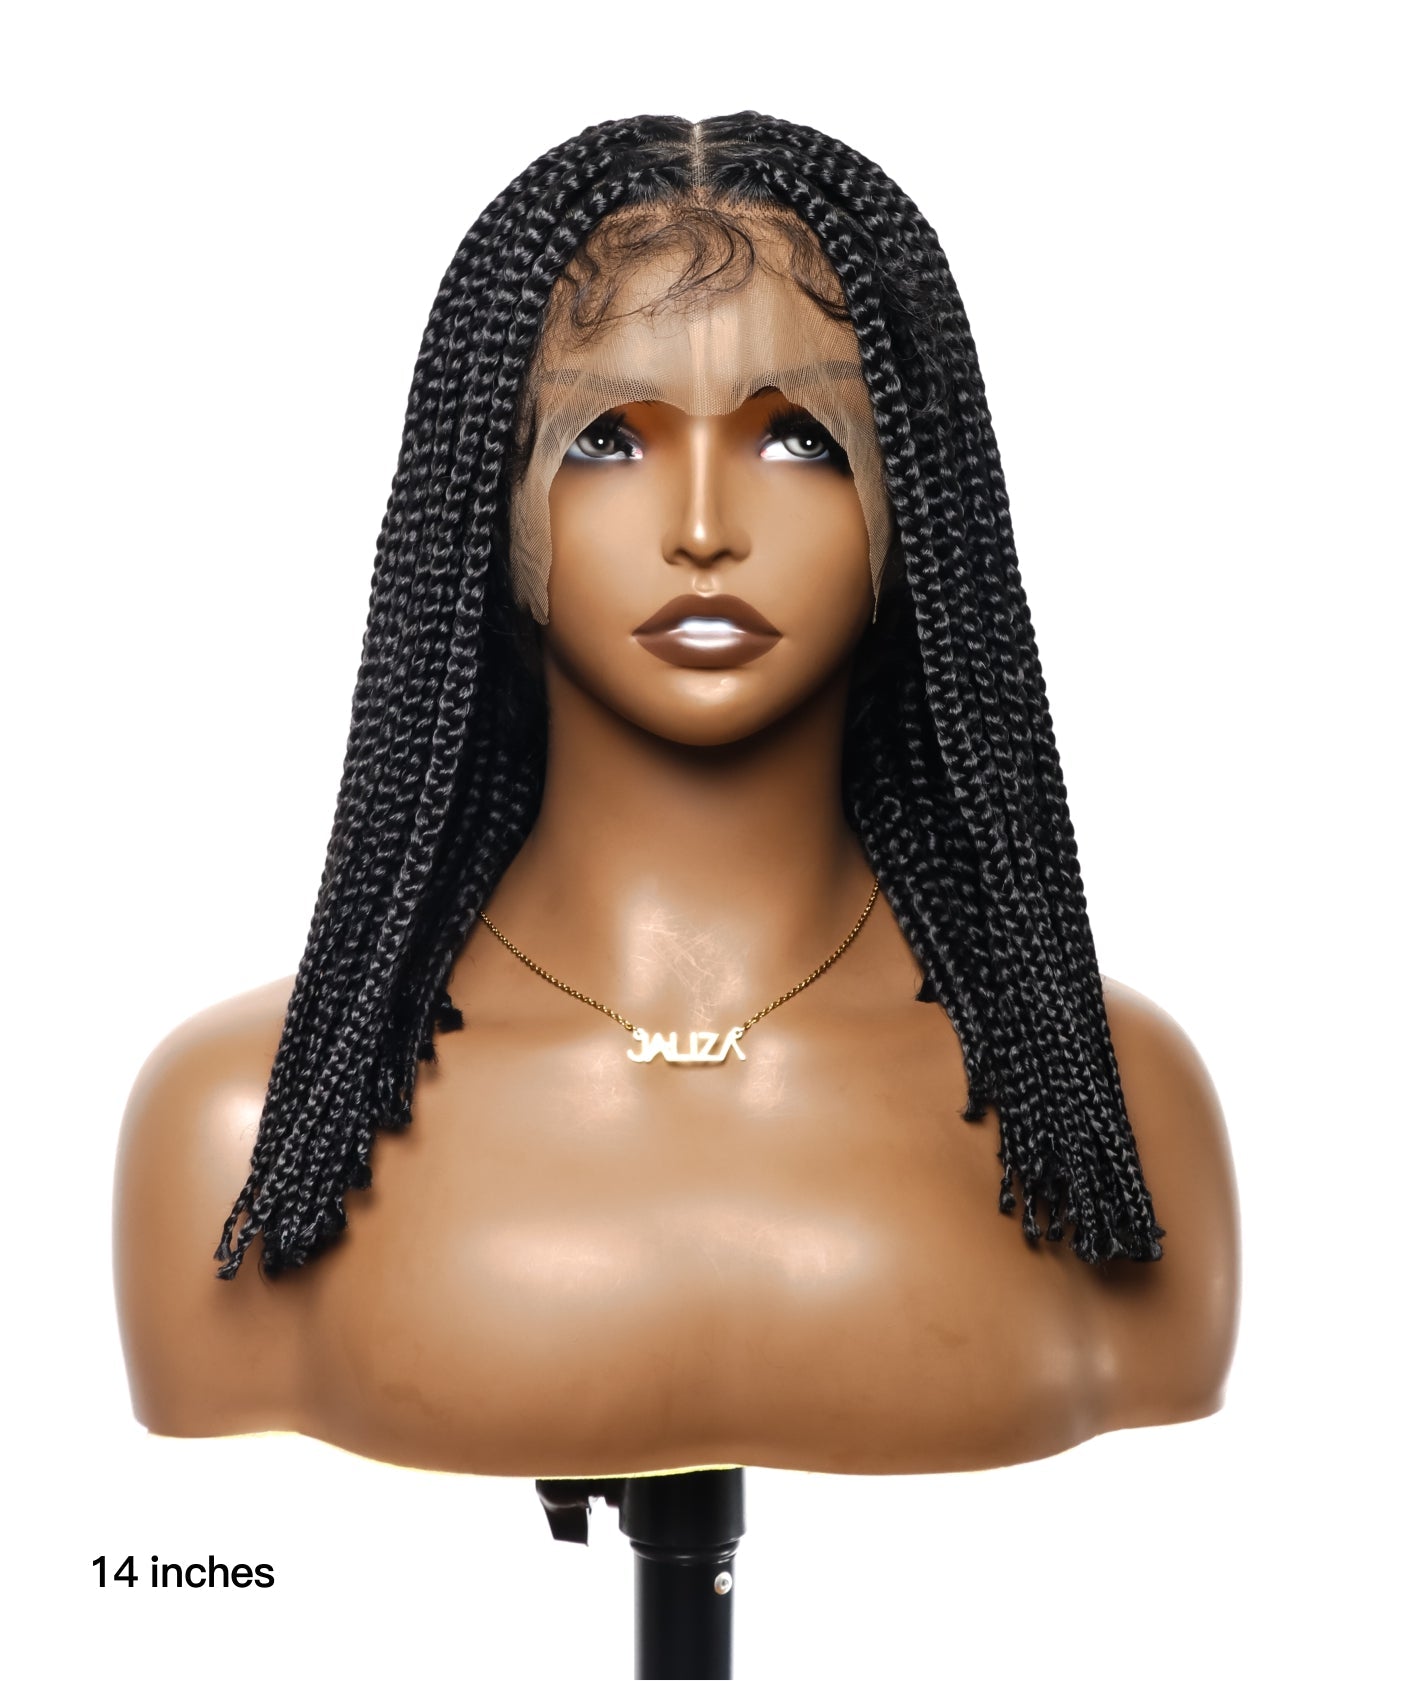
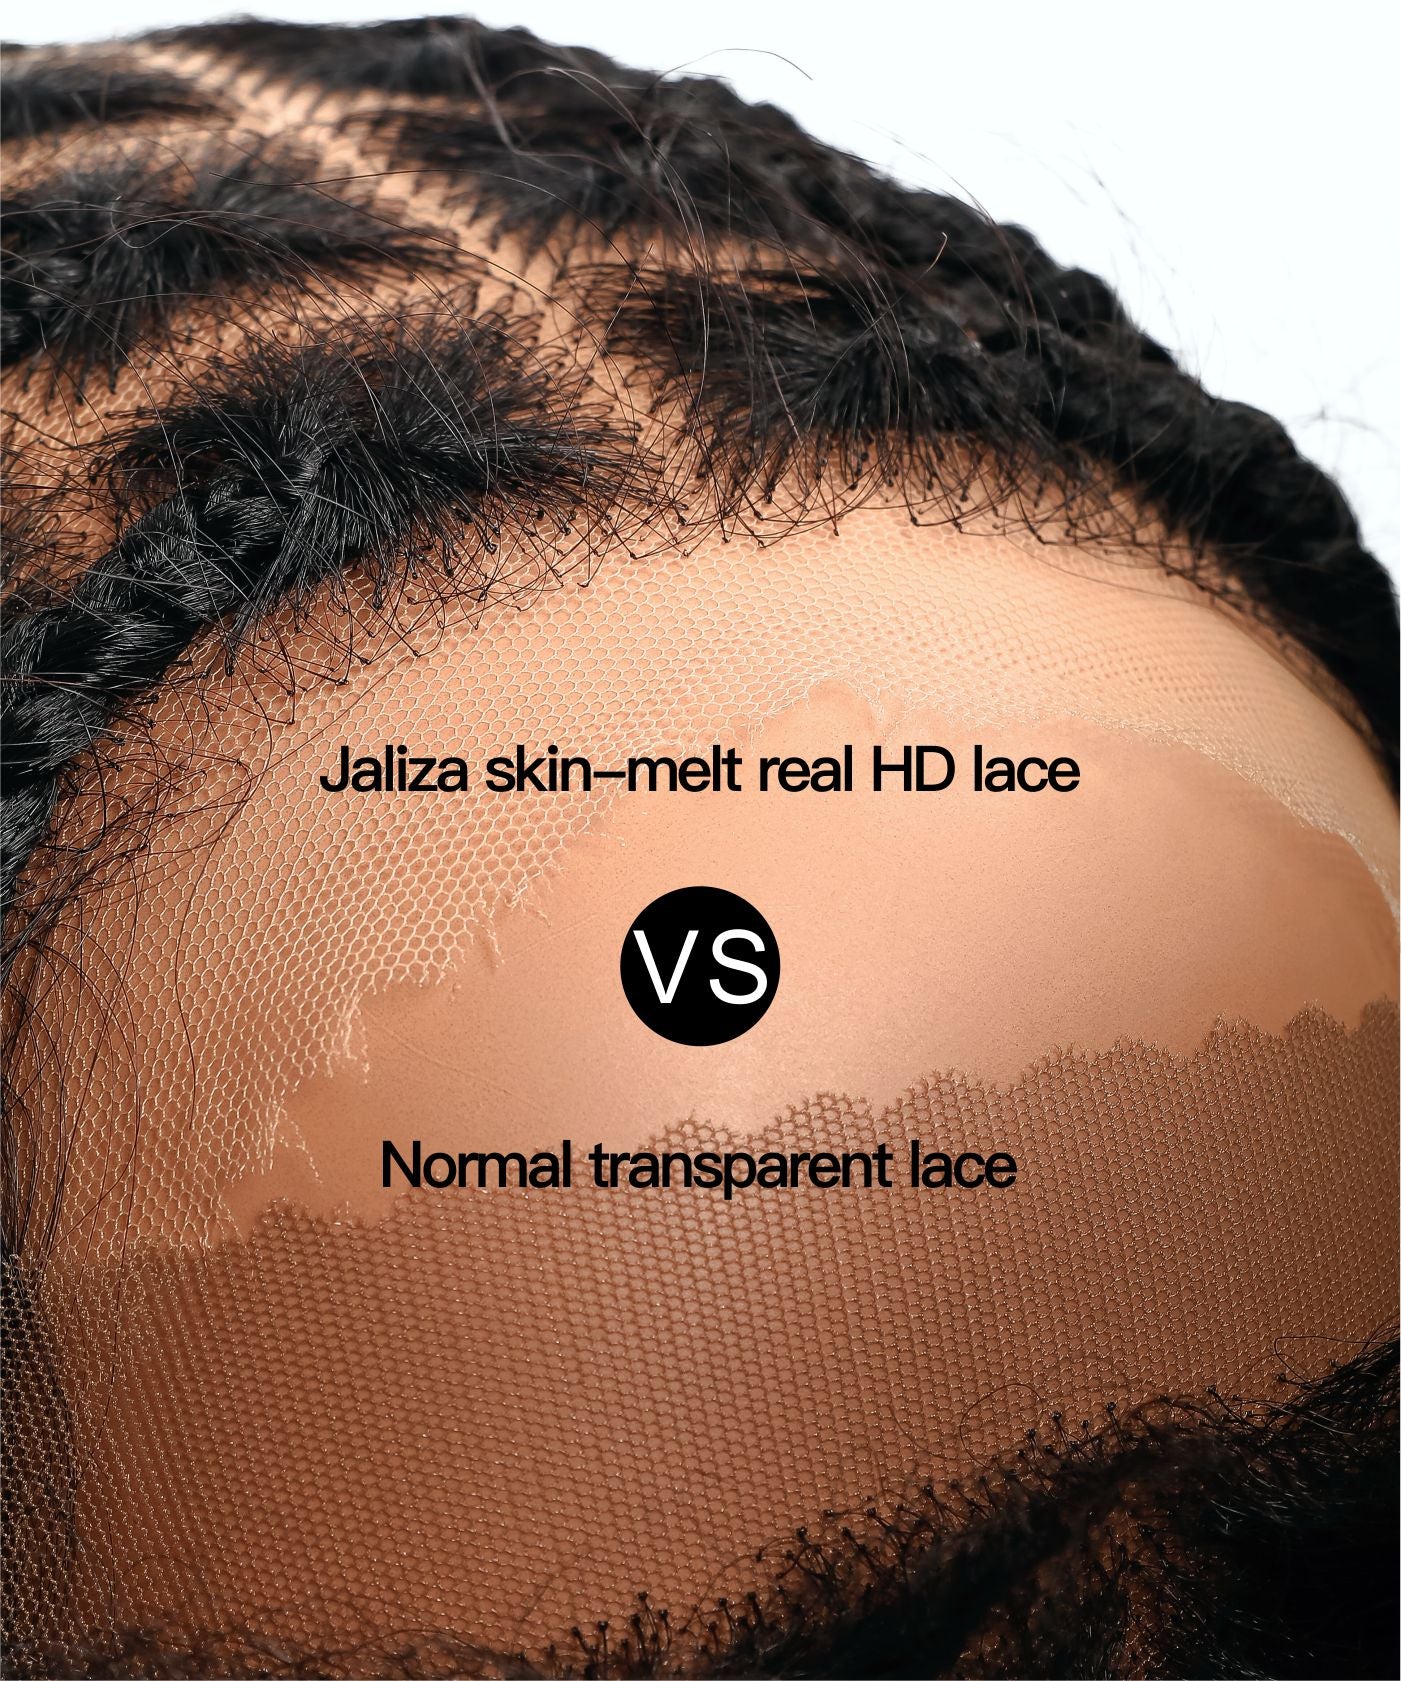
Once the hairline is plucked to satisfaction, you can apply a lace tint to the underside of the lace to match your scalp, if needed. This step can greatly enhance the bob wig's natural appearance, especially if the lace is significantly different from your skin tone. To ensure the bob wig from Bobrina complements your unique style and natural hairline, you may personalize it further by plucking the hairline to your satisfaction and then applying a lace tint to the underside of the lace to match your scalp, enhancing the natural look and feel of the bob wig. At Bobrina, we understand that the art of wig customization plays a crucial role in achieving a flawless and undetectable finish. Visit us at JALIZA Premium Wig Shop to explore our collection and begin your journey to the perfect bob wig.
Our bob wigs are crafted with the utmost attention to detail, designed to offer a canvas that allows for personalization to suit individual preferences and natural hairlines. We take pride in catering to the unique needs of black women, providing a range of bob wigs that are not only stylish but also versatile and convenient to style.
Post-Plucking Steps
After plucking, a gentle wash can help remove any loose hairs and reduce irritation caused by the plucking process. Apply a lace tint now if you haven't done so already. Allow the bob wigs to air dry completely before styling it into your desired bob shape.
Tips and Tricks
1. Start with a Plan:
Before you begin plucking, examine the bob wig's hairline and decide on the look you're aiming for. Consider the shape of your natural hairline and where it tends to be more or less dense. A good strategy is to use a makeup pencil to lightly sketch out the areas on the lace where you plan to reduce density. This will serve as a guide and help prevent over-plucking.
2. Work in Sections and Be Conservative:
Pluck hairs in small sections rather than all at once, and go slow. It's crucial to take your time and evaluate your work after each section. Remember, it's easier to pluck later than to fix an area that's been over-plucked. You can always put the bob wig on to check how it looks against your natural hairline and continue to make gradual adjustments.
3. Use the Right Tools:
Invest in a good pair of tweezers with a fine tip for precision. Sharp tweezers allow you to pluck individual hairs without pulling multiple strands at once or damaging the lace. Having a wig stand or mannequin head is also important as it keeps the bob wig stable while you're working on it.
4. Mimic Natural Density Variations:
Natural hairlines are not uniformly dense. Pay attention to creating a gradual transition from sparse to denser areas as you move back from the forehead into the bob wig. This typically means plucking more at the temples and less as you move towards the center of the head. Also, consider creating slight irregularities to mimic a natural hairline, as perfect symmetry can look artificial.
5. Create and Style Baby Hairs:
Baby hairs are short, fine hairs that grow at the hairline and can make the bob wig appear more natural. To create baby hairs, isolate a small section of hair at the hairline and trim it with scissors to about an inch long. Pluck some of the density from this section to keep it light and wispy. Styling these baby hairs with a bit of mousse or gel can help blend the bob wig with your skin and further enhance the natural look.
If you’re struggling to achieve the look you want, consider seeking help from a professional wig stylist. They can provide a plucking service and also offer advice tailored to your specific bob wig and style.
Conclusion
A natural appearance with a bob wig demands patience, attention to detail, and practice. Plucking is an important step in personalizing your bob wig so that it complements your hairline and seems as natural as possible. Remember to take your time, use the proper tools, and carefully follow the directions. You'll get better at plucking with experience, and your bob wig will seem completely natural.
Plucking a bob wig is about creating the perfect appearance that the hair is sprouting directly from your scalp, not merely eliminating surplus hair. You'll be well on your way to perfecting this ability and enjoying the confidence that comes with wearing a bob wig that looks like your real hair if you follow the advice in this article.
Additional Resources
There are numerous lessons accessible online for people who are visual learners or prefer a step-by-step guide. Video tutorials are very useful because they show the plucking process in real time. Wig forums and communities can also provide support, advice, and ideas from other wig wearers who have perfected their plucking abilities over time.
Remember that the key to a natural-looking bob wig is in the customisation that makes it distinctly yours. You can transform any bob wig into a natural-looking masterpiece that turns heads for all the right reasons with the right approach and a little practice.
The secret to a truly natural bob wig lies in its ability to blend seamlessly with your hairline, and this is where plucking comes into play. With Bobrina, you can trust that you are not just purchasing a wig, but an experience that prioritizes natural aesthetics and comfort. Whether you aim for a classic, understated bob or a more dramatic, fashion-forward cut, our bob wigs are the perfect starting point for your customization journey.
Our ultimate goal is to sell our products by meeting the needs of our consumers in a way that feels personal and attentive. At Bobrina, we believe in empowering you to refine and tweak your bob wig to perfection. By selecting a Bobrina wig, you are choosing a product that respects the artistry of wig making and the individuality of the wearer. 



















Share:
Exploring the Durability of Glueless-Braided Wigs: Factors Influencing Longevity and Maintenance Practices
Preserving Elegance Overnight: The Essential Guide to Caring for Your Bob Wig While You Sleep