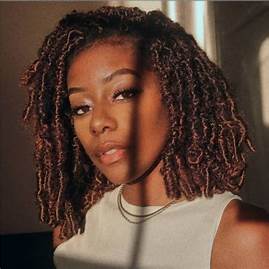

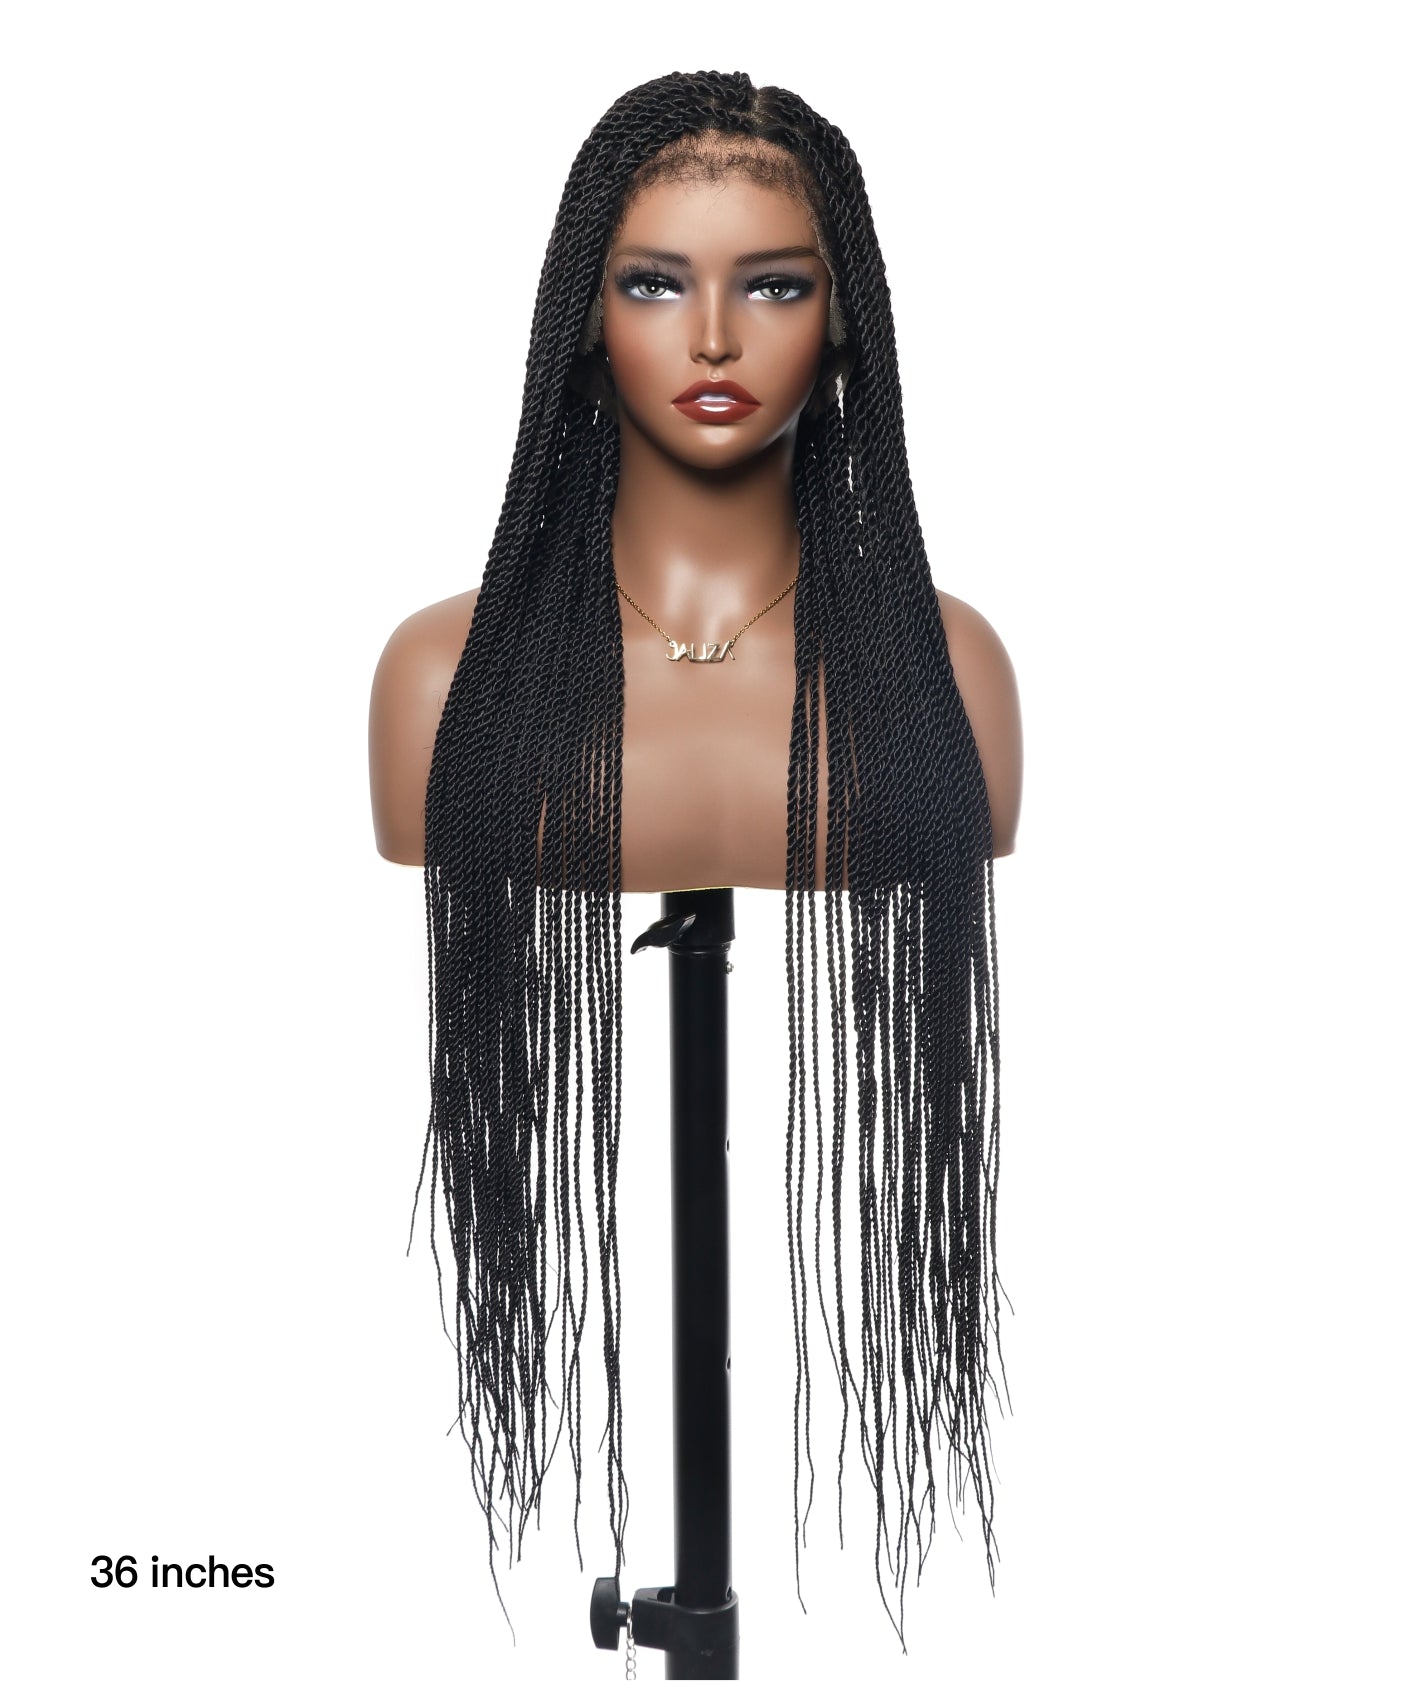
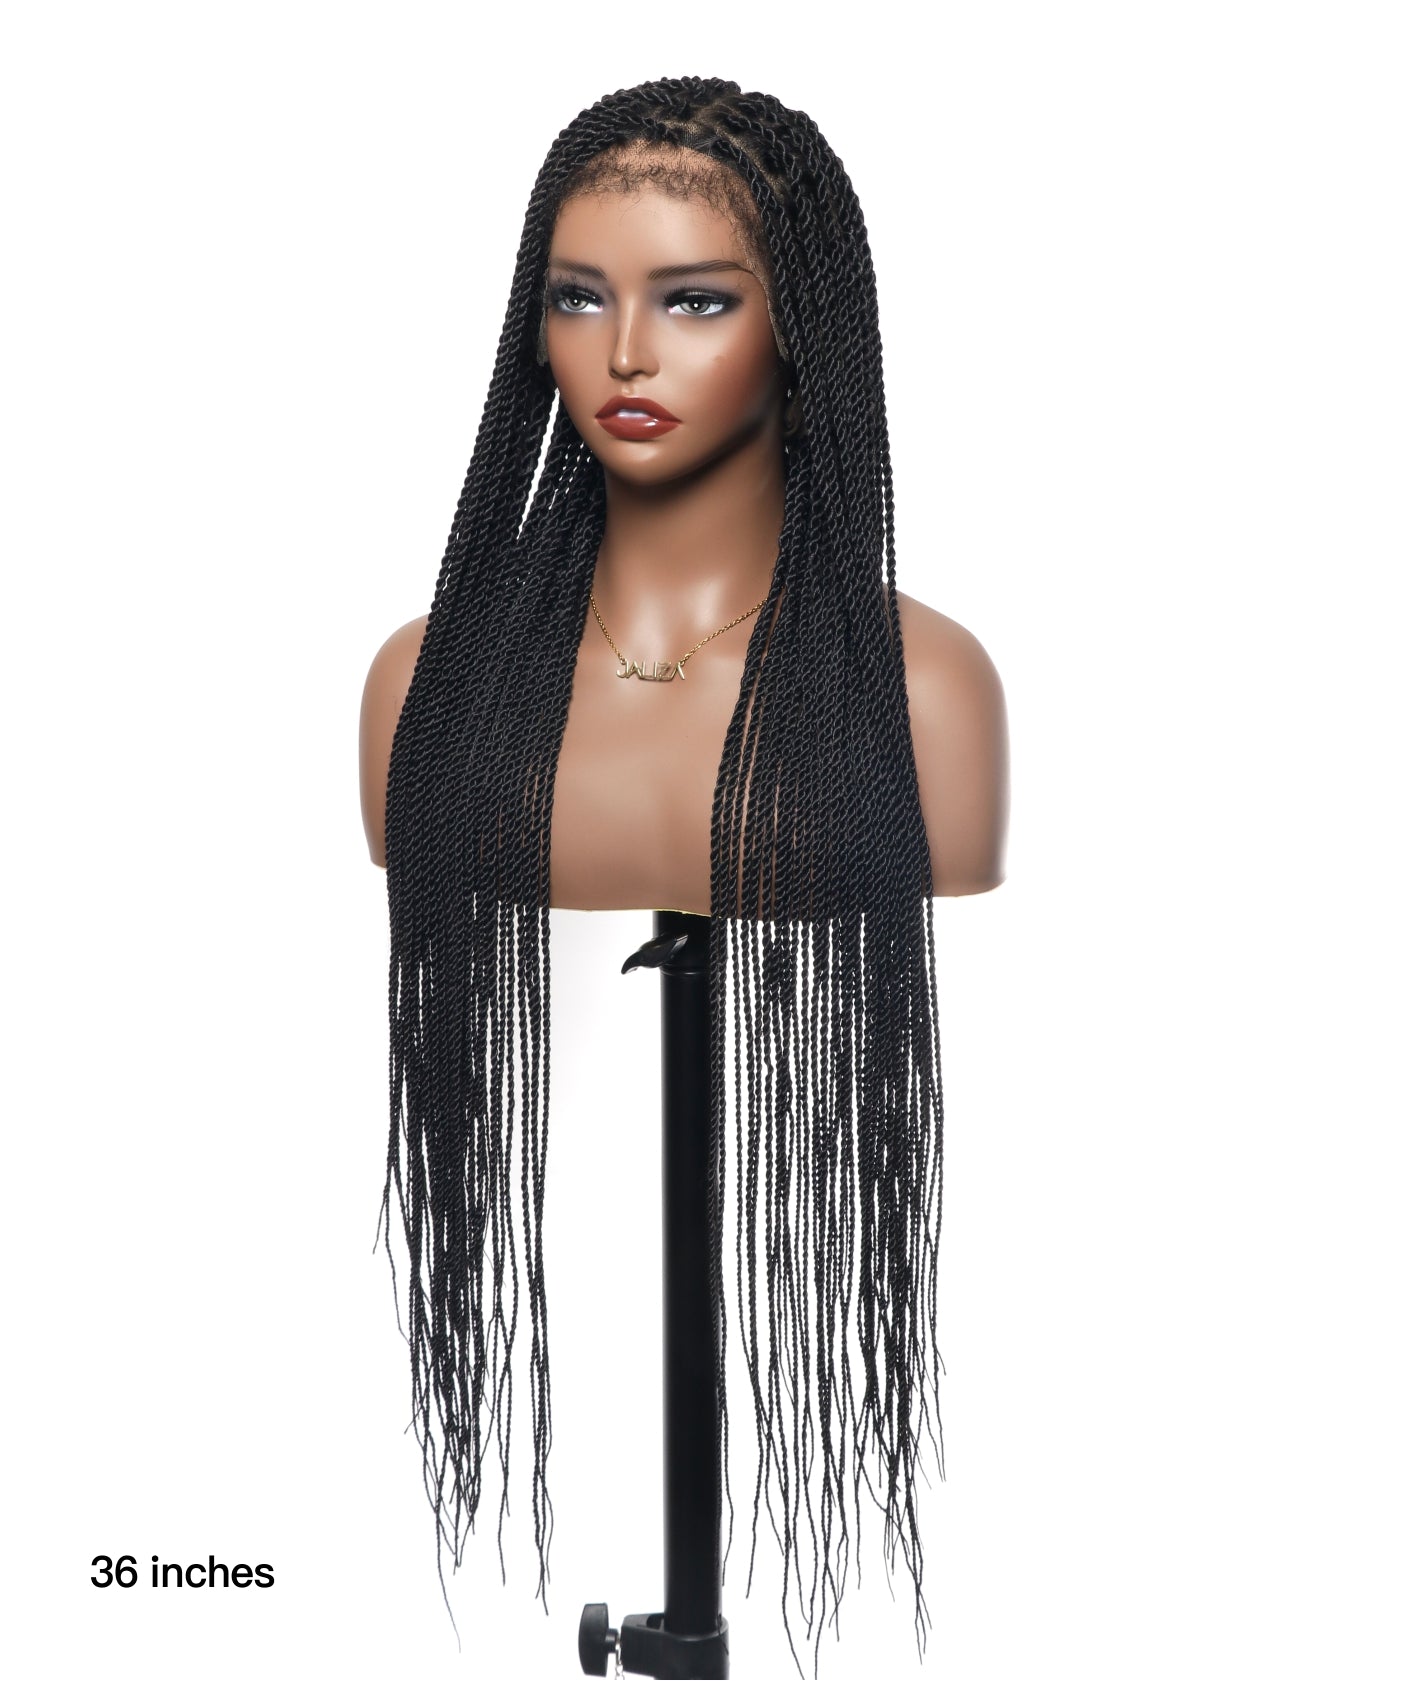
Wigs have traversed a long path from being mere necessities for those experiencing hair loss to becoming essential fashion accessories. Among the diverse array of wigs available today, loc wigs hold a special place, representing not just a style but also the rich cultural heritage of dreadlocks. Loc wigs have surged in popularity, offering a way to enjoy the dreadlock style without the long-term commitment or to protect one's natural hair. If you've ever wondered how to make a loc wig, this tutorial is designed to guide you through the process with precision and elegance.
Materials Needed
Crafting a loc wig begins with gathering the suitable materials. You will need:
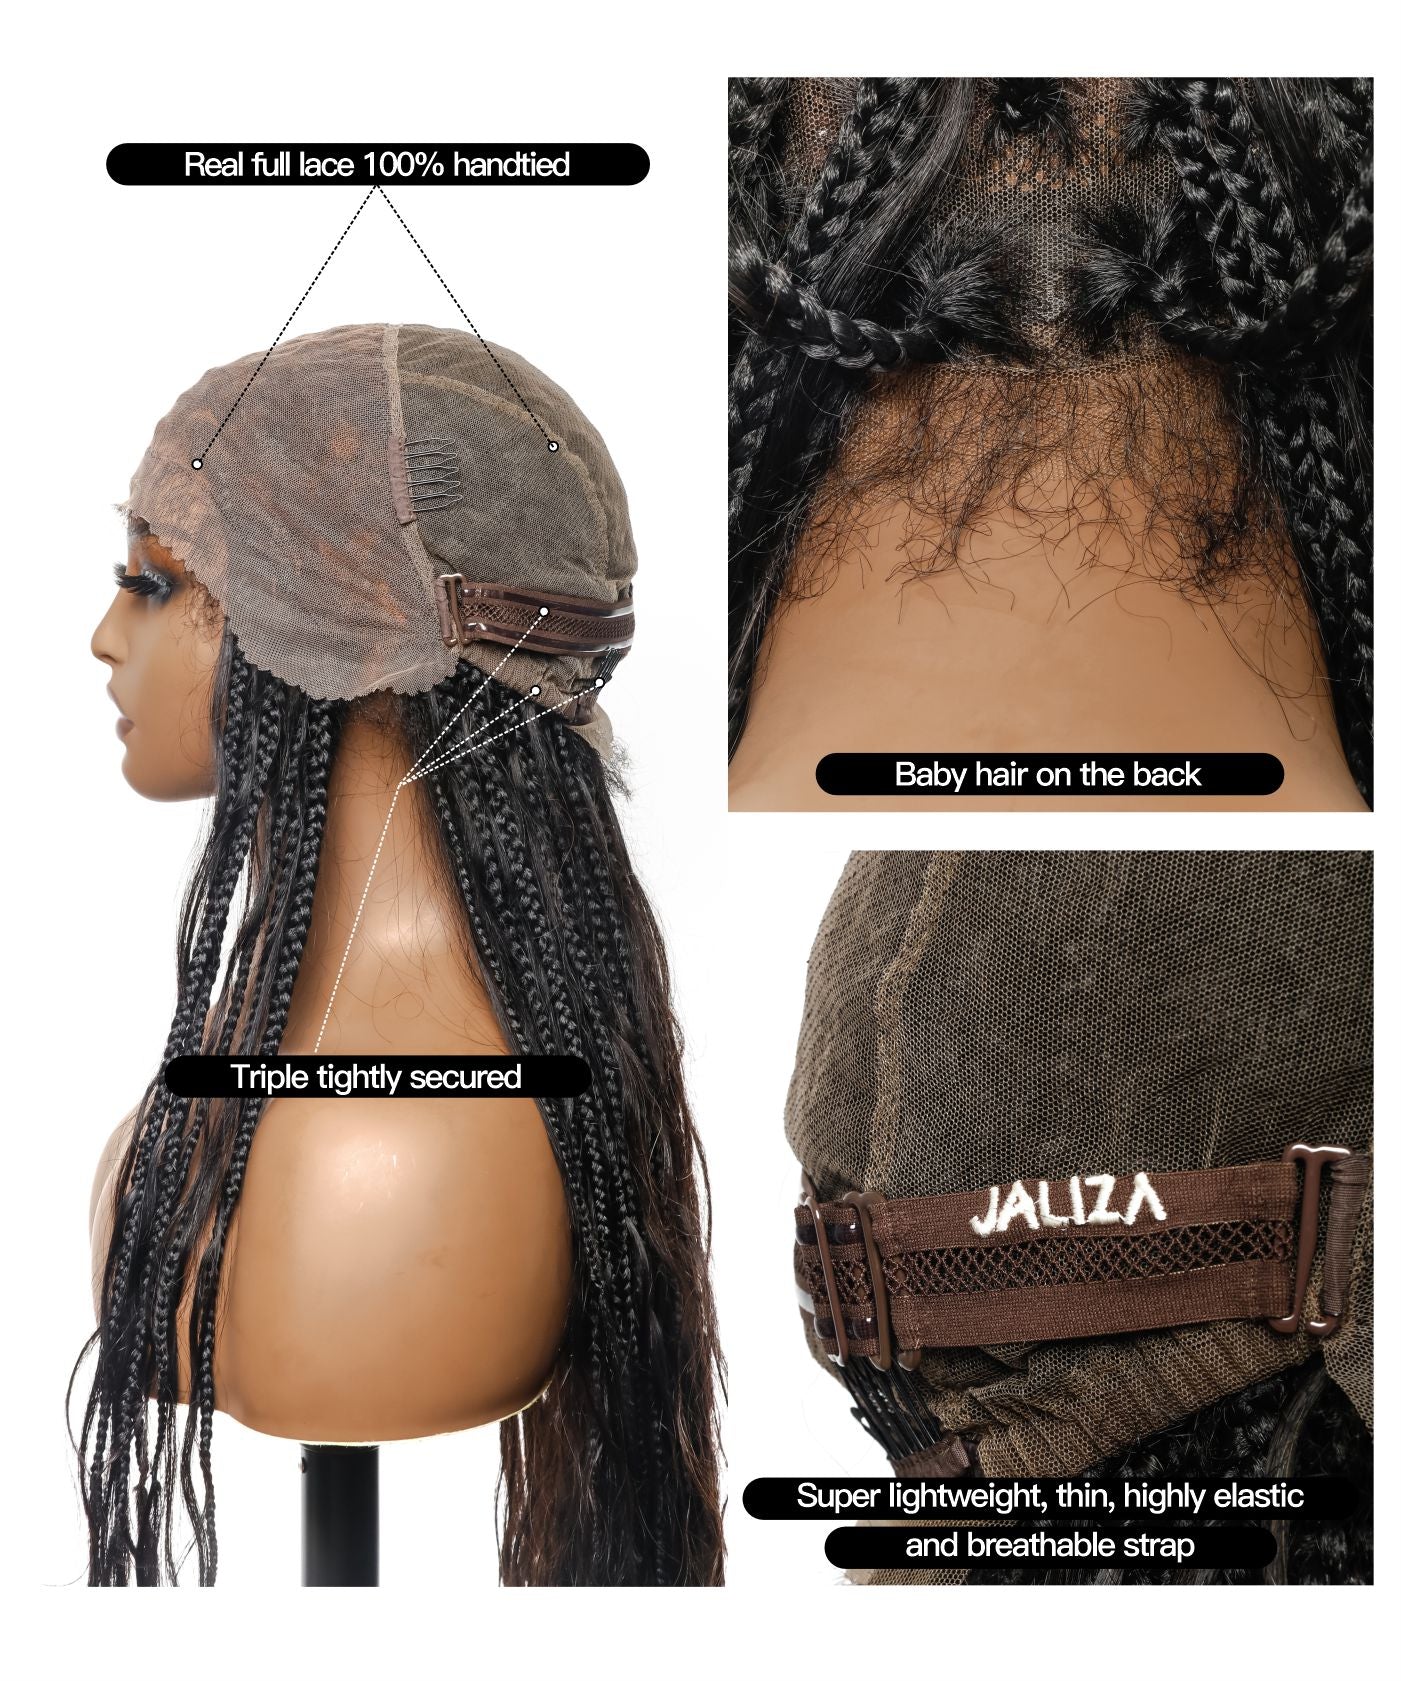
● Wig Cap:Opt for a cap that closely resembles your skin tone for a more natural look.
● Human Hair or Synthetic Locs:Your choice will depend on your budget and preference.
● Crochet Needle:This is essential for attaching the locs to the wig cap.
● Mannequin Head: Hold the wig cap in place as you work.
● Hair Clips:For sectioning and holding locs out of the way.
● Scissors:For trimming the locs to your desired length.
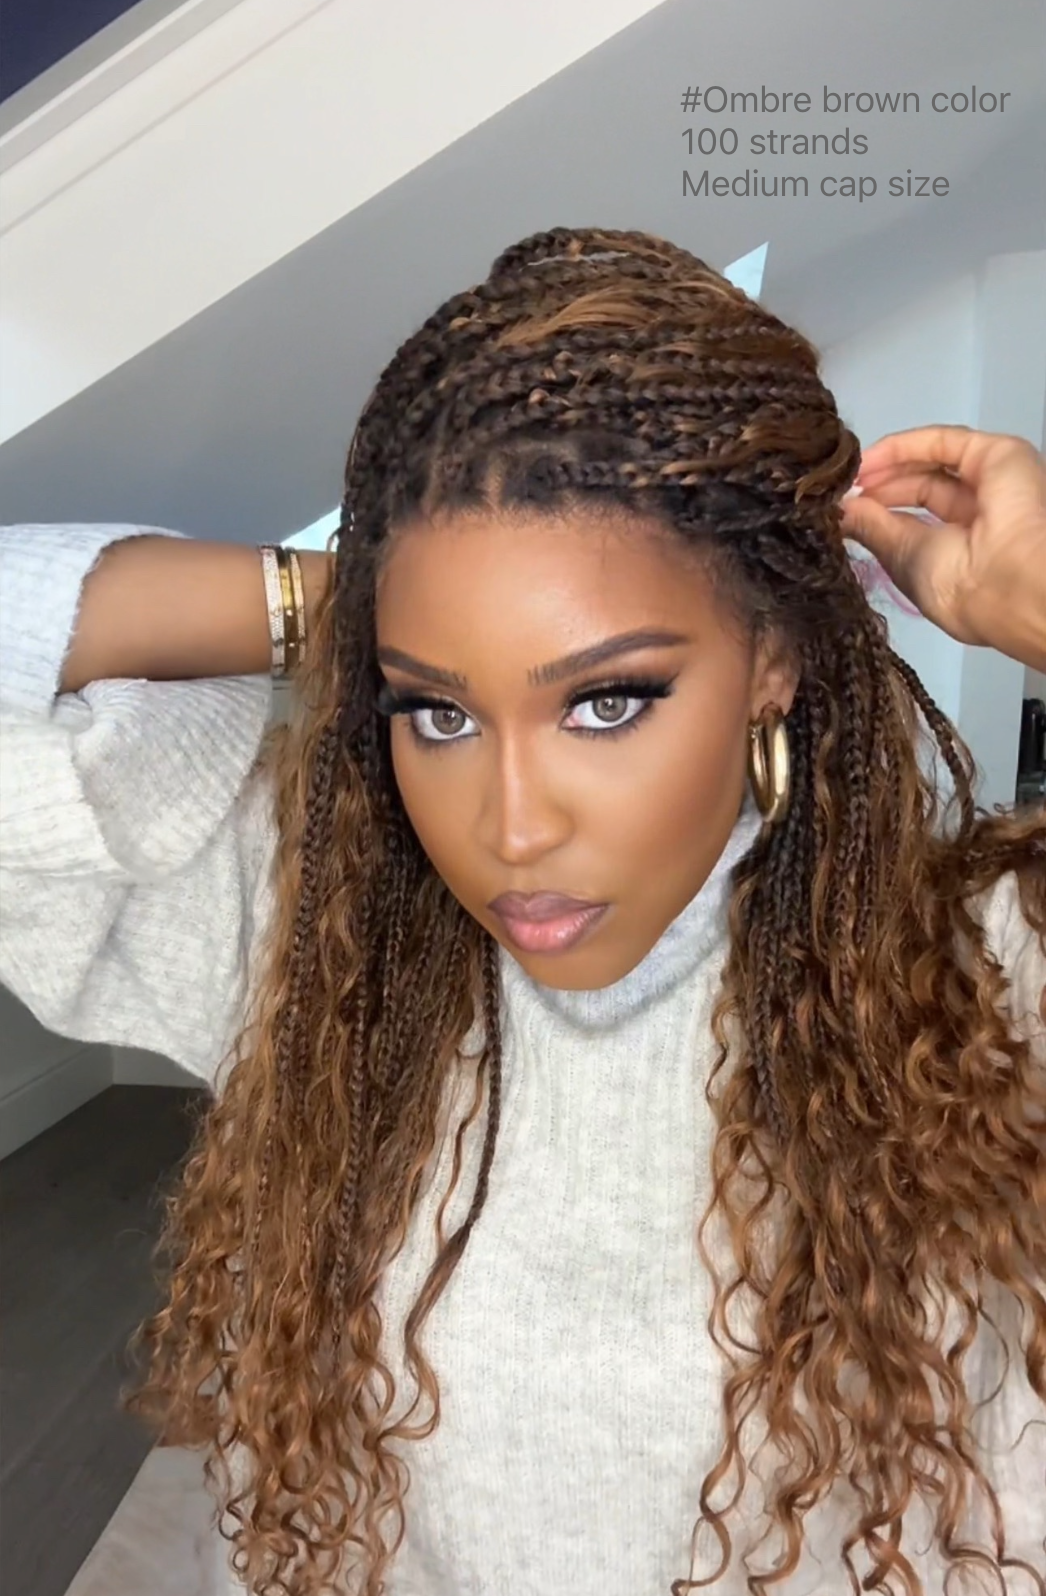
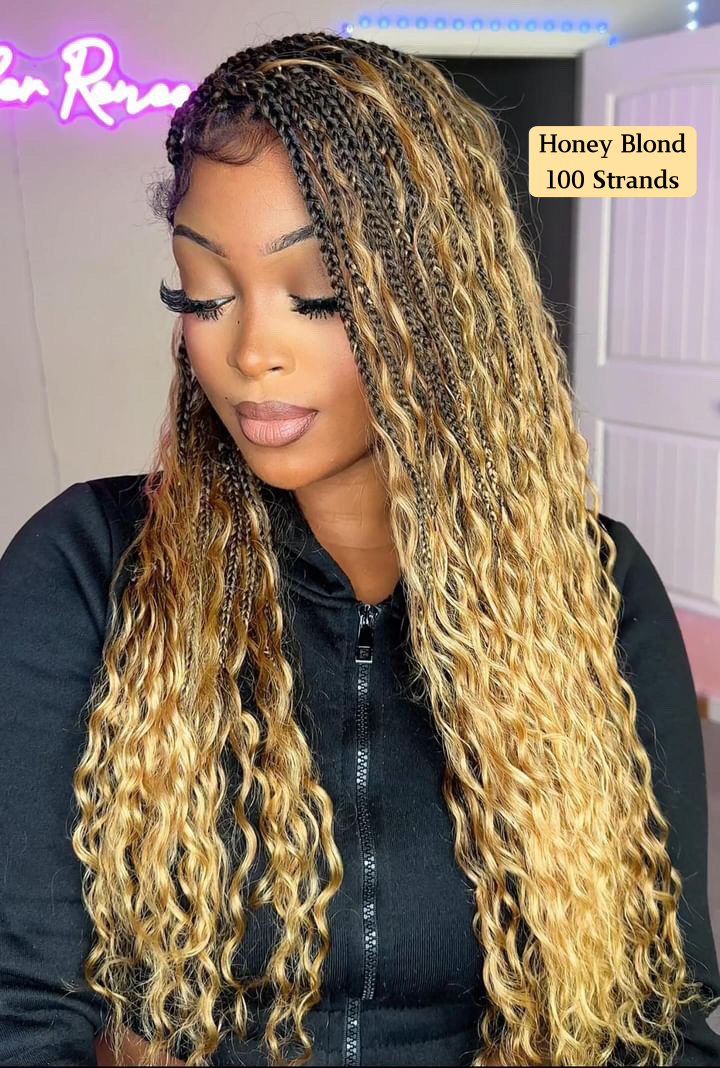
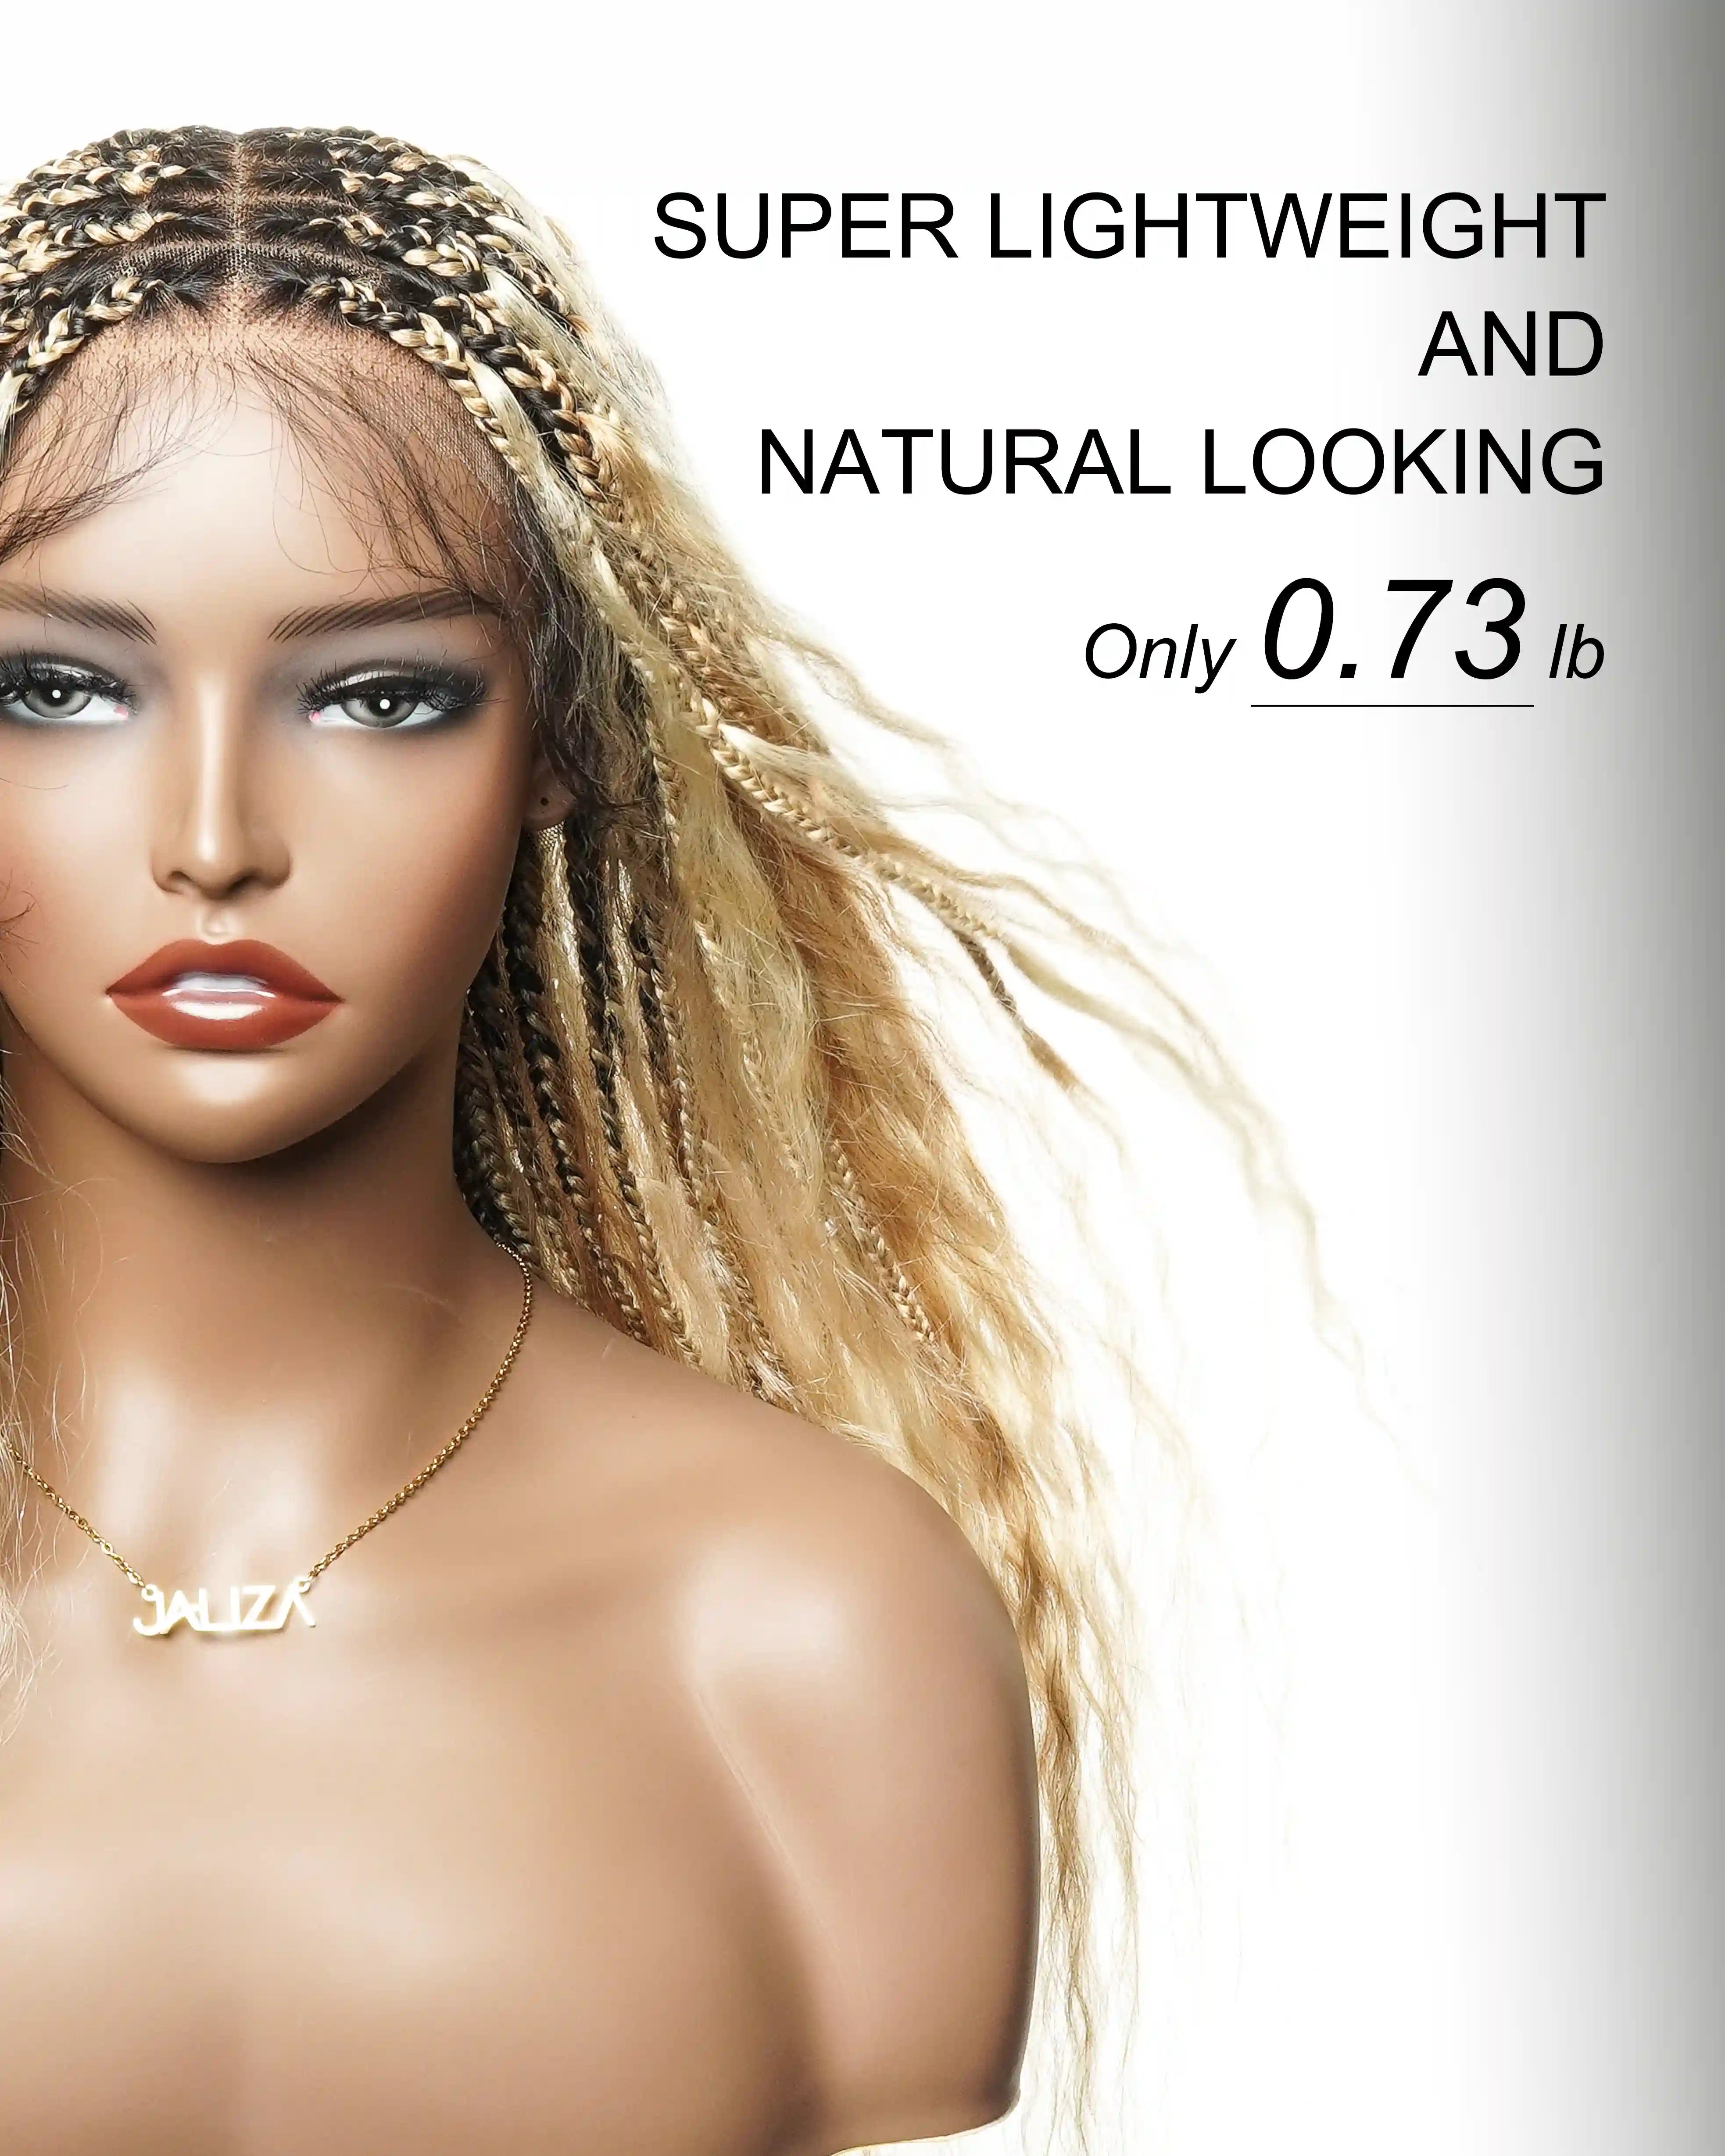
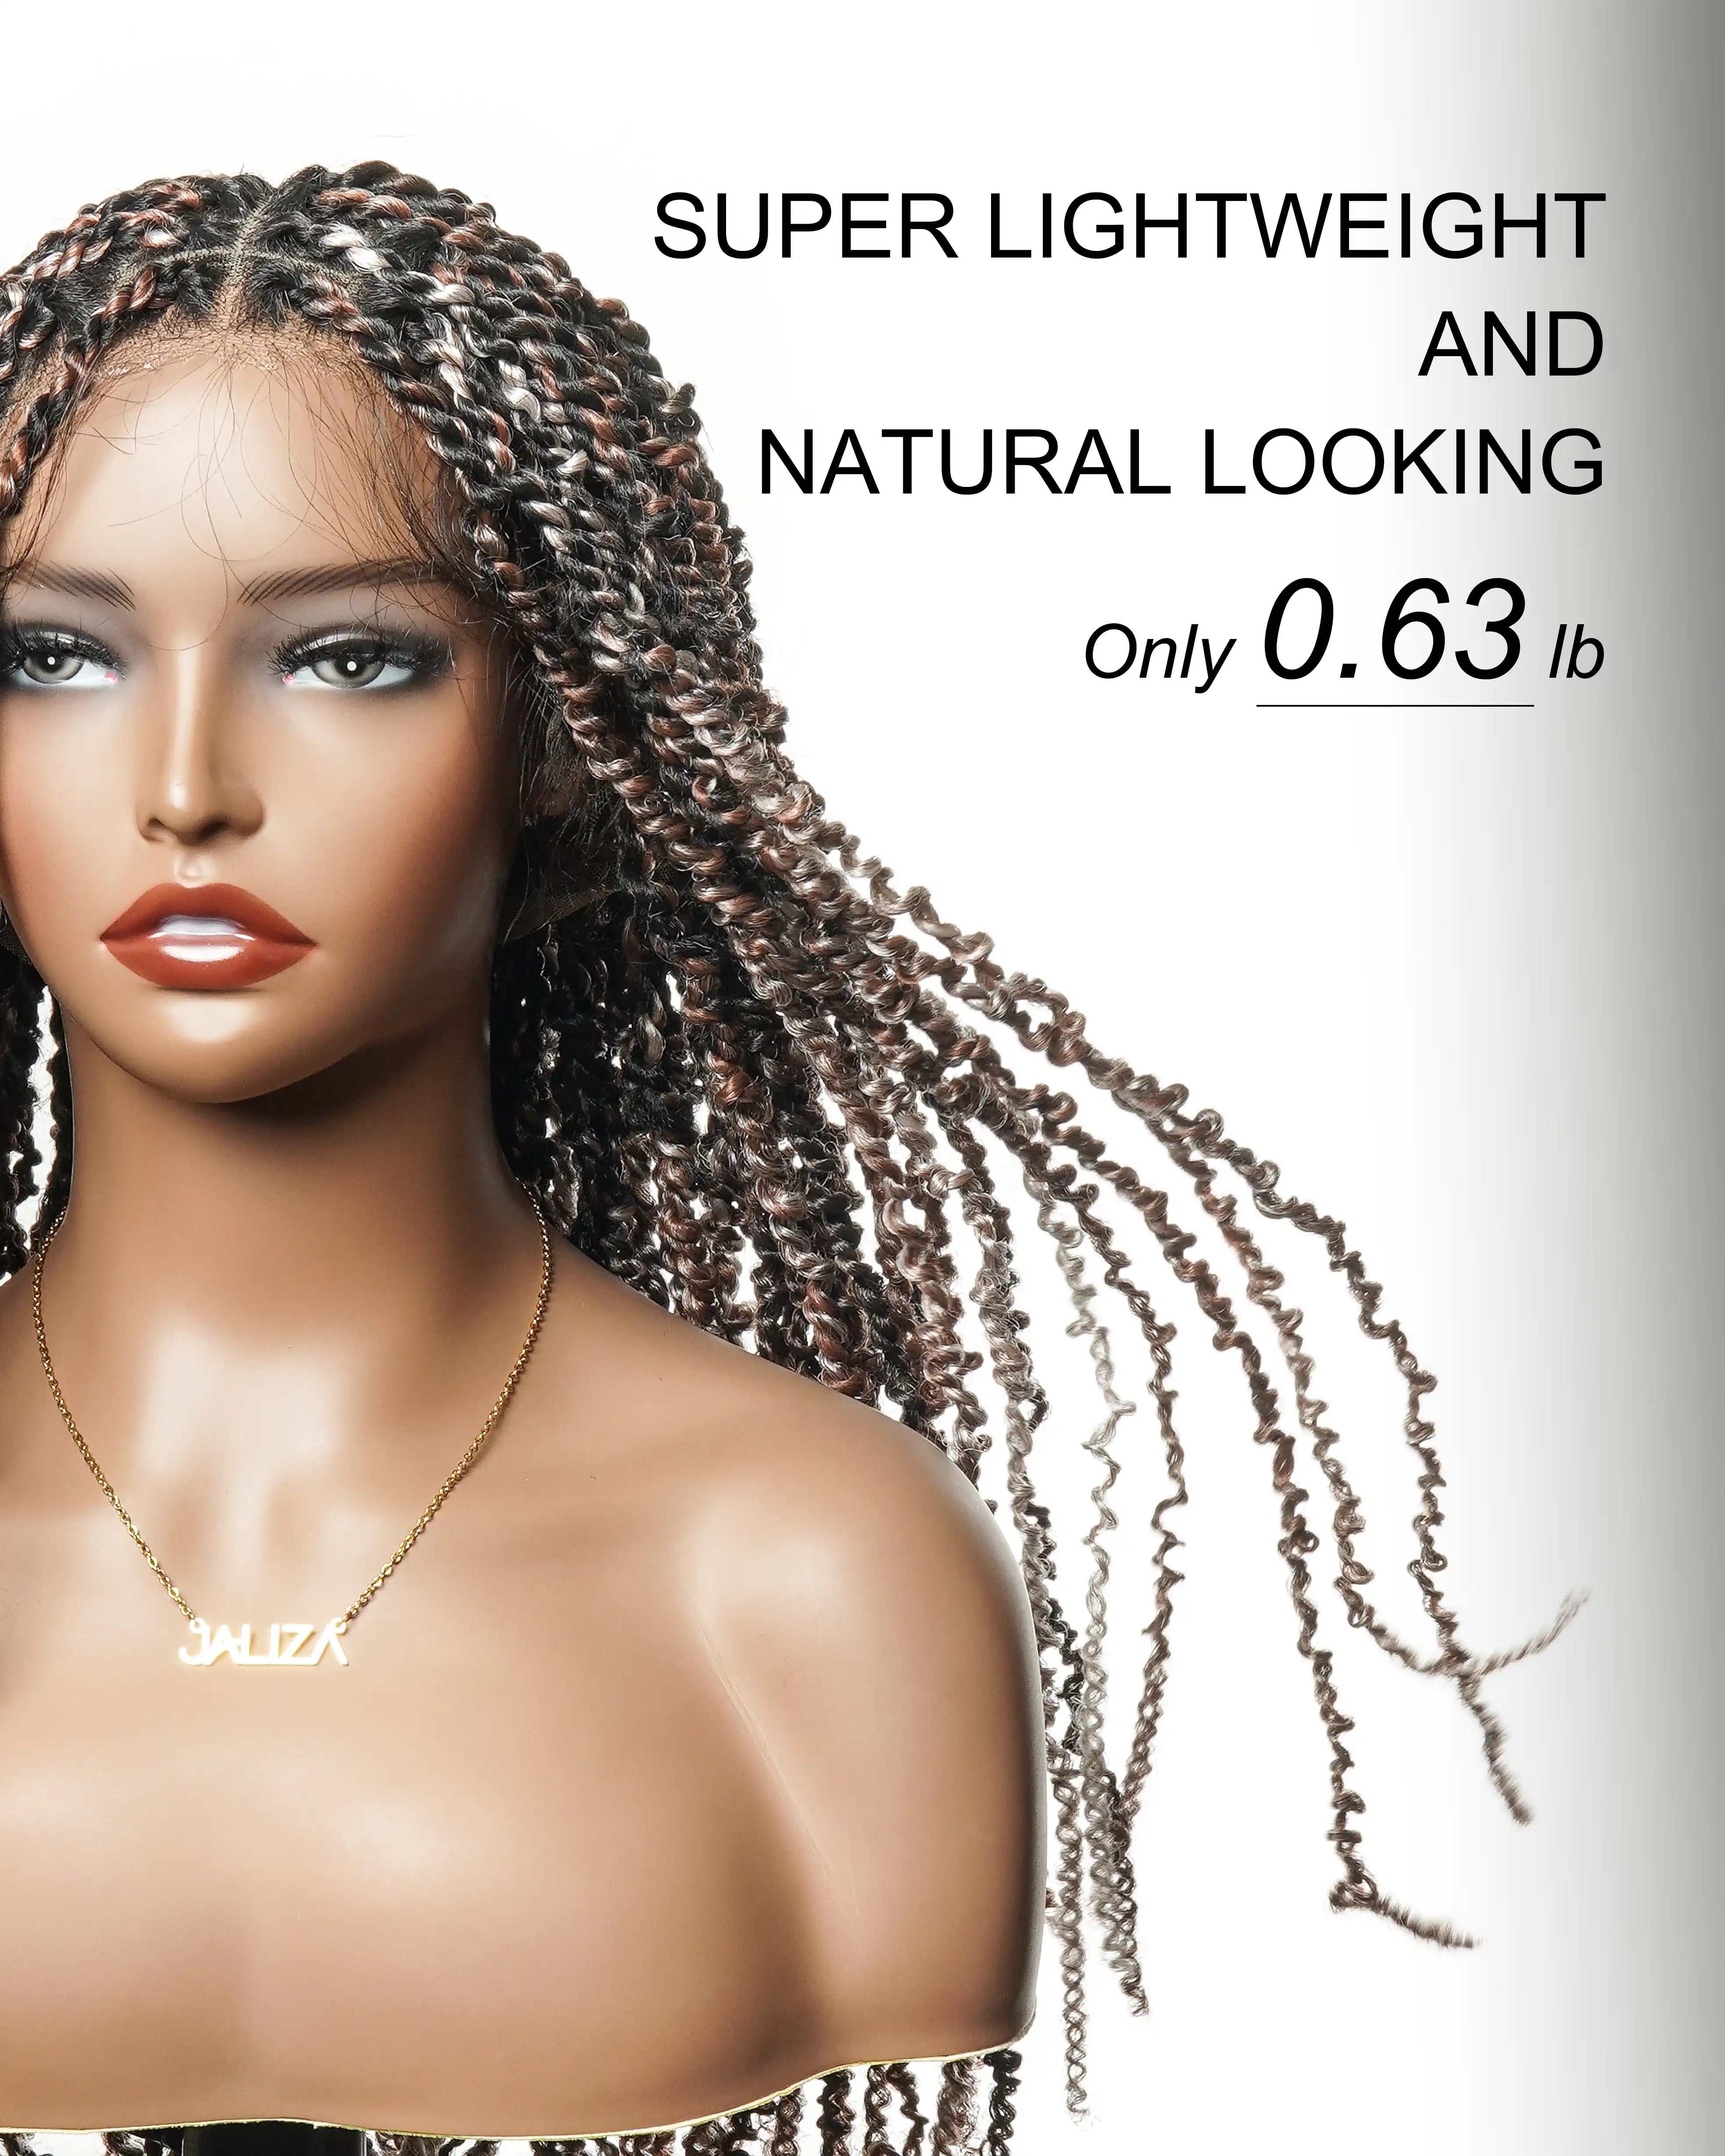
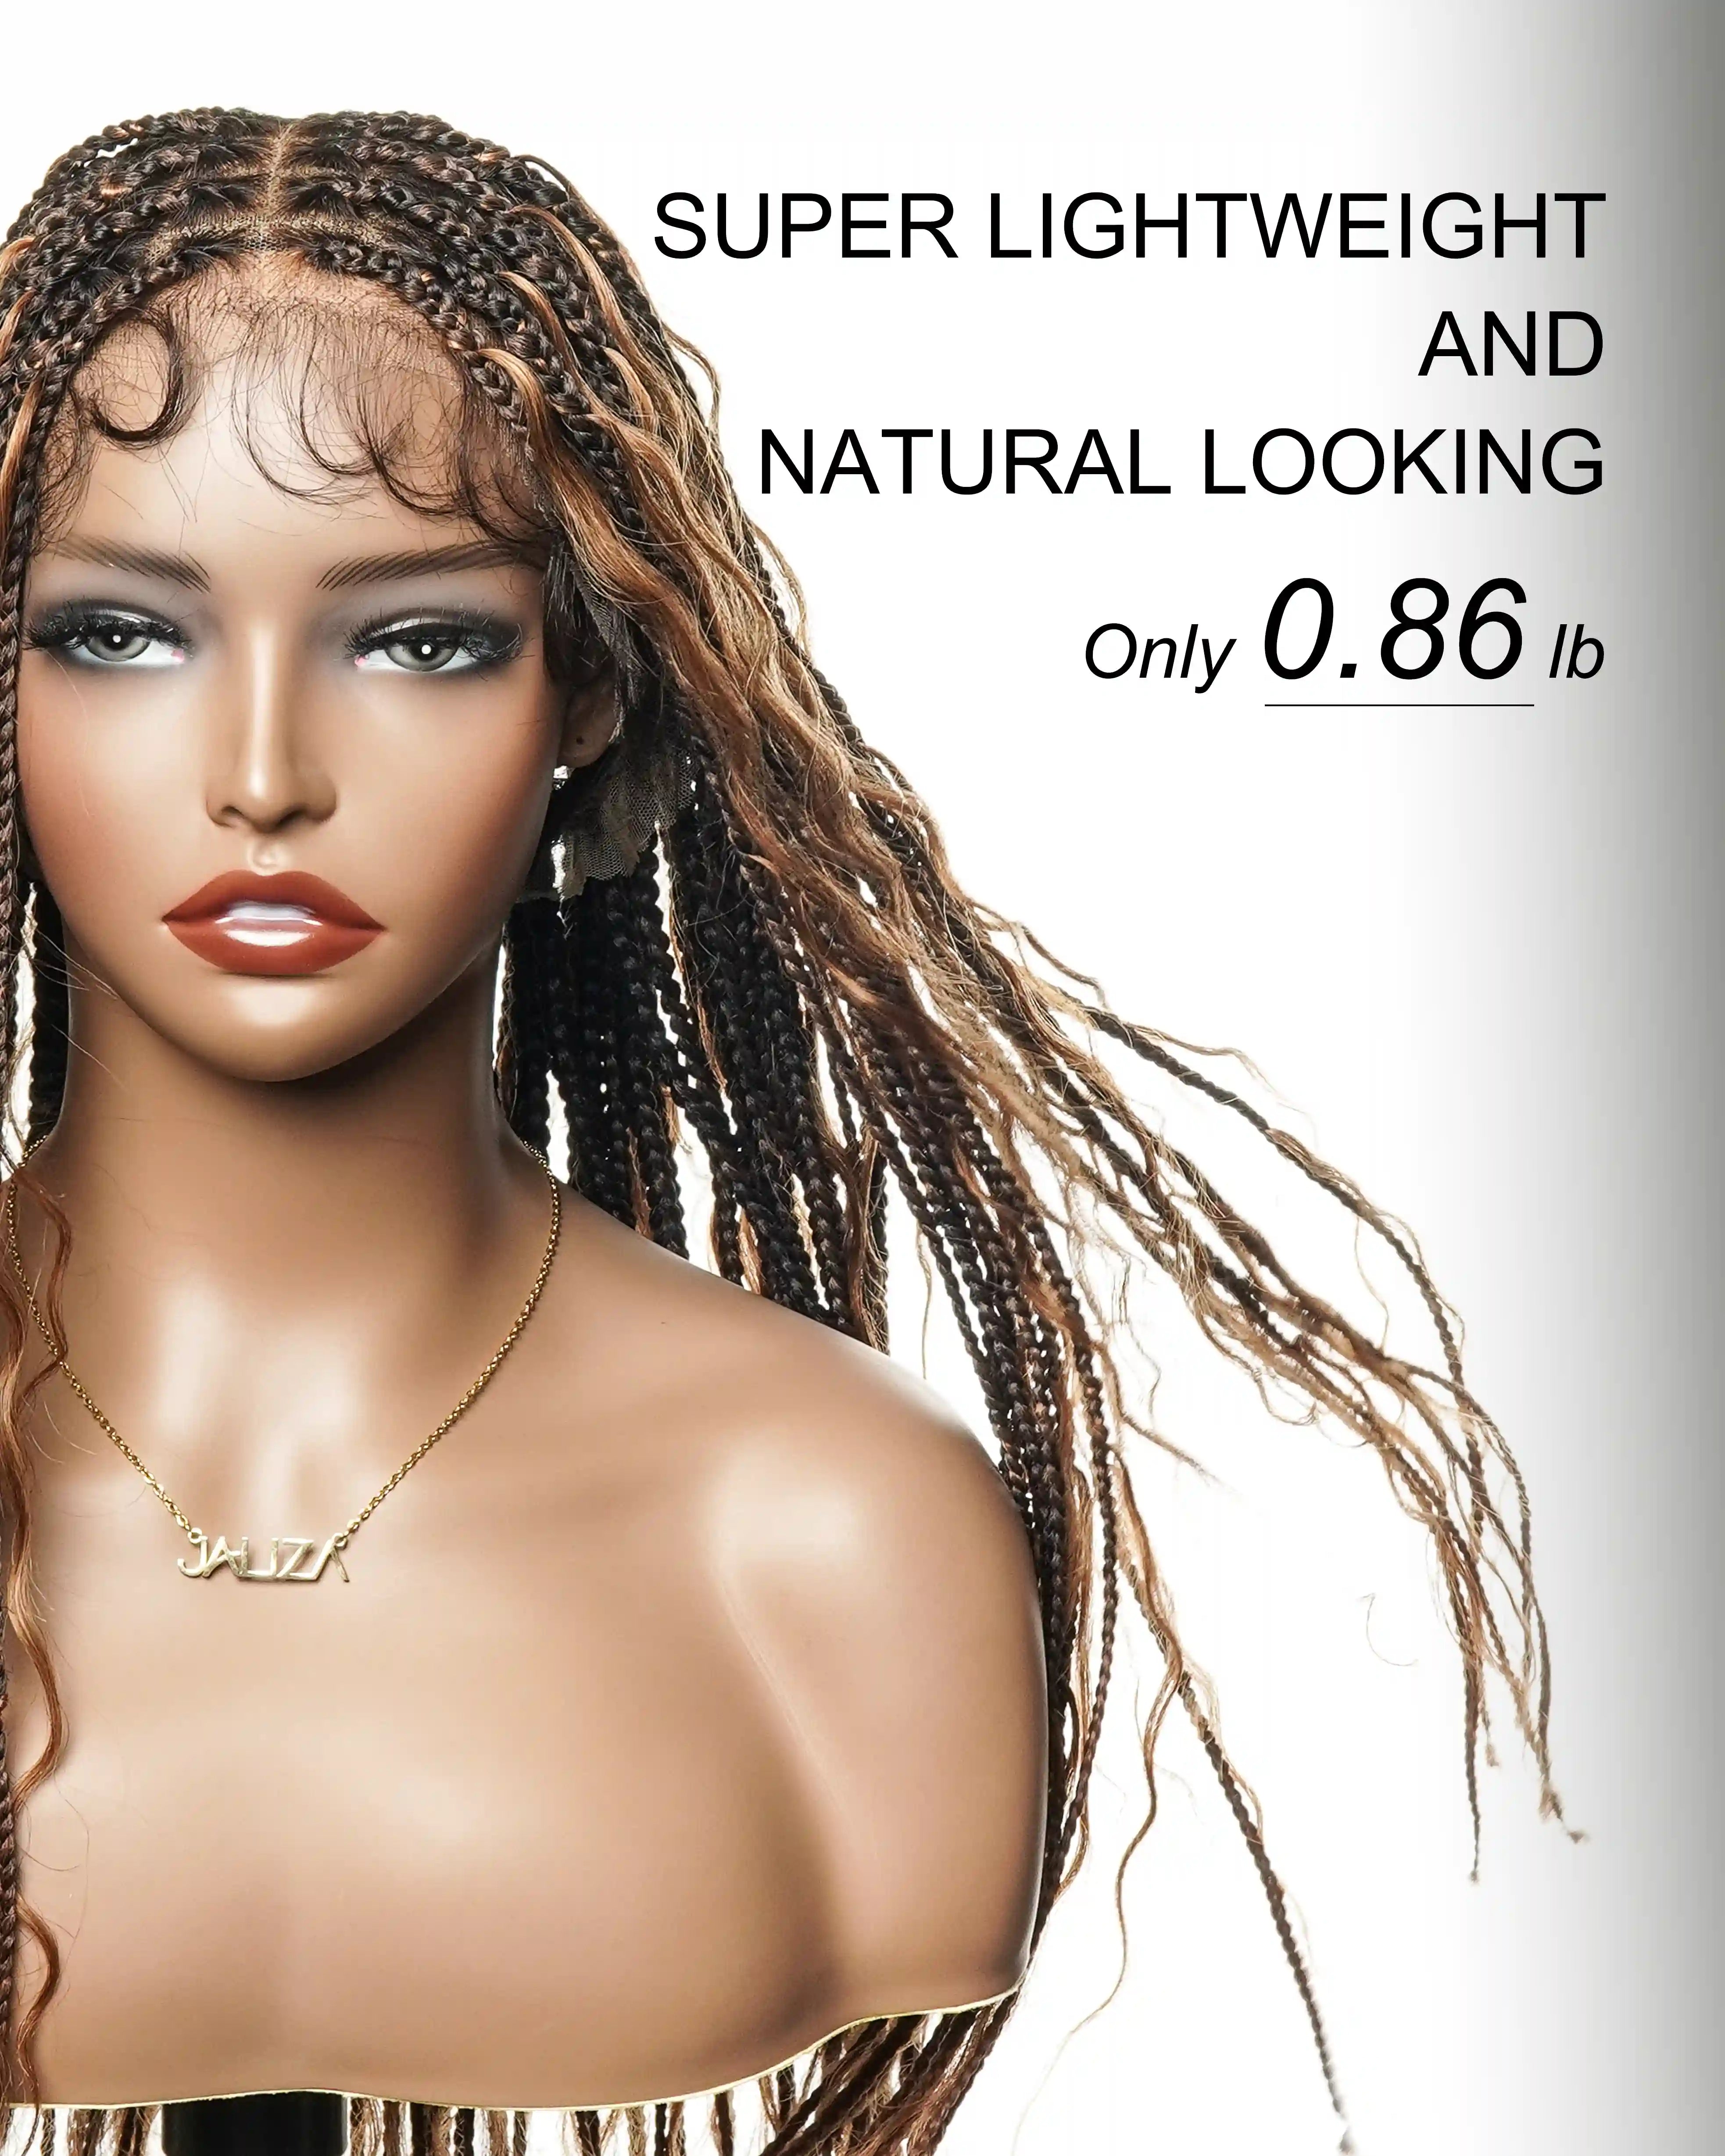
The quality of the materials will have an influence on the final appearance and feel of your loc wig, so choose them carefully. Human hair locs seem more realistic and stay longer, but synthetic locs are less expensive and available in a wider spectrum of colors.
Choosing the Right Locs
The locs are the most essential part of your loc wig. Human hair locs may be cleaned and groomed like natural hair and stay longer, but they are more expensive. On the other hand, synthetic locs are lightweight and pre-styled, but they may have a less natural appearance and feel. Consider your lifestyle, desired look, and budget while making this decision.
You May Also Like: Why are locs braided wigs trending in the hair industry >>
Preparing the Mannequin Head
Begin by securing the loc wig cap to the mannequin head, ensuring it is snug and aligned with where it would sit on your head. If required, connect it with T-pins. A tight fit is necessary to prevent slippage while attaching the locs.
You May Also Like: Are locs braided wigs the perfect hairstyle solution >>
Attaching the Locs
Attaching the locs to the loc wig cap is the most critical and time-consuming part of creating your loc wig. Below is a thorough overview of the steps involved:
Beginning the Process: Start at the base of the wig cap, the area at the nape of the neck. Secure the wig cap onto the mannequin head using T-pins to ensure that it doesn't move around as you work.
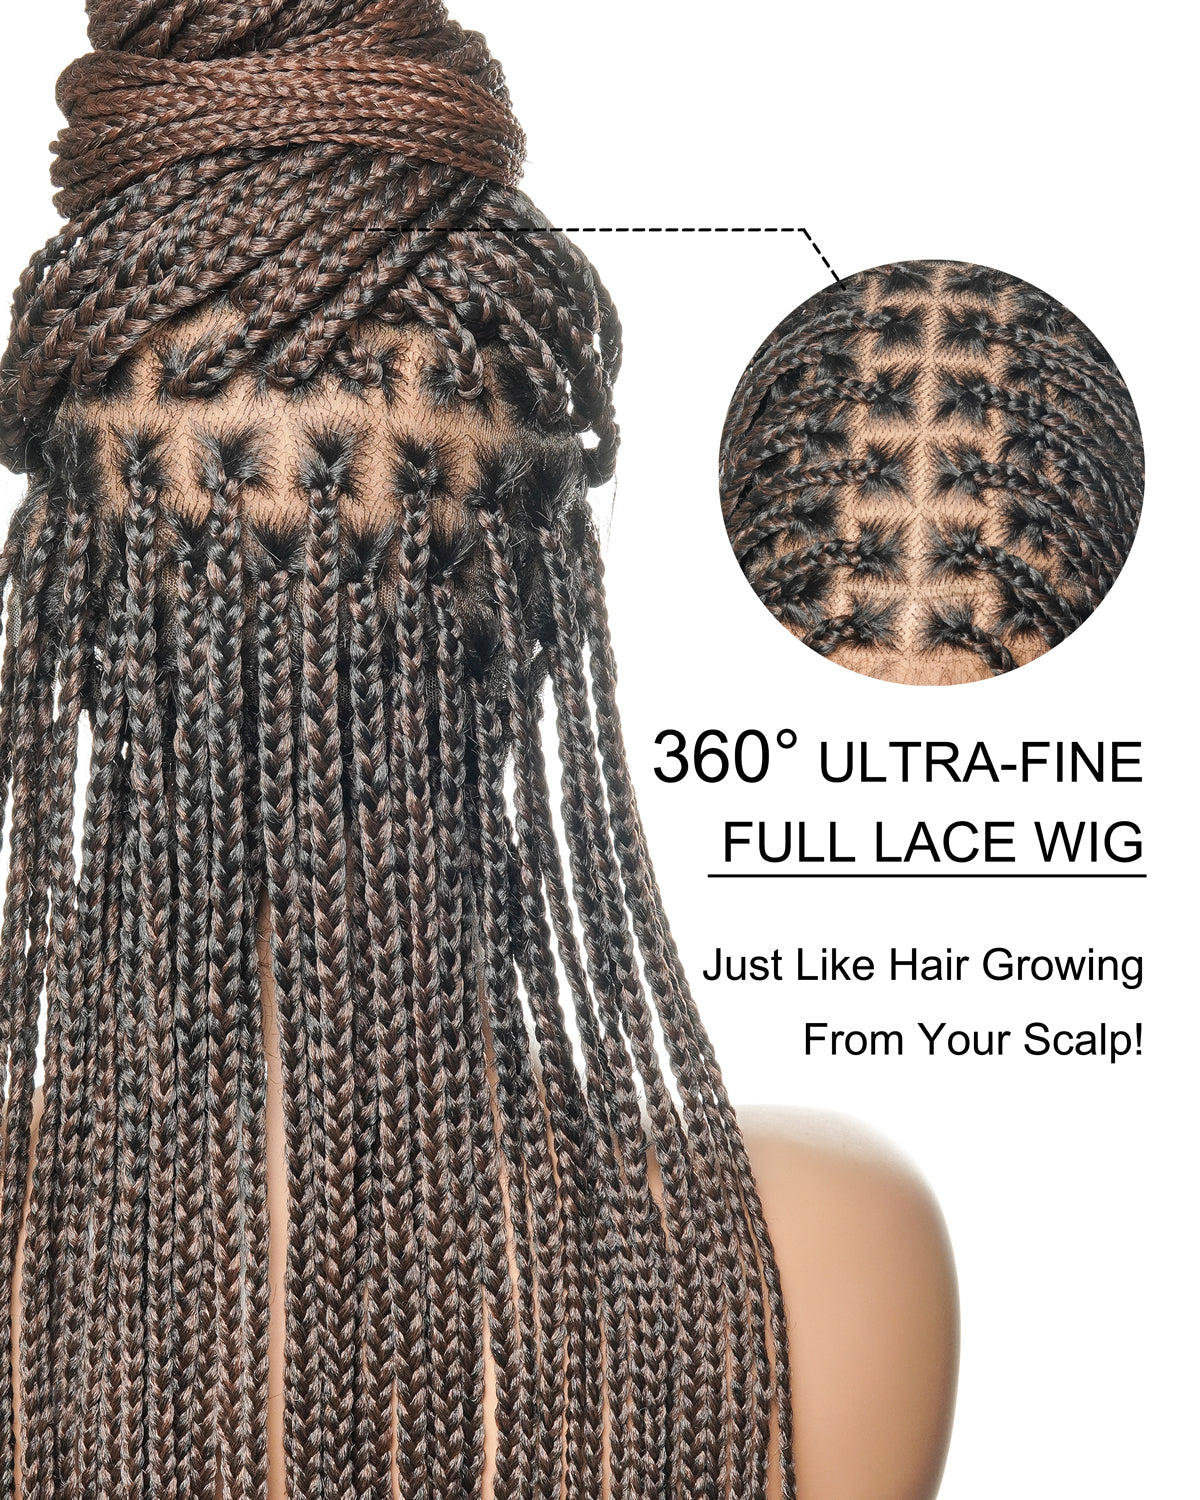
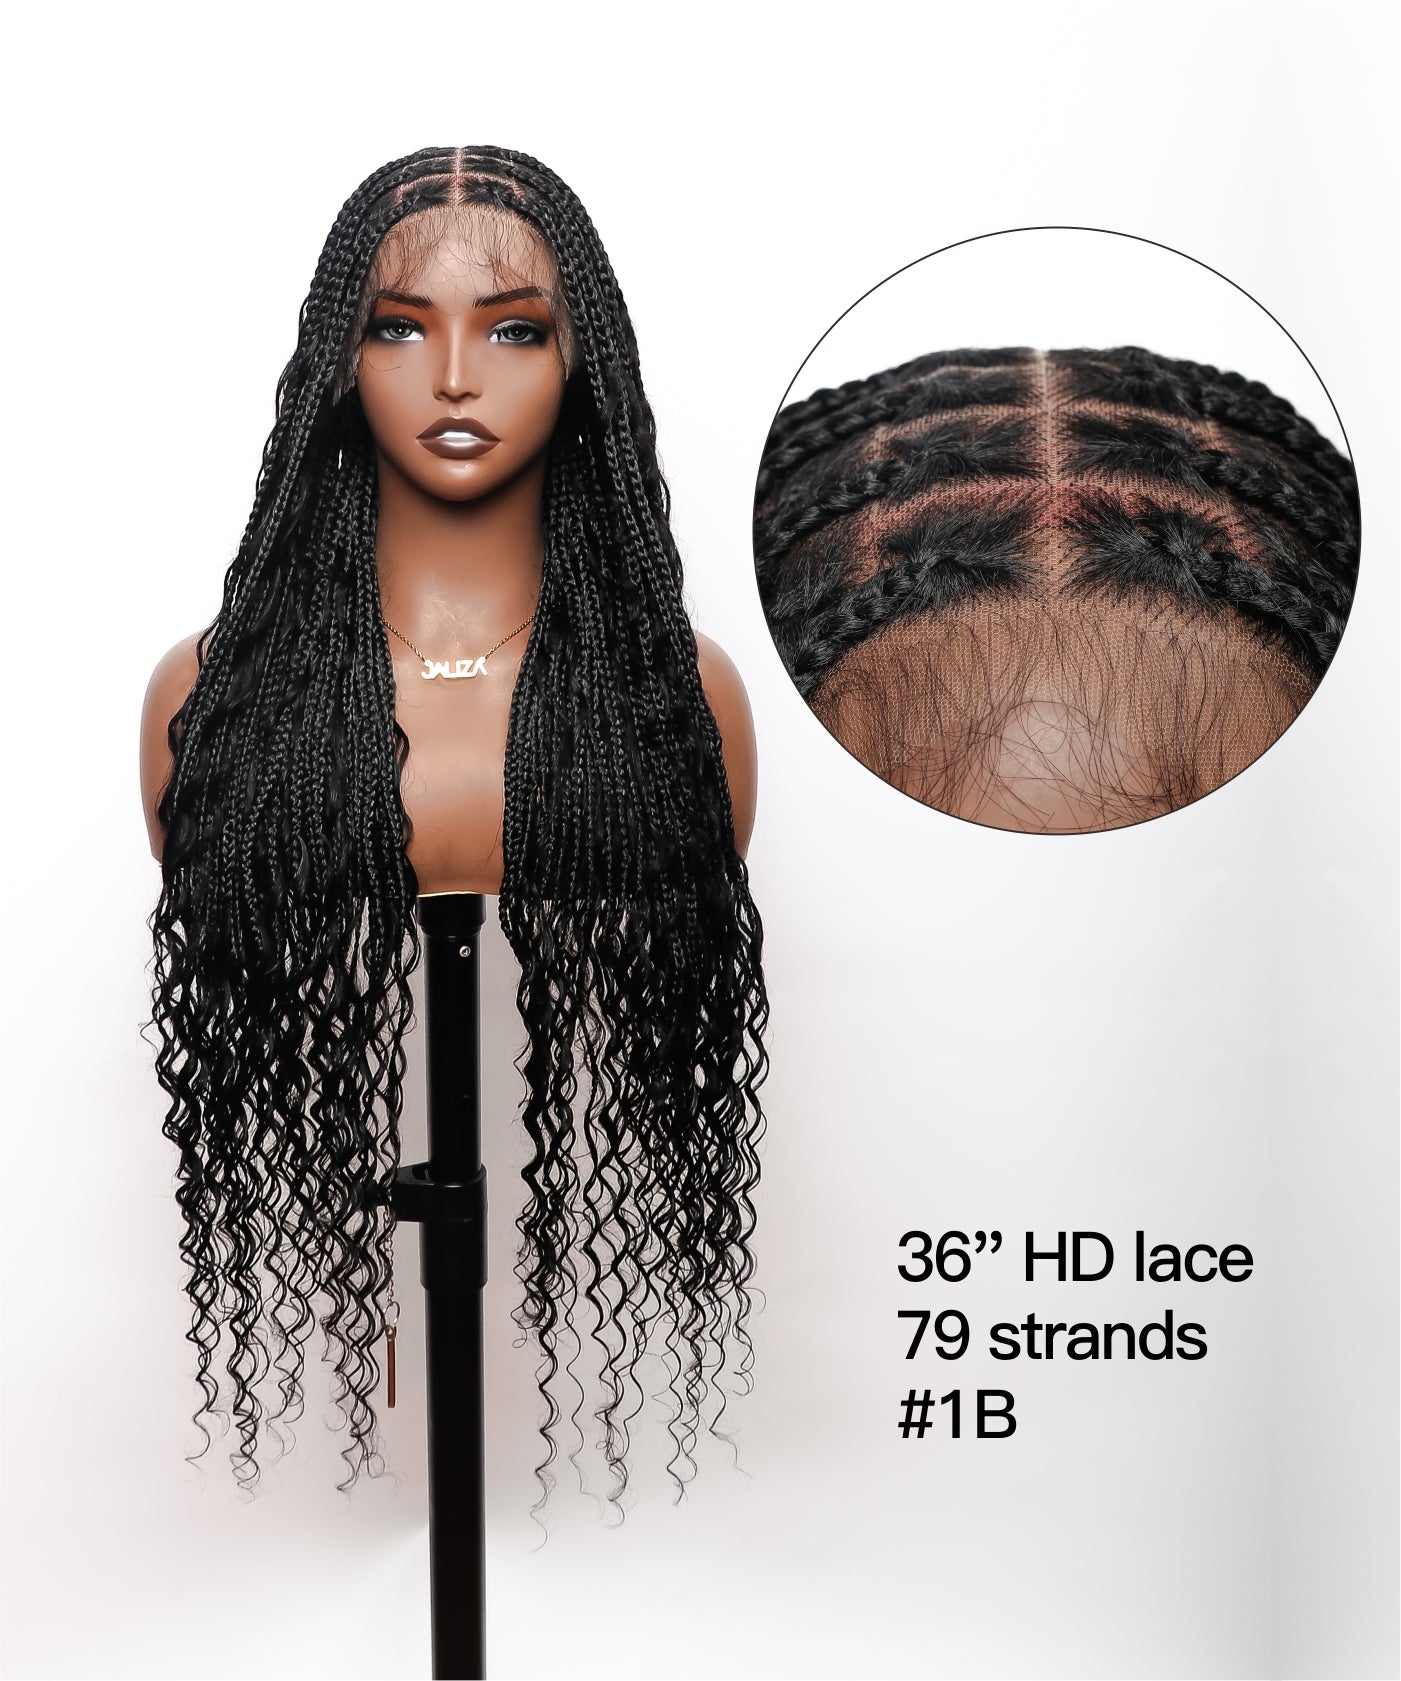
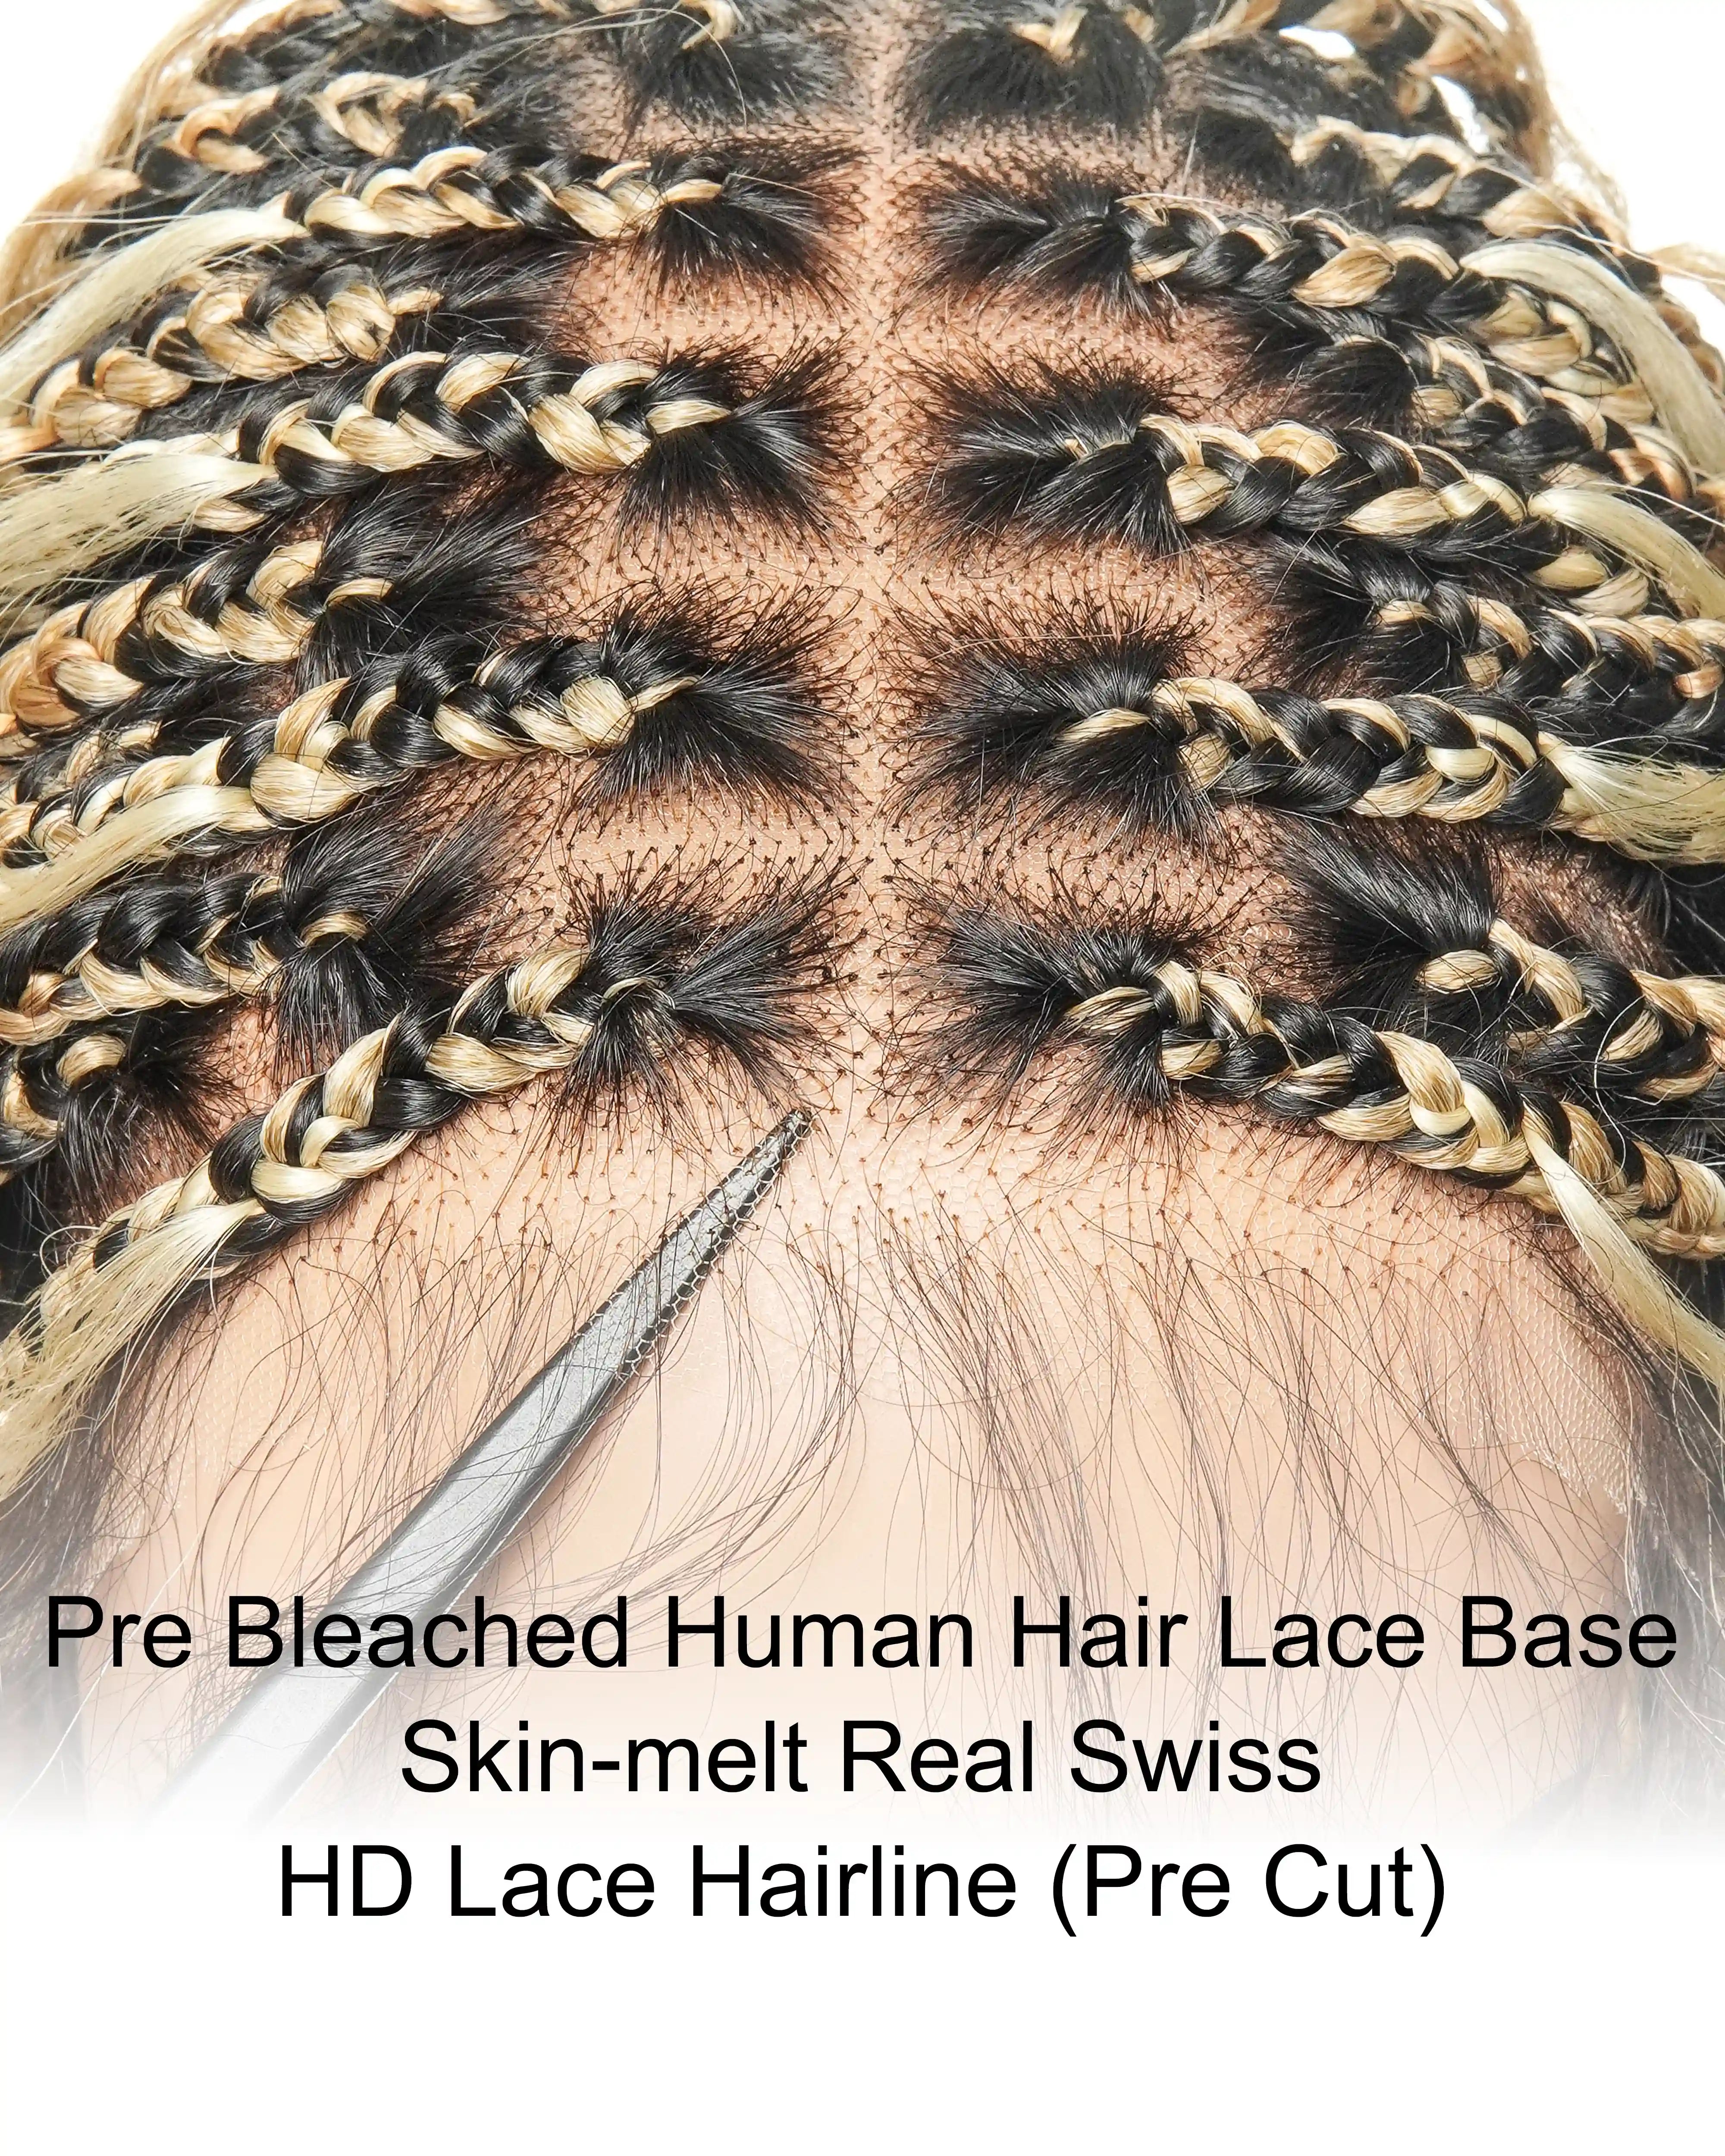
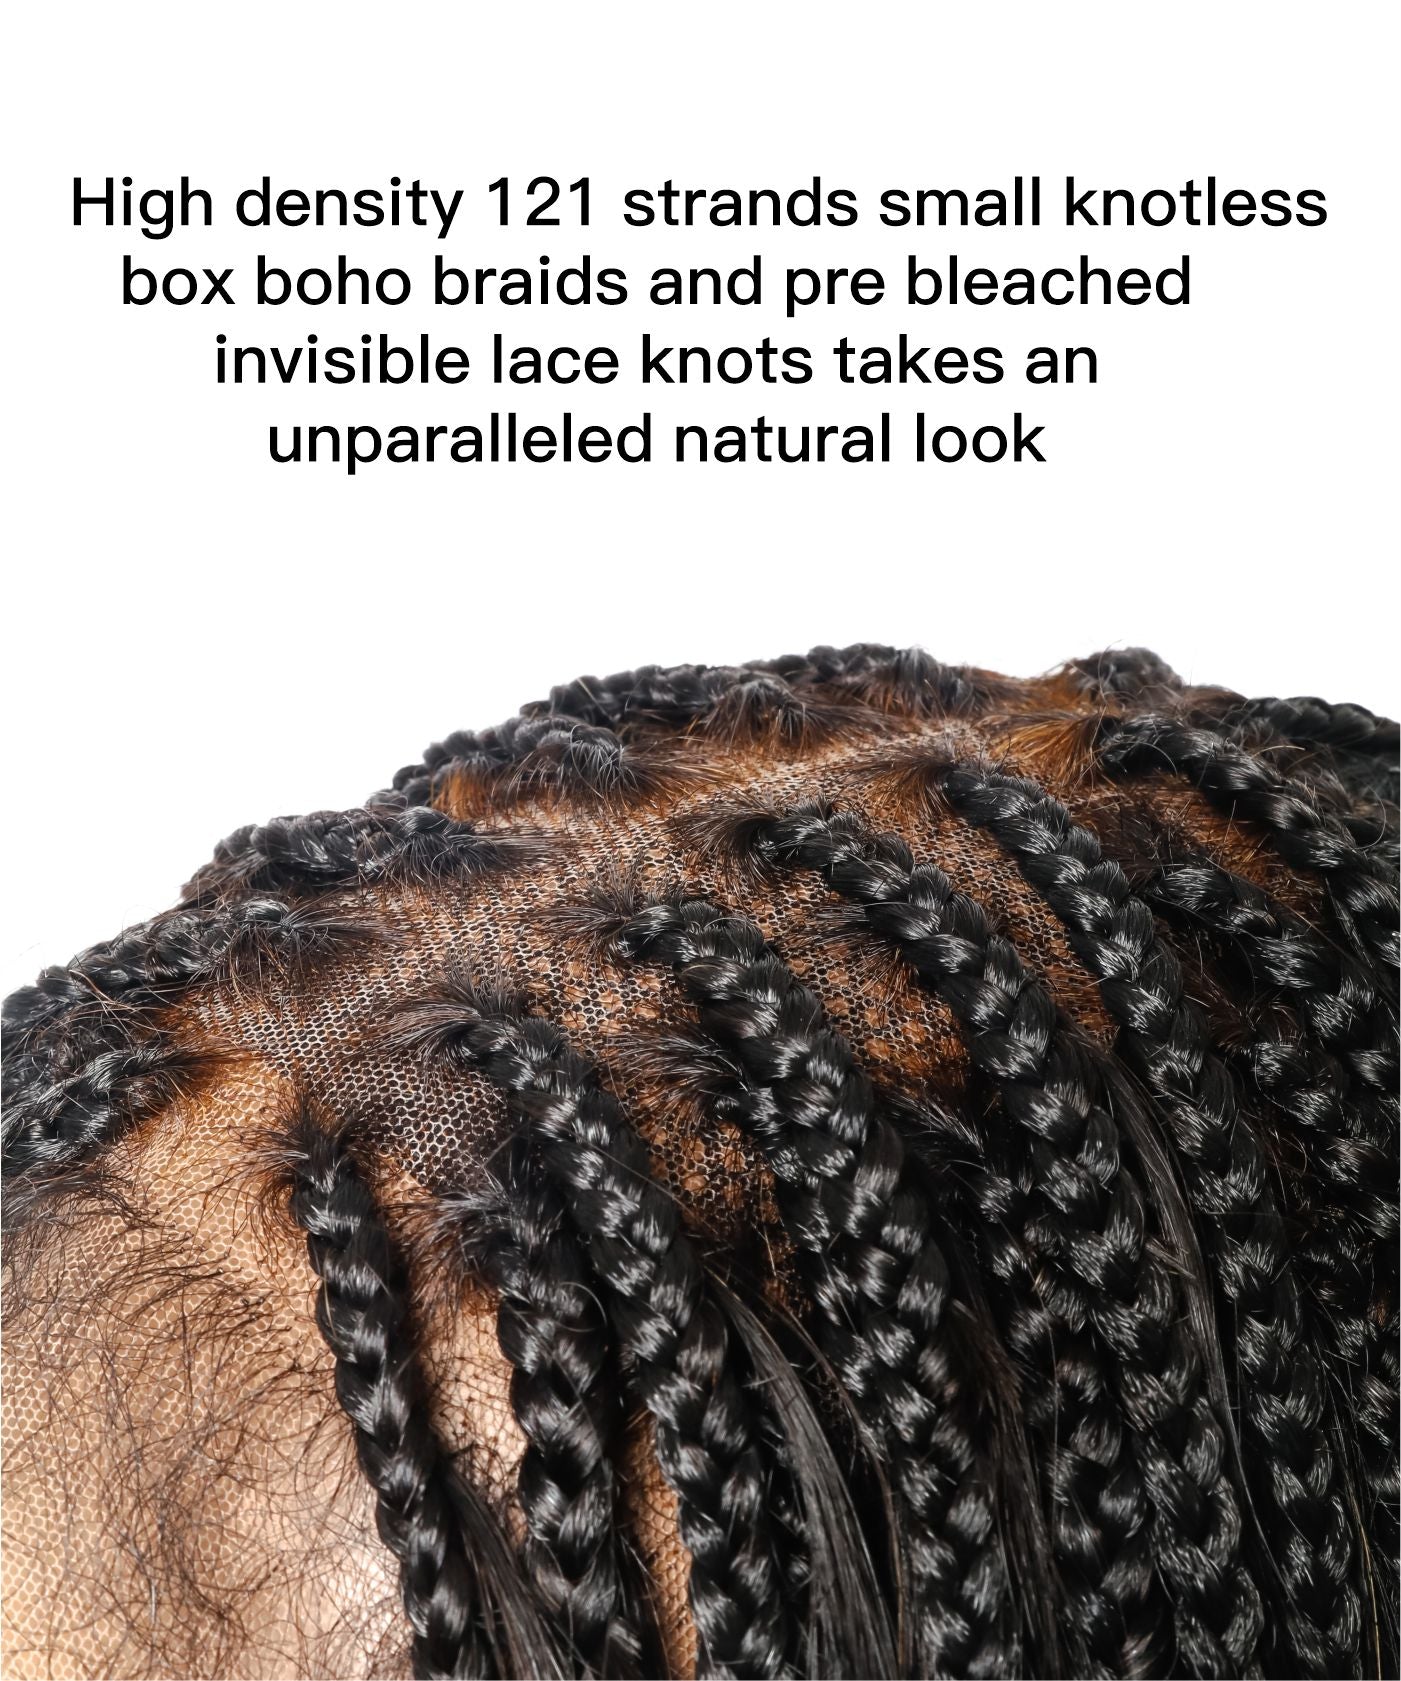
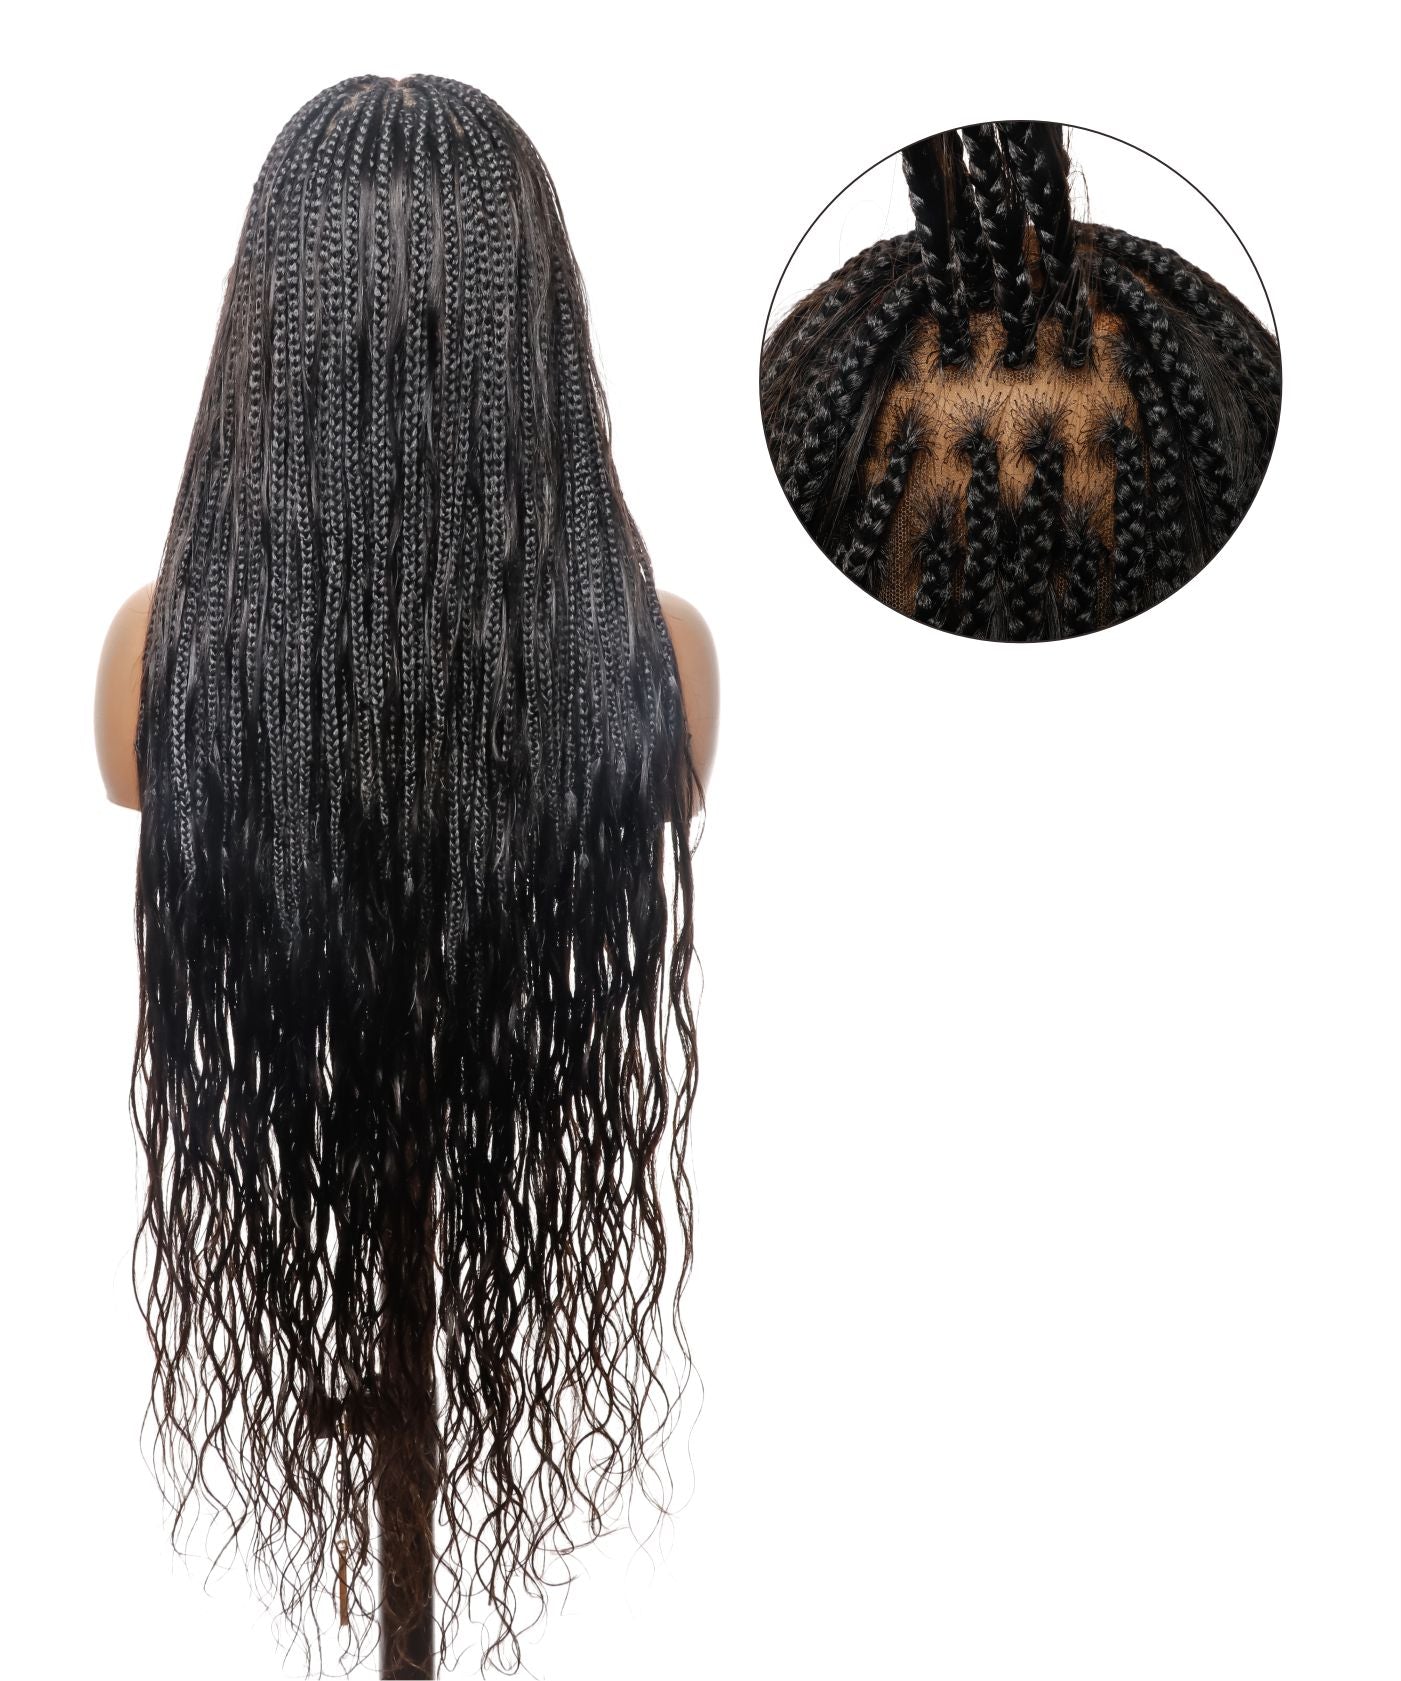
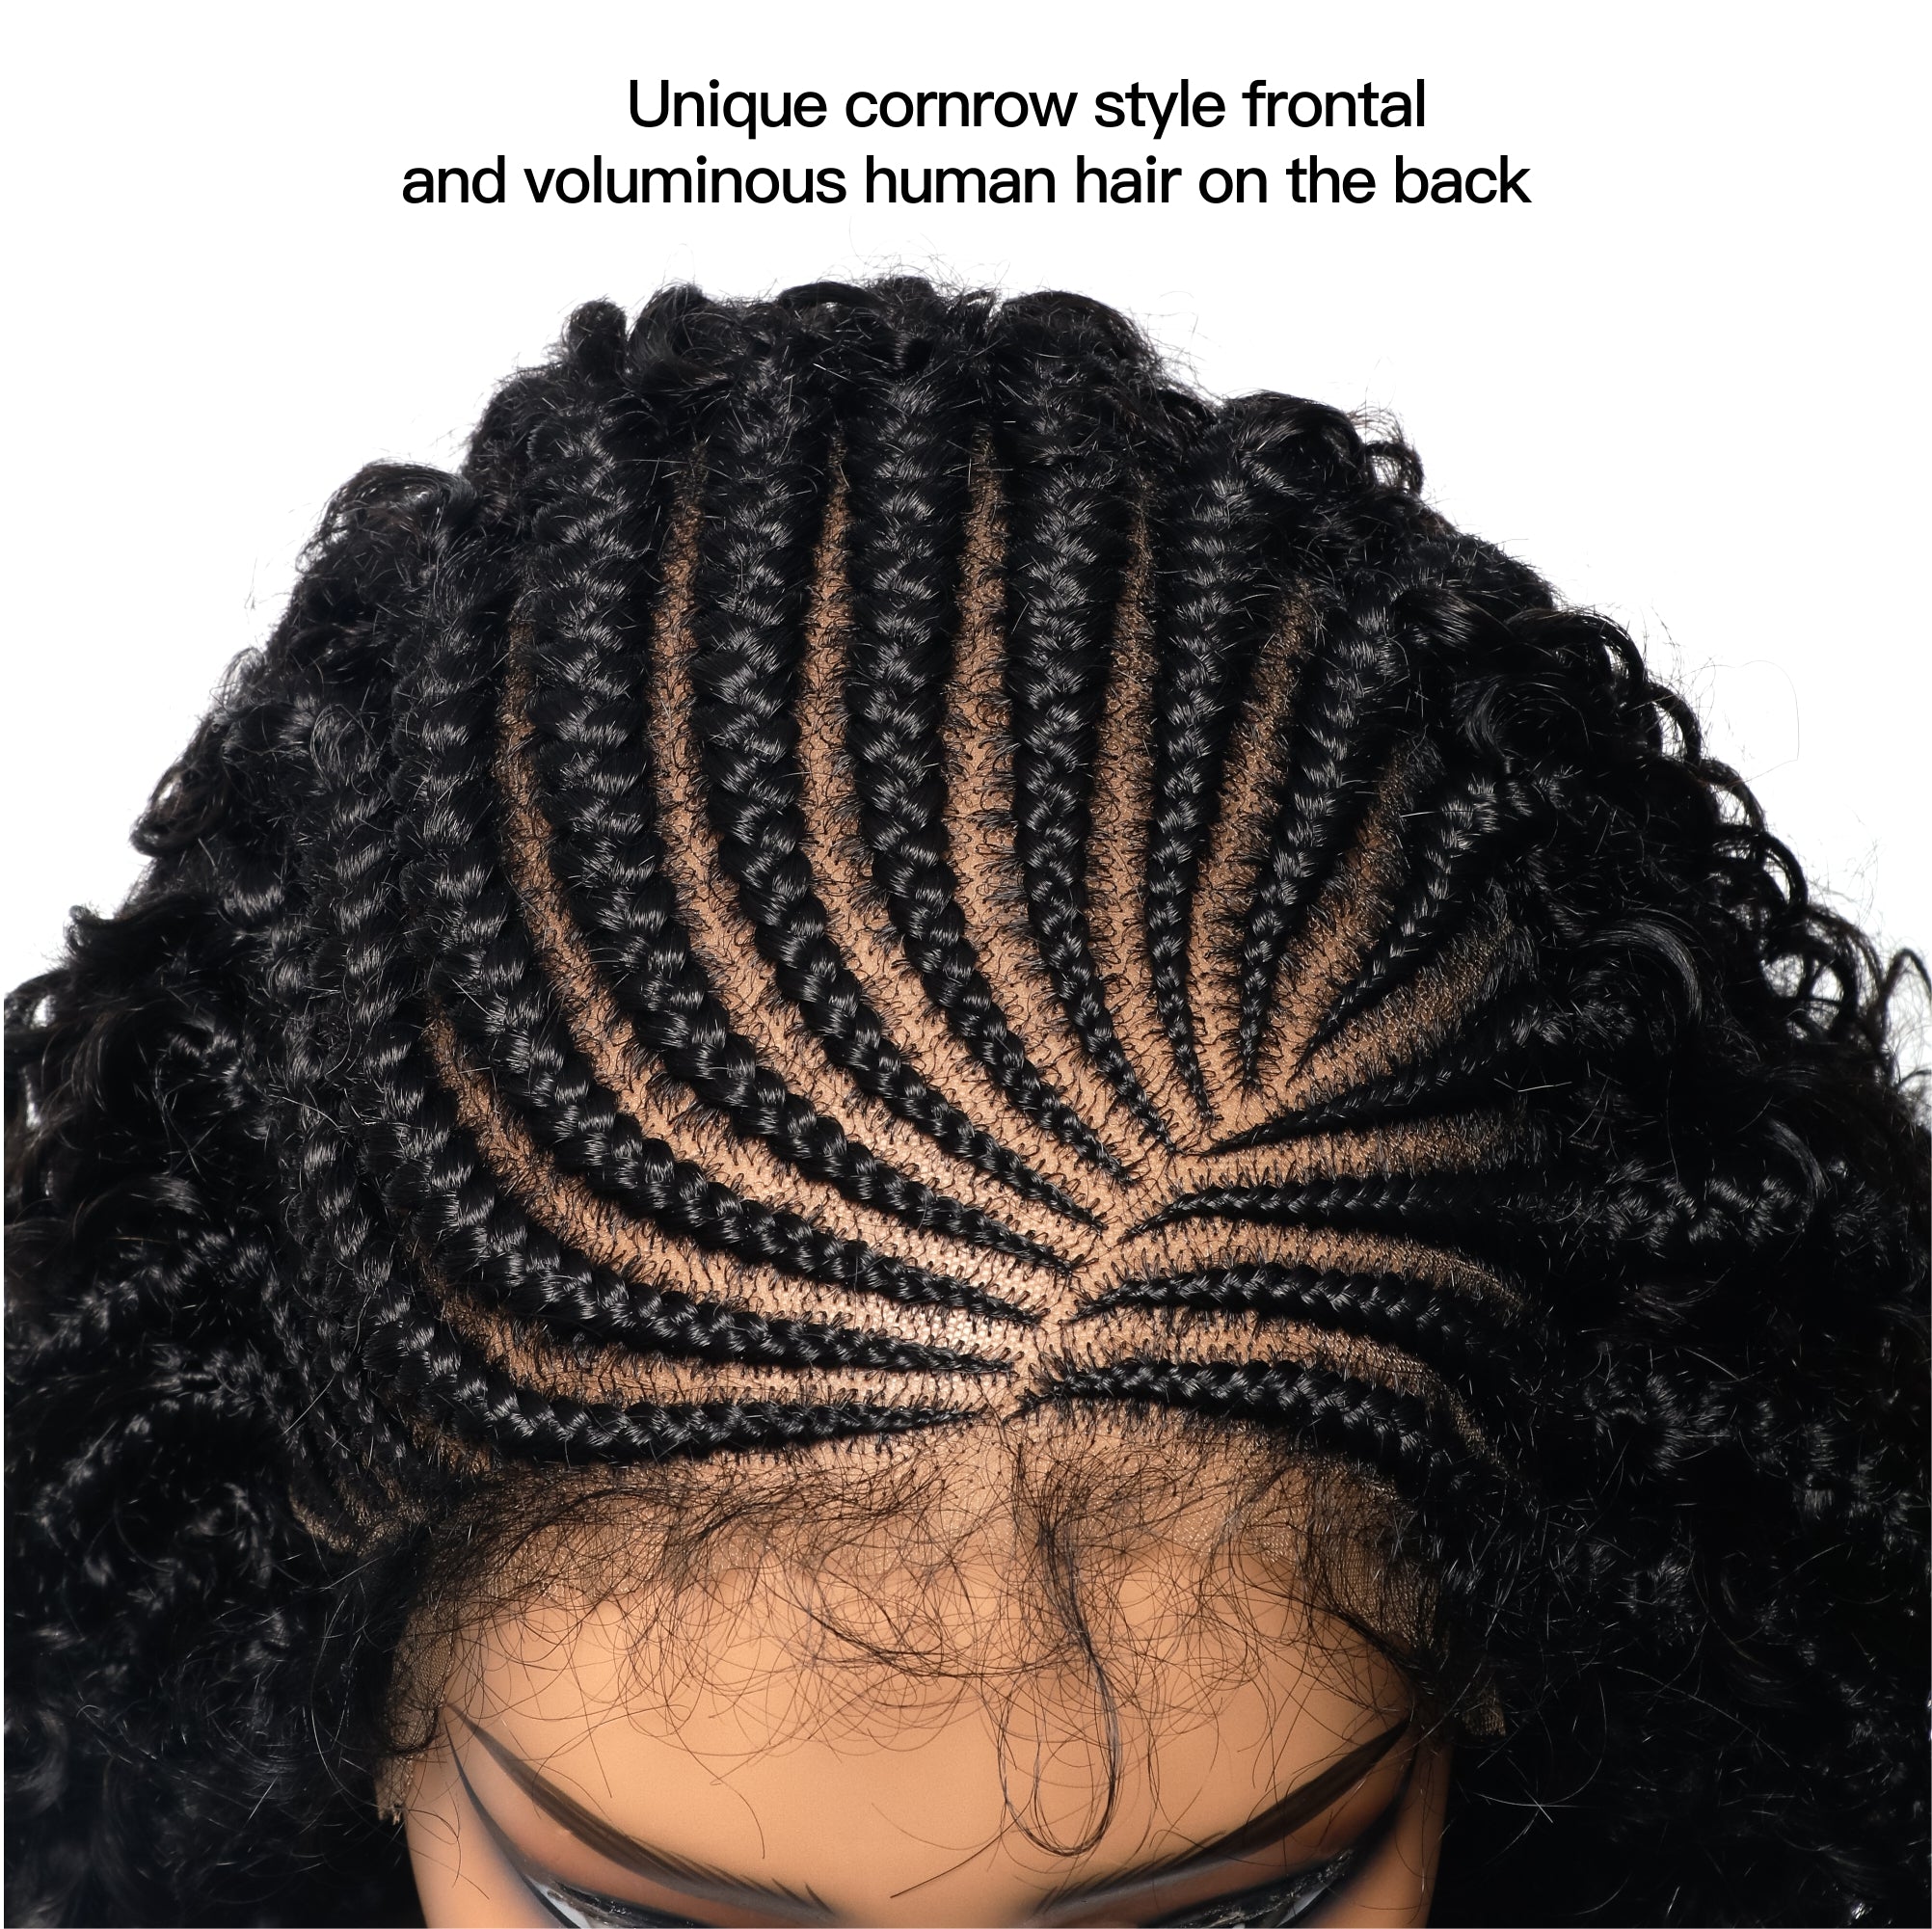
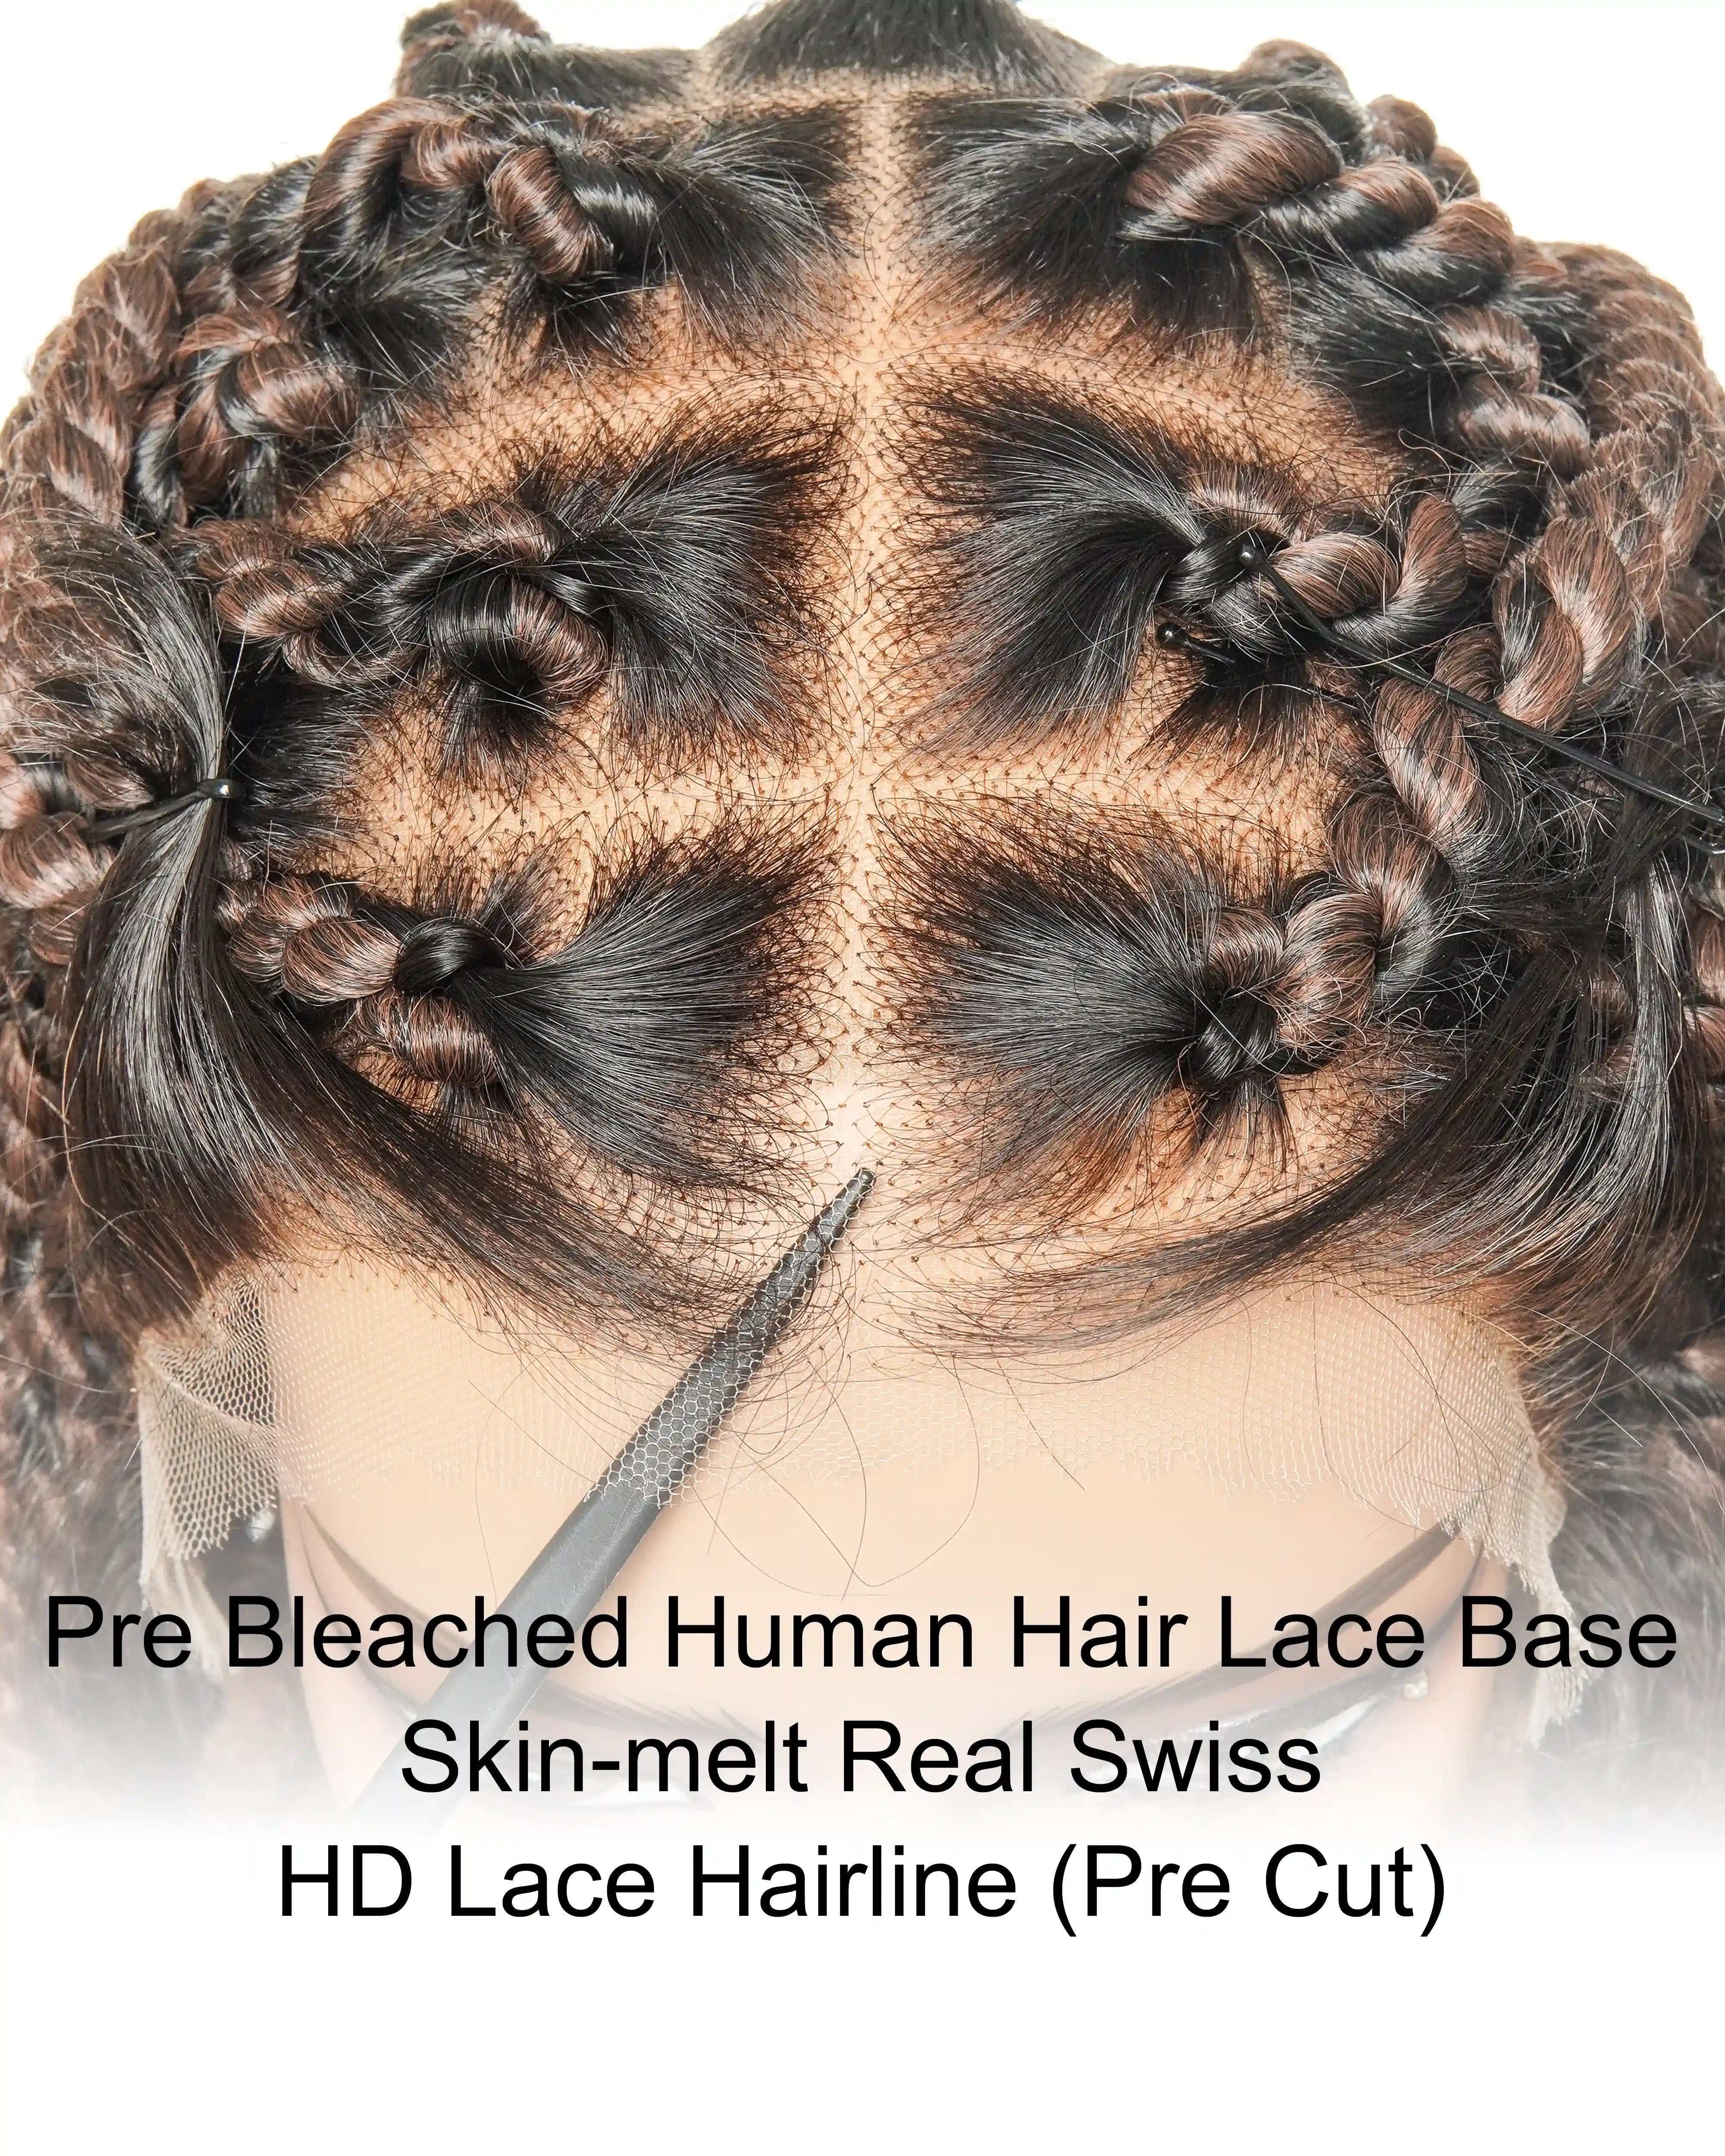
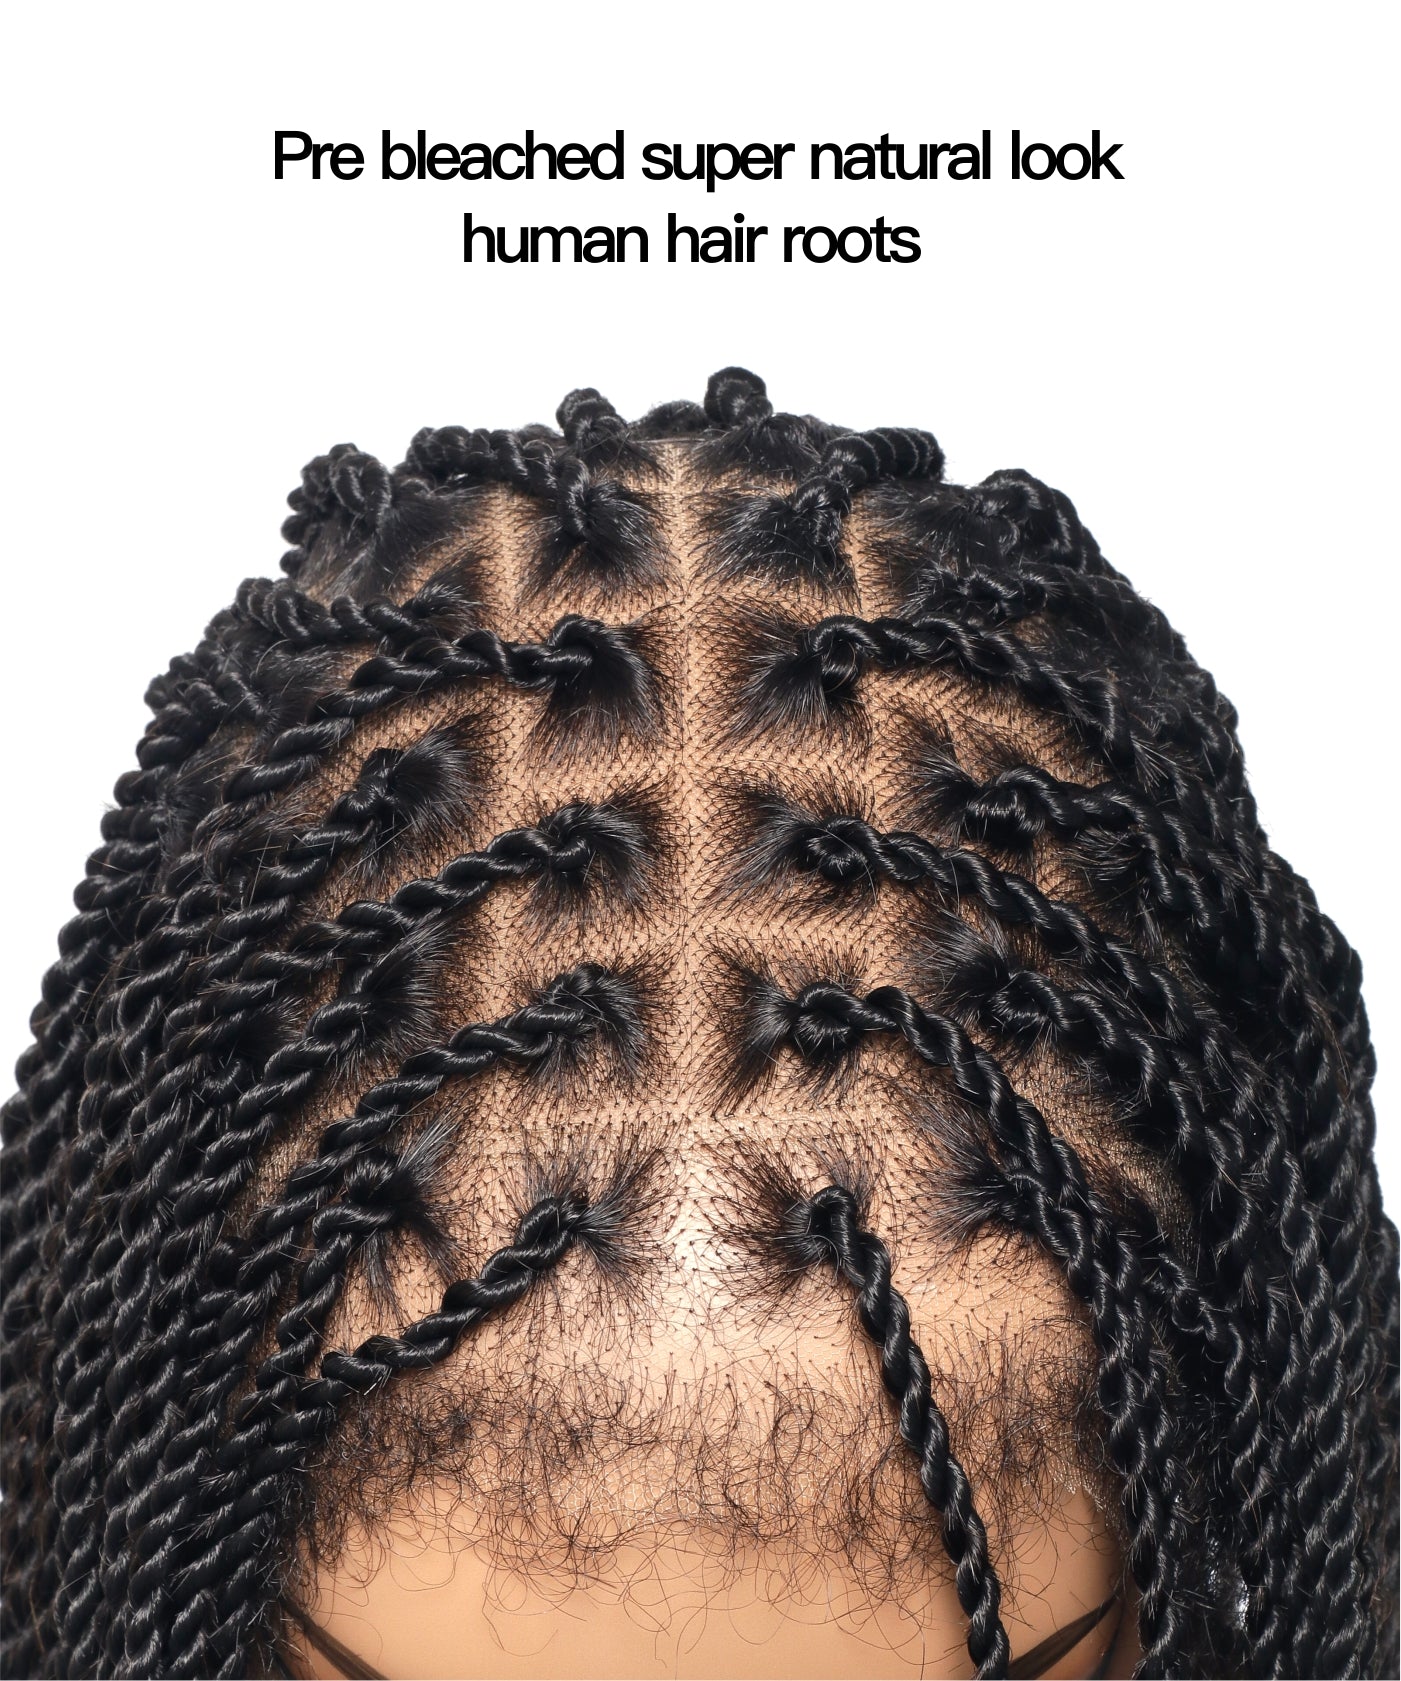
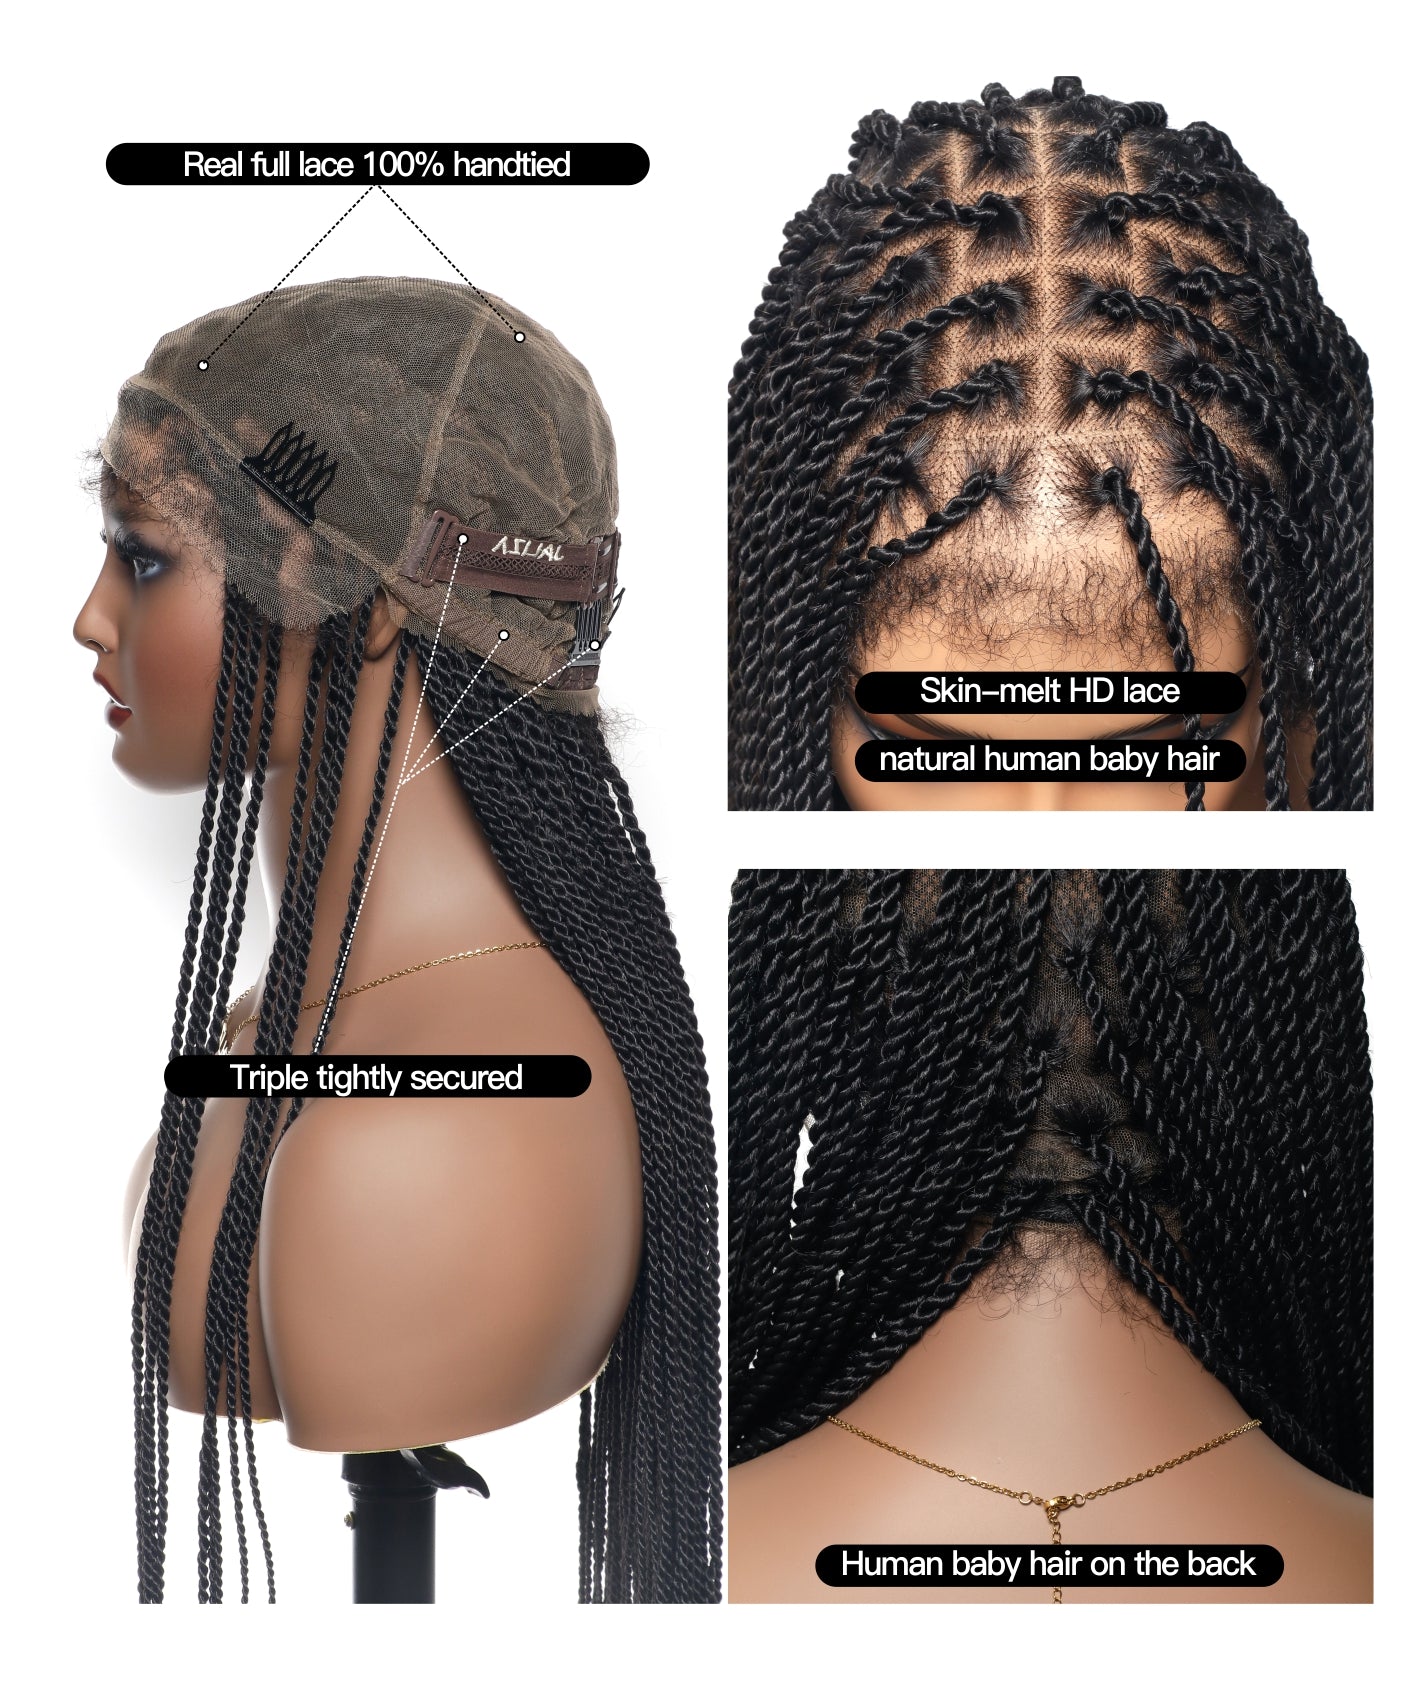
Sectioning the Cap: Use a marker to lightly dot the wig cap where each loc will be attached. This step is crucial for ensuring even spacing and distribution of the locs. You'll want to start with the perimeter and work your way inwards in concentric circles or rows.
Crocheting the Locs: Thread the crochet needle with the end of the loc. Push the needle through the wig cap from the underside, catching a small portion of the loc with the hook and then pulling it back through the cap. You'll have a loop on one side and the ends on the other.
Securing the Locs: Take the ends of the loc and pull them through the loop to create a knot. This should be done tightly enough to secure the loc without ripping the wig cap. It's essential to ensure that the knots are consistent in size and tension to prevent any loc from coming loose or creating an uneven appearance on the cap.
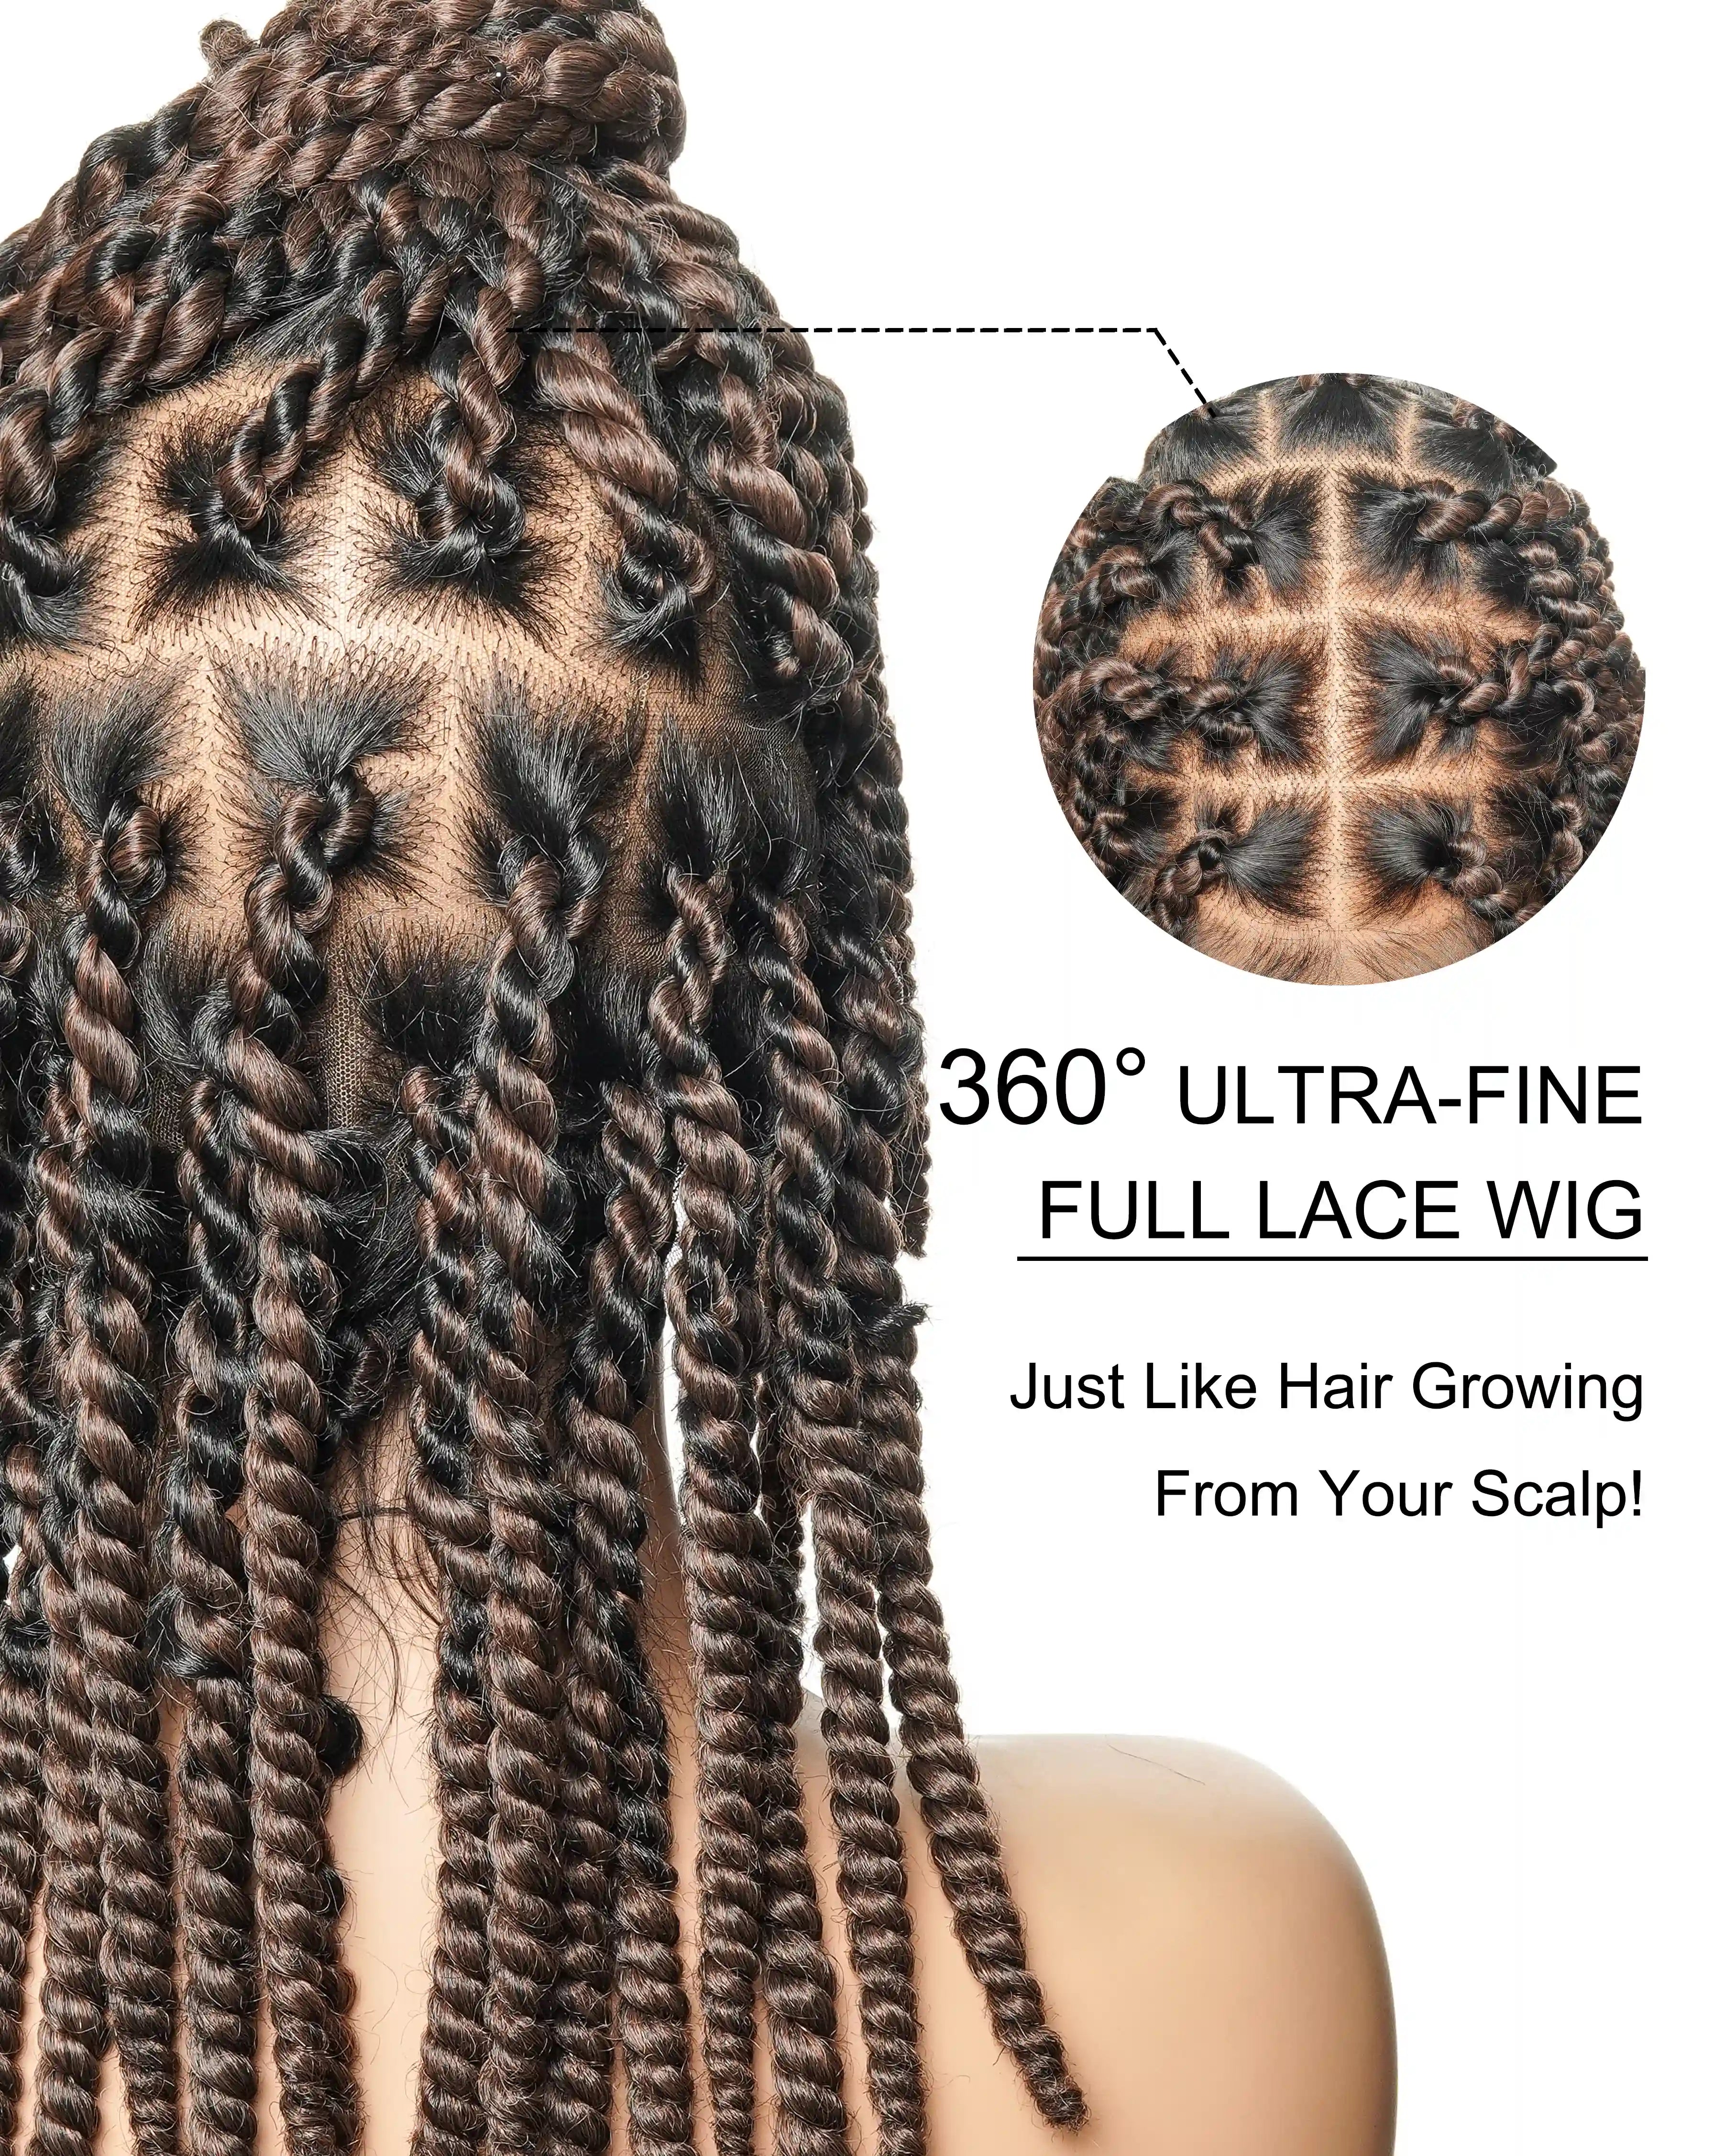
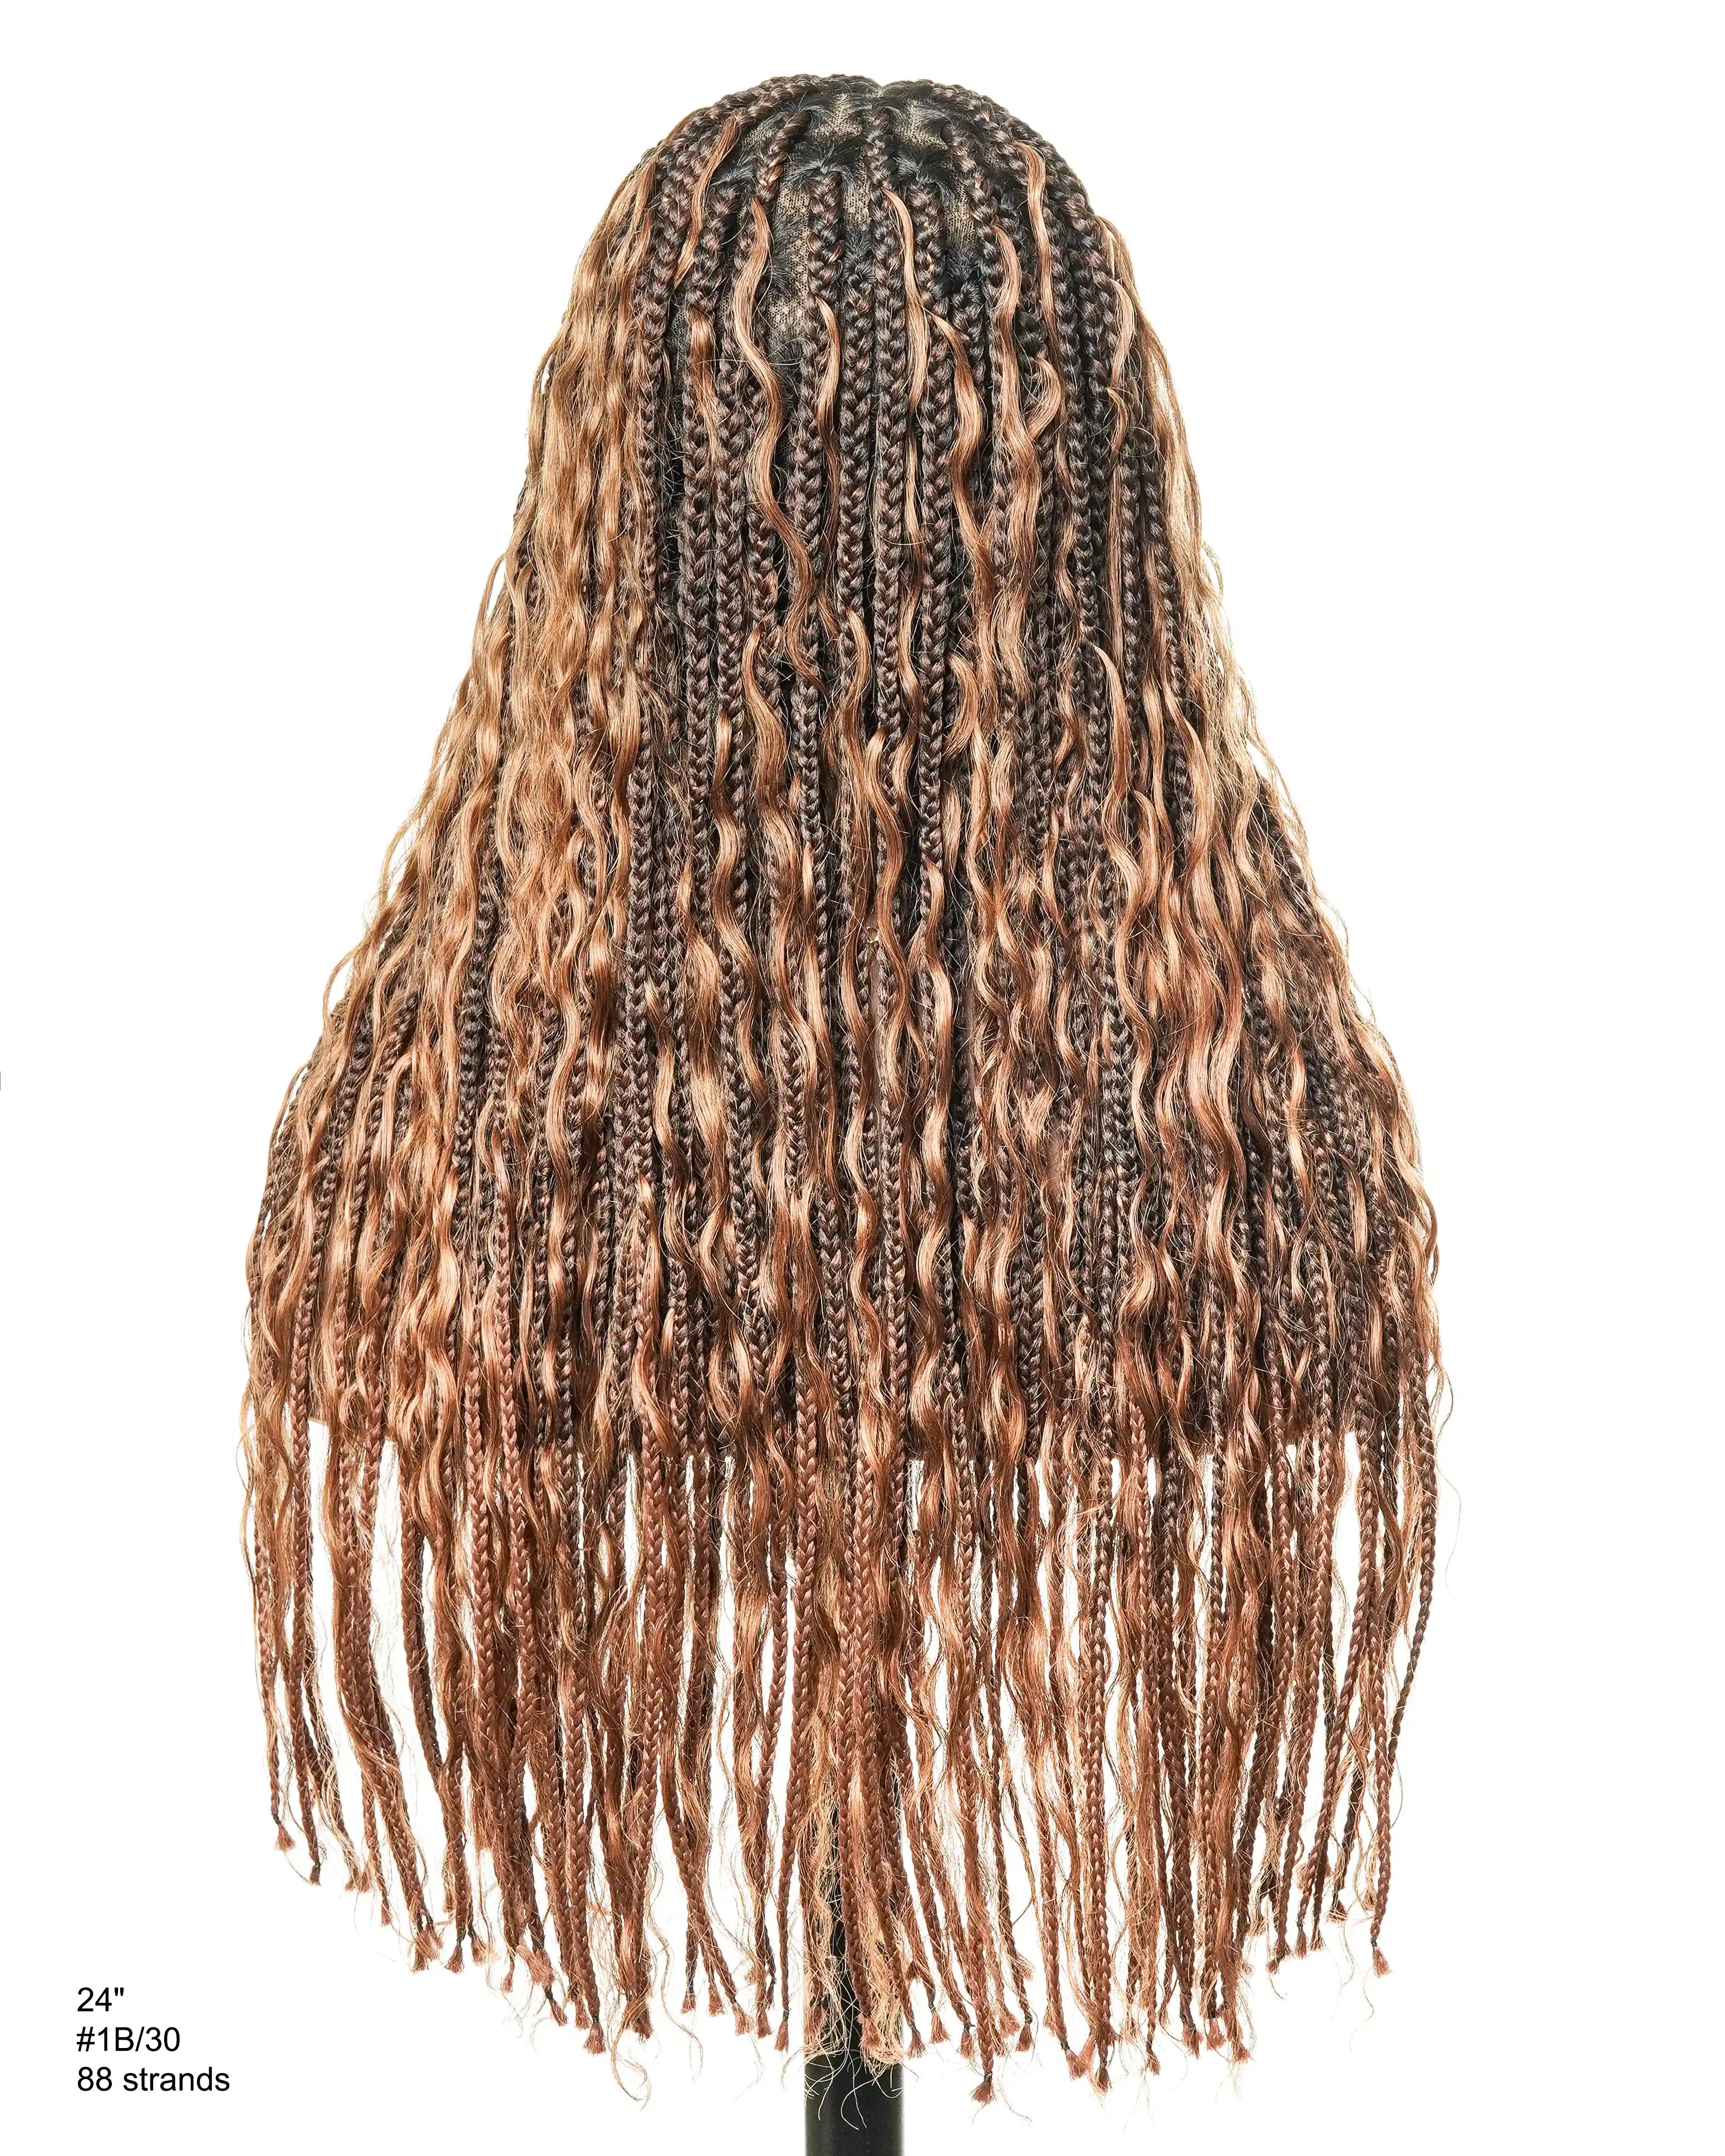
Spacing the Locs: Space the locs close enough so that the wig cap underneath is not visible, but not so close that the loc wig becomes too bulky or heavy. Ideally, you should leave about a finger's width between each loc to maintain a natural density. As you move up the head, fill in gaps by attaching additional locs where needed.
Working in Sections: Continue attaching locs in sections, securing them row by row. Each section should be completed before moving on to the next to ensure that the locs lay flat and the wig cap is covered evenly.
Checking for Consistency: As you add each loc, periodically put the loc wig on a stand or try it on to study for even coverage and adjust as necessary. It's important to regularly step back and examine your work from various angles to ensure there are no sparse areas and that the wig is shaping up as desired.
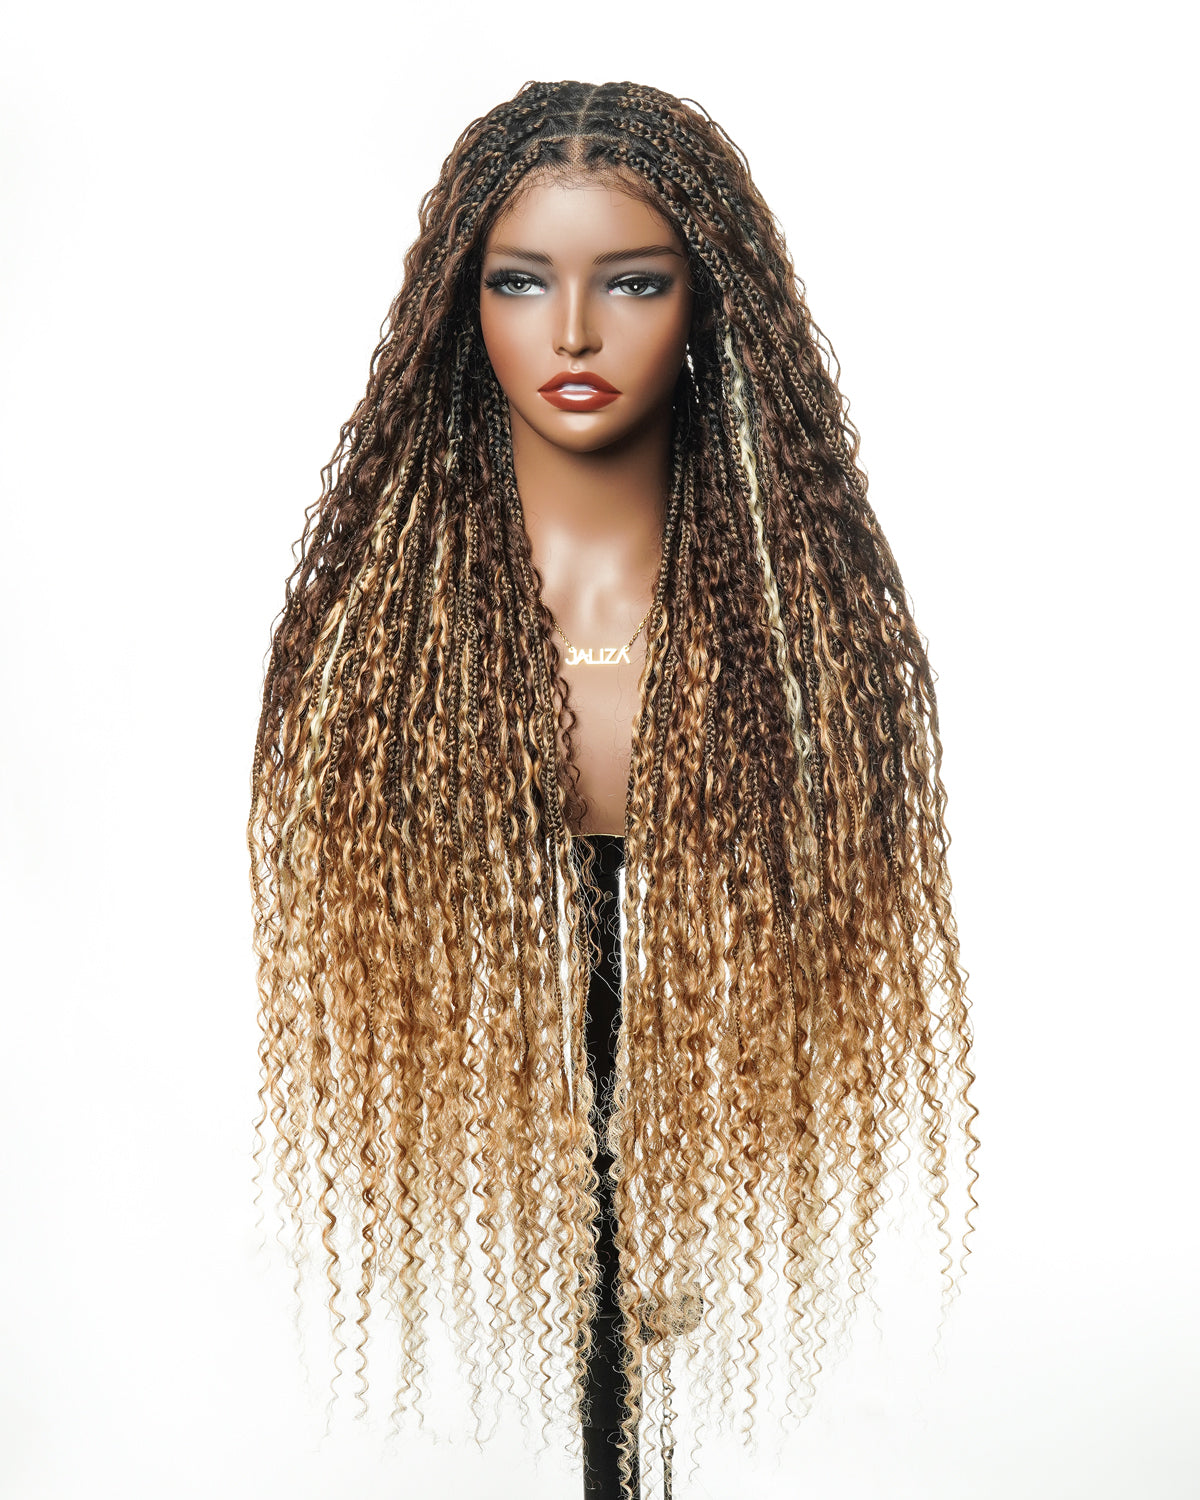
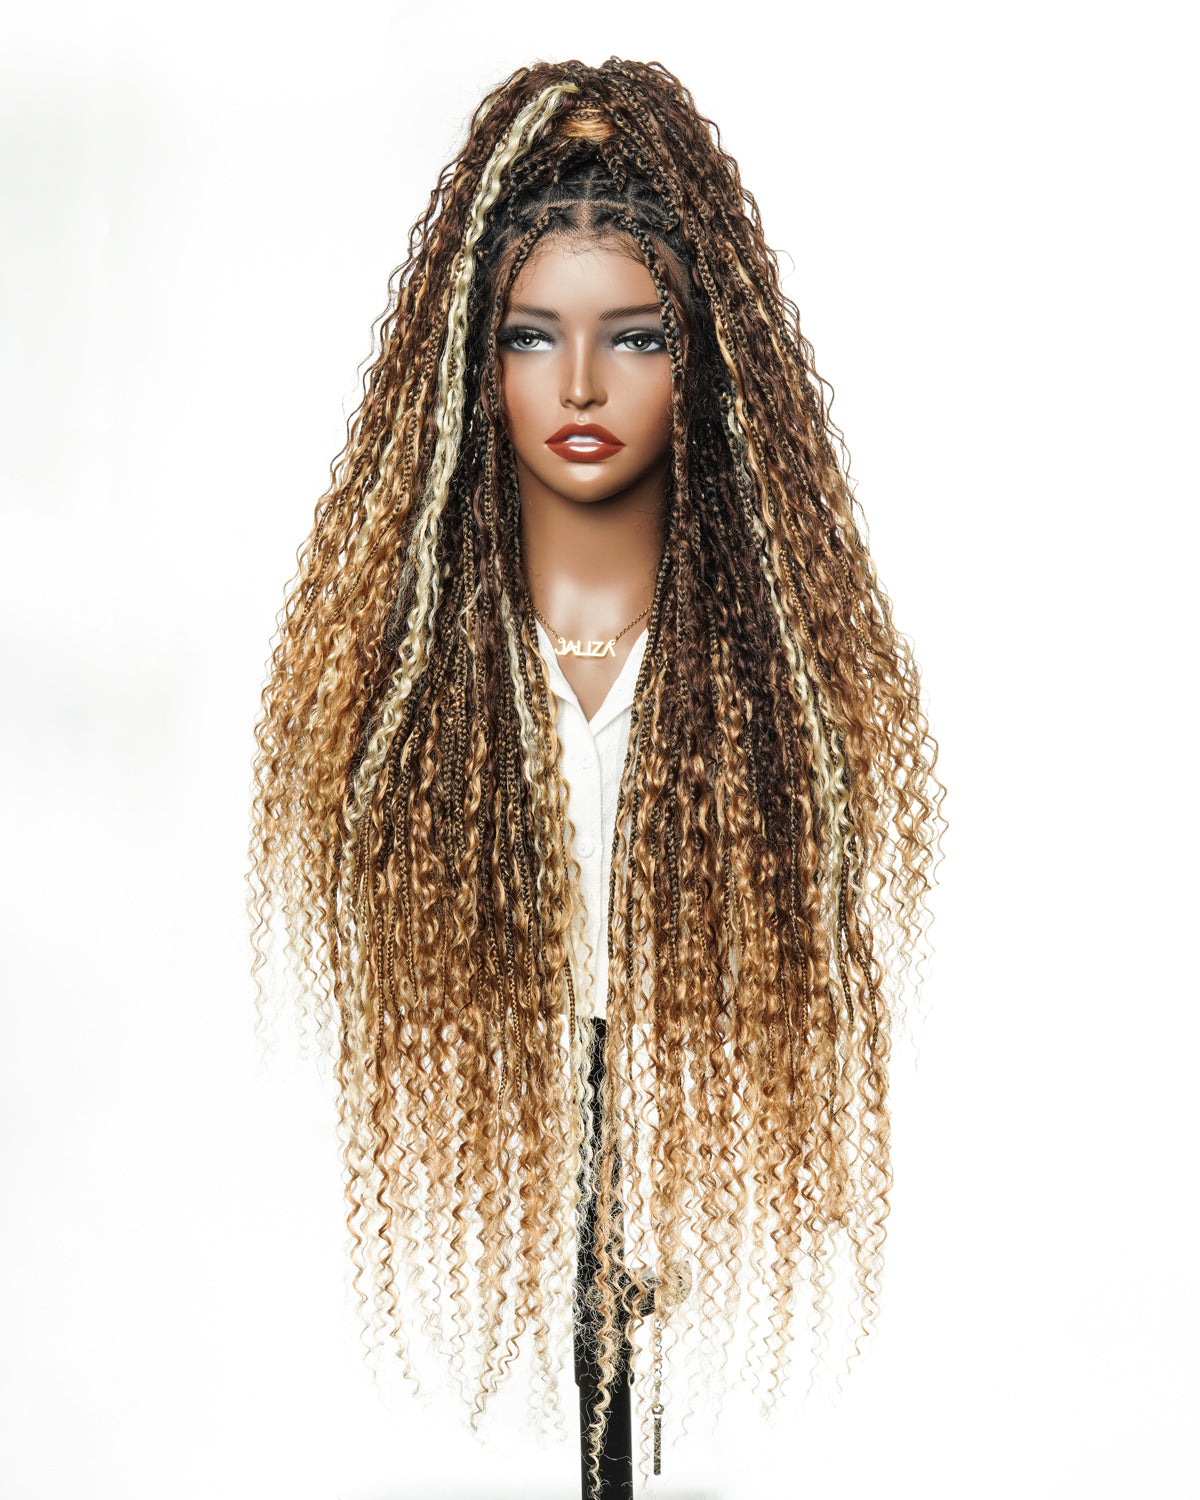
Fullness and Shape: Depending on the desired fullness and shape of the loc wig, you may need to add extra locs in certain areas. For a fuller look at the top, attach more locs closer together. For a tapered effect, gradually reduce the number of locs as you approach the crown.
Final Adjustments: Once all locs are attached, make any final adjustments to ensure the loc wig has a consistent and desirable shape. This may involve re-securing loose locs or adding more locs to areas that appear less complete.
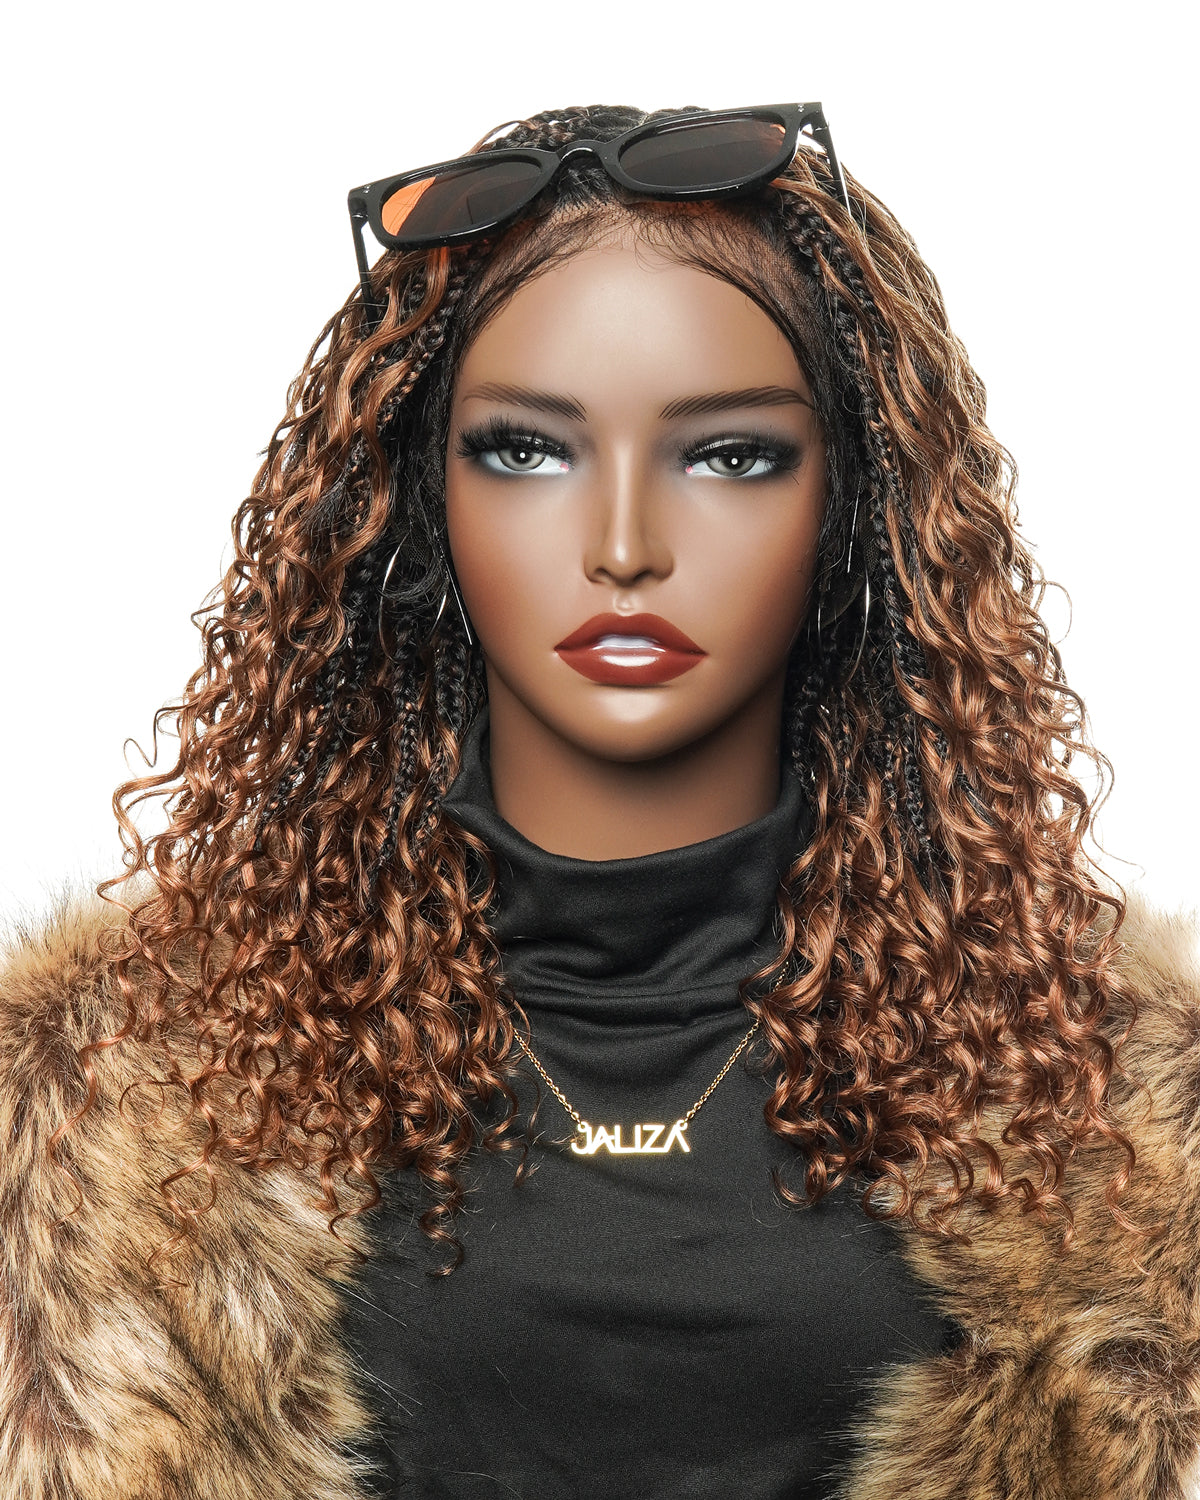
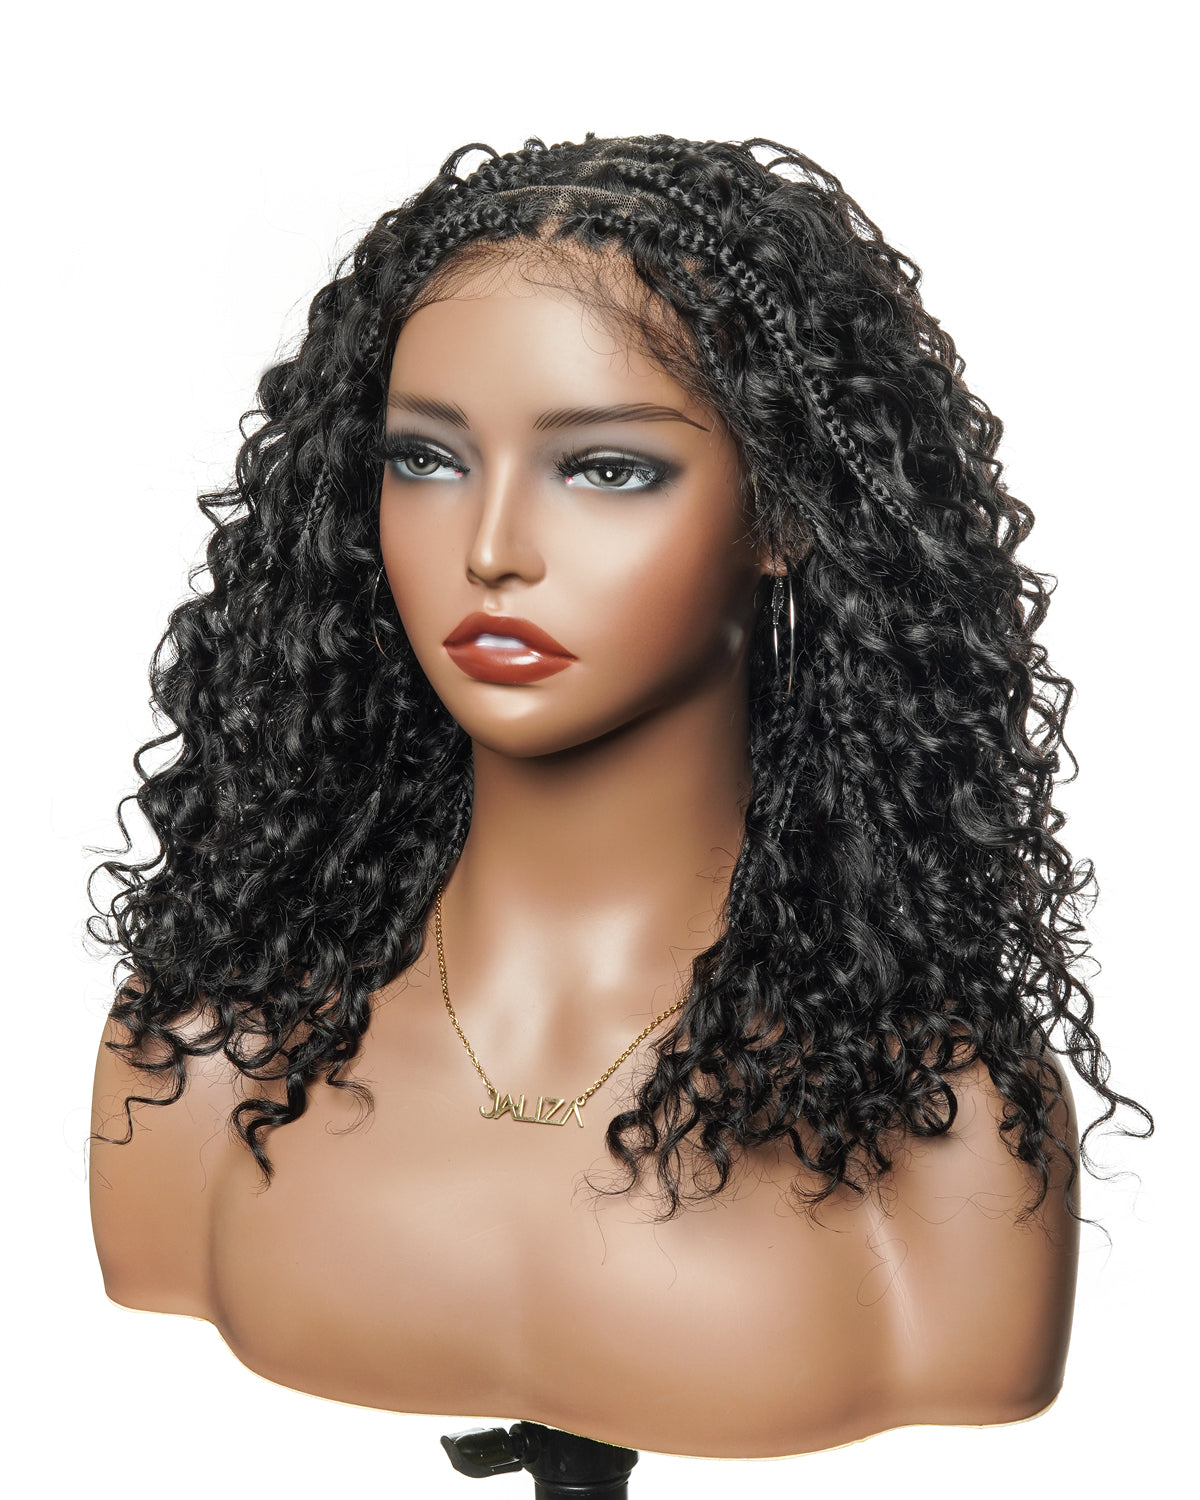
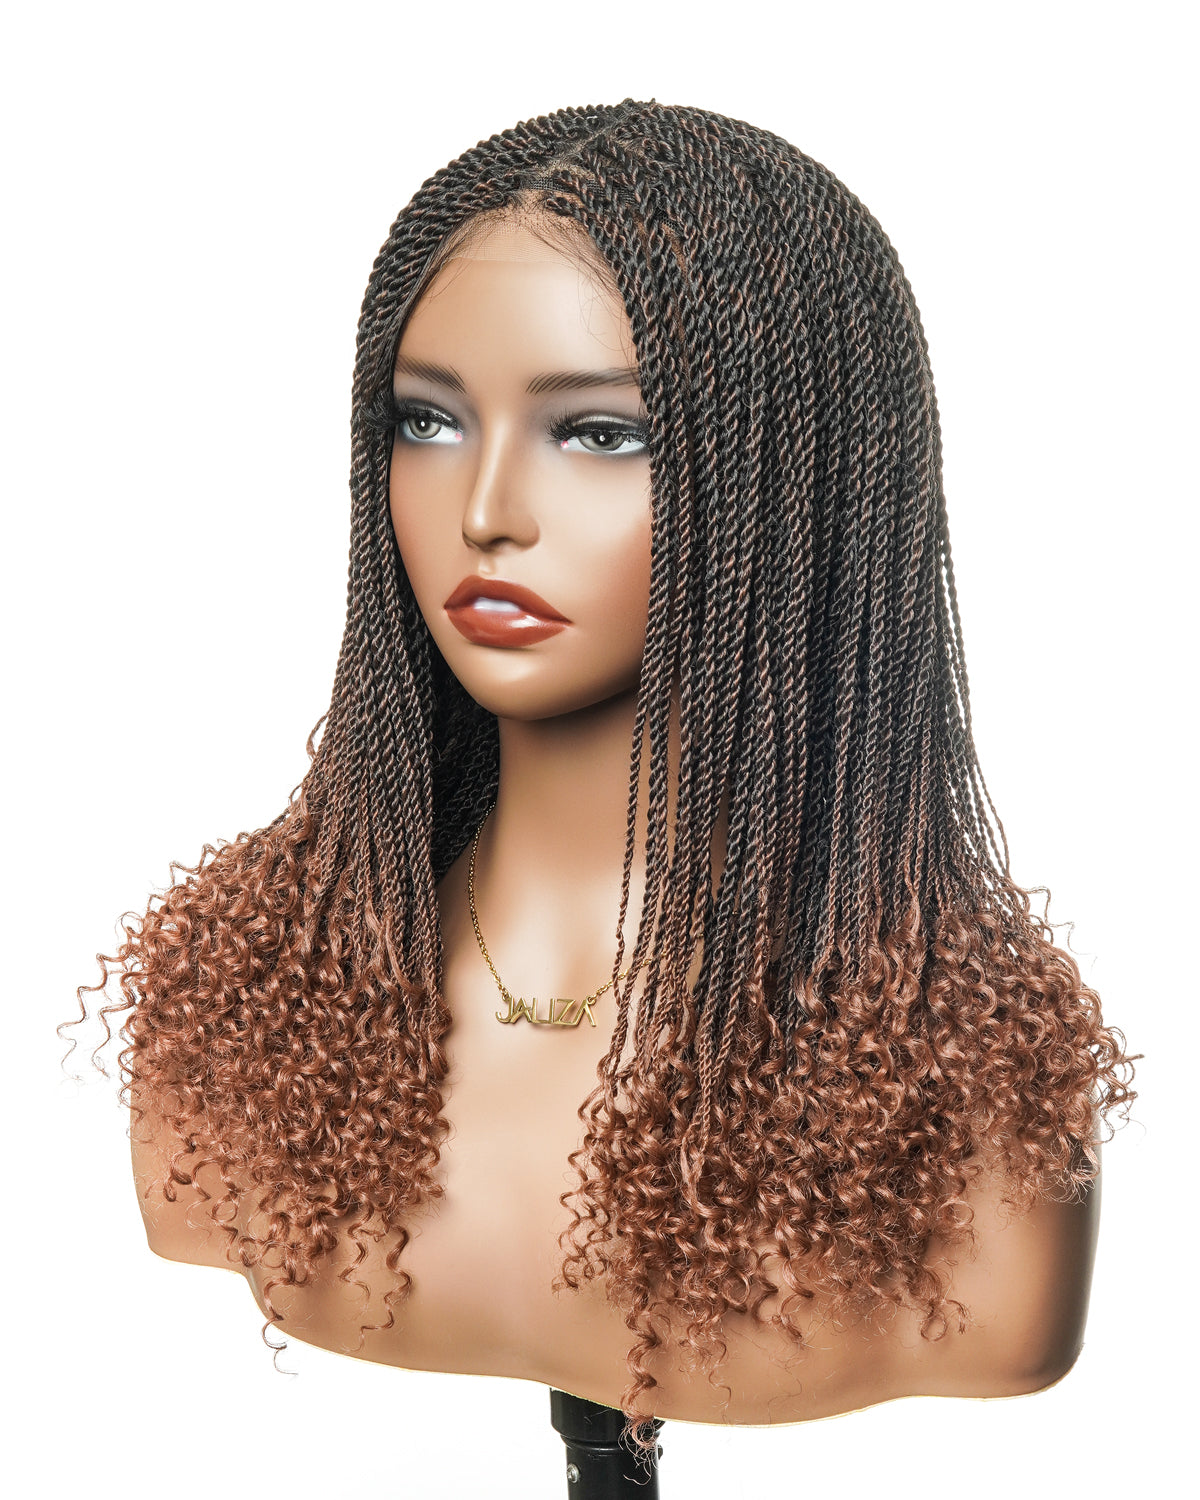
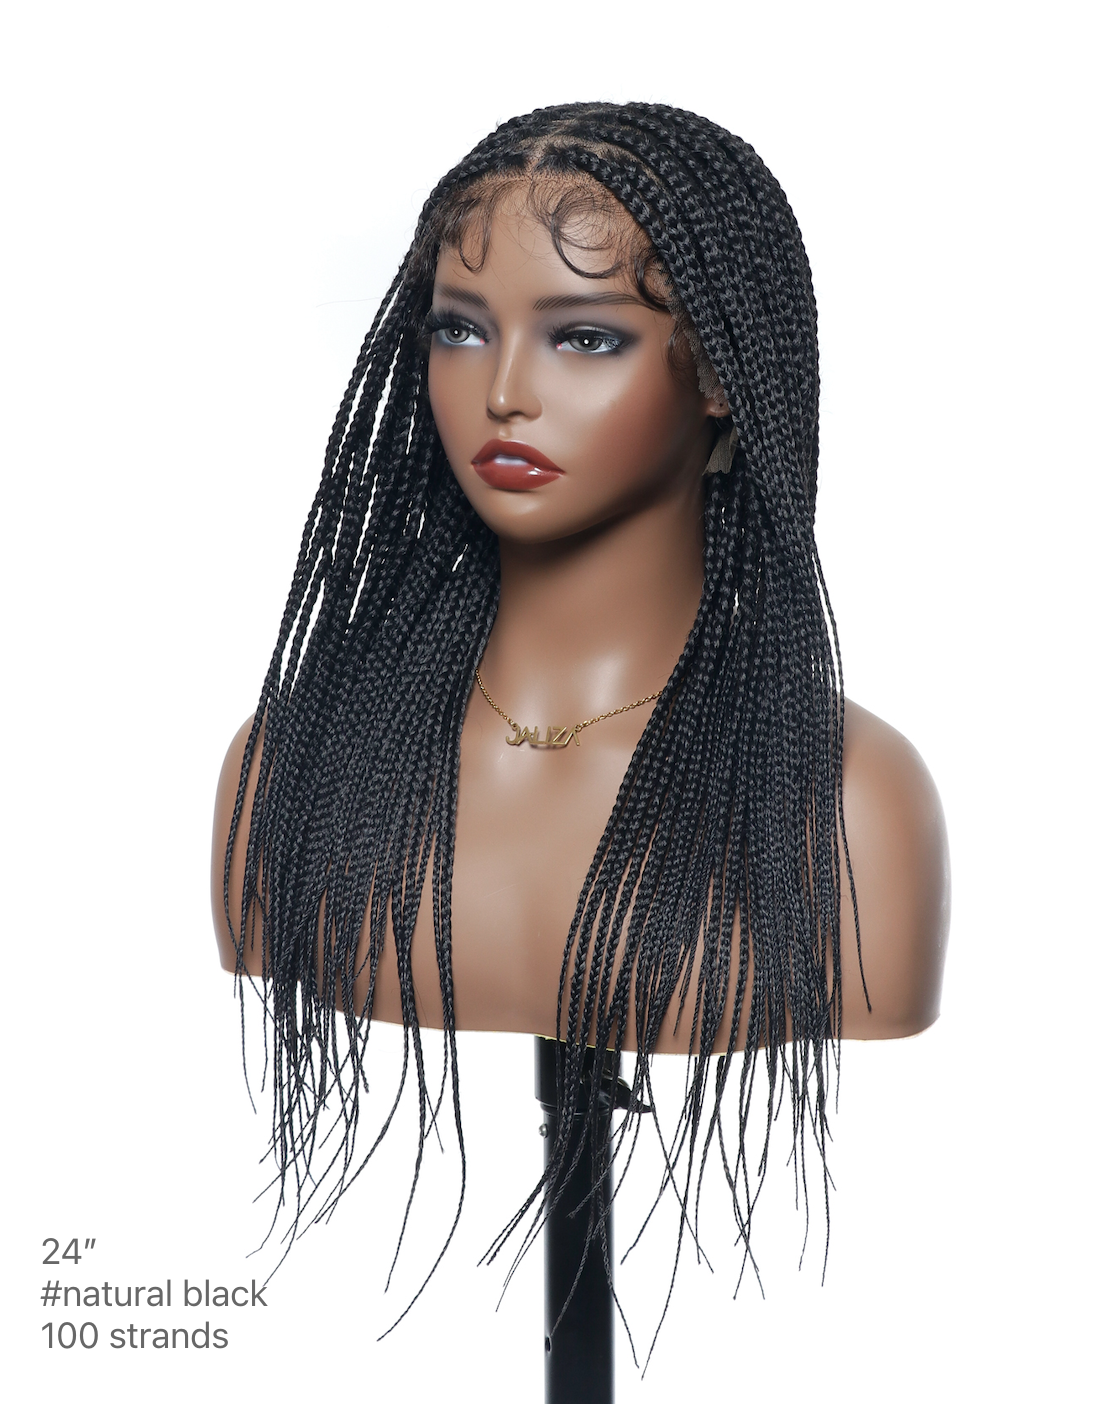
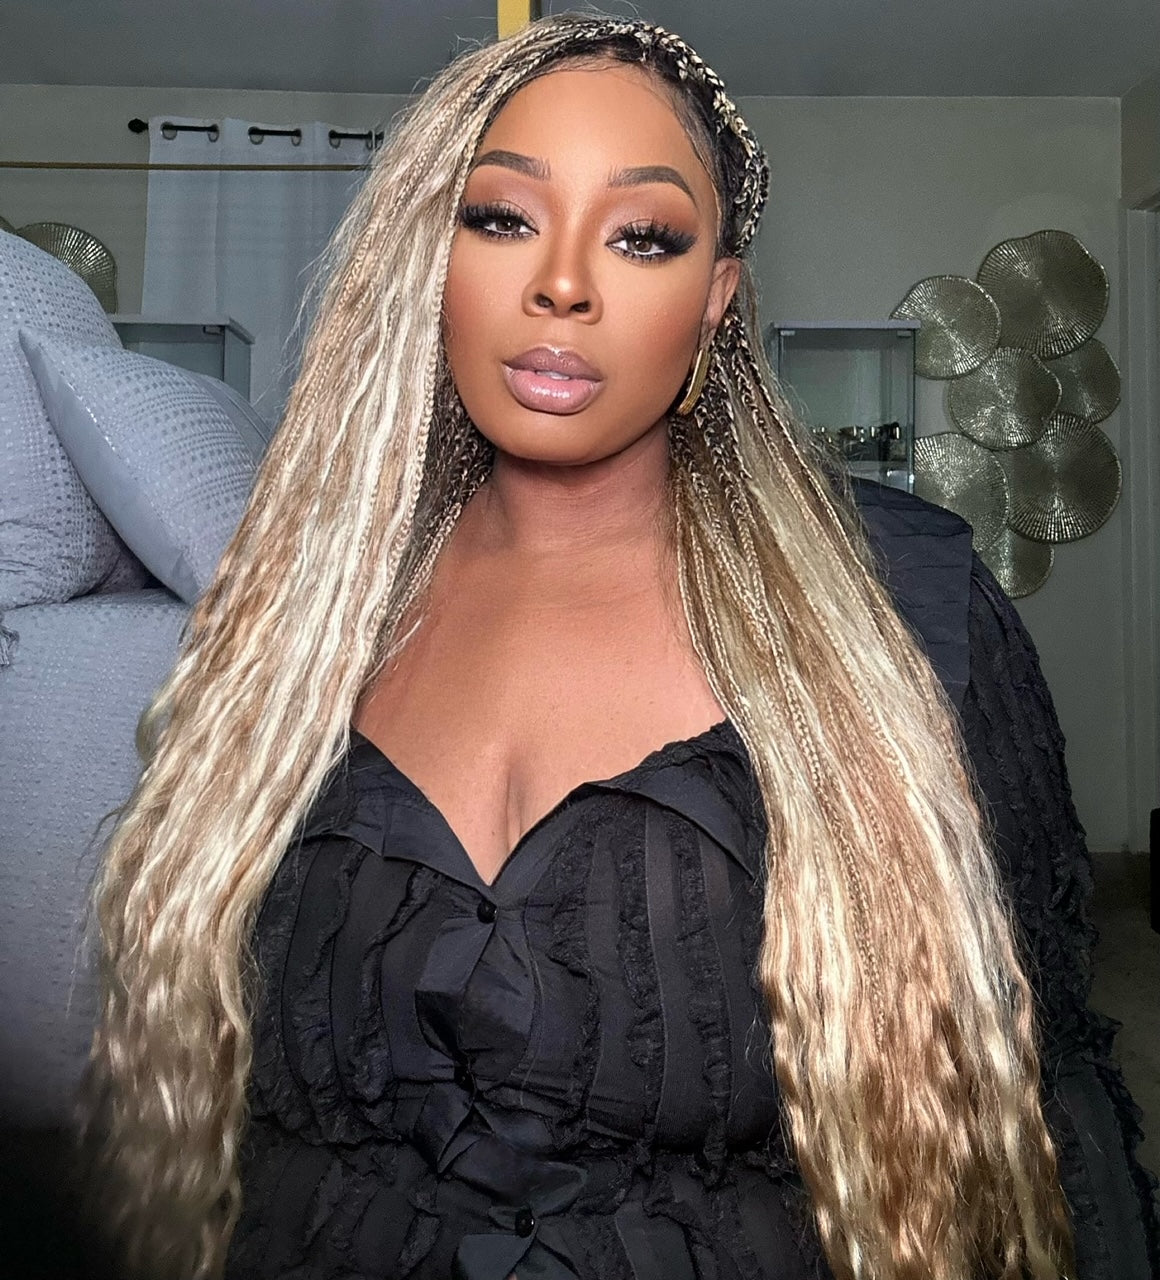
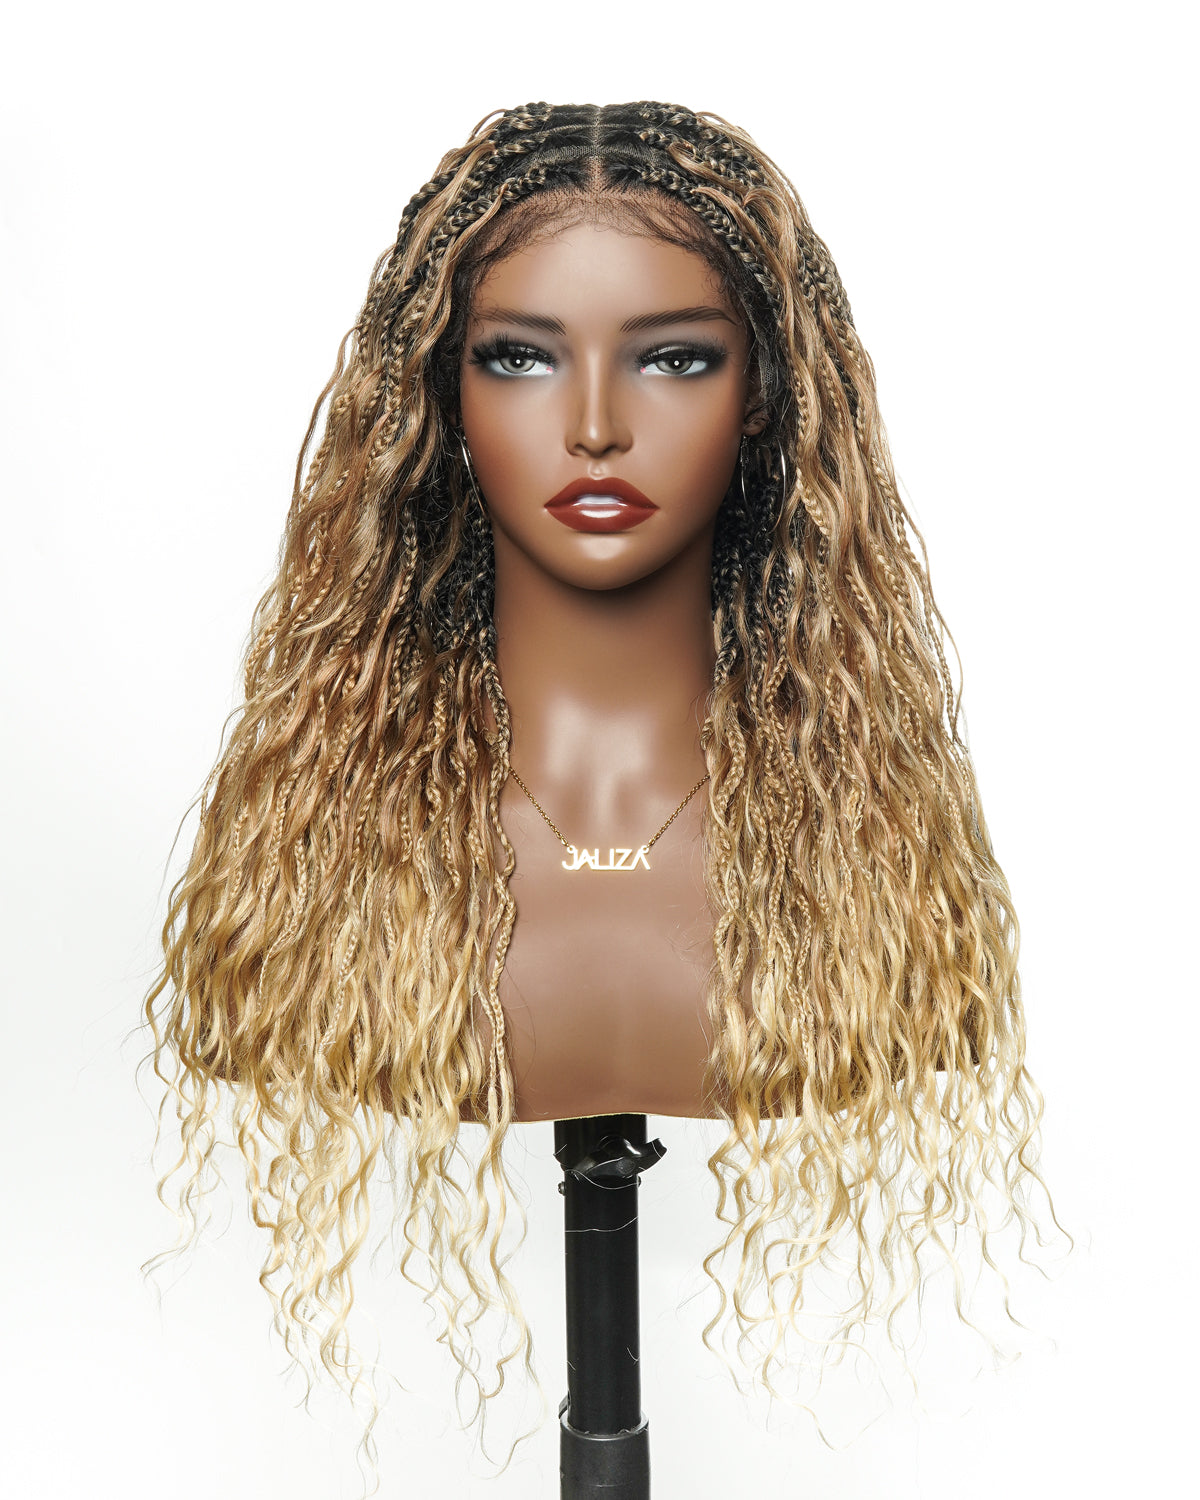
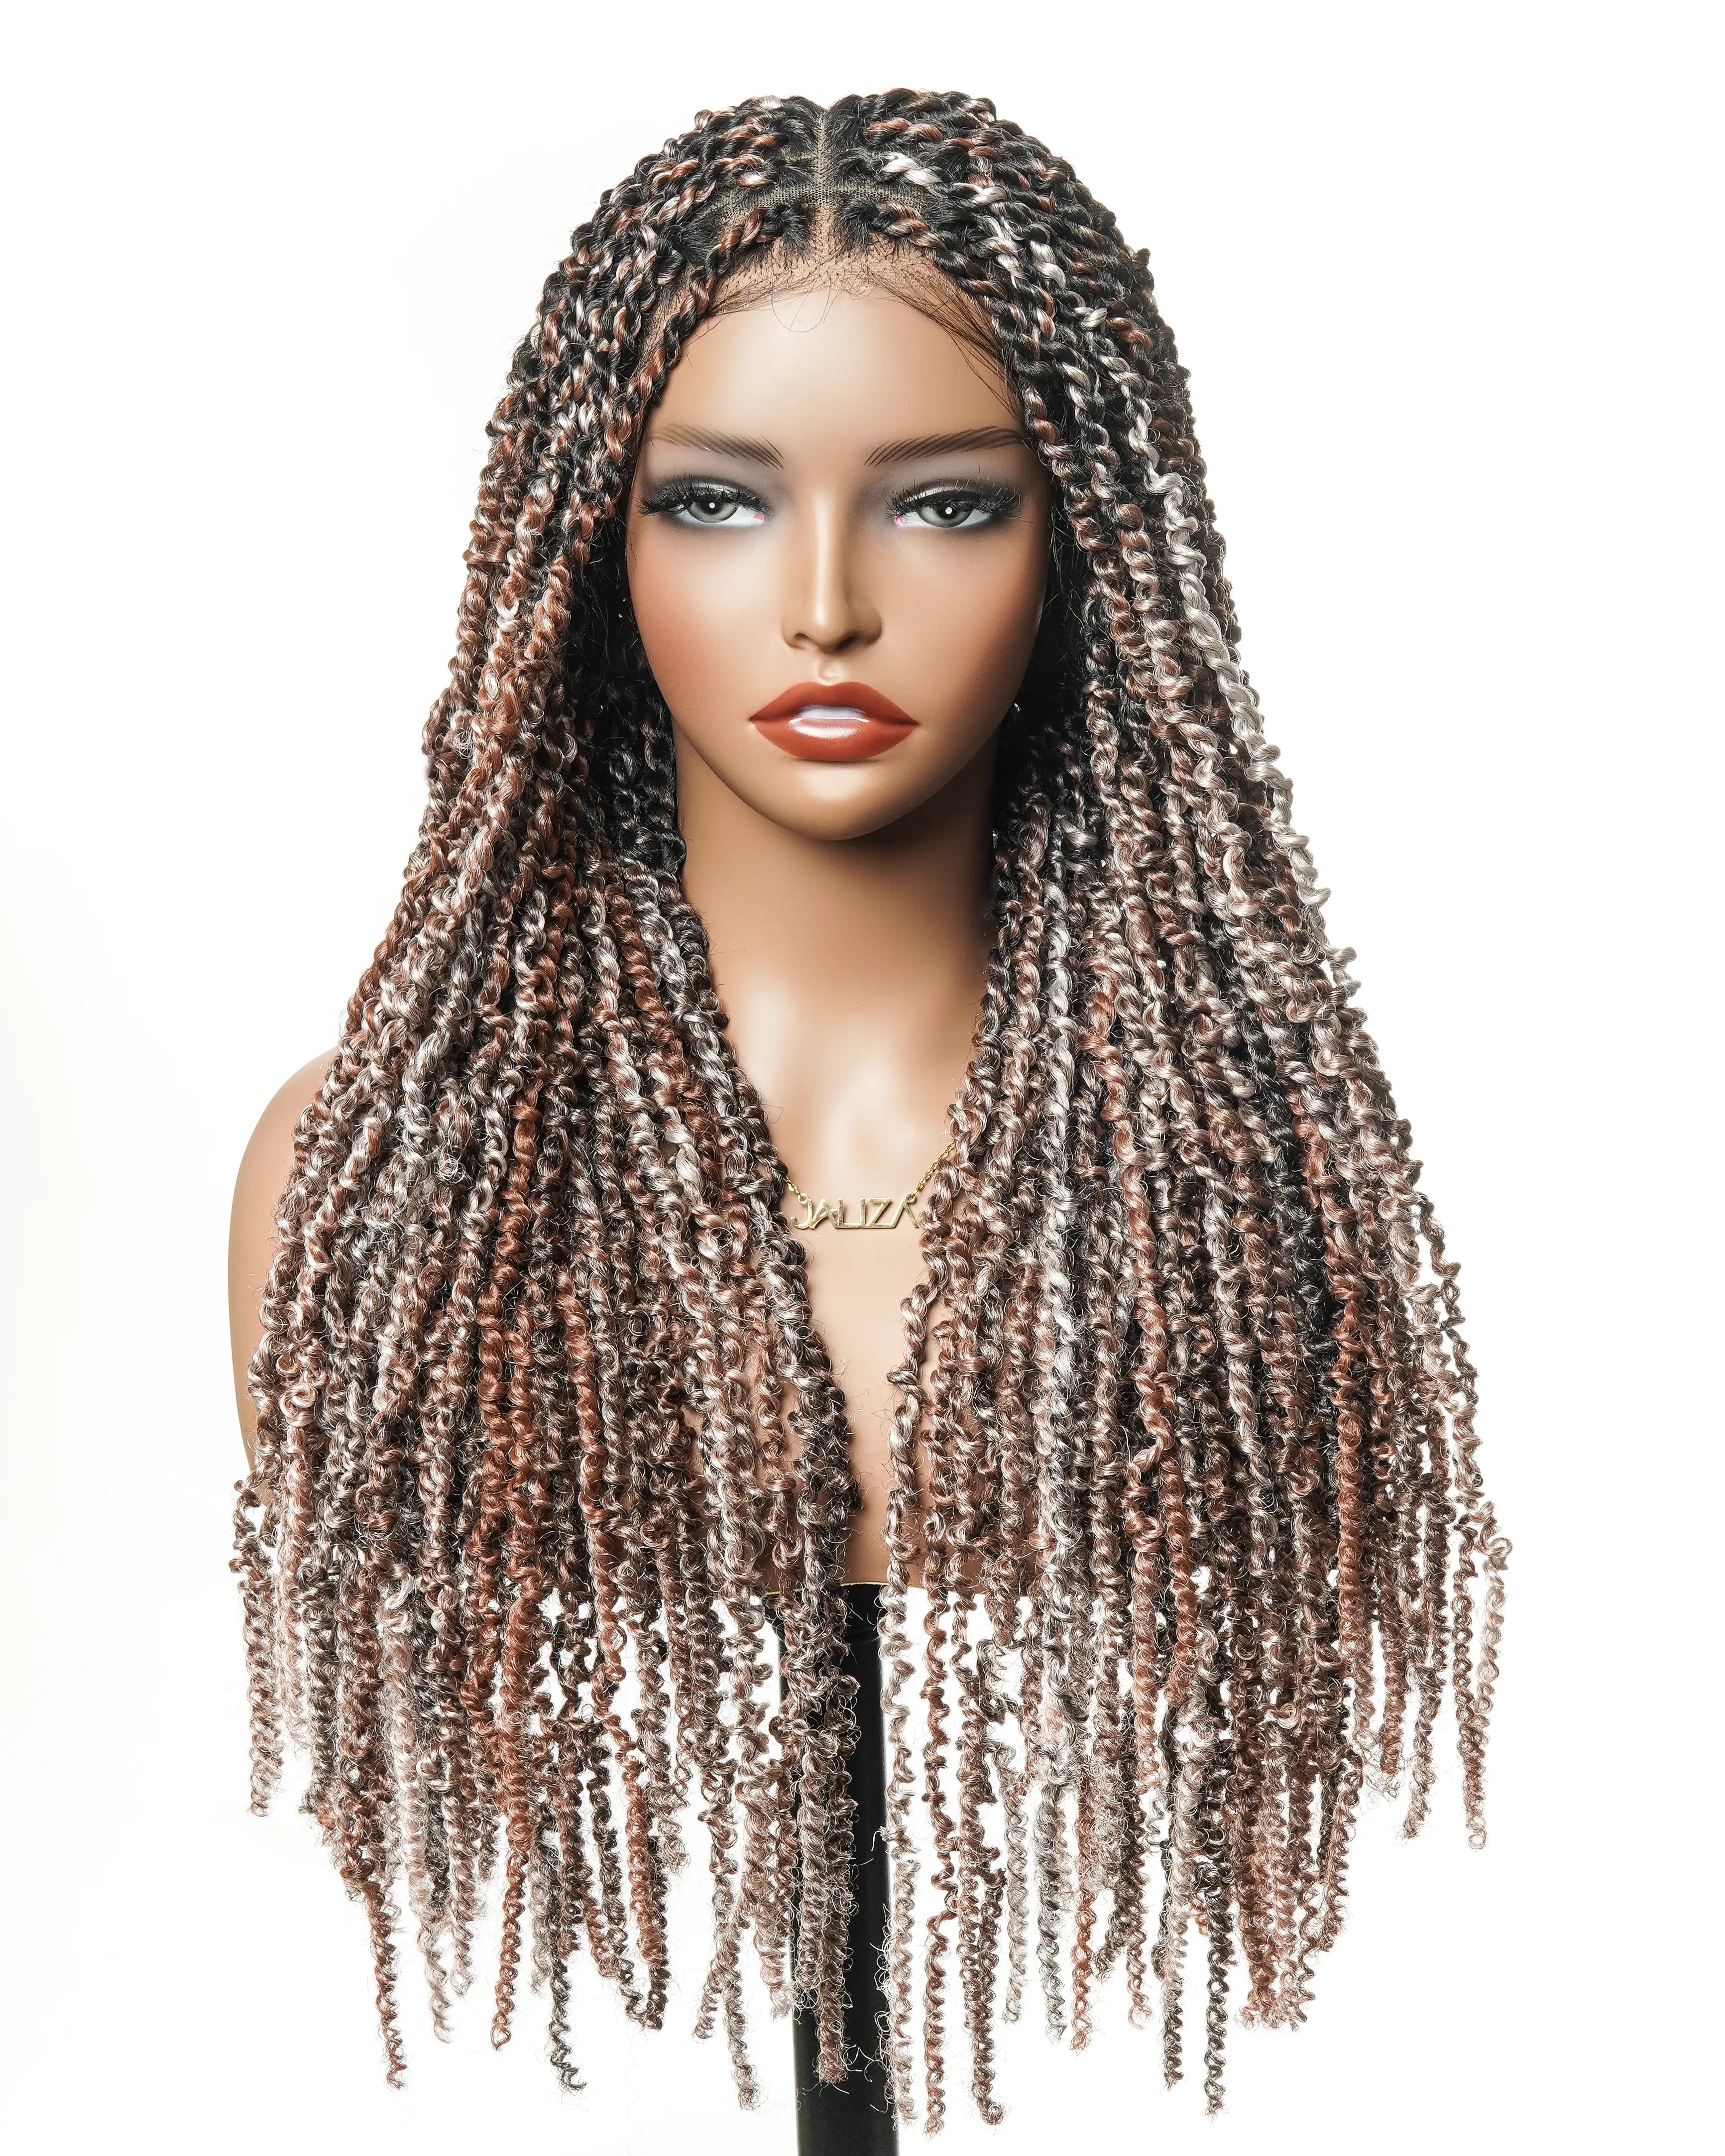
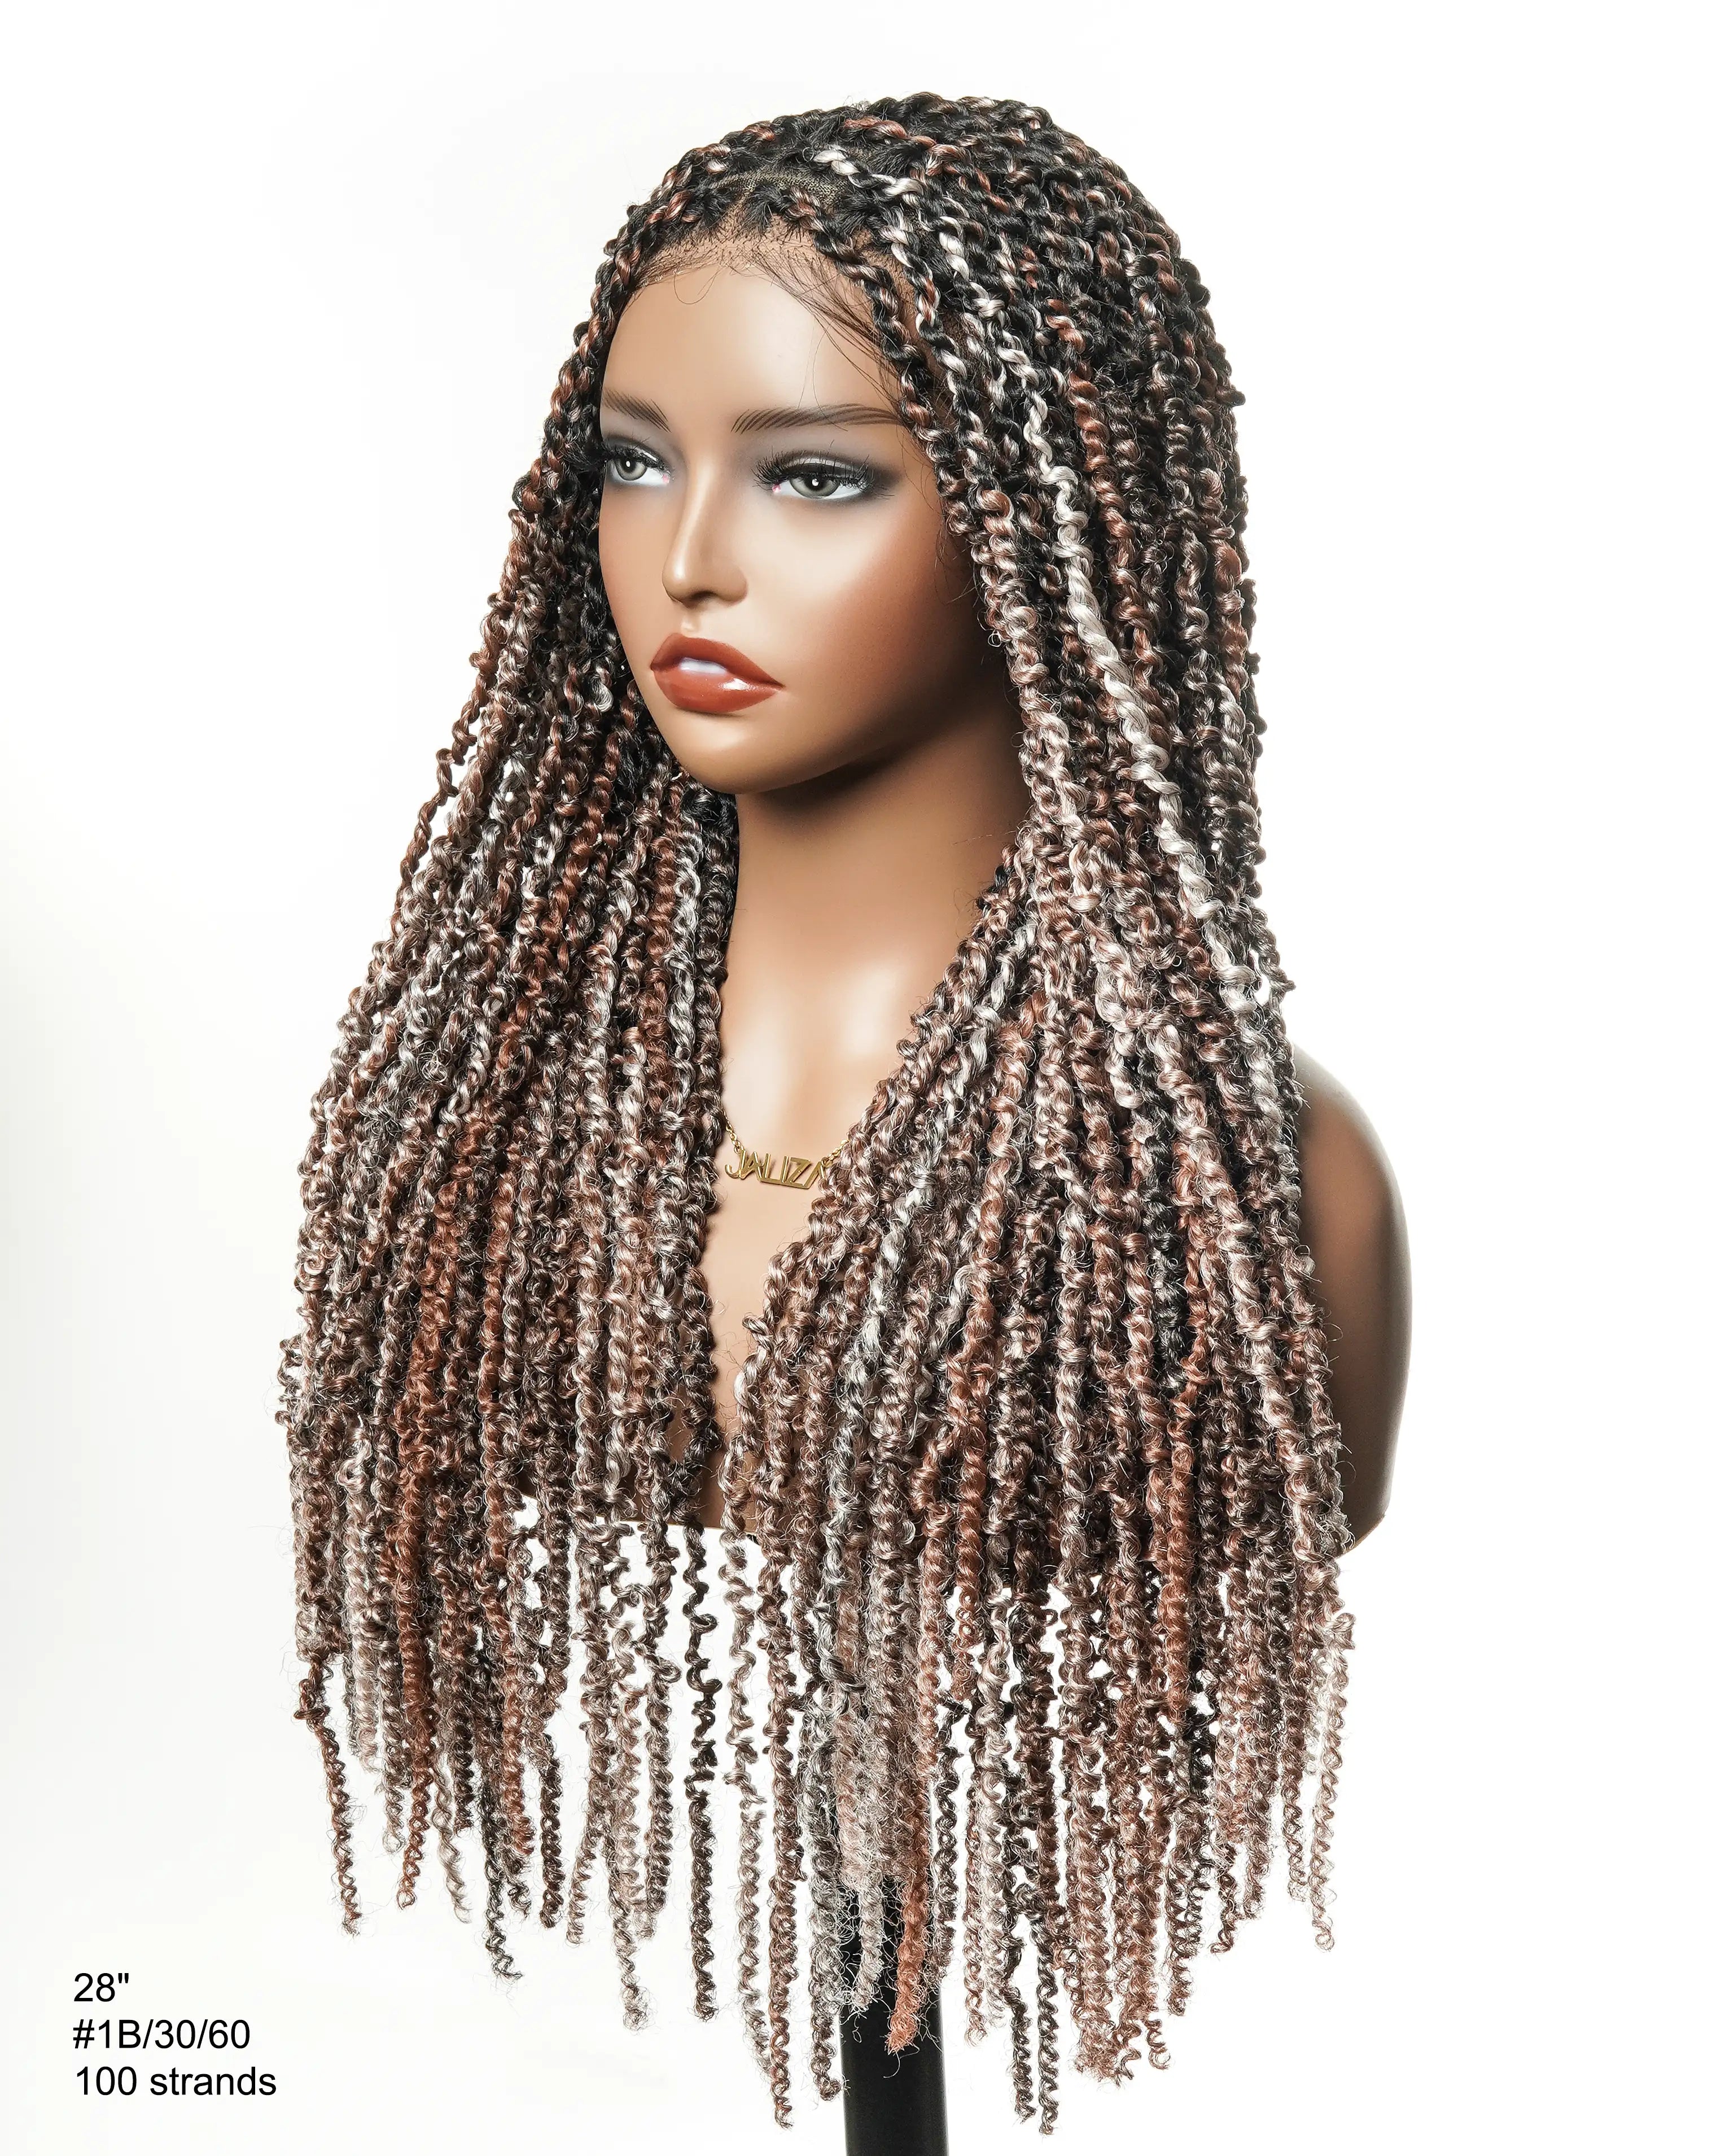
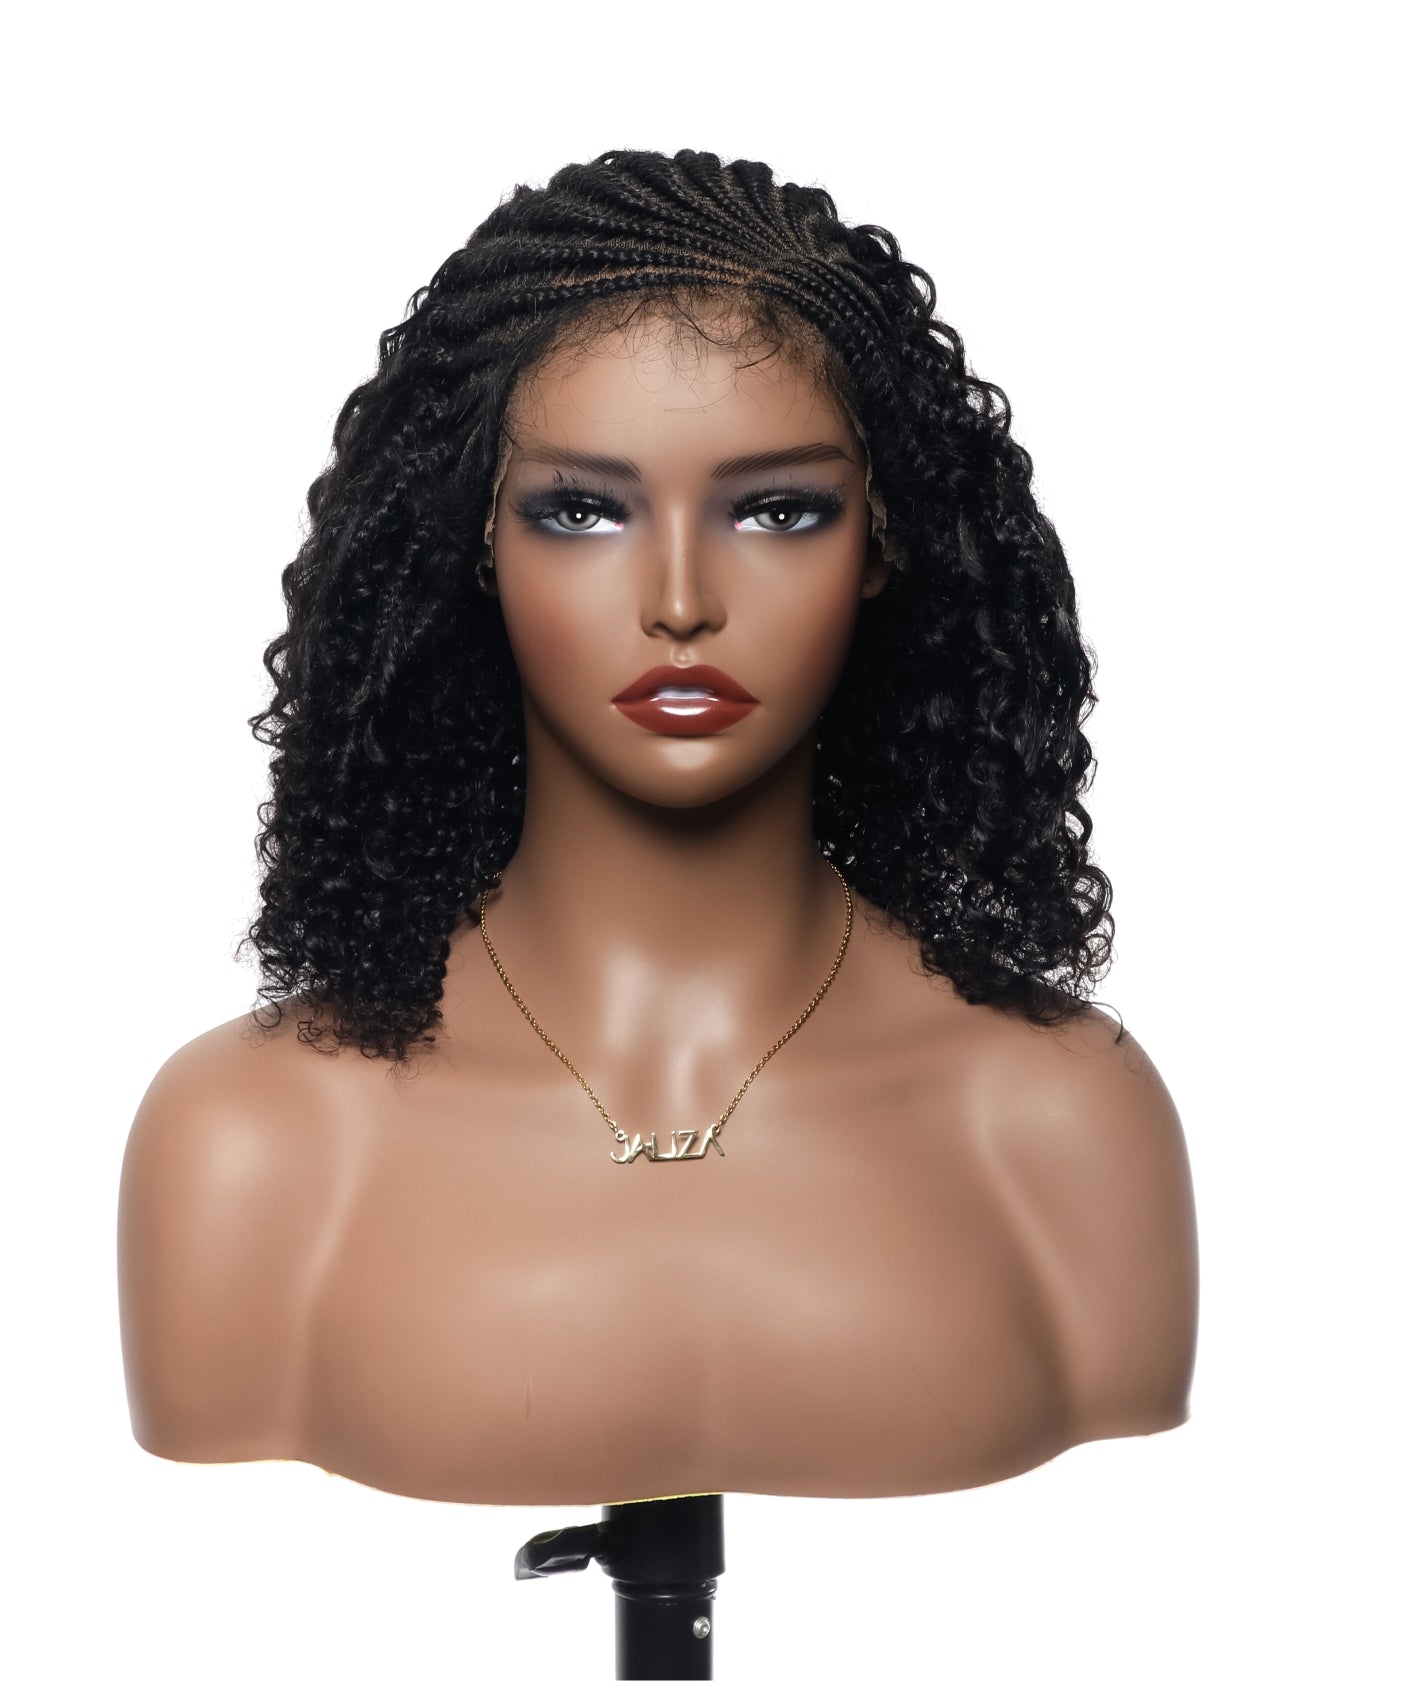
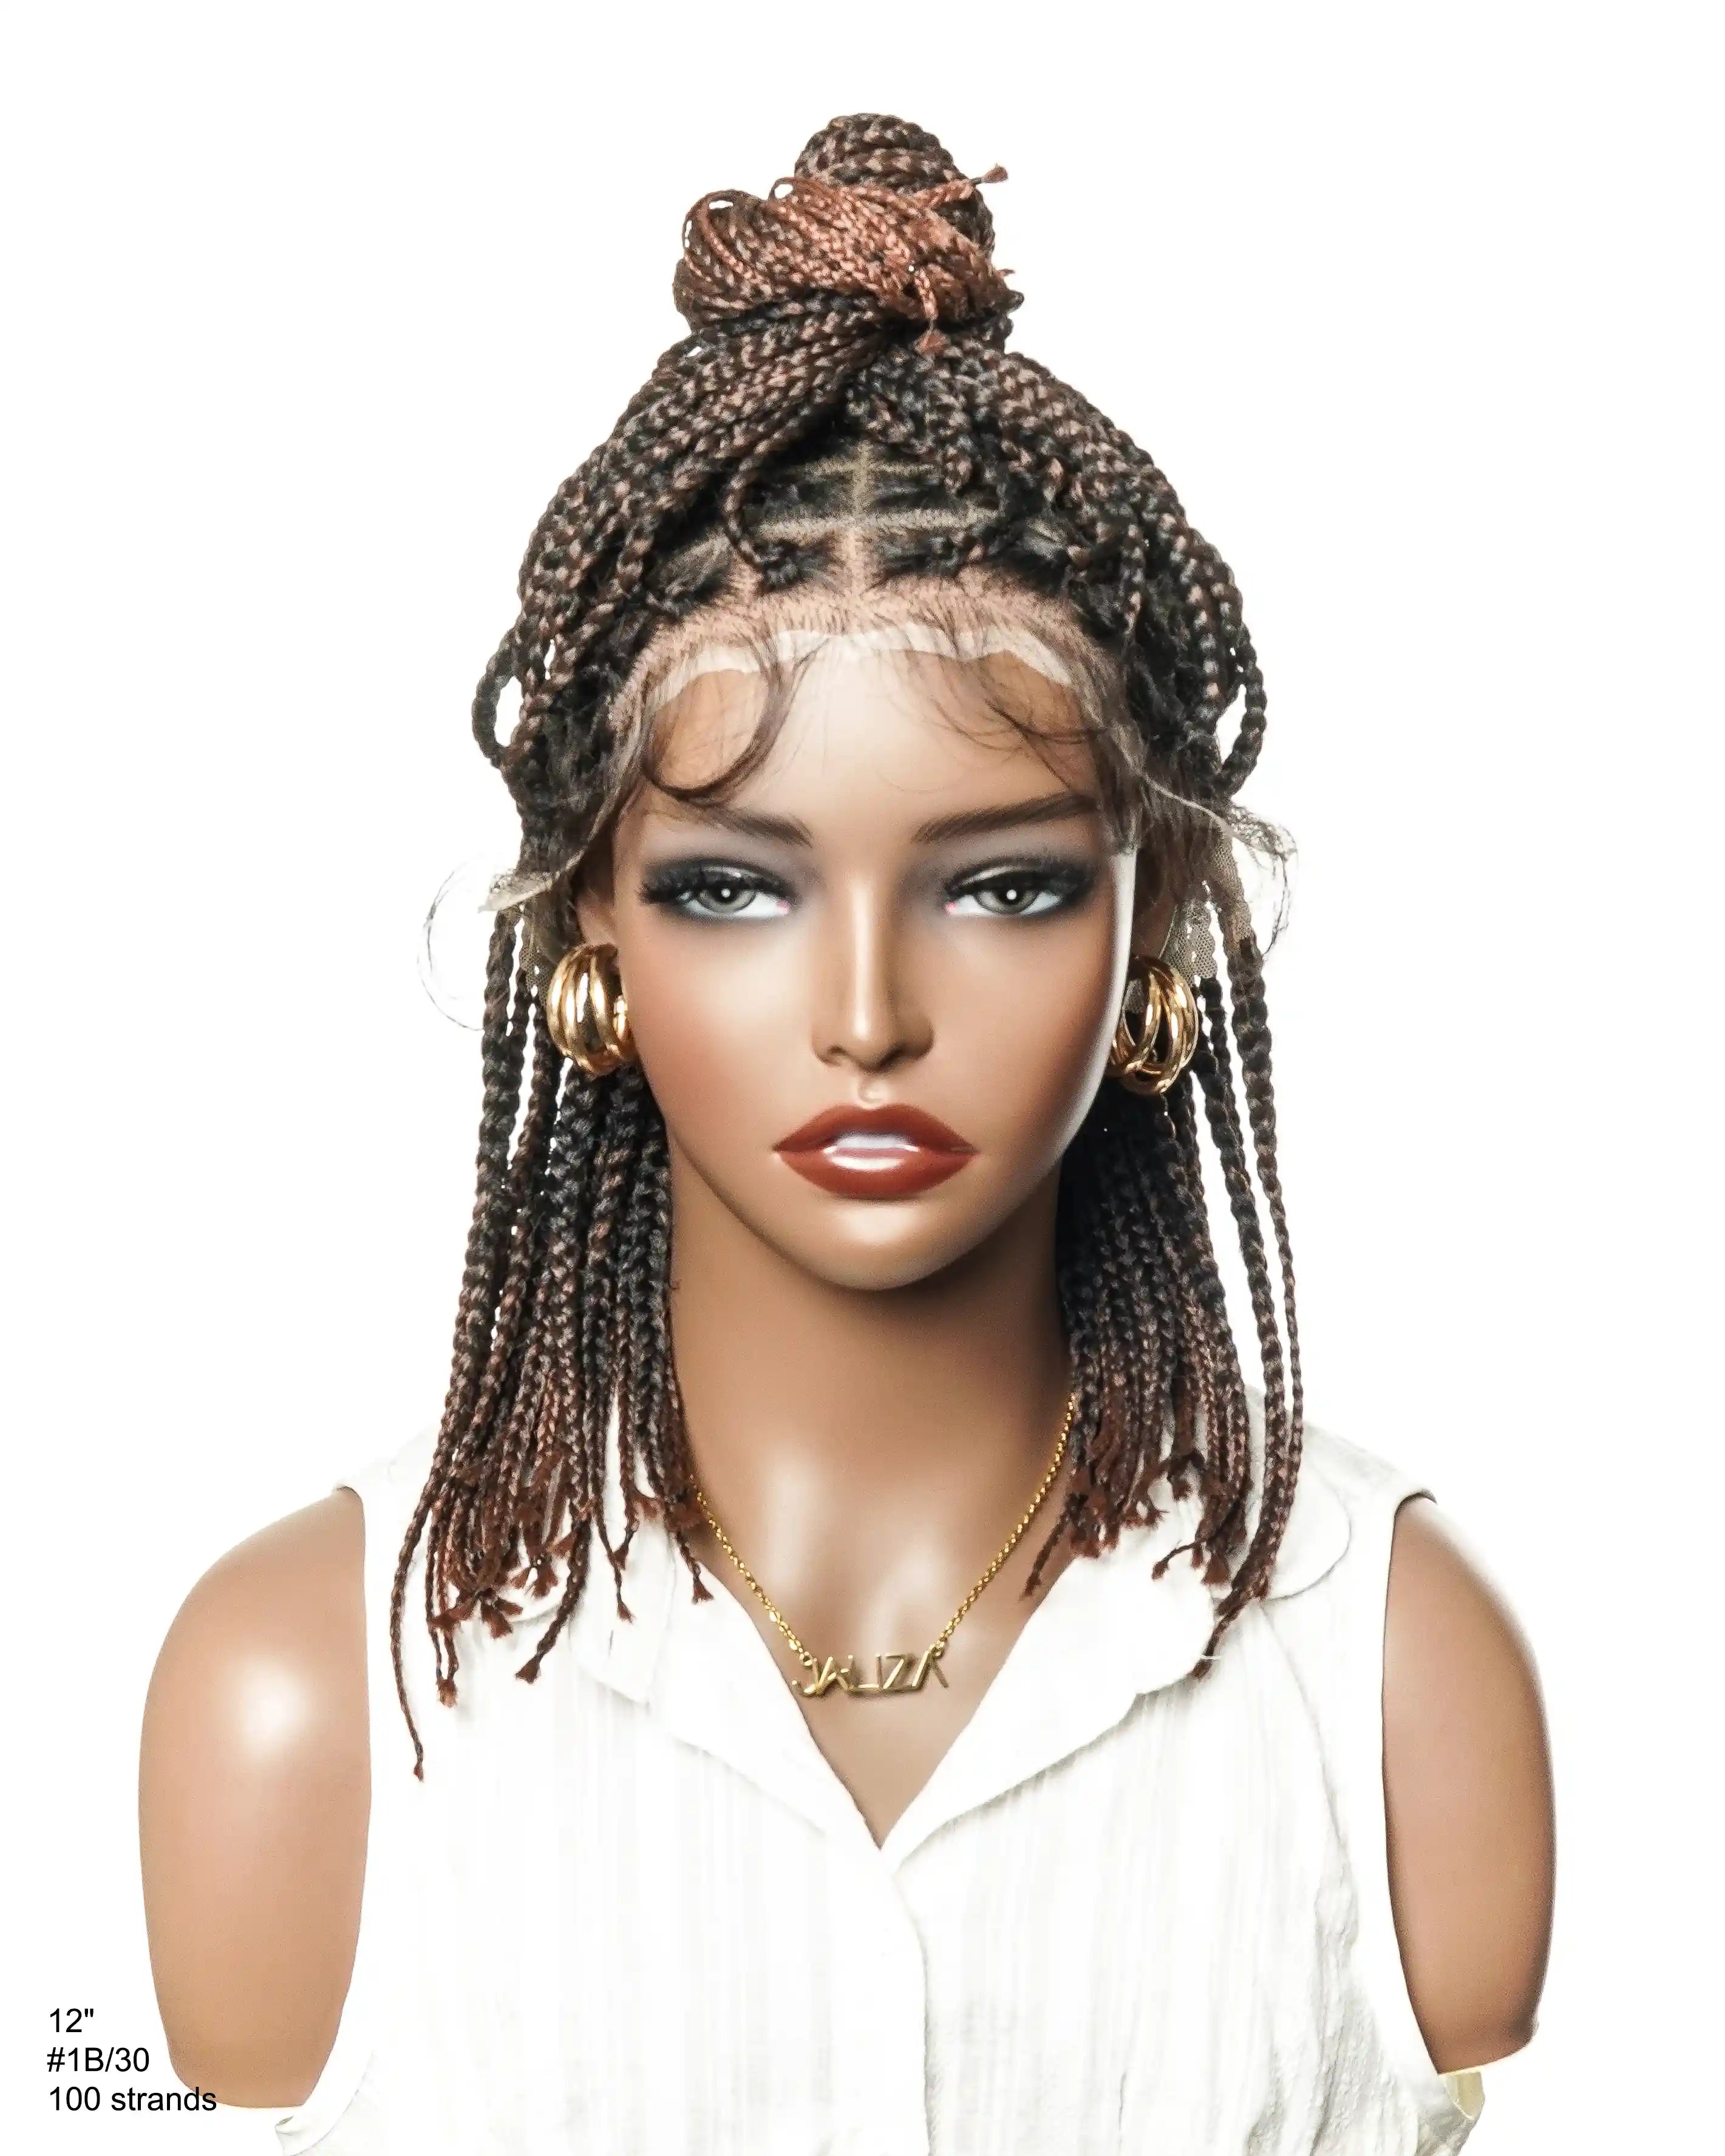
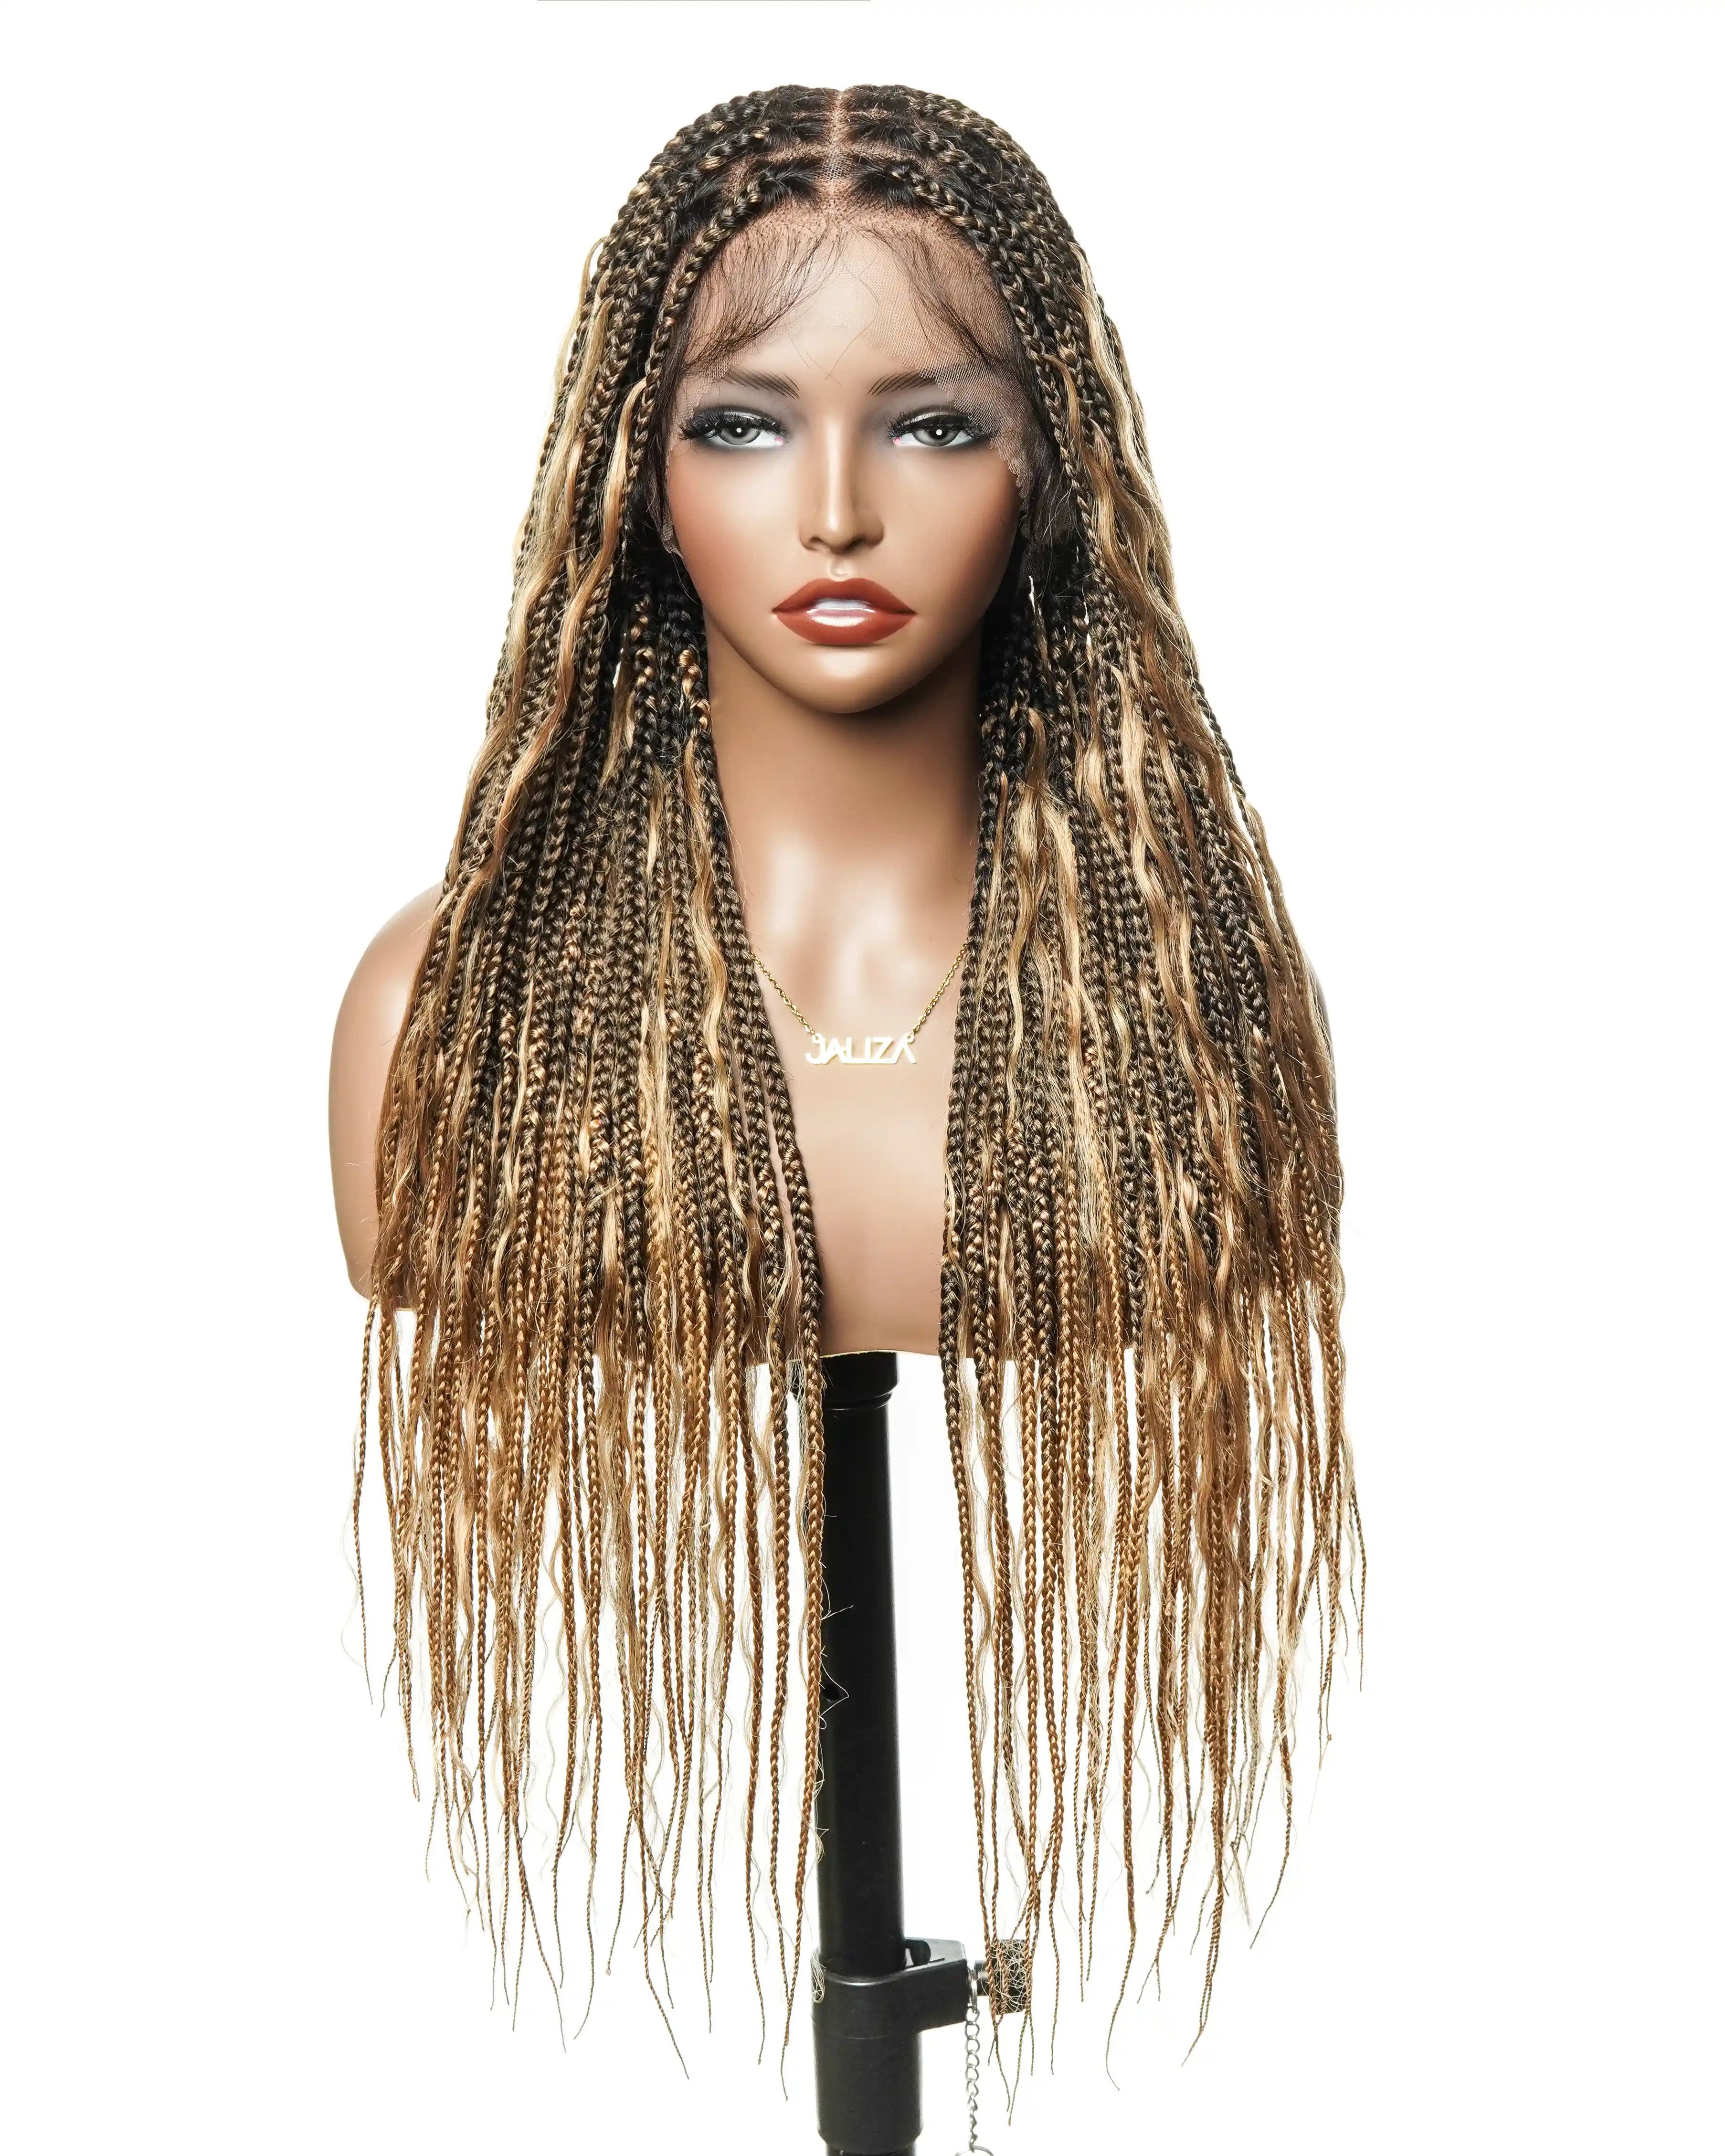
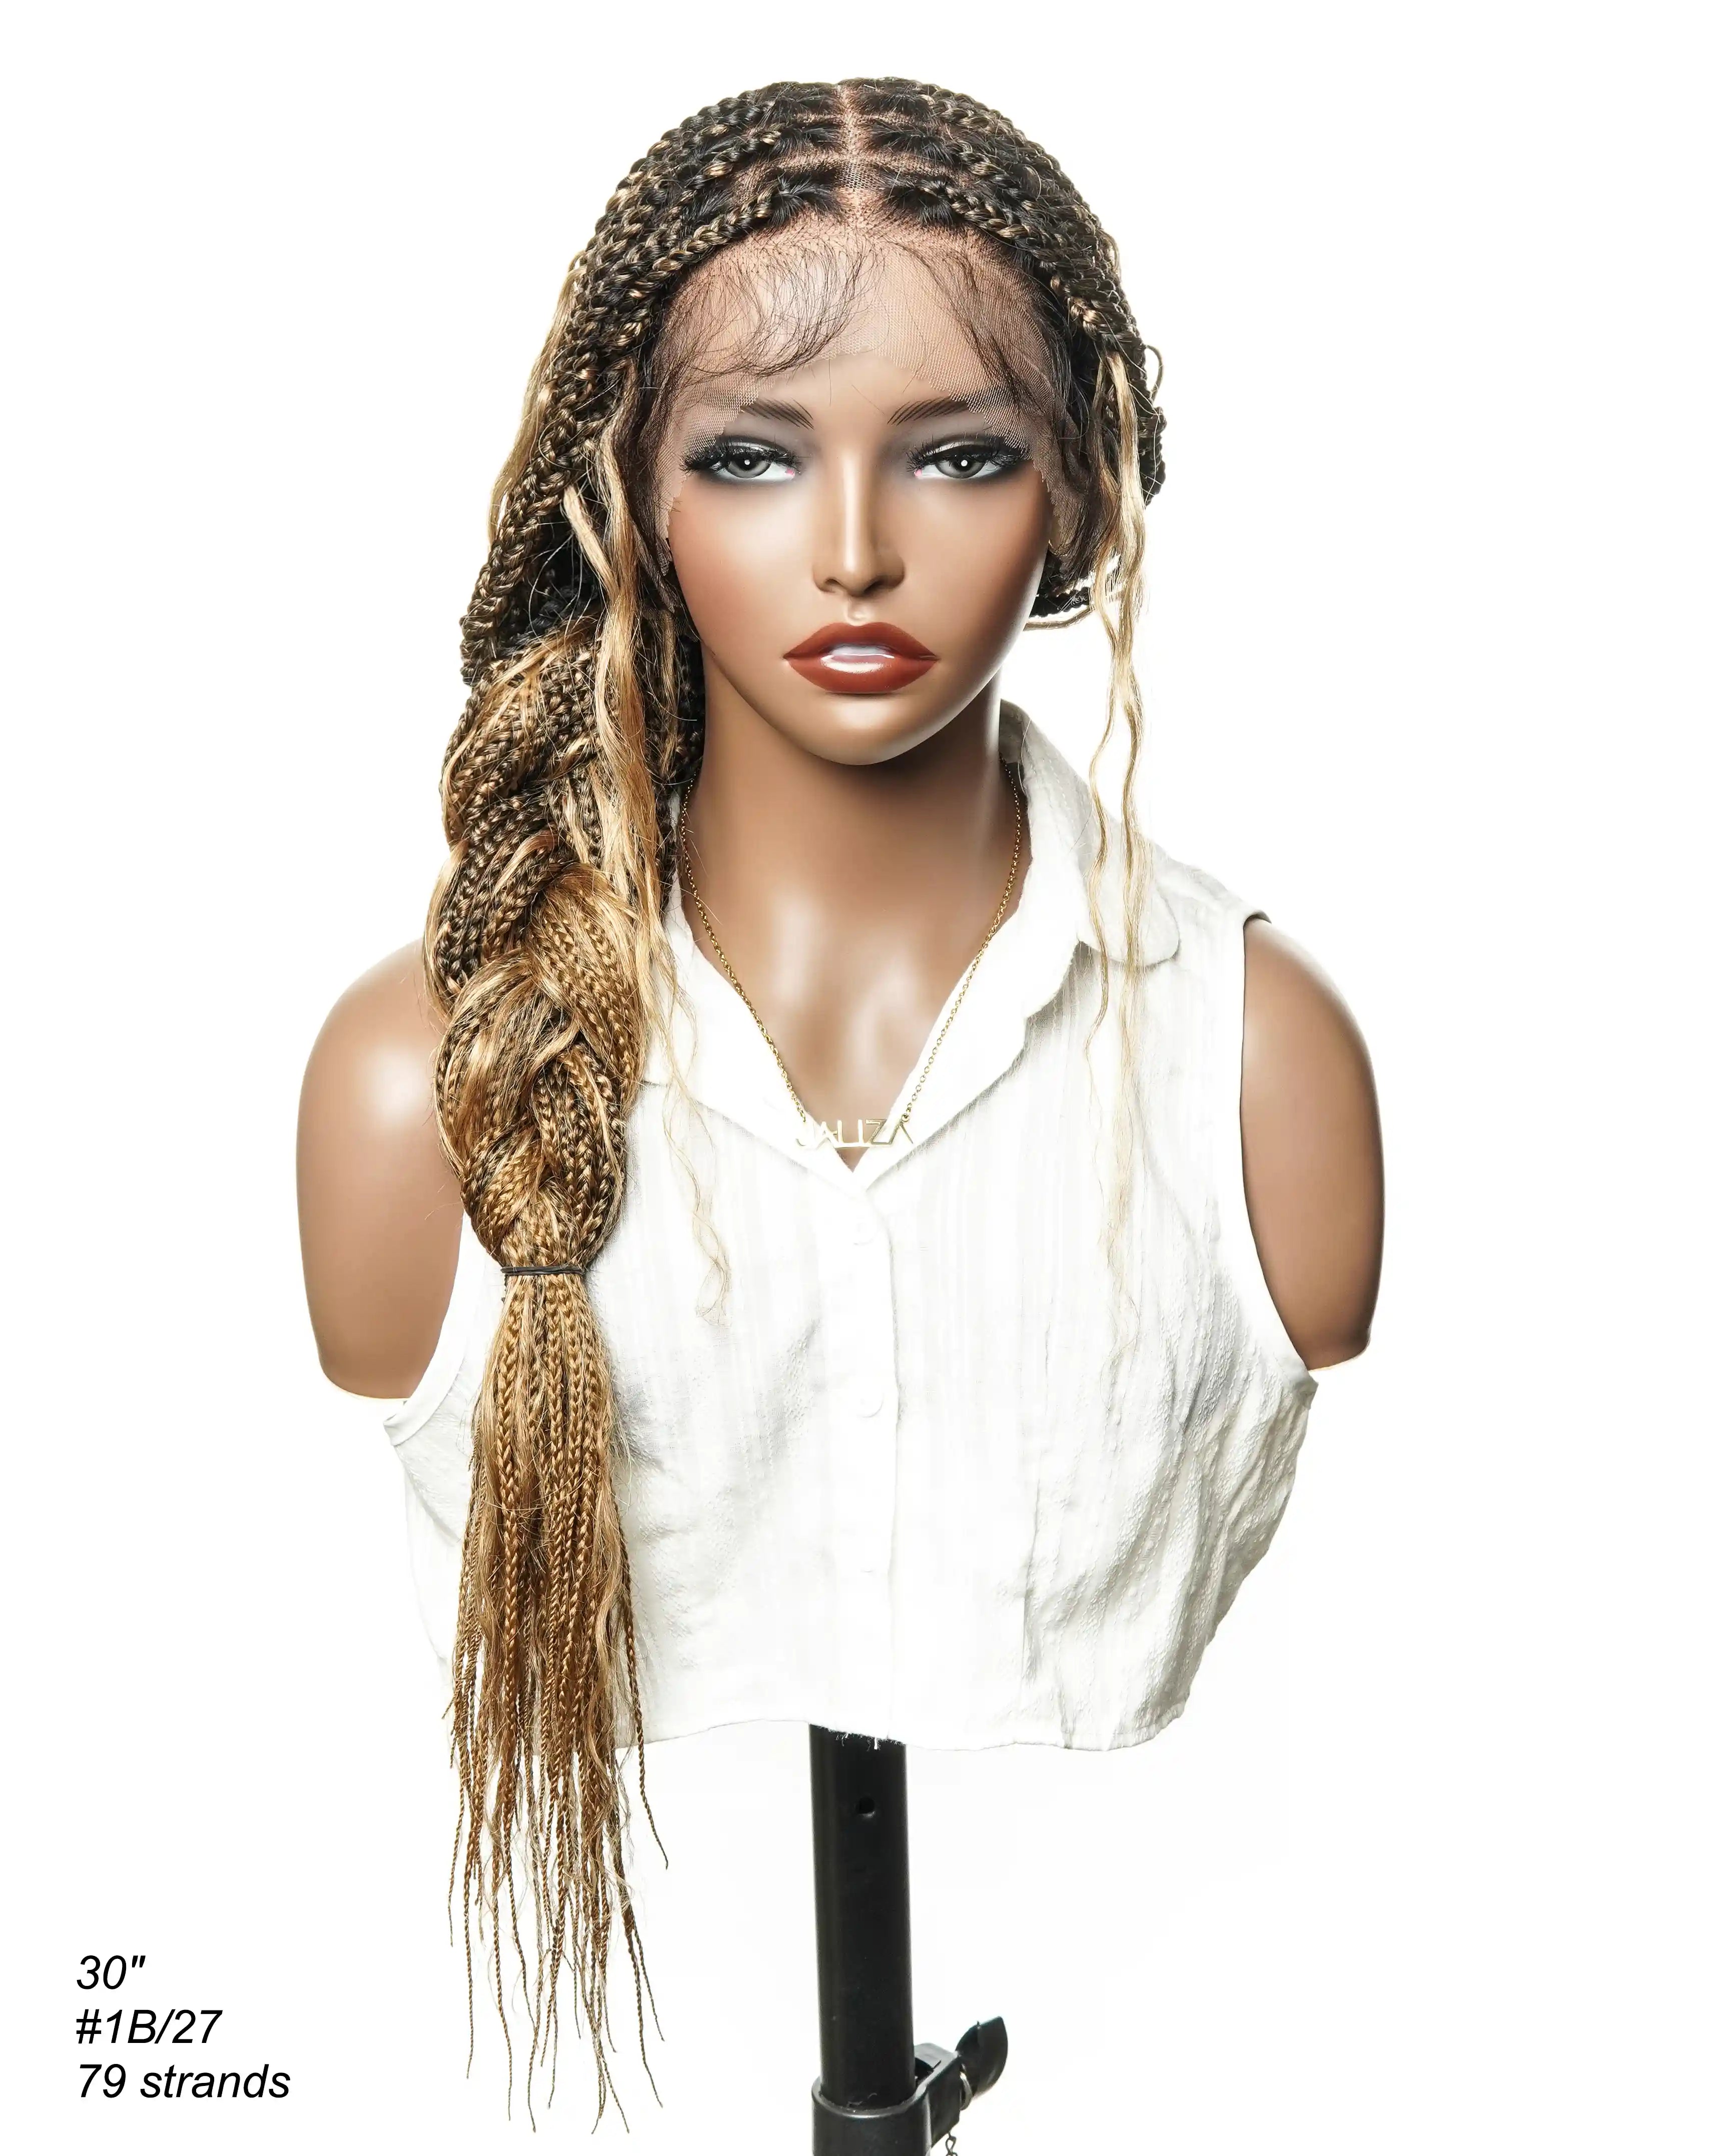
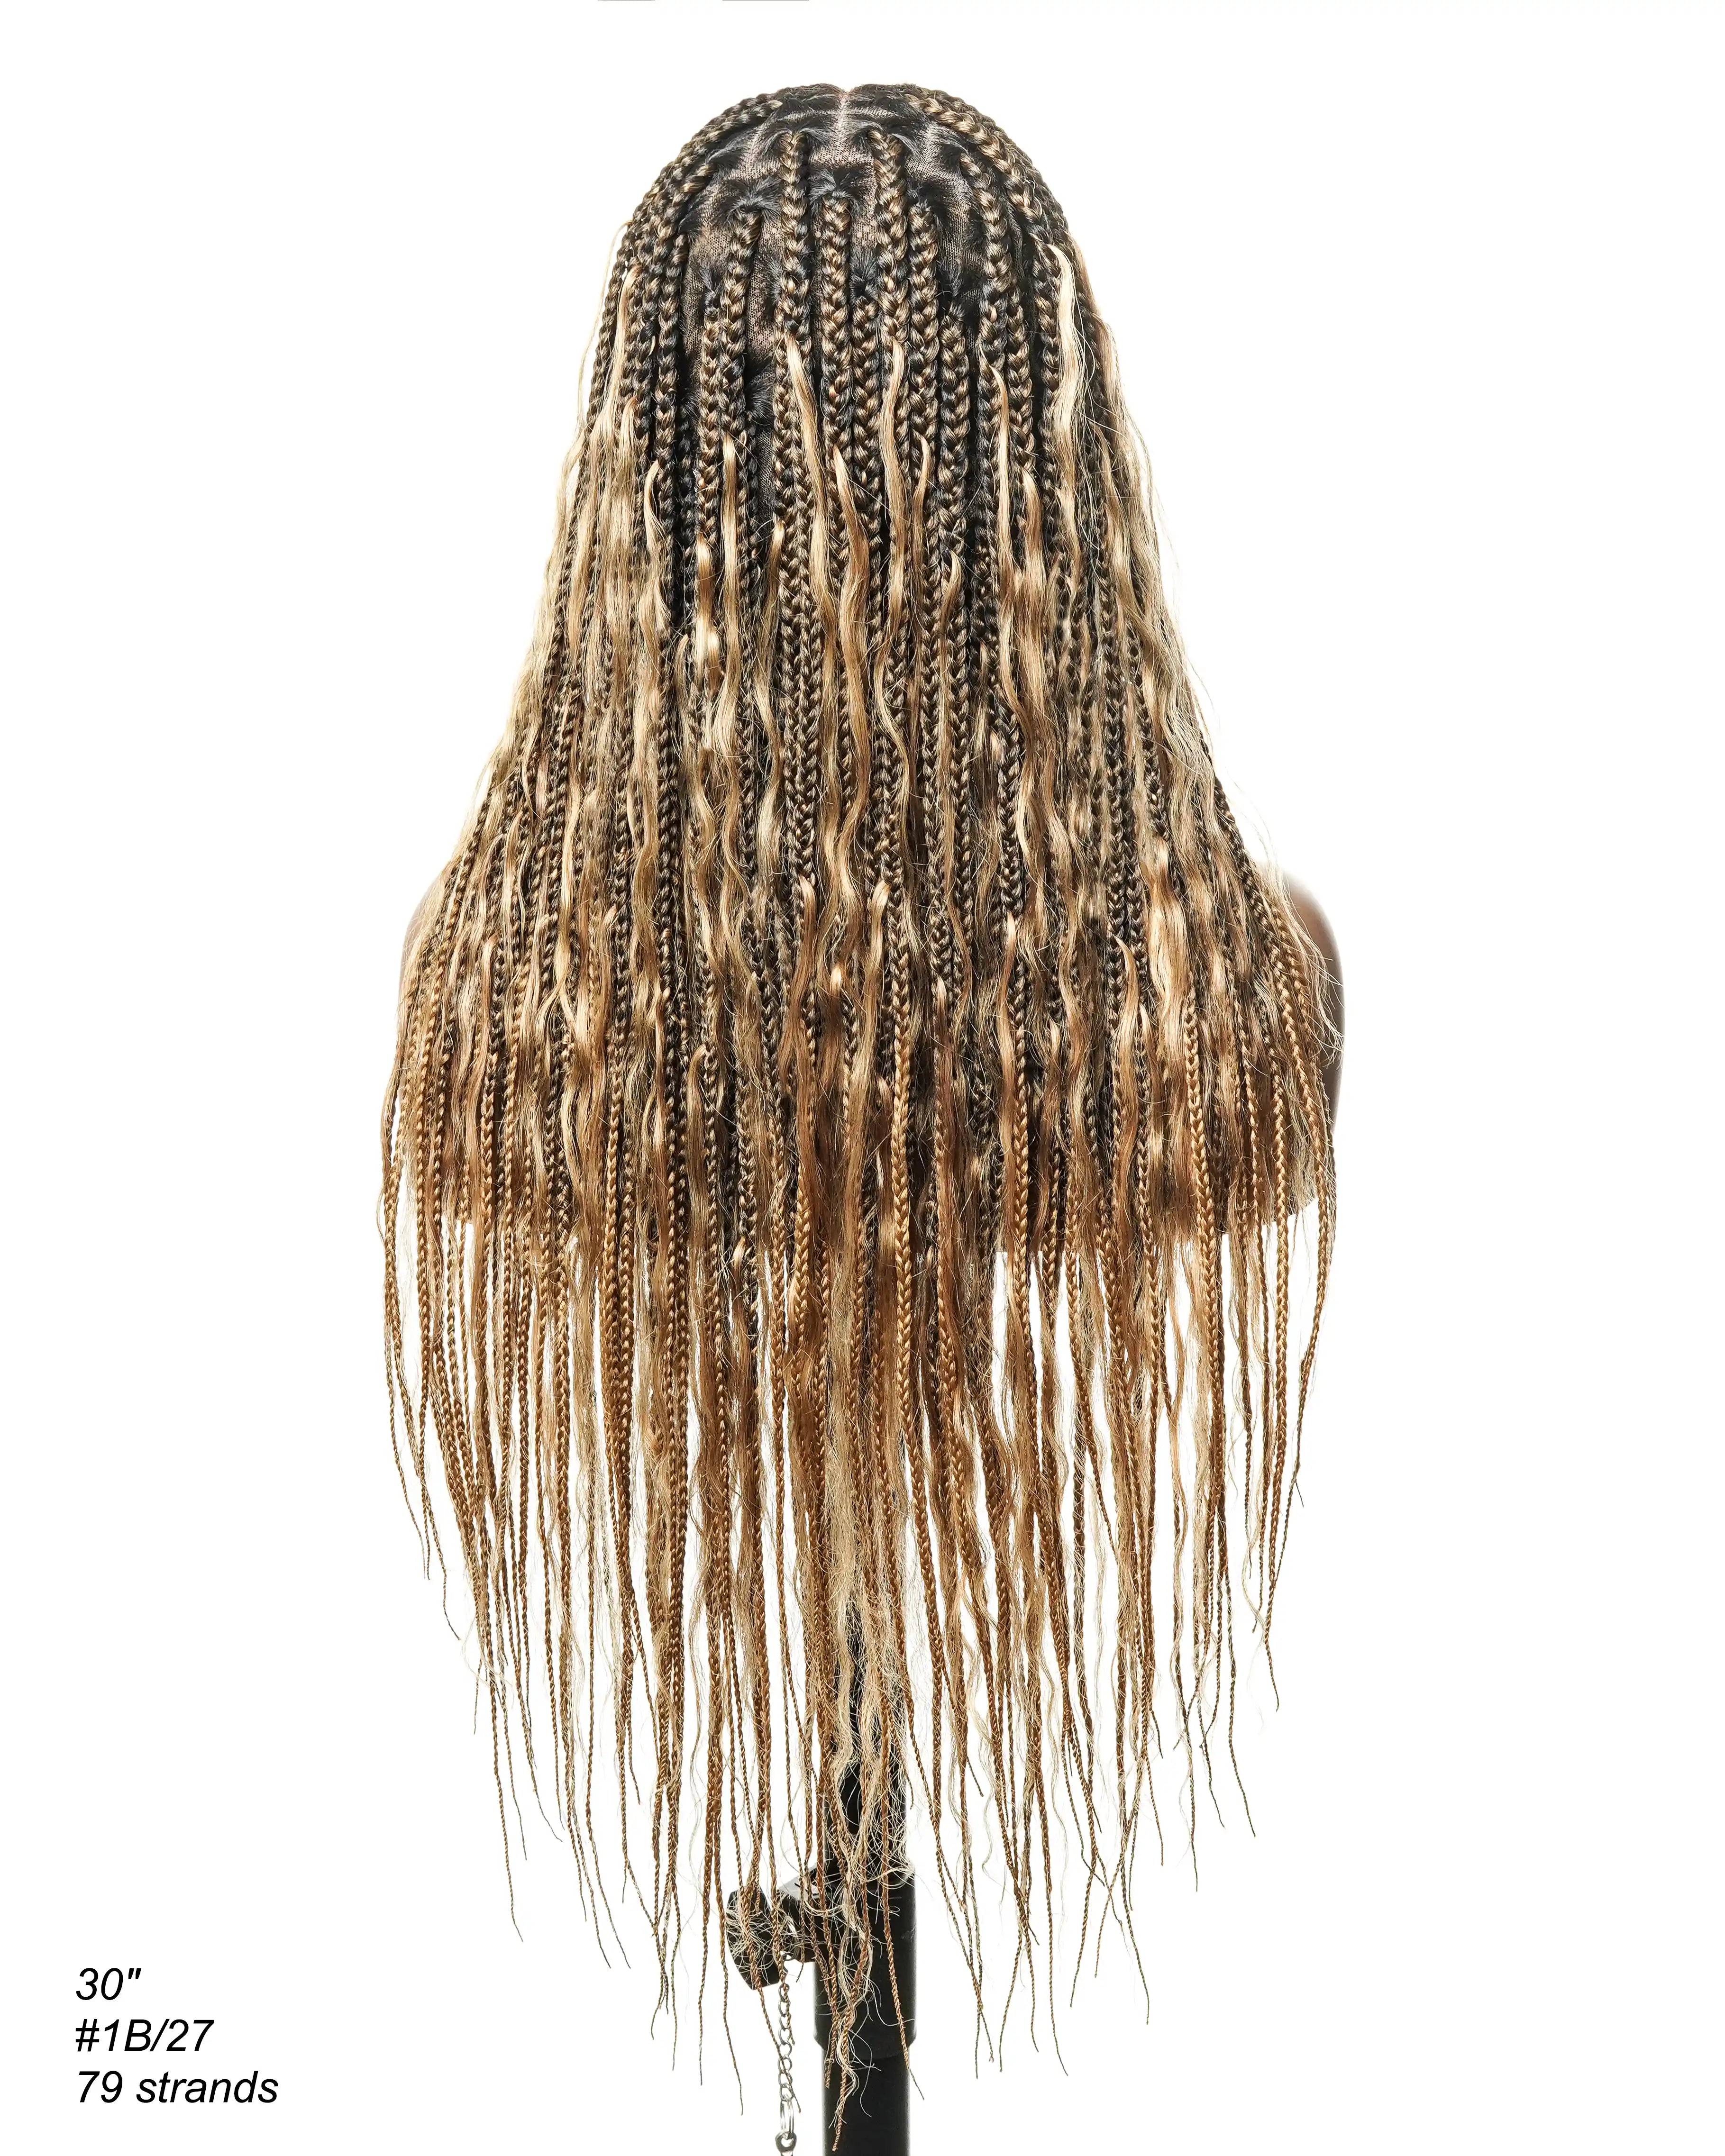
Remember, patience is essential throughout this procedure. While it may be tempting to rush, taking your time can yield a more professional and polished final product. The attachment step is an art form in itself, allowing you to create a loc wig with the natural flow and movement of real dreadlocks. With each loc fixed, you're not just making a loc wig; you're producing a masterpiece combining tradition and personal expression. uBraids, a distinguished brand within the JALIZA Wig Store, is a testament to the art of braided and loc wigs. Catering specifically to black women, uBraids takes pride in crafting wigs that are not only of superior quality but also resonate with the cultural significance of braided hairstyles. Our braided wigs, including the sought-after small box braids and locs braids, are meticulously designed to provide both protective styling and an impeccable aesthetic appeal. Each wig is created with a deep understanding of the nuances of braids wig, ensuring a natural look and comfortable fit.
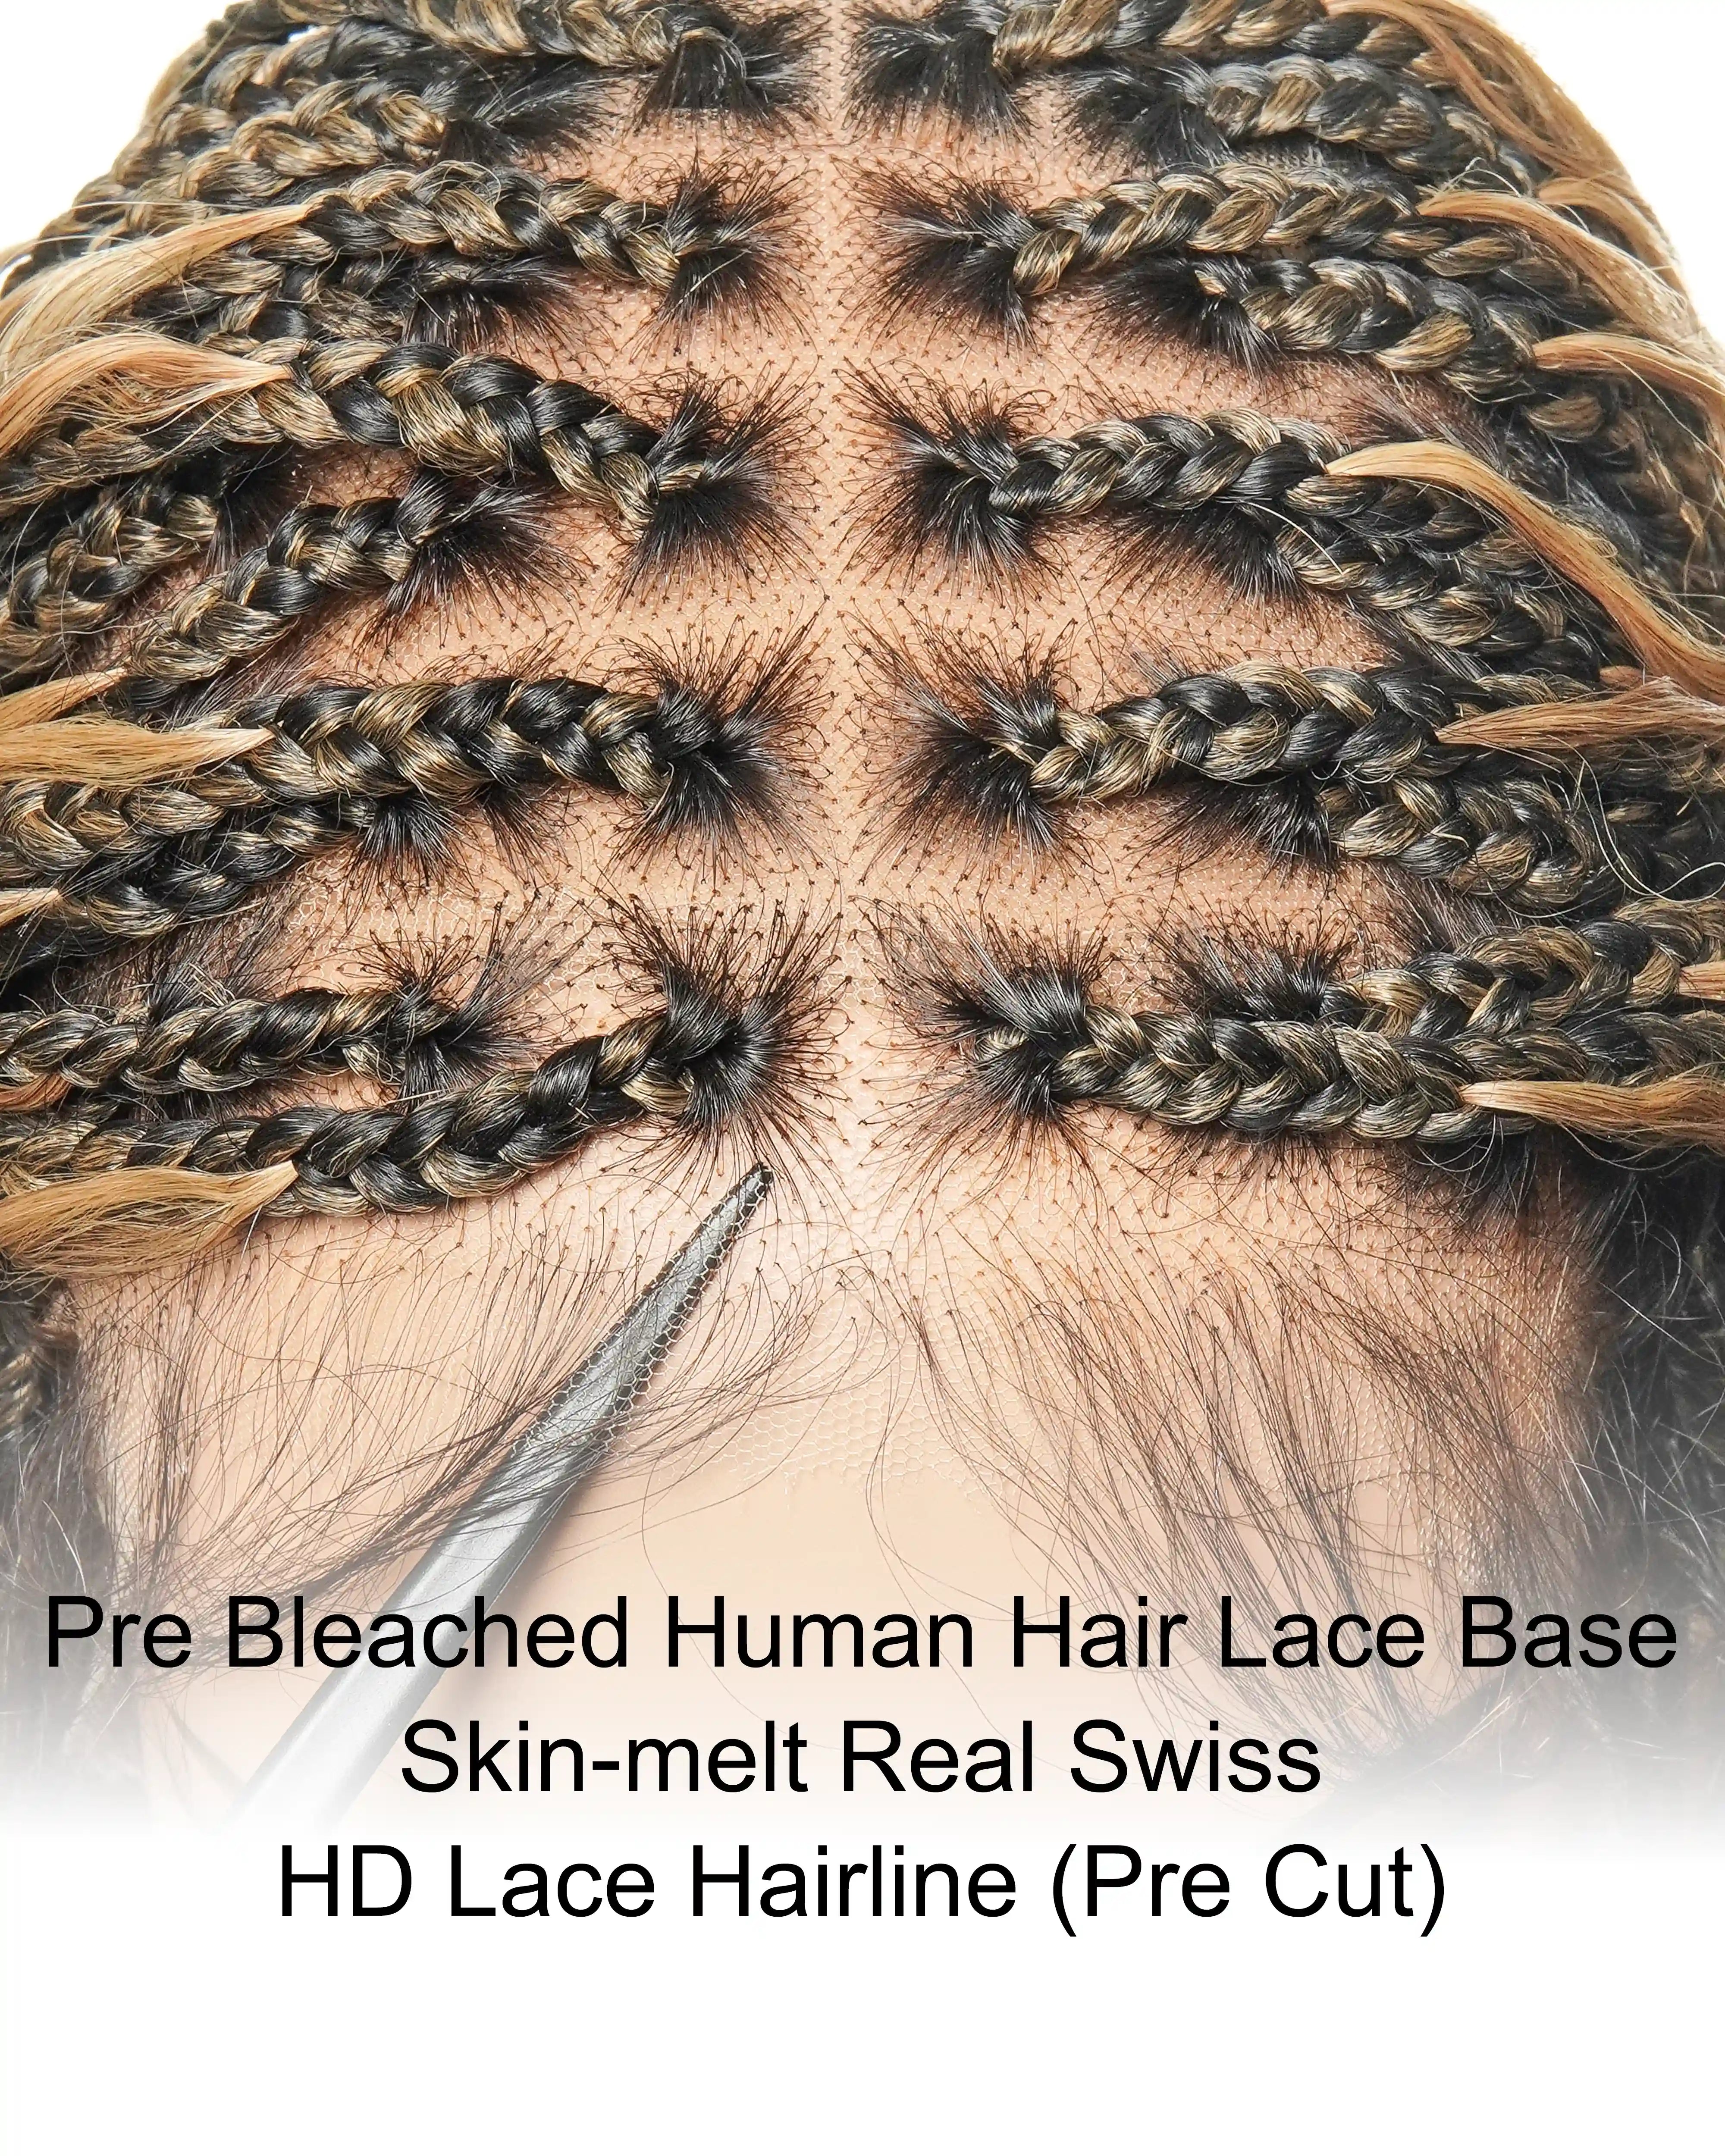
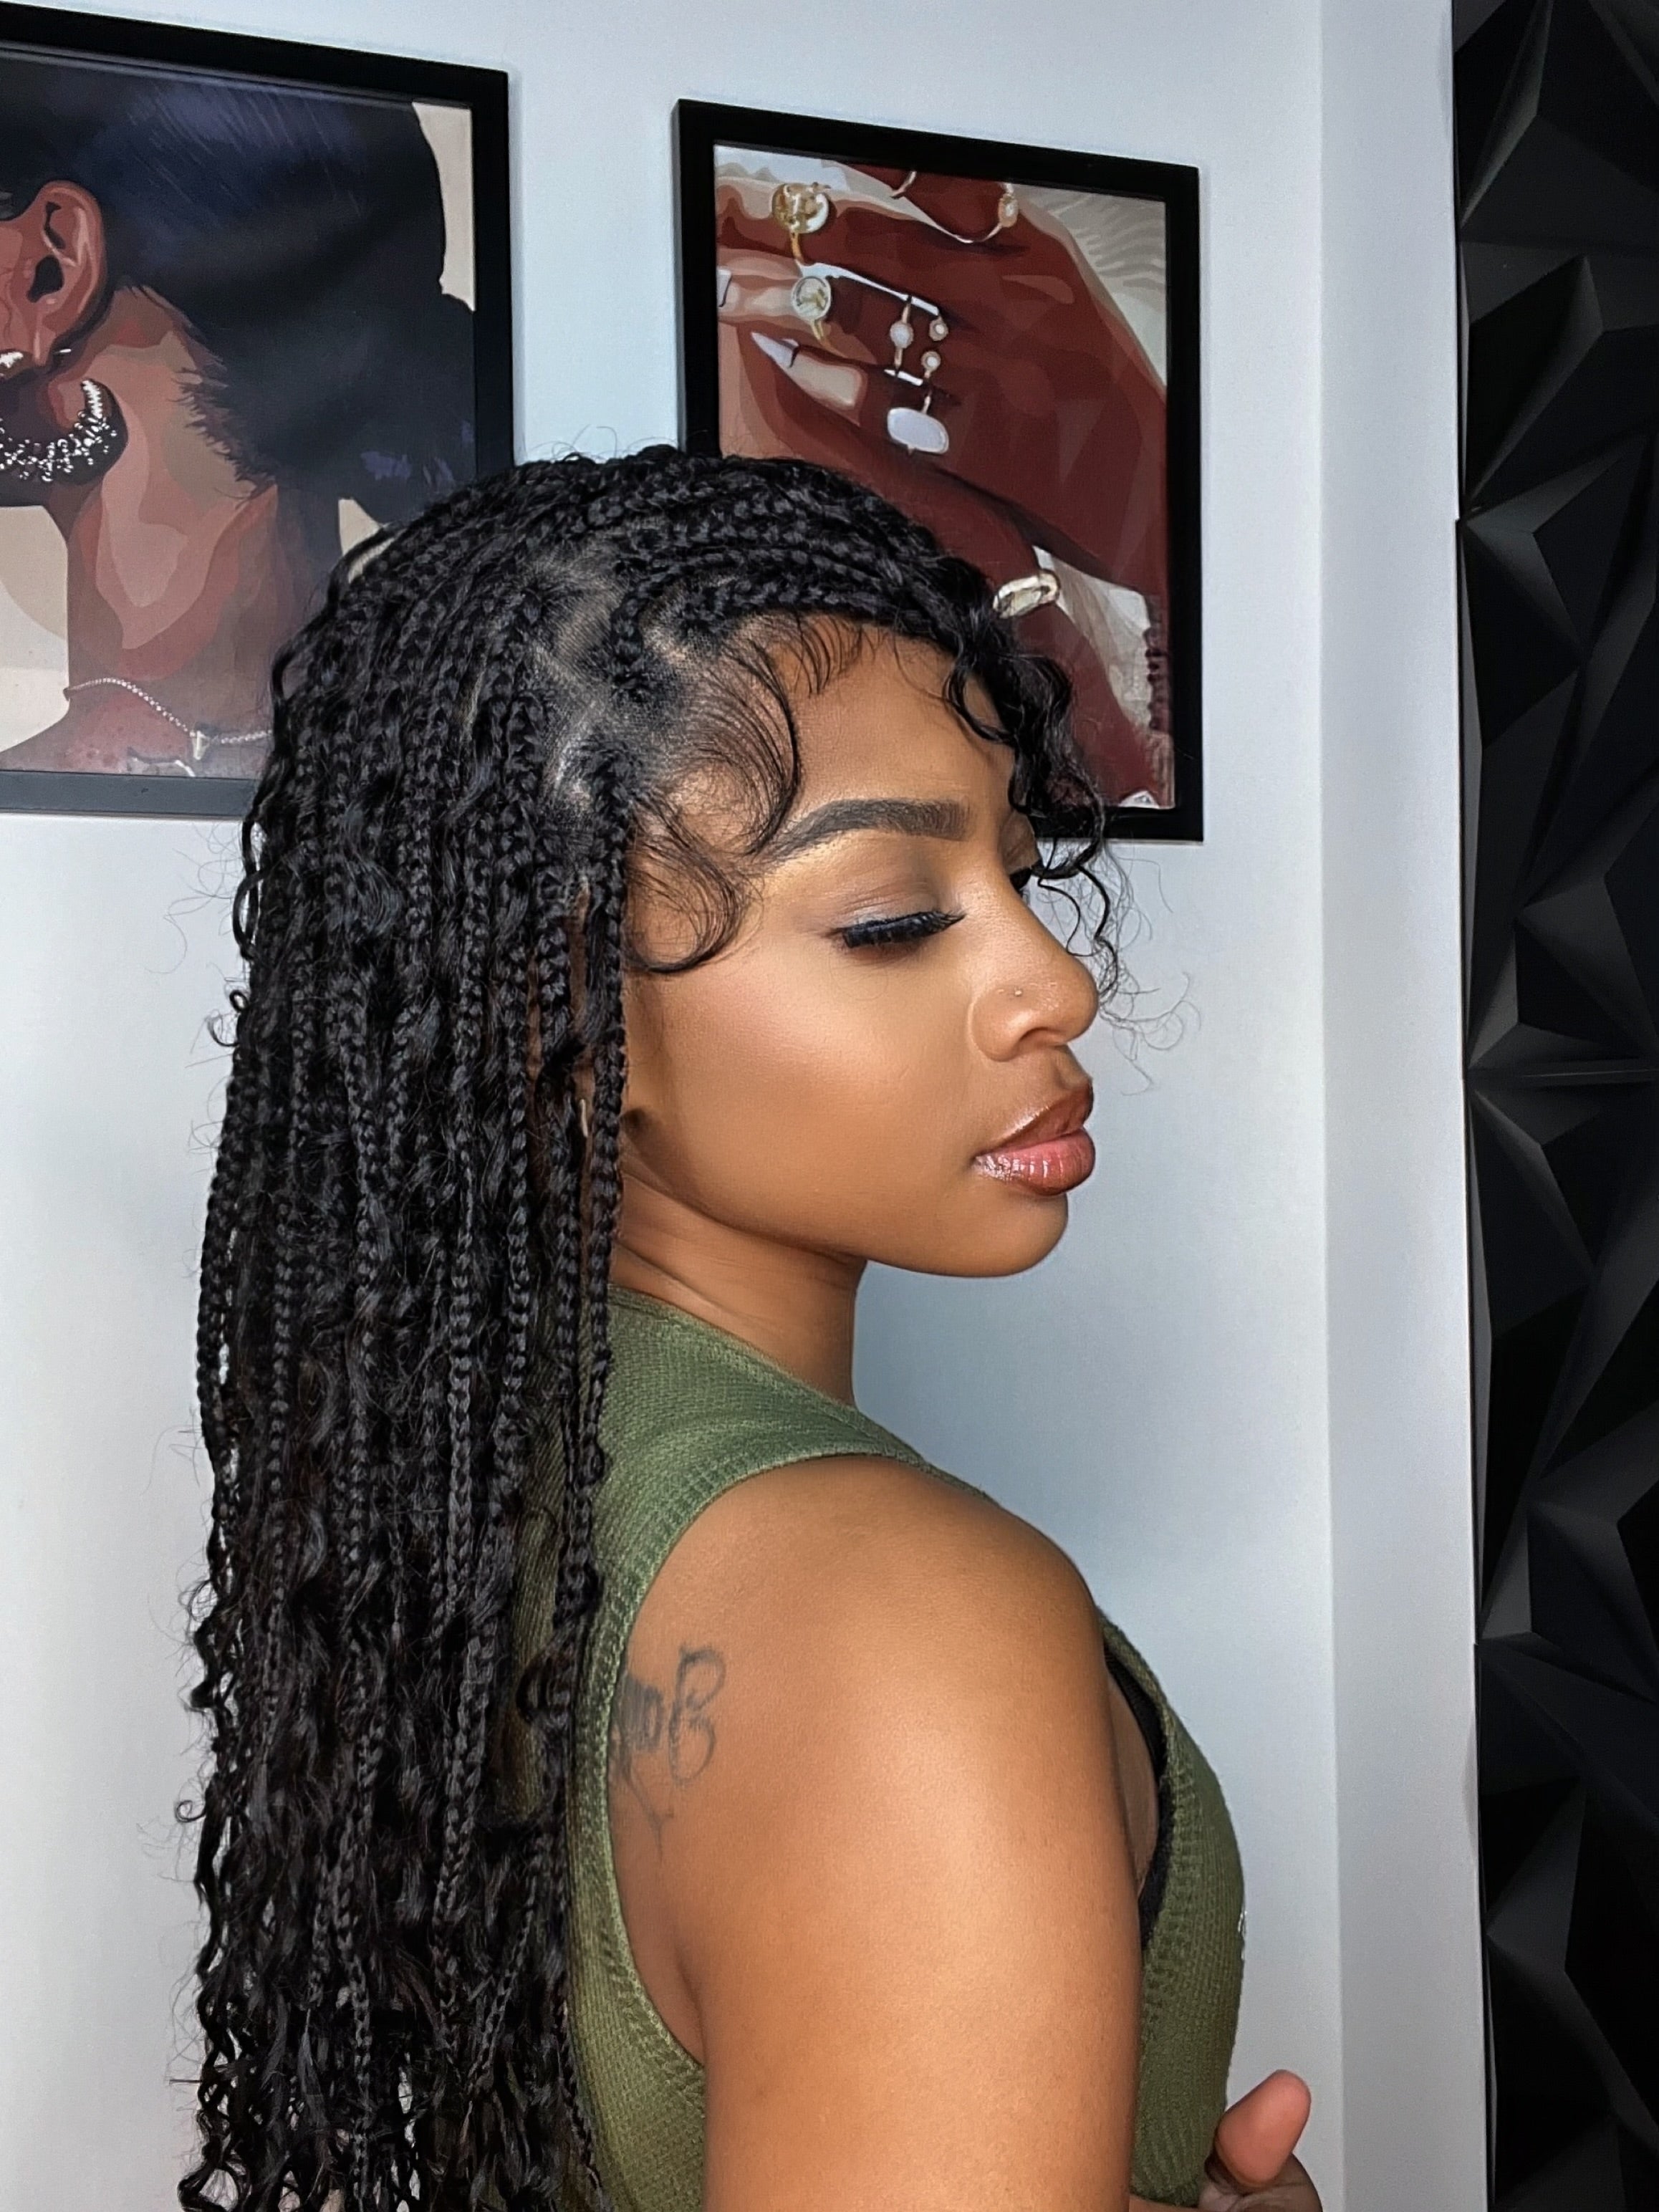
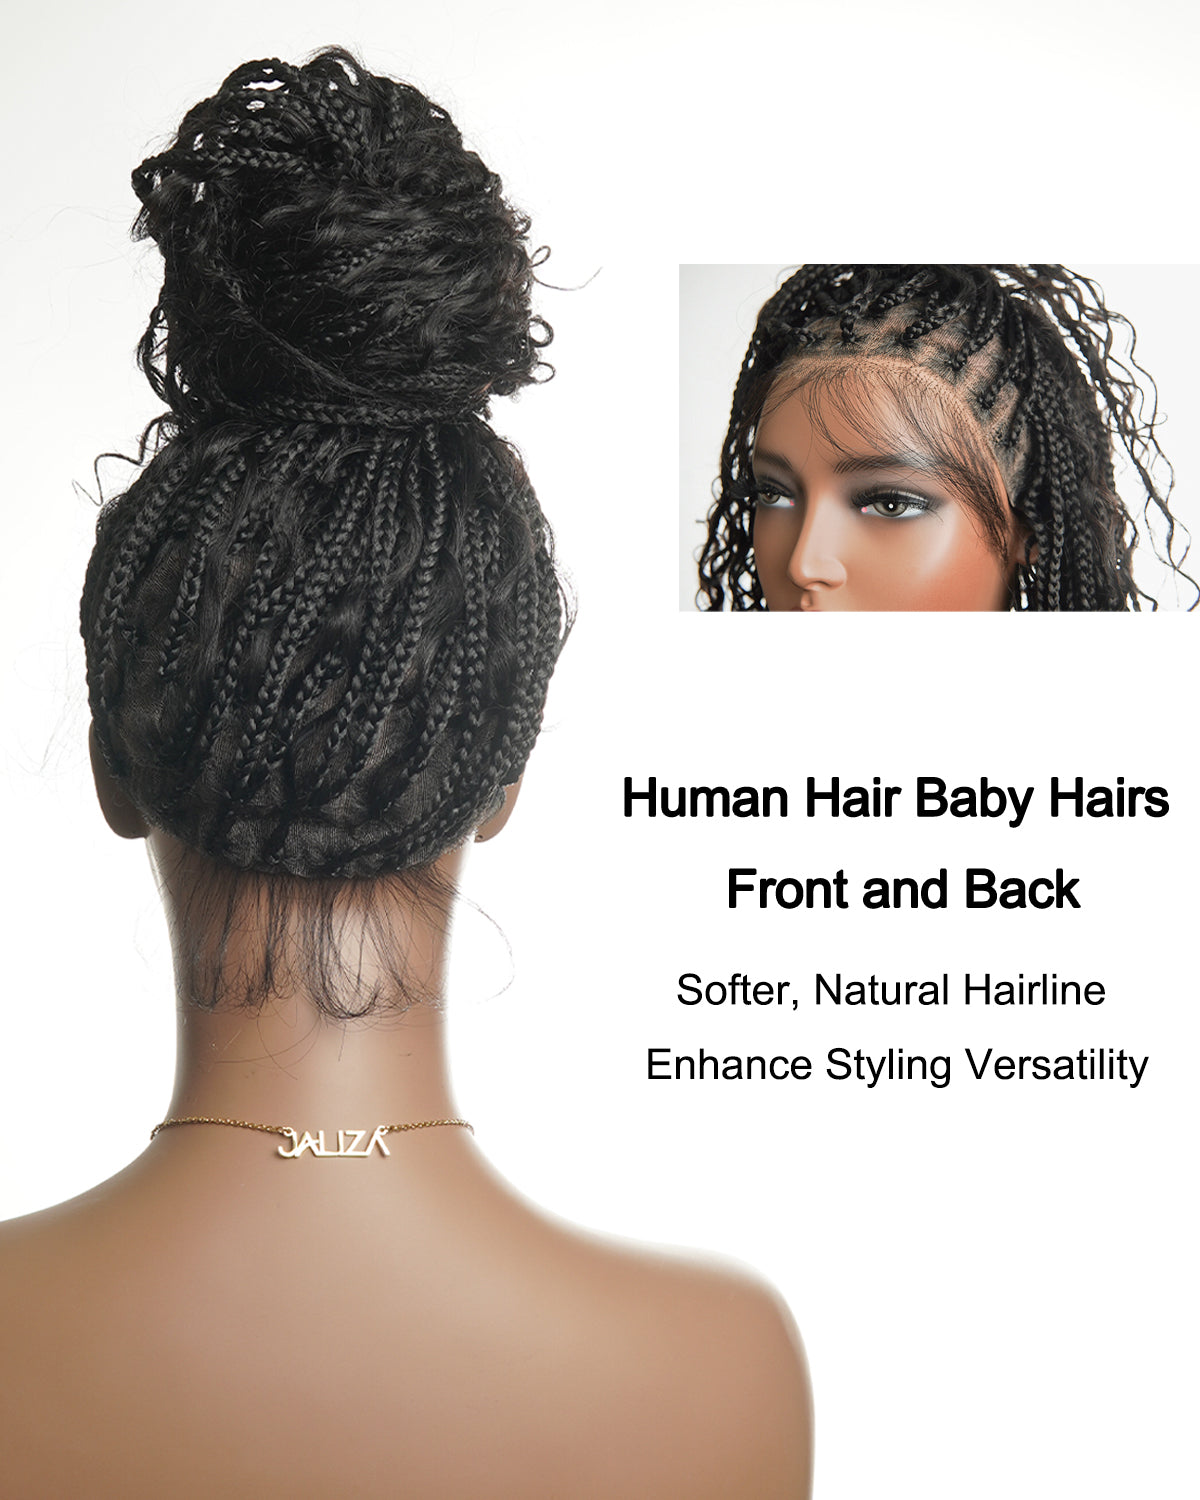
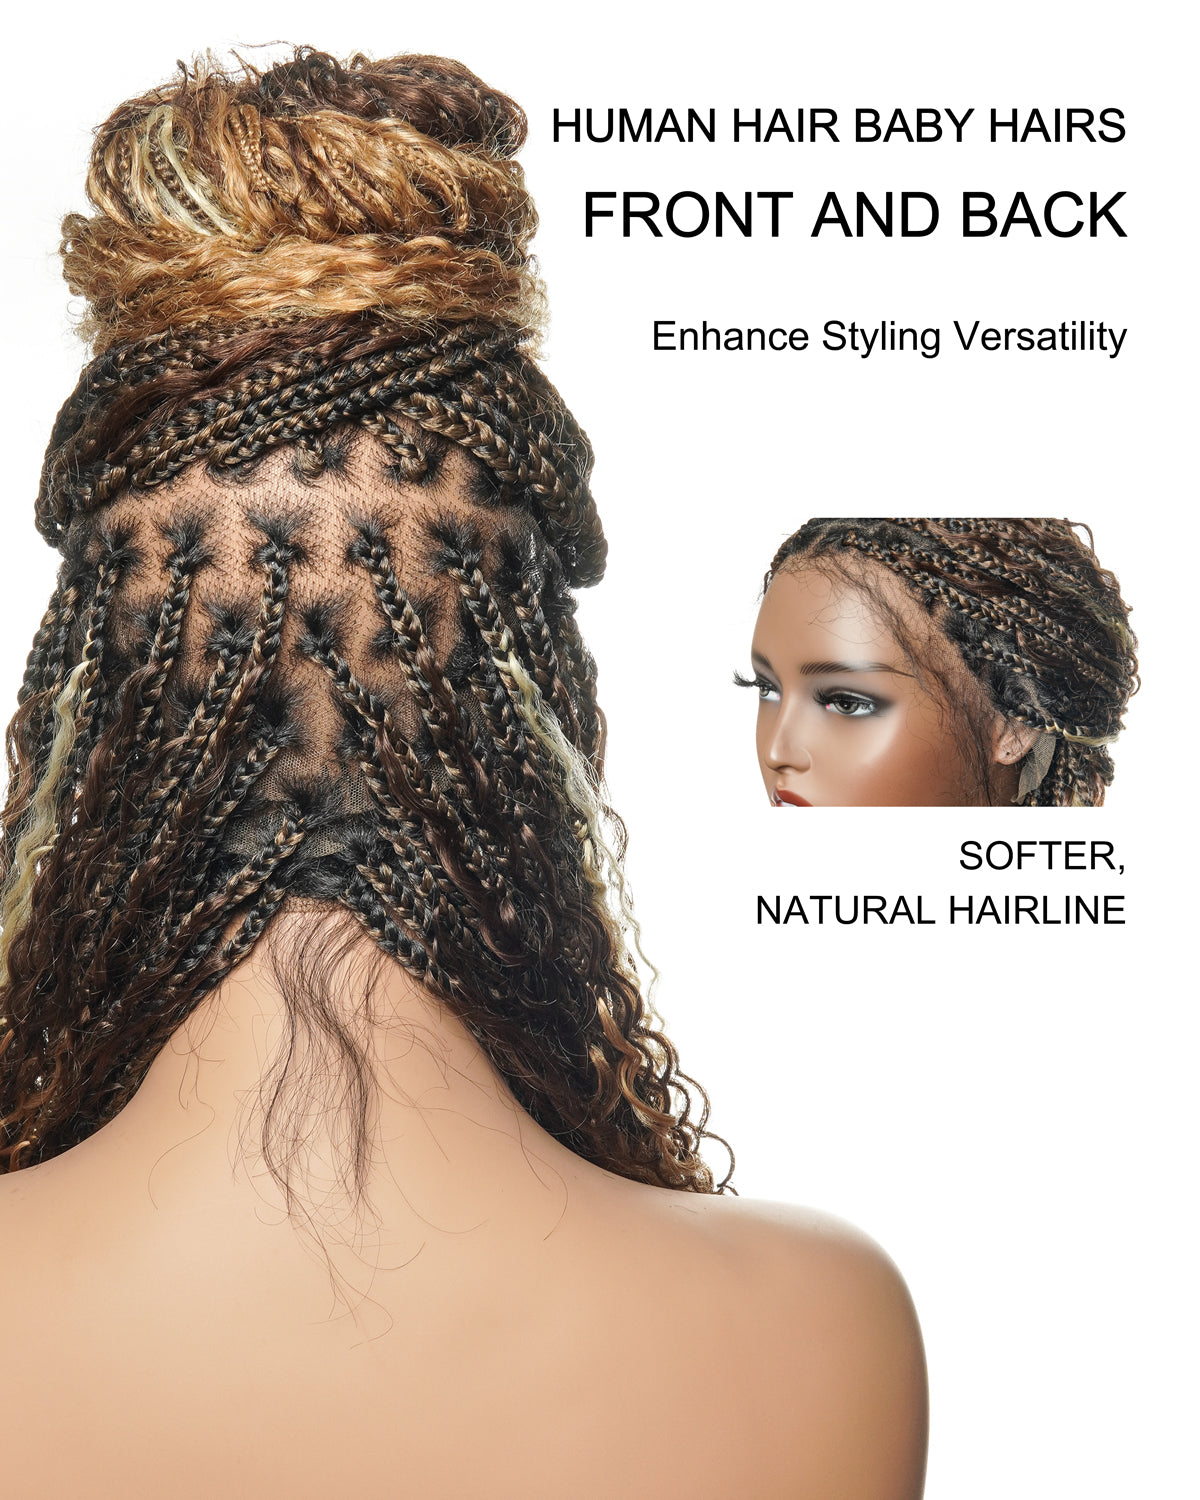
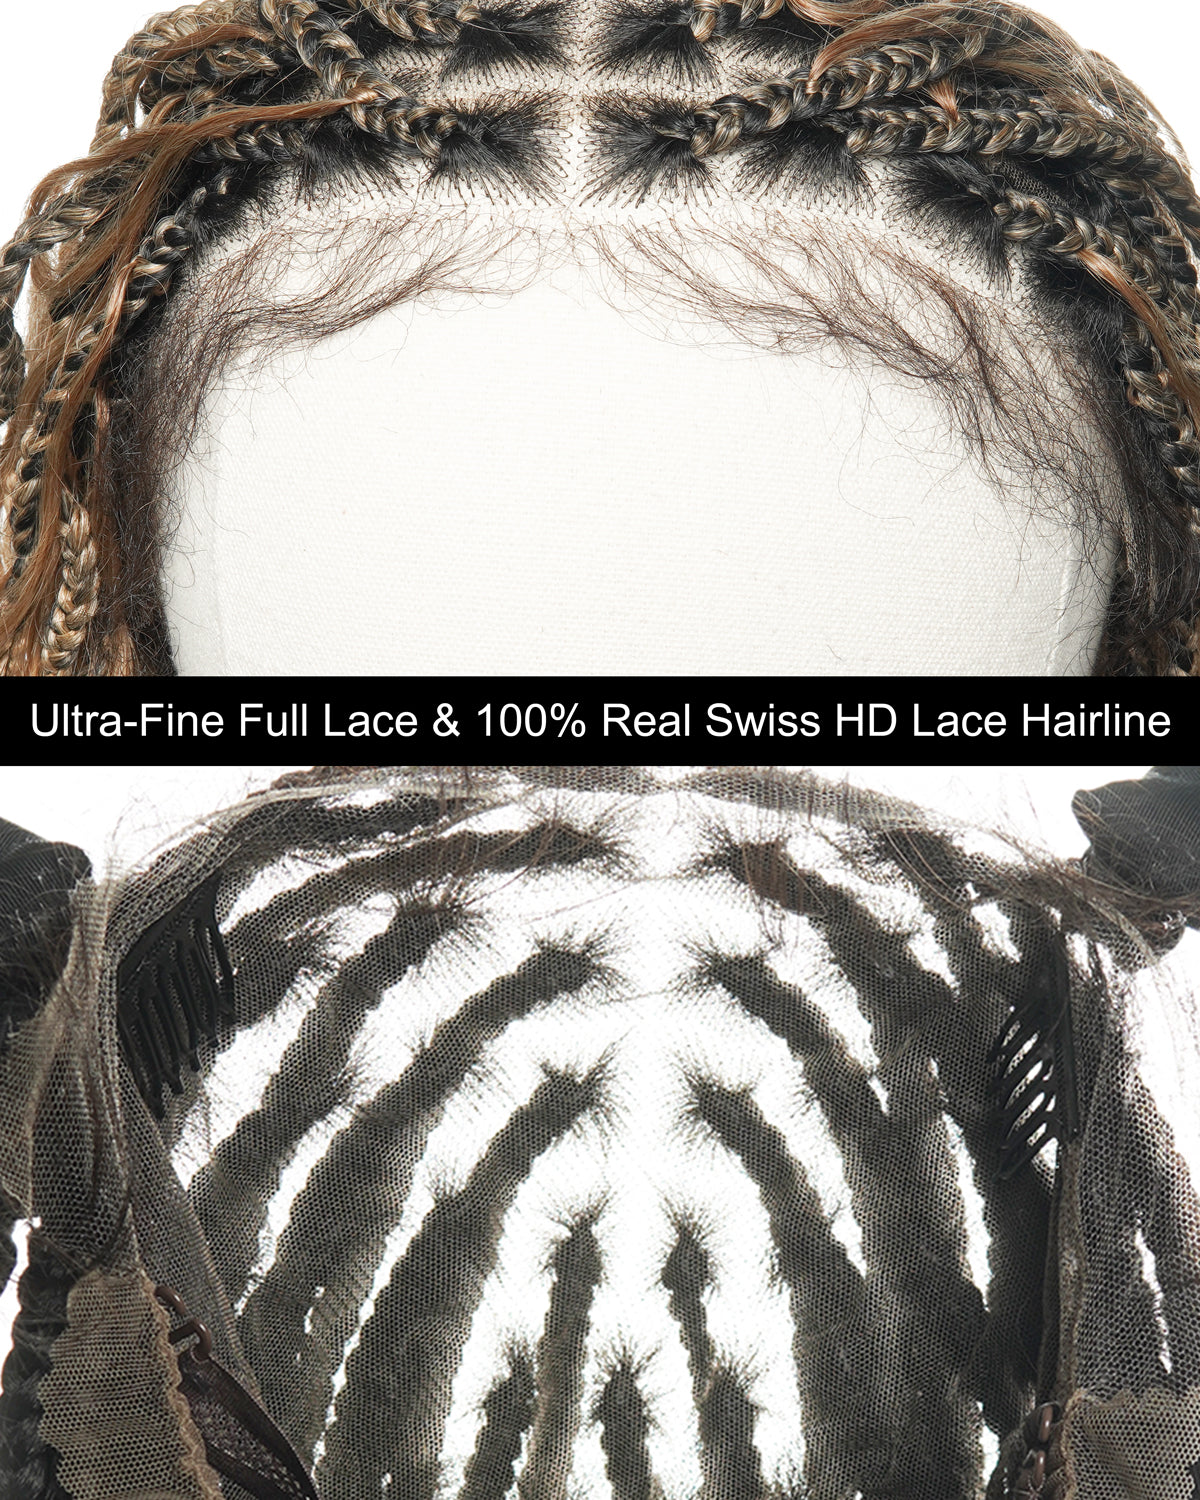
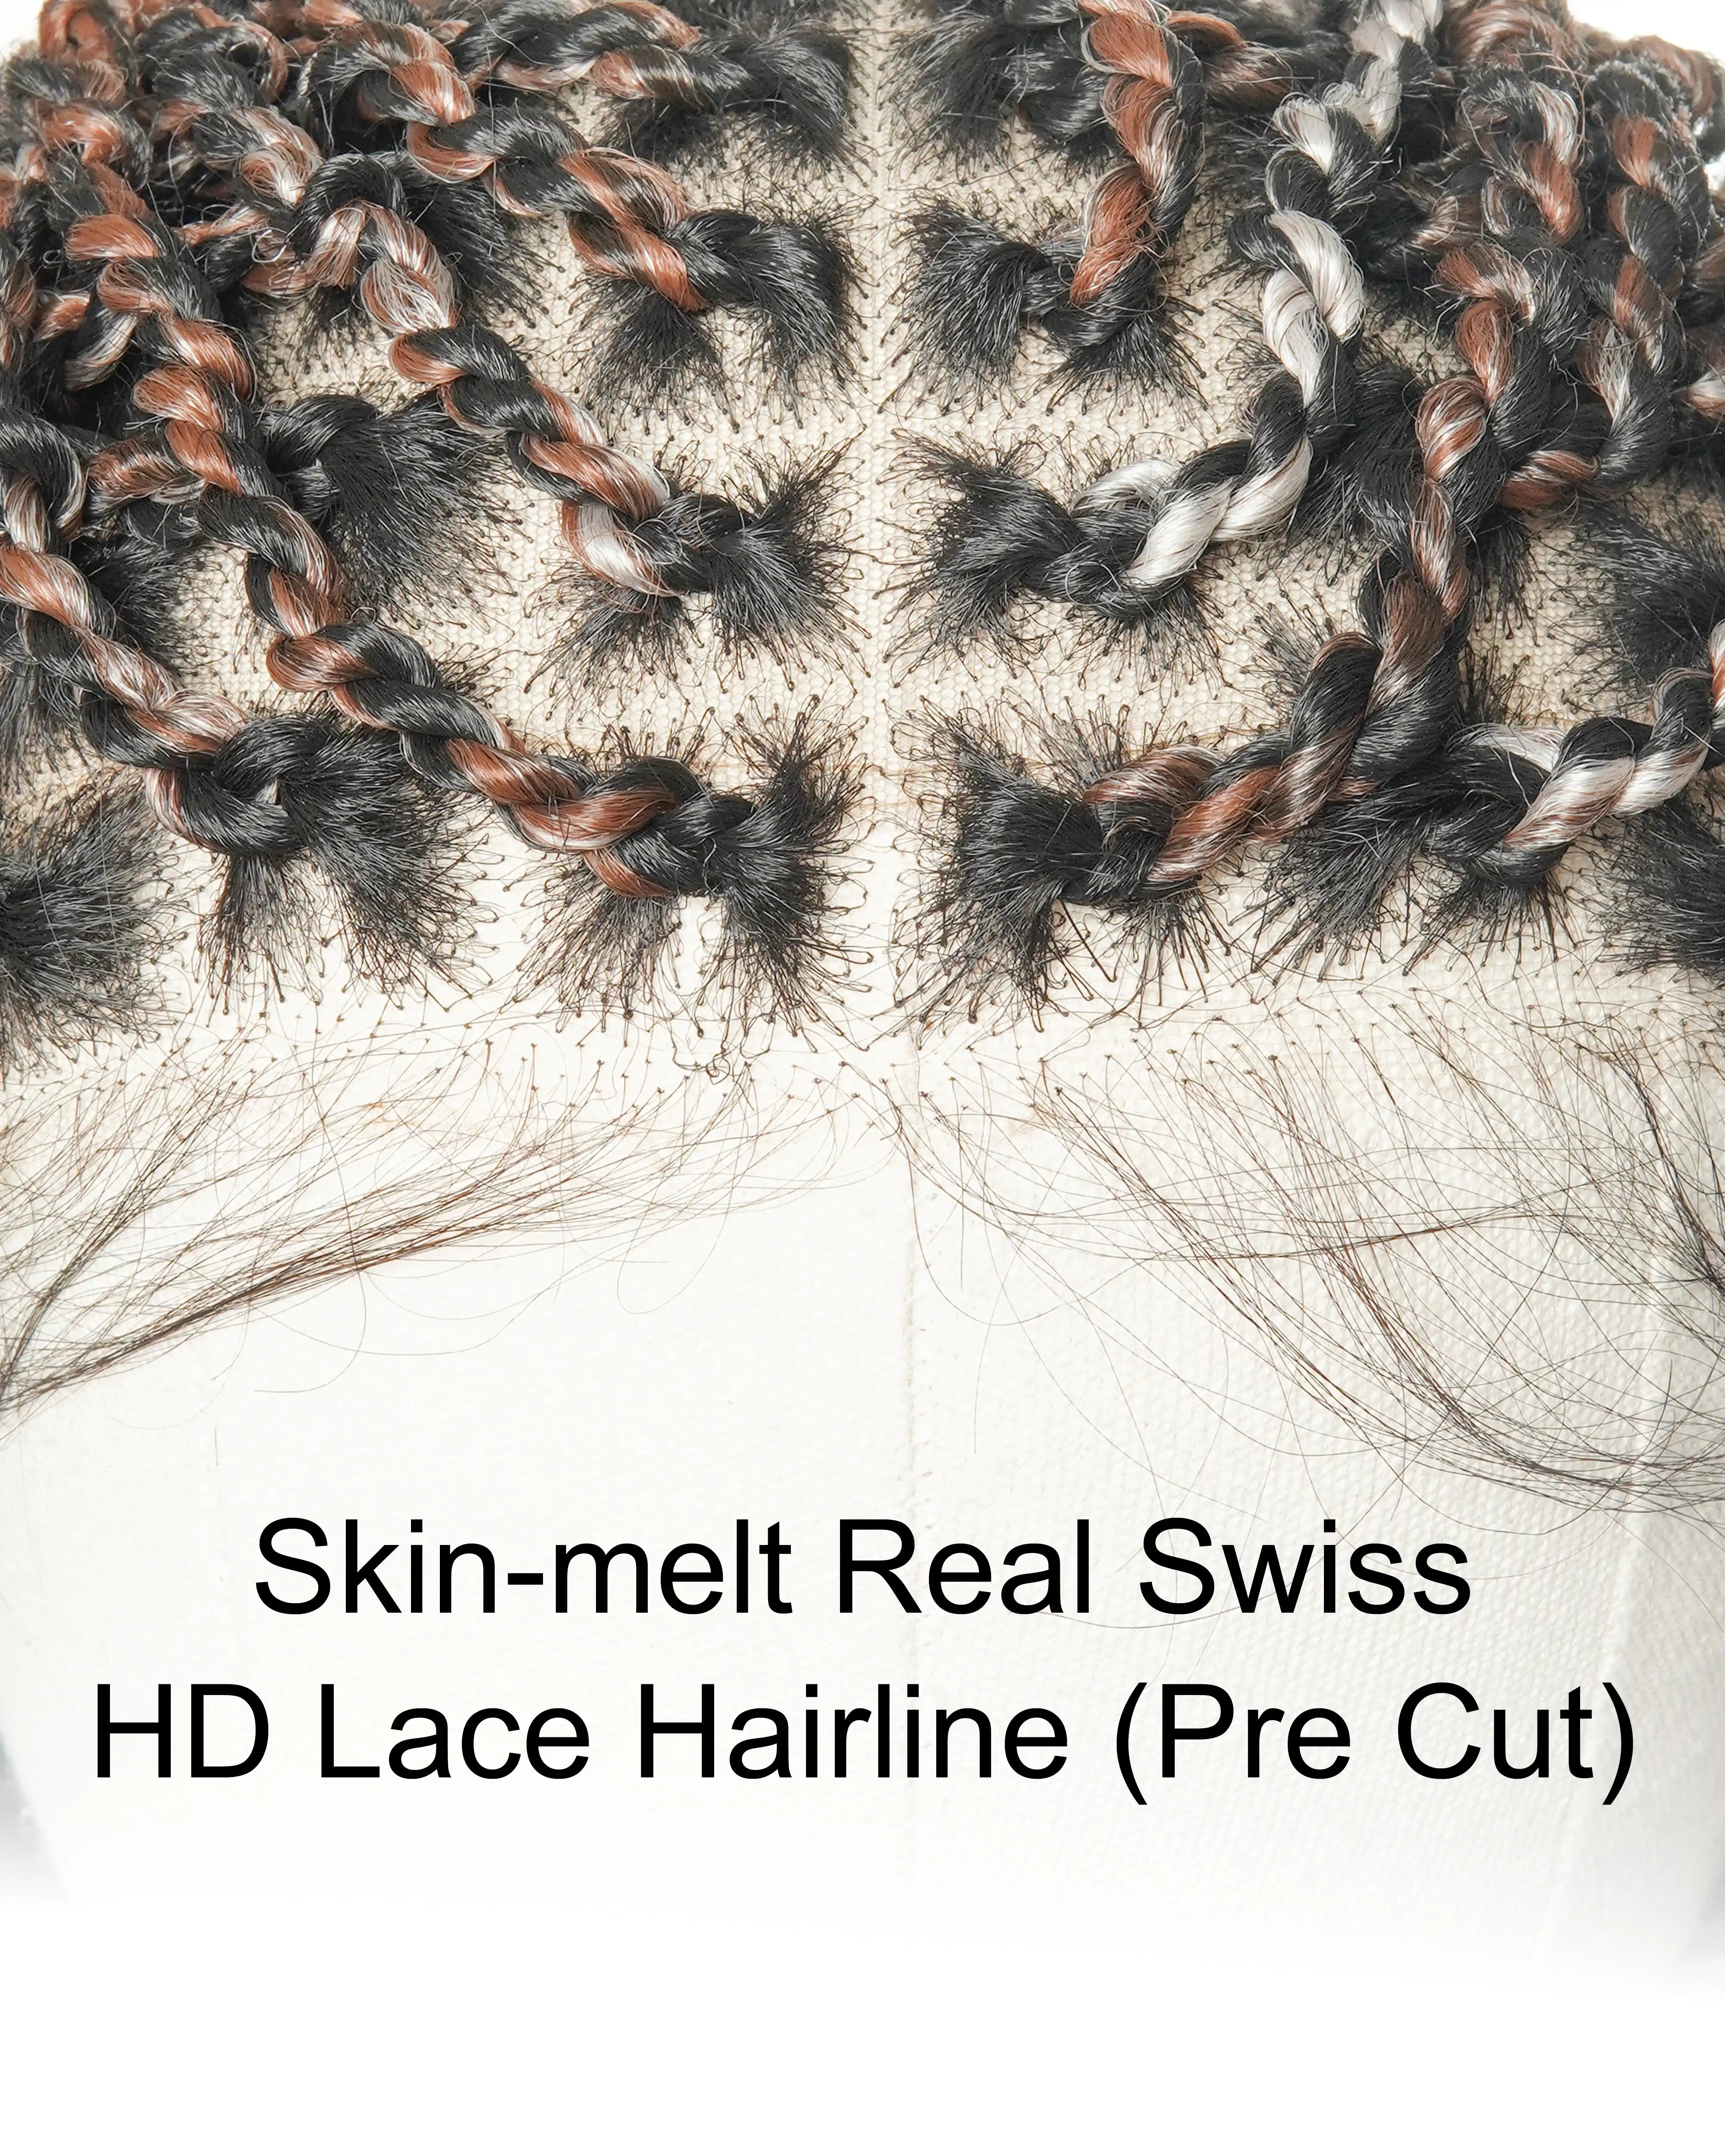
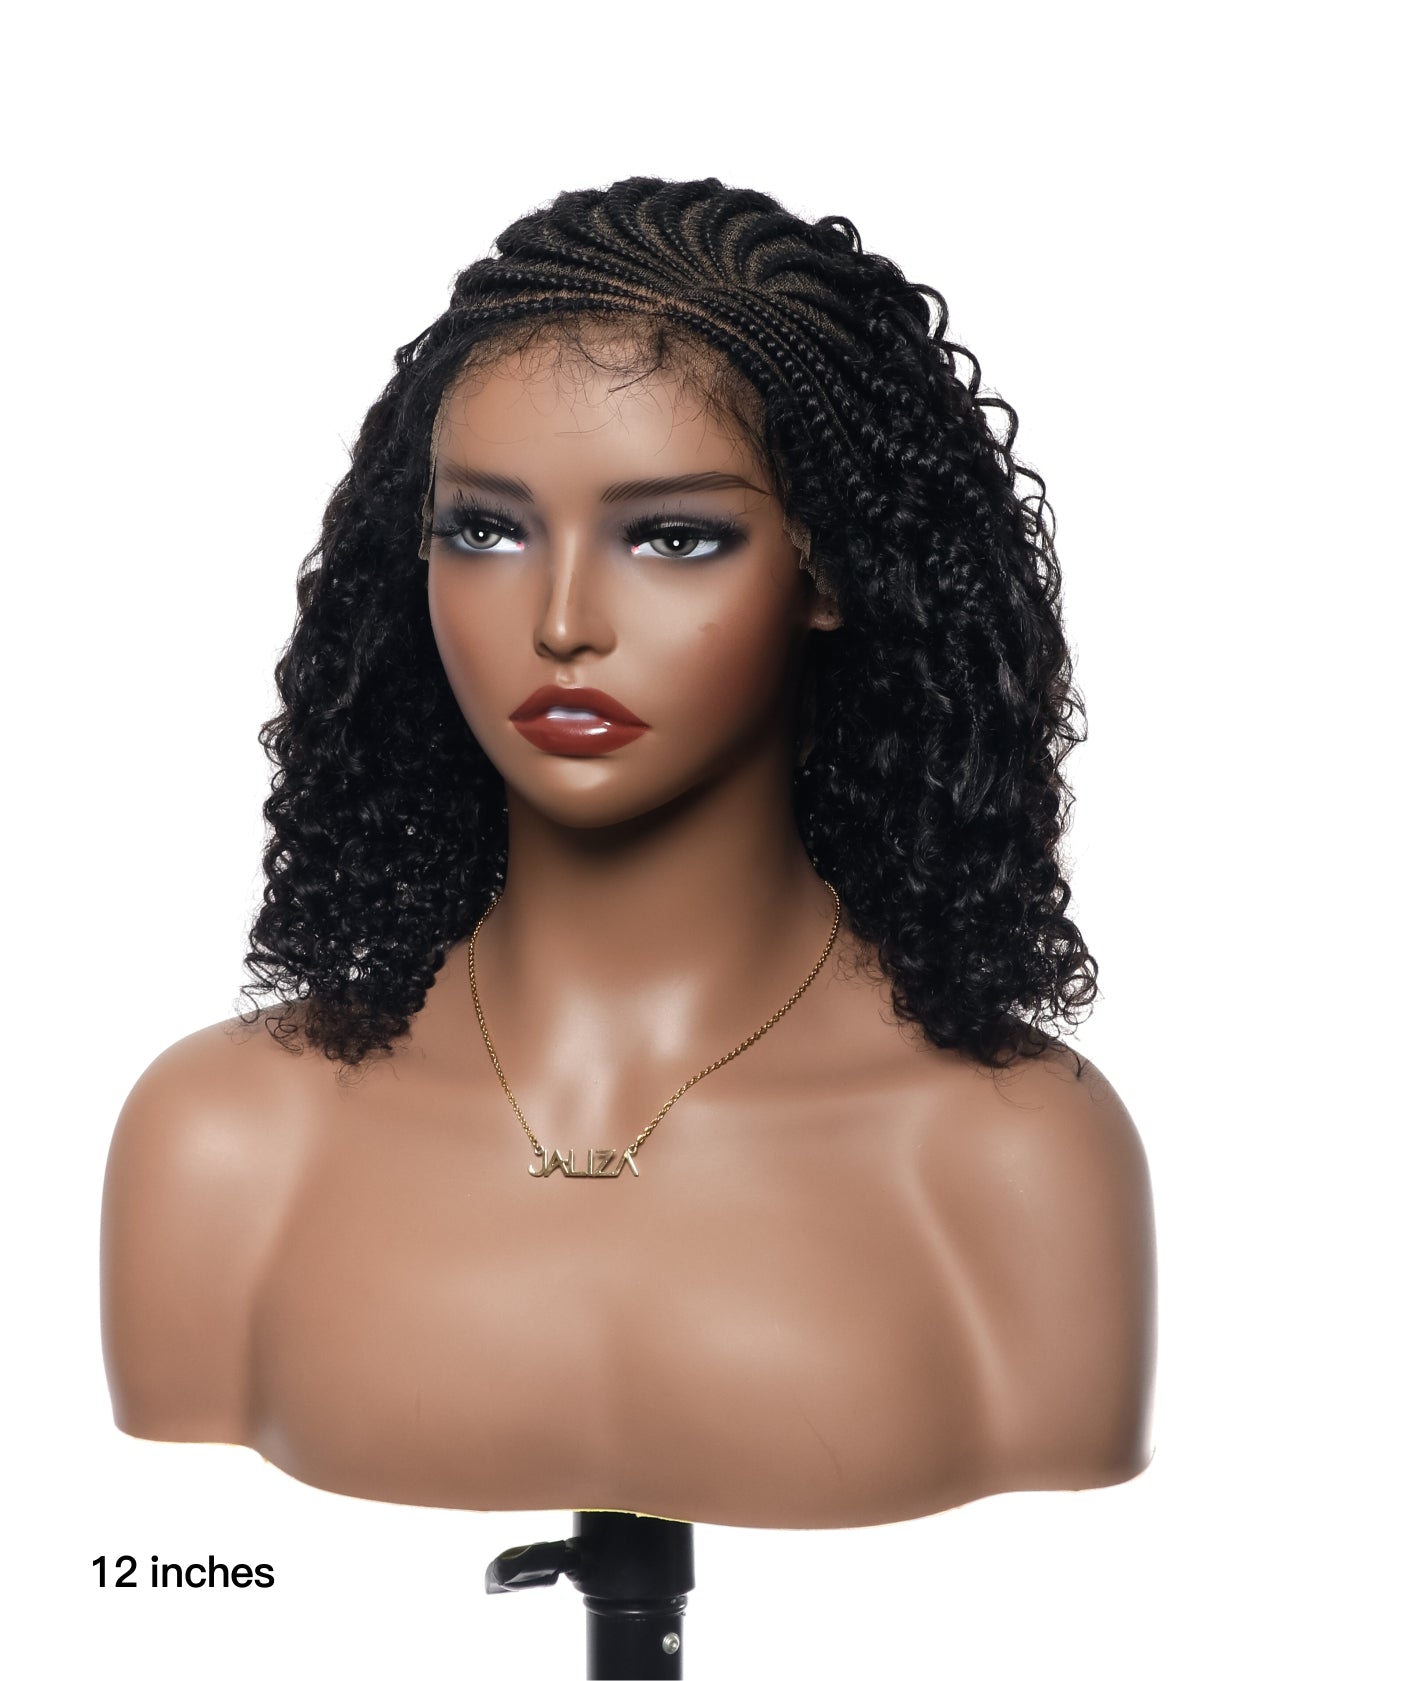
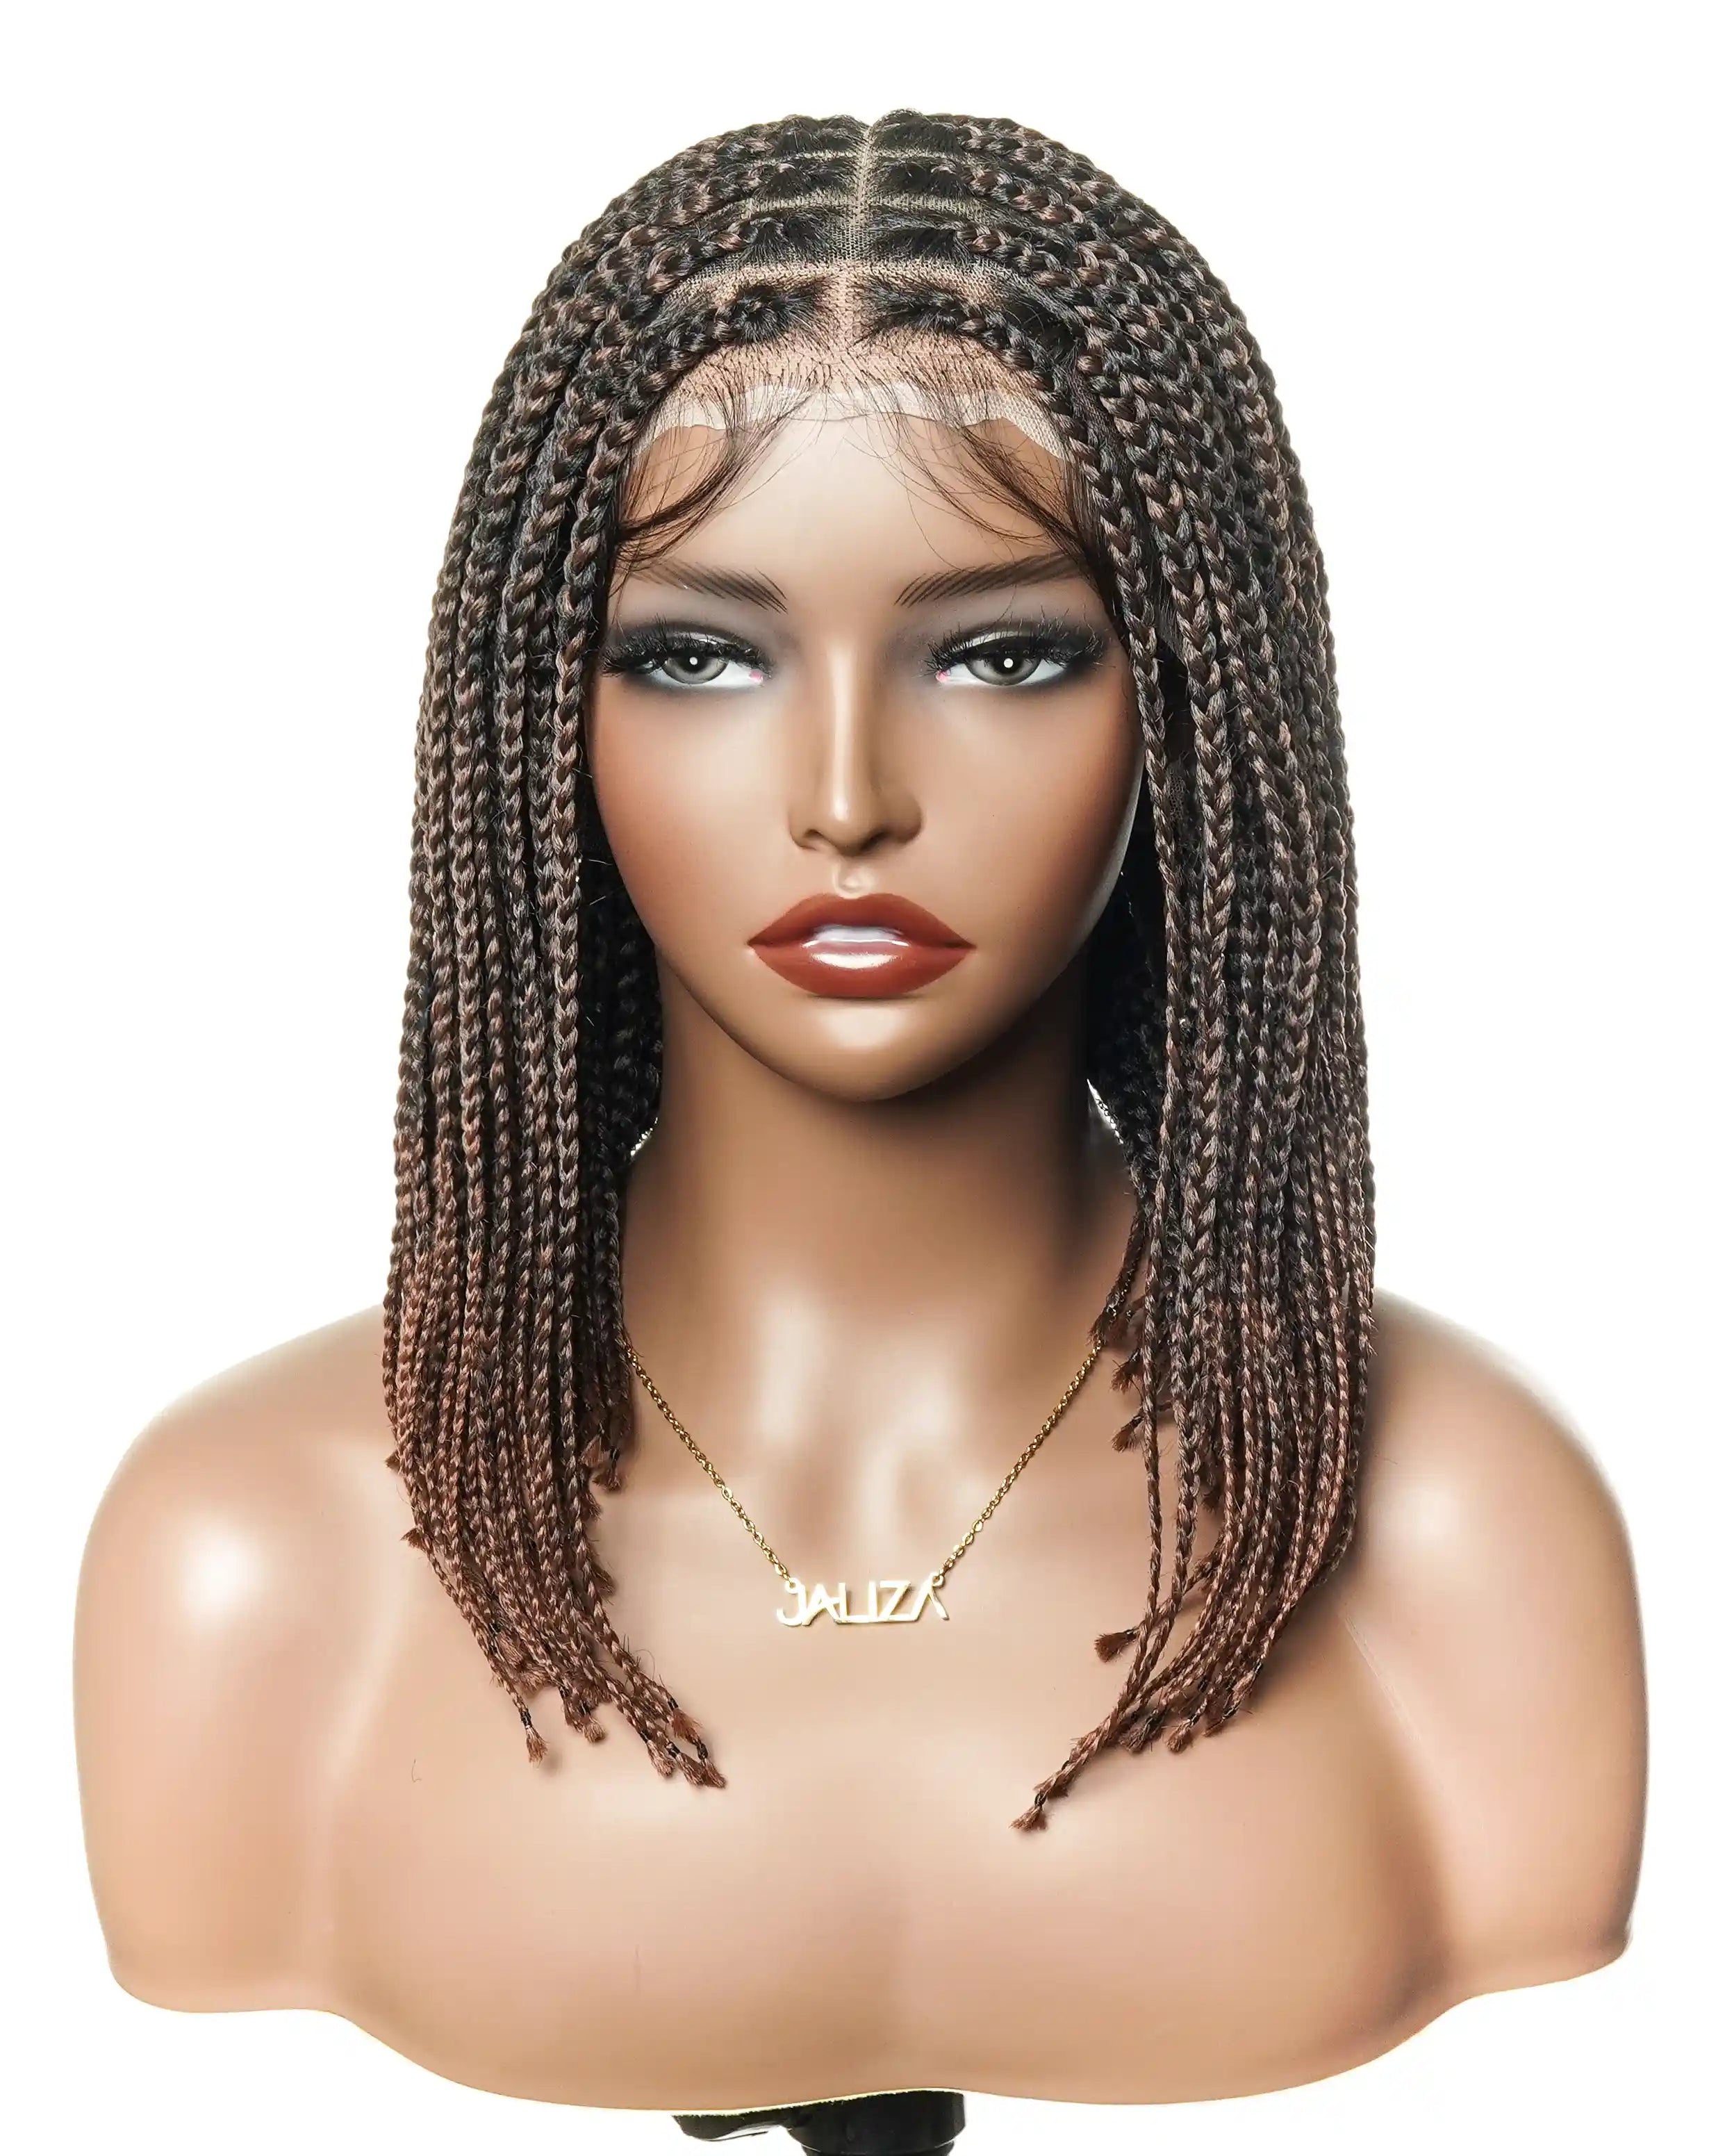
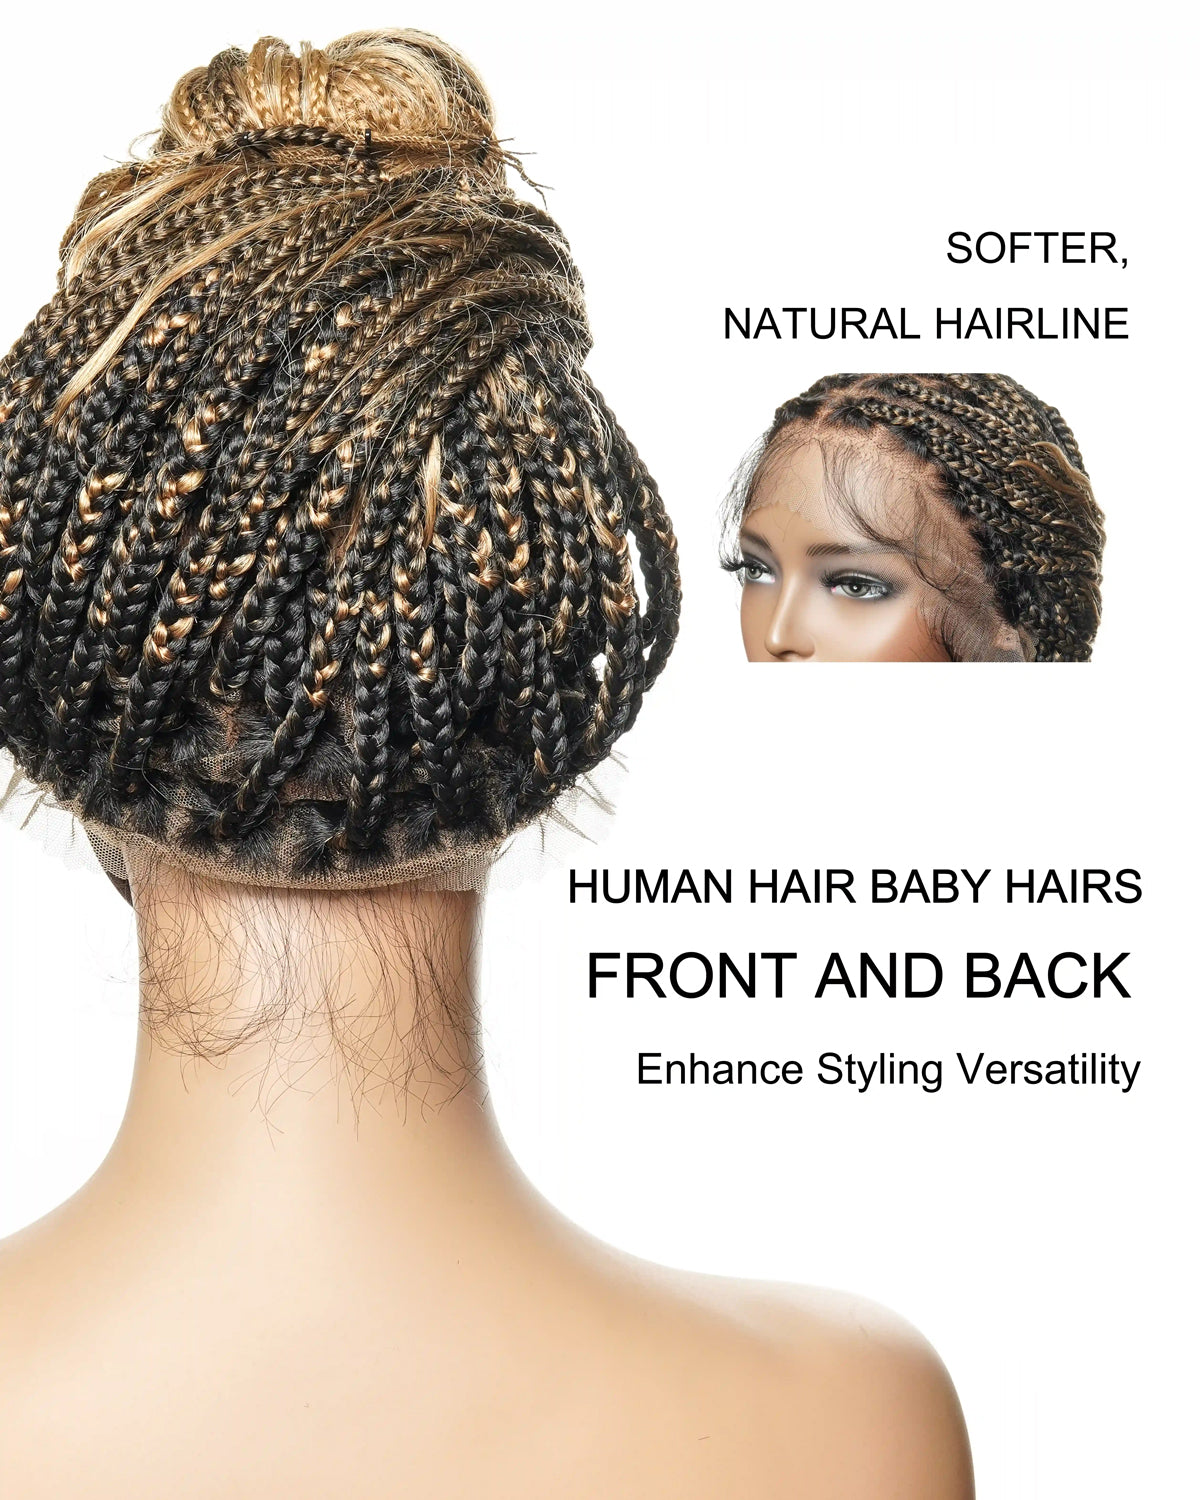
Creating a Natural Hairline
The hairline can make or break the believability of a loc wig. The aim is to create a gradient of loc sizes that seamlessly transition from the hairline to the total density of the loc wig.
For a loc wig, it's essential to:
● Attach smaller, thinner locs around the hairline.
● Leave some space to create baby hairs later on.
● Use a crochet hook to pull individual strands at the hairline to mimic natural growth patterns.
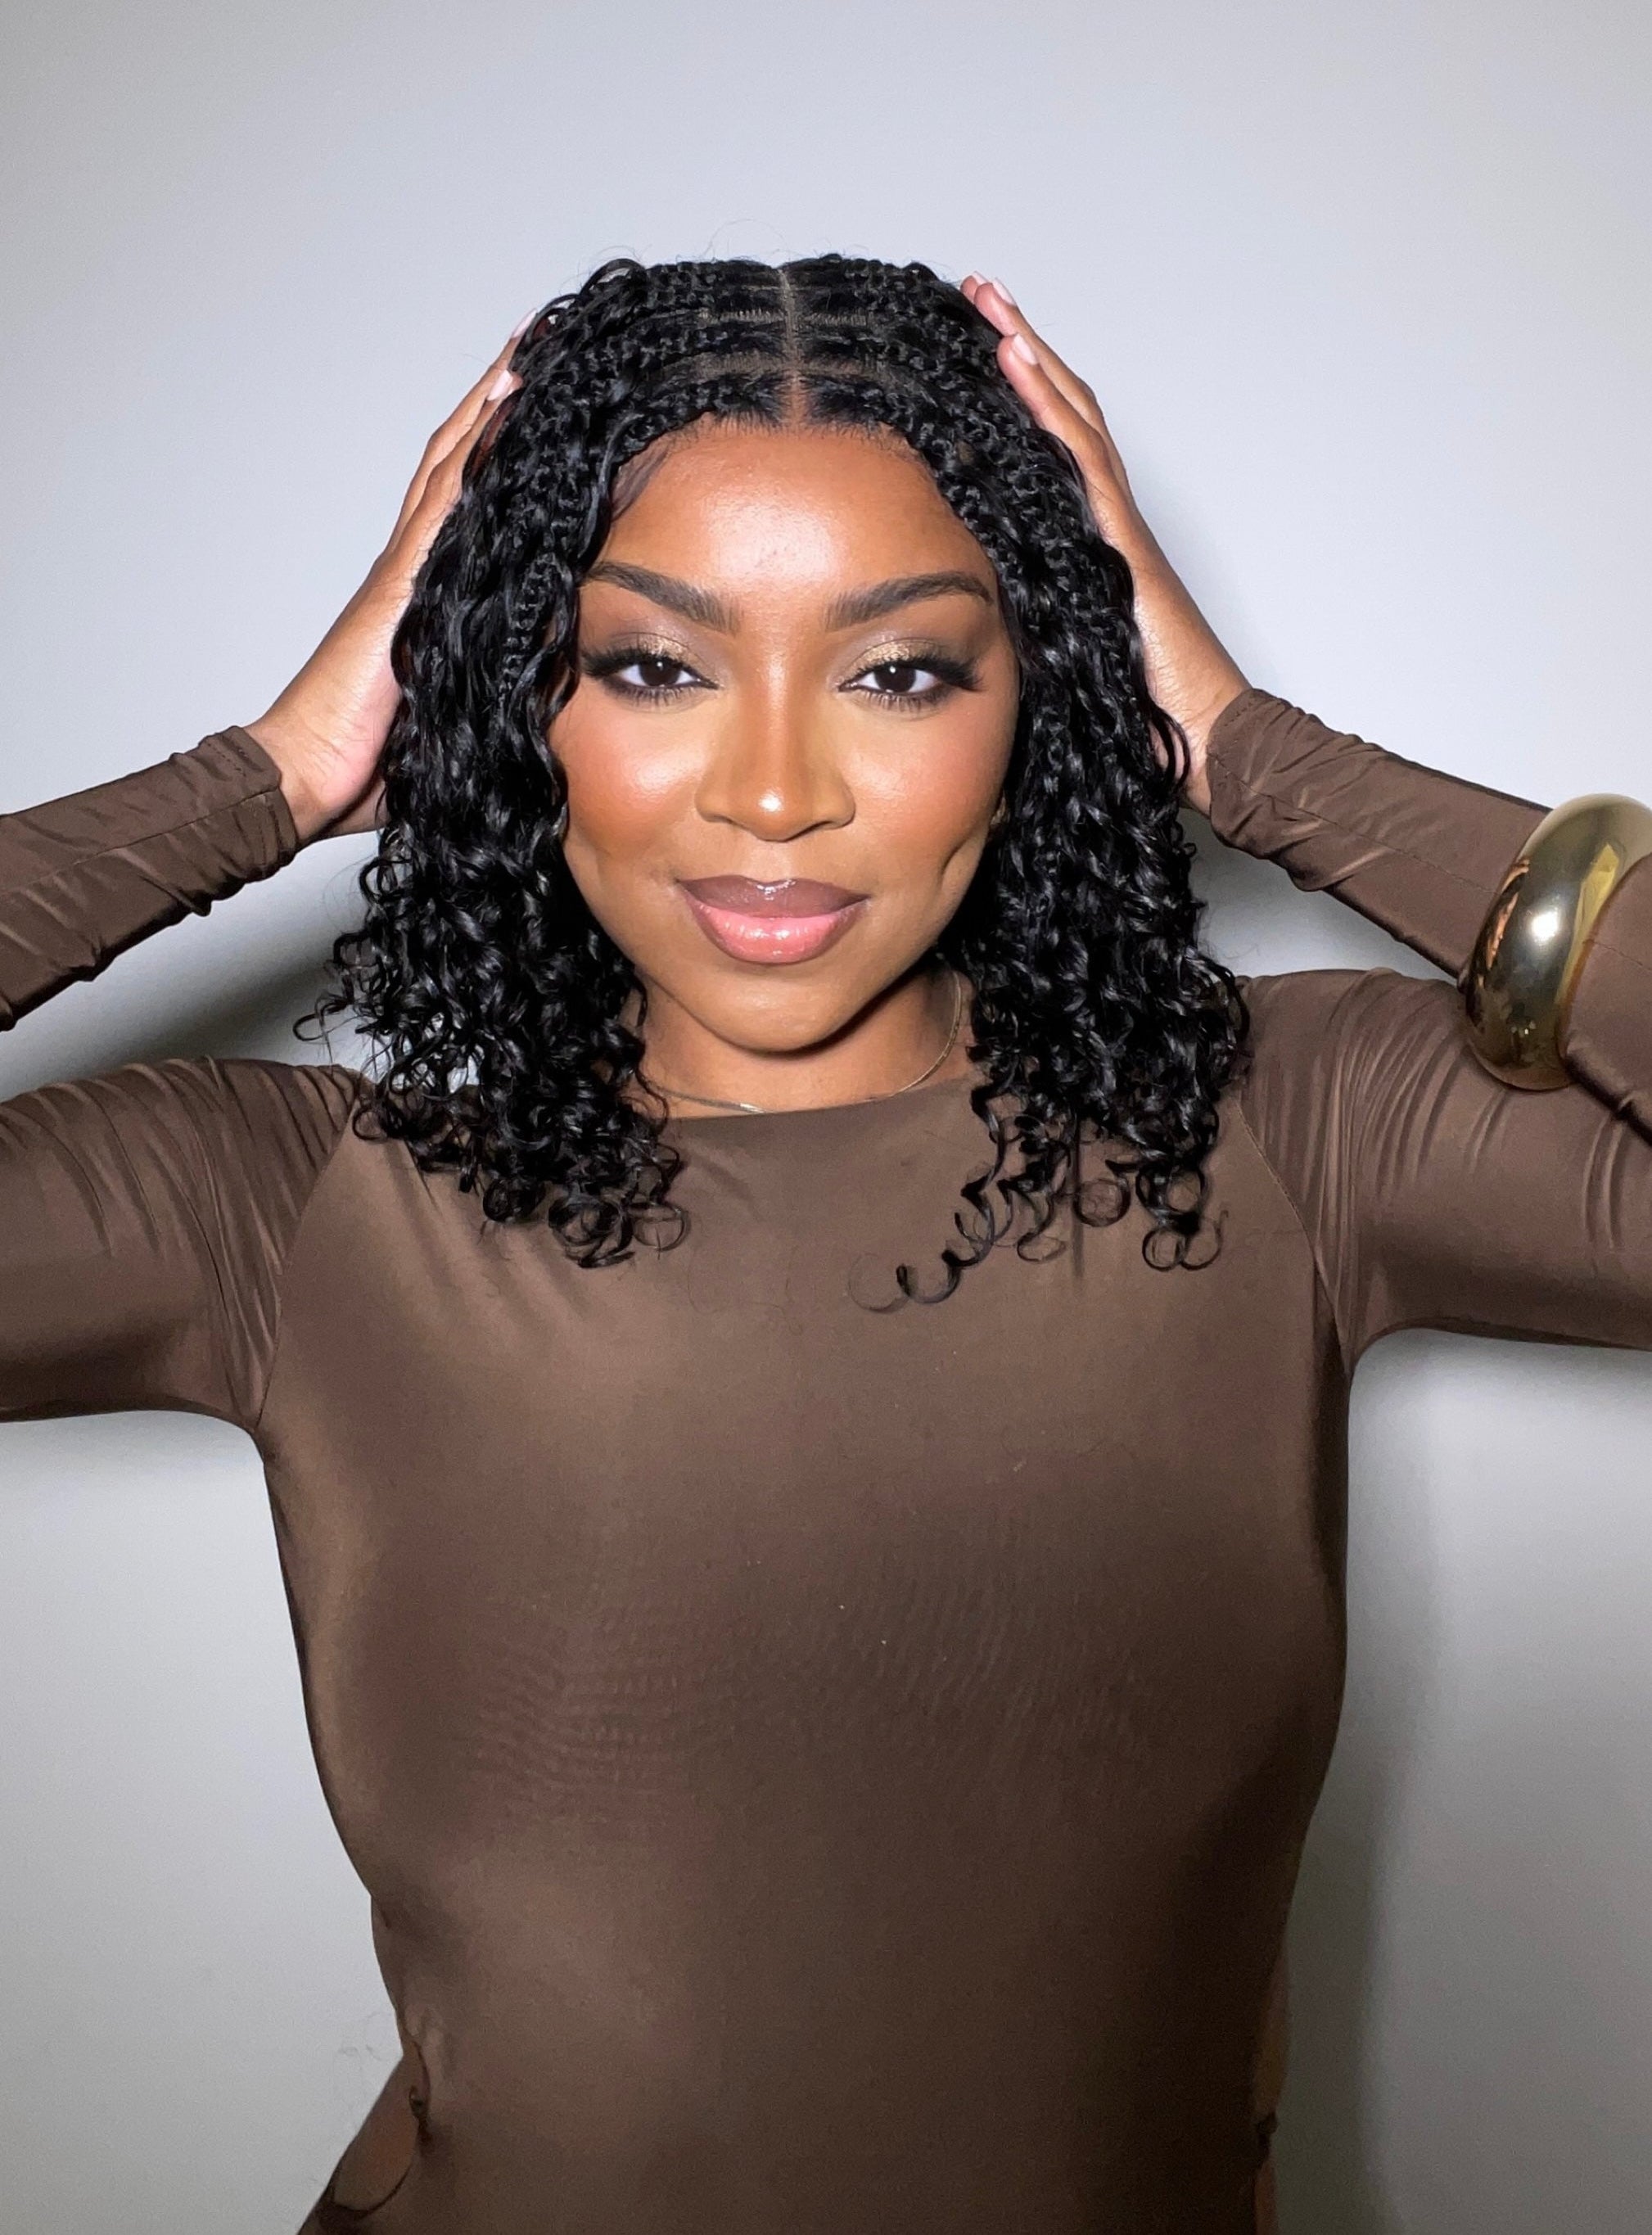
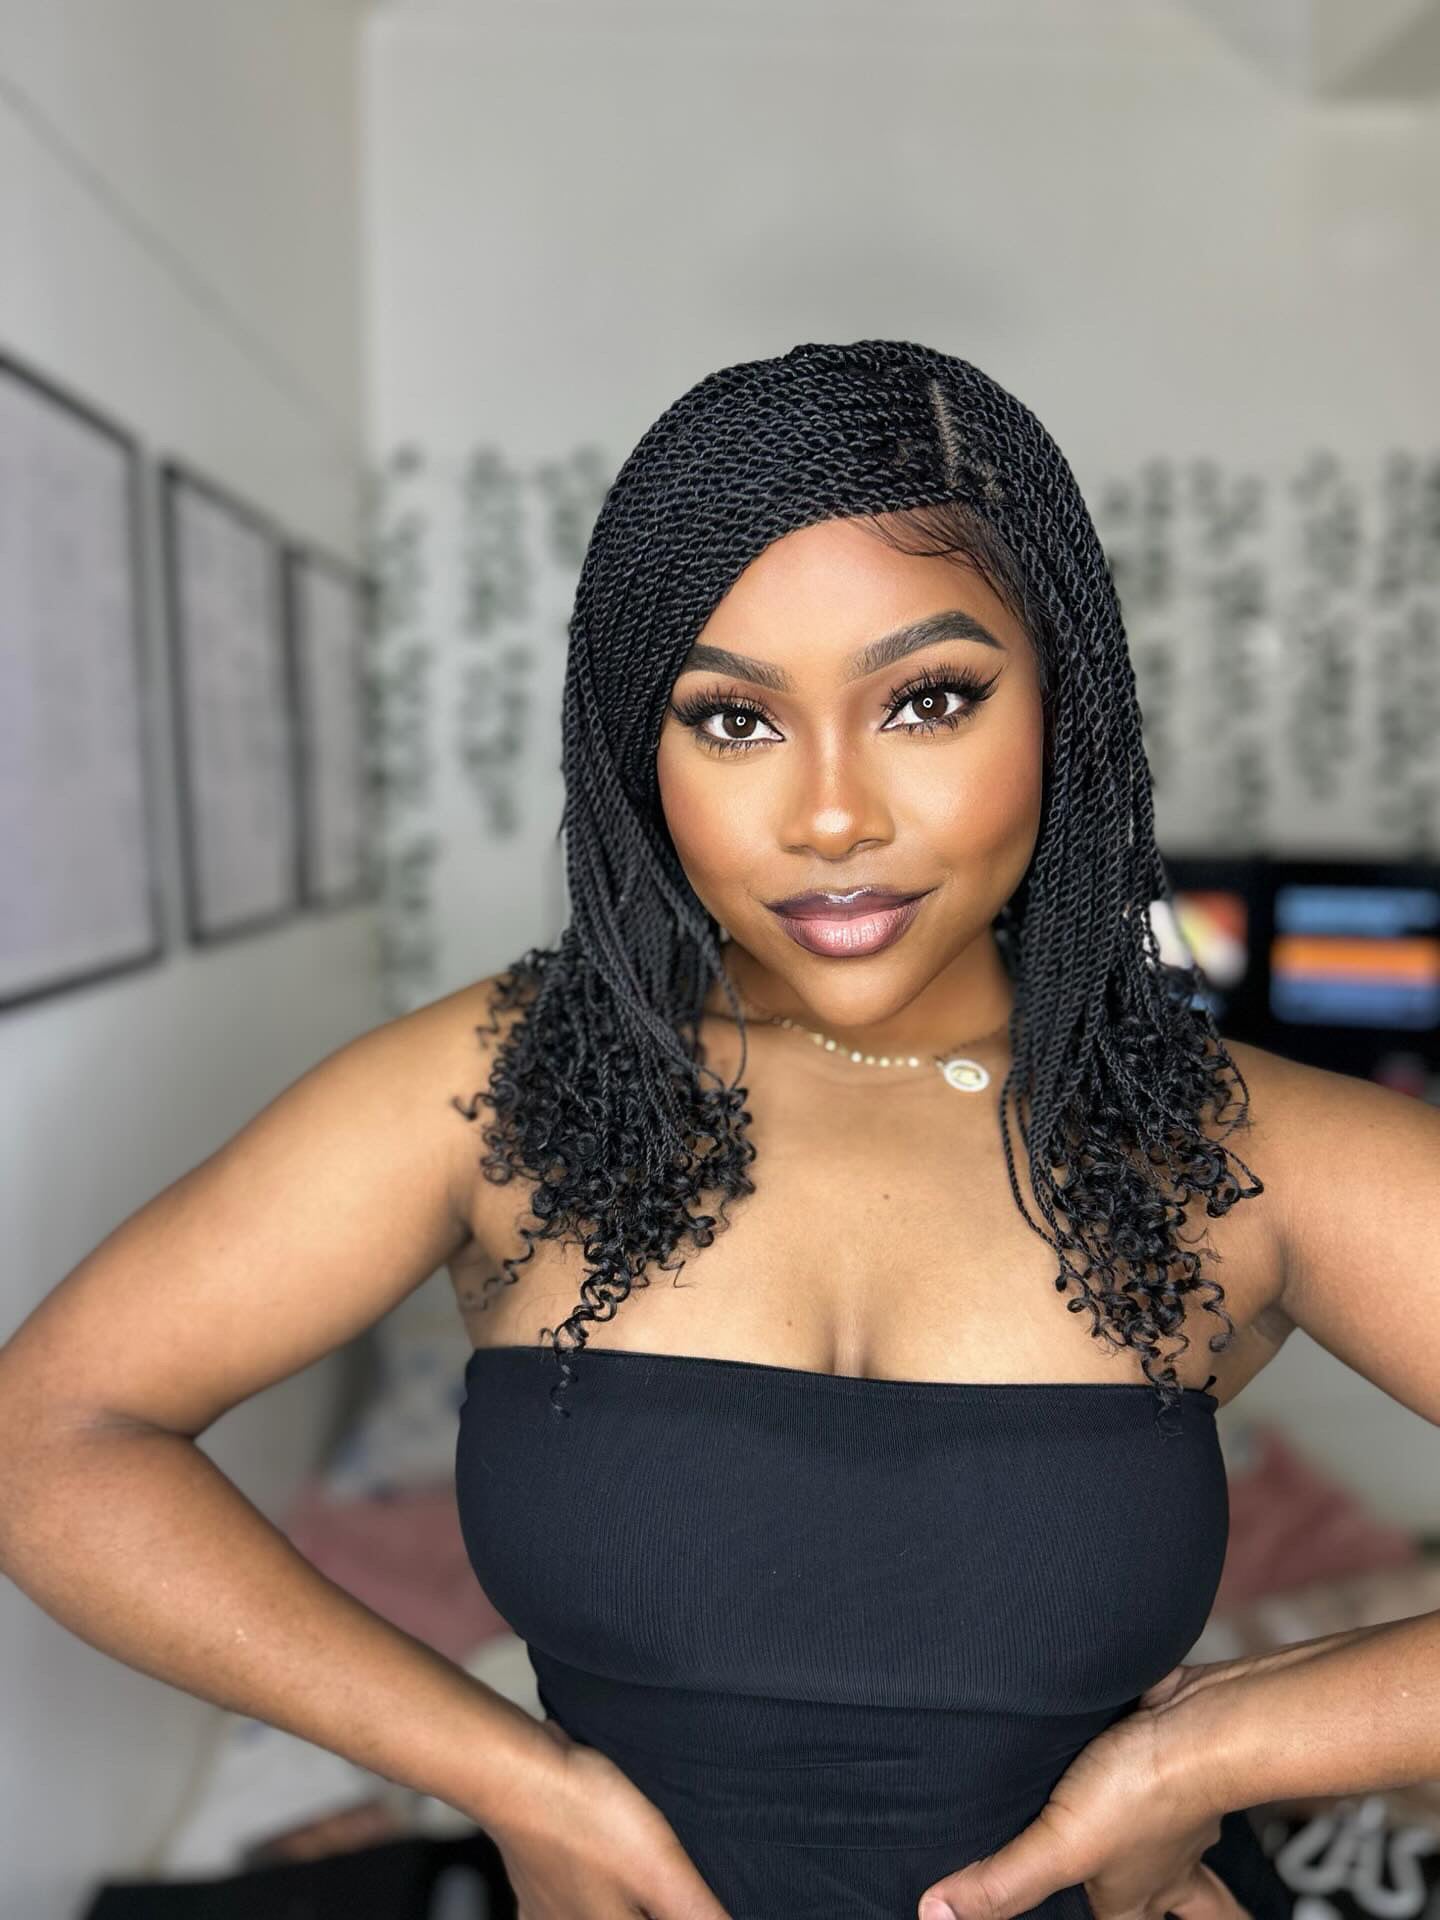
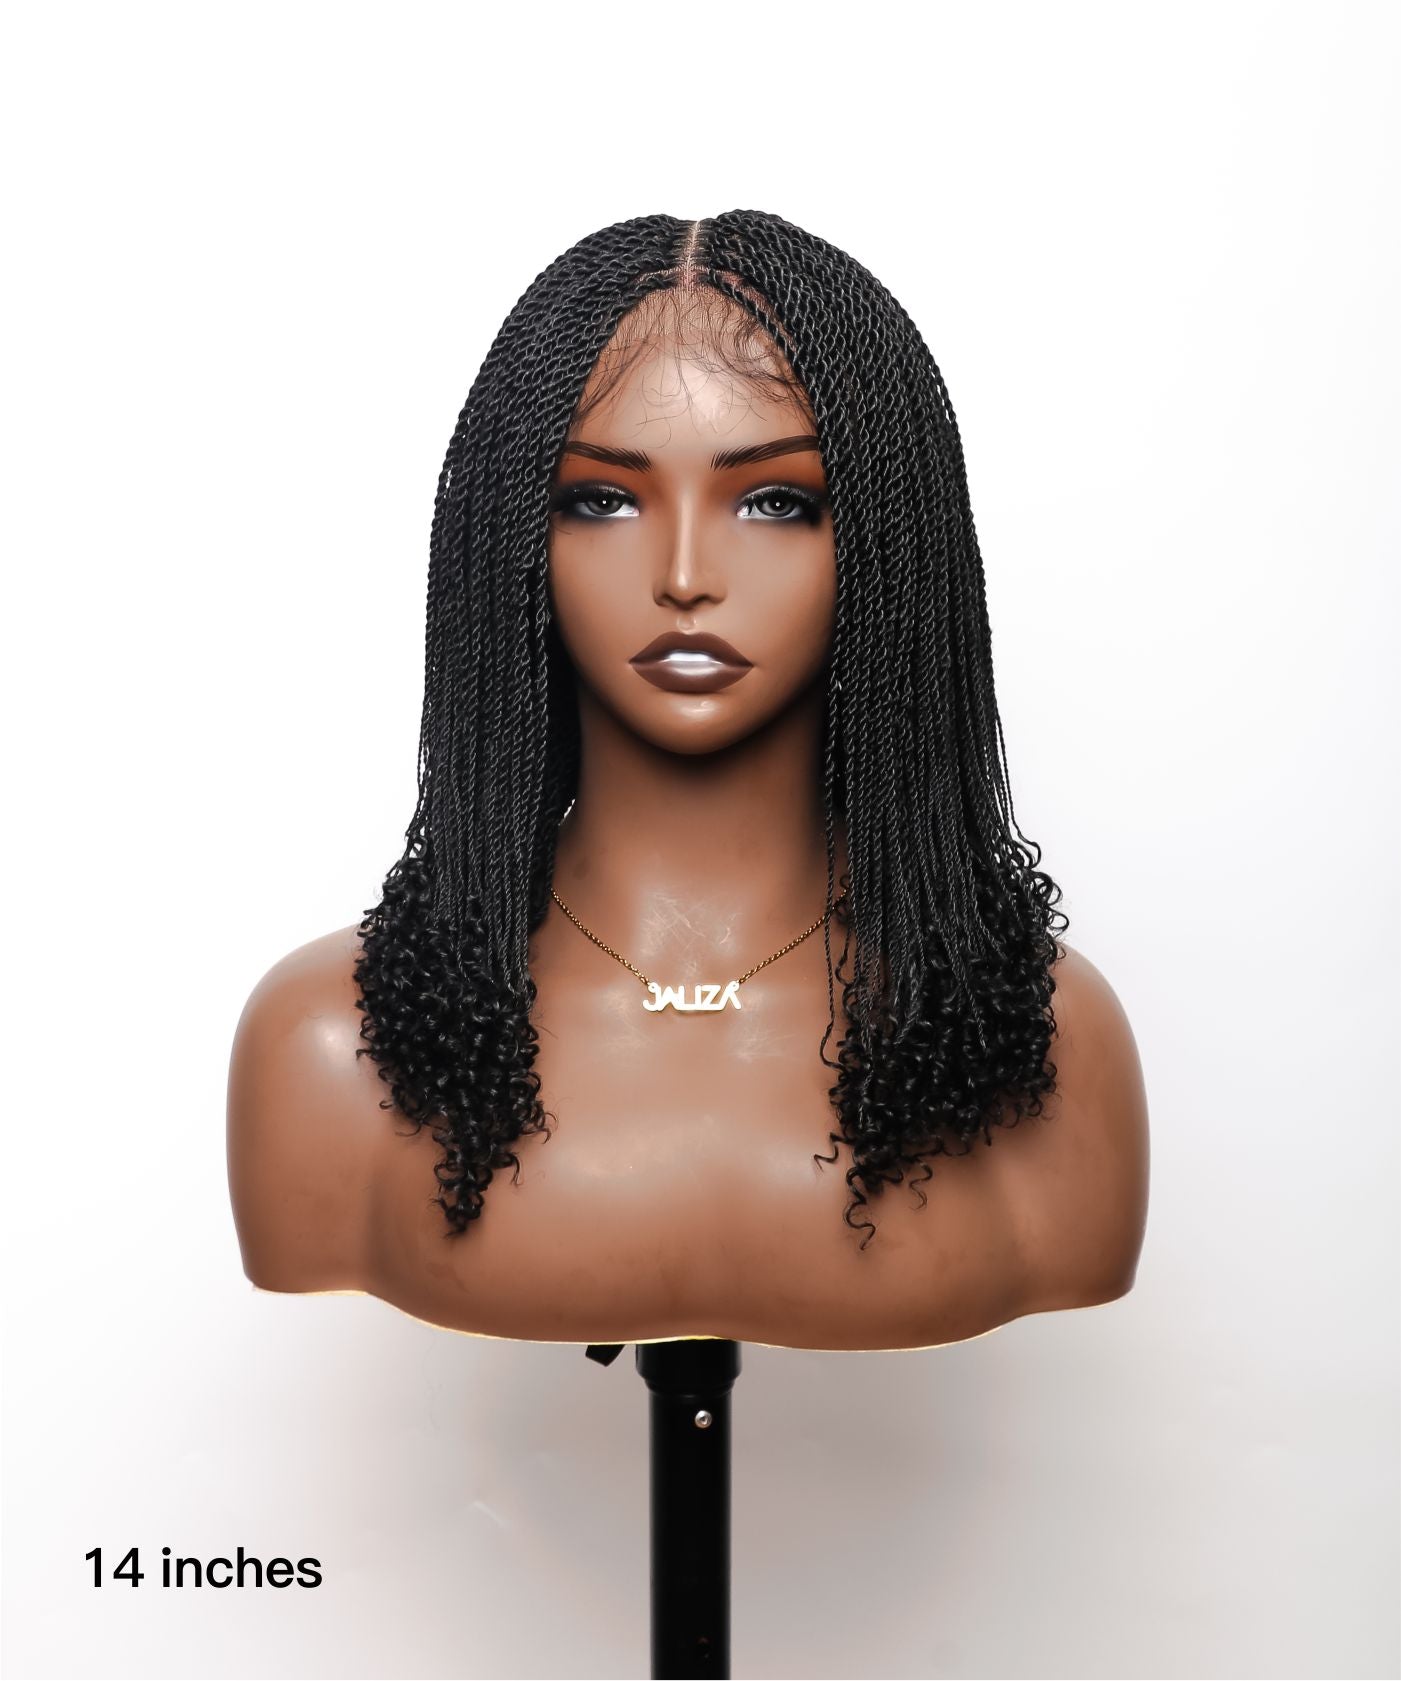
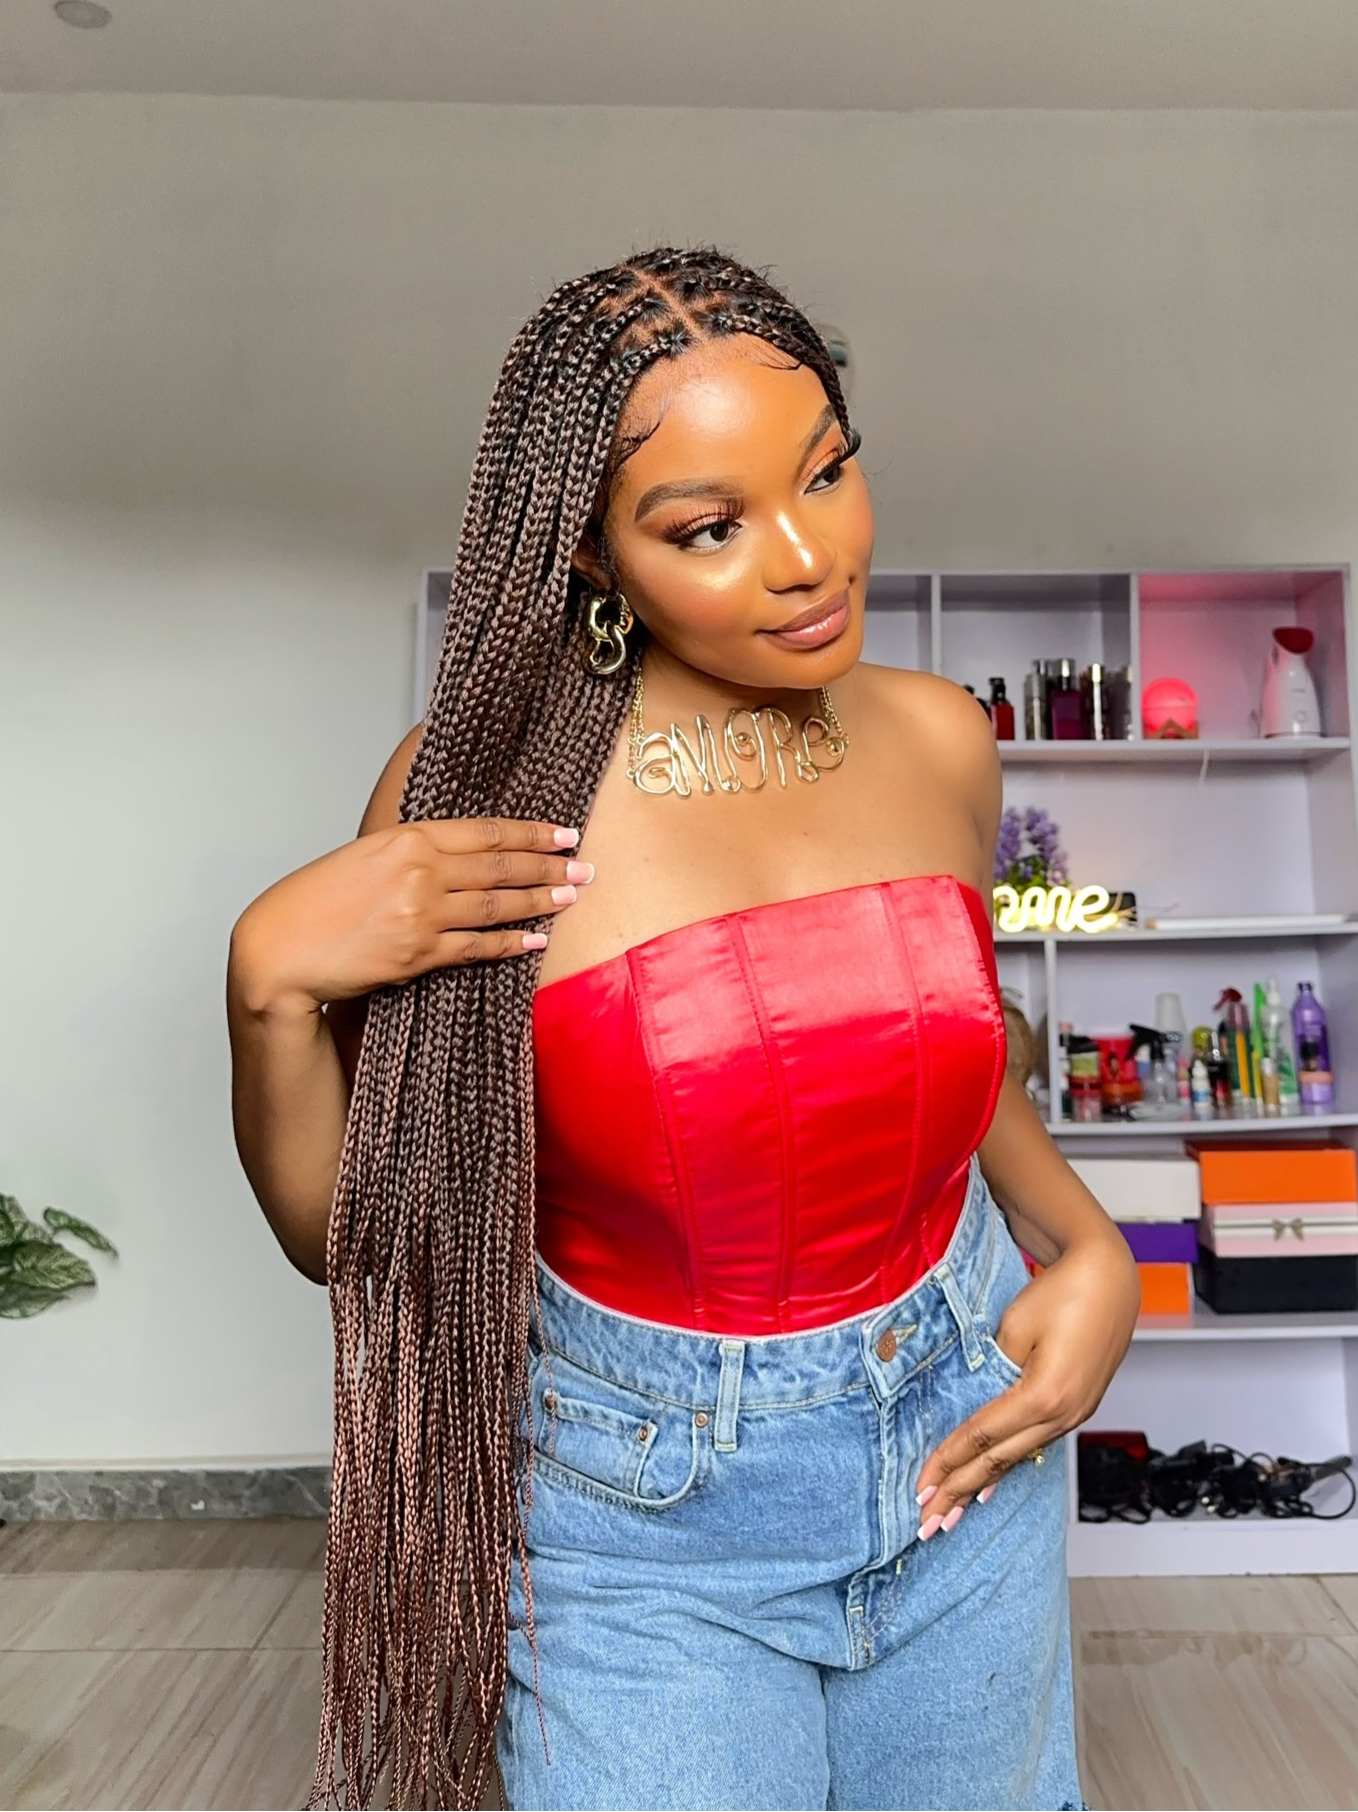
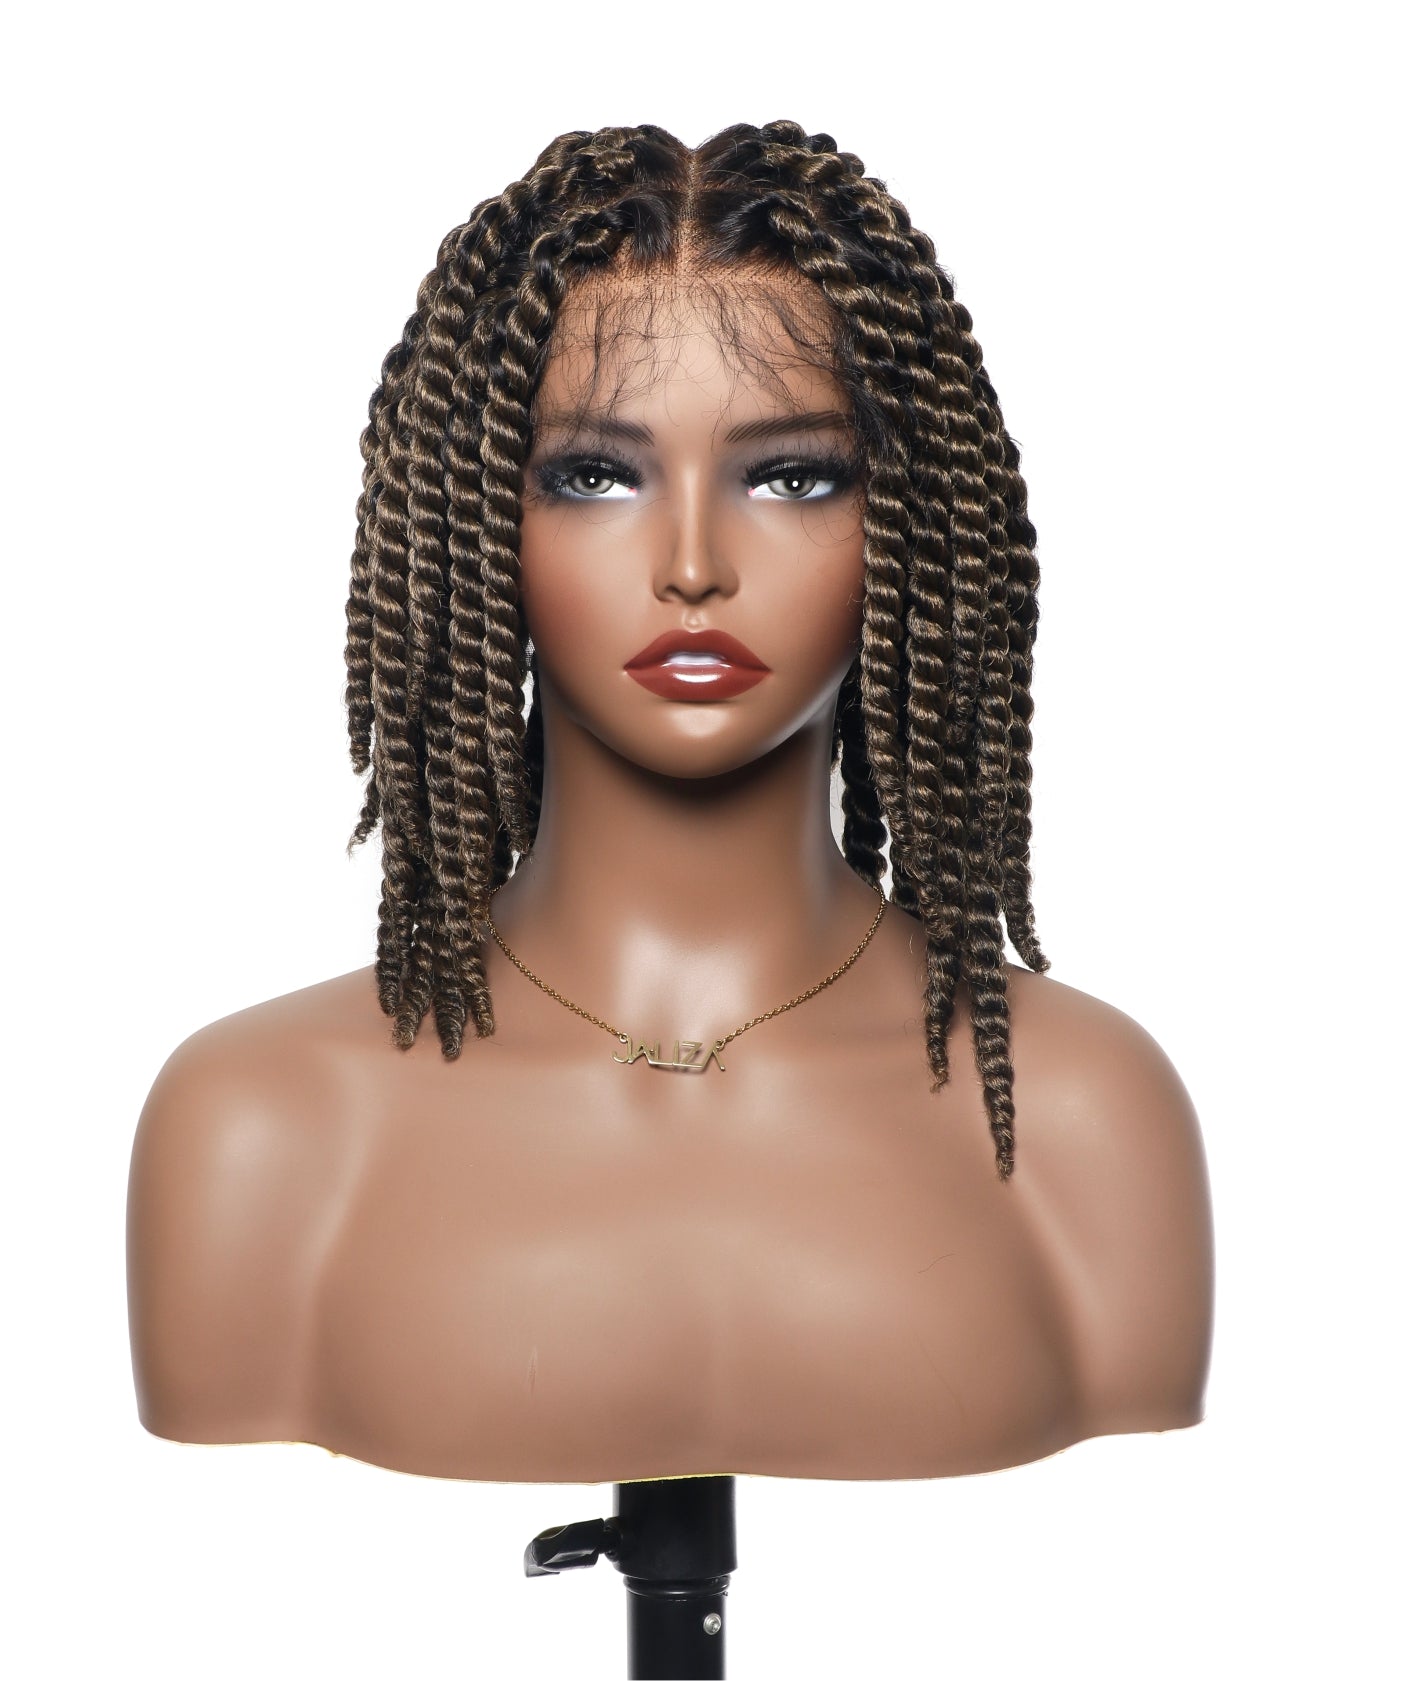
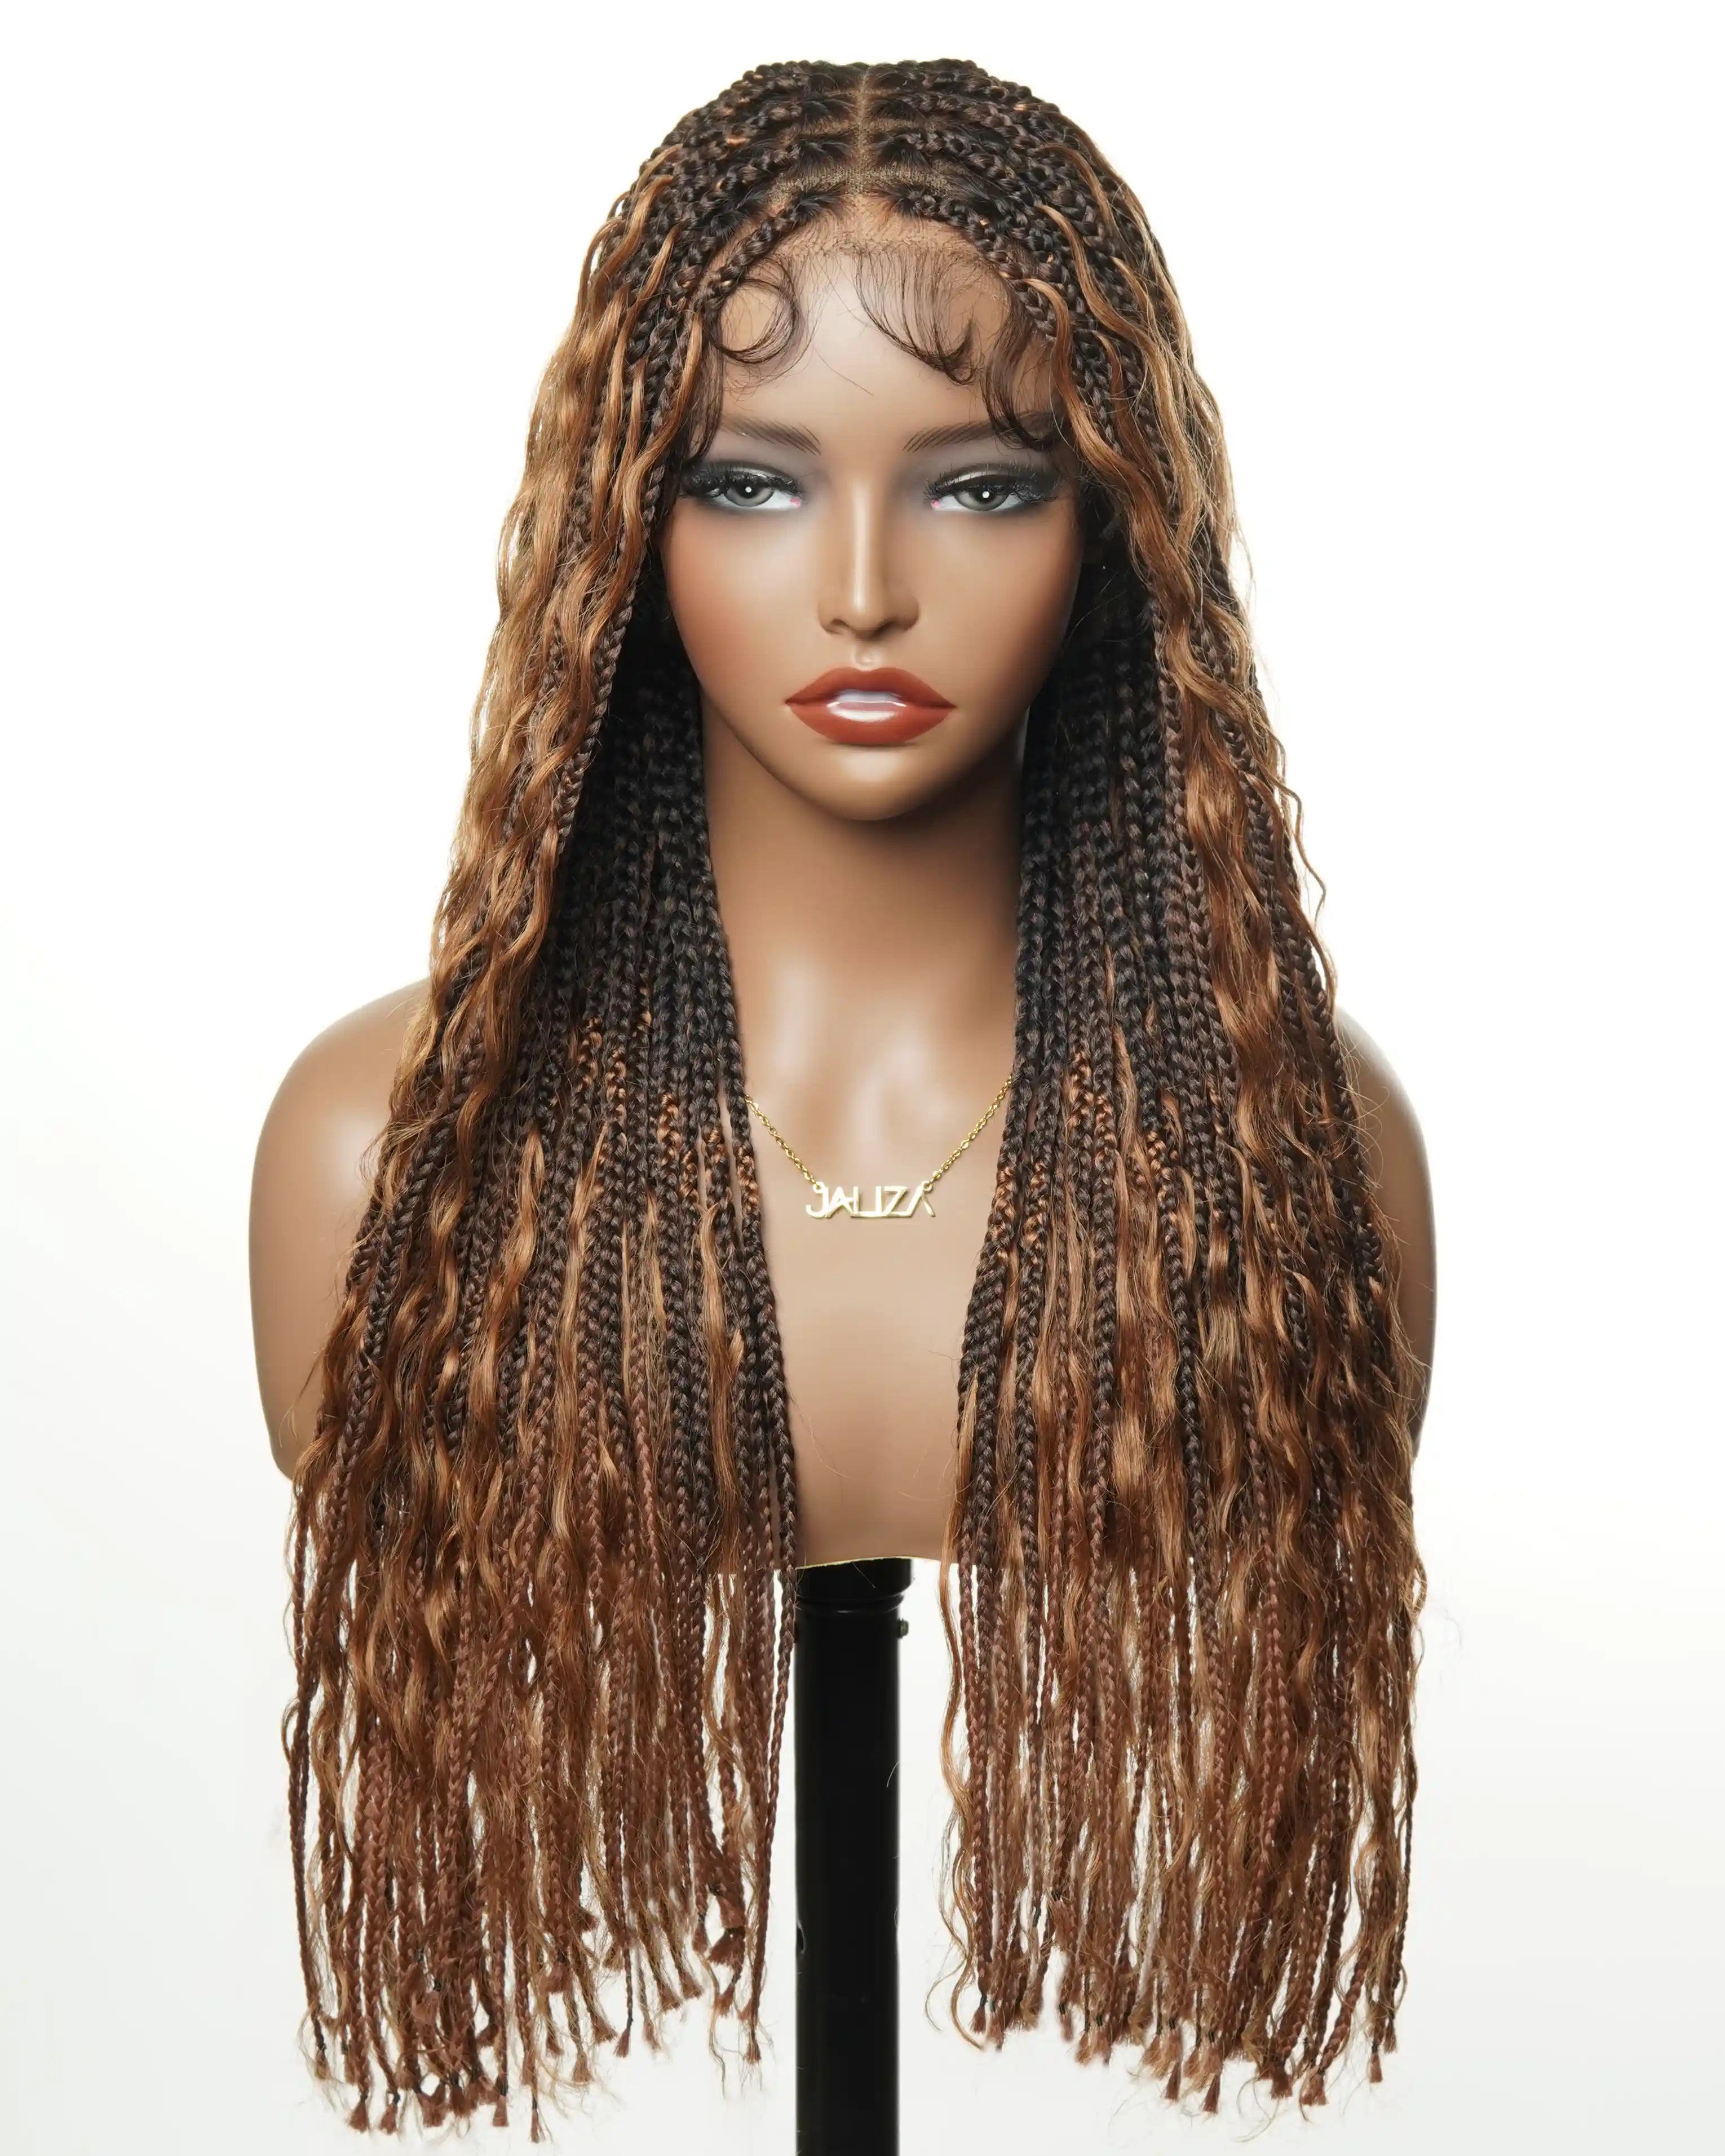
Styling the Wig
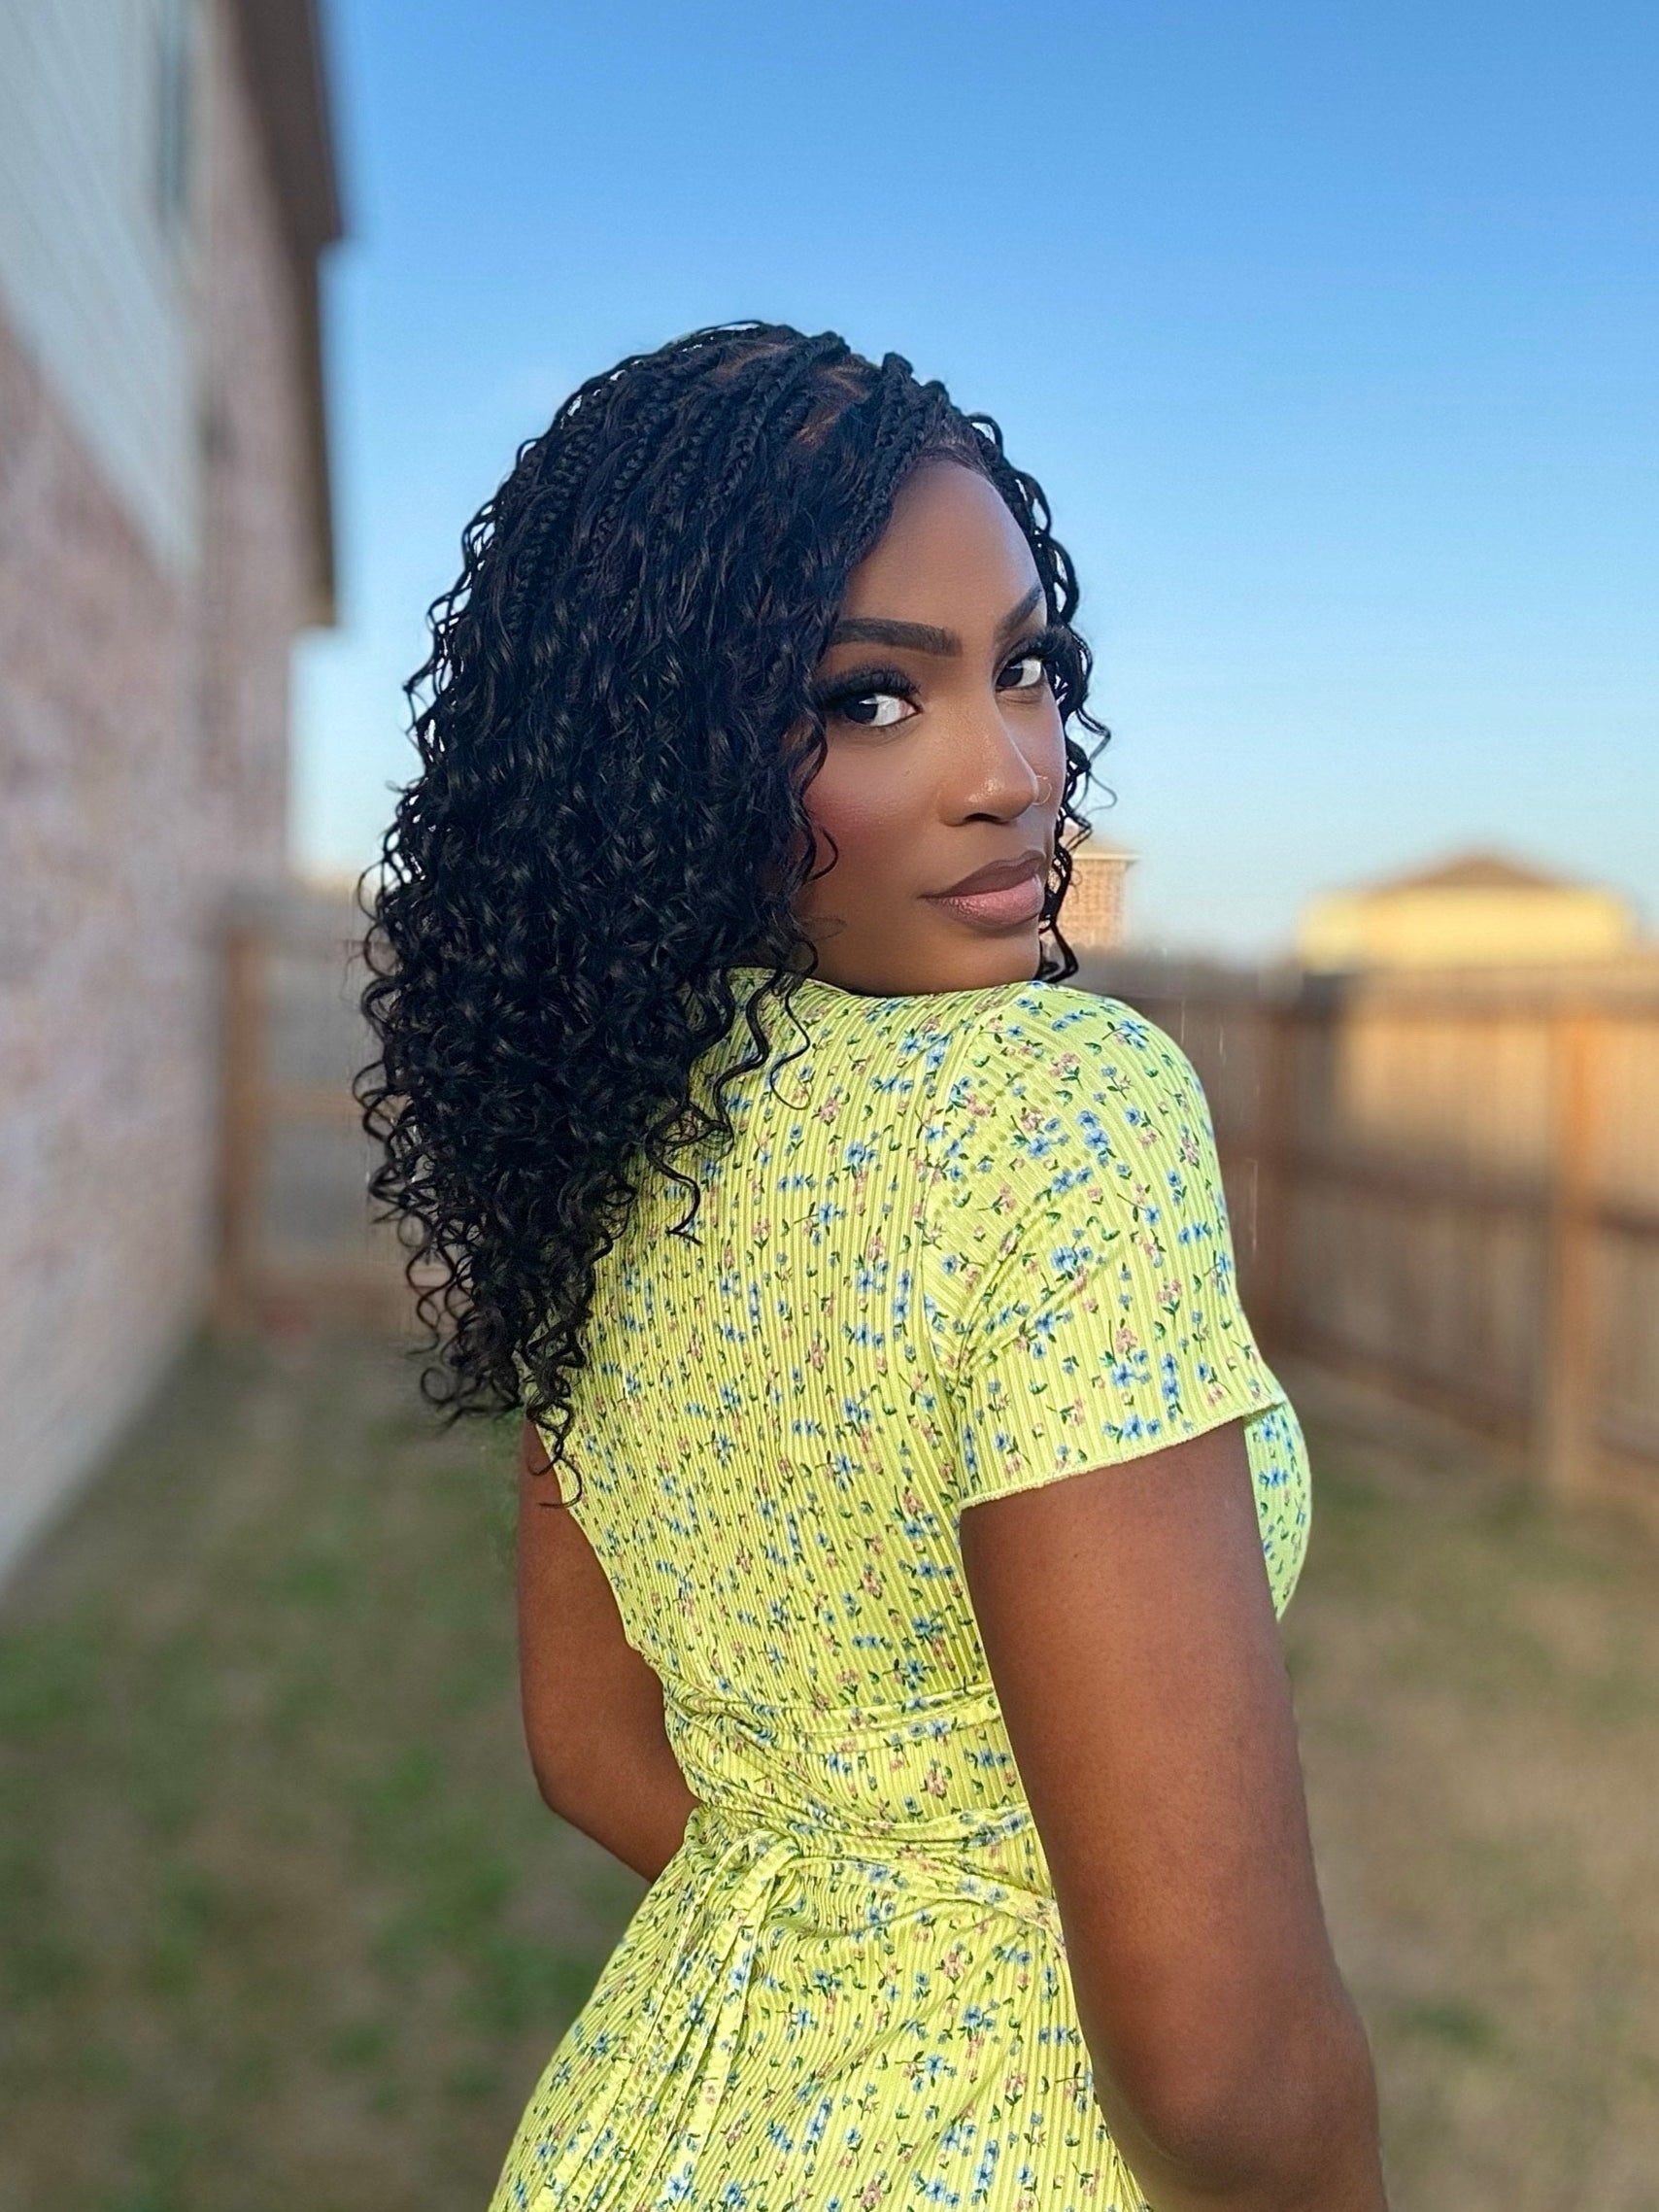
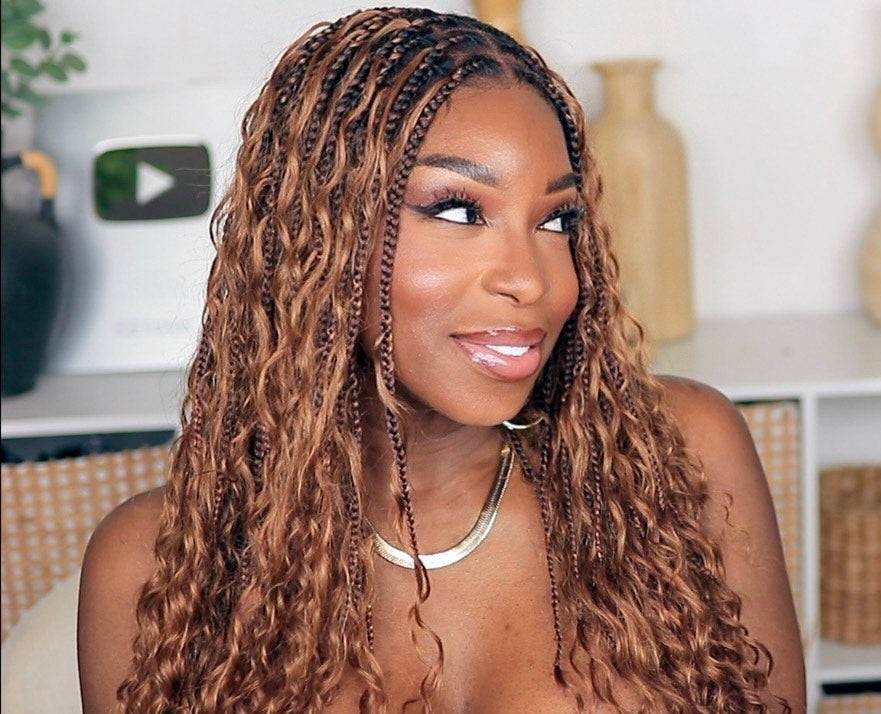
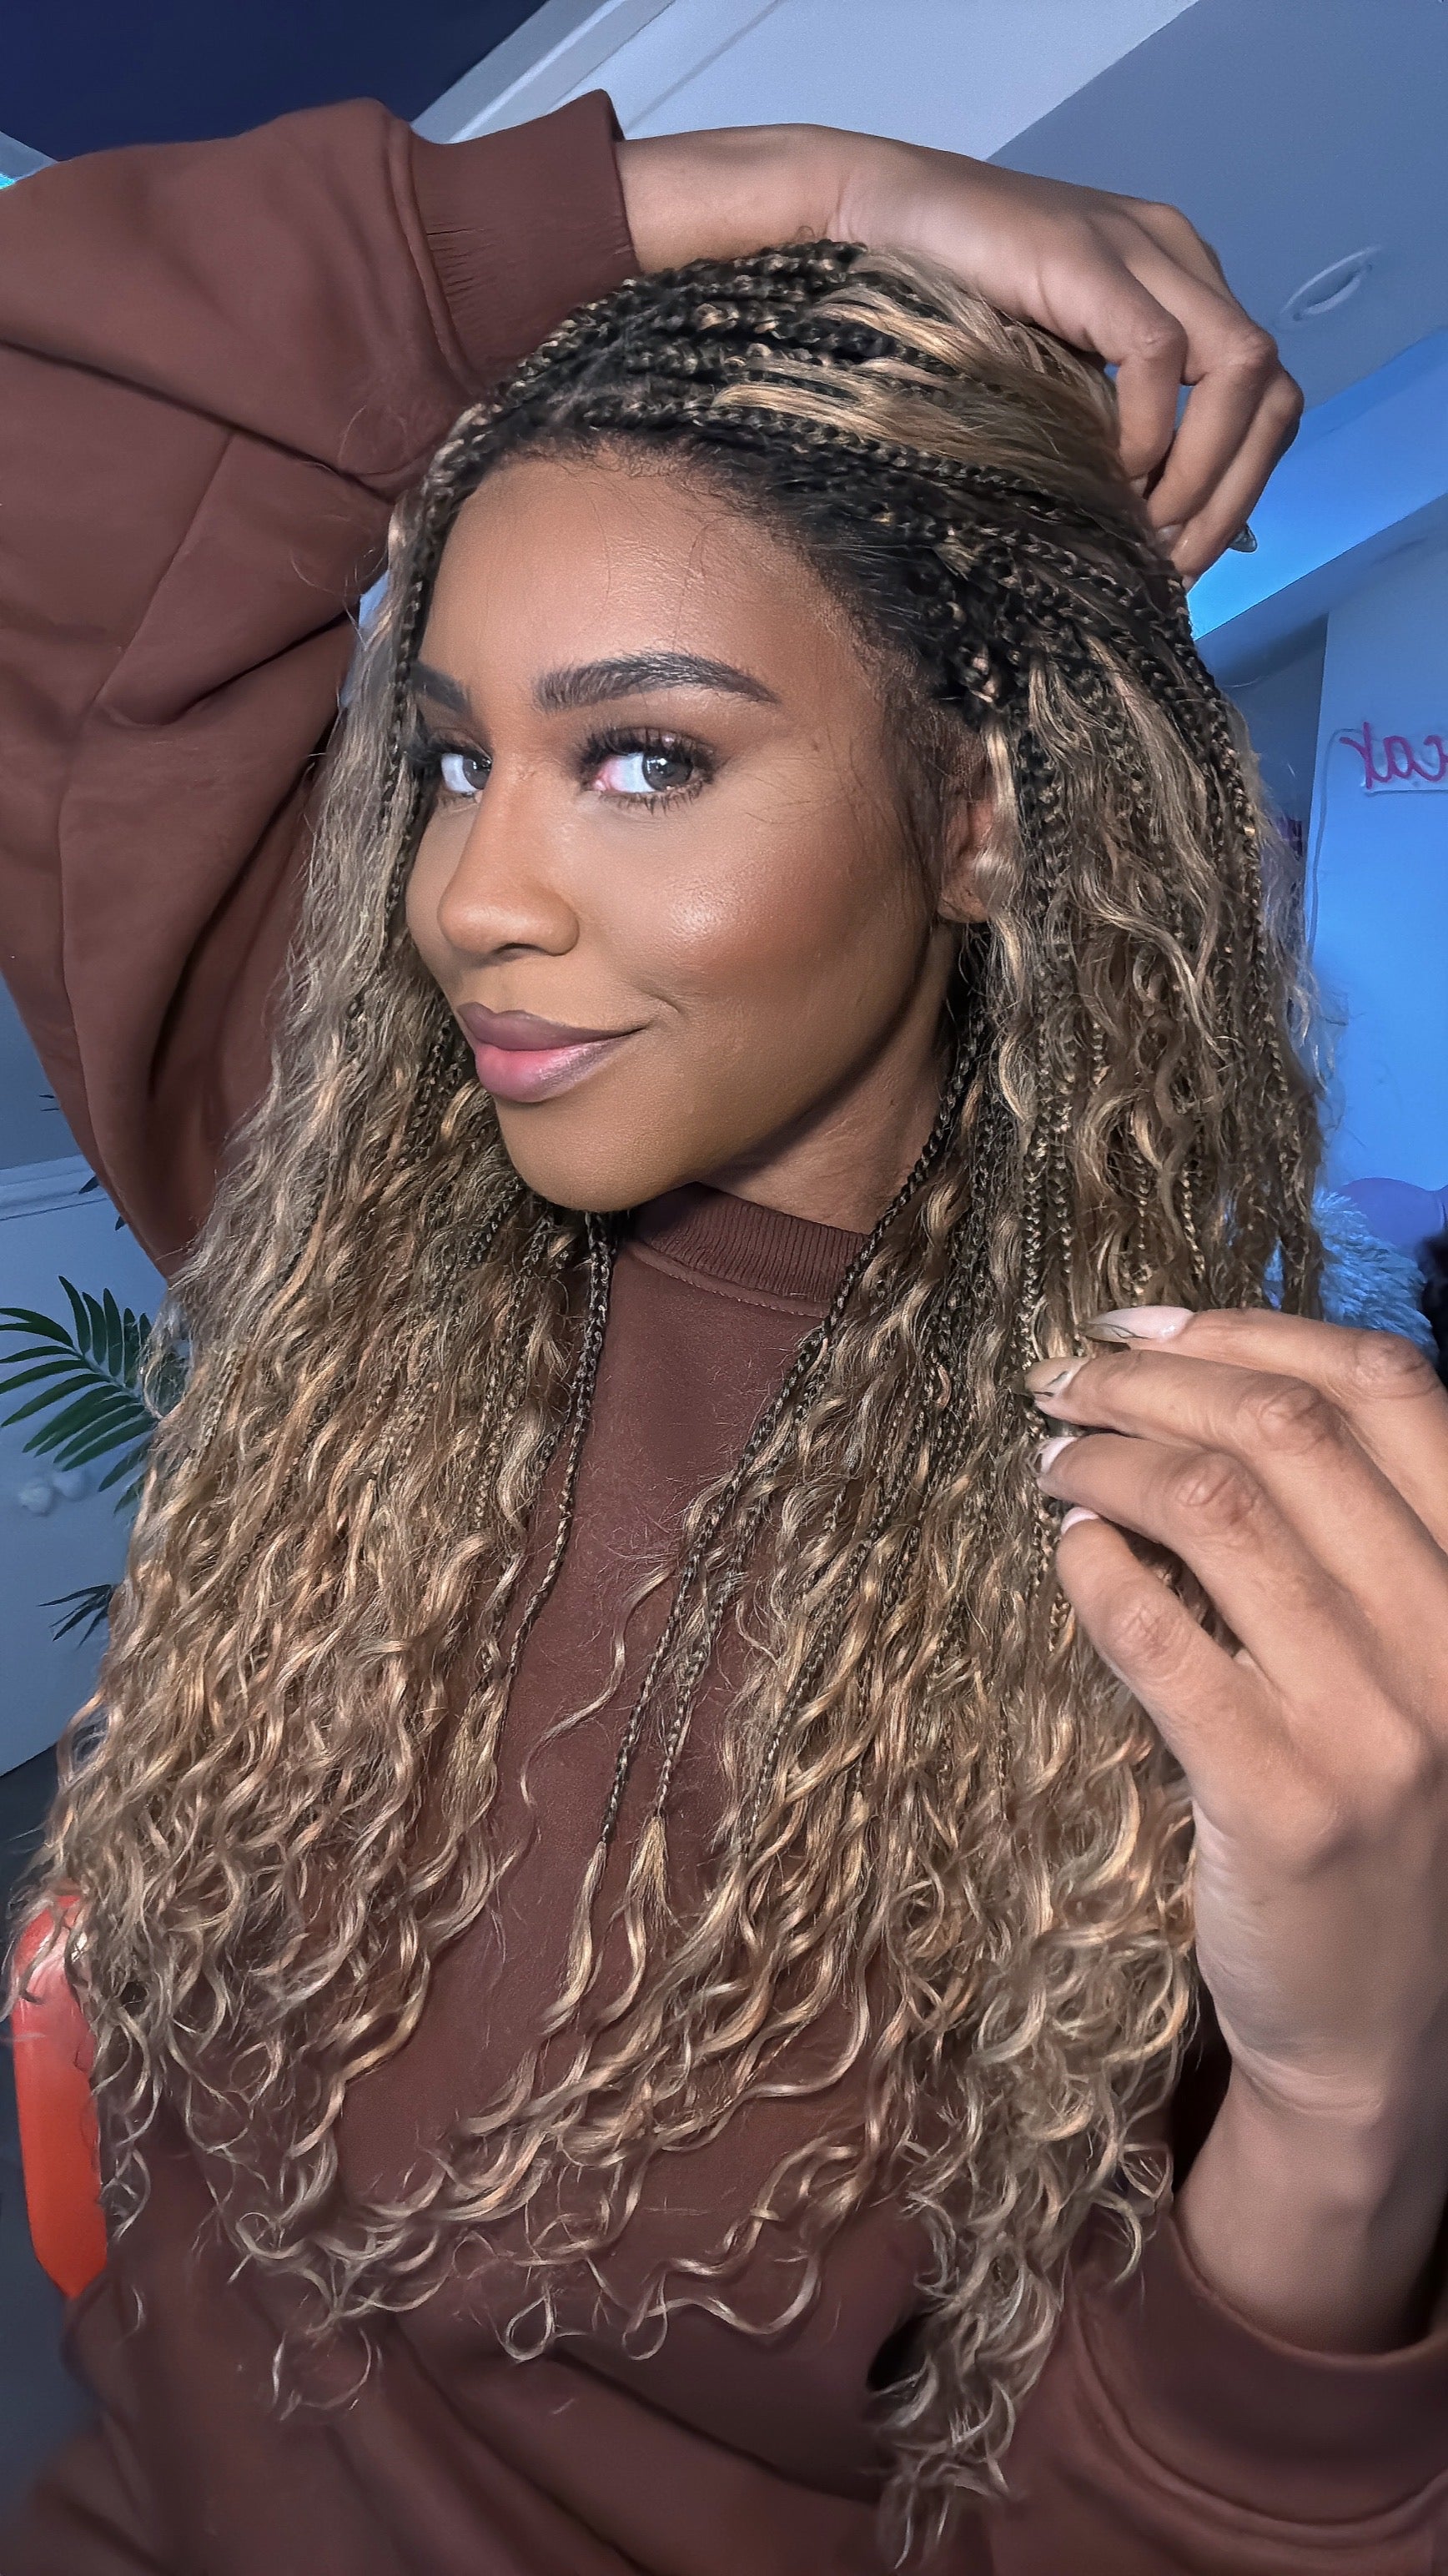
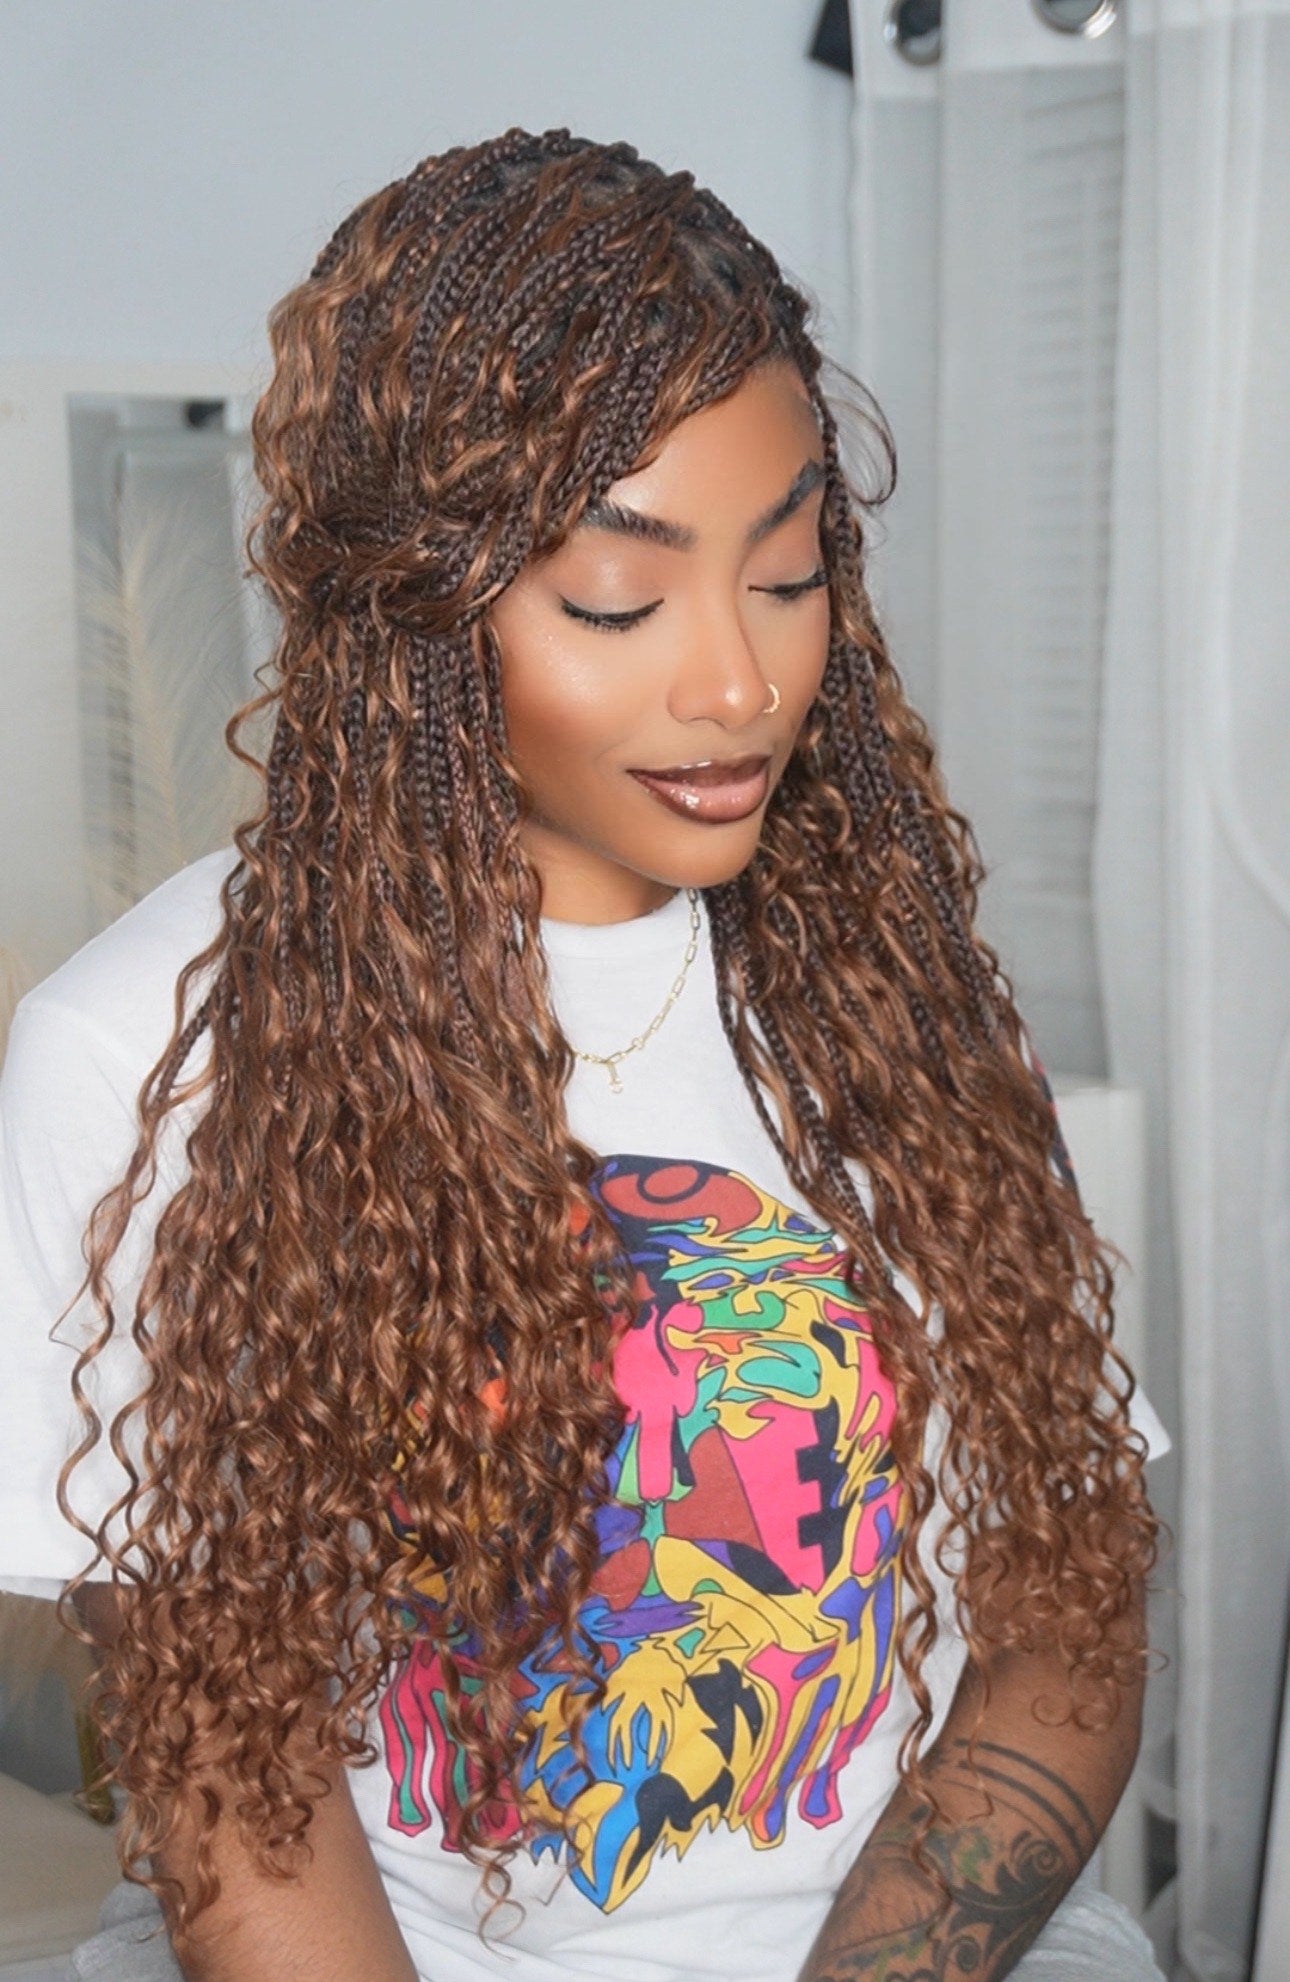
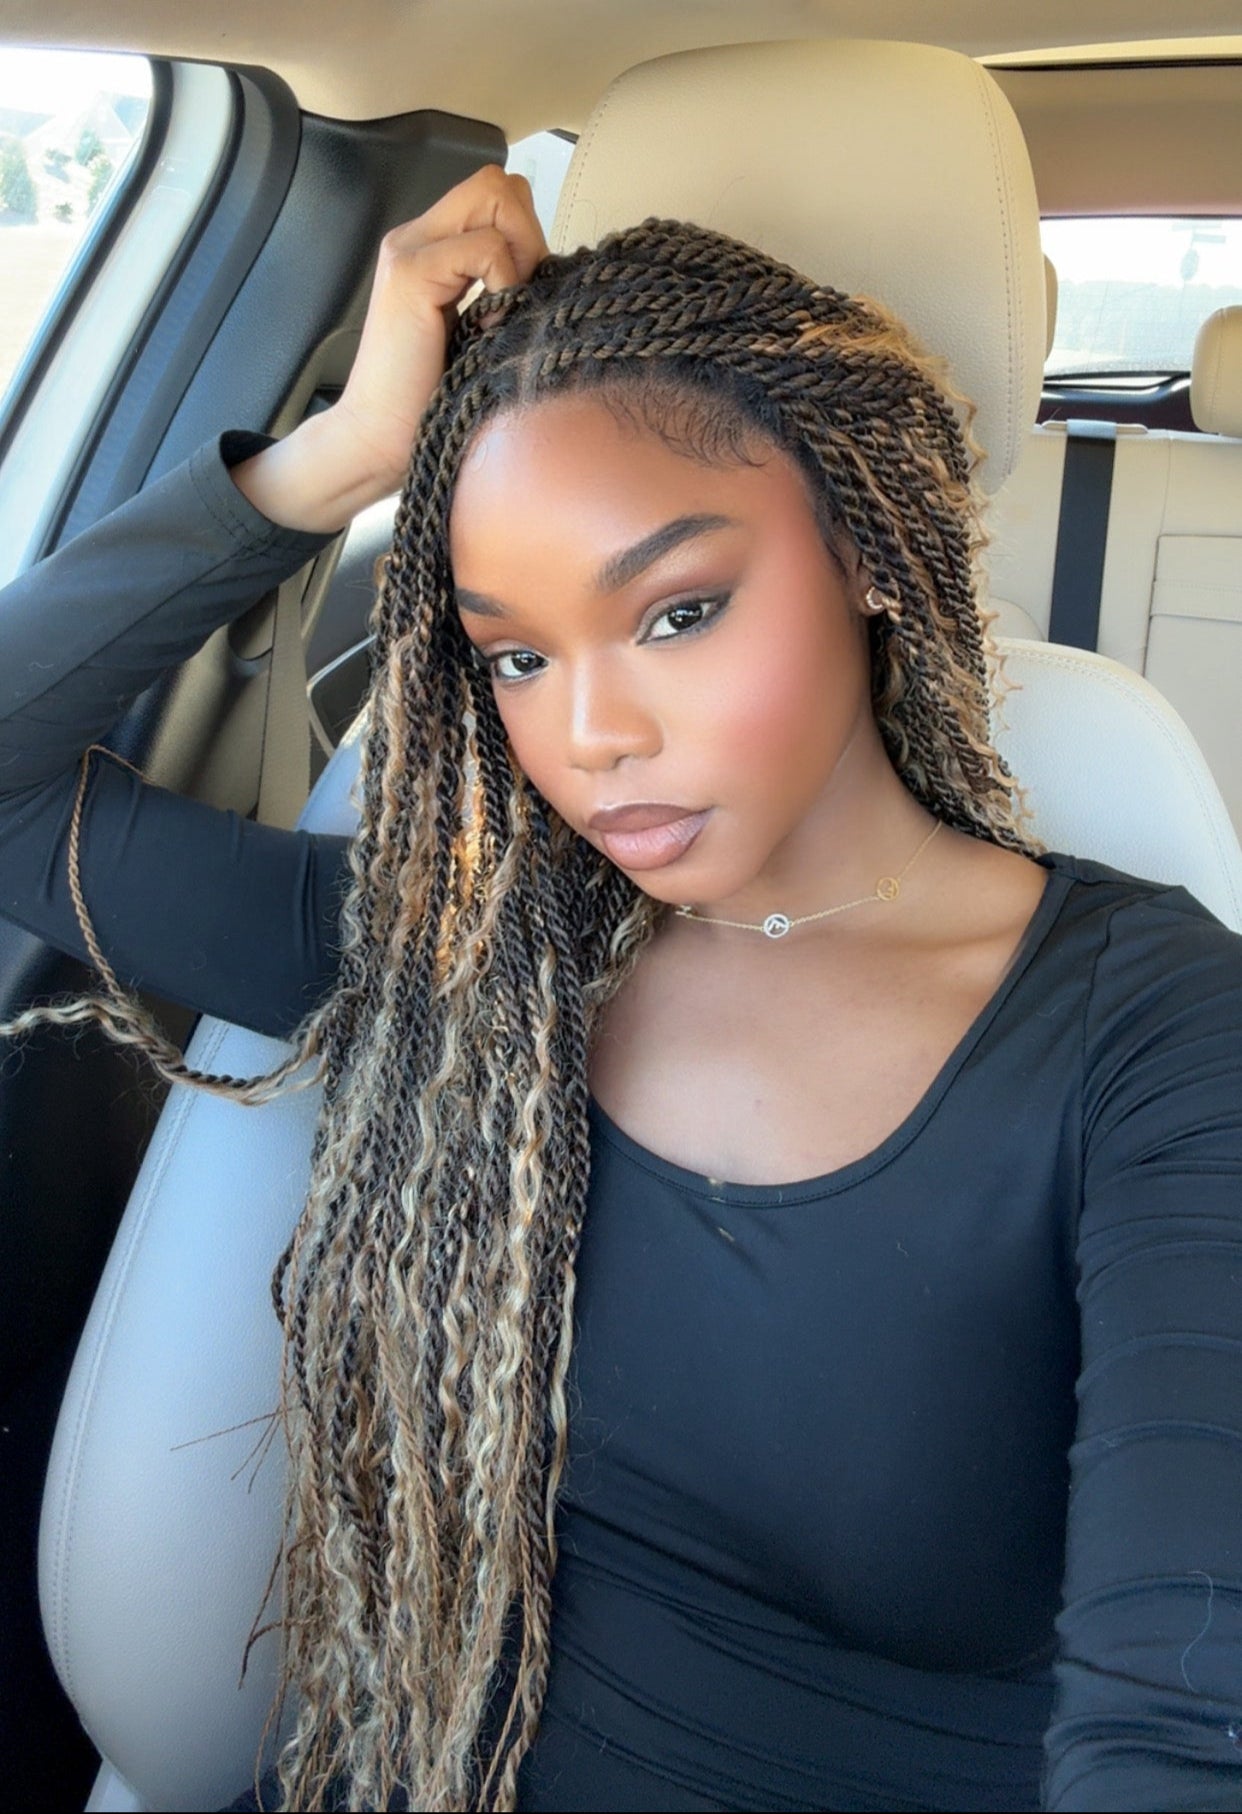
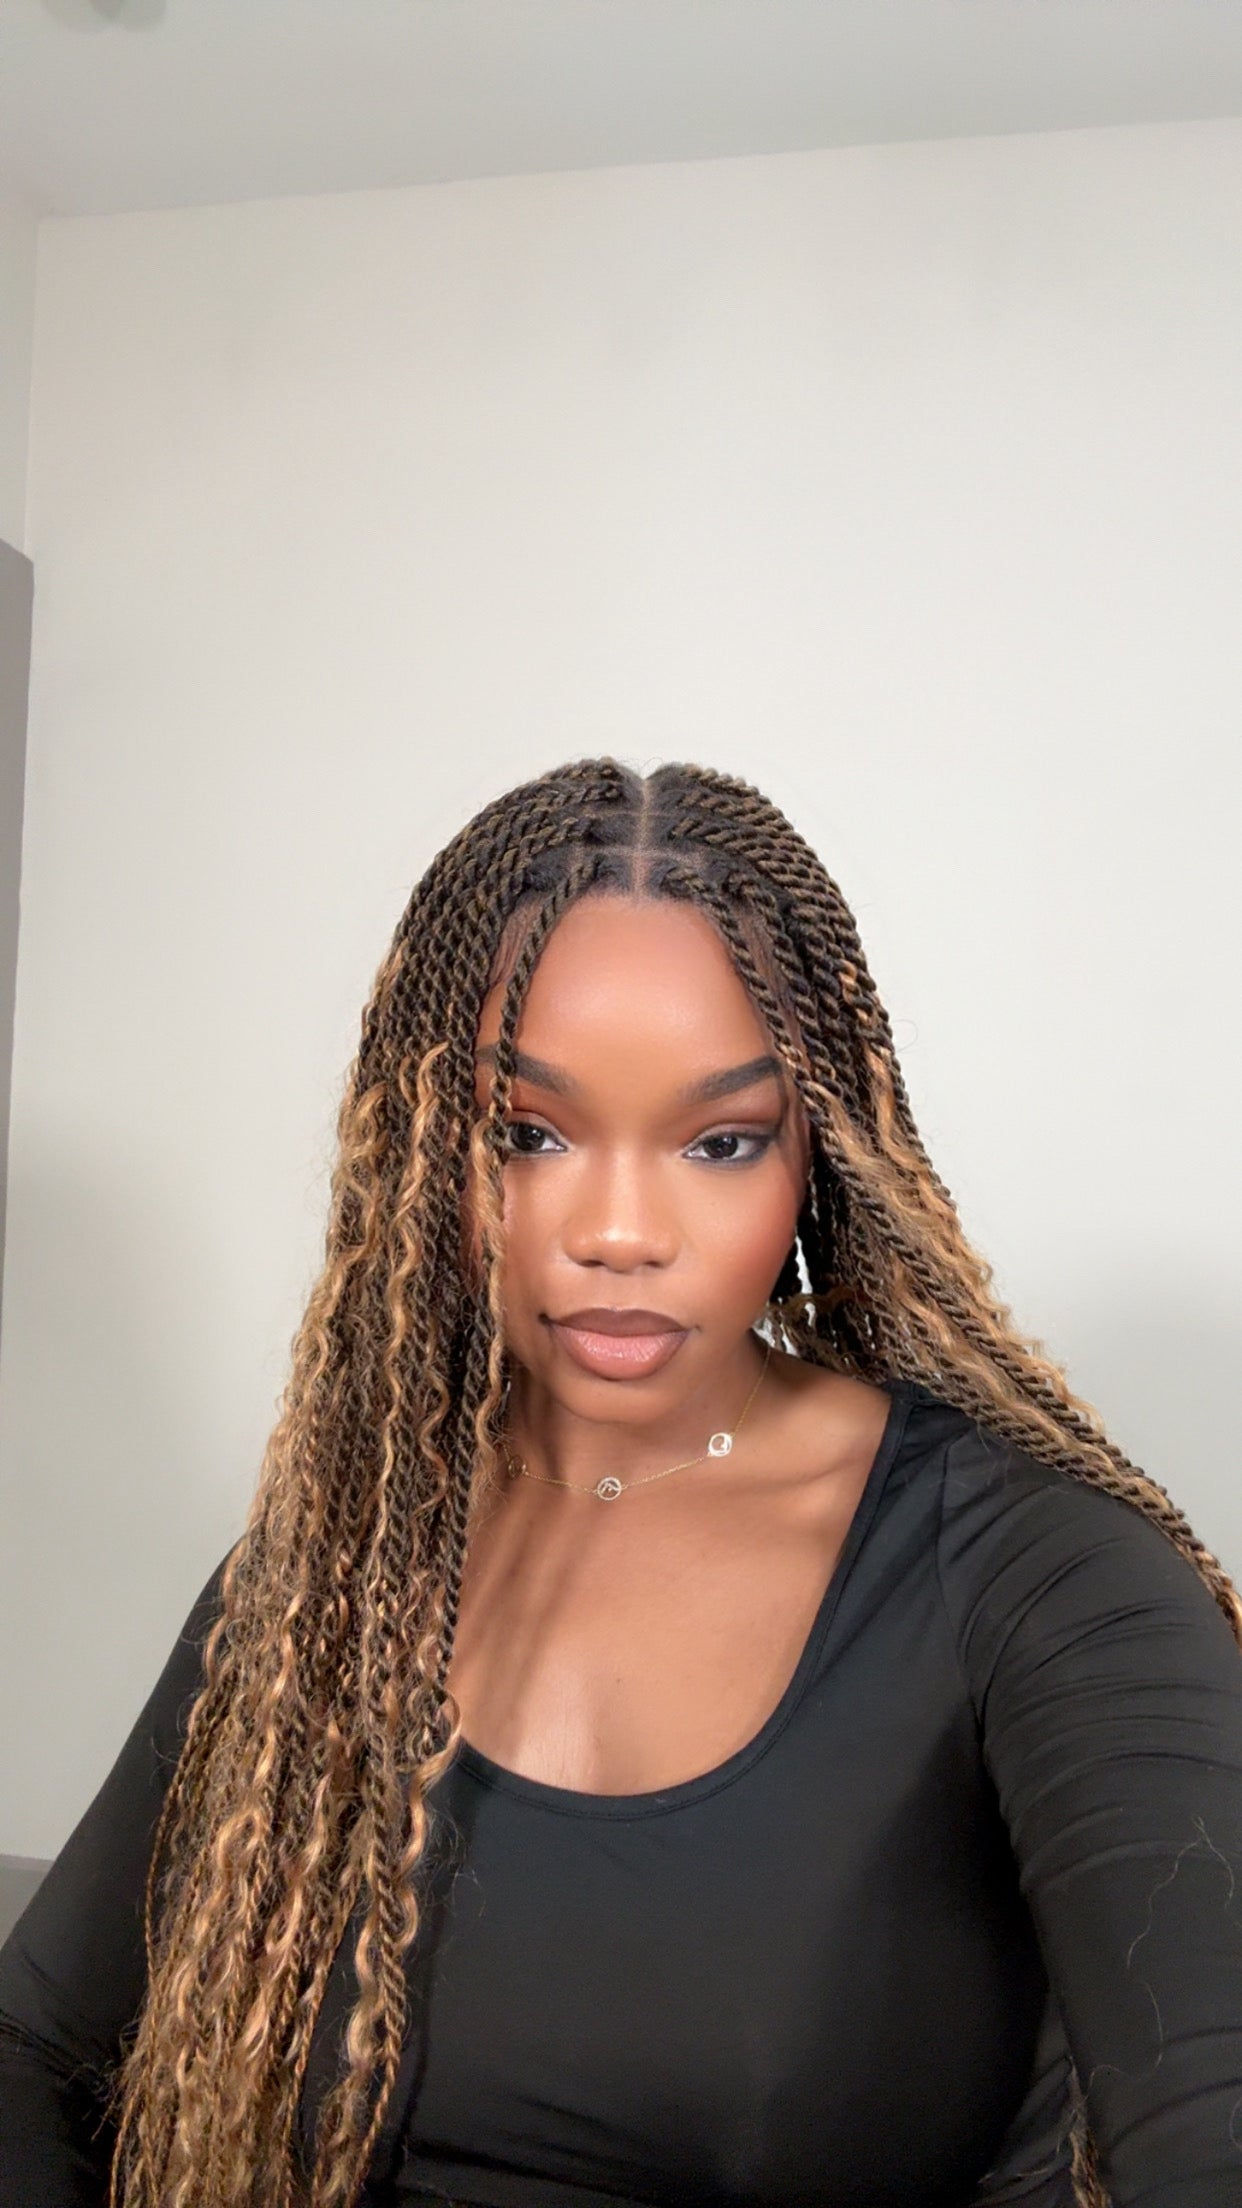
Once all locs are adequately secured, consider exploring various styling options for your loc wig, such as braids with curls styles, to add a playful and dynamic look. Style your loc wig as you would real locs, cutting the locs as needed to create layers or a specific form. Remember that human hair locs can be dyed and heat styled, allowing for more versatility, whereas synthetic locs offer fewer styling possibilities. Be creative and tailor your loc wig to reflect your personal preferences, whether that means incorporating intricate braids with curls or opting for a simpler, more classic dreadlock look.
You May Also Like: How to rock locs braided wigs with confidence >>
Caring for Your Loc Wig
A loc wig requires care to maintain its appearance:
● Washing:Human hair wigs should be washed with a gentle shampoo and conditioner. Synthetic wigs often only need a rinse in cool water with a mild shampoo.
● Drying:Air dry your loc wig on a stand to maintain its shape.
● Storage: To keep your loc wig in good condition, store it on a stand for wigs or mannequins head. Don't fold or compress the locs.
● Maintenance:Address frizz and loose strands by trimming them or using a light hold product to smooth them down.
With proper care, your loc wig can last a long time, providing you with an enduring and stylish look.
Conclusion
Creating a loc wig is a journey of patience and creativity. It allows you to embrace the beauty of dreadlocks without the commitment, and it can be a protective style for your natural hair. Remember to take your time with each step, from selecting your materials to the final styling, to ensure a beautiful and realistic locwig. Experiment with different lengths, colors, and styles to make a wig that genuinely represents your flair. And when you're done, don't hesitate to show off your handiwork. Share your creation on social media or with friends and inspire others to explore the art of loc wig making. At uBraids, we recognize the diverse needs and preferences of our clients. That's why we offer an array of styles that encompass different lengths, textures, and braiding techniques. Our braided wigs serve as a harmonious blend of tradition and contemporary fashion, enabling wearers to express their individuality with ease and confidence. Whether you're looking for an everyday look or a special occasion hairstyle, uBraids delivers an unparalleled experience. Our loc braids, with their authentic appearance and high-quality crafting, stand as a perfect example of our dedication to excellence.
The loc wig you create today could be the beginning of a new hobby or even a stepping stone to a business in the world of custom loc wig making. The possibilities are endless, and it all starts with the first loc you attach to that wig cap. So, gather your materials, set aside some time, and embark on the rewarding project of making your loc wig. Happy crafting!


Share:
Mastering the Art of the Box Braid Bun: A Comprehensive Styling Guide
The Essential Guide to Moisturizing Cornrow Braids: Maintaining Health and Hydration